Welcome to Moda Fabrics!
Calypso Coins Quilt
Calypso Coins Quilt
Published:
Jan 4 2015 - 23:00


Greetings! I'm Brenna, and I'm thrilled beyond words to share my very first Moda Bake Shop project with you! I blog over at Quilting in the Heartland. Obviously, I'm not a professional blogger, but I love sharing bits of my projects and my country life. I'm also a batik junkie; I firmly believe you can't make an ugly quilt out of batiks. I'm also a lover of fat quarters, and am in heaven when you combine the two. This project uses the wonderfully bright and happy Calypso batiks. It's really very easy to put together, and I hope you enjoy it!
![]()
1 Fat Quarter Bundle Calypso Batiks
2.5 yards Calypso Sunset 4332 27 for sashing and borders
1 yard Calypso Night Sky 4332 30 for binding
12" Clearview Triangle
![]()
First, remove from the bundle any fat quarters that match your sashing and borders. (This probably isn't totally necessary, but it's a personal preference). You should still have plenty of fat quarters to complete the quilt.
- From your sashing and border fabric, cut 18 4-inch WOF strips.
- For the setting triangles, cut 1 (2 if you did not remove the matching fat quarter; you can use the fat quarter for additional setting triangles) 7.5-inch WOF strips.
- For the binding, cut 9 binding strips your preferred width for binding. My personal preference is 2.25 inches.
Now for the fun part! Playing with your fat quarters!
Separate out the fat quarters into cool and warm colors. This beautiful collection had about a 2:1 ratio of cool to warm, which was perfect for this project.
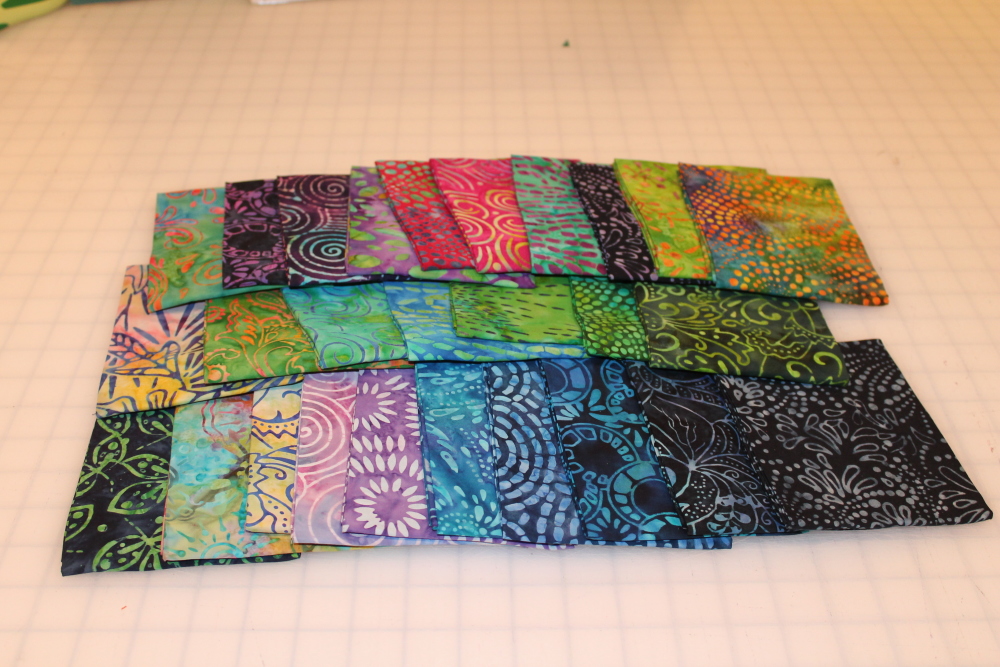
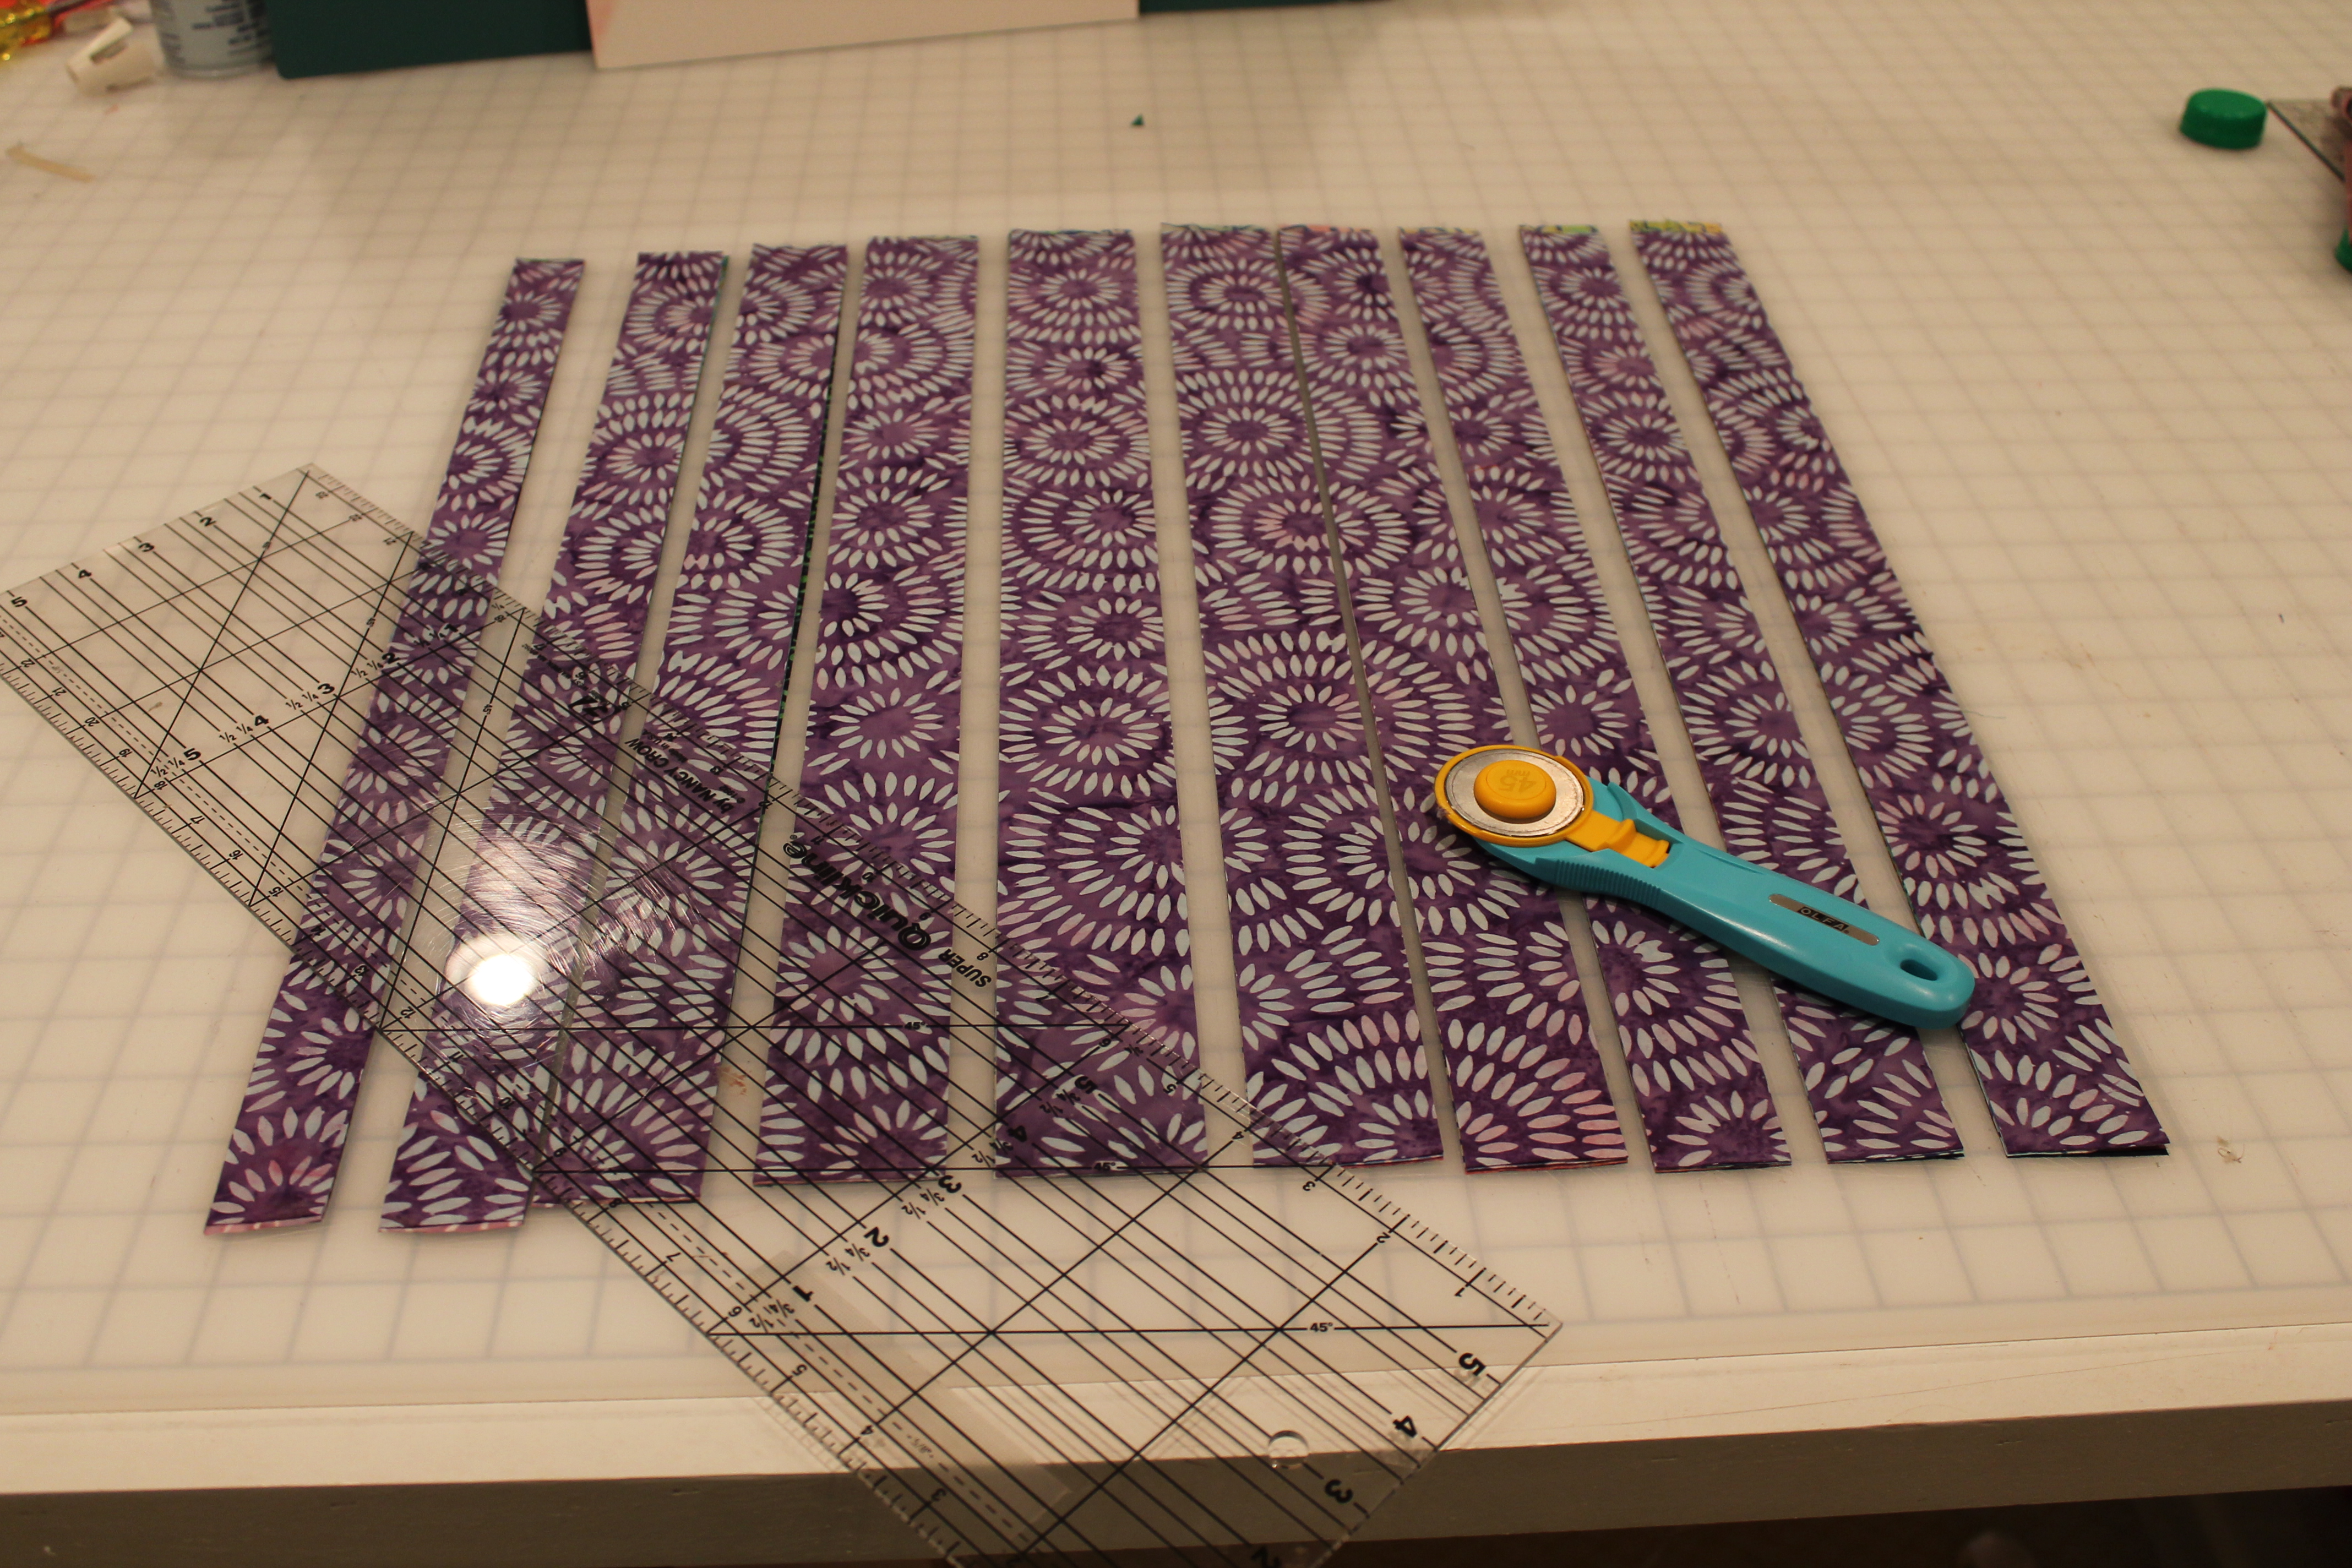
After pressing the quarters and working within the cool and warm color groups, stack several up and start to cut 22 inch strips in a variety of widths, ranging from 1 to 2.5 inches. Try not to get too many really narrow or ready wide strips. I had the best luck starting with 1 inch, then increasing by a quarter inch each strip up to 2.5 inches, then decreasing back down until I'd cut across the entire 18 inches of the fat quarter. If you go with all really narrow strips, you may not have enough for the entire project.
Take a pile of your cool strips, and mix them up.
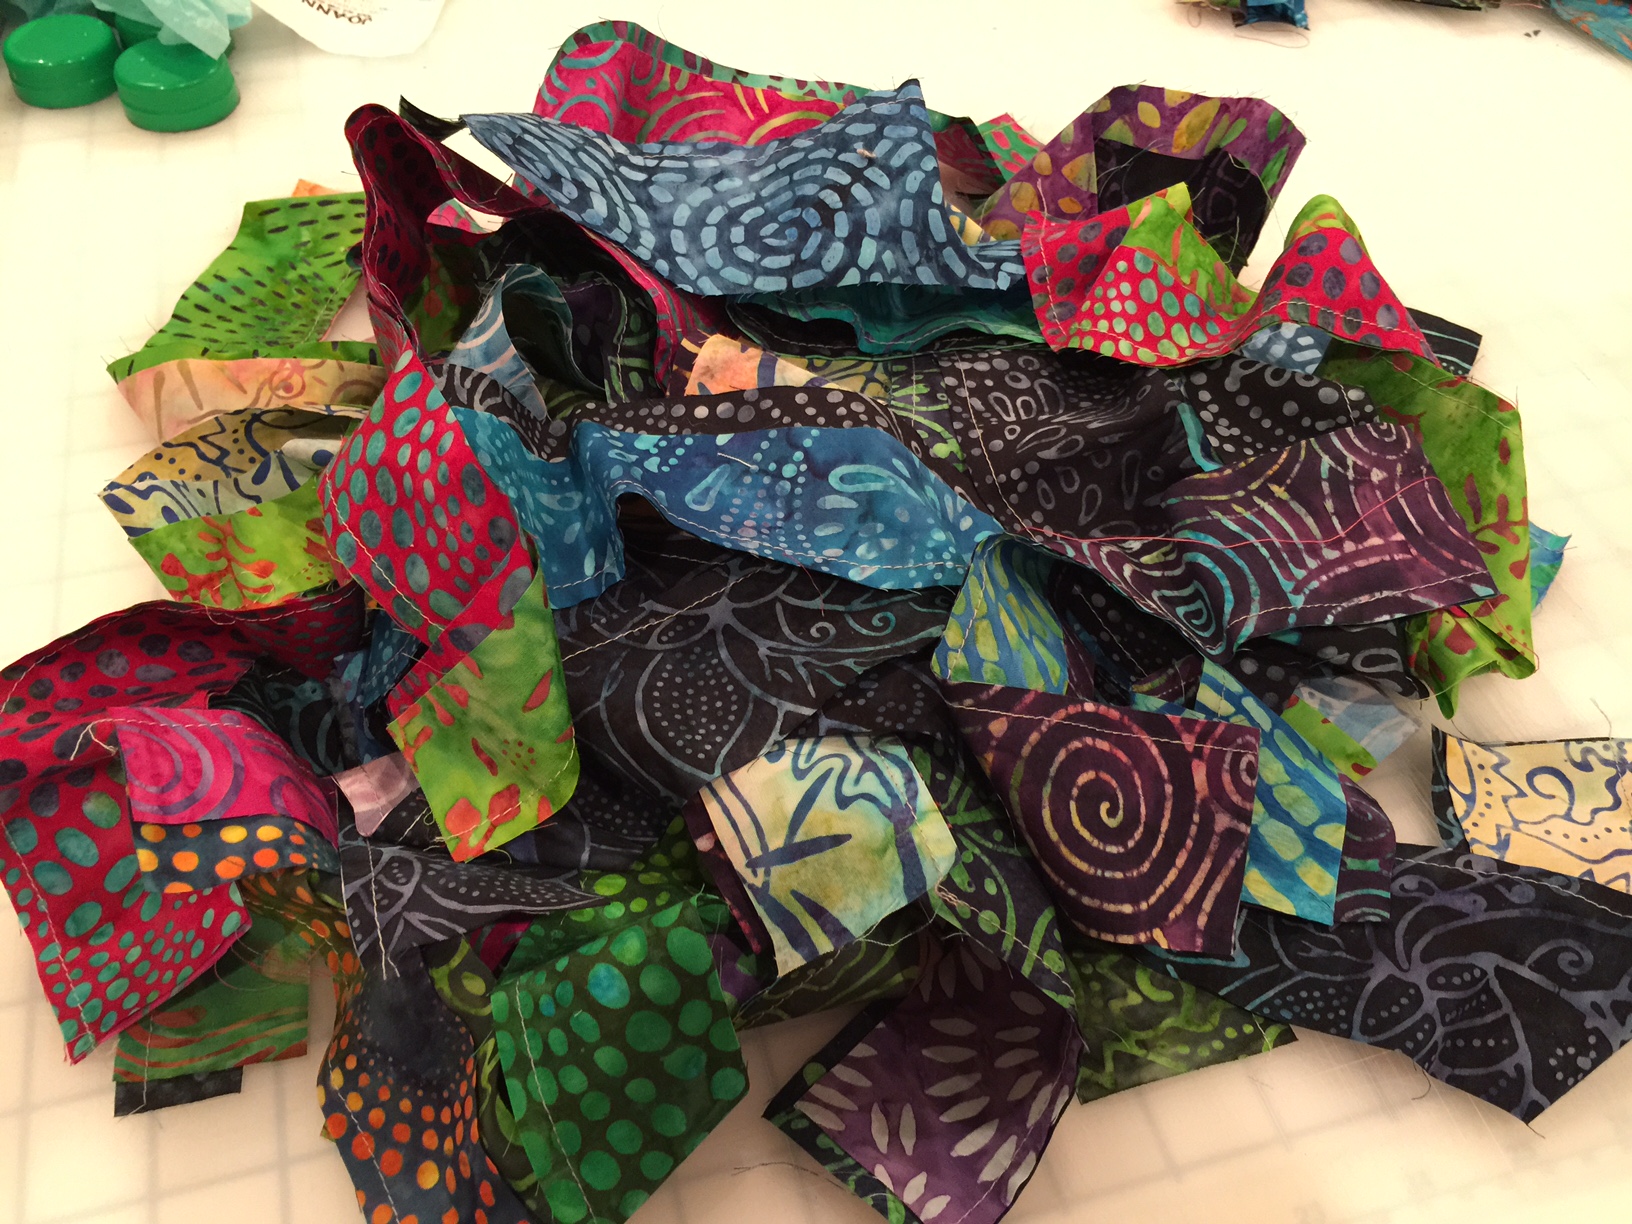
Grabbing randomly, start sewing strips together. Chain piecing is your friend! Keep sewing strips together until you have a piece a bit over 13 inches across. (Just as a note, it really doesn't matter too terribly much if these are slightly wonky, or your seam allowances aren't exact, so this step is a great one to have young or inexperienced sewists helping out. My nine year old nephew loves sewing strips together!)
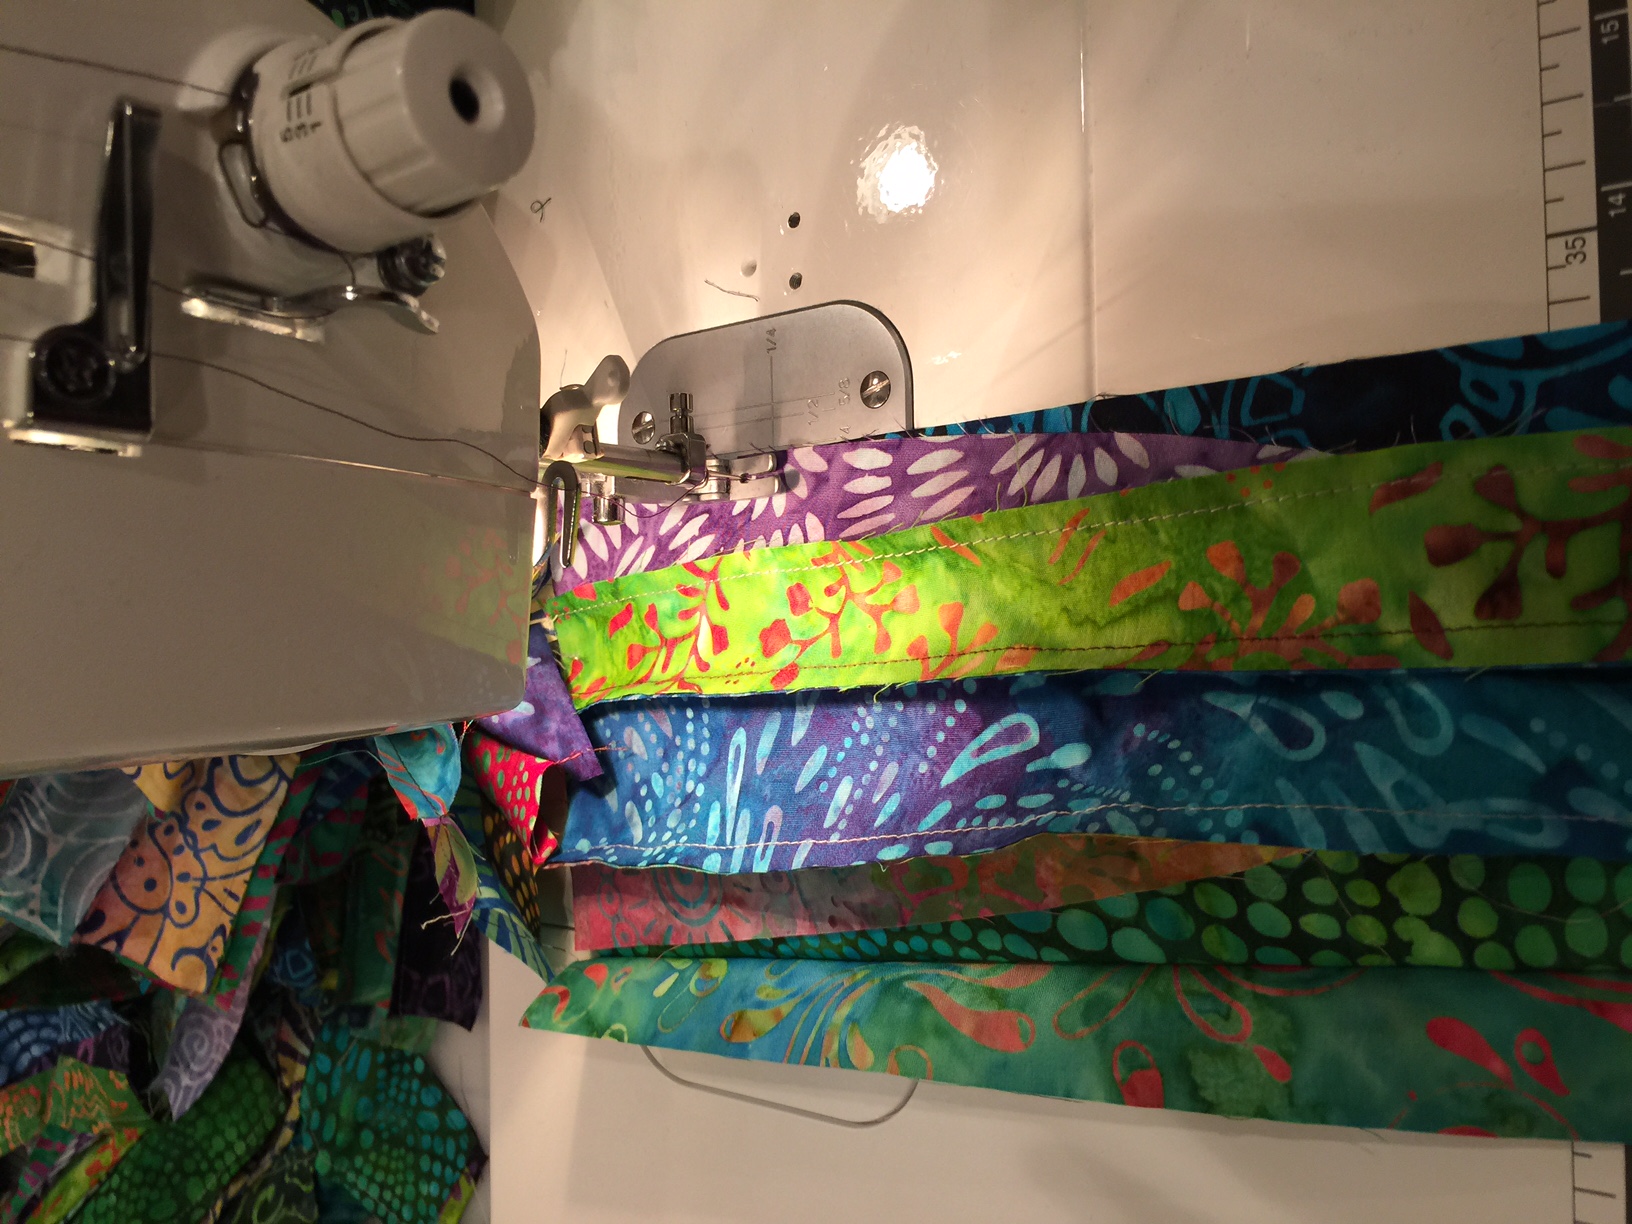
If you are chain stitching, take note. Once you've sewn everything into groups of two, start reserving some before sewing all of them into larger groups. On average, I needed about 12 strips to make a piece the right size, so you'll want to make sure you reserve a group of fours to sew onto groups of eights to get 12 strips, and have a few groups of two if you have some strip sets that aren't quite 13 inches.
As I said, most of my strip sets were 12 strips wide, but your experience may vary depending on your distribution of strip widths.

Press all seam allowances to one side. Use starch! You'll be creating a lot of bias edges, so starching will help keep them even as you work.
Repeat this with your warm colored strips.
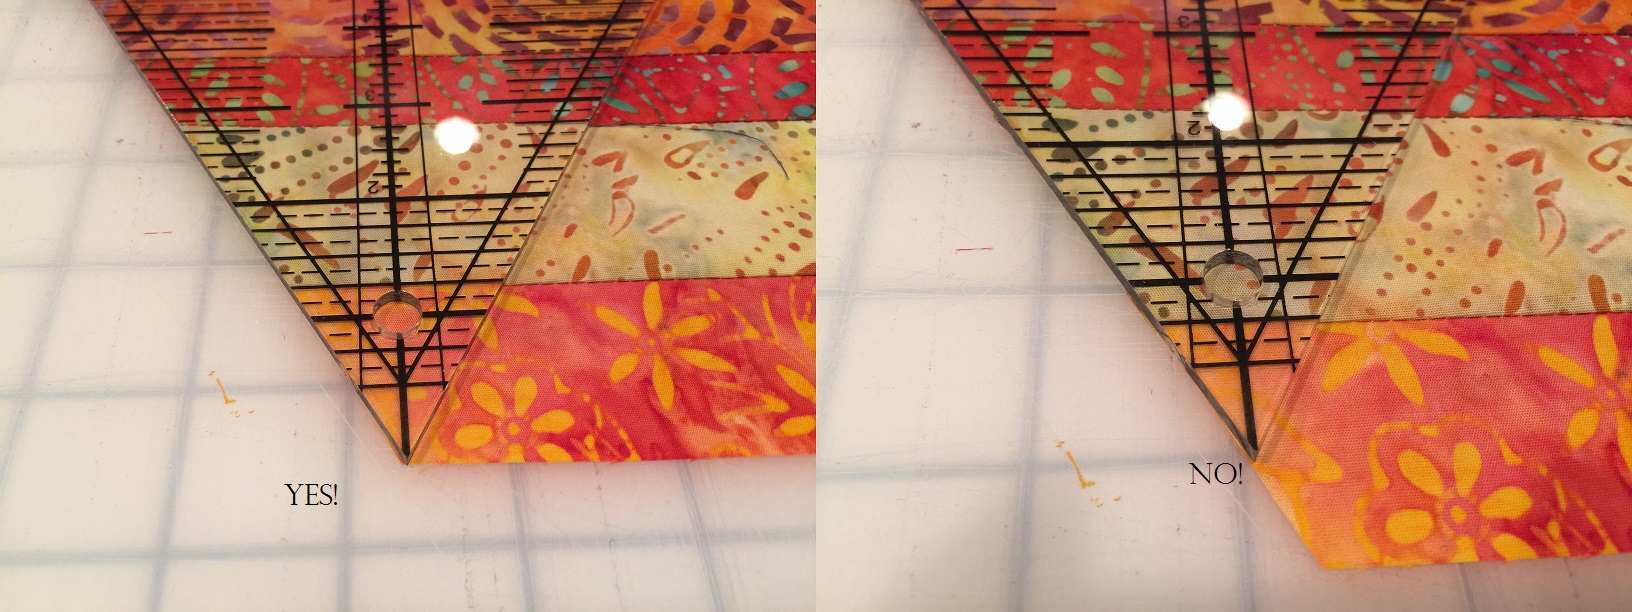
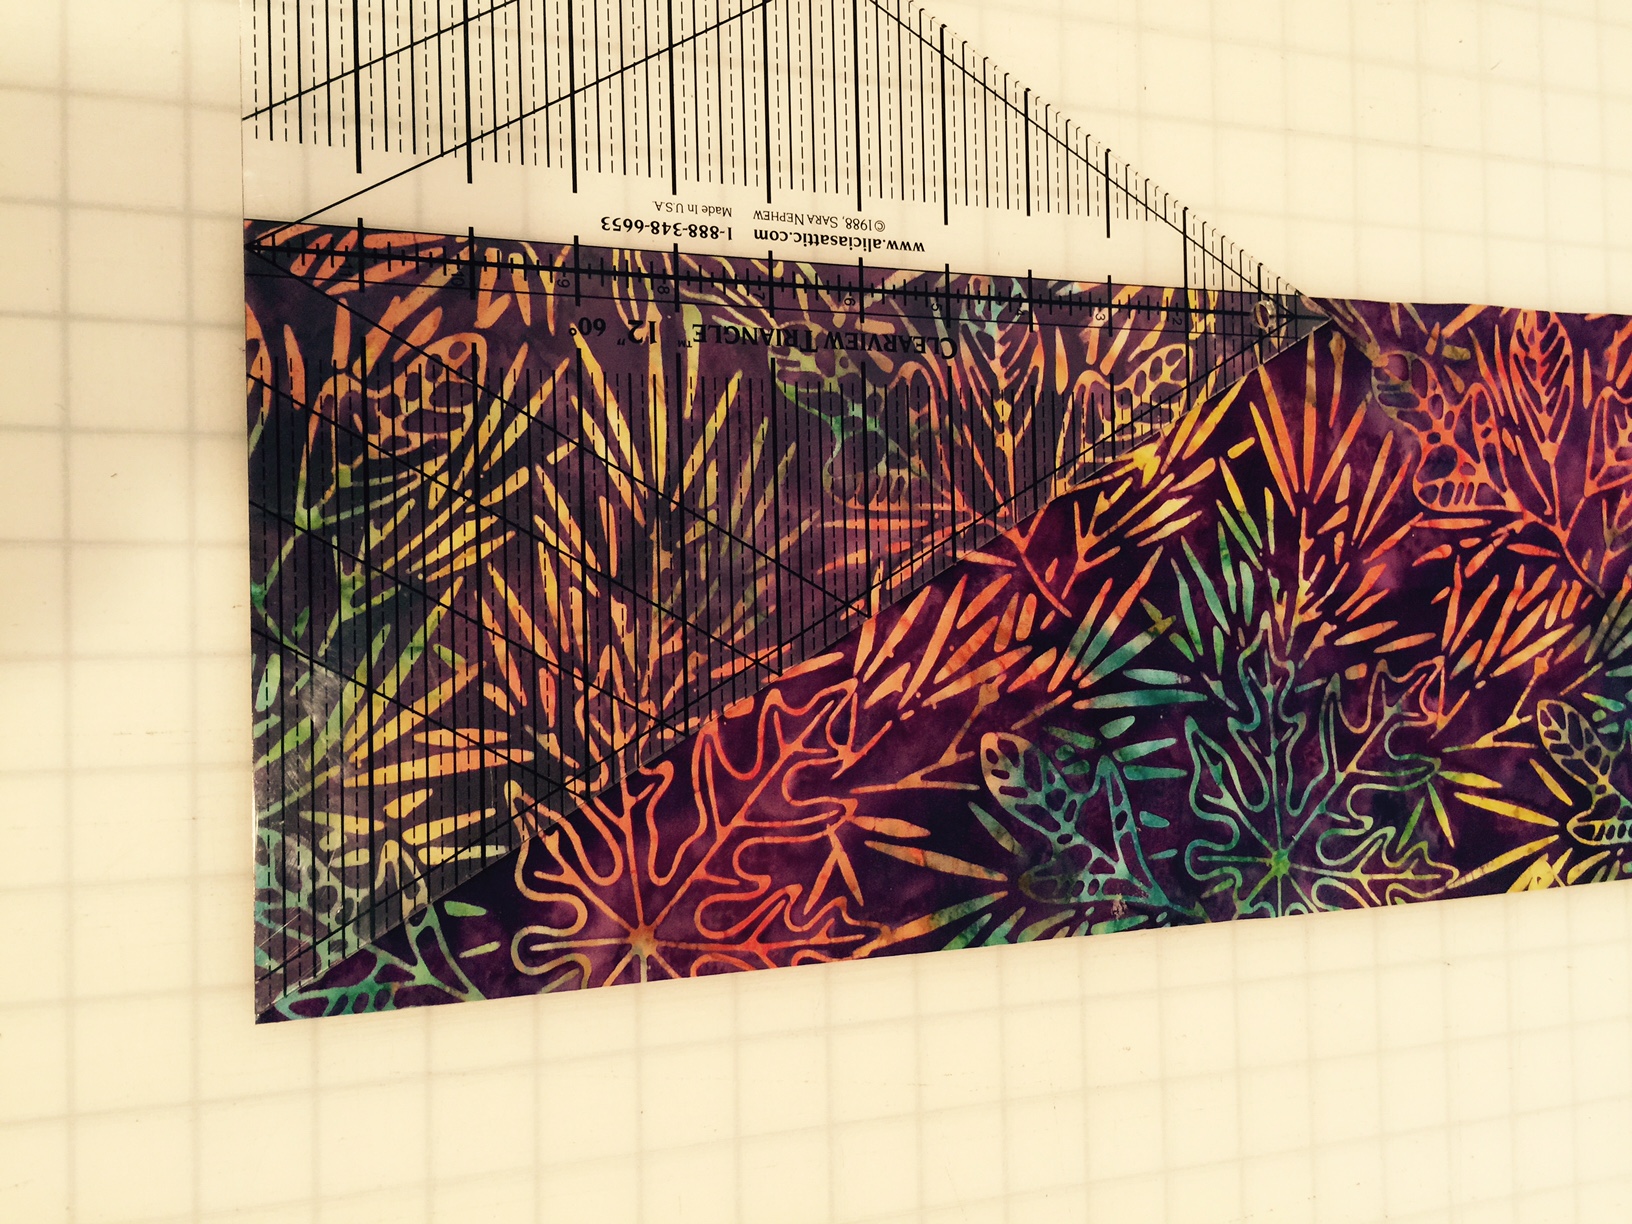
Now we're going to cut the triangles! Using your 12" triangle ruler (or the 60 degree line on your cutting mat), line up triangle with the seams (as pictured) and cut 2 triangles from each strip set, turning the triangle ruler over for the 2nd triangle. You should be able to easily get two triangles out of each strip set.

Try not to have a tiny portion on the top of your triangle, or along the bottom edge, although sometimes it's unavoidable. (This will happen more often if you use a larger number of narrow strips).
You'll need to cut 22 warm colored triangles and 44 cool colored triangles. You will probably have extra strip sets; it entirely depends on your distribution of strip widths.
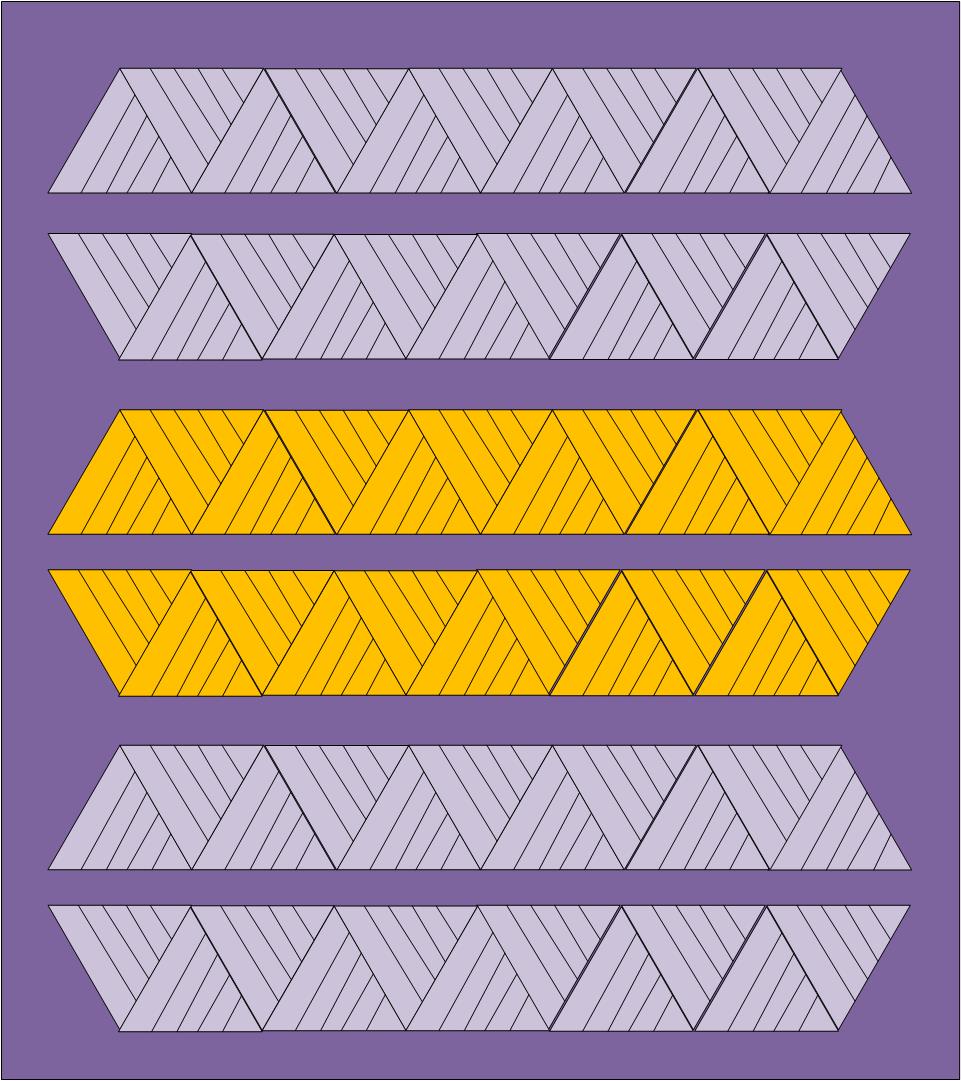
Working carefully with the bias edges, sew them into strips in the following layout. There are six strips, in mirror sets. I made two mirrored sets of cool strips and one mirrored set of warm strips.
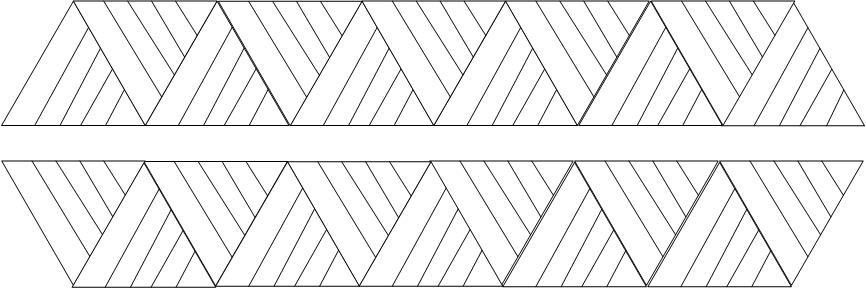
You should always be sewing one cut edge to one straight edge, which helps keep things even. Try not to stretch the bias edges while sewing, and press all seam allowances towards the one long strip side.
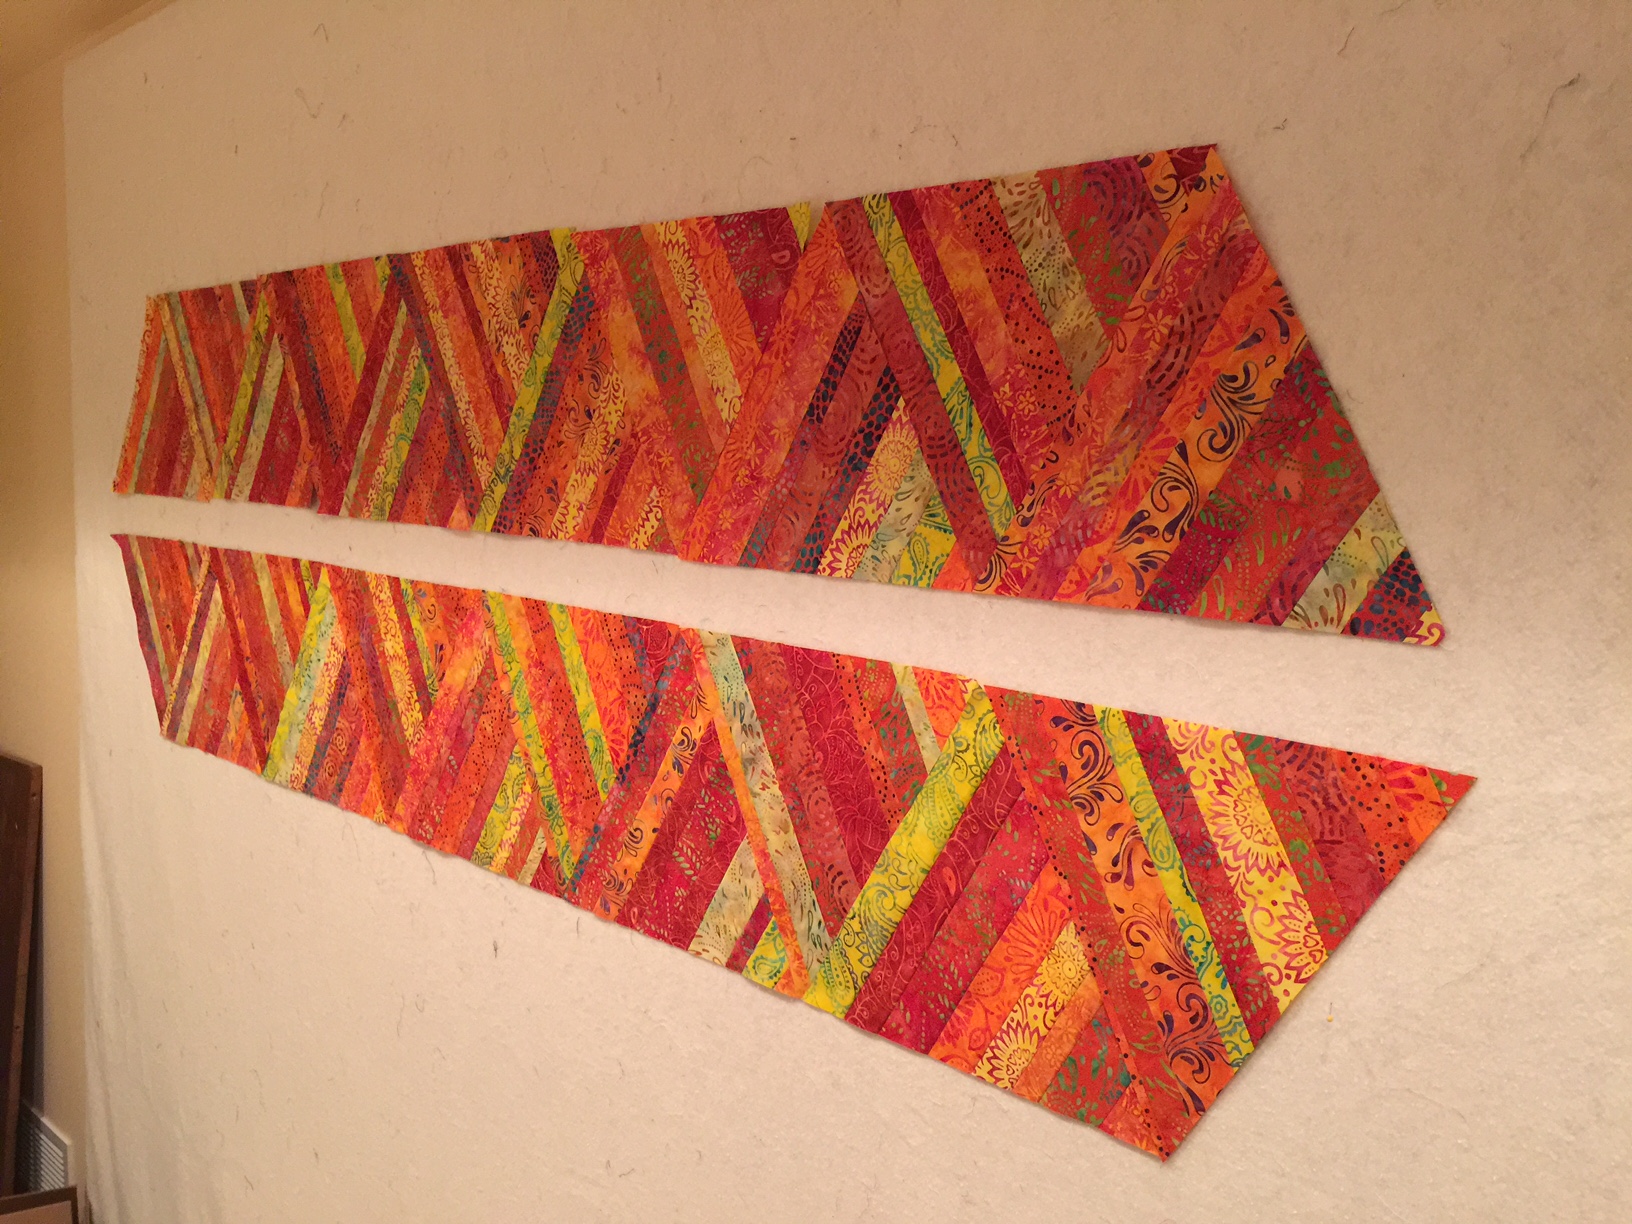
The warm colored strip sets up on the design wall:
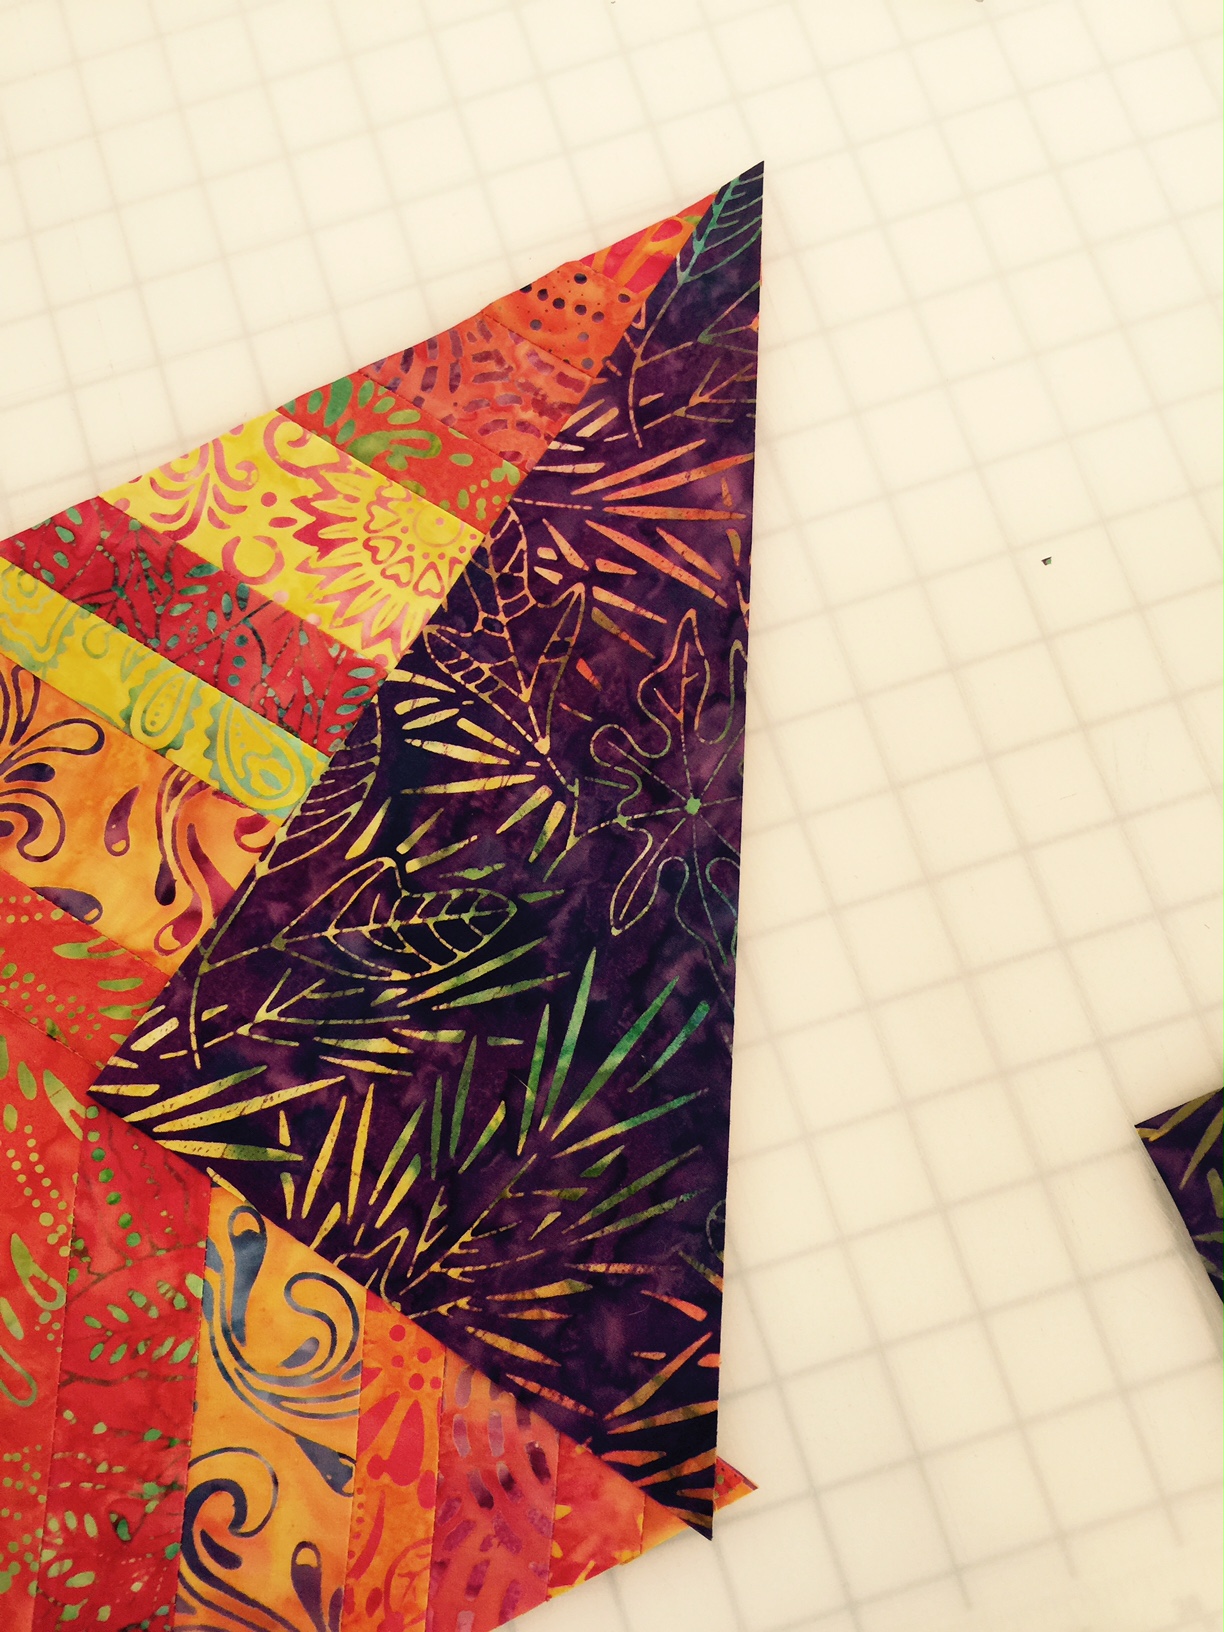
Now for the setting triangles. If you pulled out the matching fat quarter, get it out now. Trim up the fat quarter so you have a nice straight edge. Lay the ruler on the straight edge, with the center of the ruler in 1/4 inch from the edge. Cut your triangle. You should be able to get four triangles from the fat quarter.
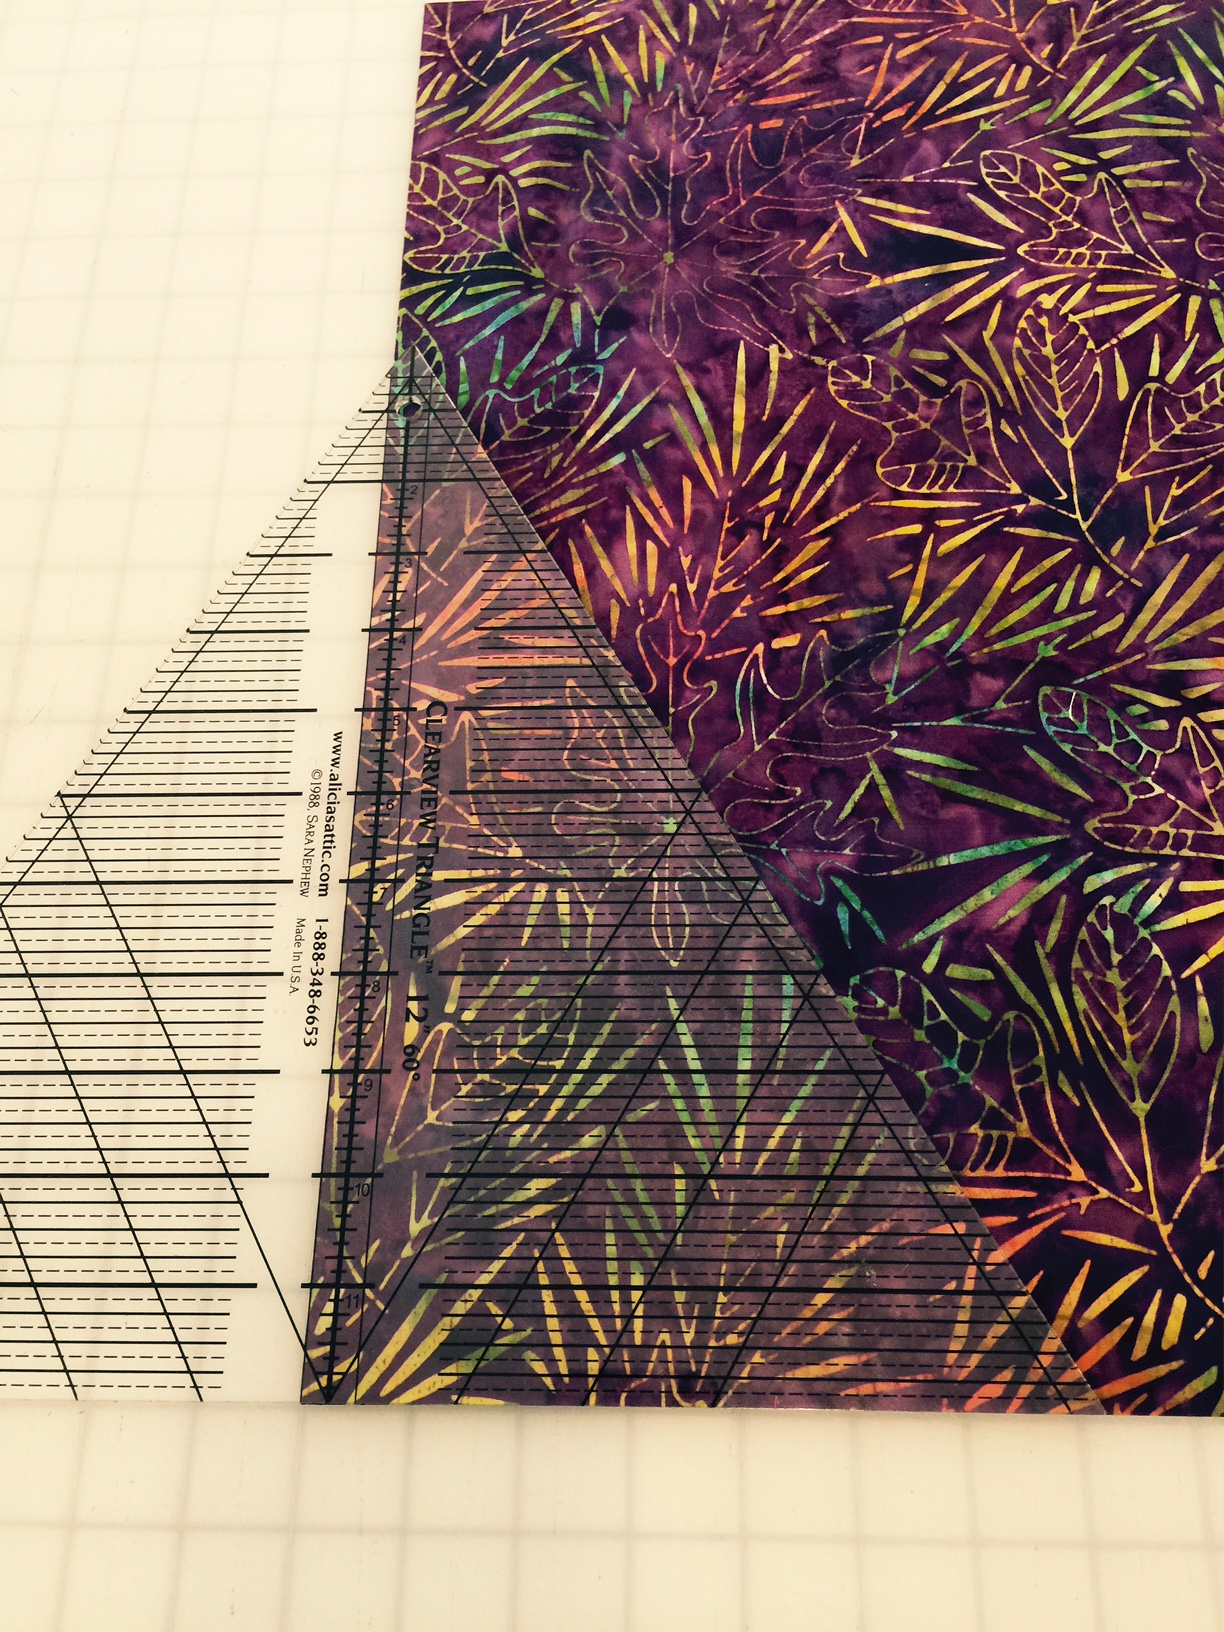
From the wide strip, cut the remaining 8 setting triangles.
Being careful of the bias edges, sew the triangles onto your strip sets, and press seams towards the setting triangles.
From the sashing strips, sew end-to-end in pairs to make 9 strips about 88 inches long.
Carefully measure your strip sets, and determine the average length. Mine were all very close to 77 inches. Cut 7 strips to this length. Since you're now sewing onto all bias edges, pin the sashing onto your strip set, and assemble your quilt top. Sew the remaining two strips to the sides, and cut to length.
I just used a 108" wide backing, but feel free to use whatever you like. Quilt as desired, and add your binding using your preferred method.
![]()
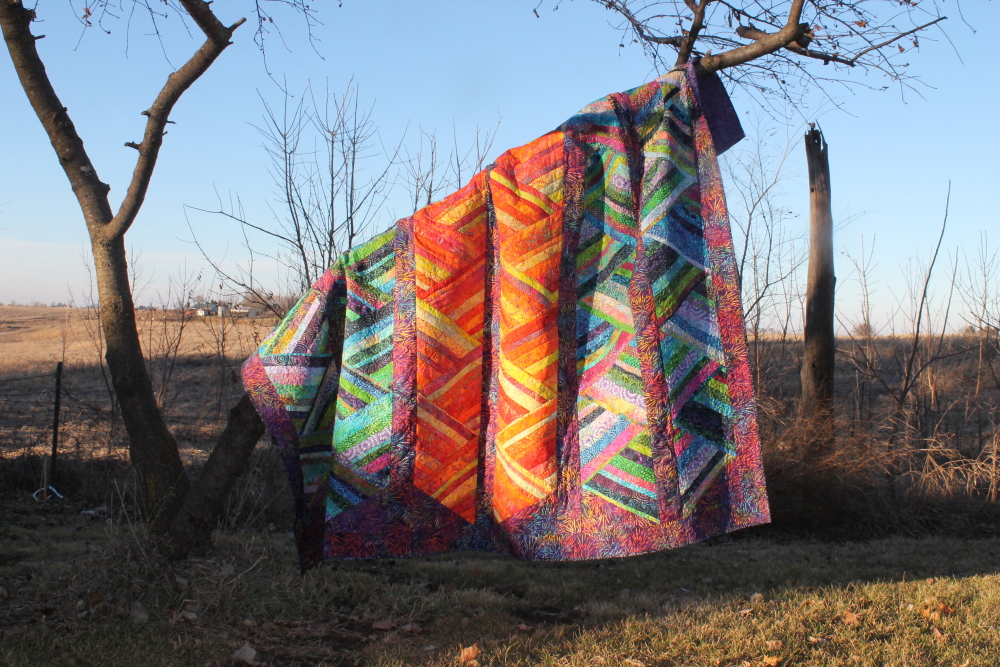
1 85" x 91" quilt!
Brenna Goode
{Quilting in the Heartland}
![]()
Posted in: