Welcome to Moda Fabrics!
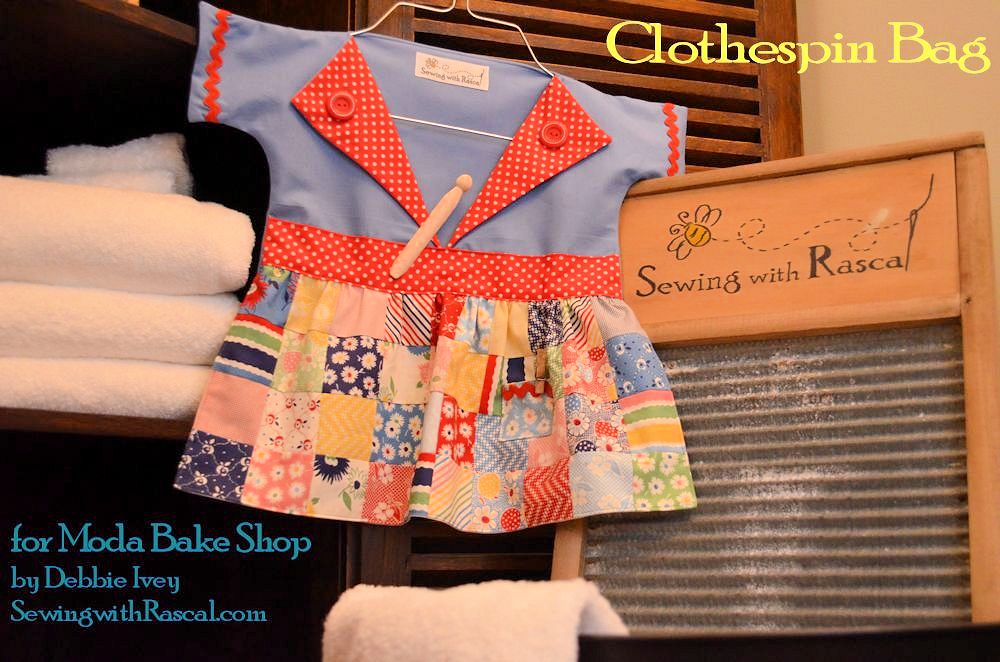
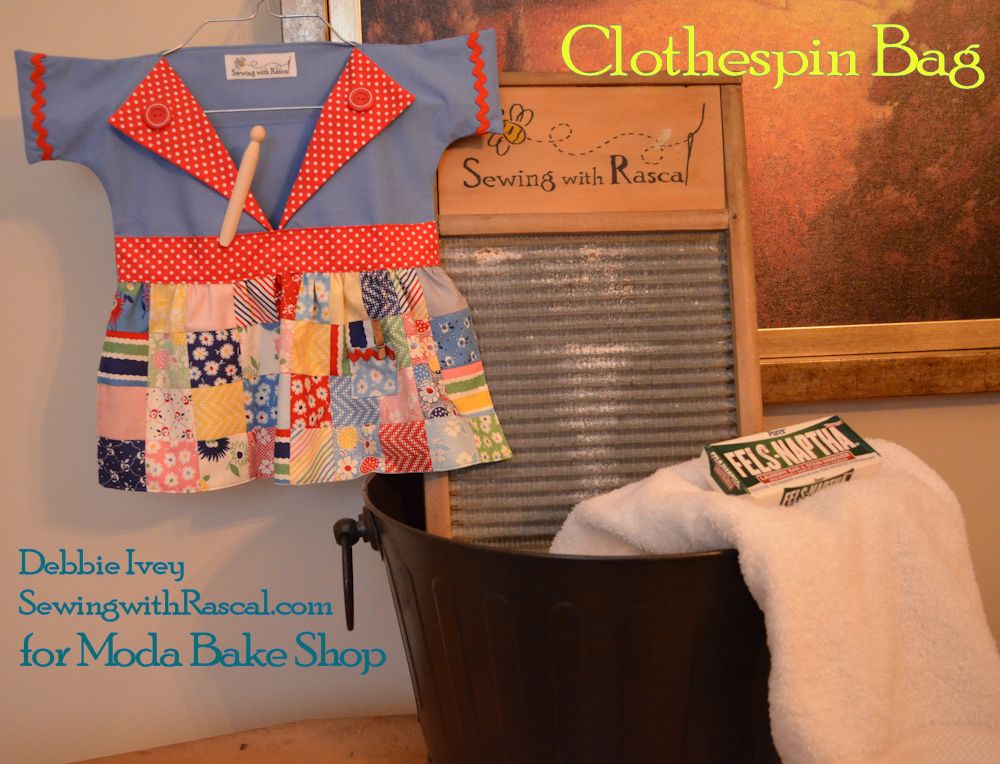
Clothespin Bag
Clothespin Bag
Published:
Jan 2 2015 - 23:00

Hello, I am Debbie and I am so pleased to introduce myself and my first Moda Bake Shop project. I learned to quilt about 20 years ago but had a few years away. When I started sewing again Moda was producing precuts and boy has that revolutionized quilting! My favorite site to get ideas for using precuts is Moda Bake Shop and I am so happy to be a contributor. Check out my blog at www.sewingwithrascal.com to see some of my completed projects.
It’s the middle of winter so I thought you would enjoy a project to prepare for the pretty days ahead when you can hang your clothes in the fresh air to dry. I don't know about you, but I love the smell of sheets and towels dried outside. Seeing sheets sway in the breeze reminds me of my grandmother's clothesline. On any pretty day her linens were drying in the fresh air with her clothespin bag at the ready. Whether feeling nostalgic or going green, what a fun and handy way to store your clothespins in this darling retro inspired clothespin bag. Of course I had to use Moda’s Fresh Air from American Jane since it has the perfect name and style!
![]()
- 1 Moda mini charm (Fresh Air)
- 1/2 yard Bella solids (Betty Blue)
- 1 fat quarter coordinating dot (Dottie Small Dots Red)
- Remnant of muslin or matching fabric 9 x 21"
- Clothespin Bag Template A pdf *
- 1 - 16" wide or smaller hanger

![]()
Rick Rack
2 buttons
![]()
RST = Right Sides Together
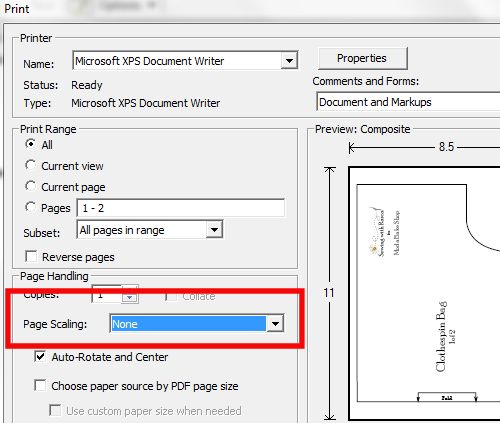
* Print Template A provided above at 100 %. Be sure 'Page Scaling' is set to None and verify the 1" square on pattern.
There are two pages for Template A. Join at the dash lines with tape to create the bodice pattern template.
Cutting:
From solid print cut: ( follow cutting diagram)
12 x 9.5" rectangle for back facing
(2) bodice pieces cut from template A
Fold the 1/2 yard of fabric in half by width of fabric ( 9 x 42"). Place with templates on fold at one end leaving enough fabric for the 12 x 9.5" rectangle
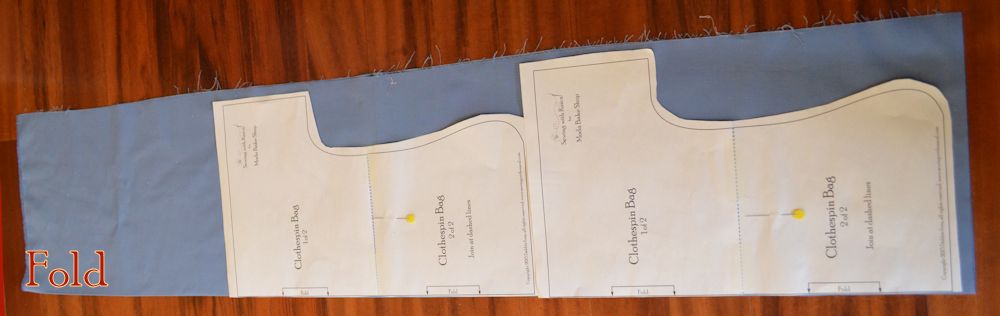 Cutting Diagram
From Dot print cut:
13 x 4" rectangle for waistband
11 x 7 ½" rectangle for the collar facing
Cut 2 x 3" notch out of both corners of the bottom of the 11 x 7 1/2" rectangle

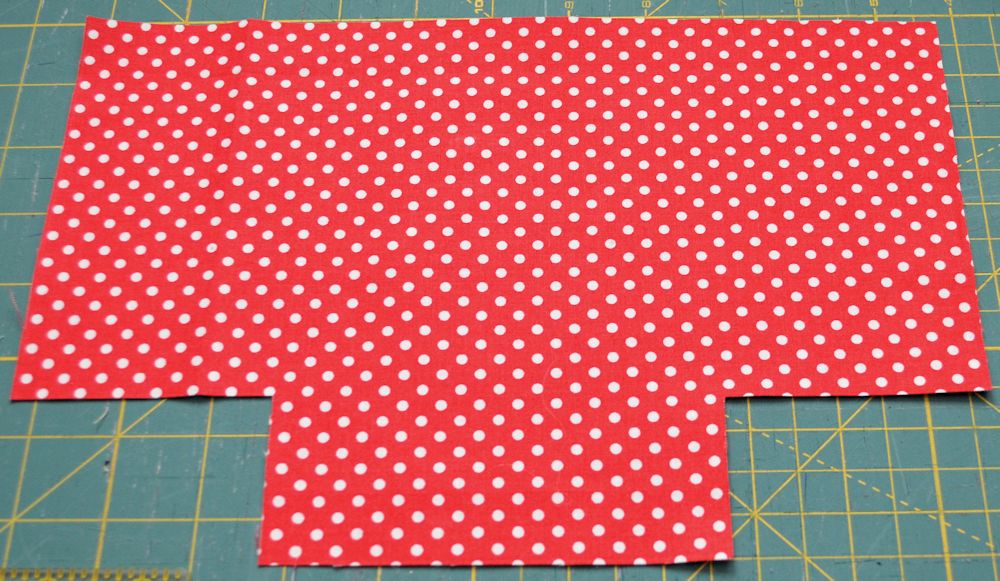 Collar Facing
Creating the patchwork skirt:
Lay out 4 rows of 10 mini charms each in a pleasing color arrangement. There will be 2 extra mini charms.
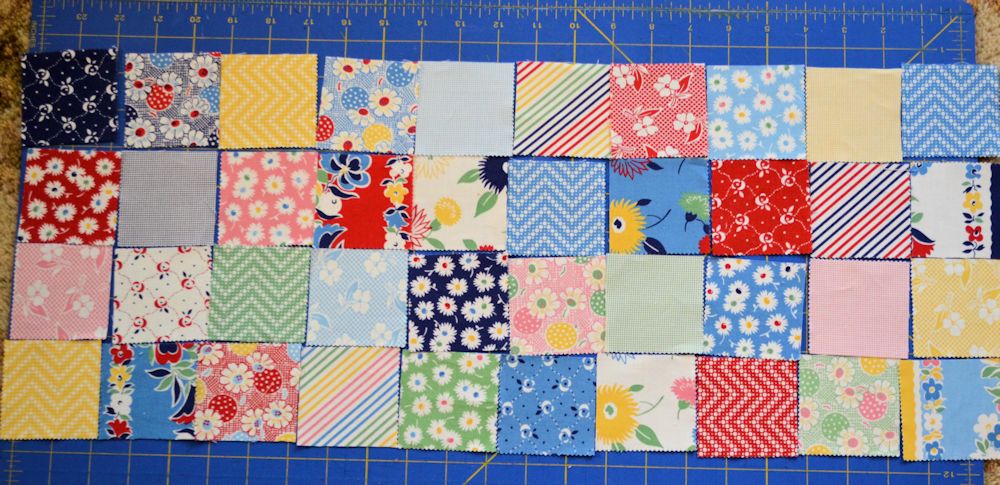
Chain piece the 4 rows of 10 mini charm squares. I start with the first row of 10 and make 5 sets of 2 squares. Join the sets of 2 together to make a long row of 10 squares. Repeat for the 3 remaining rows.

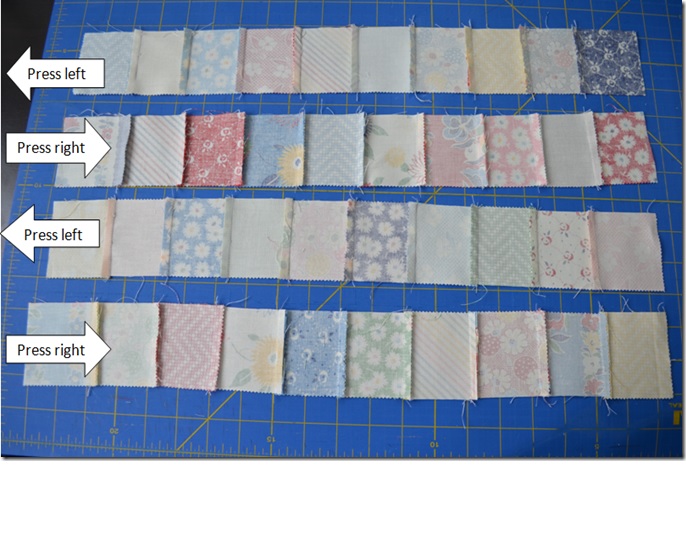
Press each row’s seams in opposite directions. With the seams pressed in opposite directions the points will meet nicely when rows are sewn together.
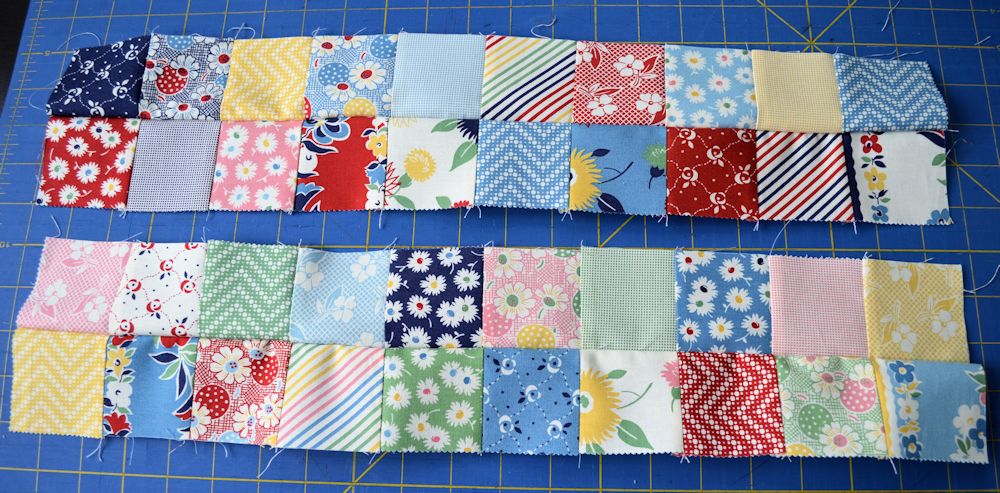
 Pin bottom 2 rows together nesting seam so they match. Sew the rows along the long edge with ¼" seam allowance.

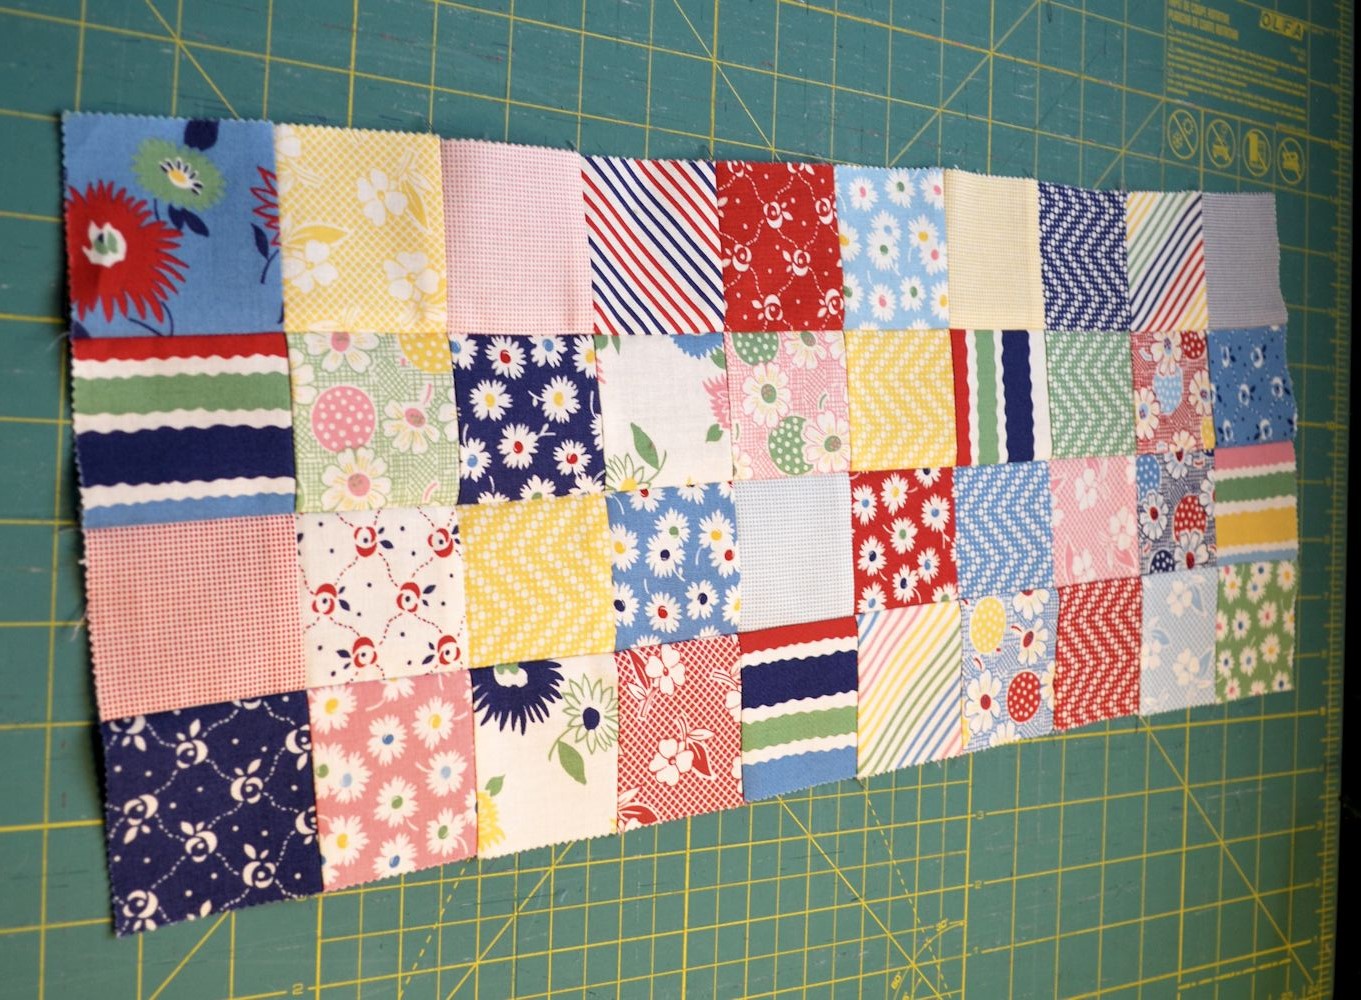
Repeat for top 2 rows. You will now have 2 sets of rows. Press open. Sew these two rows together so that you have a rectangle of 4 rows by 10 squares each. Press.
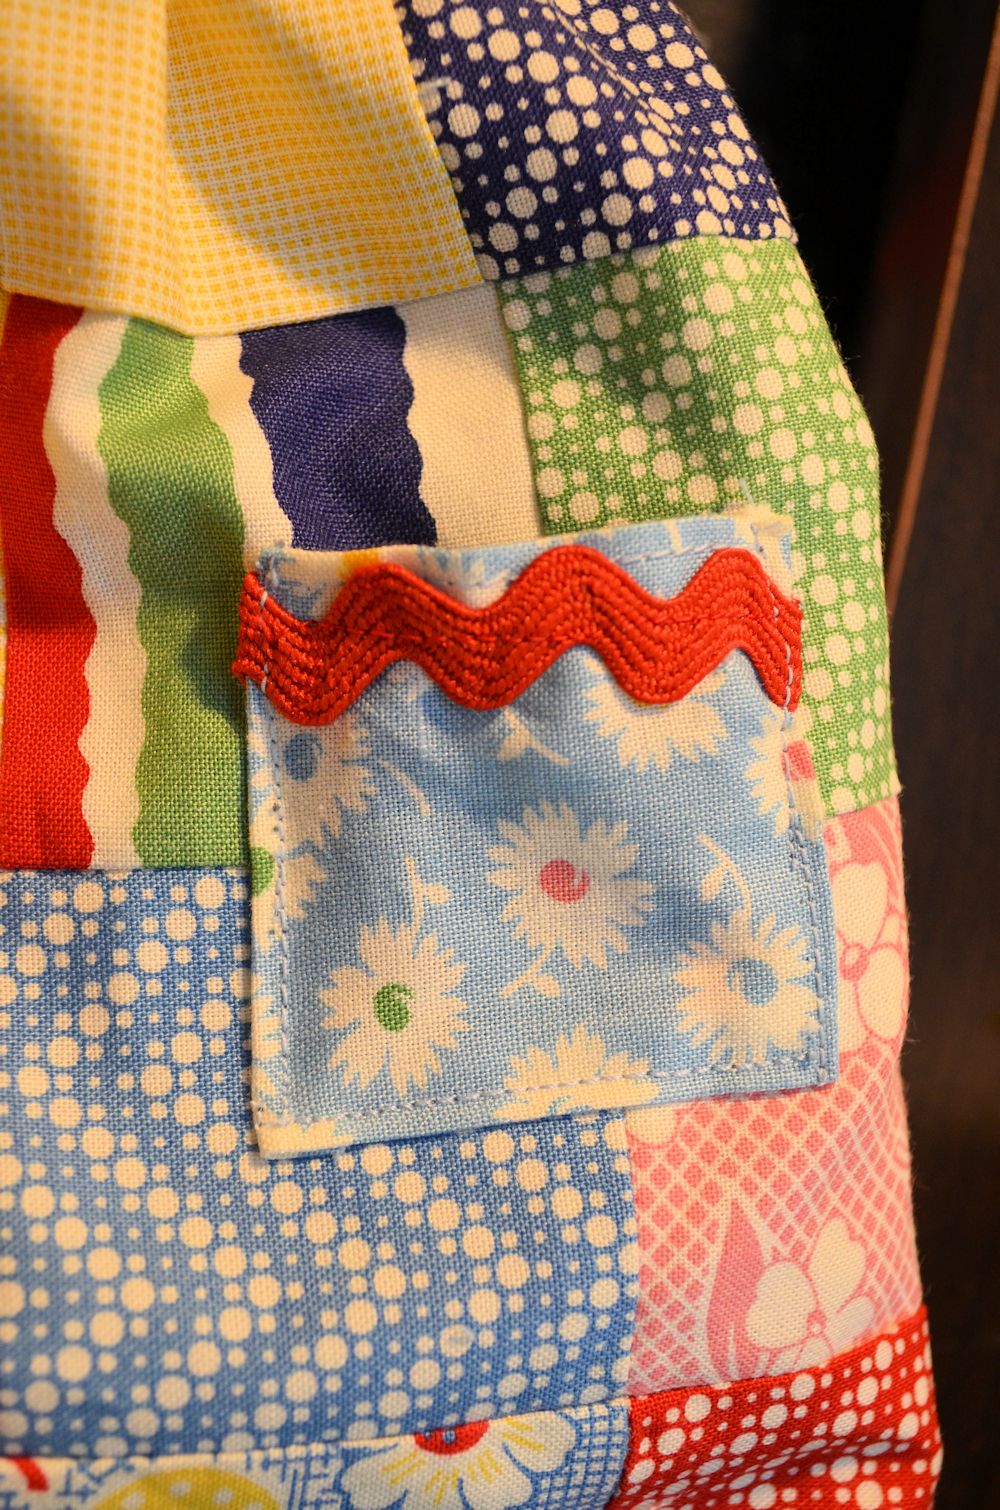
Optional: At this point you can use one of the two remaining 2.5" mini charm squares to make a pocket for the skirt. Press ¼" seam around all sides of the 2.5" square and add a piece or rickrack. Sew pocket on desired position of skirt.
Cut a piece of muslin or scrap fabric the same size as your patchwork skirt rectangle. Everyone's seam is slightly different so it is better to measure your skirt. It is approximately 20 ½ x 8 ½". Sew around 3 sides leaving the top long side open.
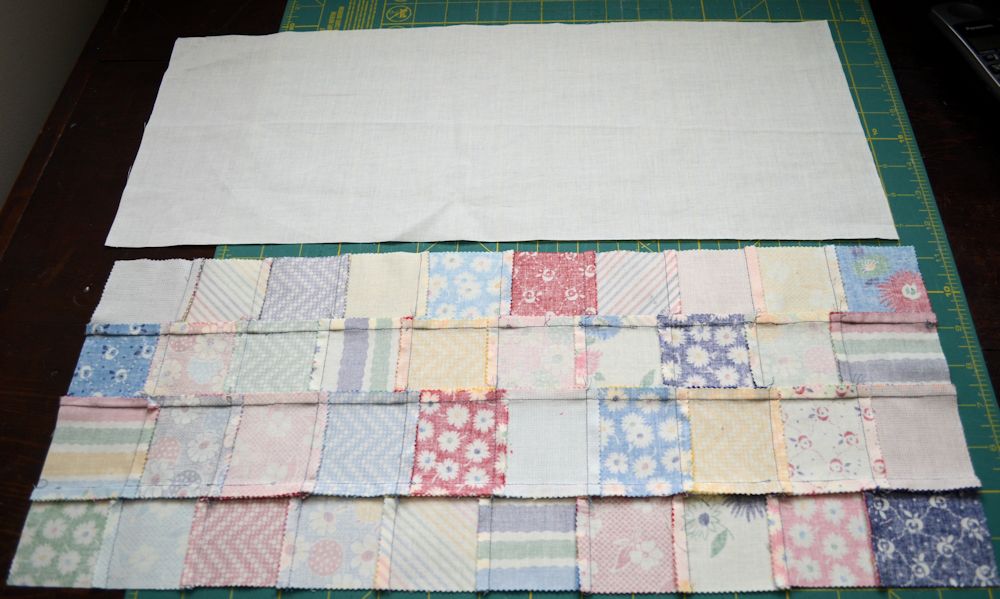

Clip the bottom corners and turn. You can top stitch around the edges of the skirt if you like a more finished look.
 Topstitching
Creating the back of Bodice (Bag)
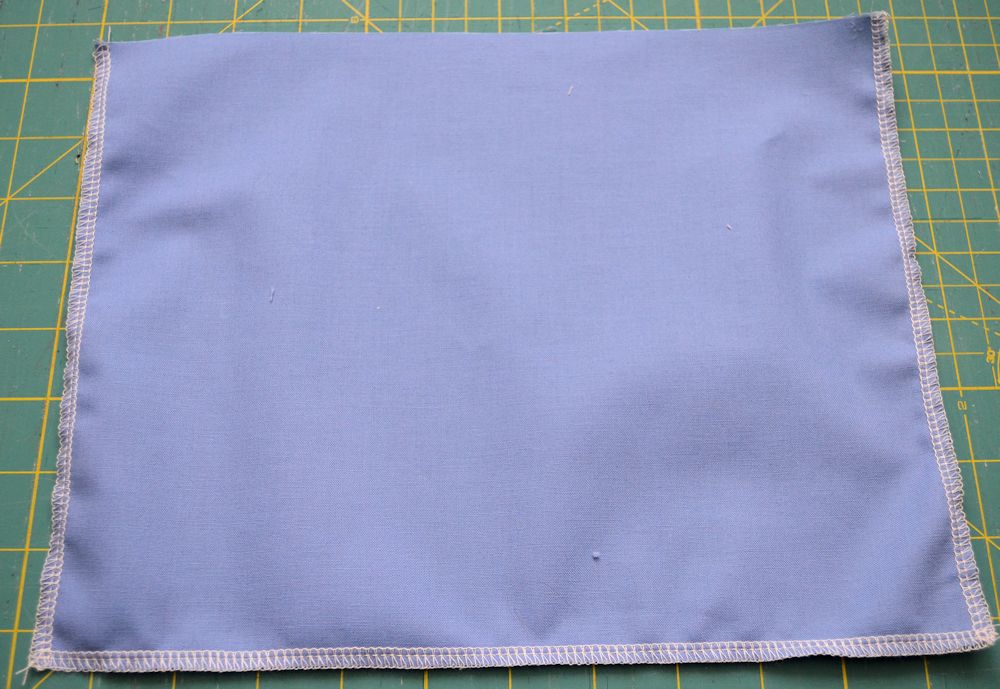
Serge, overlock stitch, or zigzag three sides of the 9 ½ x 12" facing rectangle. Don’t overstitch one long side.
Pin the facing rectangle RST on top of body. Stitch ¼" seam across the top.

Flip and press. 
Sewing Collar Facing on body
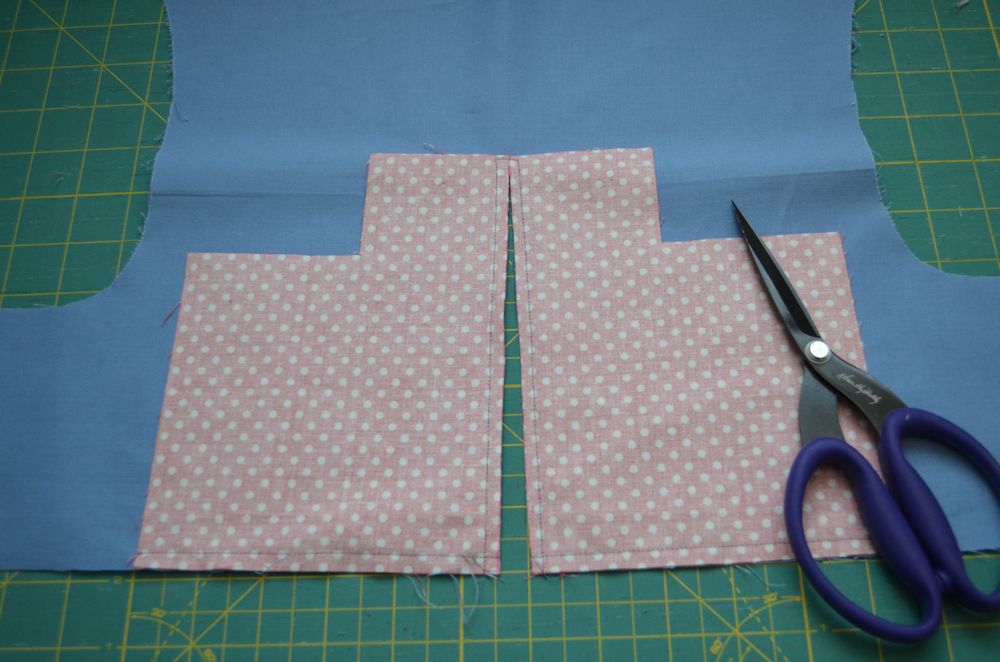
Mark a line down the center of the collar facing. Pin the facing RST on top of the remaining body piece.

Sew ¼" seam across the top of collar facing and sew scant ¼" seam down each side of the drawn line. Stop at the facing, do not sew past the collar (dot fabric).

Cut on the drawn line stopping at the bottom edge of the collar dot fabric.
Clip the corners then flip. Use a knitting needle or chop stick to push out the edges and corner of the collar. Press the collar.

Fold collar facing over towards the right side (front) of the body, press to desired lapel shape.

Waistband and attaching the skirt
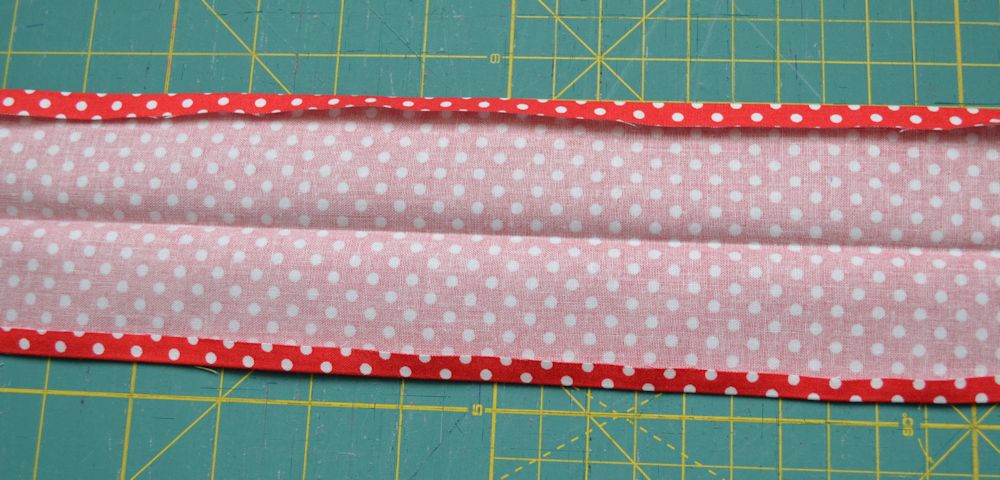
To make the waistband, press ¼" along both long sides of the dot 4 x 13" strip of fabric. Fold in half lengthwise and press.
Gather the top of the skirt by running two loose basting stitches across the open long side, thru both layers.

Hold the bobbin thread and pull the top layers of thread to gather the top of skirt. Gather so it fits the waistband within approximately 1/2 " of each side.

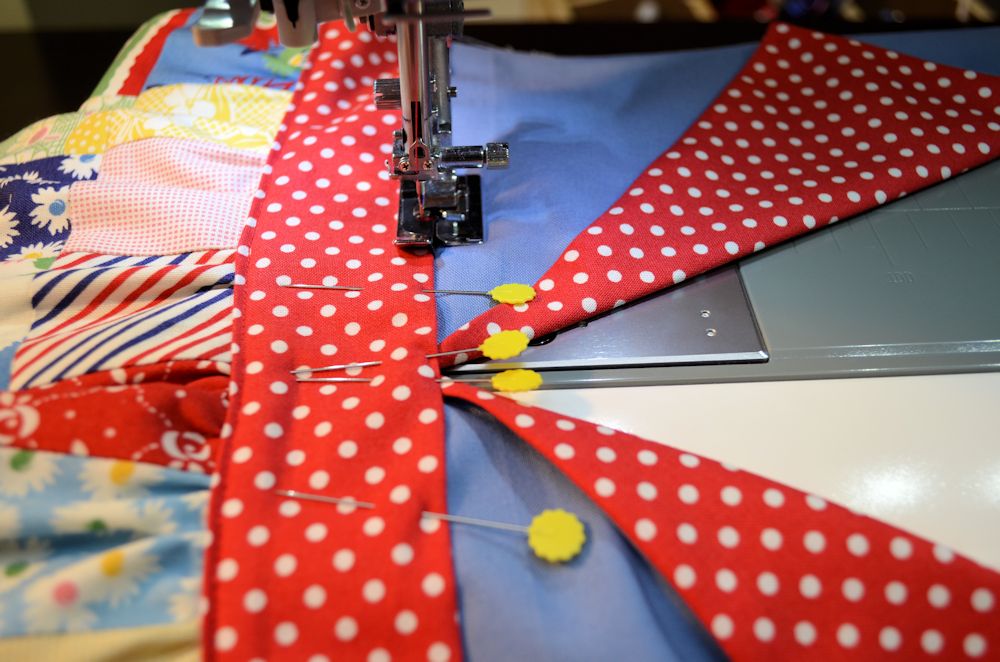
Fold the waistband in half and pin the waistband hem over the top of the gathered edge of the skirt. Ensure the back of the waistband is folded over at the same distance as the front so that you will catch both the front and back layers of waistband with stitching.

Topstitch the bottom of the waistband to the gathered edge of the skirt. Try to stitch thru both layers (front and back) of the waistband.

Pin the waistband/skirt unit slightly overlapping the bottom of the collar so that it covers the raw bottom edge of the collar.

Topstitch the top of waistband to the front bodice.
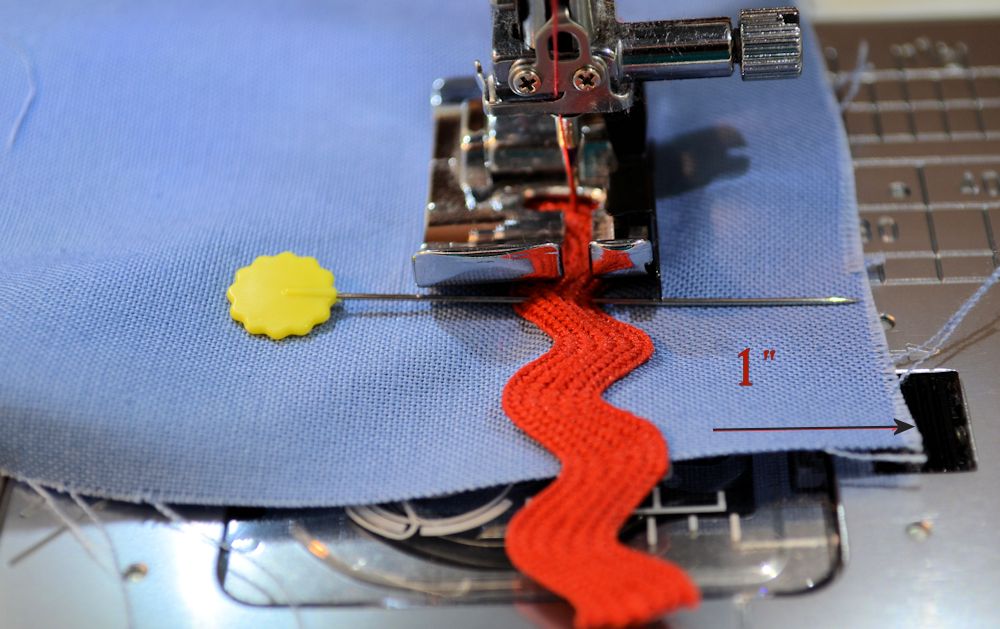
Optional: Sew rick rack on the edge of sleeves before sewing bodice closed
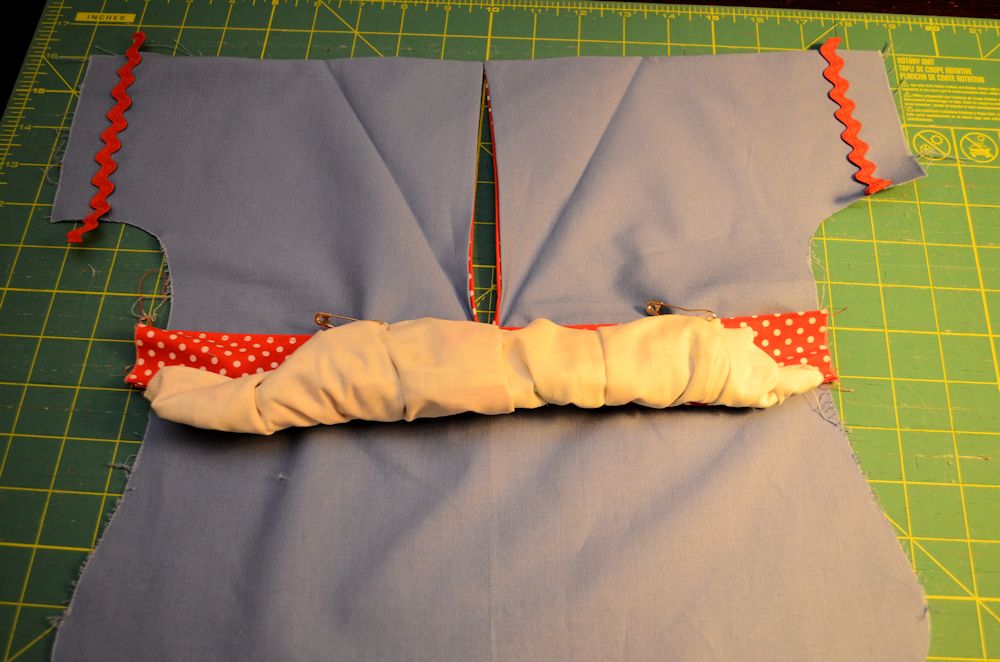
Fold the skirt to the center and pin out of the way of the edges so it won't get caught in the seams when sewing the bodice closed.
Open the collar and place RST on top of the back body piece. Stitch ¼" seam from fold line at edge of collar all around body to other fold line at top edge of collar. Taper from ¼" to edge at the start and stop points so that turned collar will lay nicely.
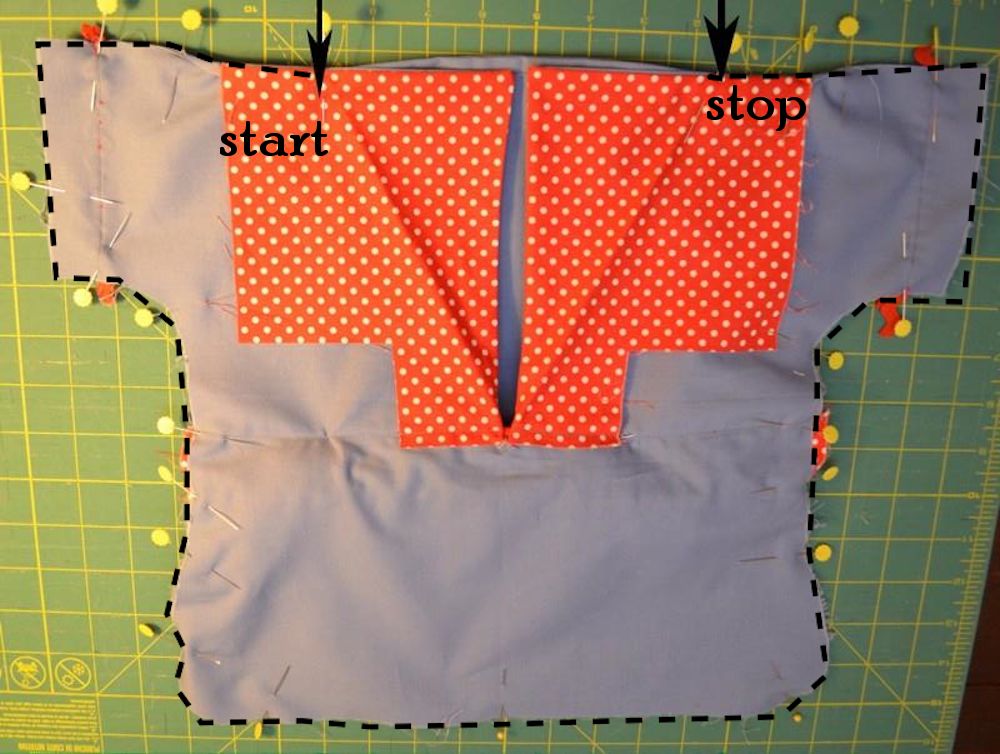
Clip around curves and at corners of sleeves. Turn right side out and press, including pressing the collar back in place.
Optional: Sew buttons in the corner of each collar, and if you have a label by all means add it.
Insert a hanger with one side towards the bottom then the other side will fit in the arm and then the hanger can be pulled up into position. The clothespin bag will fit a standard 16" wide wire hanger like you get from the dry cleaners.

 Back of Bag
Finished! Hang up a clothesline and start drying your clothes outside using your new clothespin bag!
![]()
(1) adorable clothespin bag perfect for storing and hanging your clothespins
Debbie Ivey
{sewingwithrascal.com}
![]()
Posted in: