Welcome to Moda Fabrics!
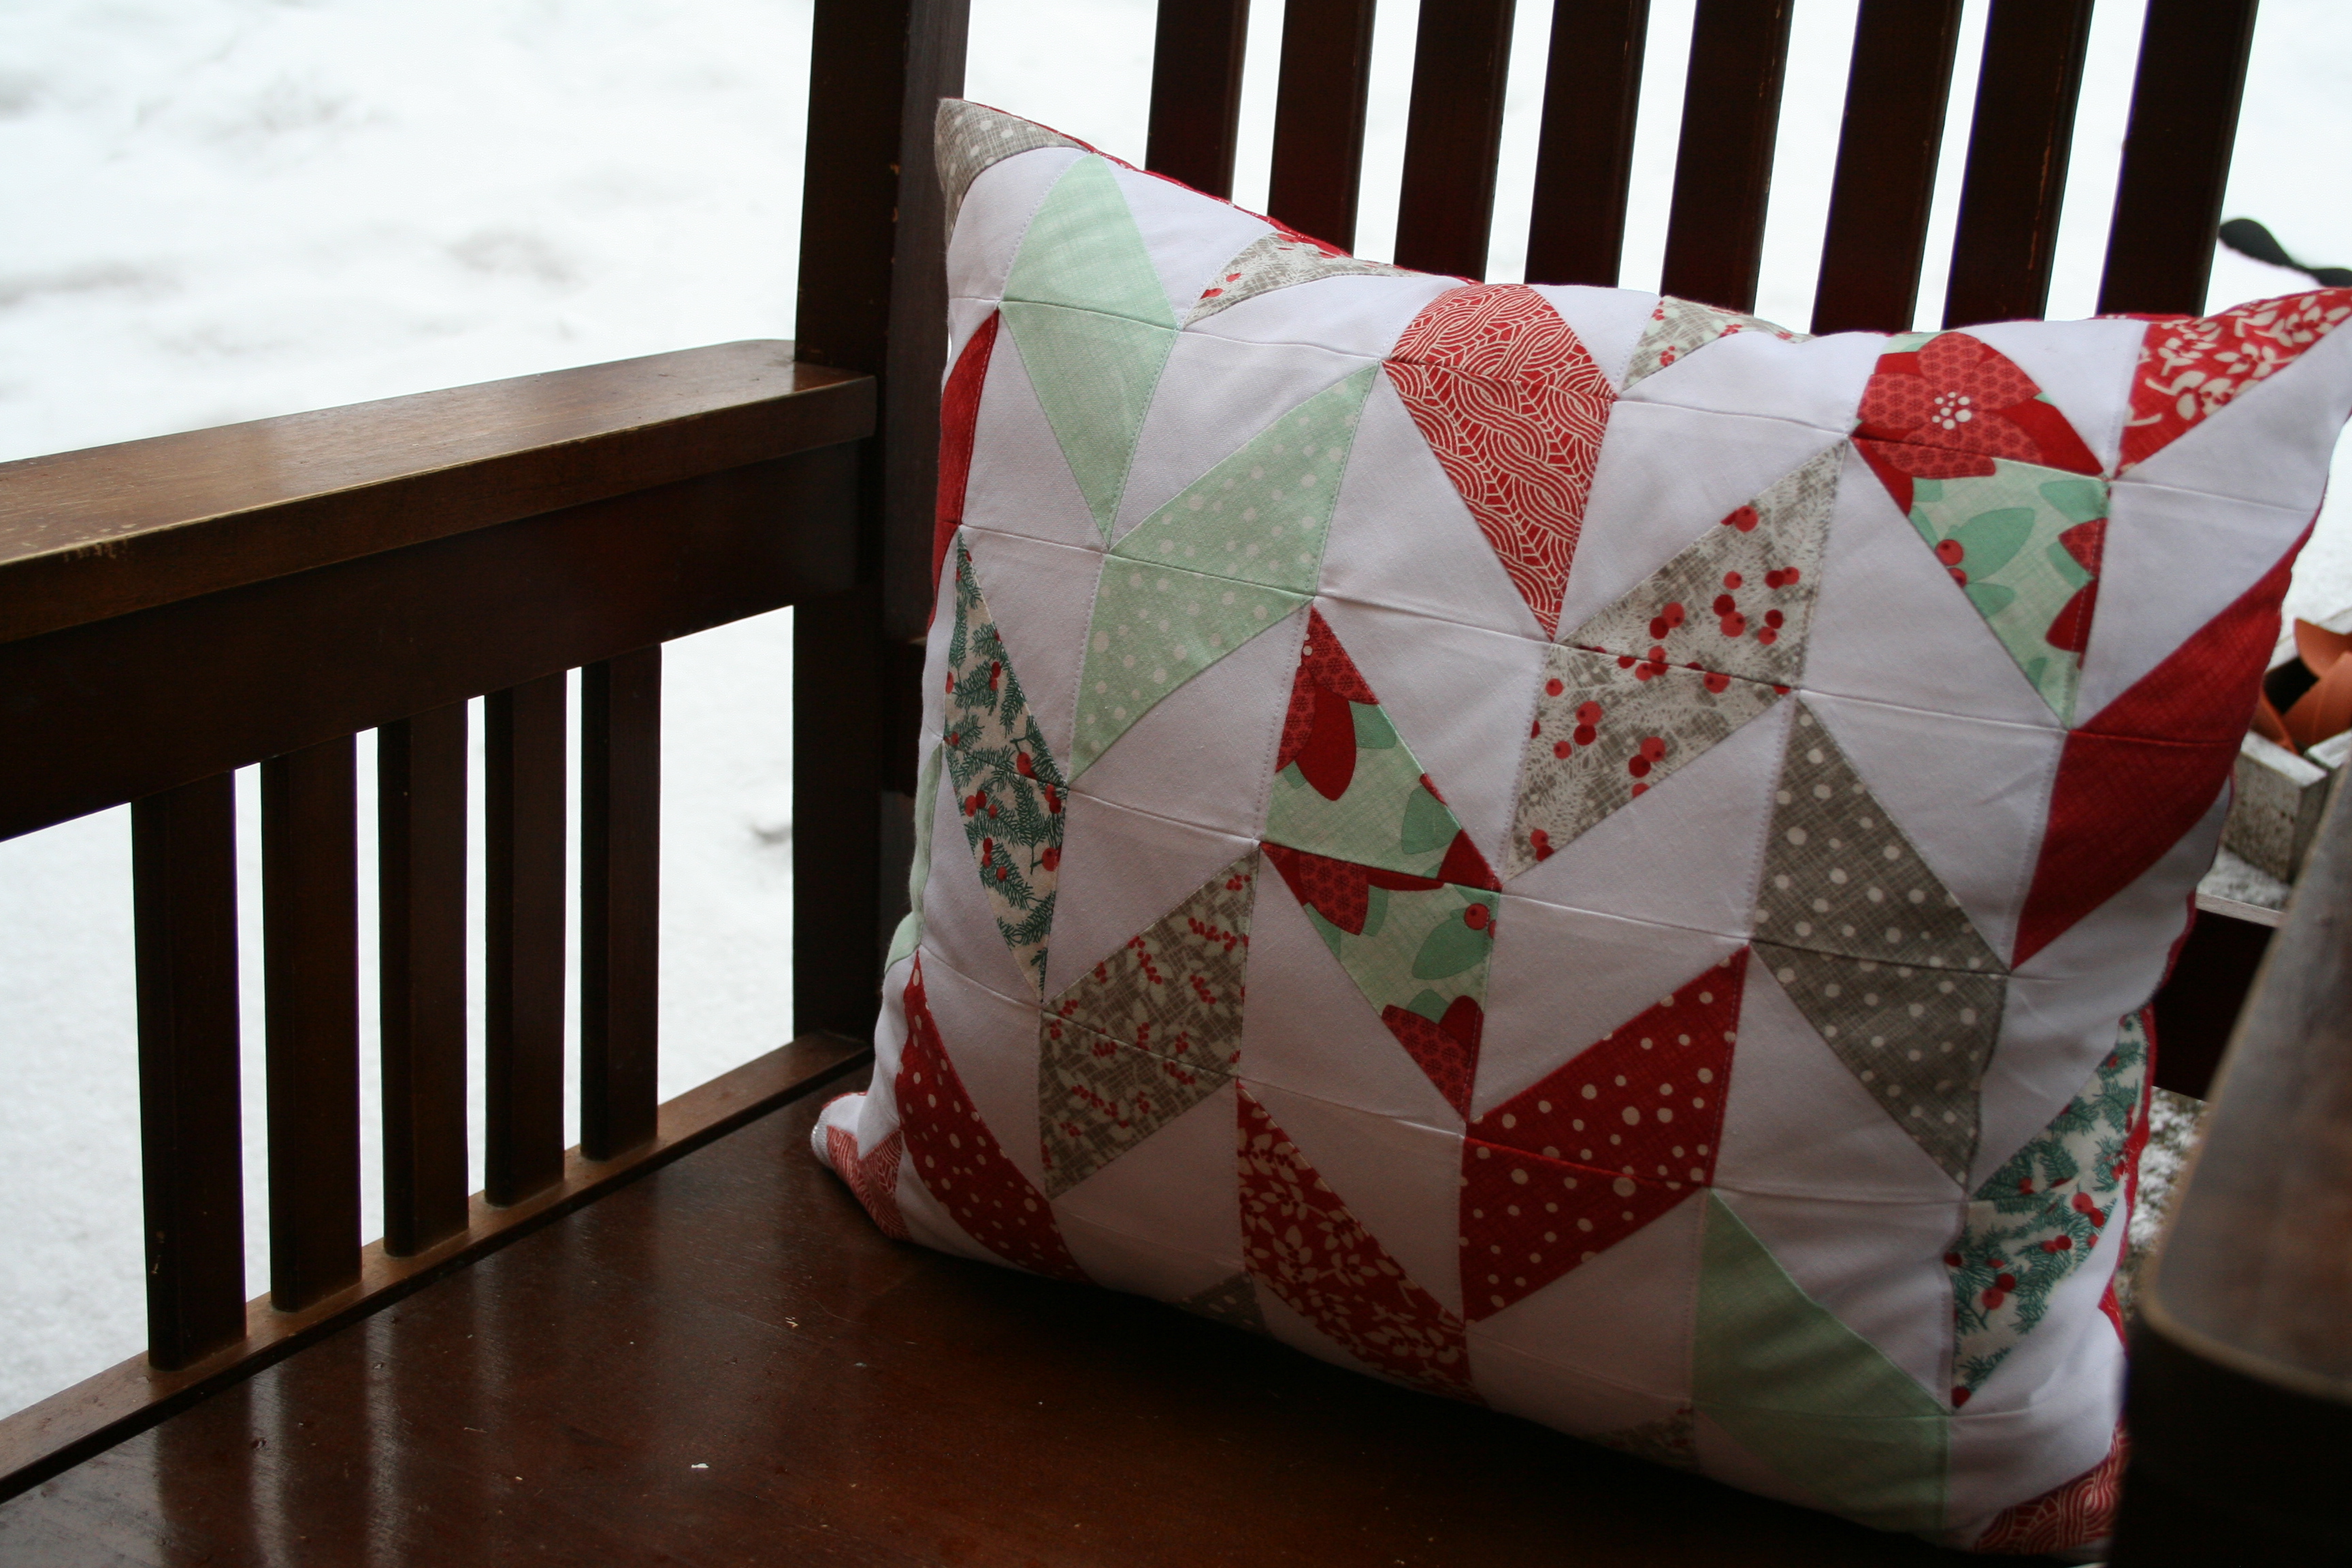
Herringbone Pillow Cover
Herringbone Pillow Cover
Published:
Mar 2 2015 - 23:00
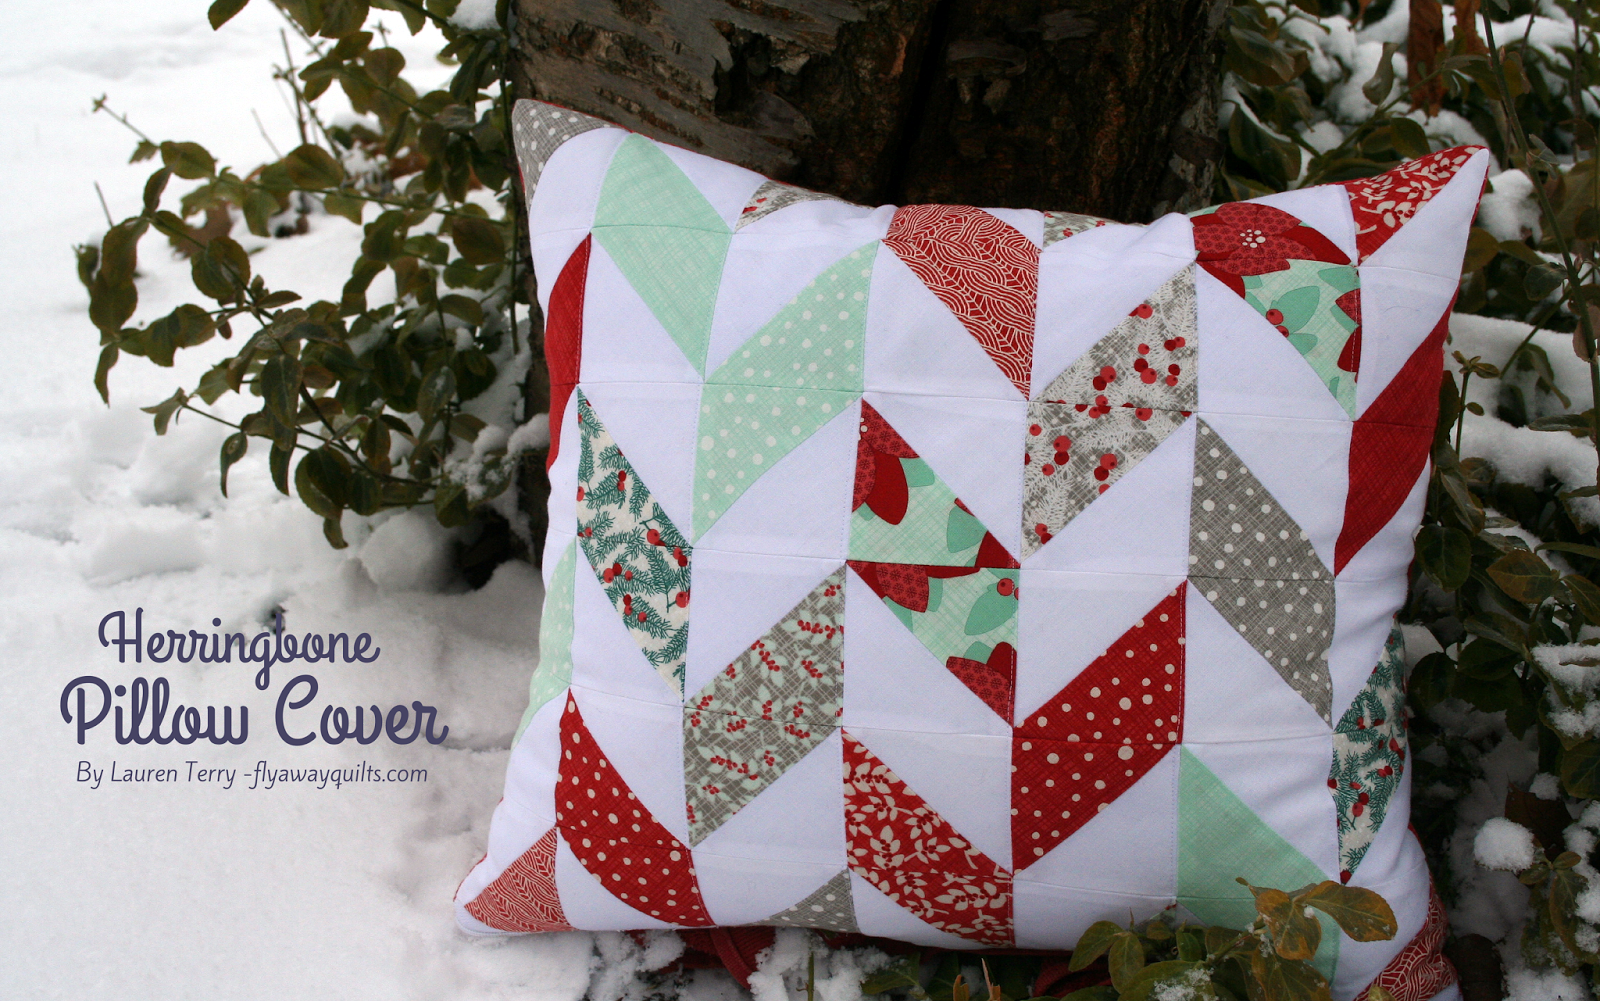

Hi, I'm Lauren from Fly Away Quilts. I'm so excited to get to share a post on Moda Bake Shop today. This tutorial is for a 16 x 16 inch pillow cover. But, you could easily add a couple rows to the top and bottom for a bigger pillow.

![]()
One printed charm pack and one solid charm pack. (I used Winterberry and white)
1/2 yard for the backing fabric
A zipper of your choice (optional)
![]()
Choose 11 printed pieces and 11 solid.
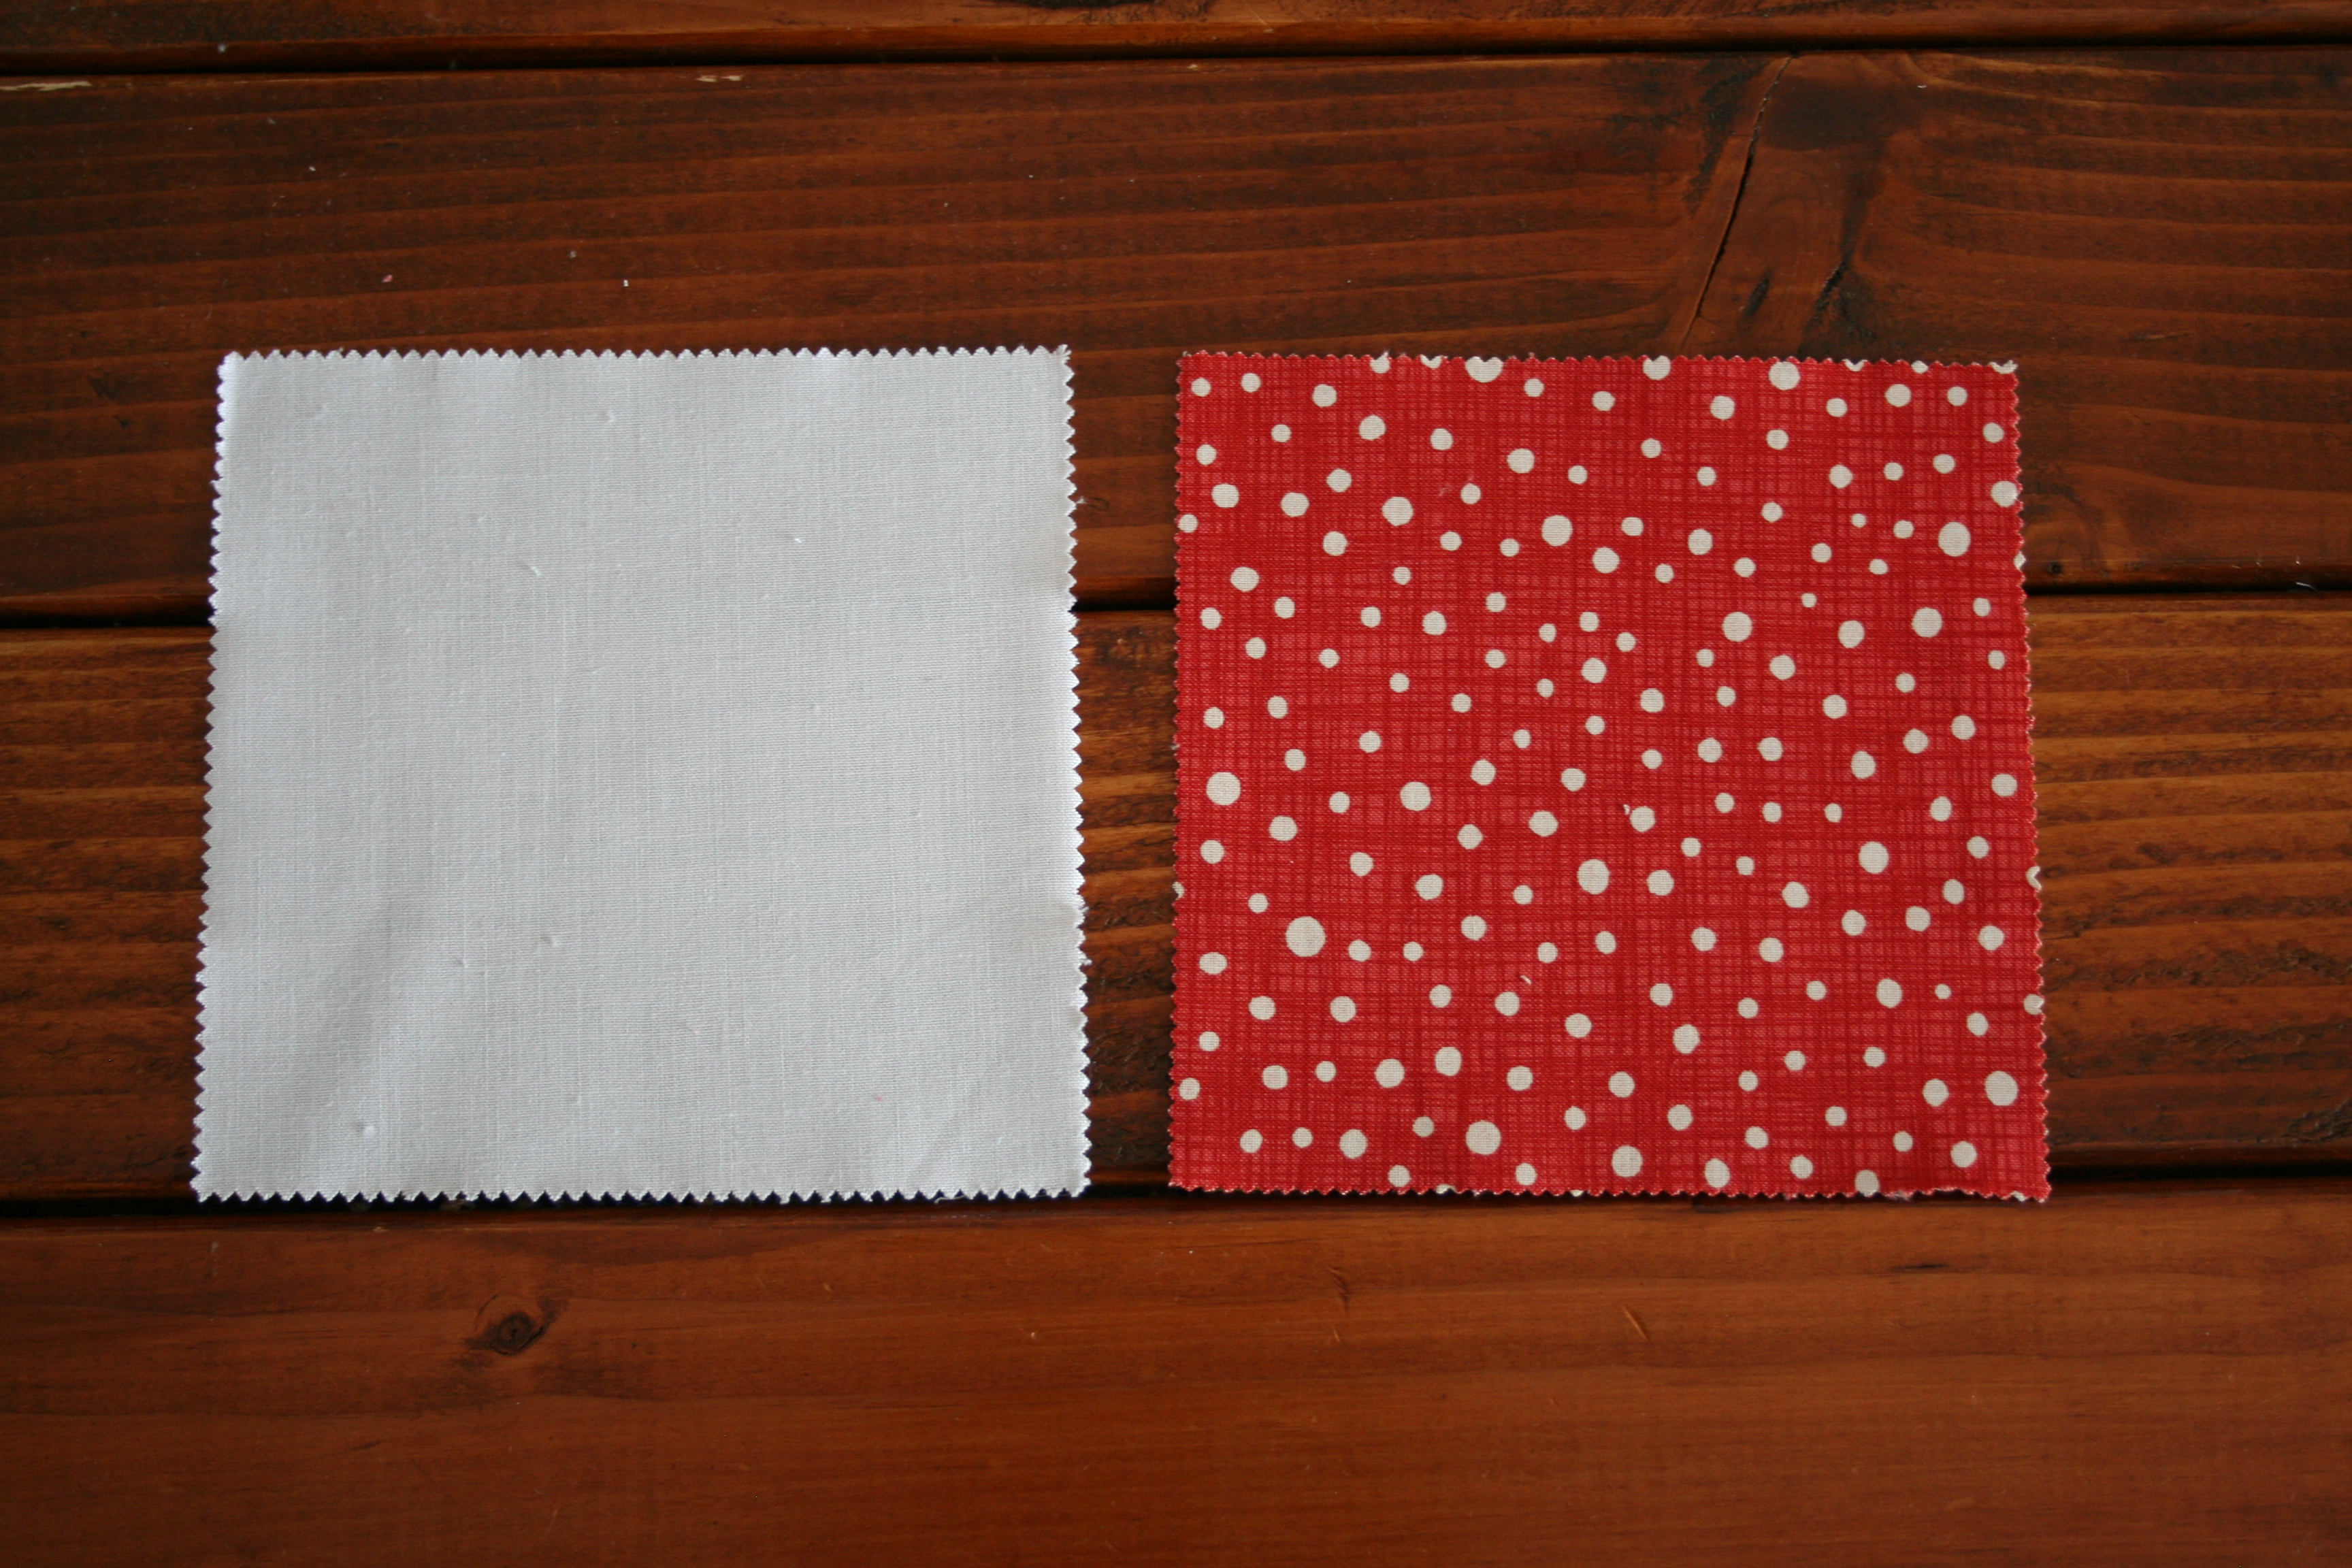
Place them right sides together, and pin.

Sew a 1/4 inch seam around the entire square. Yes, you just sewed it closed. Don't worry - it's all part of the plan.
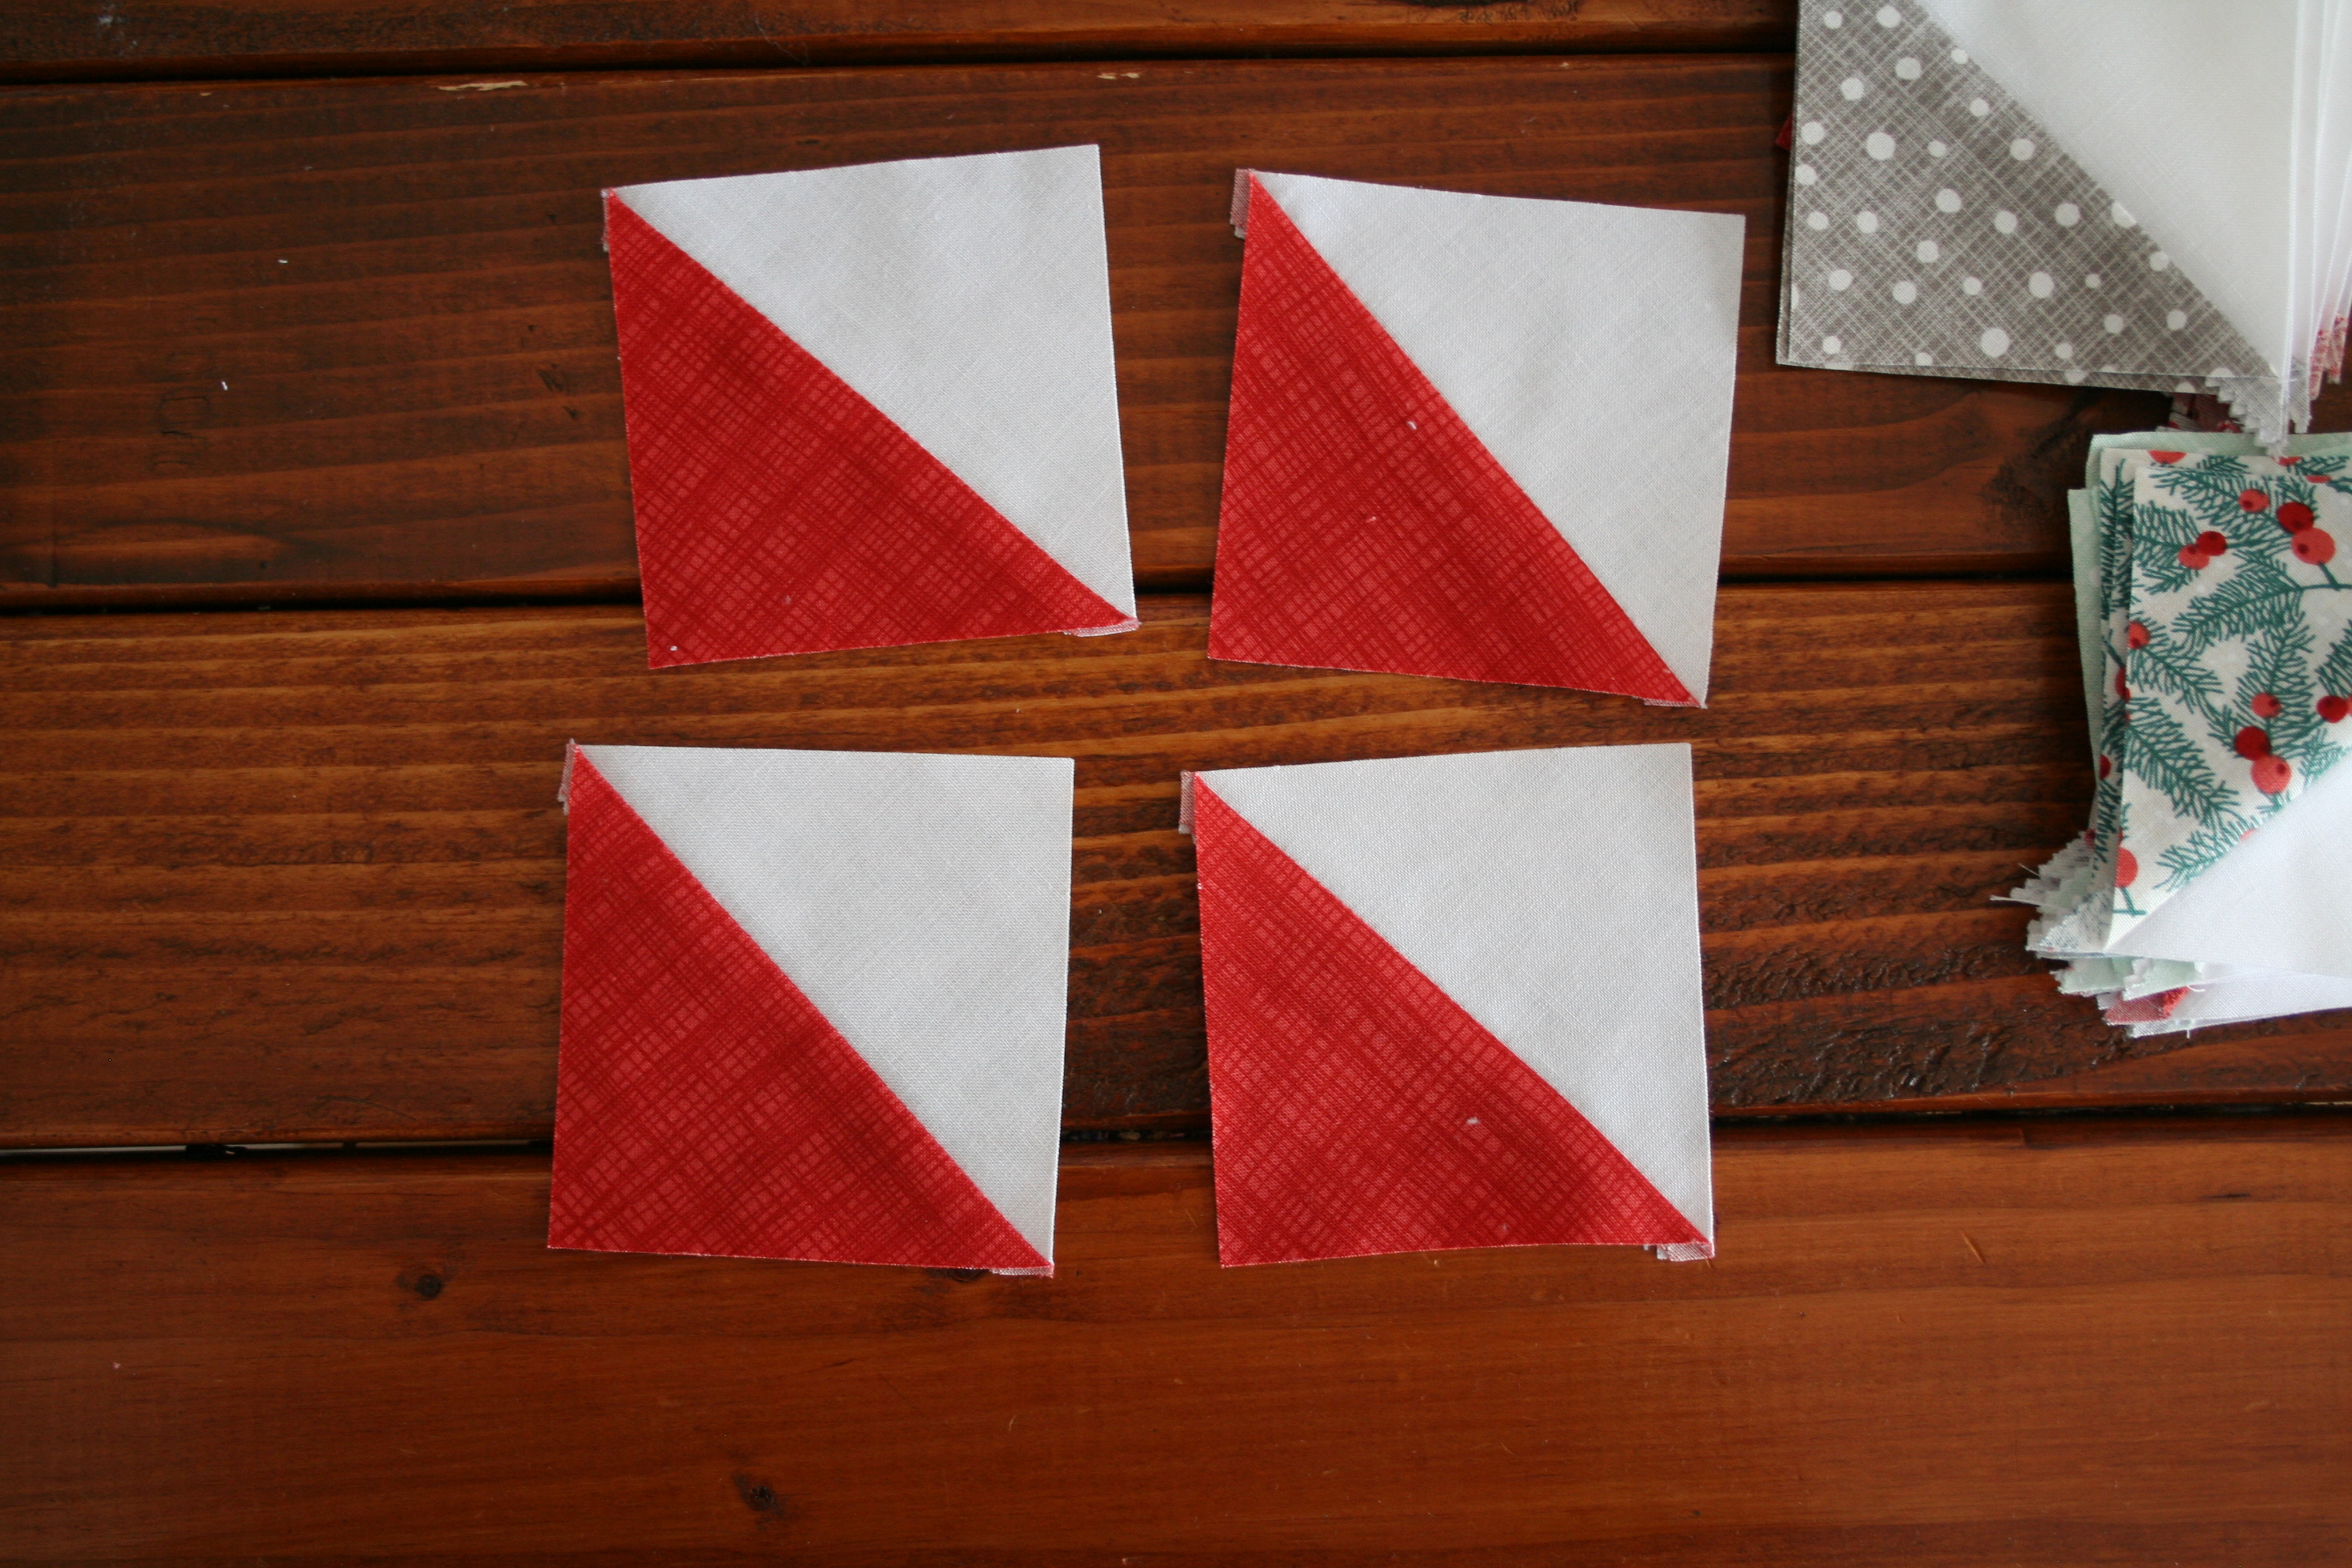
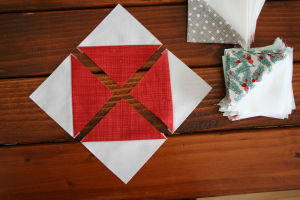
Now cut an X through the middle. Line up your ruler with the two corners diagonal from each other
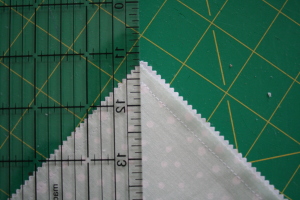
It should look like this when you're done:

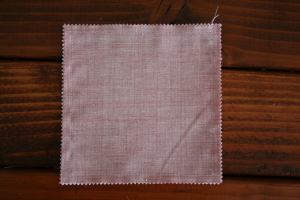
Iron your HST (half square triangles) to the dark side - this will help with nesting seams later on.


Then clip off the overhanging edges.
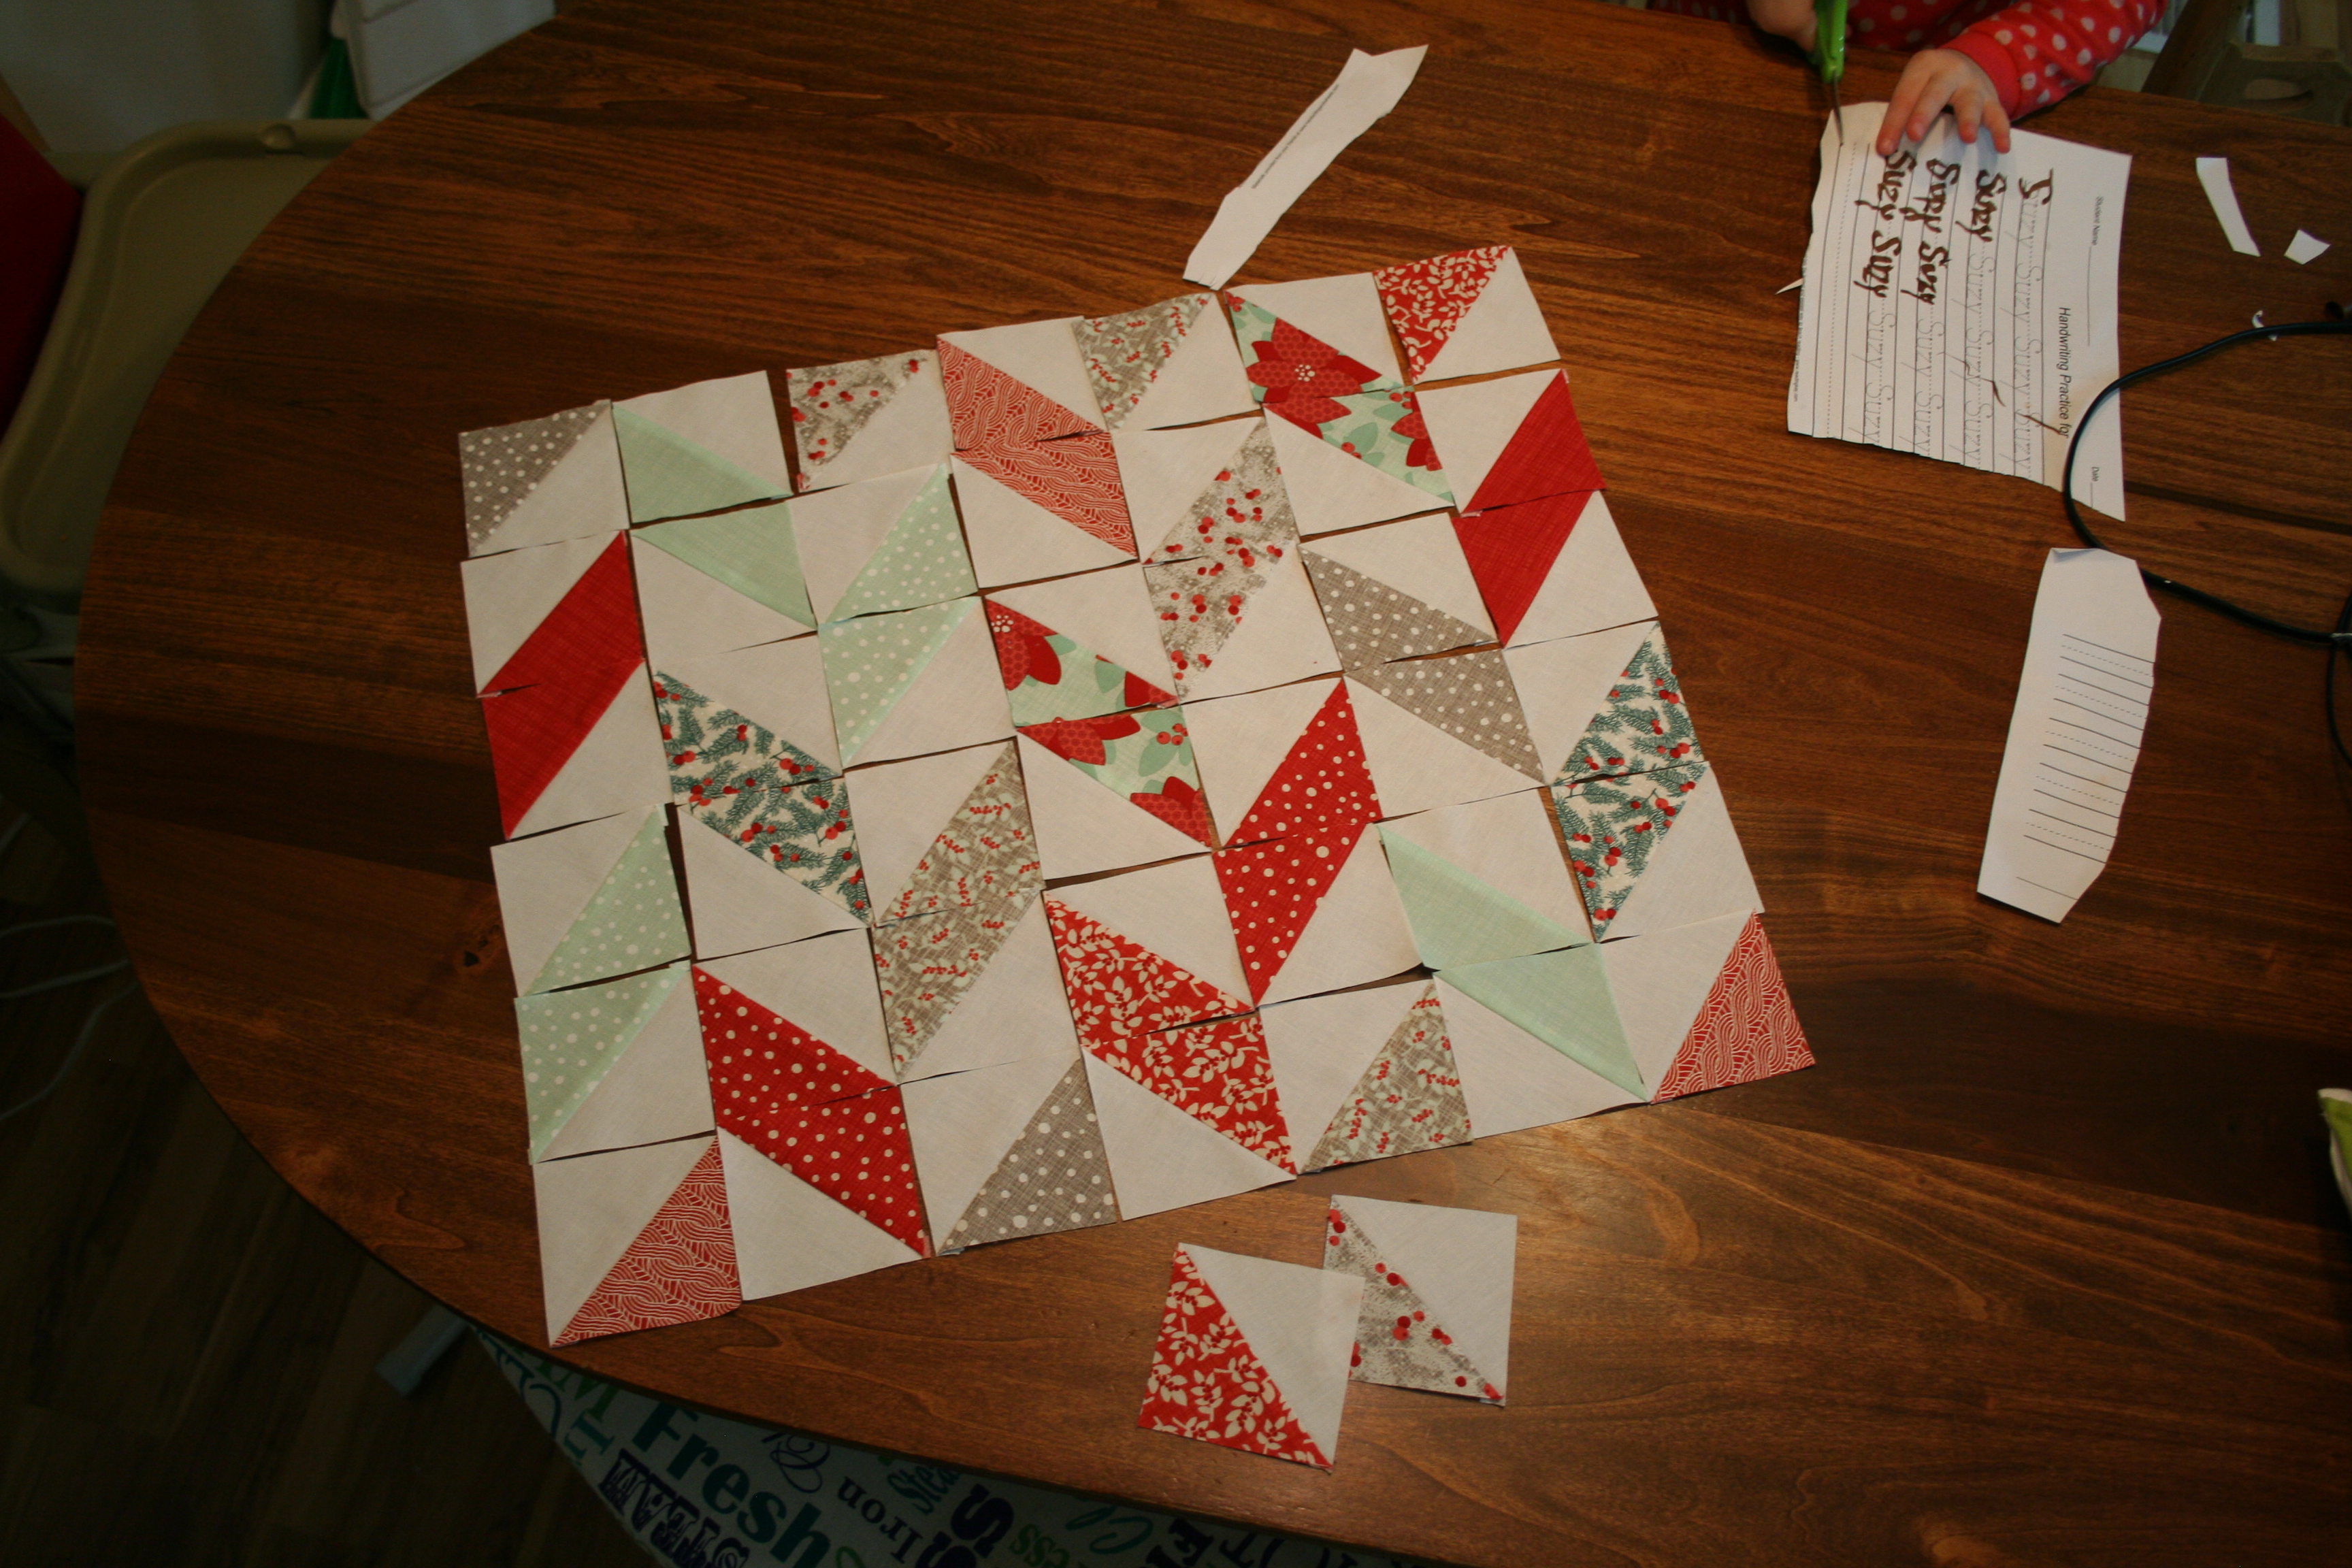
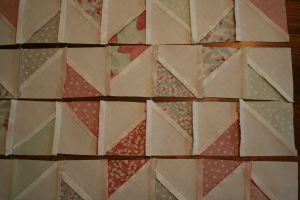
Now we're ready to start assembling our pillow cover. Lay out your HSTs in a herringbone pattern, as shown below. You'll have 2 left over HST when you're finished that you can use for another pillow or a scrappy project.
After you have things laid out how you'd like it, separate your fabric into horizontal rows as pictured below:
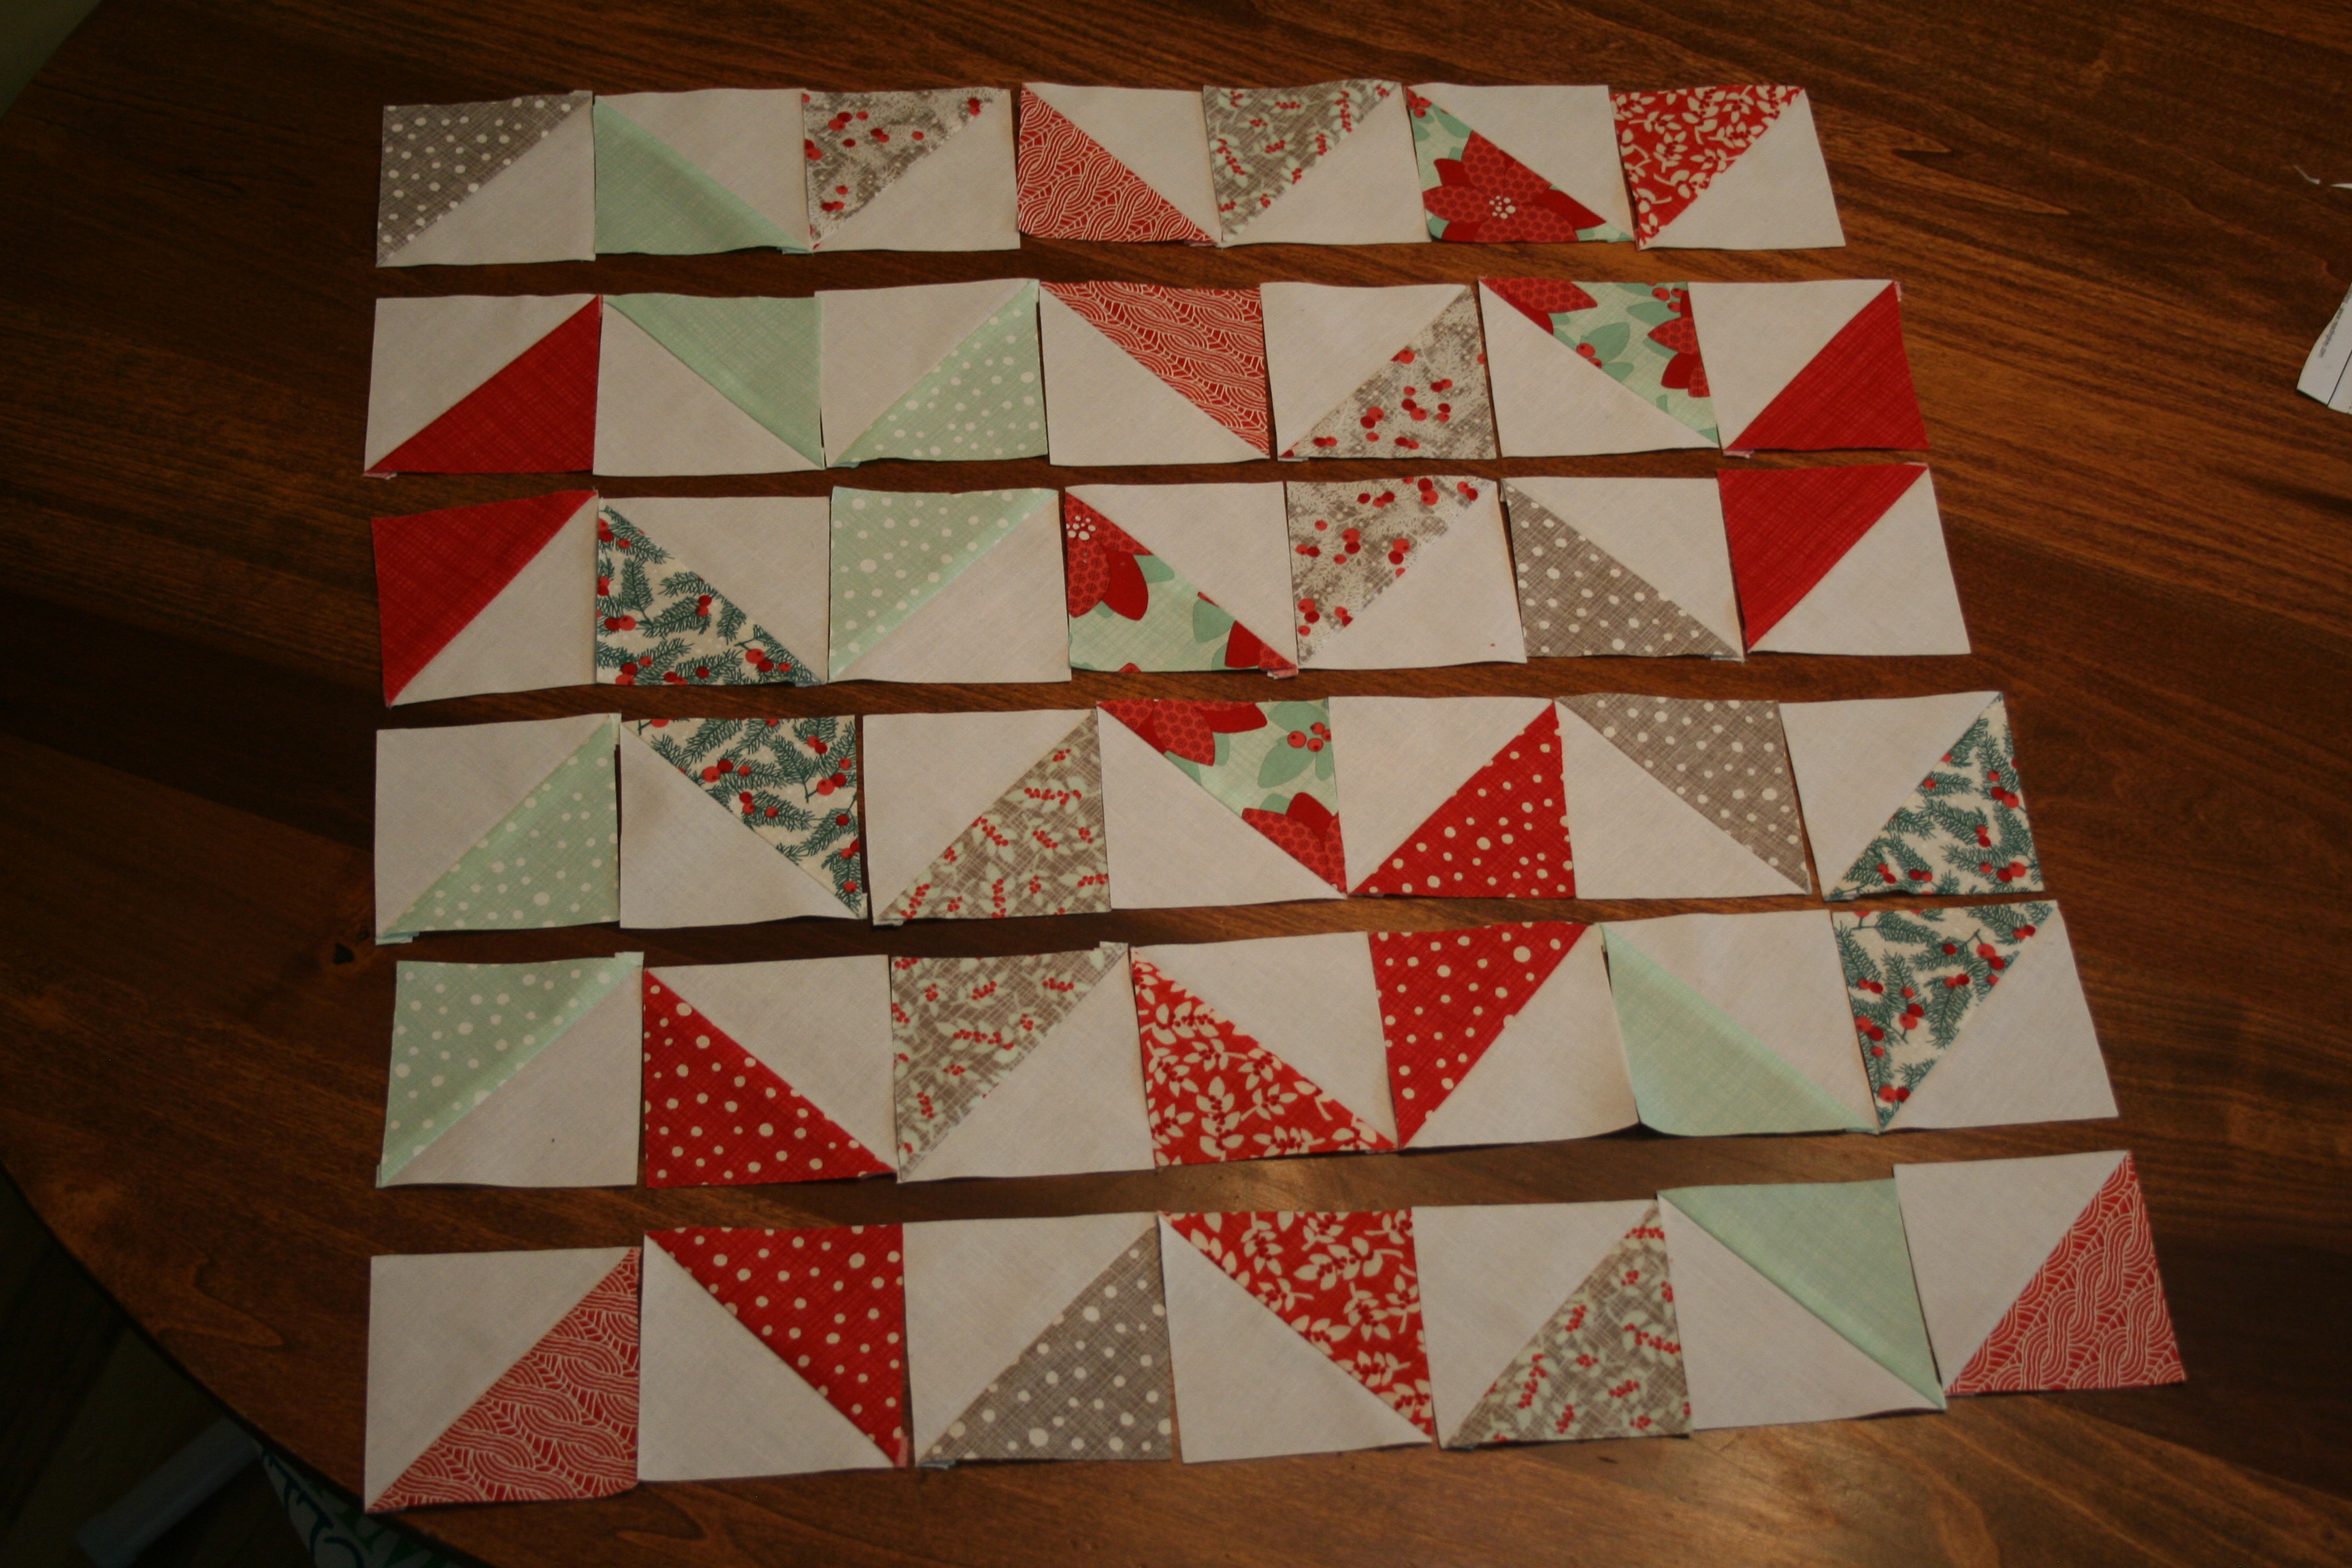
Now sew your horizontal rows together so that you have 6 rows with 7 HSTs in each row (if you're a visual person, just take another look at the picture above).
Next, flip all the rows over, and iron each row in alternating directions. So on the top row, iron all your seams to the left, then on the second row iron all your seams to the right. On your third row, iron all seams to the left...etc. This will allow you to nest your seams when you sew the rows together and create the really sharp points that we all love.
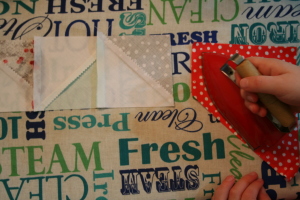
Another way to think of it is to just iron all the seams to the dark side as pictured above. My 3 year old irons right along with me - a mini iron is one of my best tools.

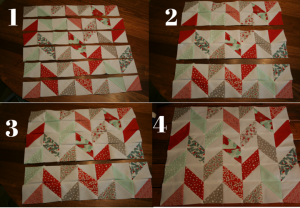
Once your rows are ironed, take the top two rows and place them right sides together. Make sure your seams are nesting (you can feel them lock together) and place a pin in each horizontal seam. Next, assemble the pillow in the following order:
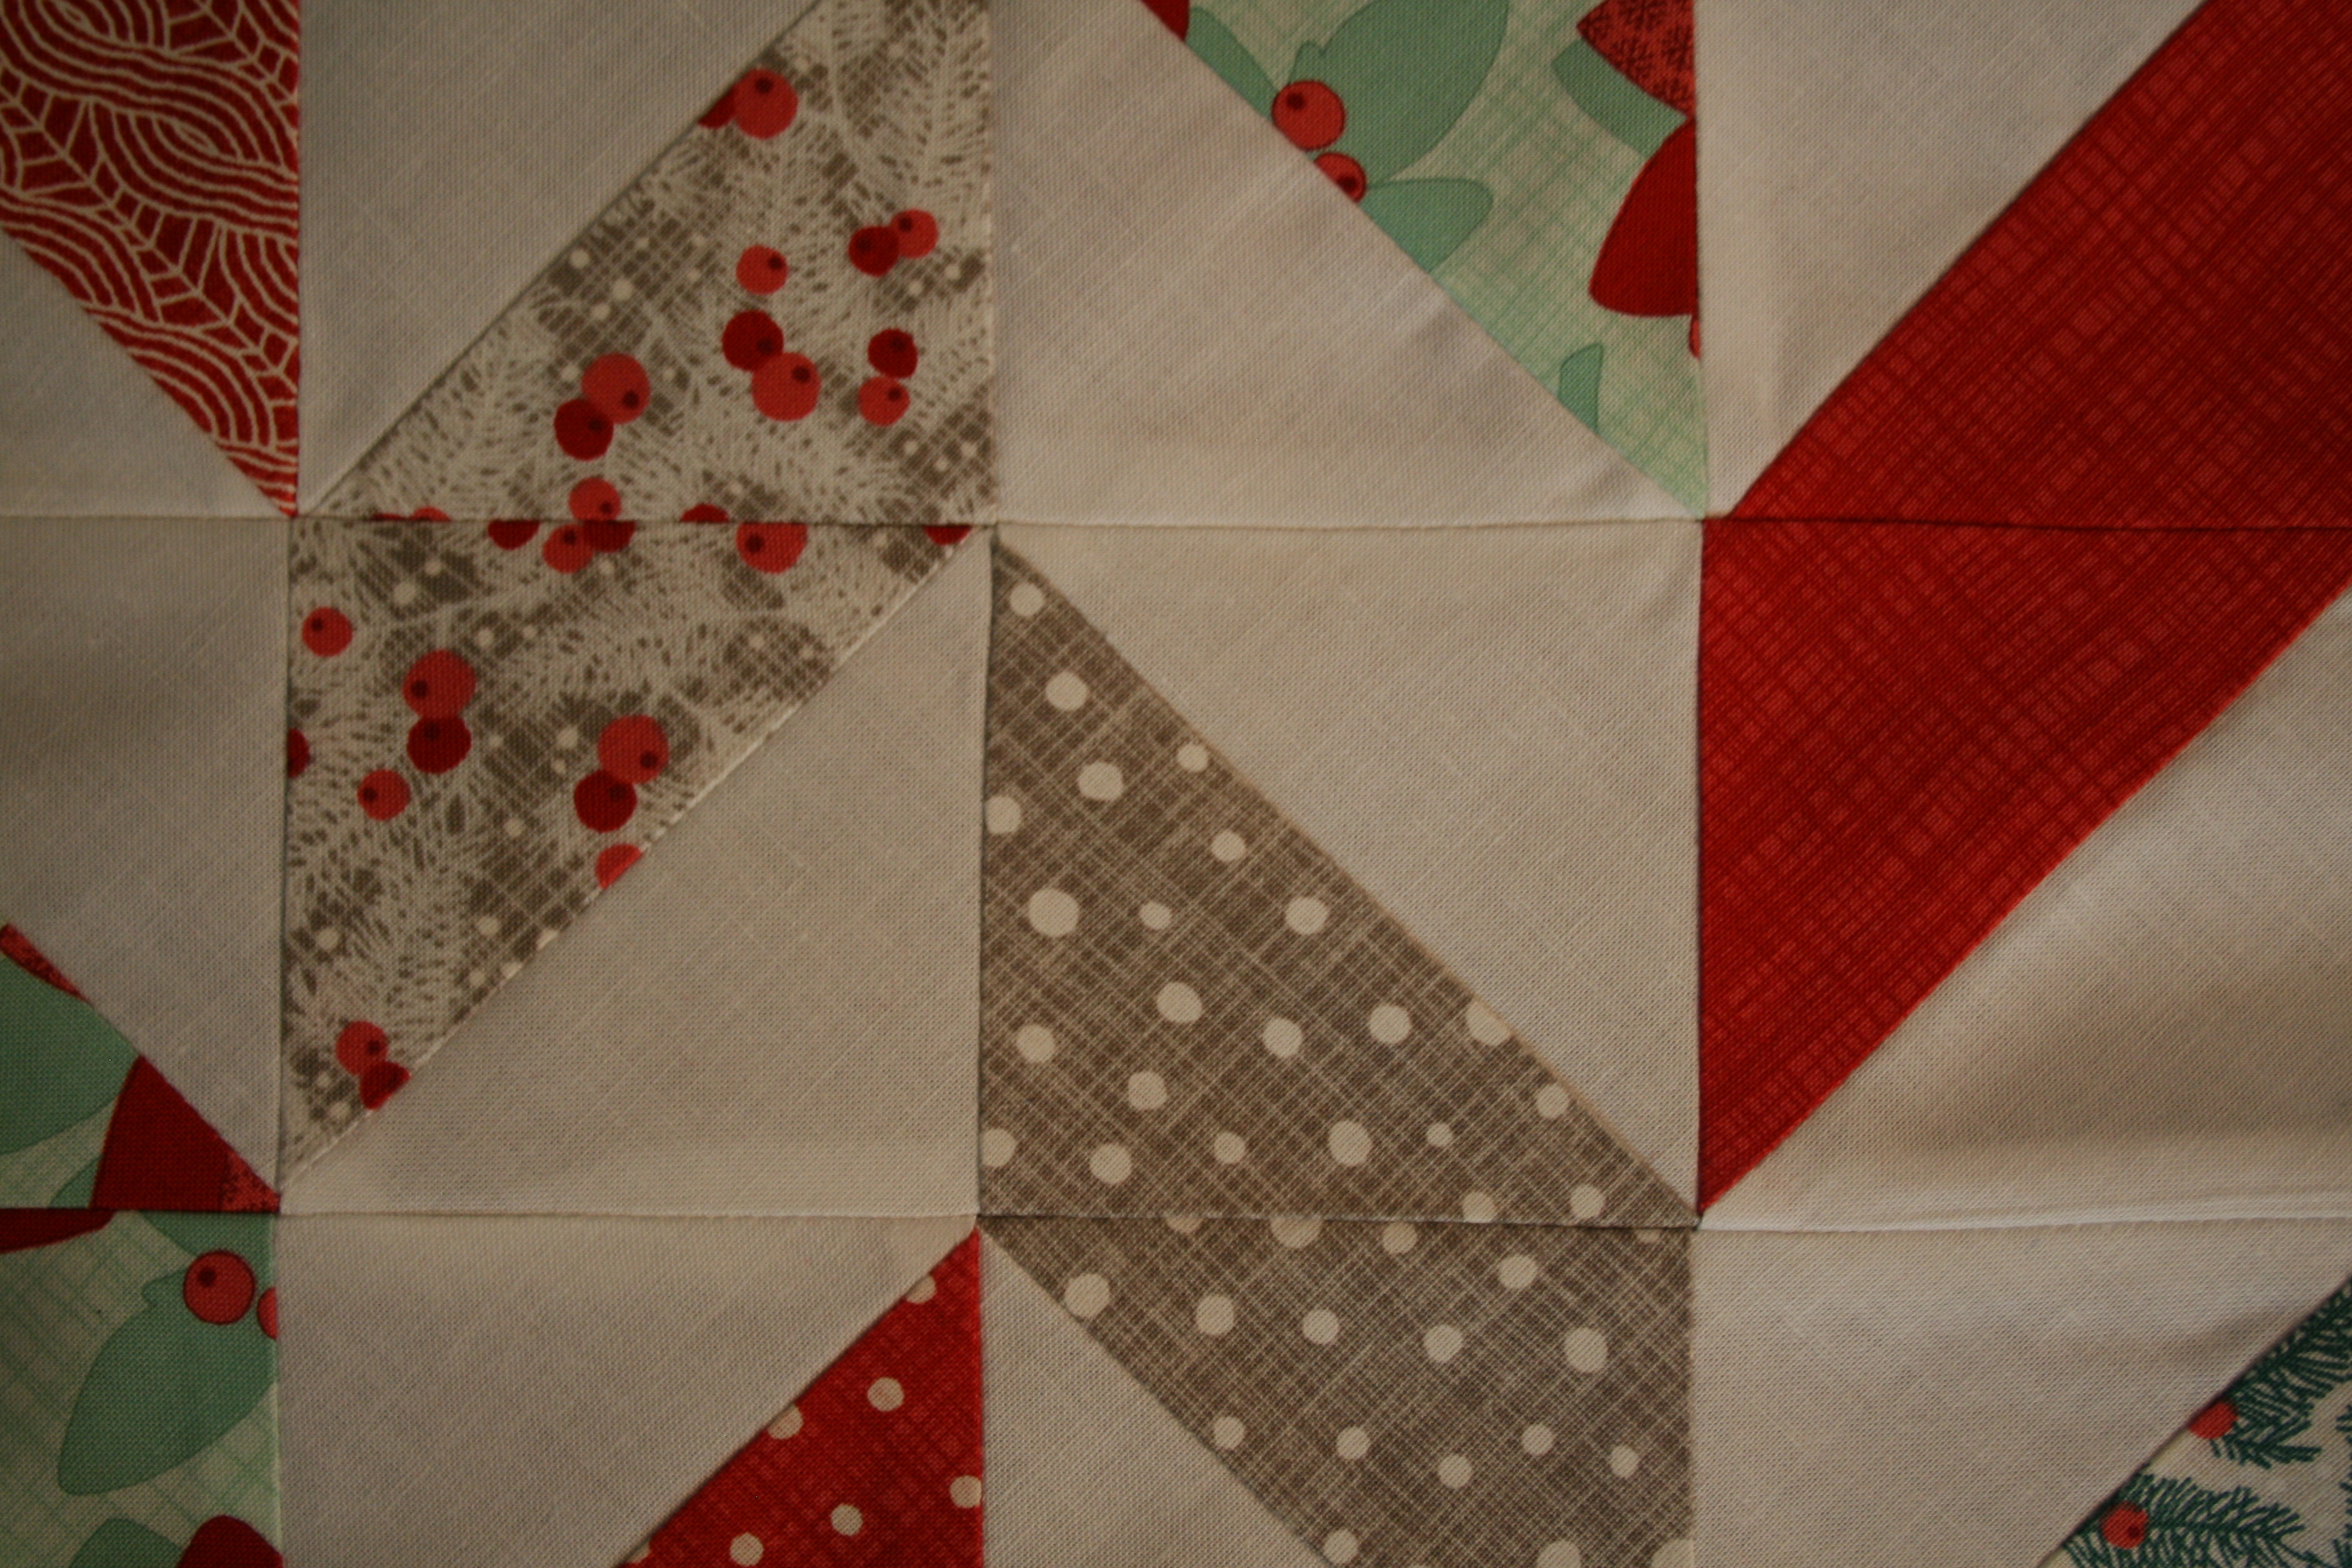
Here is where the pinning pays off. Now you've got those beautiful, sharp points!
Last, finish off your pillow cover however you like. If you want to see my preferred method - you can check it out here. Happy Quilting!
![]()
One 16" x 16" pillow.
Lauren Terry
{www.flyawayquilts.com}
![]()
Posted in: