Welcome to Moda Fabrics!
Treats From A Holiday Tree Quilt
Treats From A Holiday Tree Quilt
Published:
Jun 14 2015 - 23:00


Hello Moda bakers! I'm Debora Exum and today we're cooking up a holiday quilt that will bring fun for everyone throughout the holiday season. This quilt offers both fun and function with its colorful tree that is decorated with 25 pockets that can be filled with all sorts of surprises. Candy, notes, small toys, and special messages can easily fill the pockets and bring joy to anyone who receives what is inside.
![]()
HO! HO! HO! by Deb Strain is the perfect fabric collection for this fun holiday quilt.

1 Jelly Roll for the tree
2 1/2 yards for the background (19708 15 Snow White)
1 yard for the border (19708 11 Santa Suit Red)
3/4 yard for the binding (19709 15 Snow White)
3 1/2 yards for the backing (19704 16 Snow White)
Garnishes:
Goodies for the pockets! Candy, notes, quotes, or verses rolled up on a scroll, or any sort of small gift.
![]()
Use 1/4" seam allowance throughout this project.
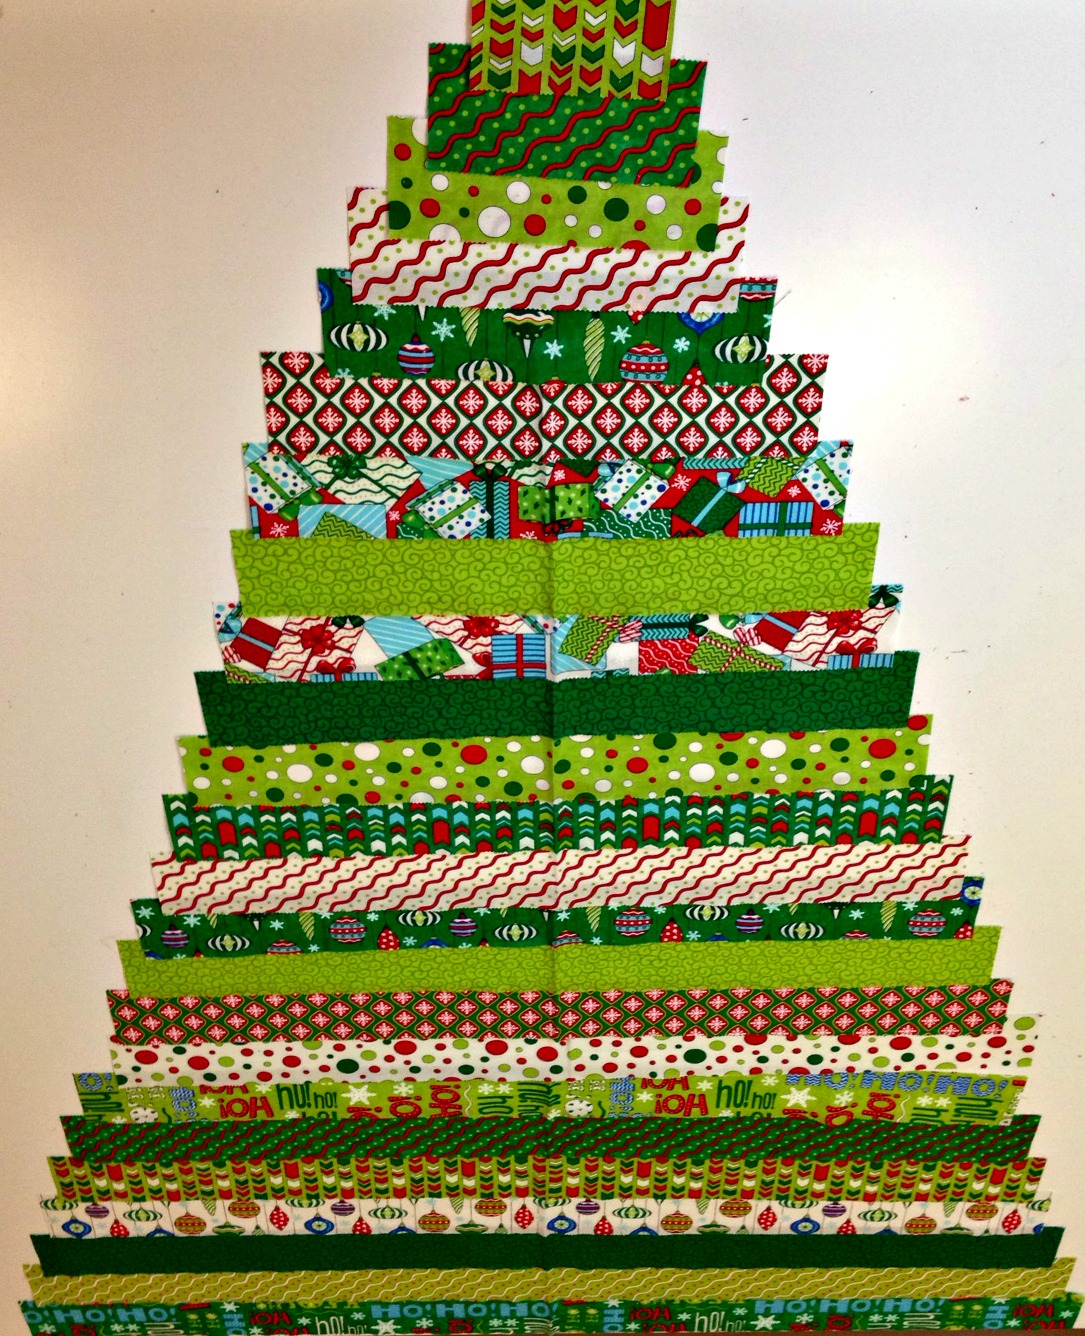
Step One: Choose your strips.
The tree requires 18 strips from the jelly roll. Choose 18 strips and arrange them in the order you want them for the tree.
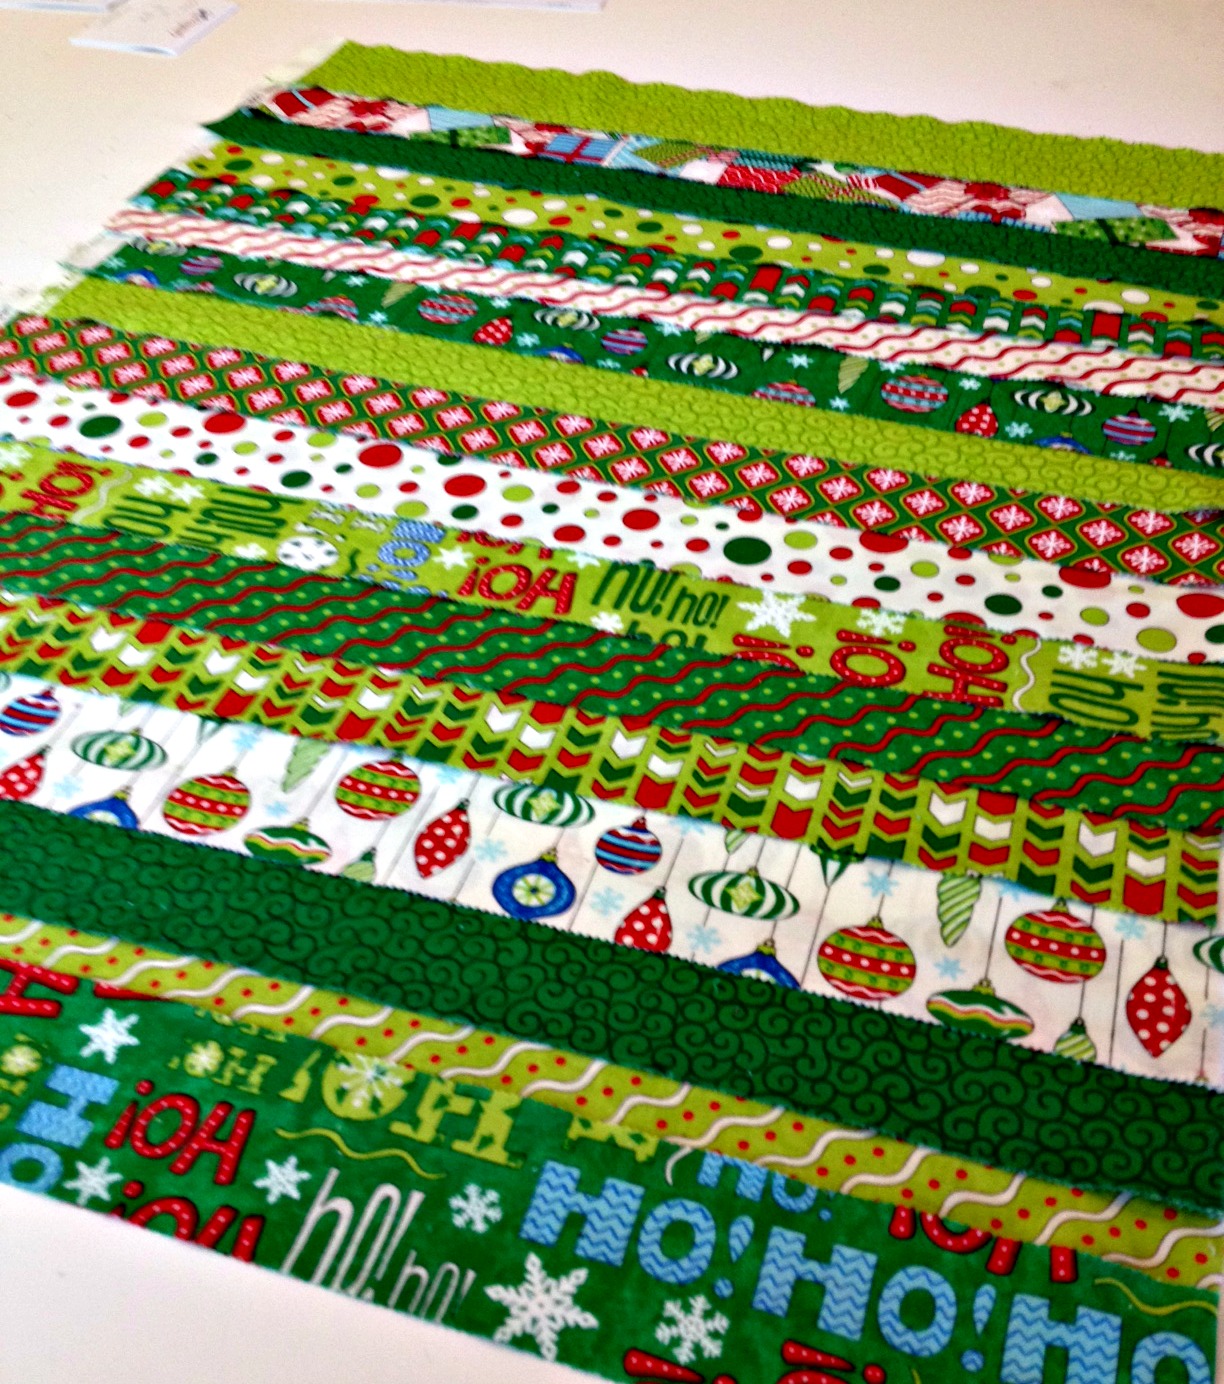
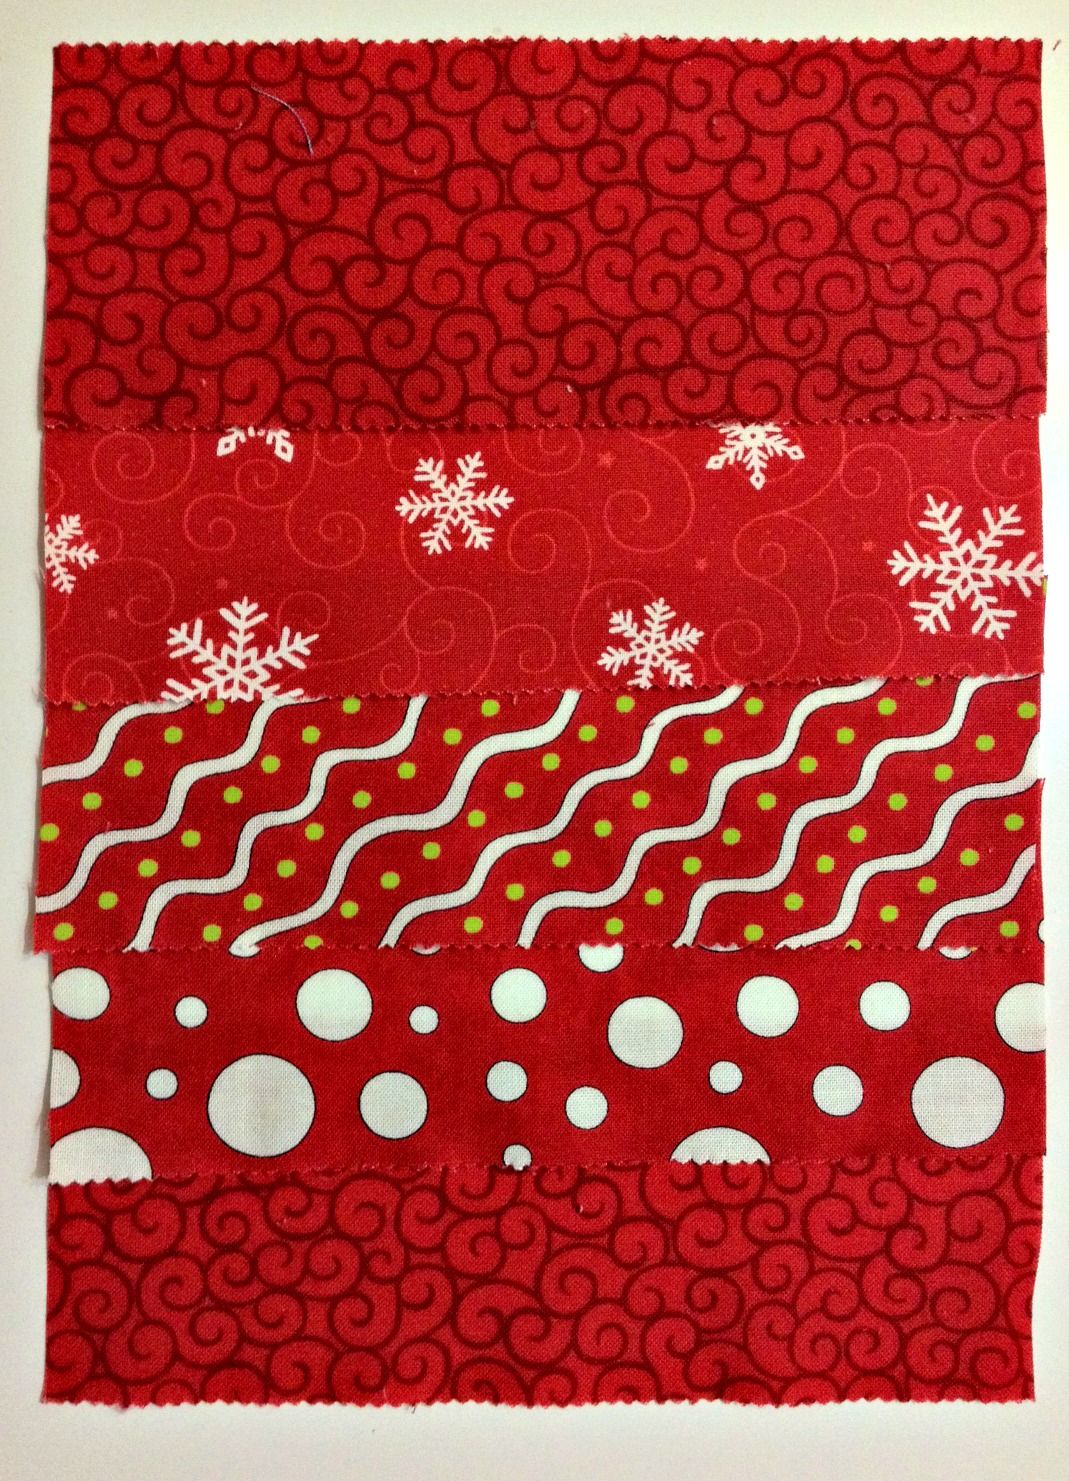
Choose five strips to be used for the pockets. There should be strong contrast between the tree and the pockets.
Choose two strips for the base of the tree.
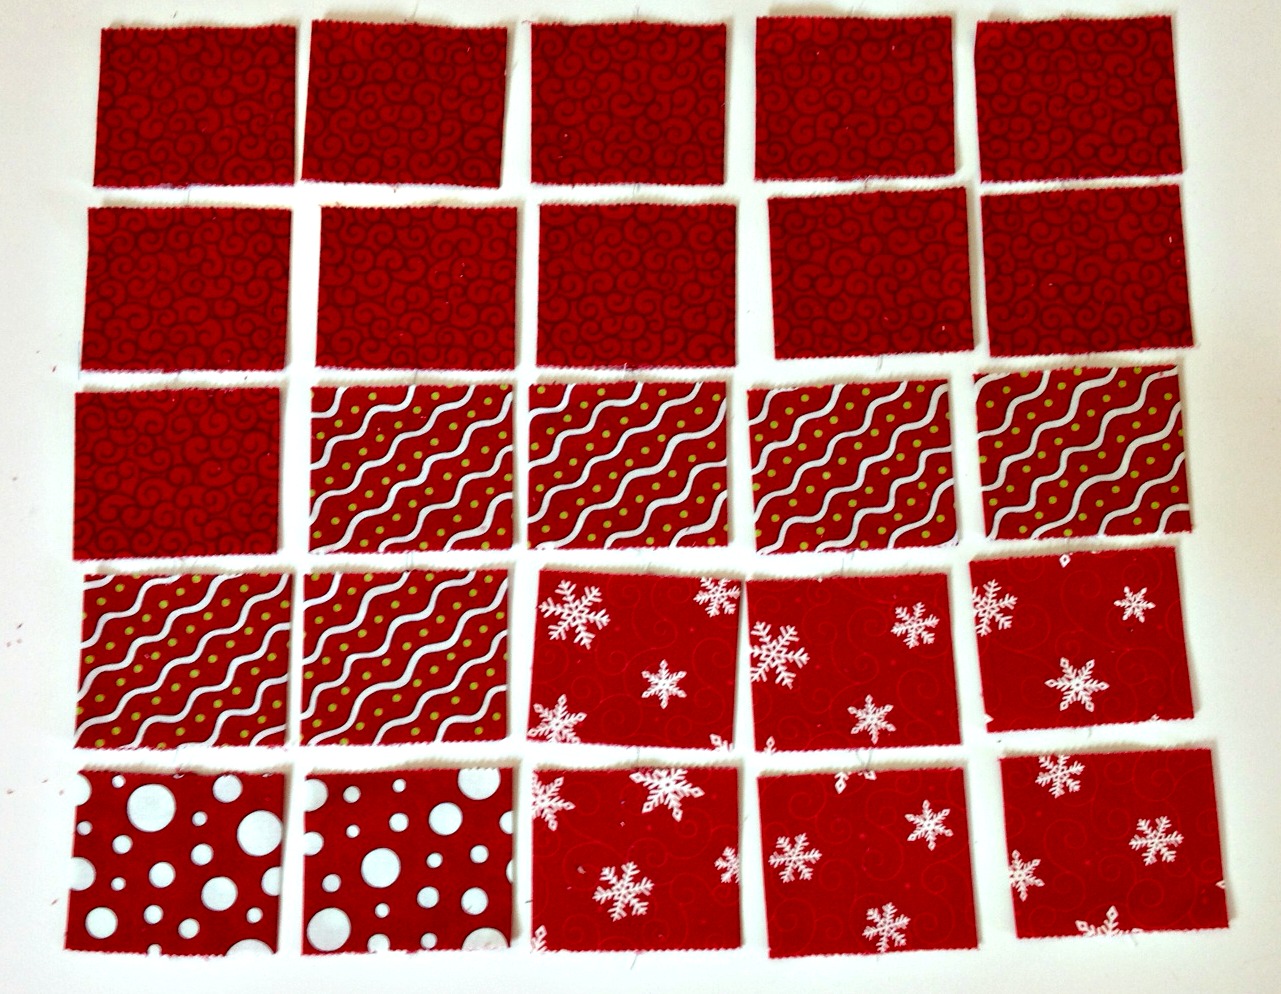
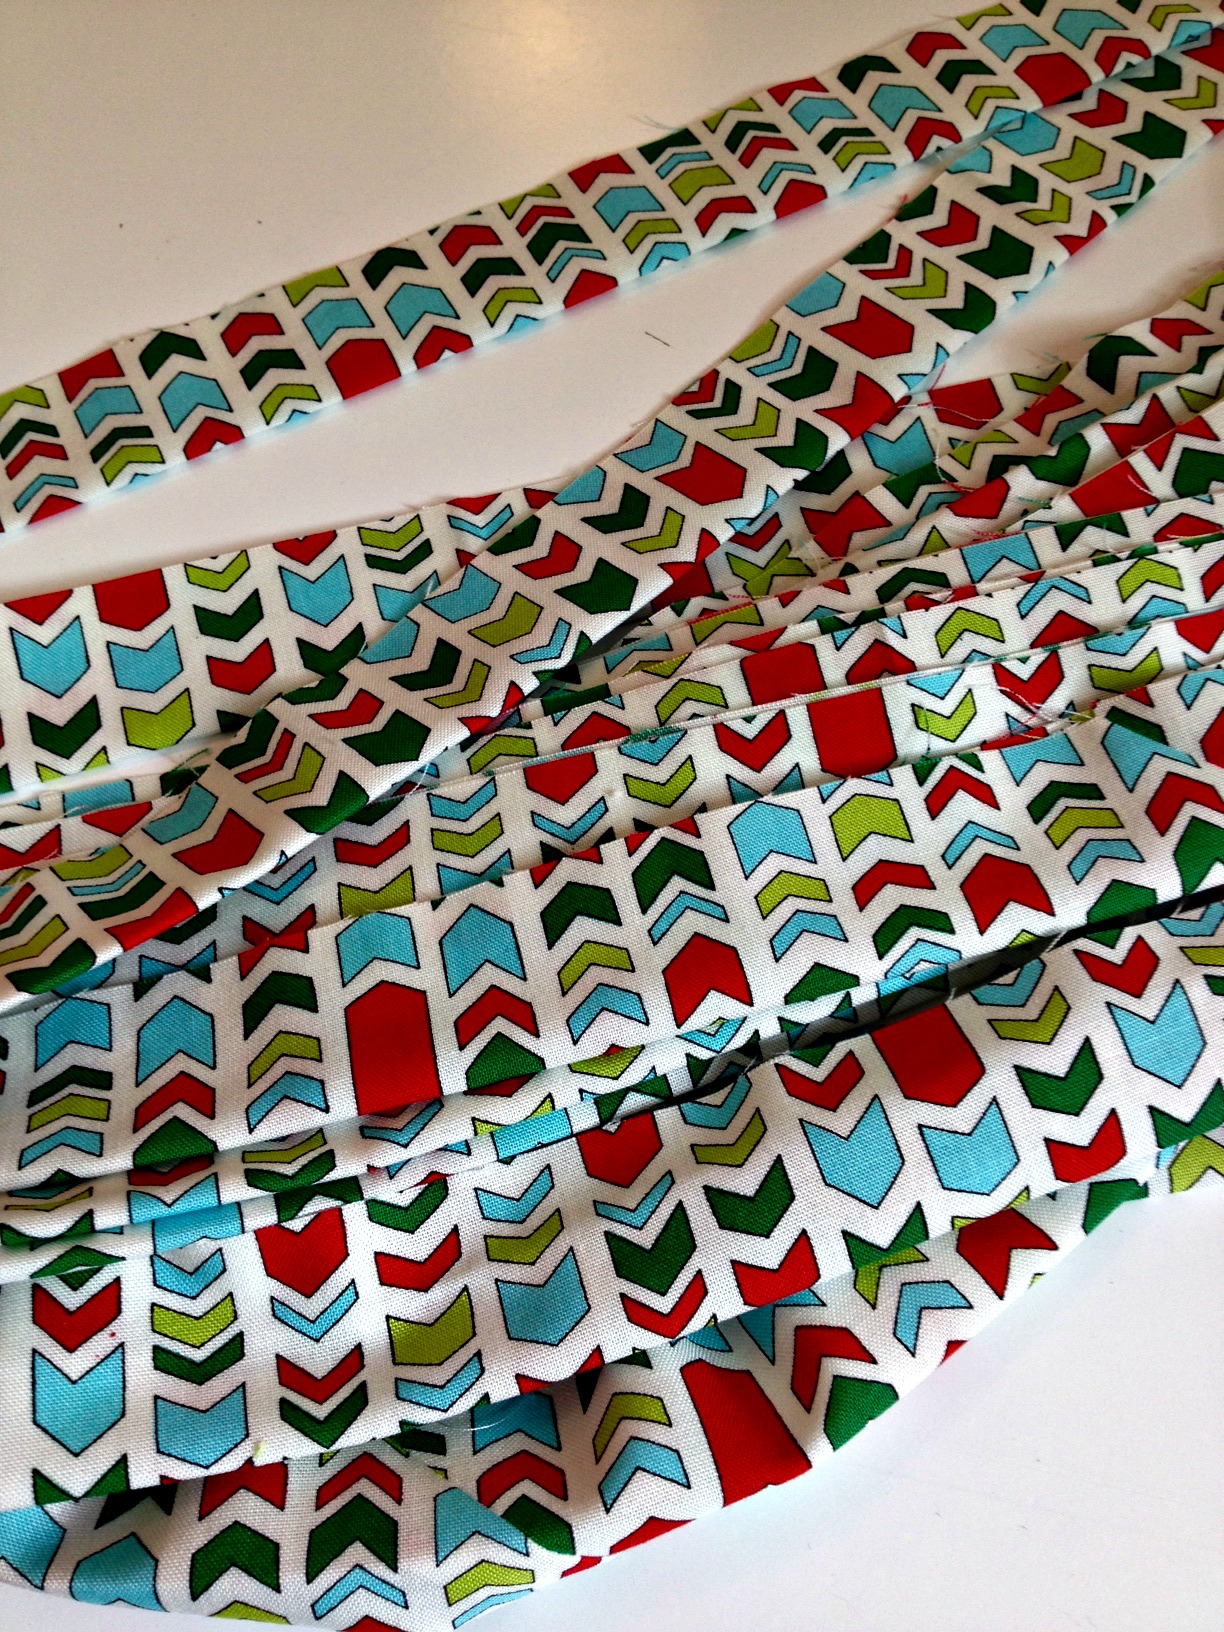
Step two: Make the pockets.
From the five strips selected for the pockets, cut 25 6 ½” x 2 ½” pieces.
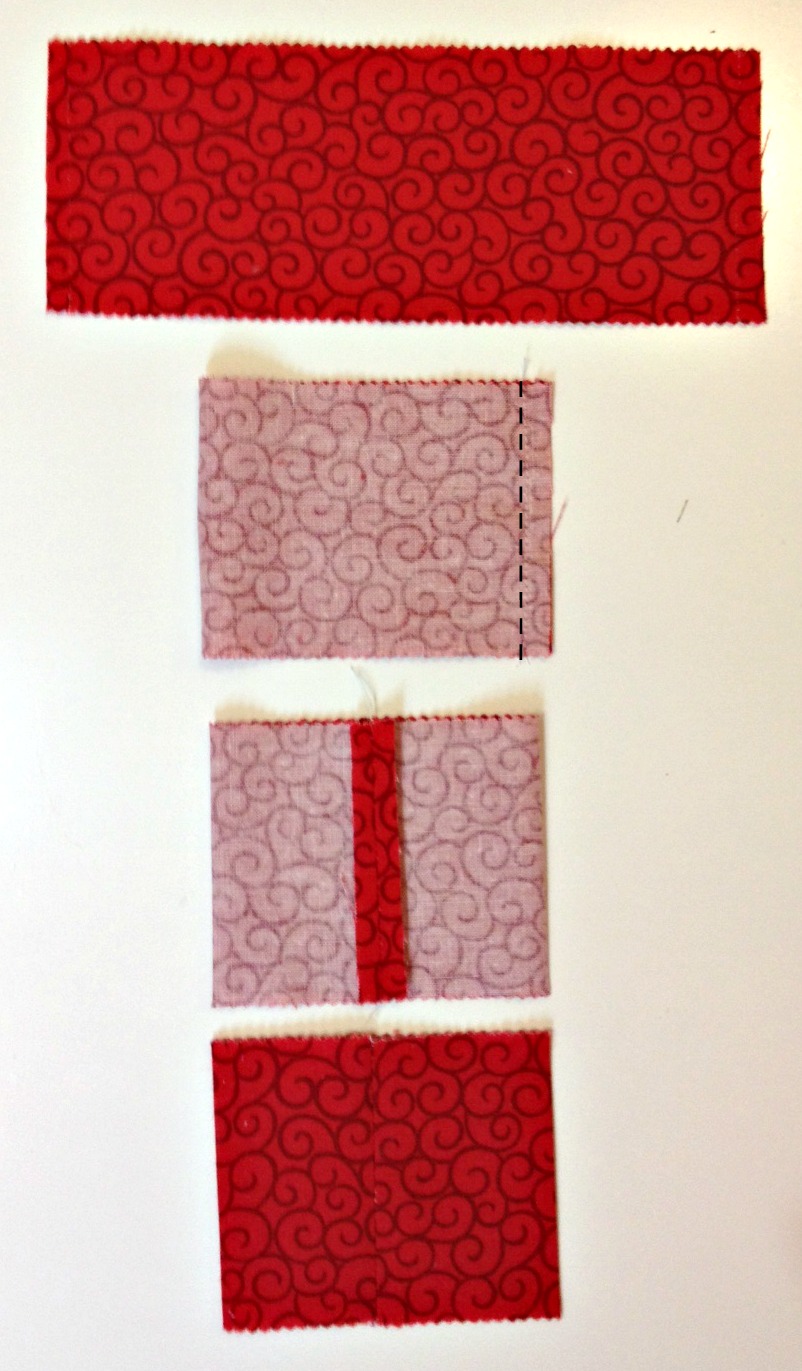
Using a ¼” seam, fold each piece in half with right sides together and stitch the short end.
Press the seam open.
Turn the sewn strip so that the right side is facing out. Press so that the finished seam is in the center of the sewn strip.
Make 25 pockets.
Step three: Cut the strips for the tree.
Starting from the strip that is to be the bottom of the tree and working your way up the tree, cut one of each length: 40", 38 1/2", 37", 35 1/2", 34", 32 1/2" 31", 29 1/2", 28", 26 1/2", 25", 23 1/2" 22", 20 1/2", 19", 17 1/2", 16", and 14 1/2". With the scraps remaining after cutting these strips, cut the remaining pieces for the tree: 13”, 11 ½”, 10”, 8 ½”, 7”, 5 ½”, and 4”.
Step four: Cut the background strips.
For each tree strip, there are two background strips, one for each side of the tree.
From the background fabric, cut 18 2 ½” strips.
From the 2 ½” background strips, cut two each of the following measurements:
2”, 2 ¾”, 3 ½”, 4 ¼”, 5”, 5 ¾”, 6 ½”, 7 ¼”, 8”, 8 ¾”, 9 ½”, 10 ¼”, 11”, 11 ¾”, 12 ½”, 13 ¼”, 14”, 14 ¾”, 15 ½”, 16 ¼”, 17, 17 ¾”, 18 ½”, 19 ¼”, 20”.
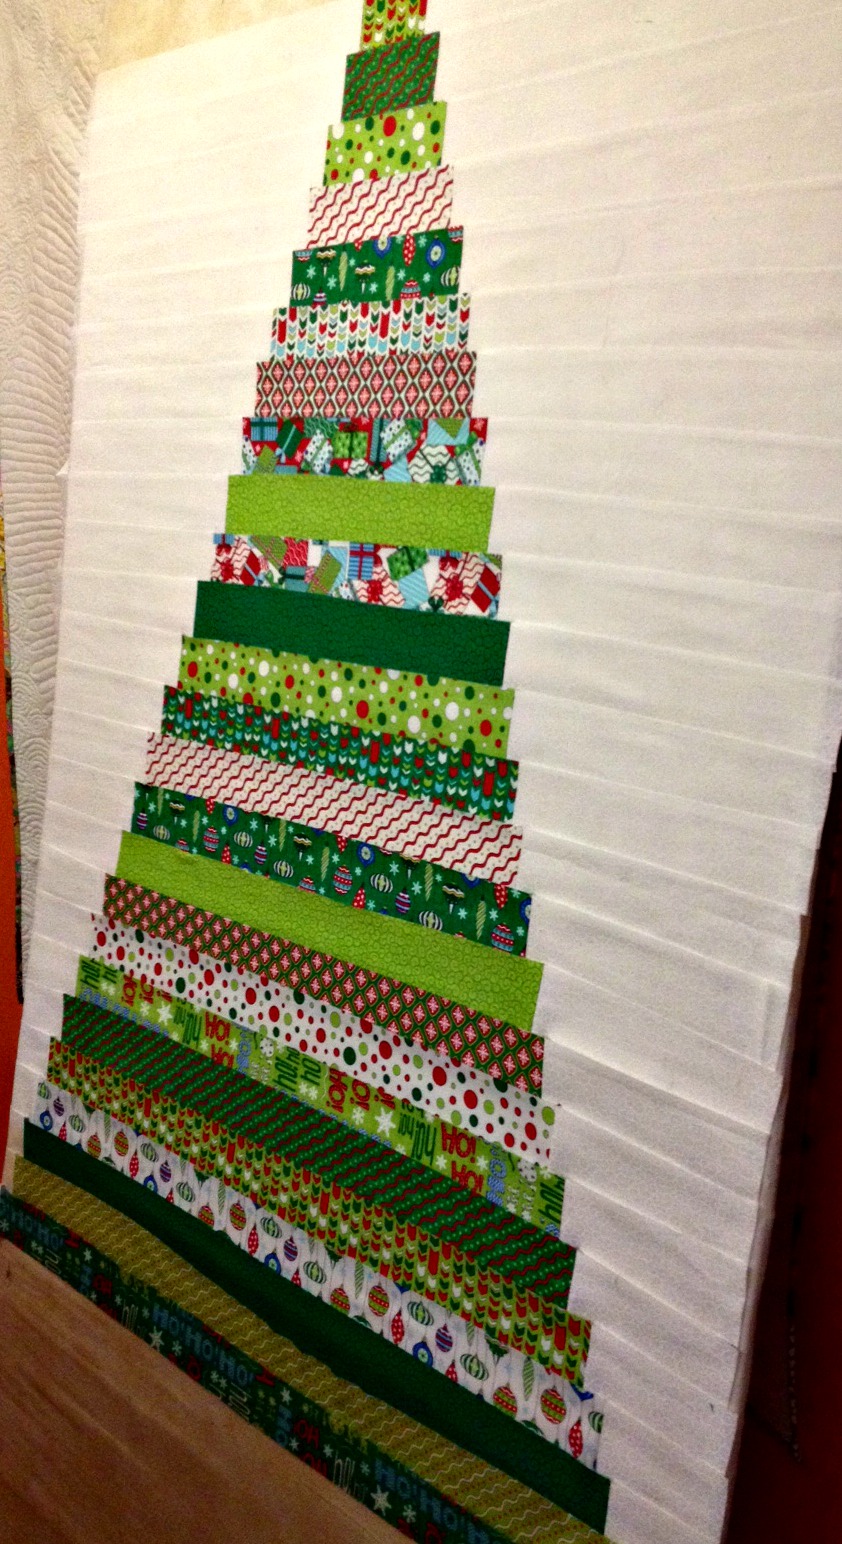
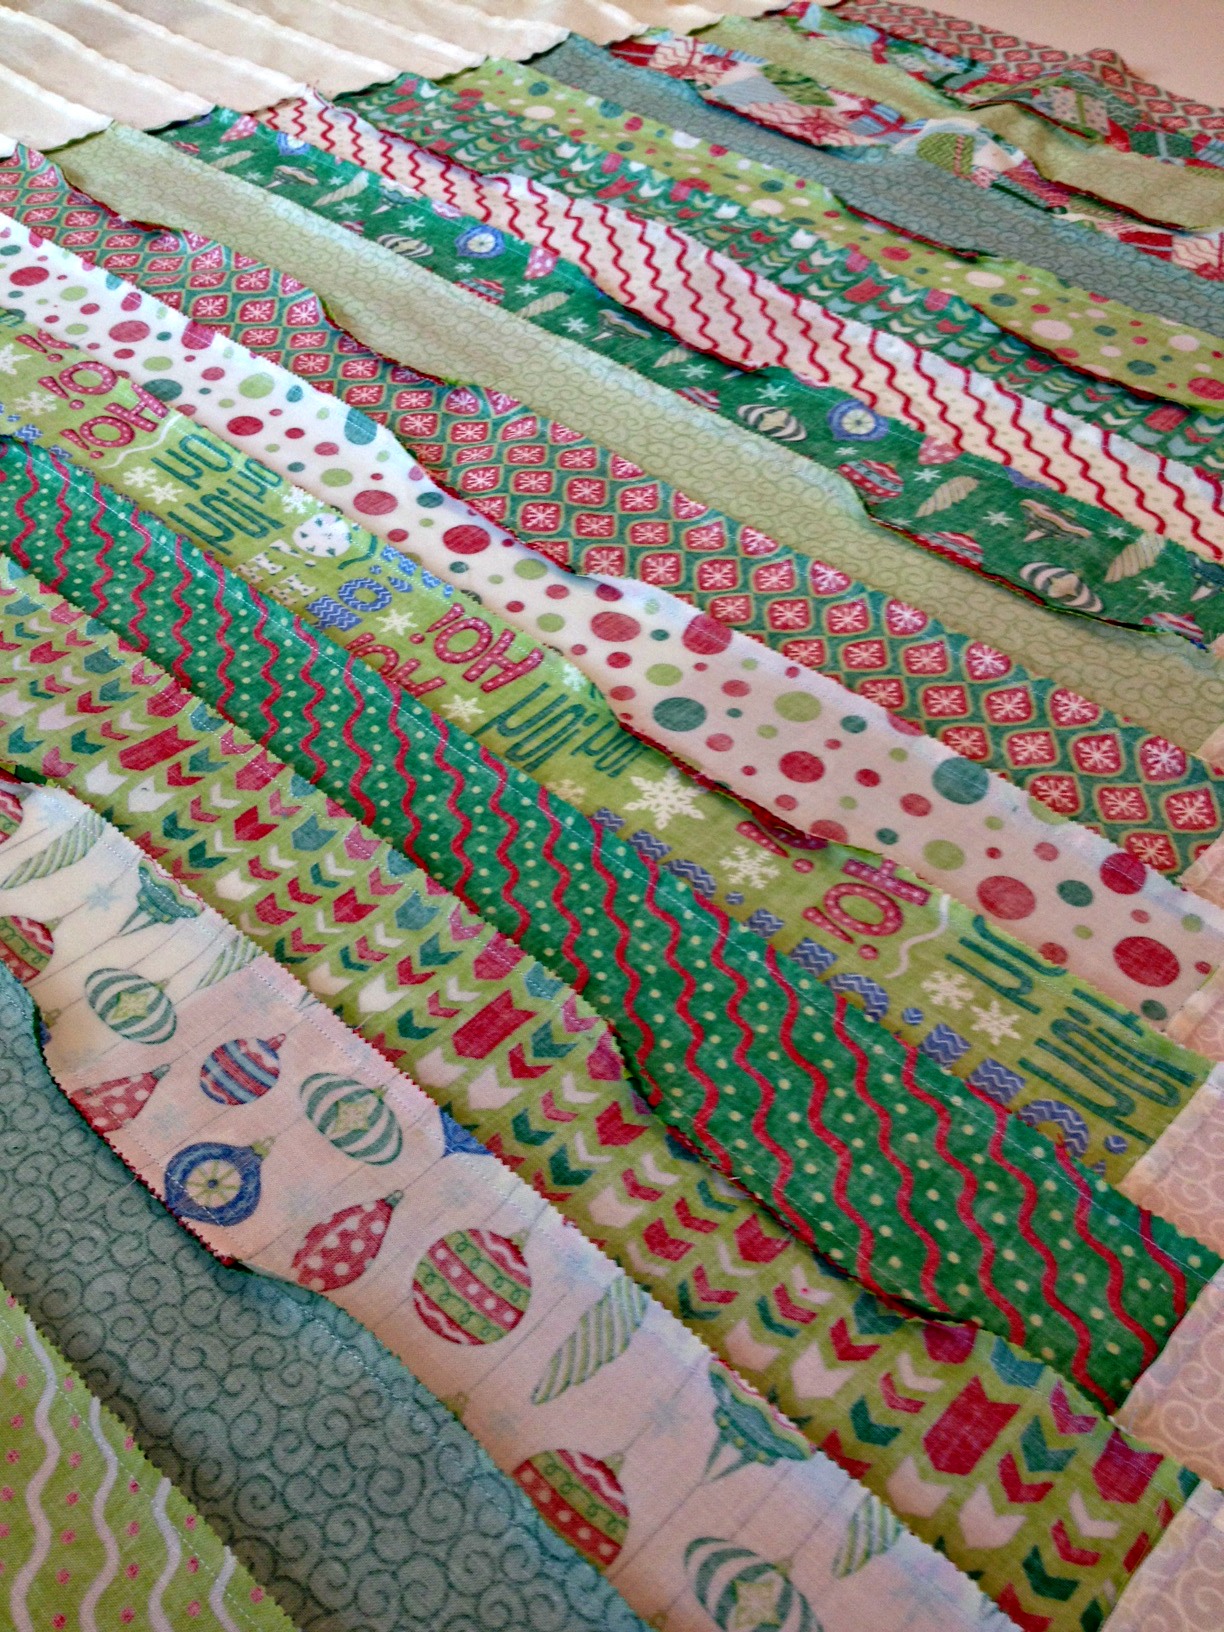
Step five: Piece the background and tree strips.
Starting with the longest tree strip and the shortest two background strips, sew one background strip to each end of the tree strip. Do this with each tree strip, working from longest to shortest. Start with the two next shortest background strips and add them to each tree strip, working from shortest background strips to longest background strips. Press seams toward the tree.
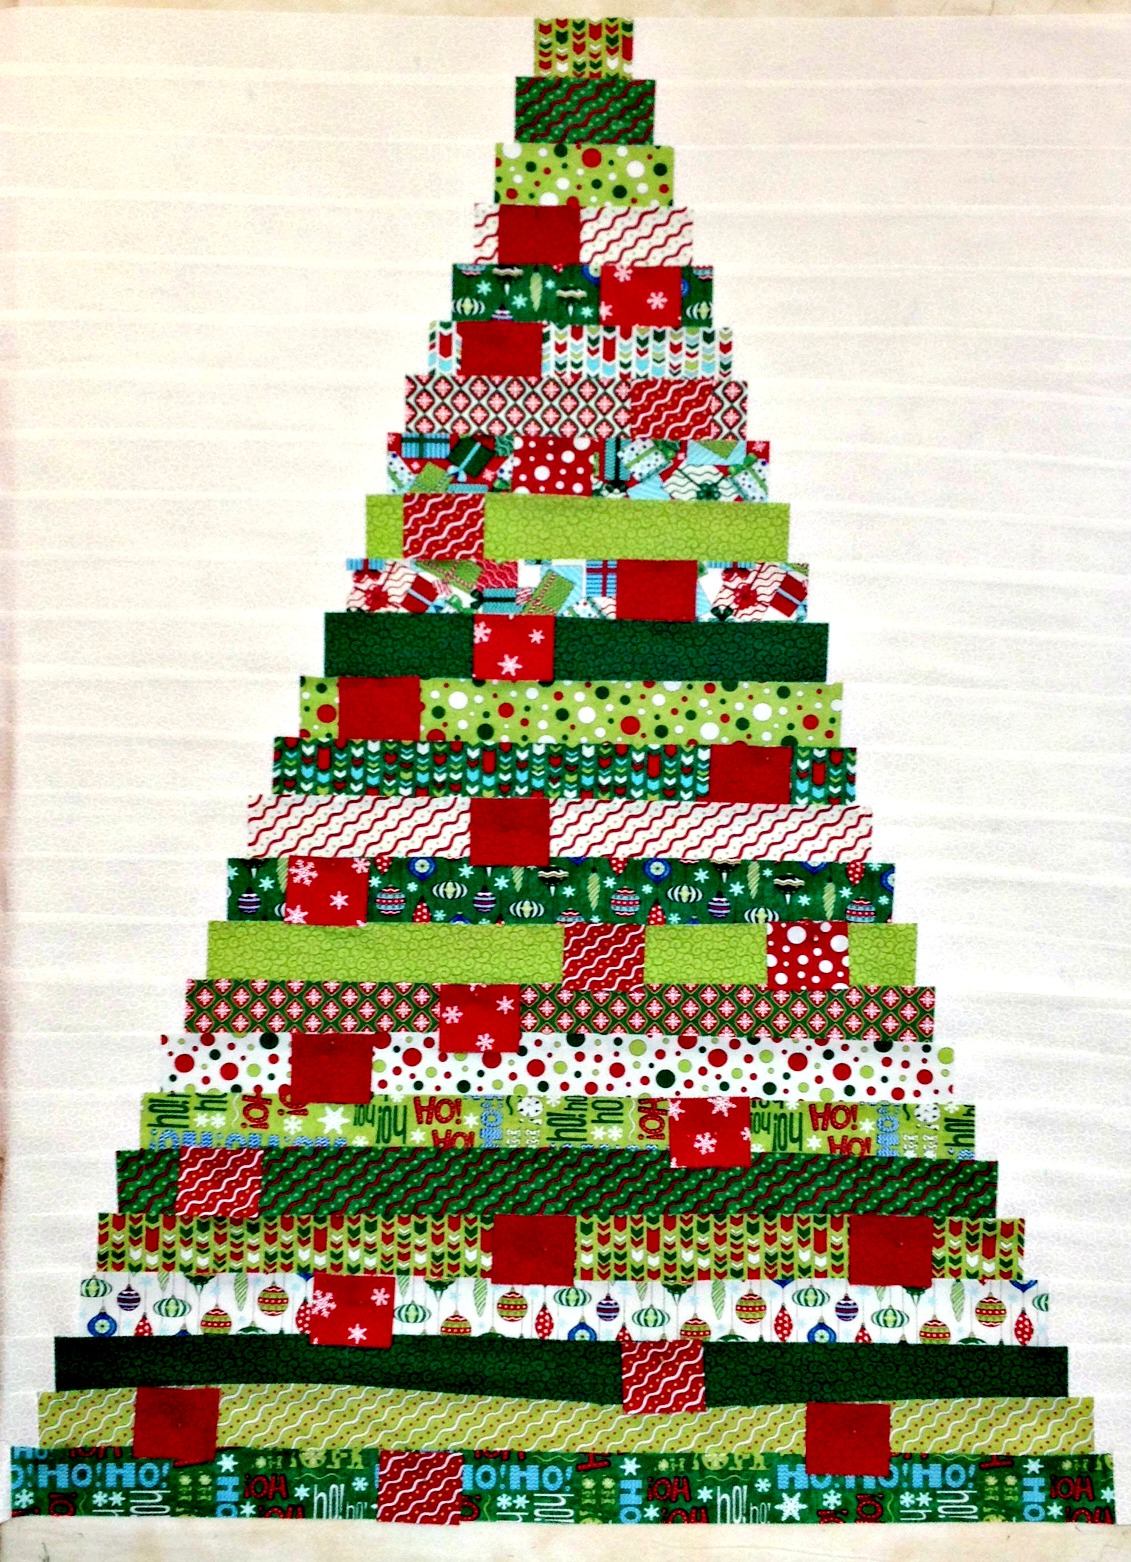
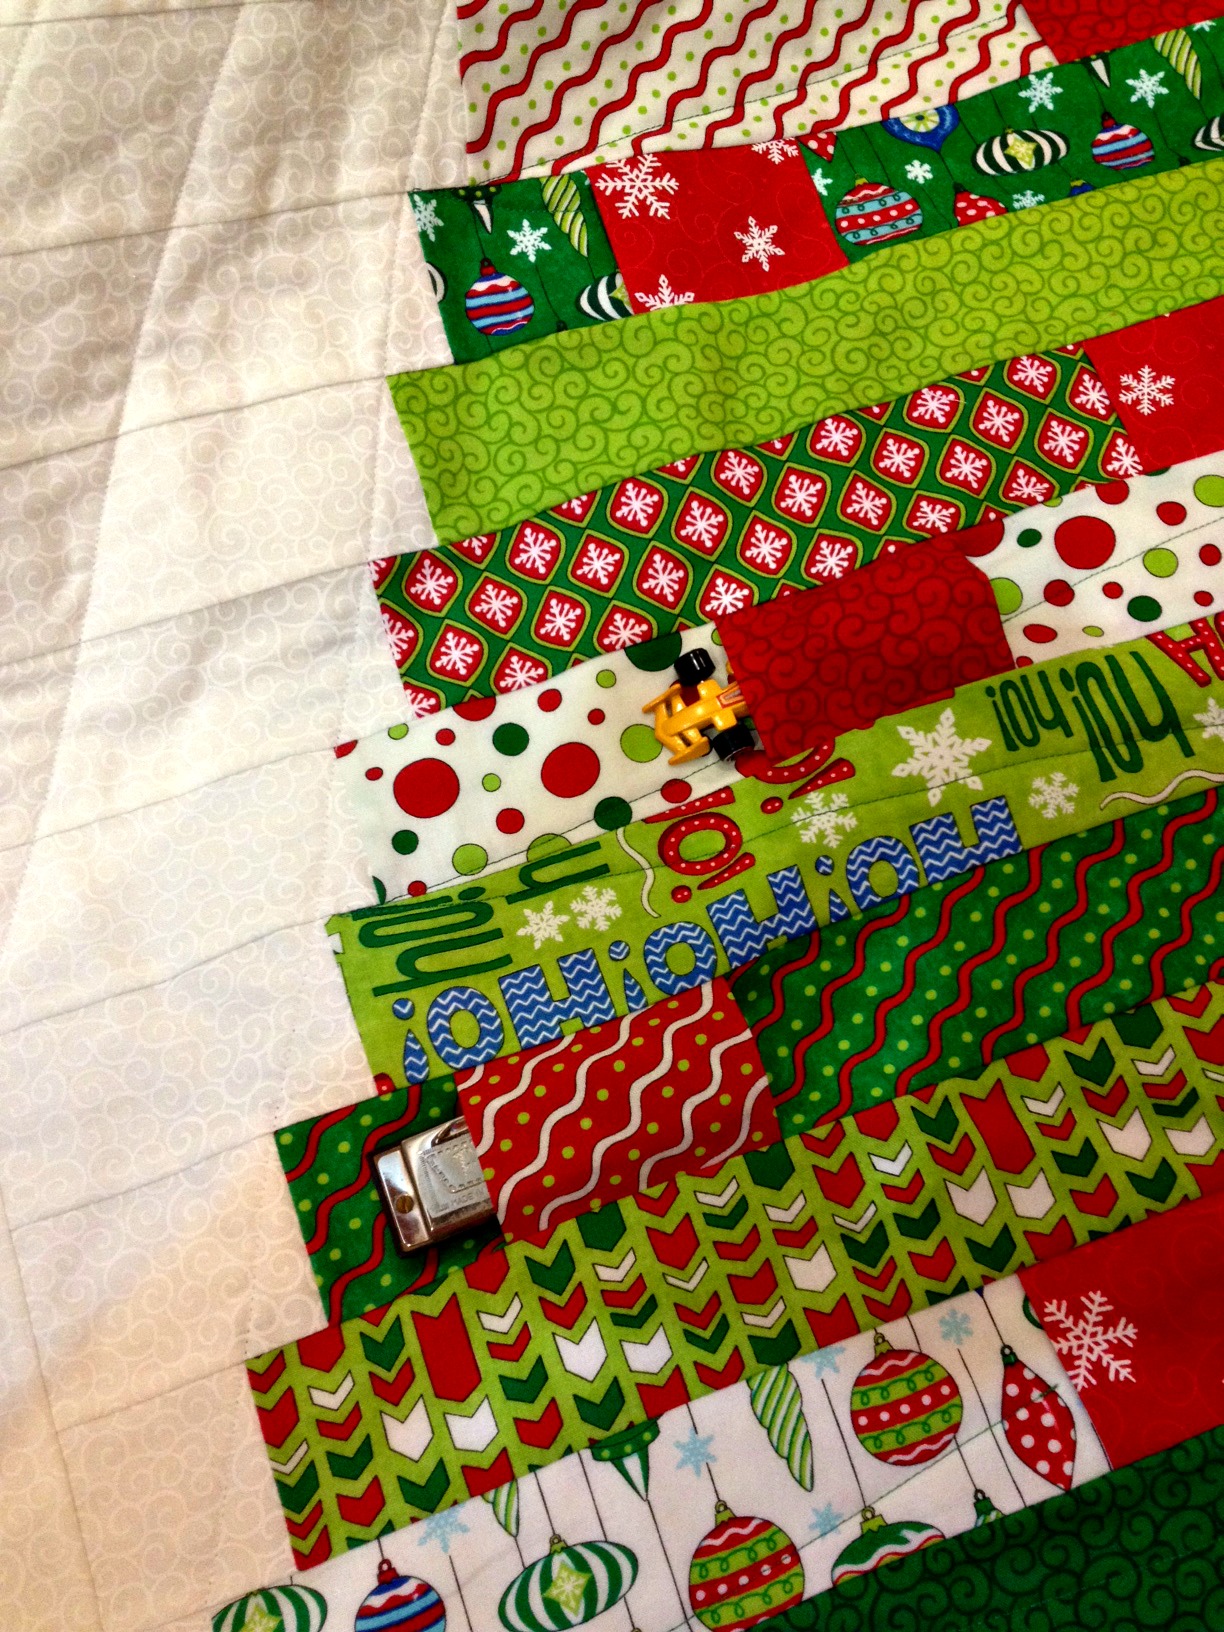
Step six: Place the pockets.
There is no specific placement for the pockets. Just lay them on the tree in a way that is pleasing to you. Pin the pockets in place on the tree.
Step seven: Sew the tree rows together.
This will secure the top and bottom of each pocket into the rows. The pockets are horizontal with openings on each side.
Press the seam toward the top of the tree after each row is attached. The pockets cause quite a bit of bulk so I pressed just the pocket seams down so the overall project would be flatter and smoother.
Step eight: Cut and attach the background above the tree.
From the background fabric, cut one 6 1/2" wide strip.
Remove the selvedges.
With right sides together stitch the strip to the top of the tree.
It is okay if the sides don't match up perfectly. They may be a little longer or a little shorter.
Step nine: Add the base to the tree.
Stitch the tree base strips together on the long side, pressing the seam in one direction.

Cut two 6 1/2" x 18 1/2" rectangles from the background fabric.
Stitch a rectangle to each side of the tree base, pressing the seam toward the tree base.
Center the tree base under the bottom of the tree.
With right sides together, stitch the base to the bottom of the tree.
It is okay if this piece is a little longer or shorter than your tree.
Press the seam toward the tree.
Step ten: Square up the quilt top.
If you were careful with your sewing, there may not be much to square up, but since there are no seams to match, you can be a little more casual with it and may end up with edges like this:
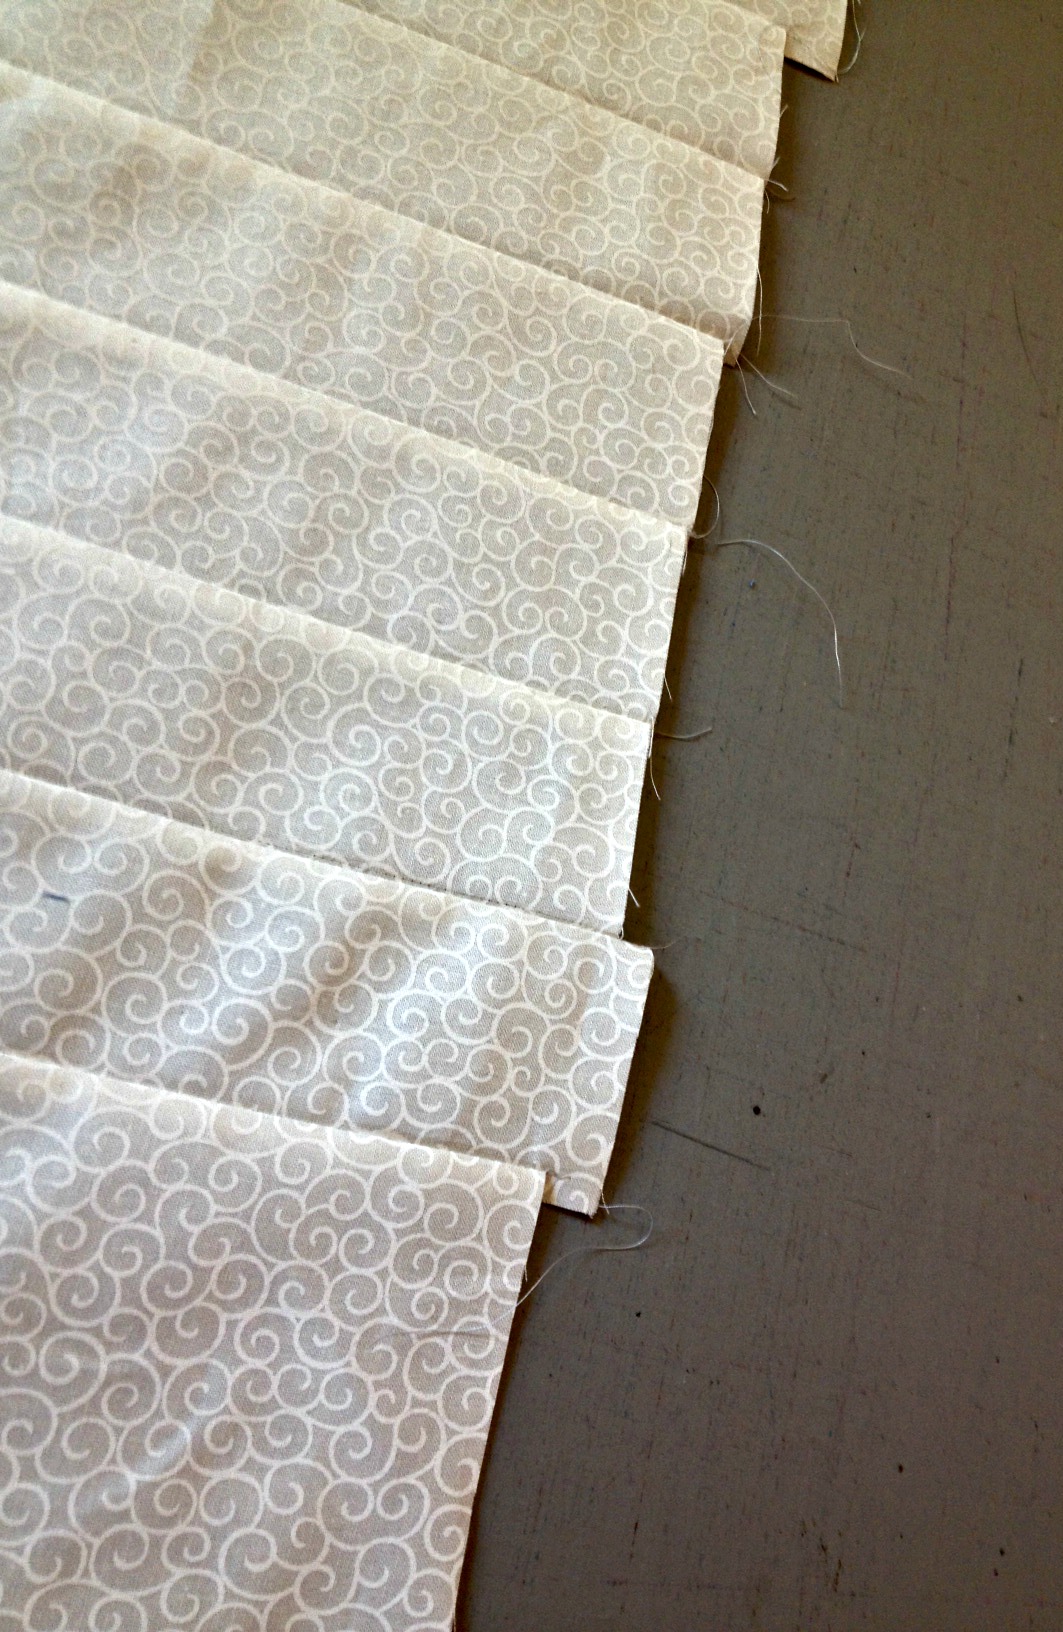
Even up the sides and make sure the quilt top is nice and square at the corners.
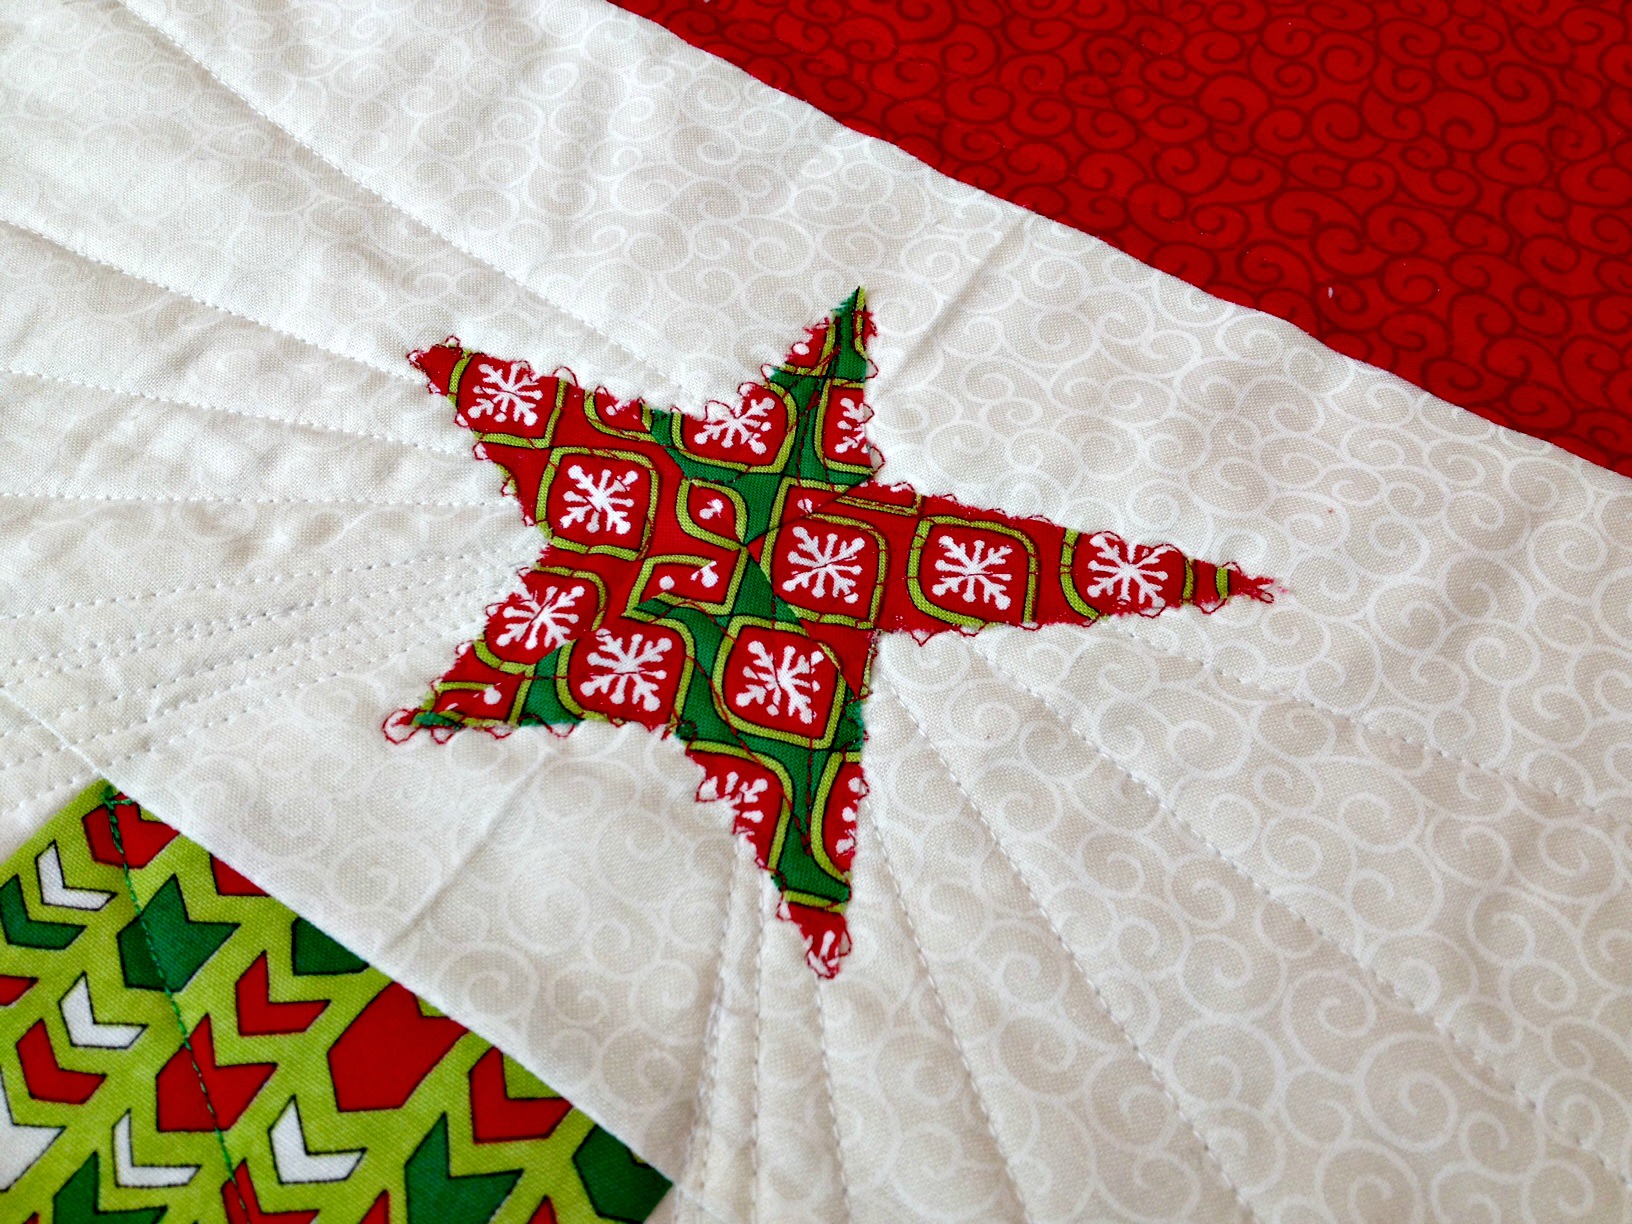
Step eleven: Make the star.
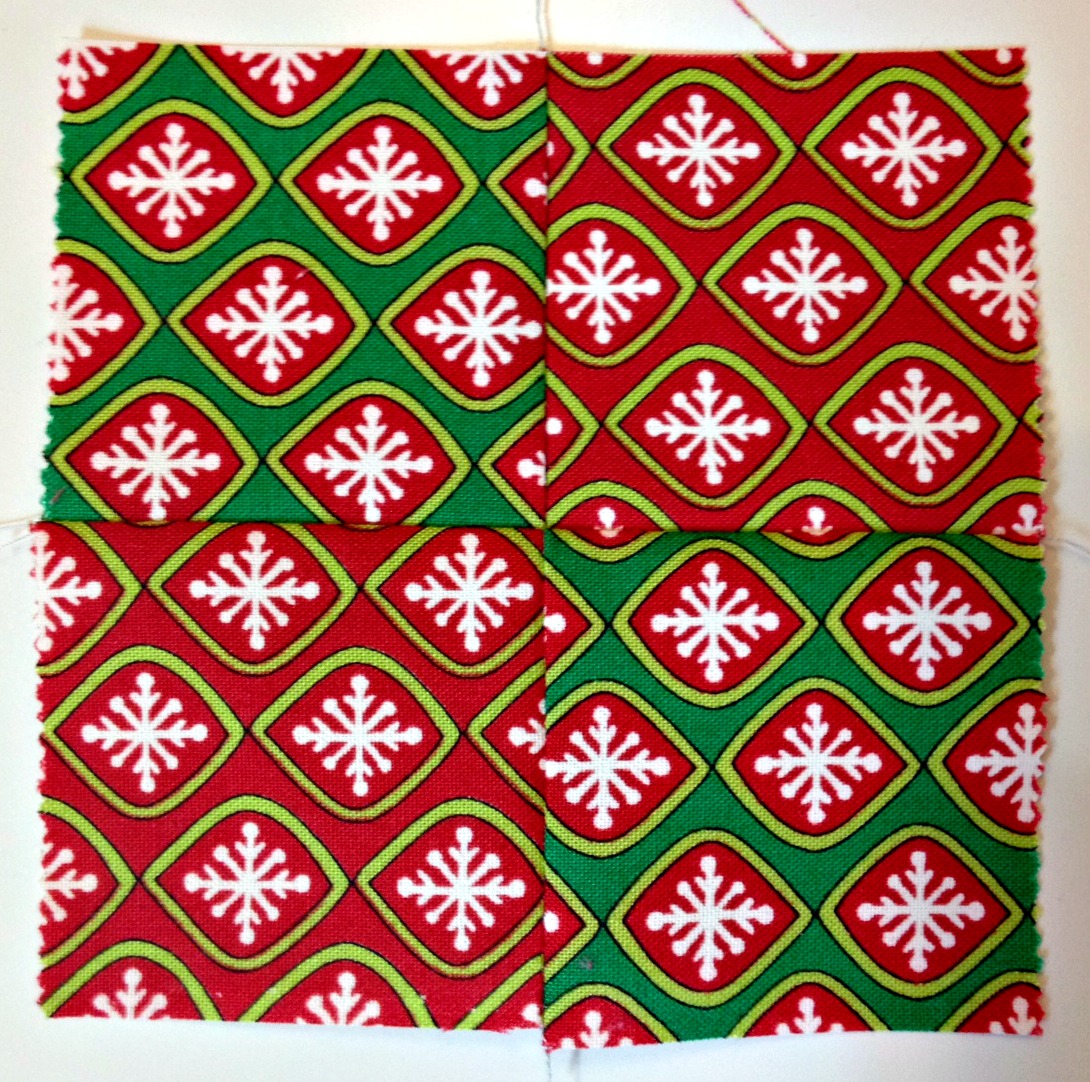
Cut four 2 1/2" squares from the extra jelly roll strips.
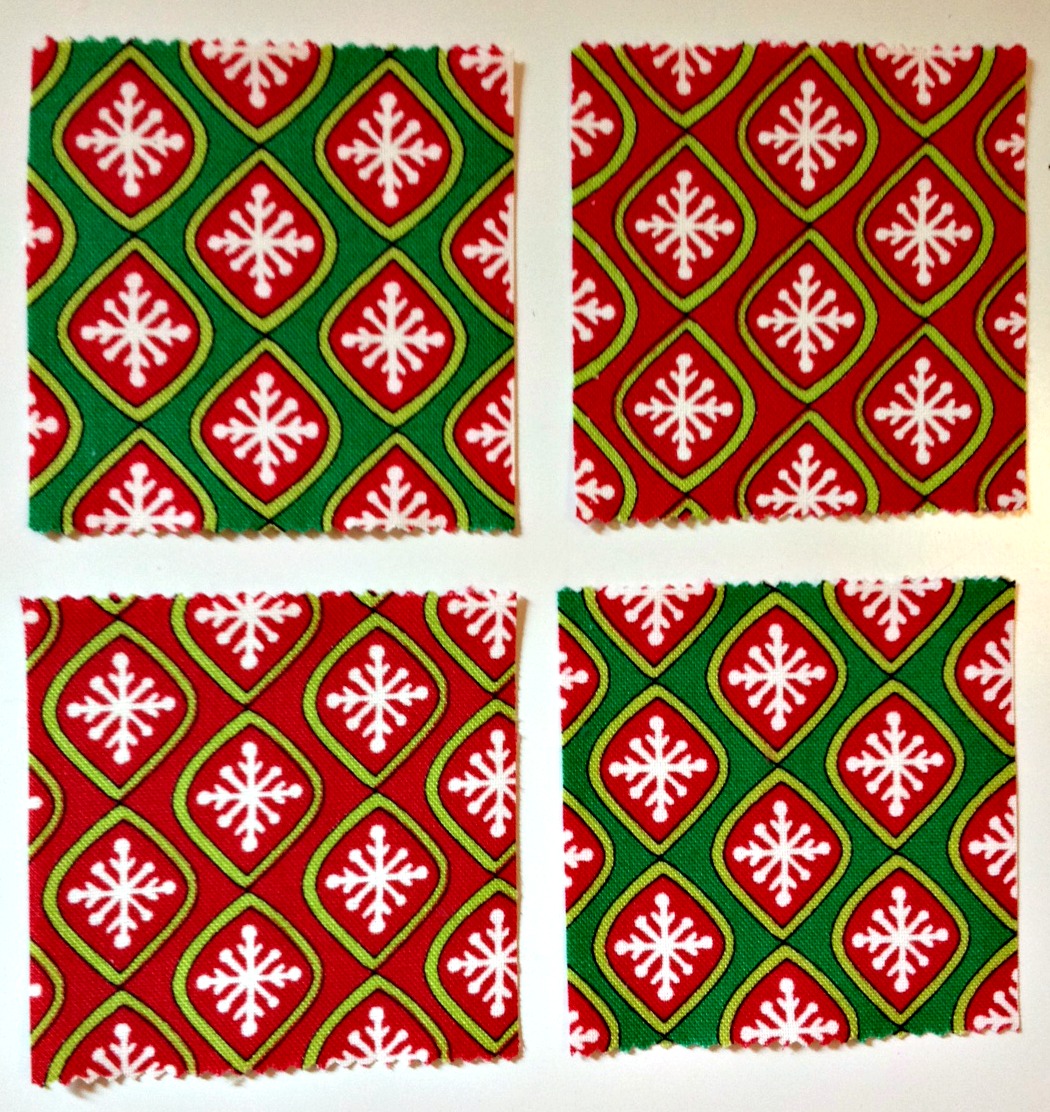
Make a four patch with the squares by first sewing the rows together. Press seams in opposite directions. These are pressed toward the green.
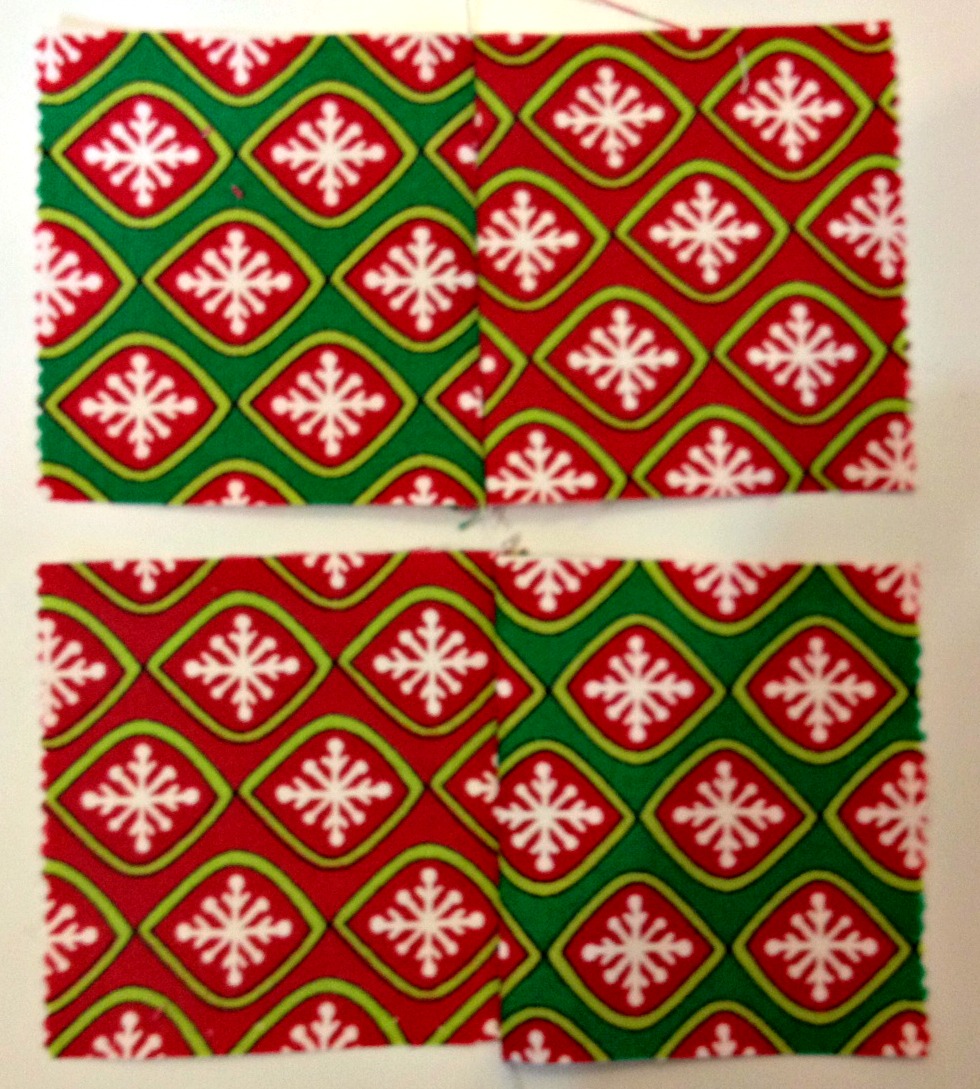
Sew the two rows together.
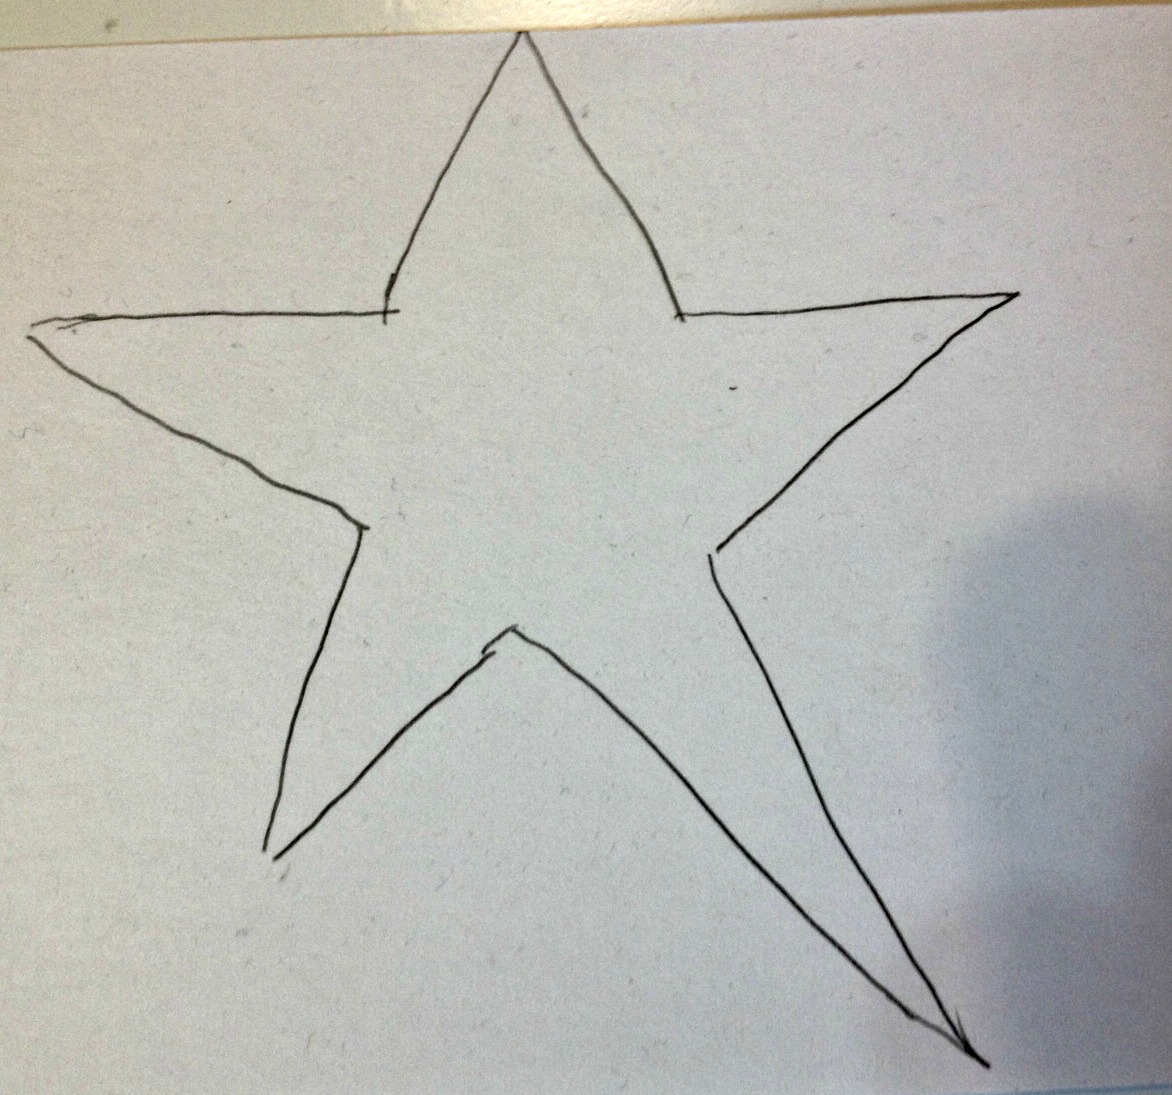
Draw a star on a blank piece of paper. I like making one of my points stick out longer than the others. If you are not comfortable free hand drawing your star, do a computer search for star clip art. There will be plenty of options to print and use.
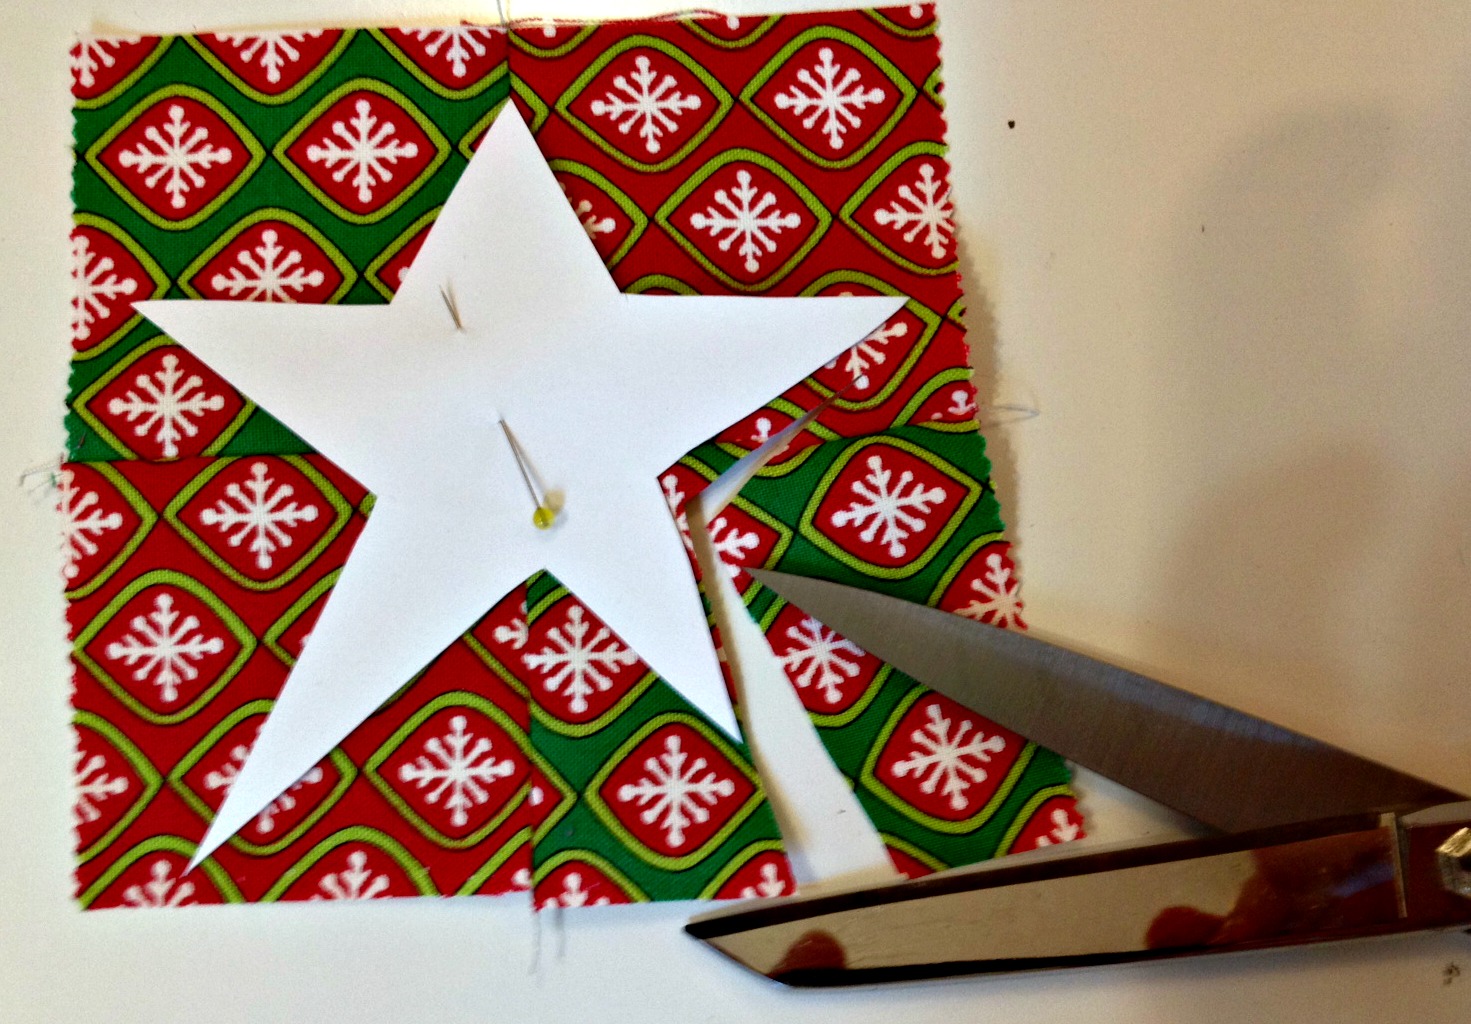
Cut out the star from the paper. Place it on the four patch block and cut around it.
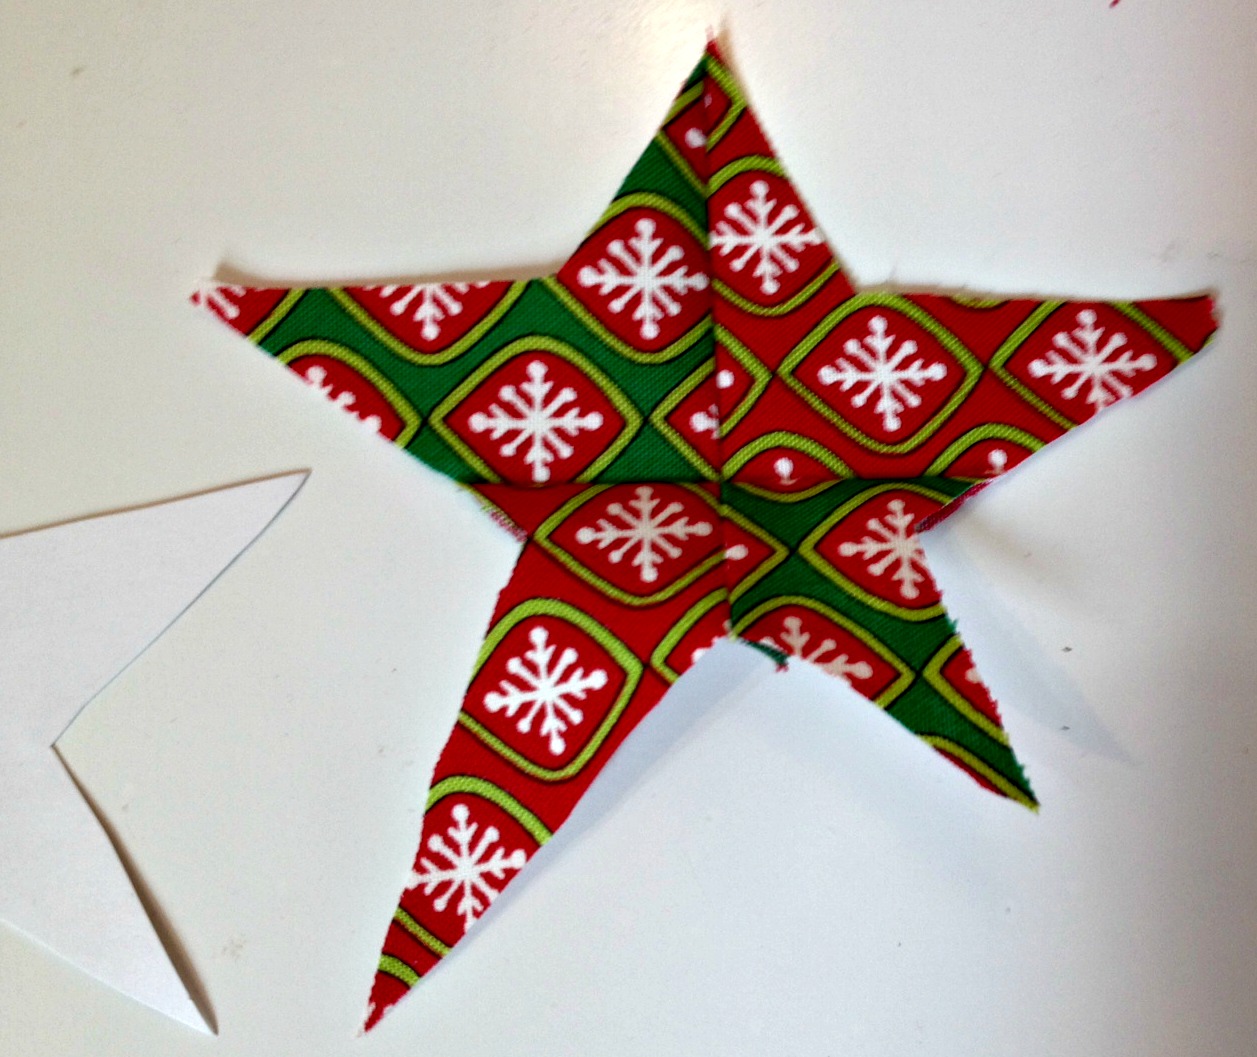
Set the star aside. It will be added to the quilt after the quilting is completed.
Step twelve: Add the border.
Cut six 4 1/2" strips from the border fabric.
Sew two strips end to end.
Measure the length of your quilt and trim your long strip to length.
Stitch the strip to the side of your quilt and press the seam toward the border.
Sew another two strips together end to end and repeat the process for the second long border.
Using the excess border fabric that was cut away from the long border pieces, stitch them to each of your remaining strips.
Measure the width of the quilt and cut the strips to size.
Stitch one to the top of the quilt and one to the bottom of the quilt, right sides together.
Press the seam toward the border.
Step thirteen: Quilting.
Layer and quilt as you desire. I quilted the sample on my home machine using matching thread.
The tree is quilted with long diagonal lines, similar to a garland on the tree.
The background is quilted with straight lines that resemble rays coming from the star.
The border is quilted with large free motion circles that could represent either ornaments or snowballs.
The base is quilted with free motion vertical lines and the background is quilted with circles.
Step fourteen: Add the star.
Really, the star could be added at any stage of the process, but I waited until the very end so the stitching would be part of the quilting.
I used a temporary adhesive spray on the back of the star and positioned it on the quilt.
I free motion stitched around the edge to hold it in place, then echoed the star shape twice inside the star.
The star could easily be hand or machine stitched in place.
Step fifteen: Bind.
Cut seven 2 1/2" strips for the binding. I love how binding looks both off...
and on the quilt.

Fill those pockets and enjoy!
There are mostly boy toys at my house so here is a toy car and harmonica as examples of small toys to put in the pockets.
![]()
One quilt that is approximately 51" x 71" and...
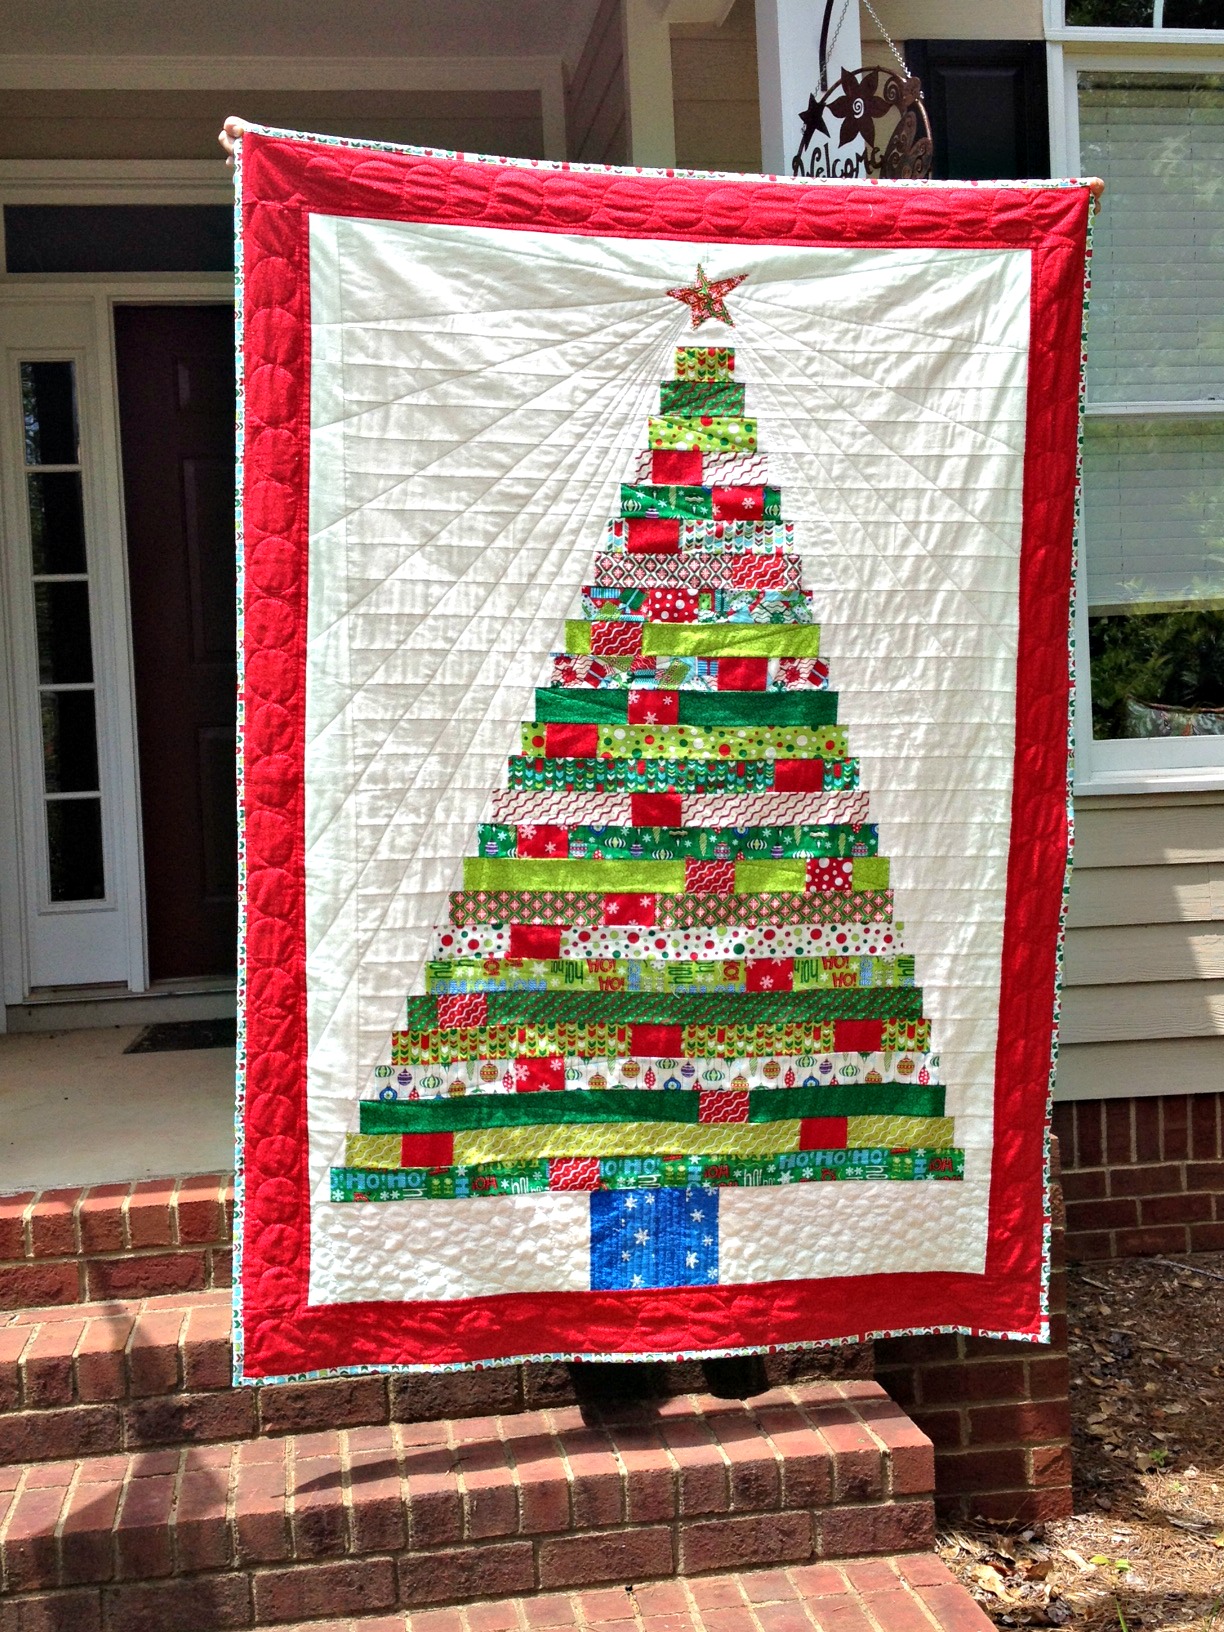
many years of fun filling and emptying pockets!
Debora Exum
{studiodragonfly.blogspot.com}
![]()
Posted in: