Welcome to Moda!
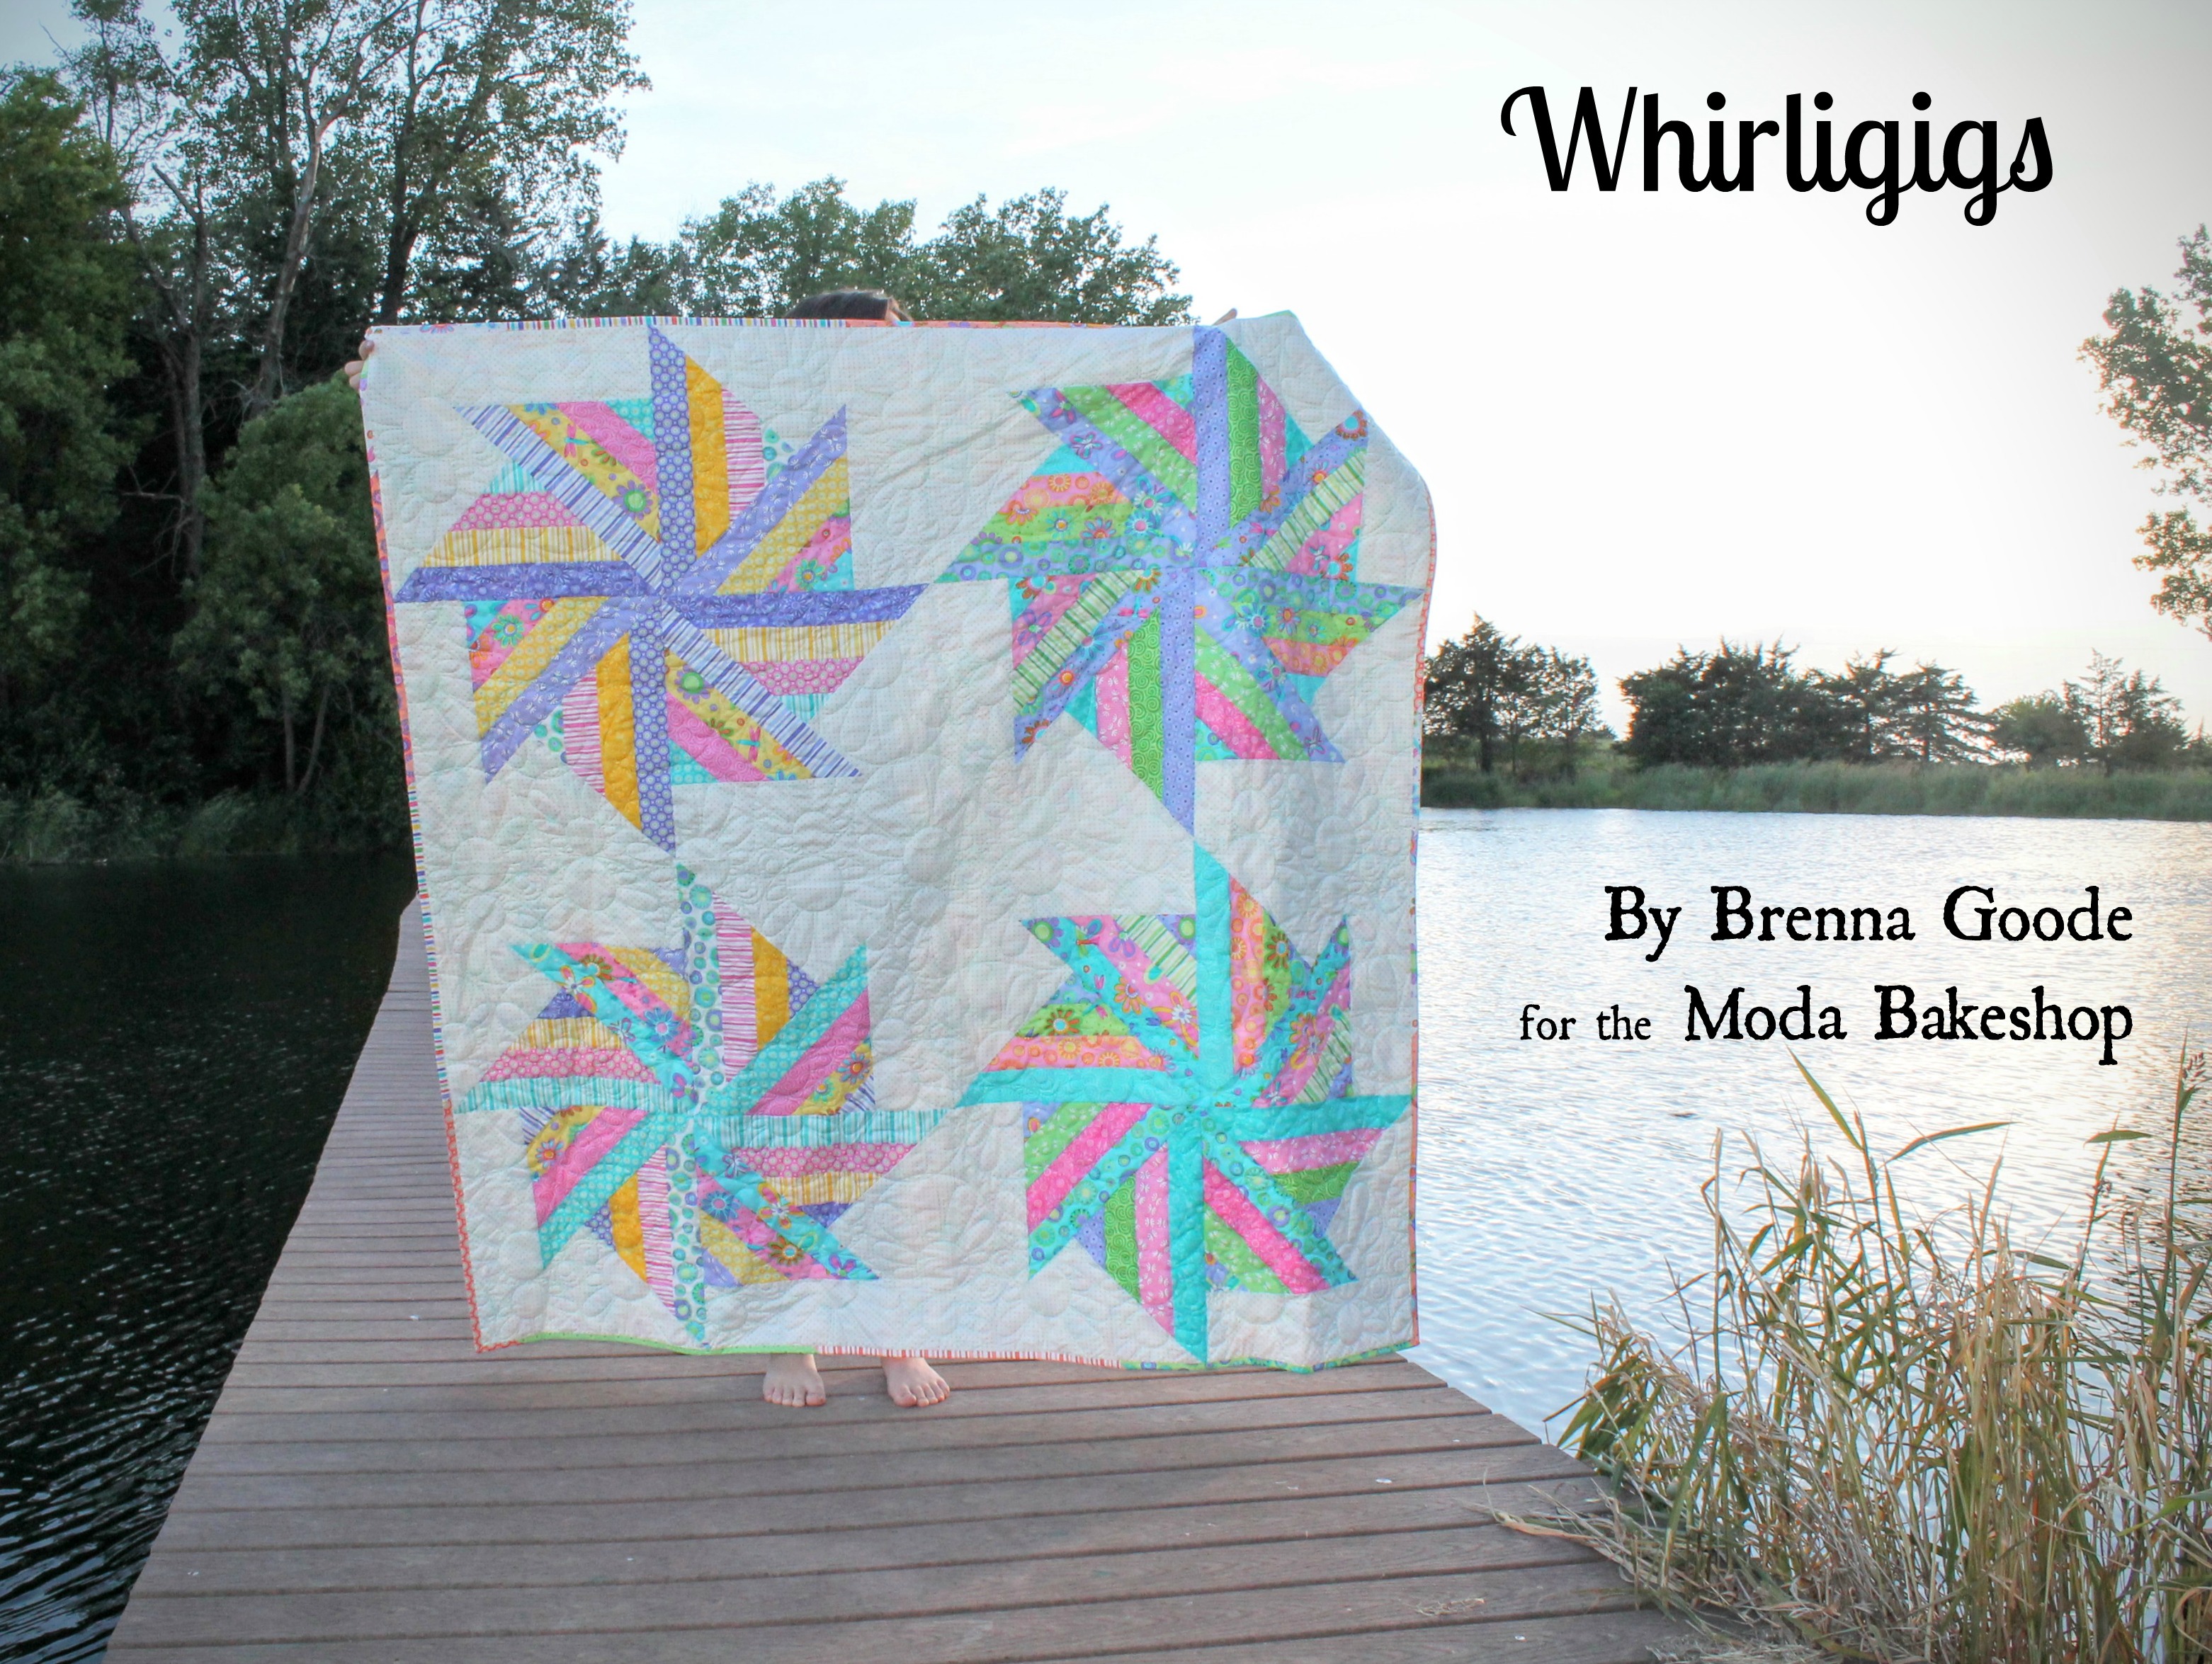
Whirligigs Quilt
Whirligigs Quilt
Published:
Jun 16 2015 - 23:00

Hey all - I'm happy to be back here at the Bake Shop for another fun quilt. It's such fun to share ideas and projects with you. Feel free to stop by my blog for more pictures!
This project is a bright and happy one, made with a Hi-De-Ho jelly roll from Me and My Sisters. All of their fabric lines just make me smile, and this one is certainly no exception. It also requires yardage; rather than just a solid. I went with the mini-dots and additional yardage for backing.

![]()
1 Hi-De-Ho Jelly Roll® 22250JR
2 1/2 yards background fabric (I used Essential Dots White Teal 8654 65)
4 1/2 yards backing fabric (I used Hi-De-Ho White 22254 17)
1/2 yard binding fabric
![]()
Start by organizing your jelly roll into colors. You can either go scrappy with this, or organize your colors a bit more. I chose to have some organization, so grouped them into 8 groups of four strips. Four groups had purple, then green, then pink, then teal, and the second group of four had purple, yellow, pink and teal. Save the remaining jelly strips for a scrappy binding.

Next, we're going to sew the strips together. You'll need to offset the strips by 2 inches each time you sew one on.

Press all the seams to one side. As we're going to cut these on the bias, I used enough starch to almost get them to stand up on their own.
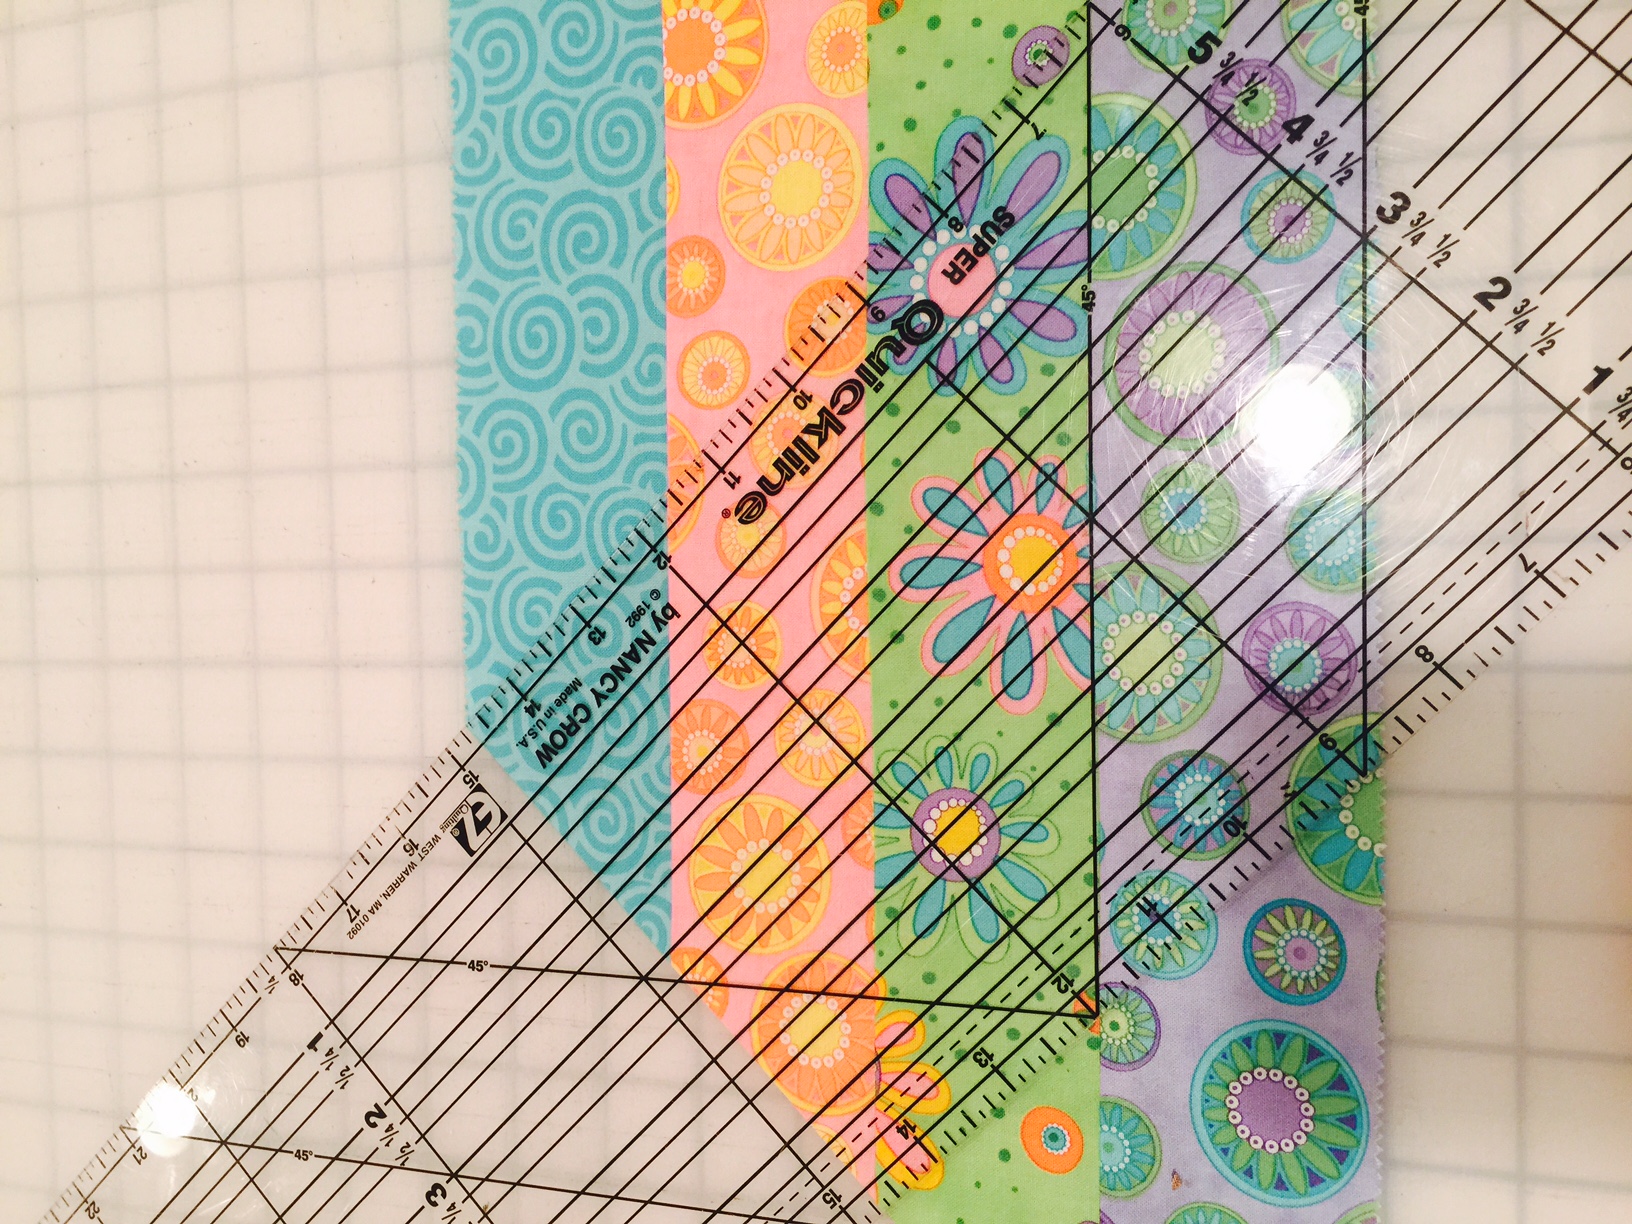
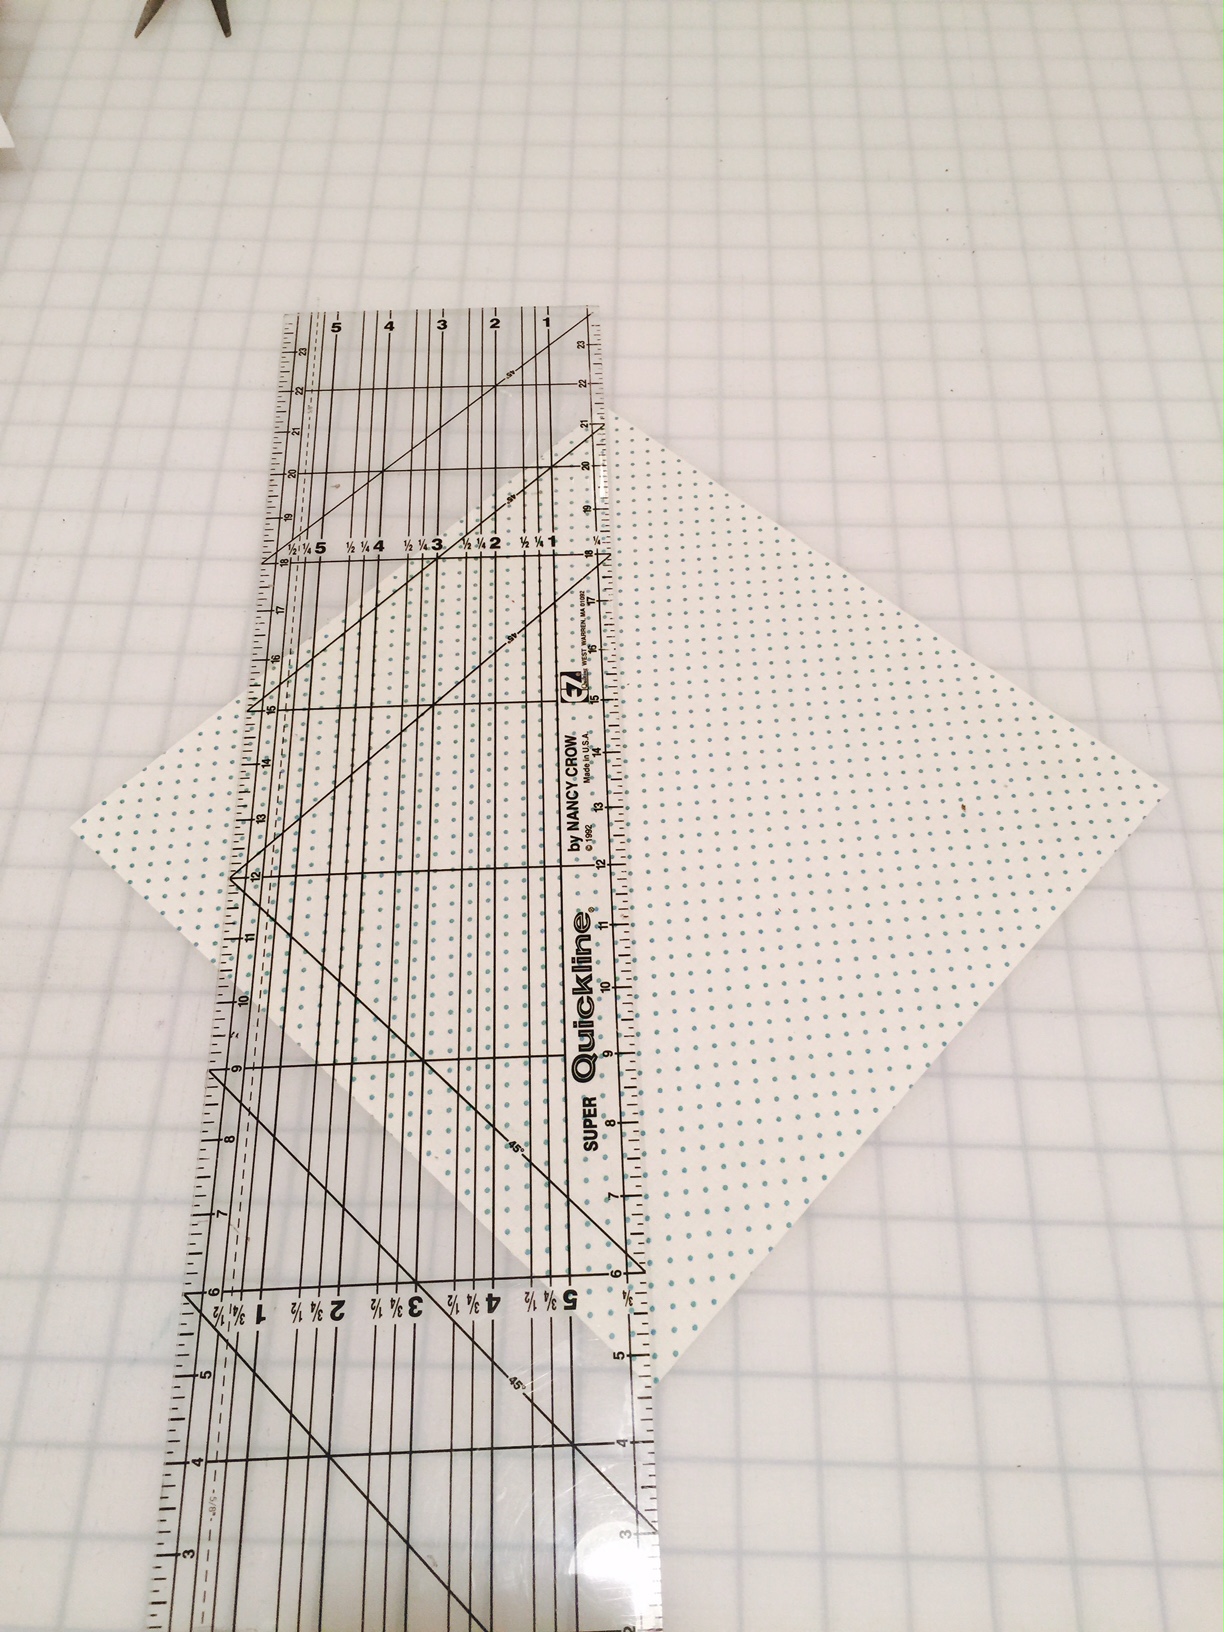
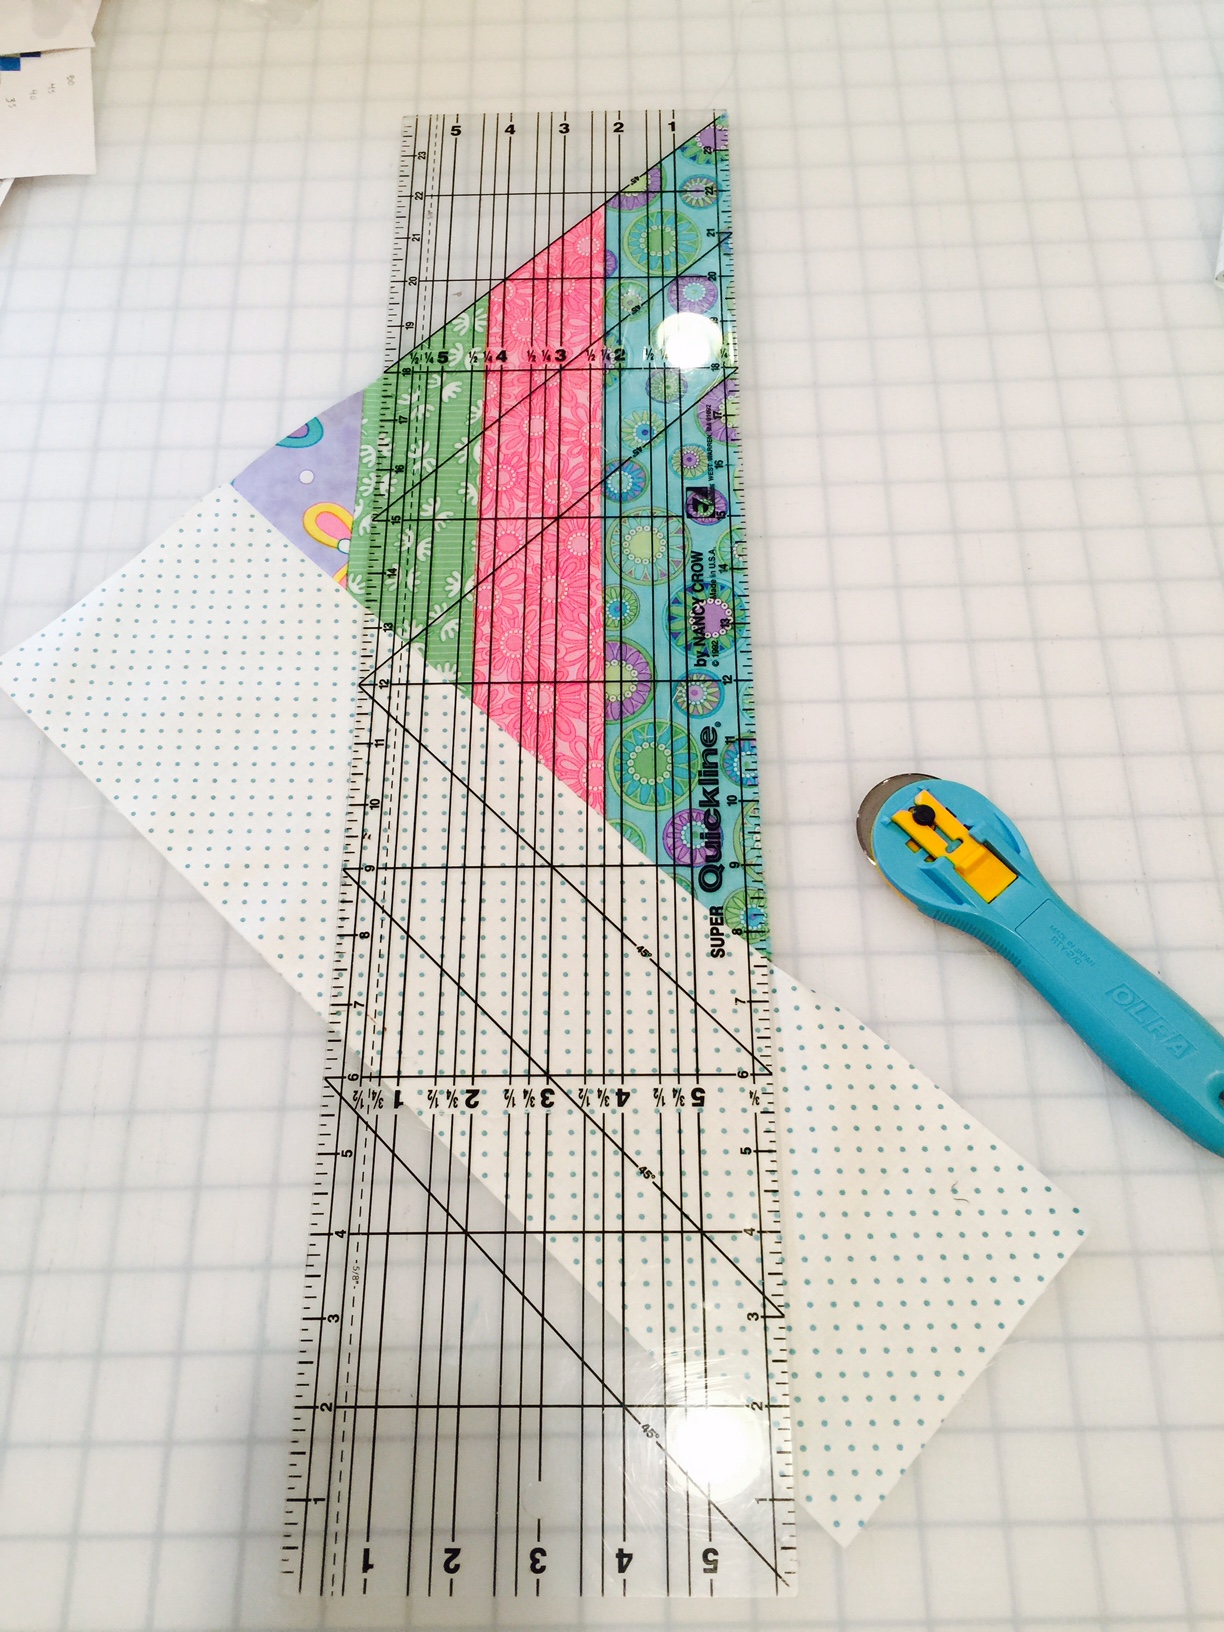
Once you've sewn and pressed each strip set, we're going to cut 45 degree triangles out of them. Take your ruler, and laying the 45 degree line on one of the seams, cut the edges off.

Turn the ruler the other way, and lining up the edge with the top of your strip, cut a triangle.
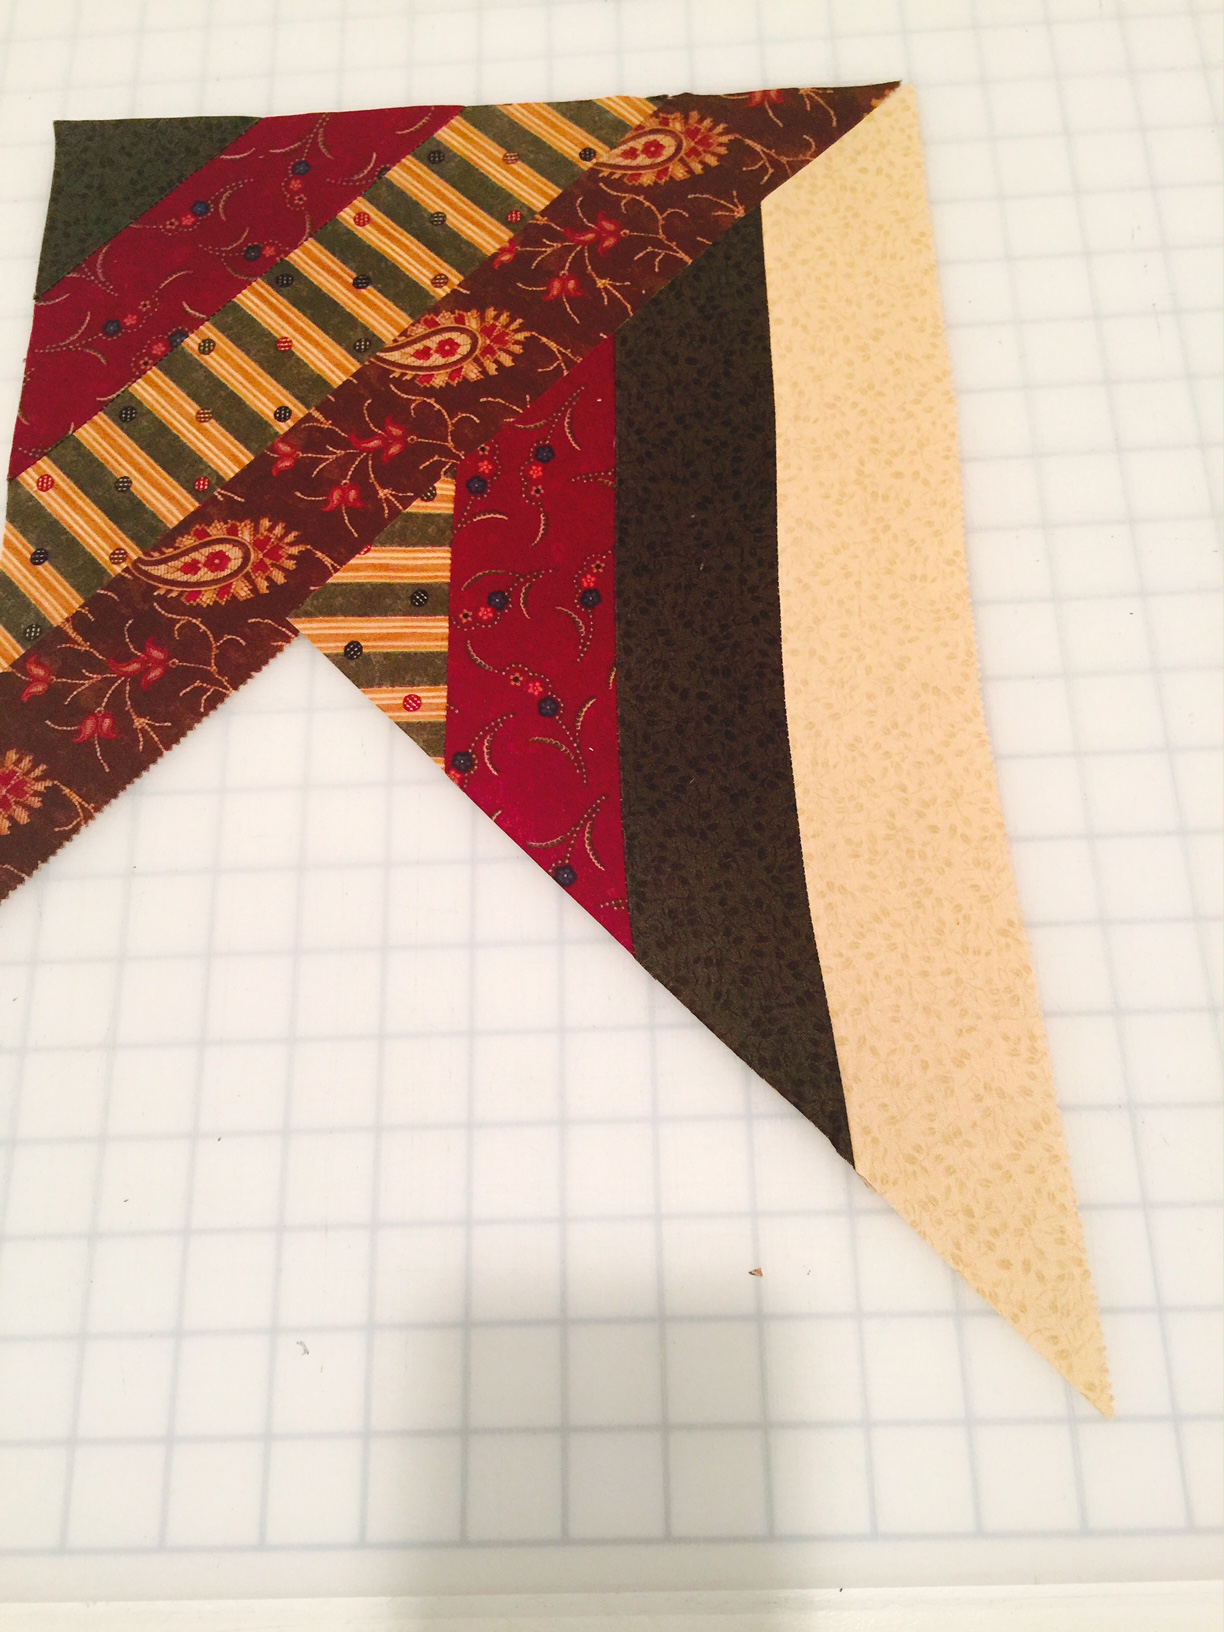
Continue flipping the ruler to cut triangles; you need four from each strip. Handle them minimally and carefully, as it's very easy to pull the bias edges out of shape. This picture is something of a cautionary tale; it was my test project, and a good reminder to PRESS, DON'T IRON. It took very little to get the triangles to look like this. So starch and press. Don't iron!
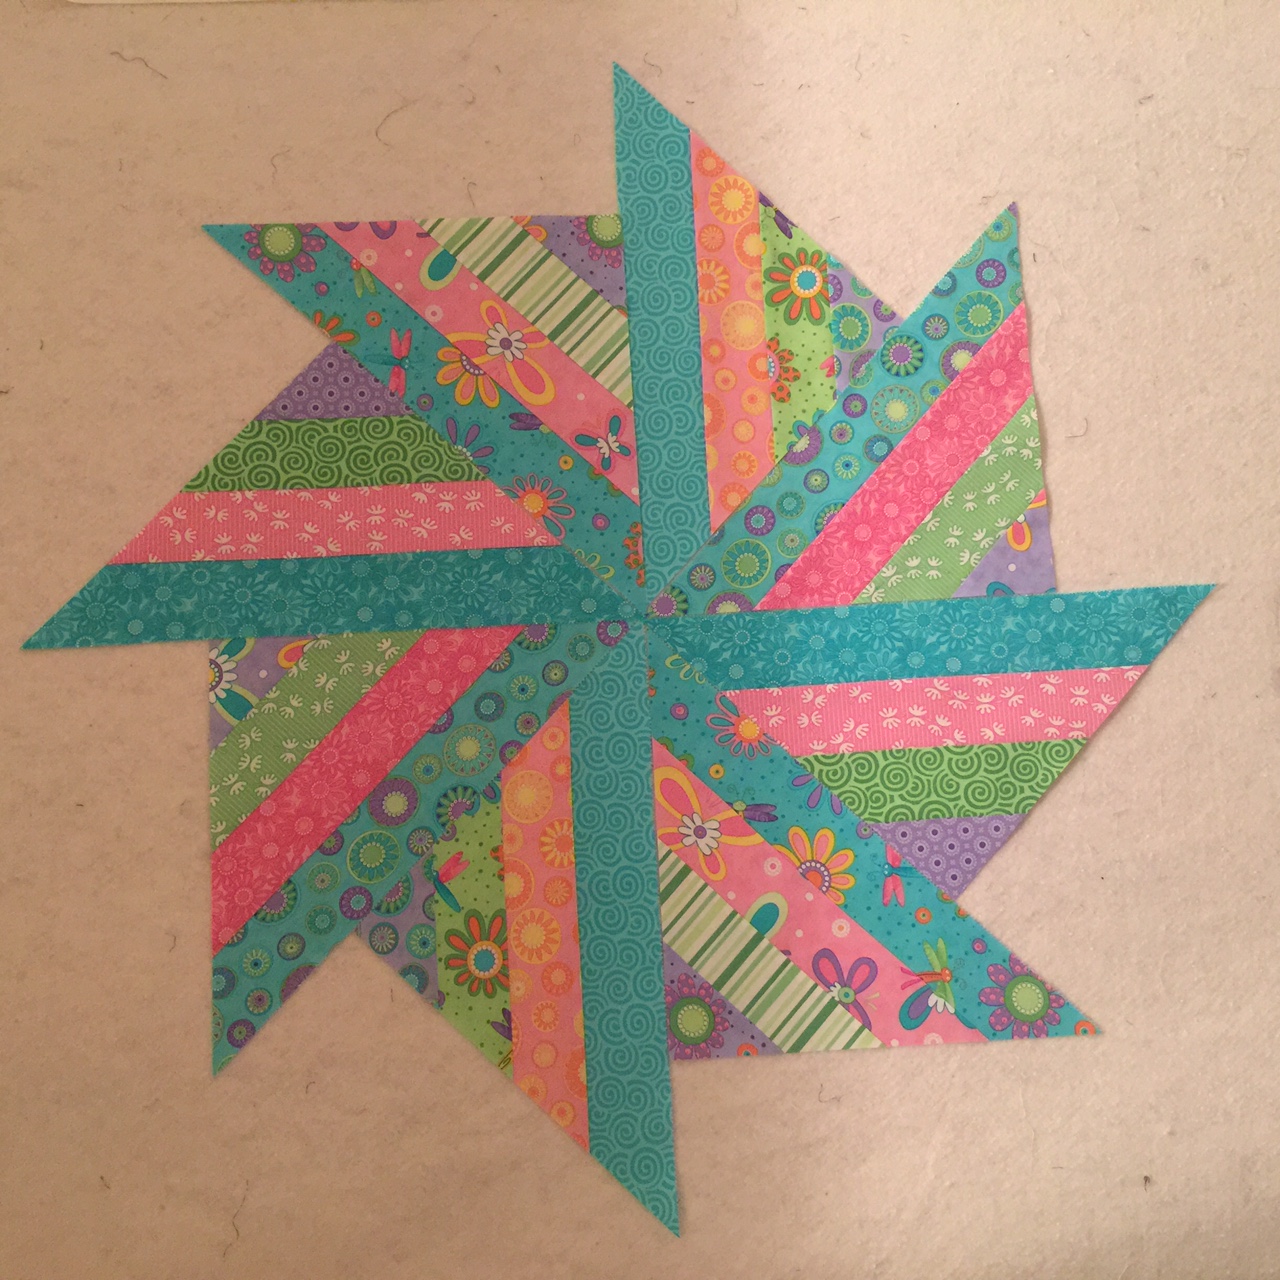
I grouped all of the ones with long purple edges together, and the ones with long teal edges. Form them into the whirligig shape on your design wall. You should get four large whirligigs.
Now for the background fabric:
Cut three strips 12 inches by the width of fabric. Subcut them into 9 12 inch squares. Set aside one as extra, and cut the remaining squares diagonally.
Now cut 8 strips 5 1/2 inches by WOF. Subcut these into 16 pieces 17 inches long.
Using the graph below, take your triangles, a lay them on the design wall.
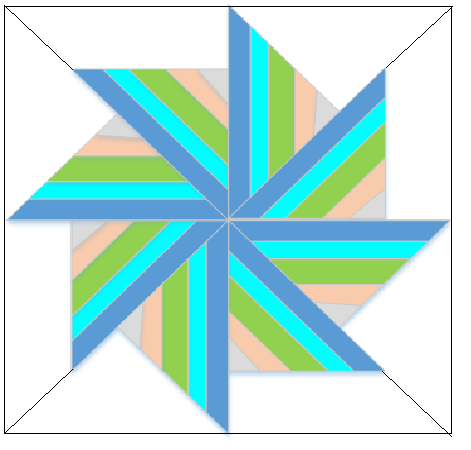
You'll be adding the background to your triangles in two ways, according to the diagram.
On half, you'll sew one of your strip triangles to your background triangle - fairly straightforward, but again, watch those bias edges.
On the other half, you're going to sew your 5 1/2 inch strip to the side of your triangle, matching up the long edge to the side of your triangle. There will be several inches extending.

Once it's sewn on, press it, then use your 45 degree line on your ruler to cut the excess off to form the triangle.
Once you've done all eight triangles, pair them up and sew them together like this:

Trim this to 16 inches square. The 5 1/2 inch strips give you a little bit of leeway, so may be larger than you need and require trimming. I did not heed my own advice to press, rather than iron, so I had some slightly wonky triangles and had to do some trimming to get them to lay flat and be sized properly.
Once you've got four squares, connect them into one large whirligig square. Repeat with the remaining squares until you have four whirligigs, and sew them together.
Piece the backing fabric into the desired size, then layer and quilt as desired!

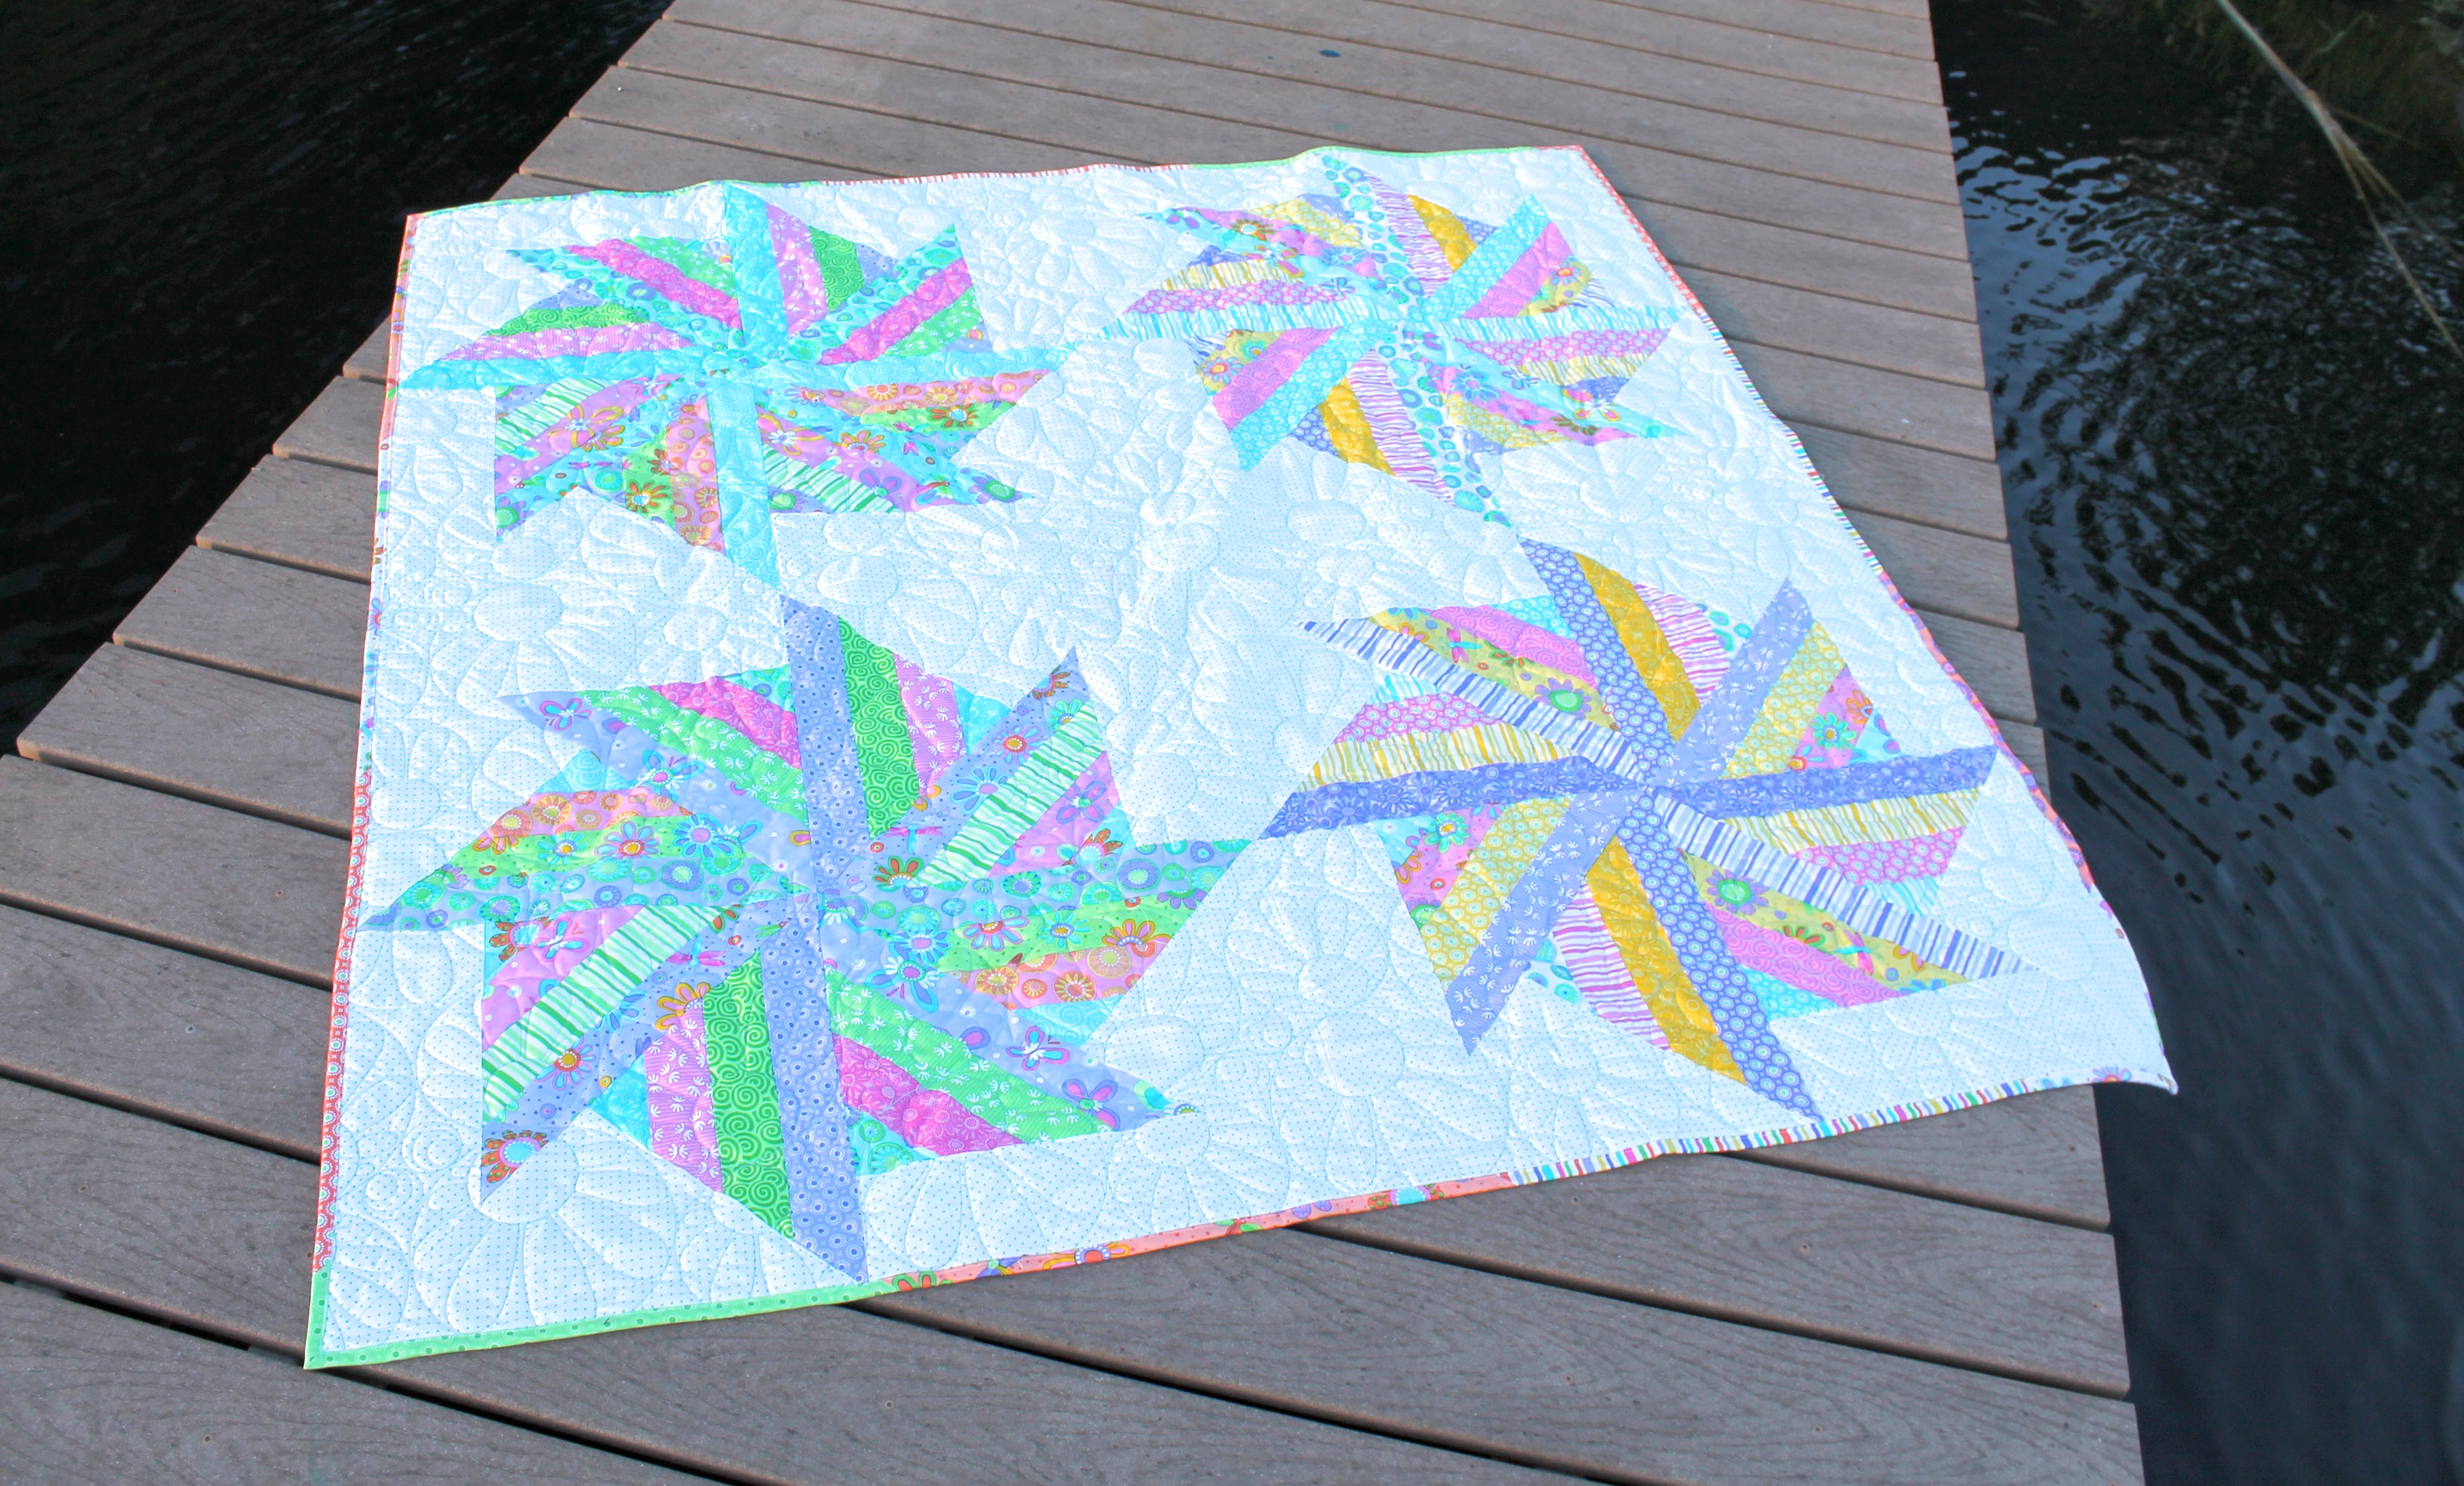
My quilter used a daisy pattern very reminiscent of the pattern in the fabrics, in a light teal thread. For the binding, cut each of the remaining jelly roll pieces in half, then sew together to make your binding, using your preferred method. Cutting them in half just gives it a scrappier look, and works better with the slightly smaller size of the quilt.
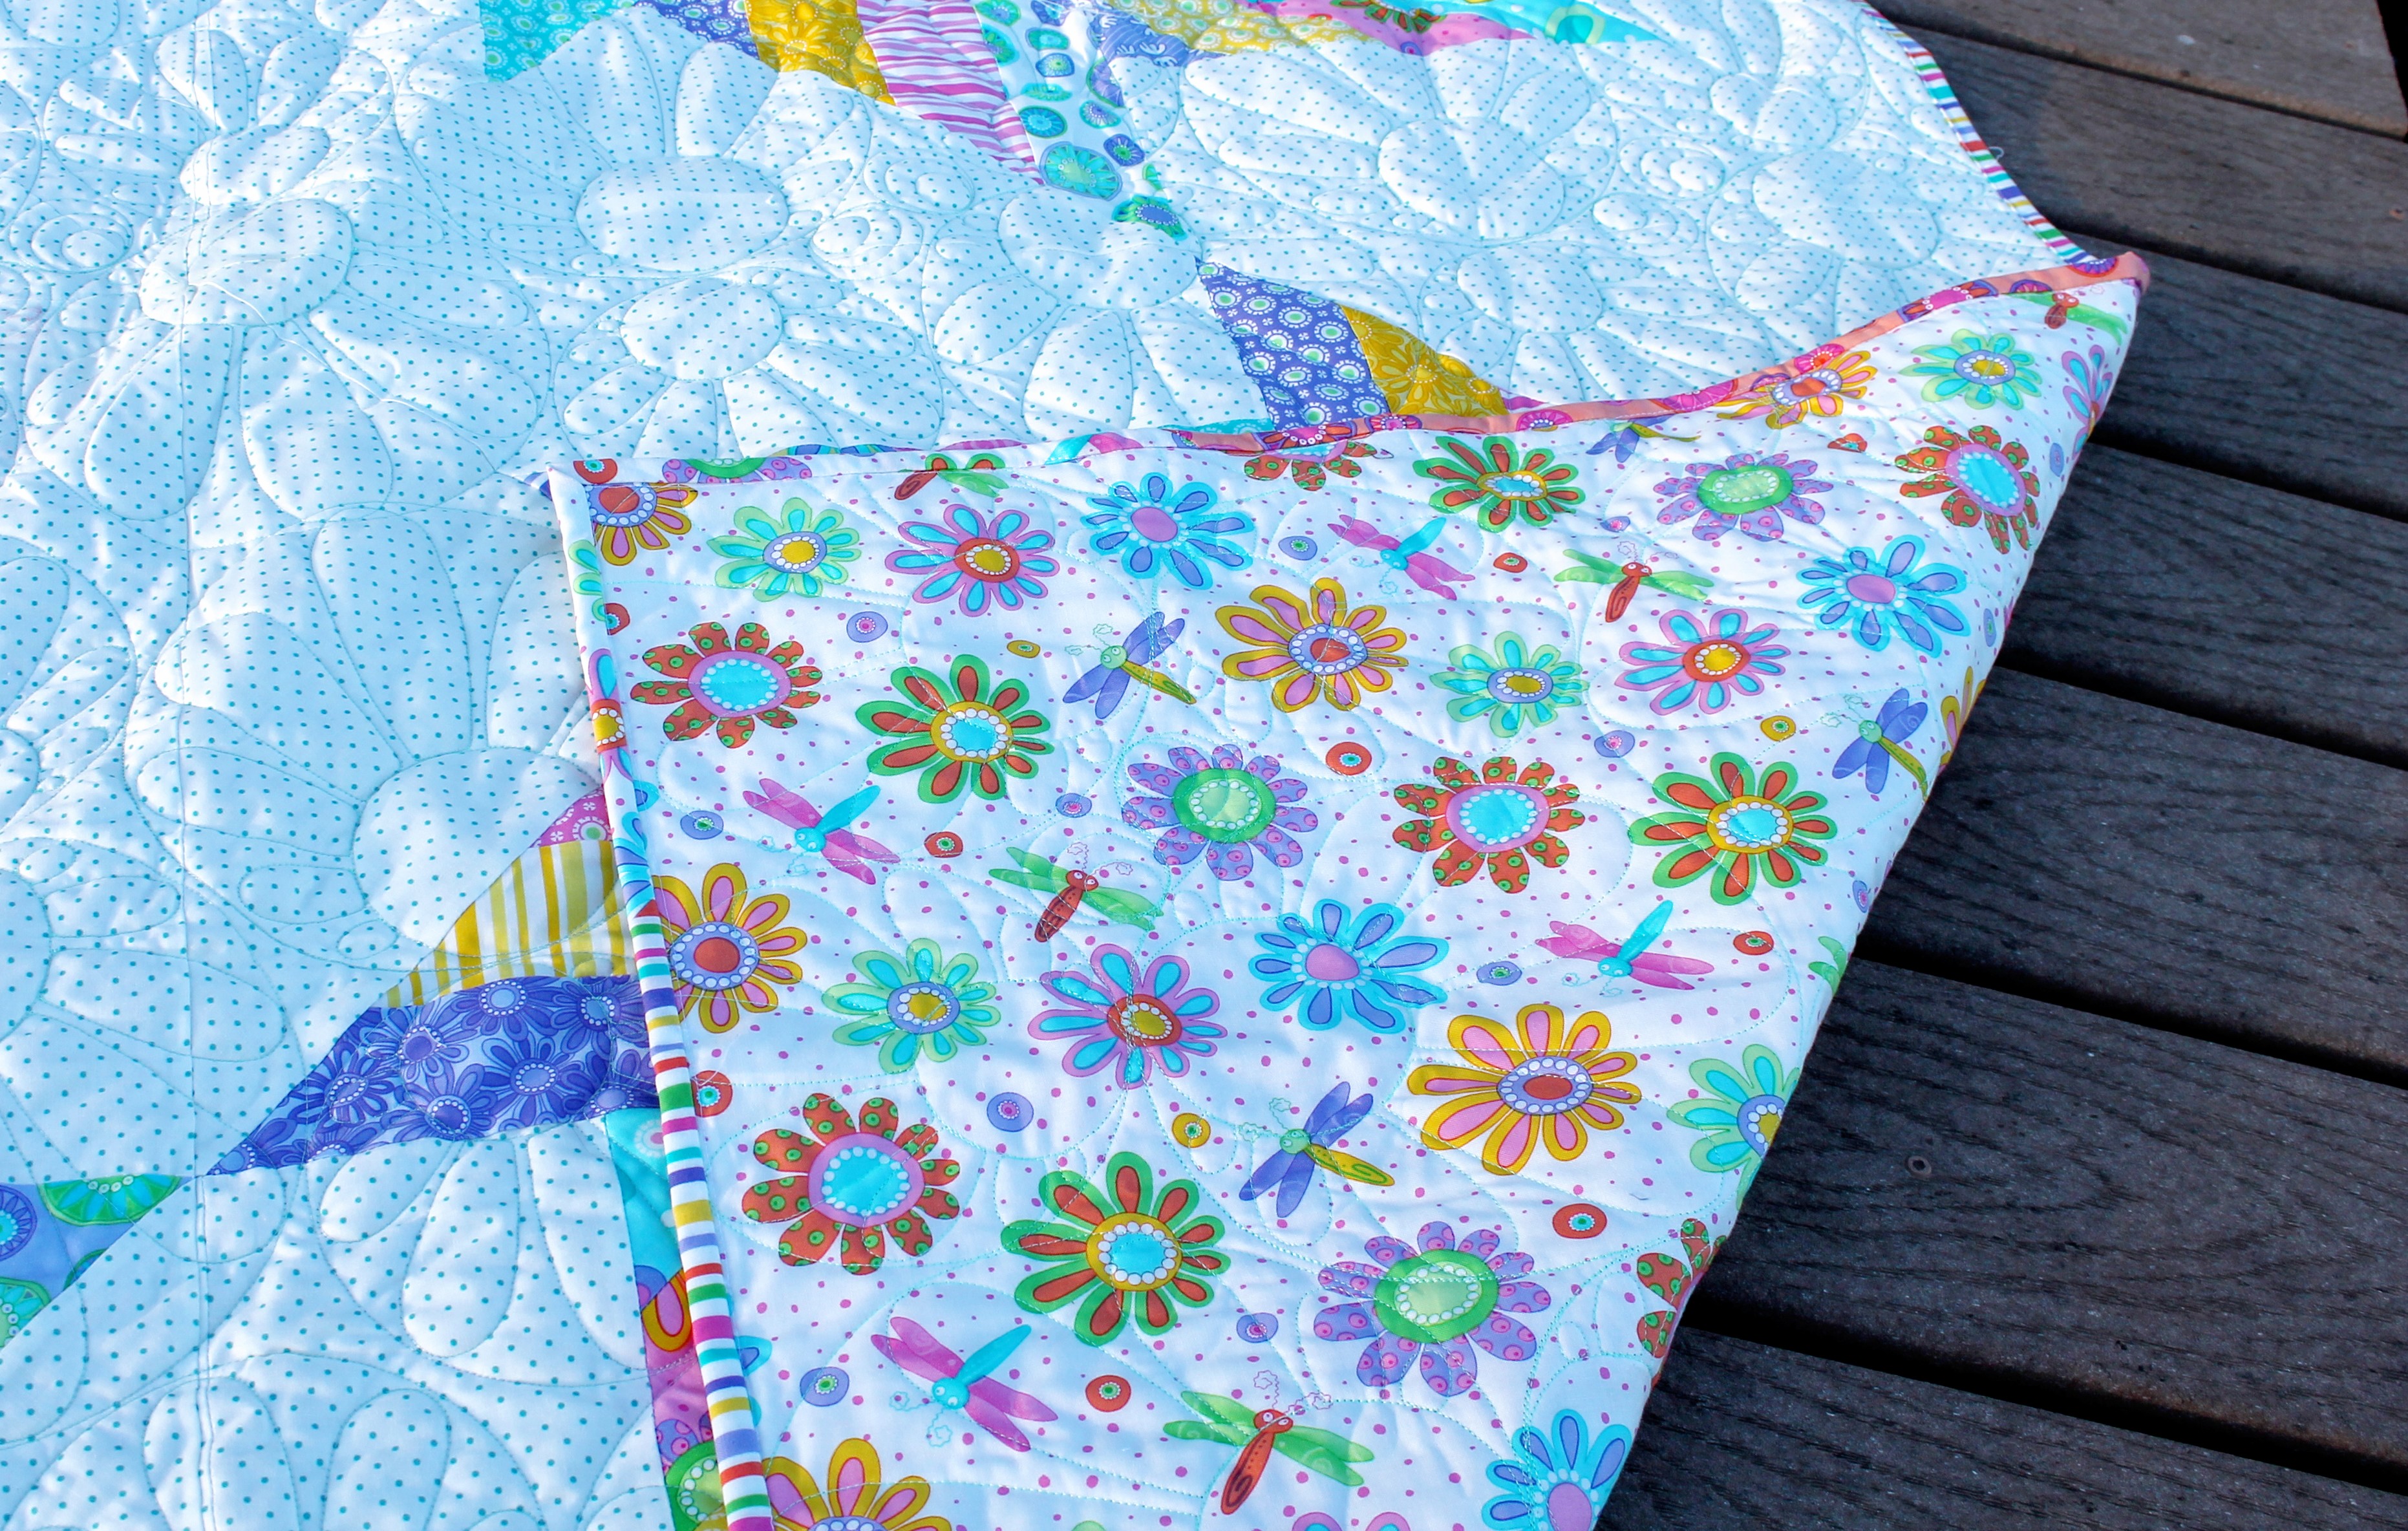
![]()
A 64 x 64 inch quilt, perfect for a large baby quilt or snuggling on the couch. I hope you enjoy this pattern!
Brenna Goode
{quiltingintheheartland.blogspot.com}
![]()
Posted in: