Welcome to Moda Fabrics!
Dancing in the Stars
Dancing in the Stars
Published:
Jul 23 2015 - 23:00


For as long as there have been people trying to find their way, there have been stars to guide them. Stars dance in the heavens weather we see them there or not. They warm the darkness of the night and fill us with hope. They kindle romance and inspire wonder. Janet Clare has captured it all in her new line, Nocturne. It seemed appropriate to create a quilt for this line using a classic "road to" block, however, a trip to the stars can not be taken on any ordinary road.
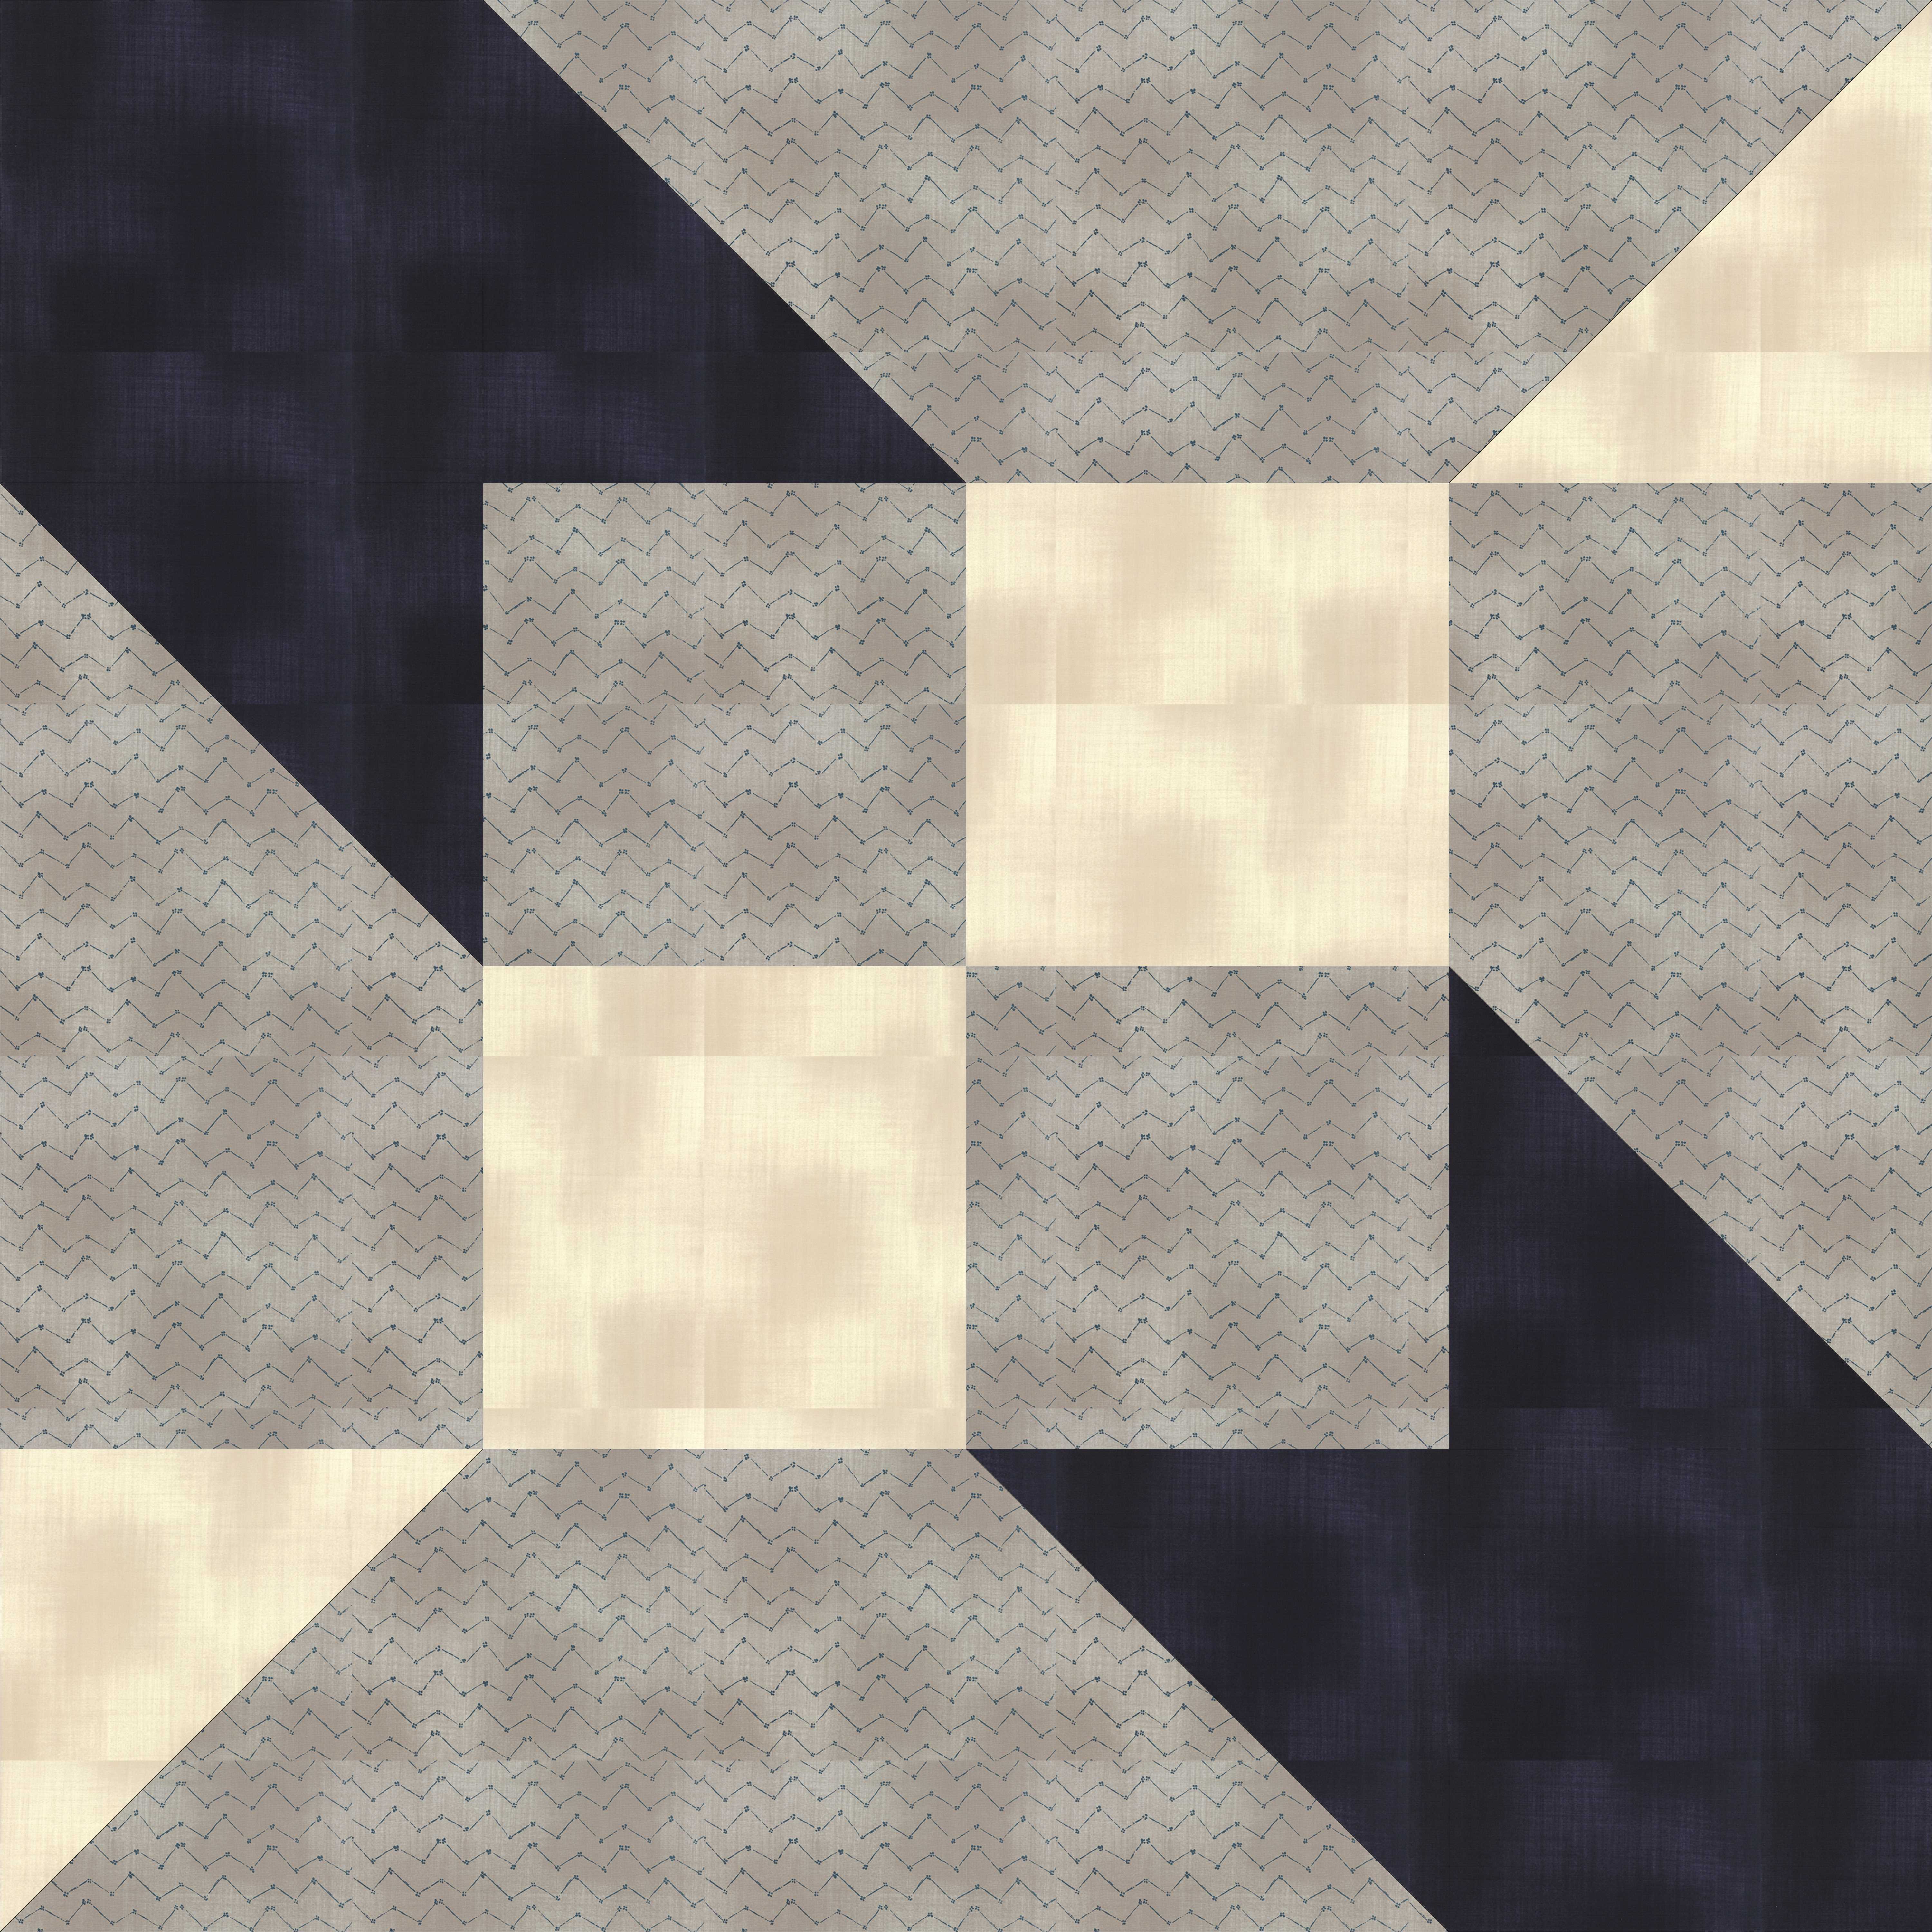
For this quilt I have adapted "Road to Oklahoma" - given it a twist in the corners and created something new. I hope you enjoy the pattern as much as I enjoyed making it for you.
This quilts finishes at 82 1/2" square
![]()
- 1 Fat Quarter Stack Nocturne
- ½ yard Inner border I used SKU#1357-26
- 1 ½ yards Outer border I used SKU#1382-15
- ½ yard Background supplement #1 I used SKU#1381-12
- ½ yard Background supplement #2 I used SKU#1384-12
- 1 yard Binding I used SKU#1357-29
- 5 yards Quilt Back
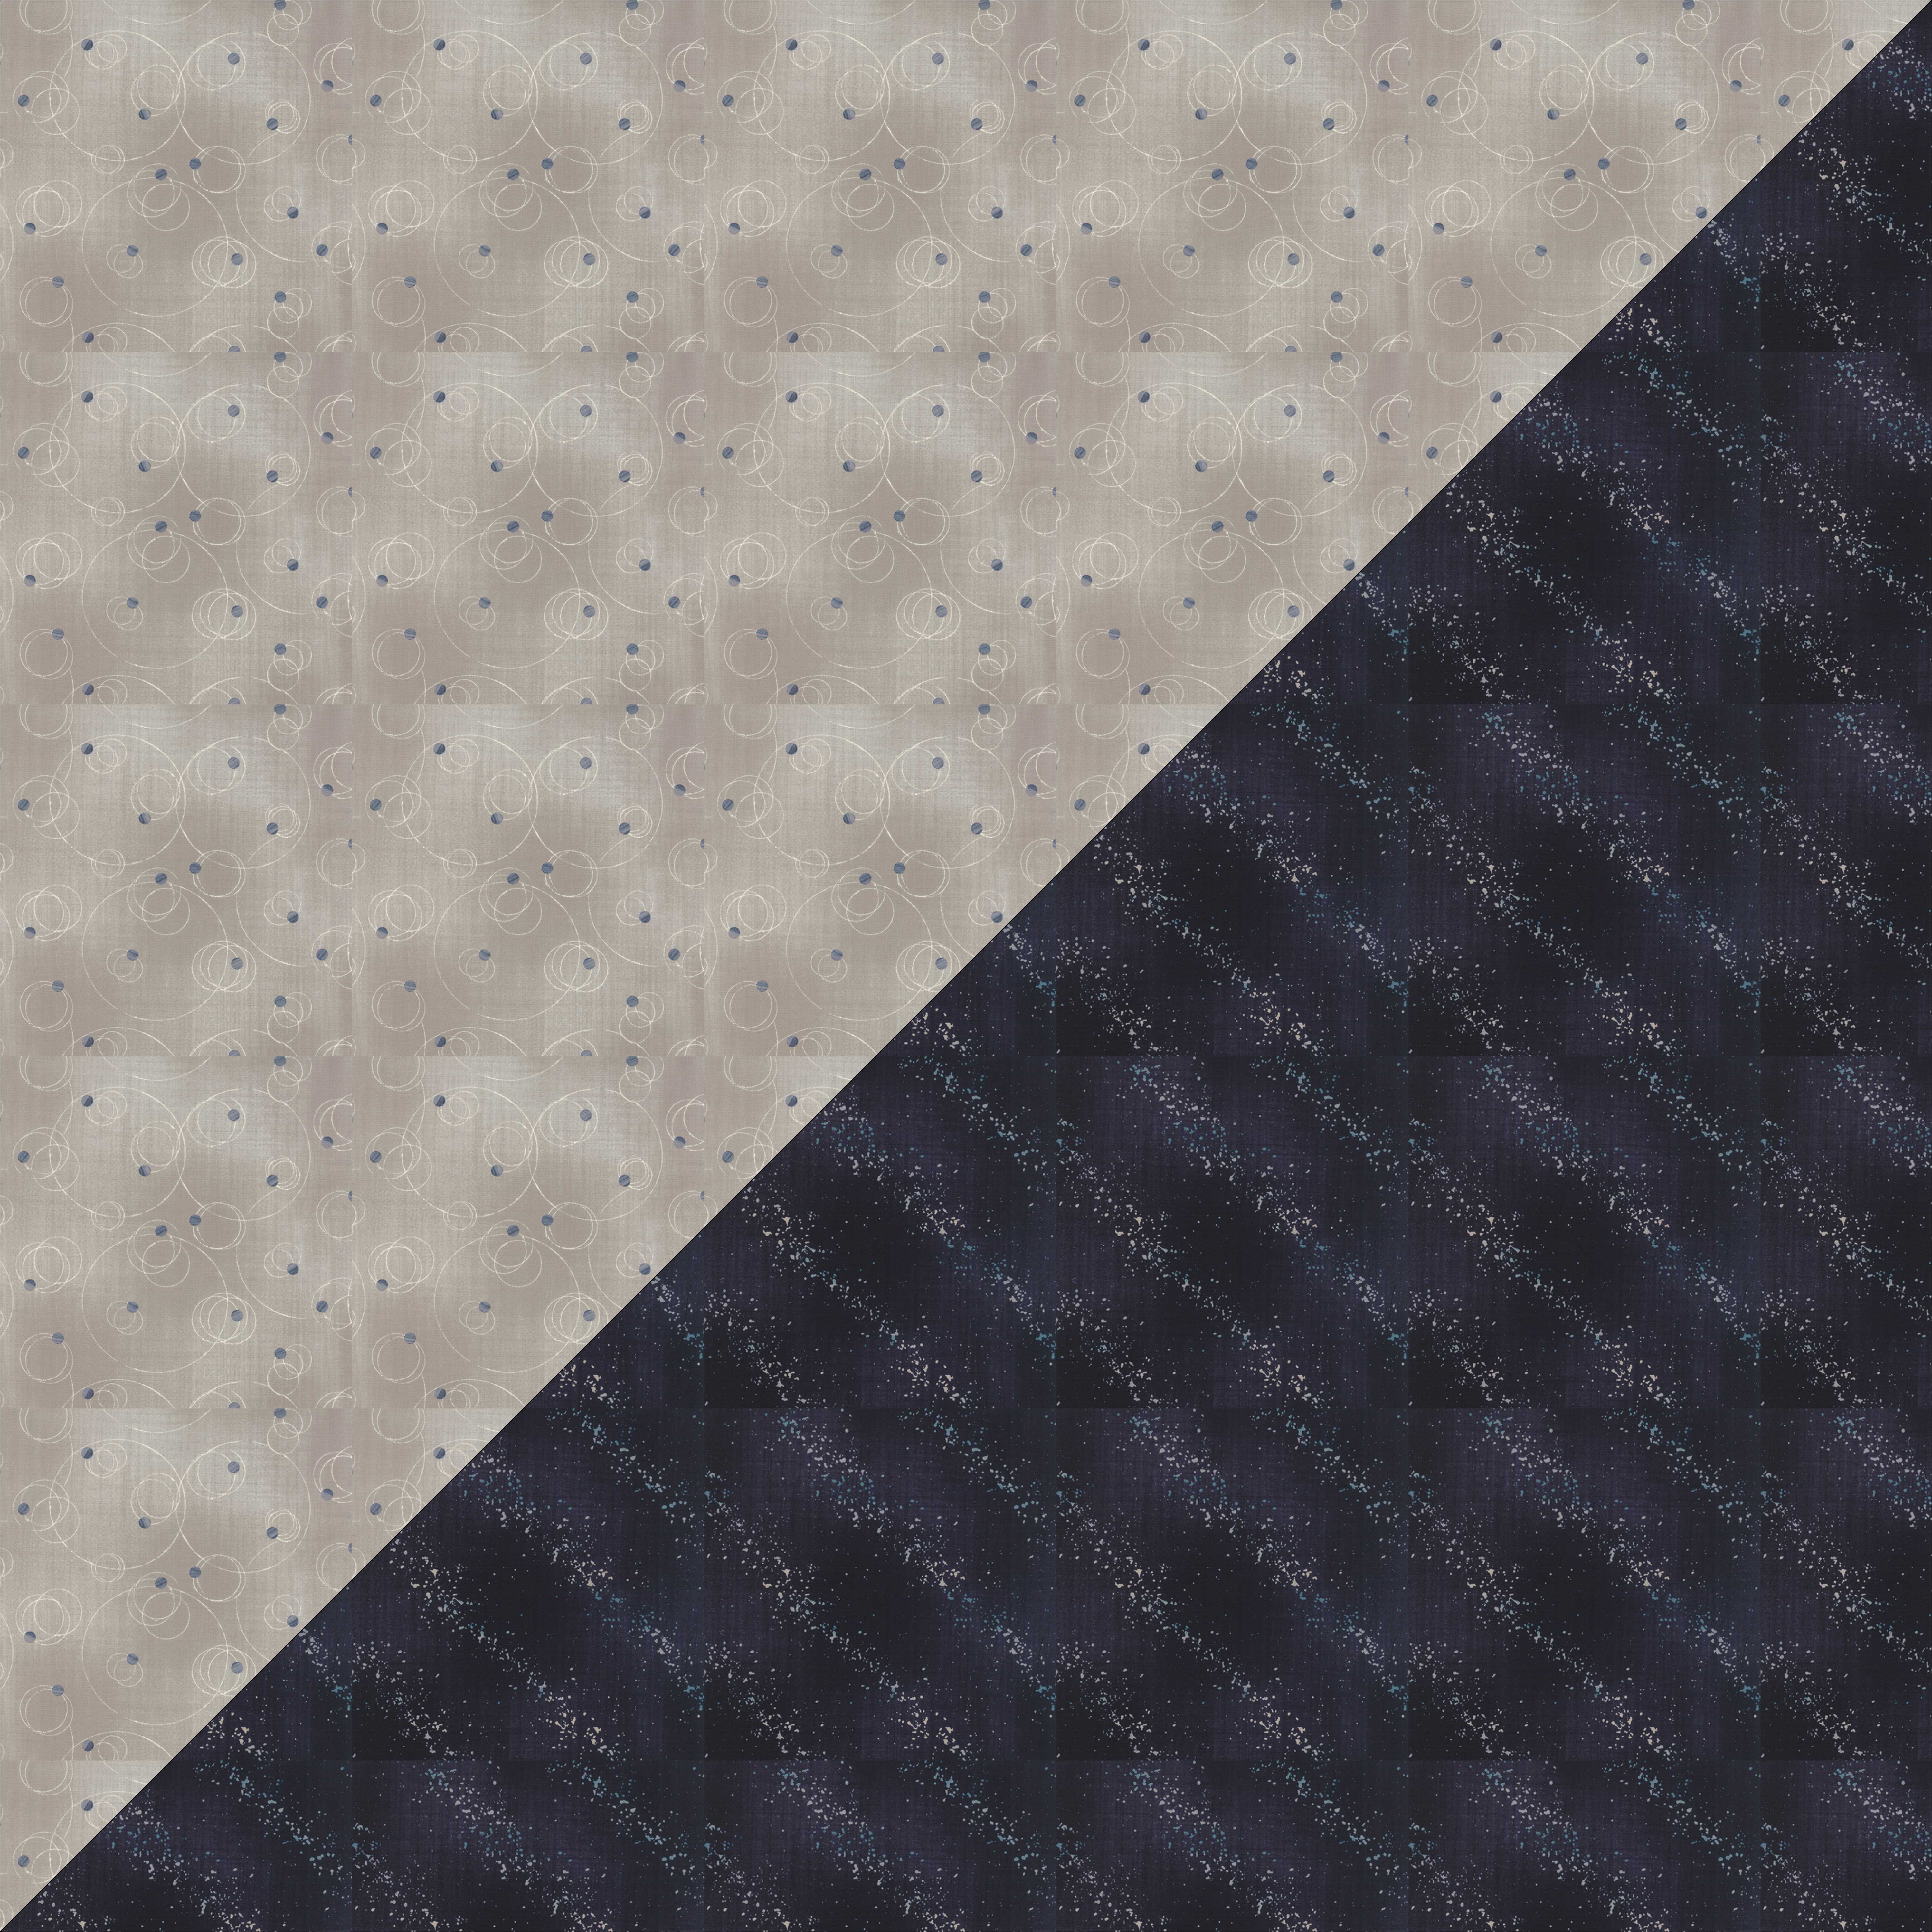
For the scrappy quilt you need to sort your fat quarter bundle into three color groupings – Backgrounds (greys), Stars (darks), and Roads (lights). To make this quilt you need…
- Background (greys) 3 ½ Yards = 14 fat quarters
- Stars (darks) 1 ¾ yards = 7 fat quarters
- Roads (lights) 1 ¼ yards = 5 fat quarters
When I sorted my fat quarter I set aside any fabric that read more than one color. If you have a hard time saying, “This fabric is grey,” then that fabric does not belong in the grey pile. Set aside any fat quarters you are not using (I find it helpful to put them in a baggy marked "rejects"). Use them as part of your back to add interest to the flip side of your quilt.
Remember that you have 1 yard (4 fat quarters) of supplemental background fabric. Don’t get upset when your count of greys seems short. This is a scrappy quilt after all.
A quilt made of just three fabrics chosen for background, stars, and roads would be stunning.
I use EQ7 to draw my quilt projects. This wonderful tool gives me an accurate idea of basic requirements for each project. It helps me draw the pictures and color them with the fabrics from particular lines. (Thank you Moda for providing free files containing images of each line on your web site!) There is nothing sweeter than designing a project, making it, and having it look remarkably like your drawing when you are done. Dancing in the Stars started this way.
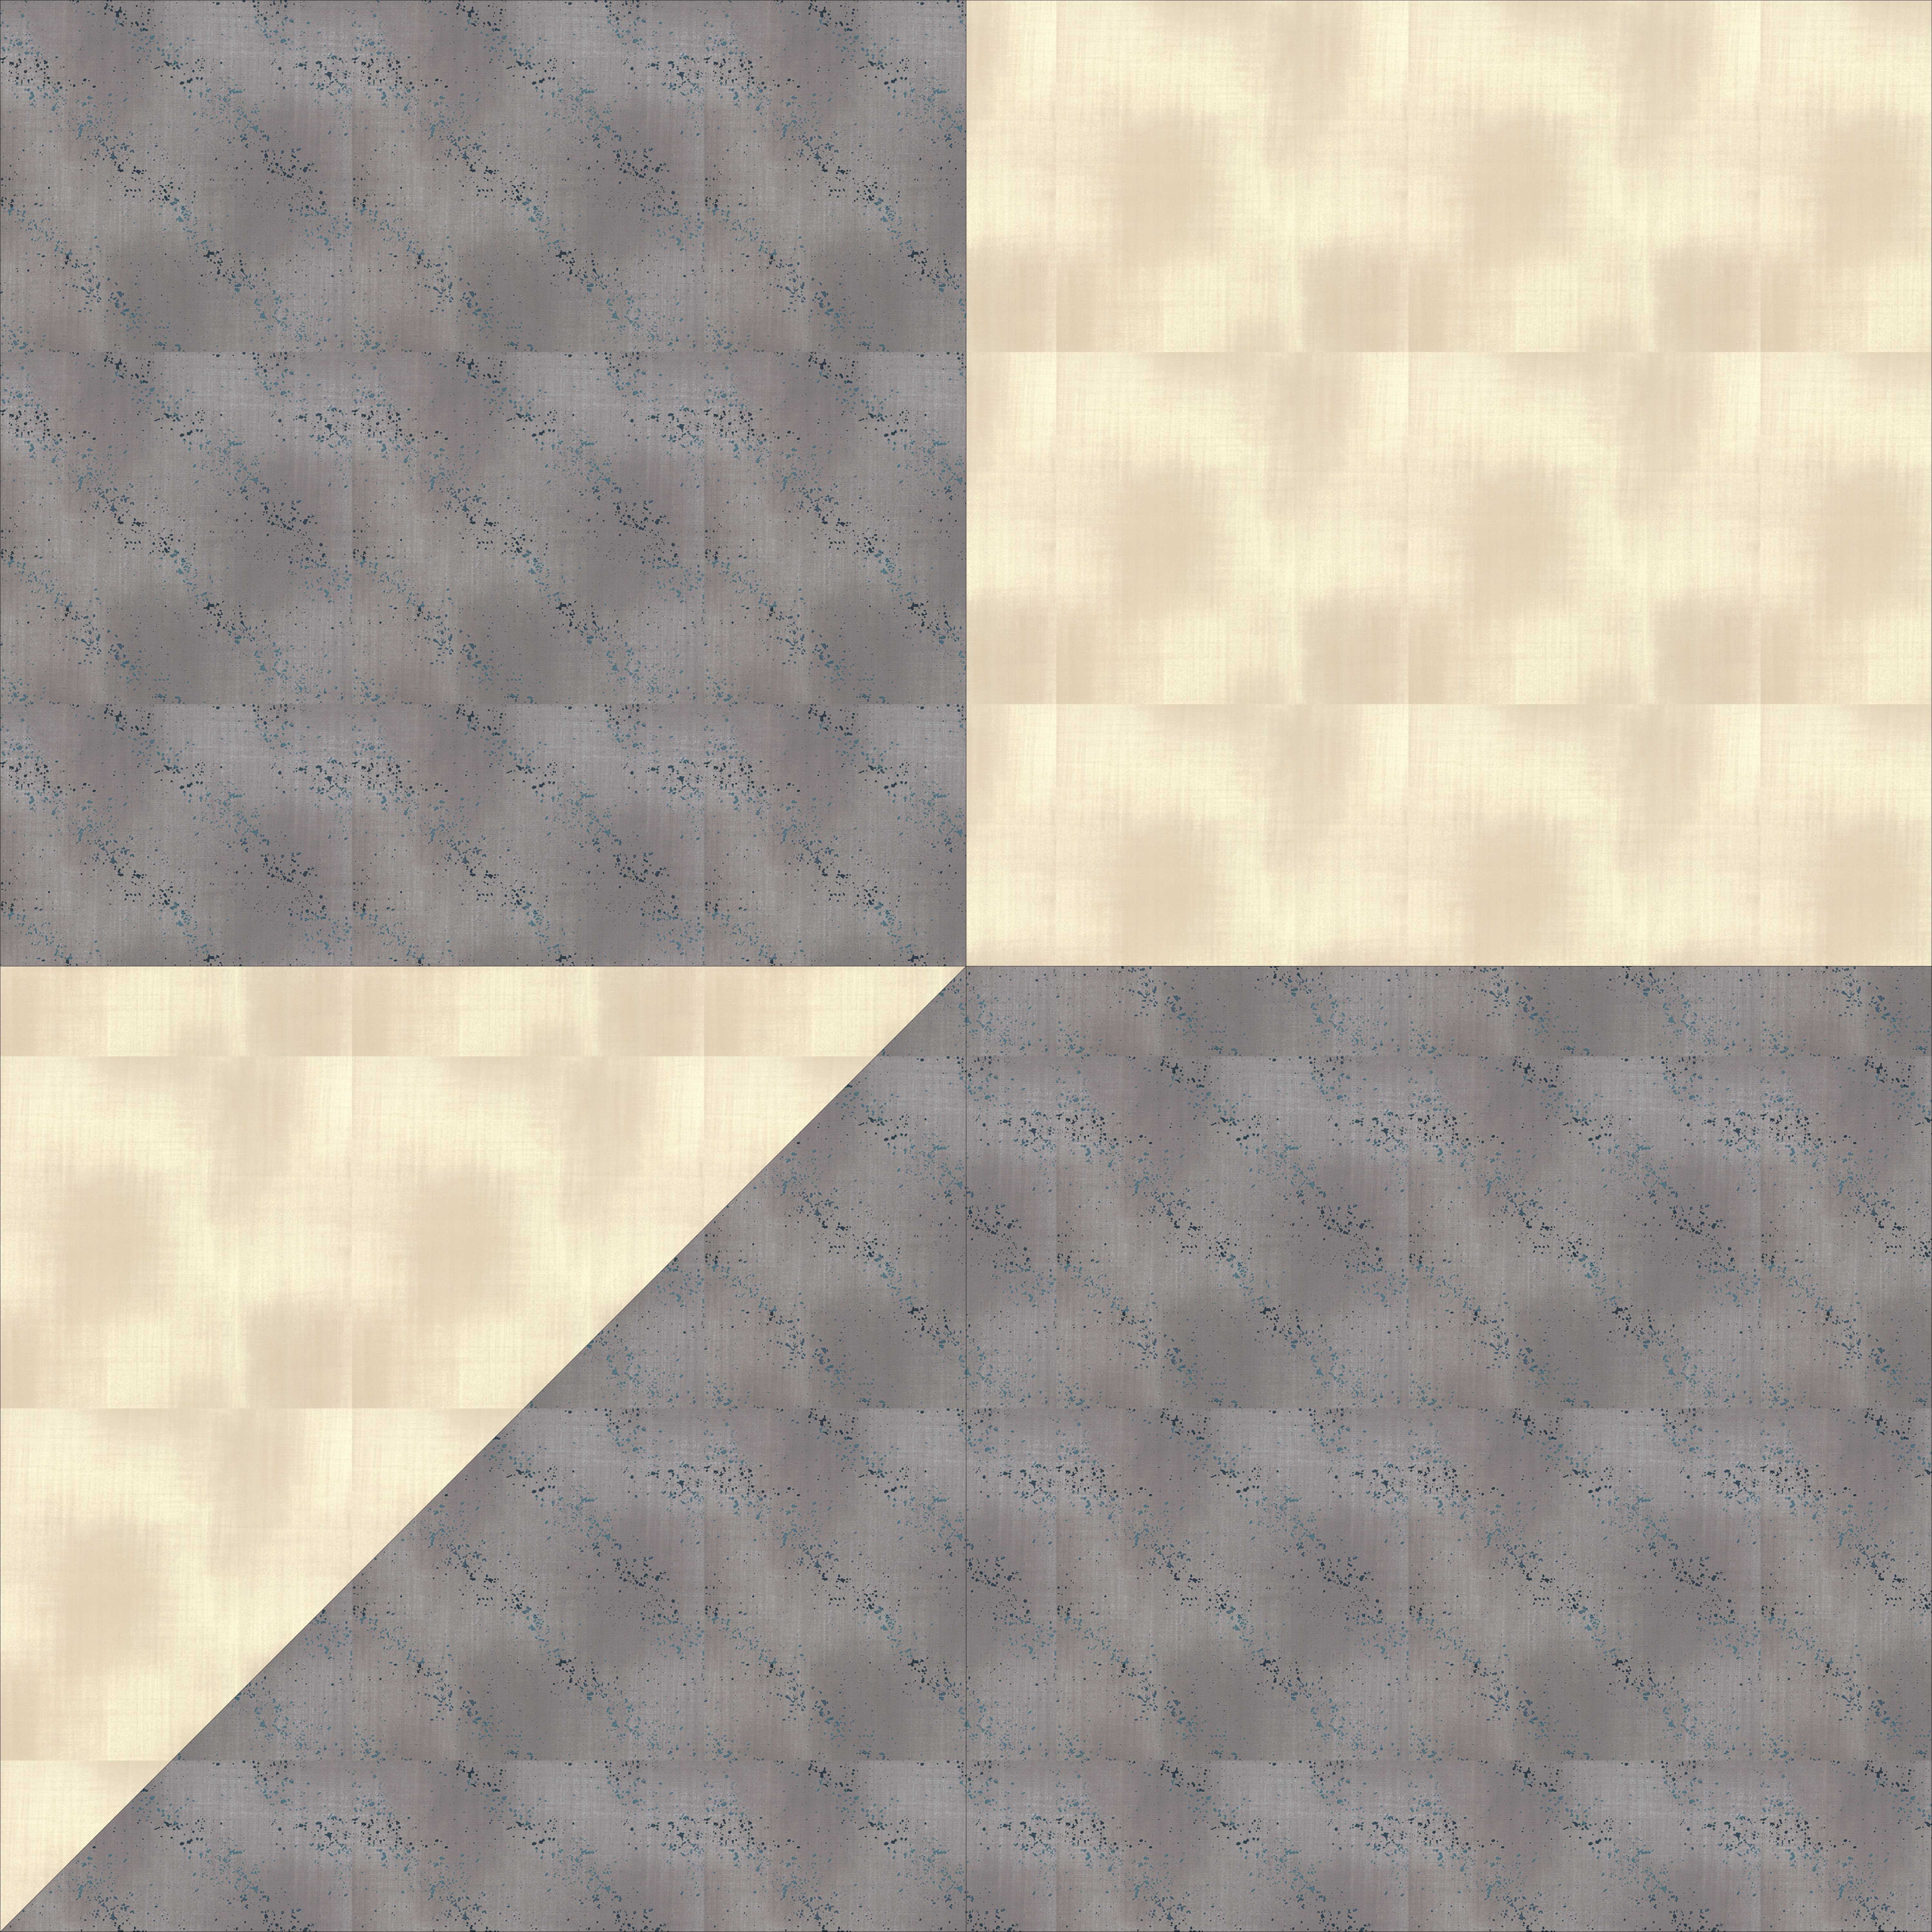
 Three color quilt in final colorway
 Three color quilt in reversed colorway
![]()
Cutting Directions
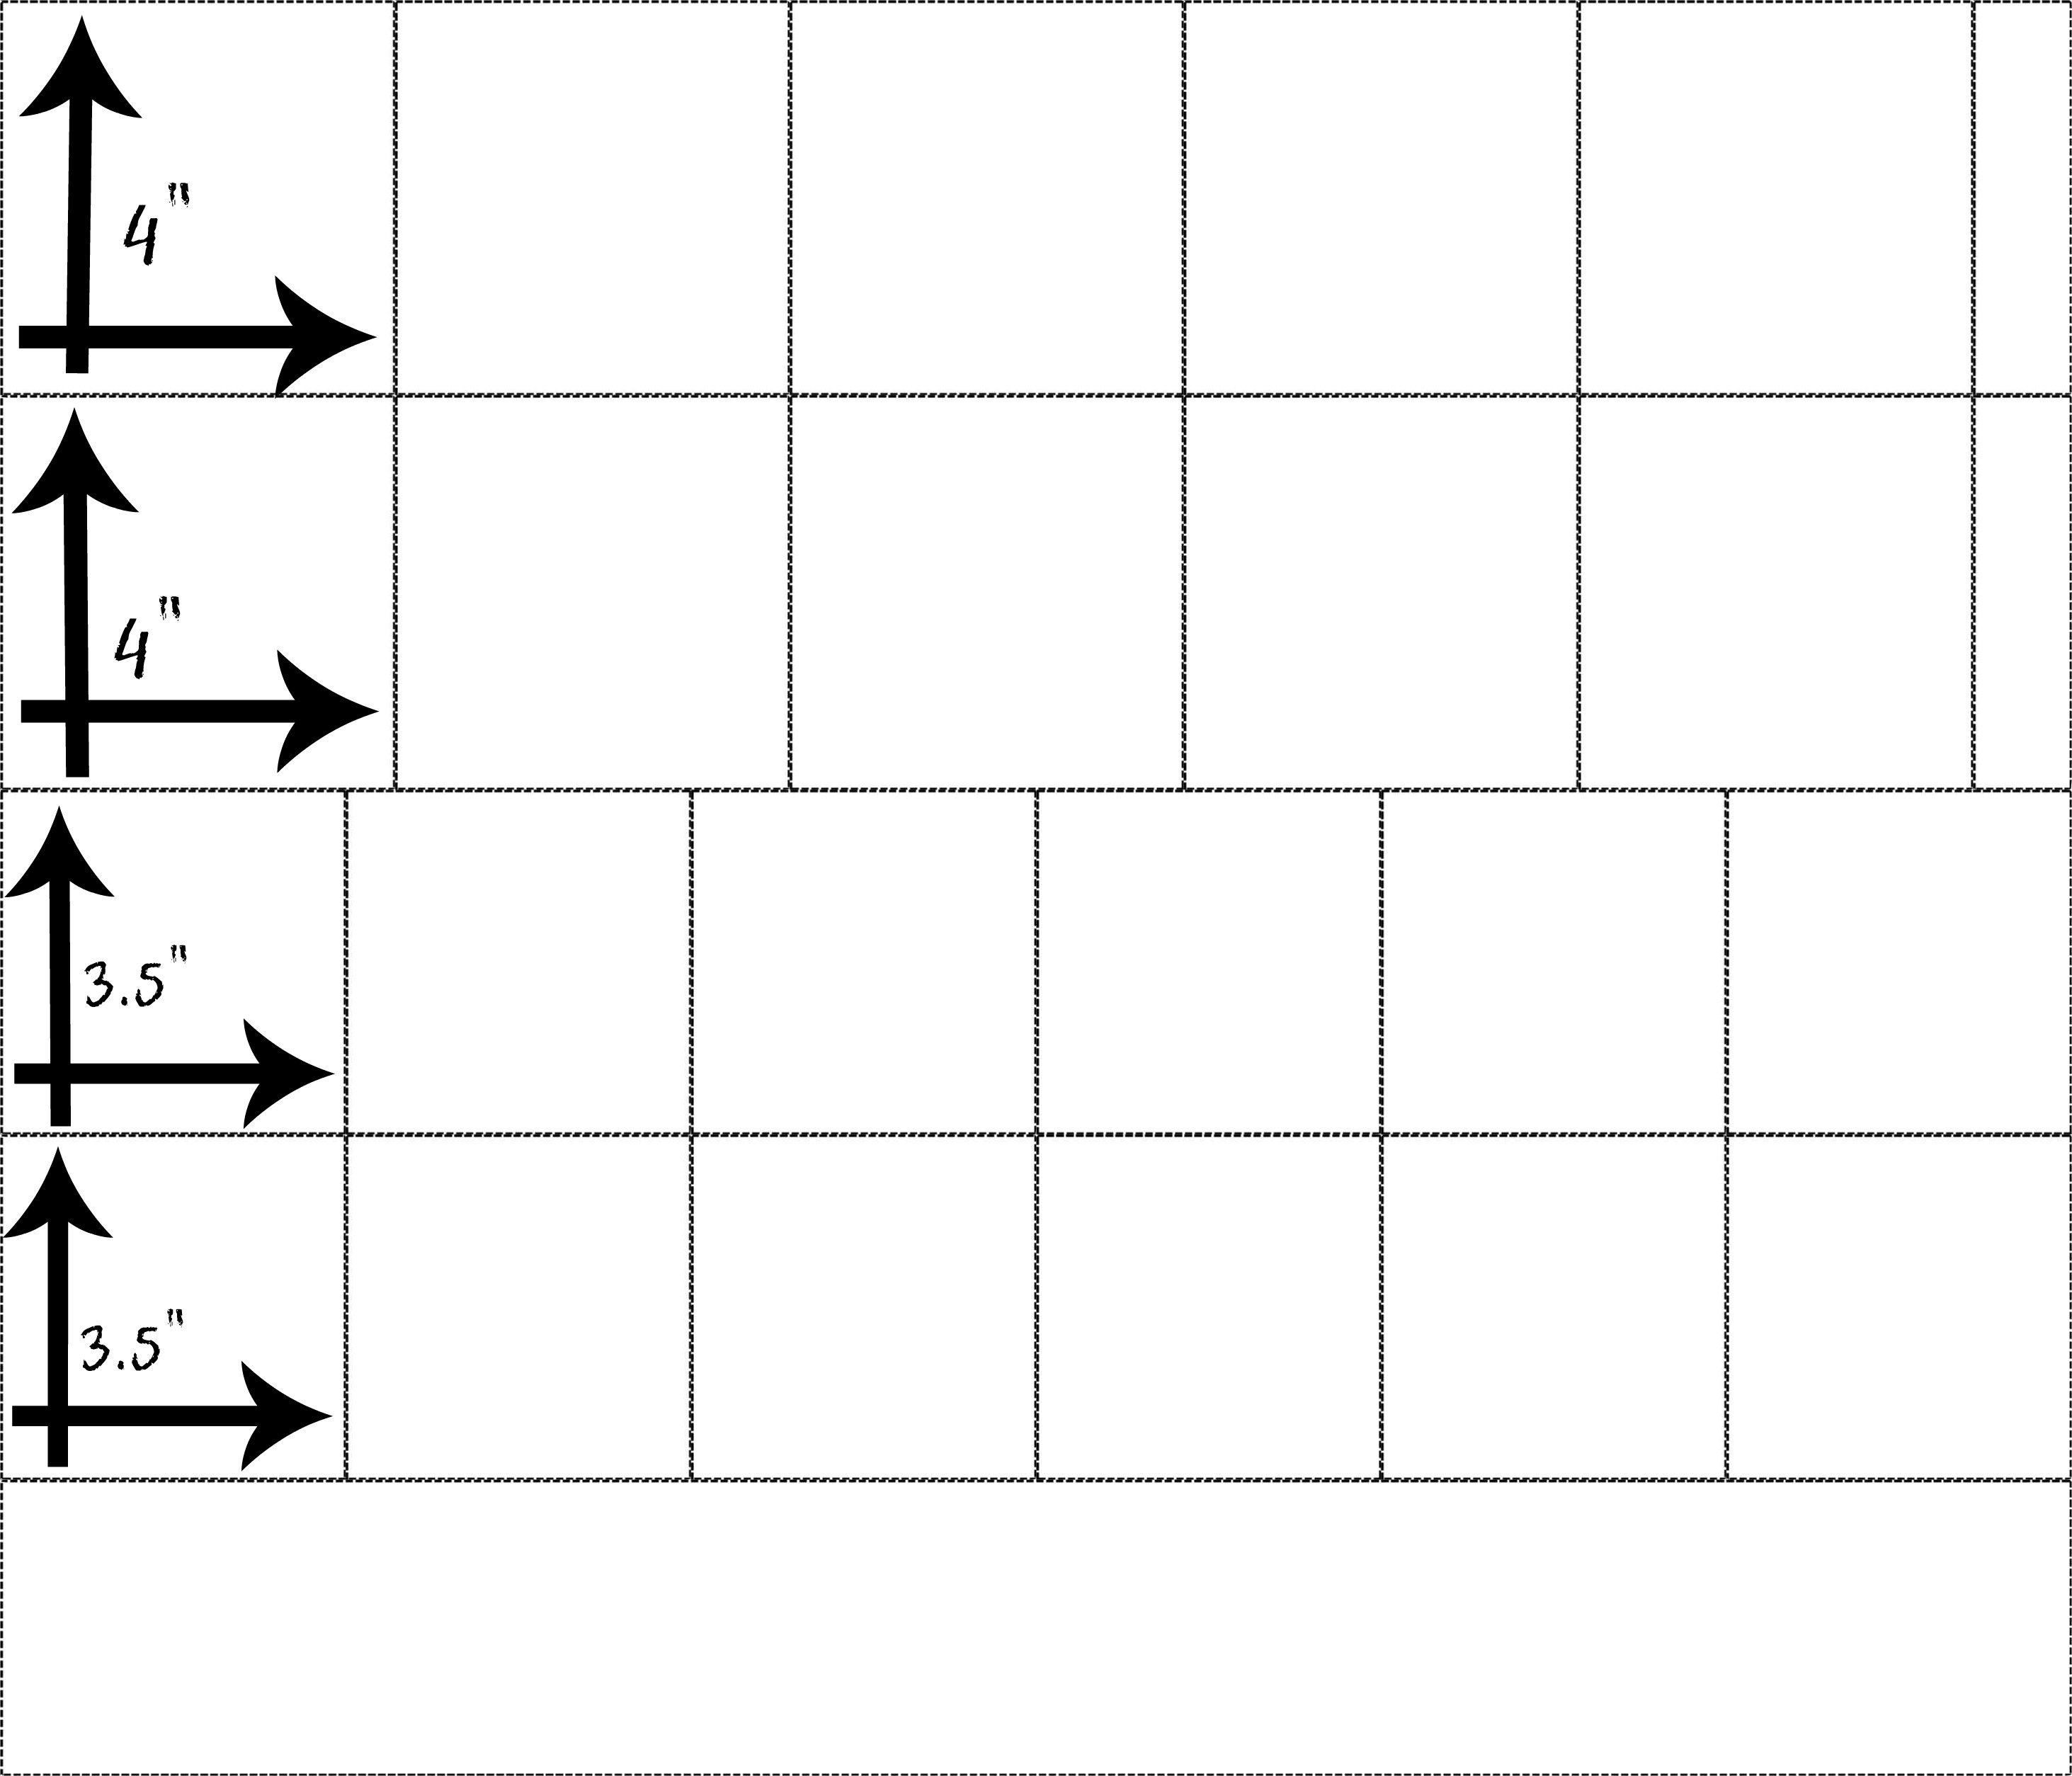
All of the pieces in this quilt are either 3 ½” x 3 ½” or 4” x 4”. To get the most out of your fat quarters, cut strips the long way and then sub cut. (4” x 21” or 3 ½” x 21”) Cut the larger pieces first. If there is sufficient strip left to cut some smaller pieces, trim it down and do so.
 Cut the big pieces first. Alter your cutting plan if you need more of one type of square. My best advice is to jump in...if you worry over how many squares come from which fabrics you will never get started.
- Background – greys
- 216, 3 ½” x 3 ½” squares
- 12* squares each from 10 fat quarters, plus 36 from 8 wof strips
- *Some of my fat quarters yielded a third, 3 ½” strip. Do this where you can…it will create a scrappier effect. Take the rest of the 3 ½” squares from the supplemental yardage.
- 108, 4” x 4” squares (for half square triangles, HSTs)
- 10 squares each from 10 fat quarters, plus 8
- 216, 3 ½” x 3 ½” squares
- Road – lights
- 72, 3 ½” x 3 ½” squares
- 14 squares each from 5 fat quarters, plus 2
- 36, 4” x 4” squares (for HSTs)
- 7 squares each from 5 fat quarters, plus 1
- 72, 3 ½” x 3 ½” squares
- Stars – darks
- 72, 3 ½” x 3 ½” squares
- 10 squares each from 7 fat quarters, plus 2
- 72, 4” x 4” squares (for HSTs)
- 10 squares each from 7 fat quarters, plus 2uh6
- 72, 3 ½” x 3 ½” squares
- Inner Border
- 8, 1 ½” x width of fabric (wof) strips
- Outer Border
- 8, 4 ½” x wof strips
- Binding
- 9, 2 ½” x wof strips
Before you go on to piecing you need to step away from the project and rest. It took me two days to cut all of this out. If you have some magic way to do it faster please let me know. If you don't then you will need to take a moment to stretch. What better way to do that than to go outside and look up at the amazing display.
Sewing Directions
Dancing in the Stars is made from 36, 12 ½” x 12 ½” (actual size) blocks set in a 6 x 6 grid. Each of the blocks is made the same way. It is perfectly acceptable to make all of the units for the project at the same time (this is how I would do it, as it is faster for me.) However, it is also perfectly acceptable to make one block at a time. My suggestion is to do what seems logical to you. You will have the best chance of completing the project if you proceed in a manner that is comfortable. That said, my directions are written as though you were just making one block. Numbers in parenthesis indicate the number of pieces for the whole quilt.
Half Square Triangles
- Gather
- 3 (108) 4” x 4” squares background fabric
- 2 (72) 4” x 4” squares stars fabric
- 1 (36) 4” x 4” squares road fabric
- Draw a diagonal line on the wrong side of all 4” background fabric squares.
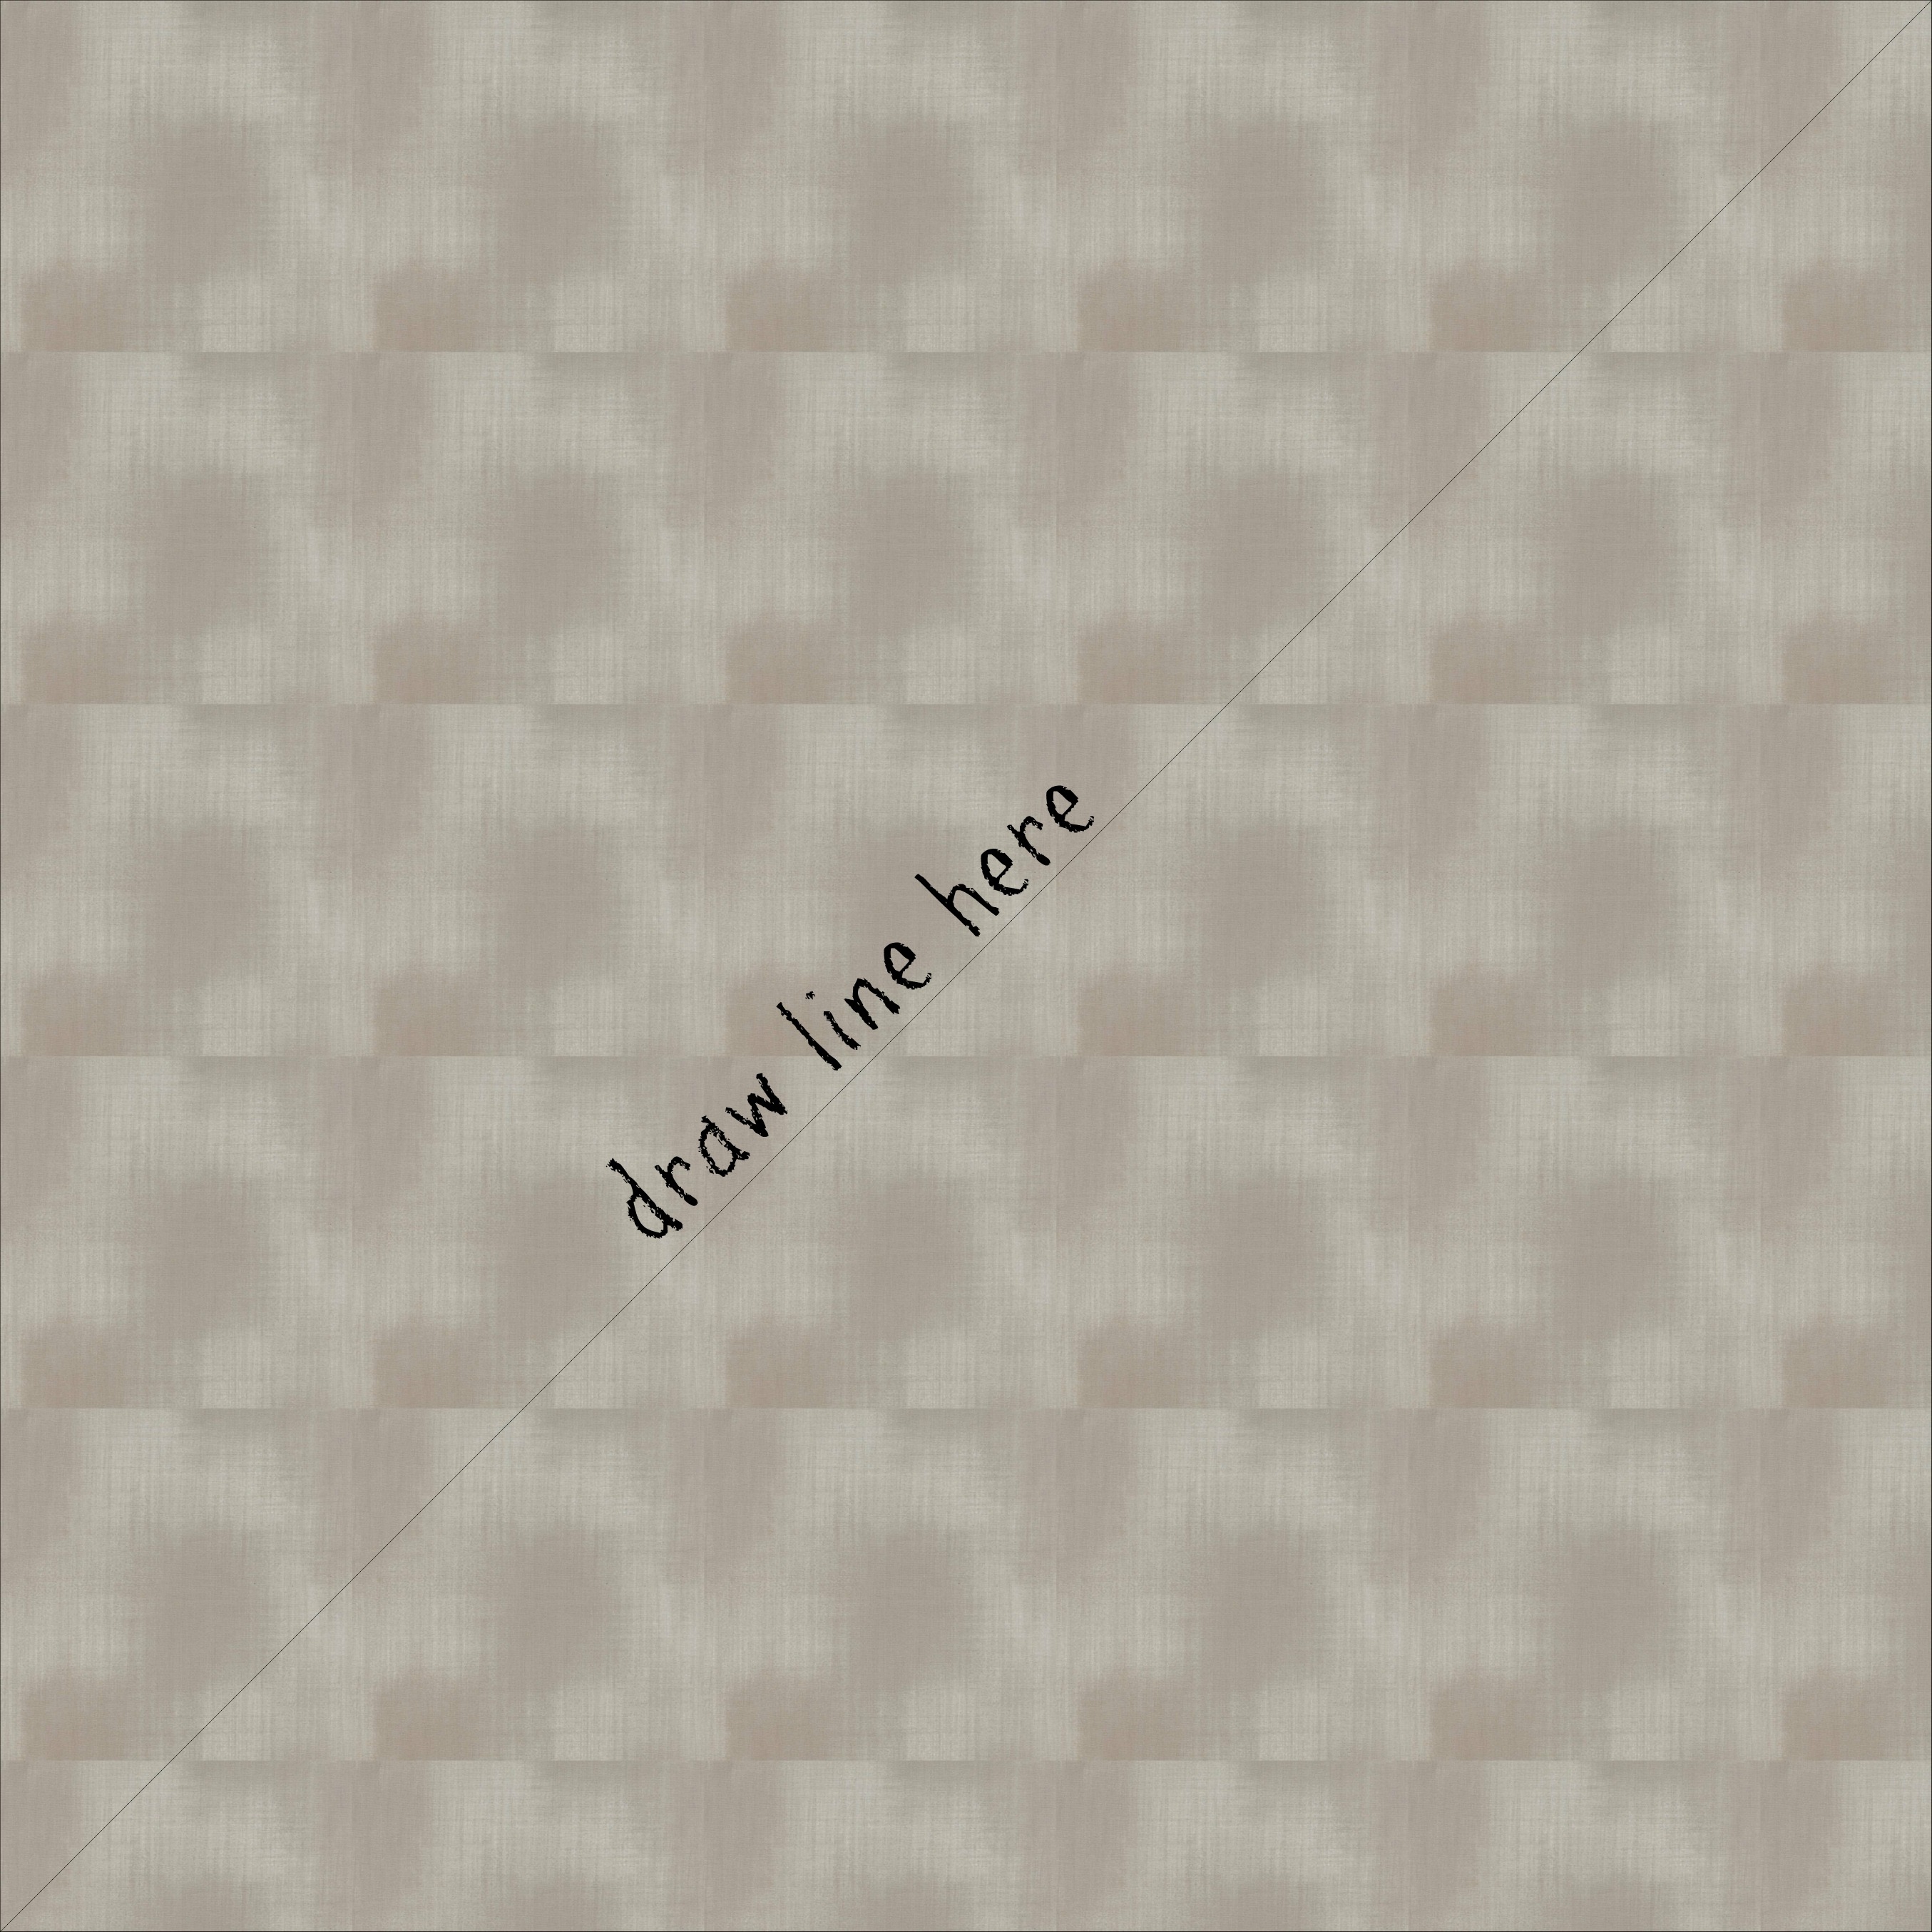
- Pair each background square with a star square or a road square. (If you are doing a scrappy quilt, don’t think too much about which fabrics you pick. It can drive you crazy, and does not usually significantly impact the end result.)With right sides together, sew ¼” from each side of the drawn line.

- Iron flat.
- Cut on drawn line to create 2 HSTs.
- Iron seam allowances open.
- Trim each HST to 3 ½” x 3 ½”
- You should have:
- 4 (144) background/star HSTs
- 2 (72) background/road HSTs
Road Units
- Gather
- 4 (144) 3 ½” x 3 ½” squares background fabric
- 2 (72) 3 ½” x 3 ½” squares road fabric
- 2 (72) 3 ½” x 3 ½” background/road HSTs
- Arrange ½ of the gathered pieces to look like the following picture.
- Sew together in rows
- Iron seam allowances towards road fabric in each two piece unit.
- Sew units together
- Pop spin seams.
- Iron flat.
- Trim unit to 6 ½” x 6 ½” square.
- Repeat with remaining pieces for 2 (72) identical road units.
Star Units

- Gather
- 2 (72) 3 ½” x 3 ½” squares background fabric
- 2 (72) 3 ½” x 3 ½” squares star fabric
- 4 (144) 3 ½” x 3 ½” background/star HSTs
- Arrange ½ of the gathered pieces to look like the following picture.
- Sew together in rows
- Iron seam allowances towards HST in each two piece unit.
- Sew units together
- Pop spin seams.
- Iron flat.
- Trim unit to 6 ½” x 6 ½” square.
- Repeat with remaining pieces for 2 (72) identical star units.
Dancing in the Stars Blocks
- Gather
- 2 (72) Road units
- 2 (72) Star units
- Arrange pieces to look like the following picture.
- Be careful to make sure that all of the HSTs are leaning the right way.
- Sew together in rows.
- Iron seam allowances towards the road units.
- Sew rows together.
- Pop and spin seams.
- Iron flat.
- Trim block to 12 ½” x 12 ½” square
- Repeat with remaining pieces for 36 identical Dancing in the Stars blocks.
Quilt Top - Center
Big blocks

-
- Gather 36, 12 1/2" x 12 1/2" Dancing in the Stars blocks
- Divide into 9 groupings of 4 blocks.
- Arrange blocks like picture, being sure to get the roads going in the right direction. They will make an on point square around a big dark star.
- Nestle seam allowances together (if you popped and twisted the seams back at the four patch stage they should all go together nicely now)
- Sew into giant 4 patch block.
- Pop and spin seams.
- Iron flat
- Repeat with remaining pieces for 9 identical big blocks.
Giant 9 patch

- Gather 9, 24 1/2" x 24 1/2" big blocks.
- Arrange blocks in a 3 x 3 grid.
- Nestle seam allowances together.
- Sew into a super giant 9 patch.
- Pop and spin seams.
- Iron flat.
Inner border
- Gather - 8, 1 ½” x width of fabric (wof) strips inner border fabric.
- Sew 4, sets of 2 together at the 1 1/2" edge.
- Iron seams open.
- Attache to 1 set each to top and bottom sides of giant 9 patch.
- Trim excess fabric.
- Iron seam allowances towards the border fabric.
- Attache 1 set each to right and left sides of giant 9 patch.
- Trim excess fabric.
- Iron seam allowances towards the border fabric.
Outer border
- Gather - 8, 4 ½” x wof strips outer border fabric.
- Sew 4, sets of 2 together at the 4 1/2" edge.
- Iron seams open.
- Attache to 1 set each to top and bottom sides of project.
- Trim excess fabric.
- Iron seam allowances towards the border fabric.
- Attache 1 set each to right and left sides of project.
- Trim excess fabric.
- Iron seam allowances towards the border fabric.
Backing
- Gather
- 5 yards backing fabric
- left over fat quarters and or scraps
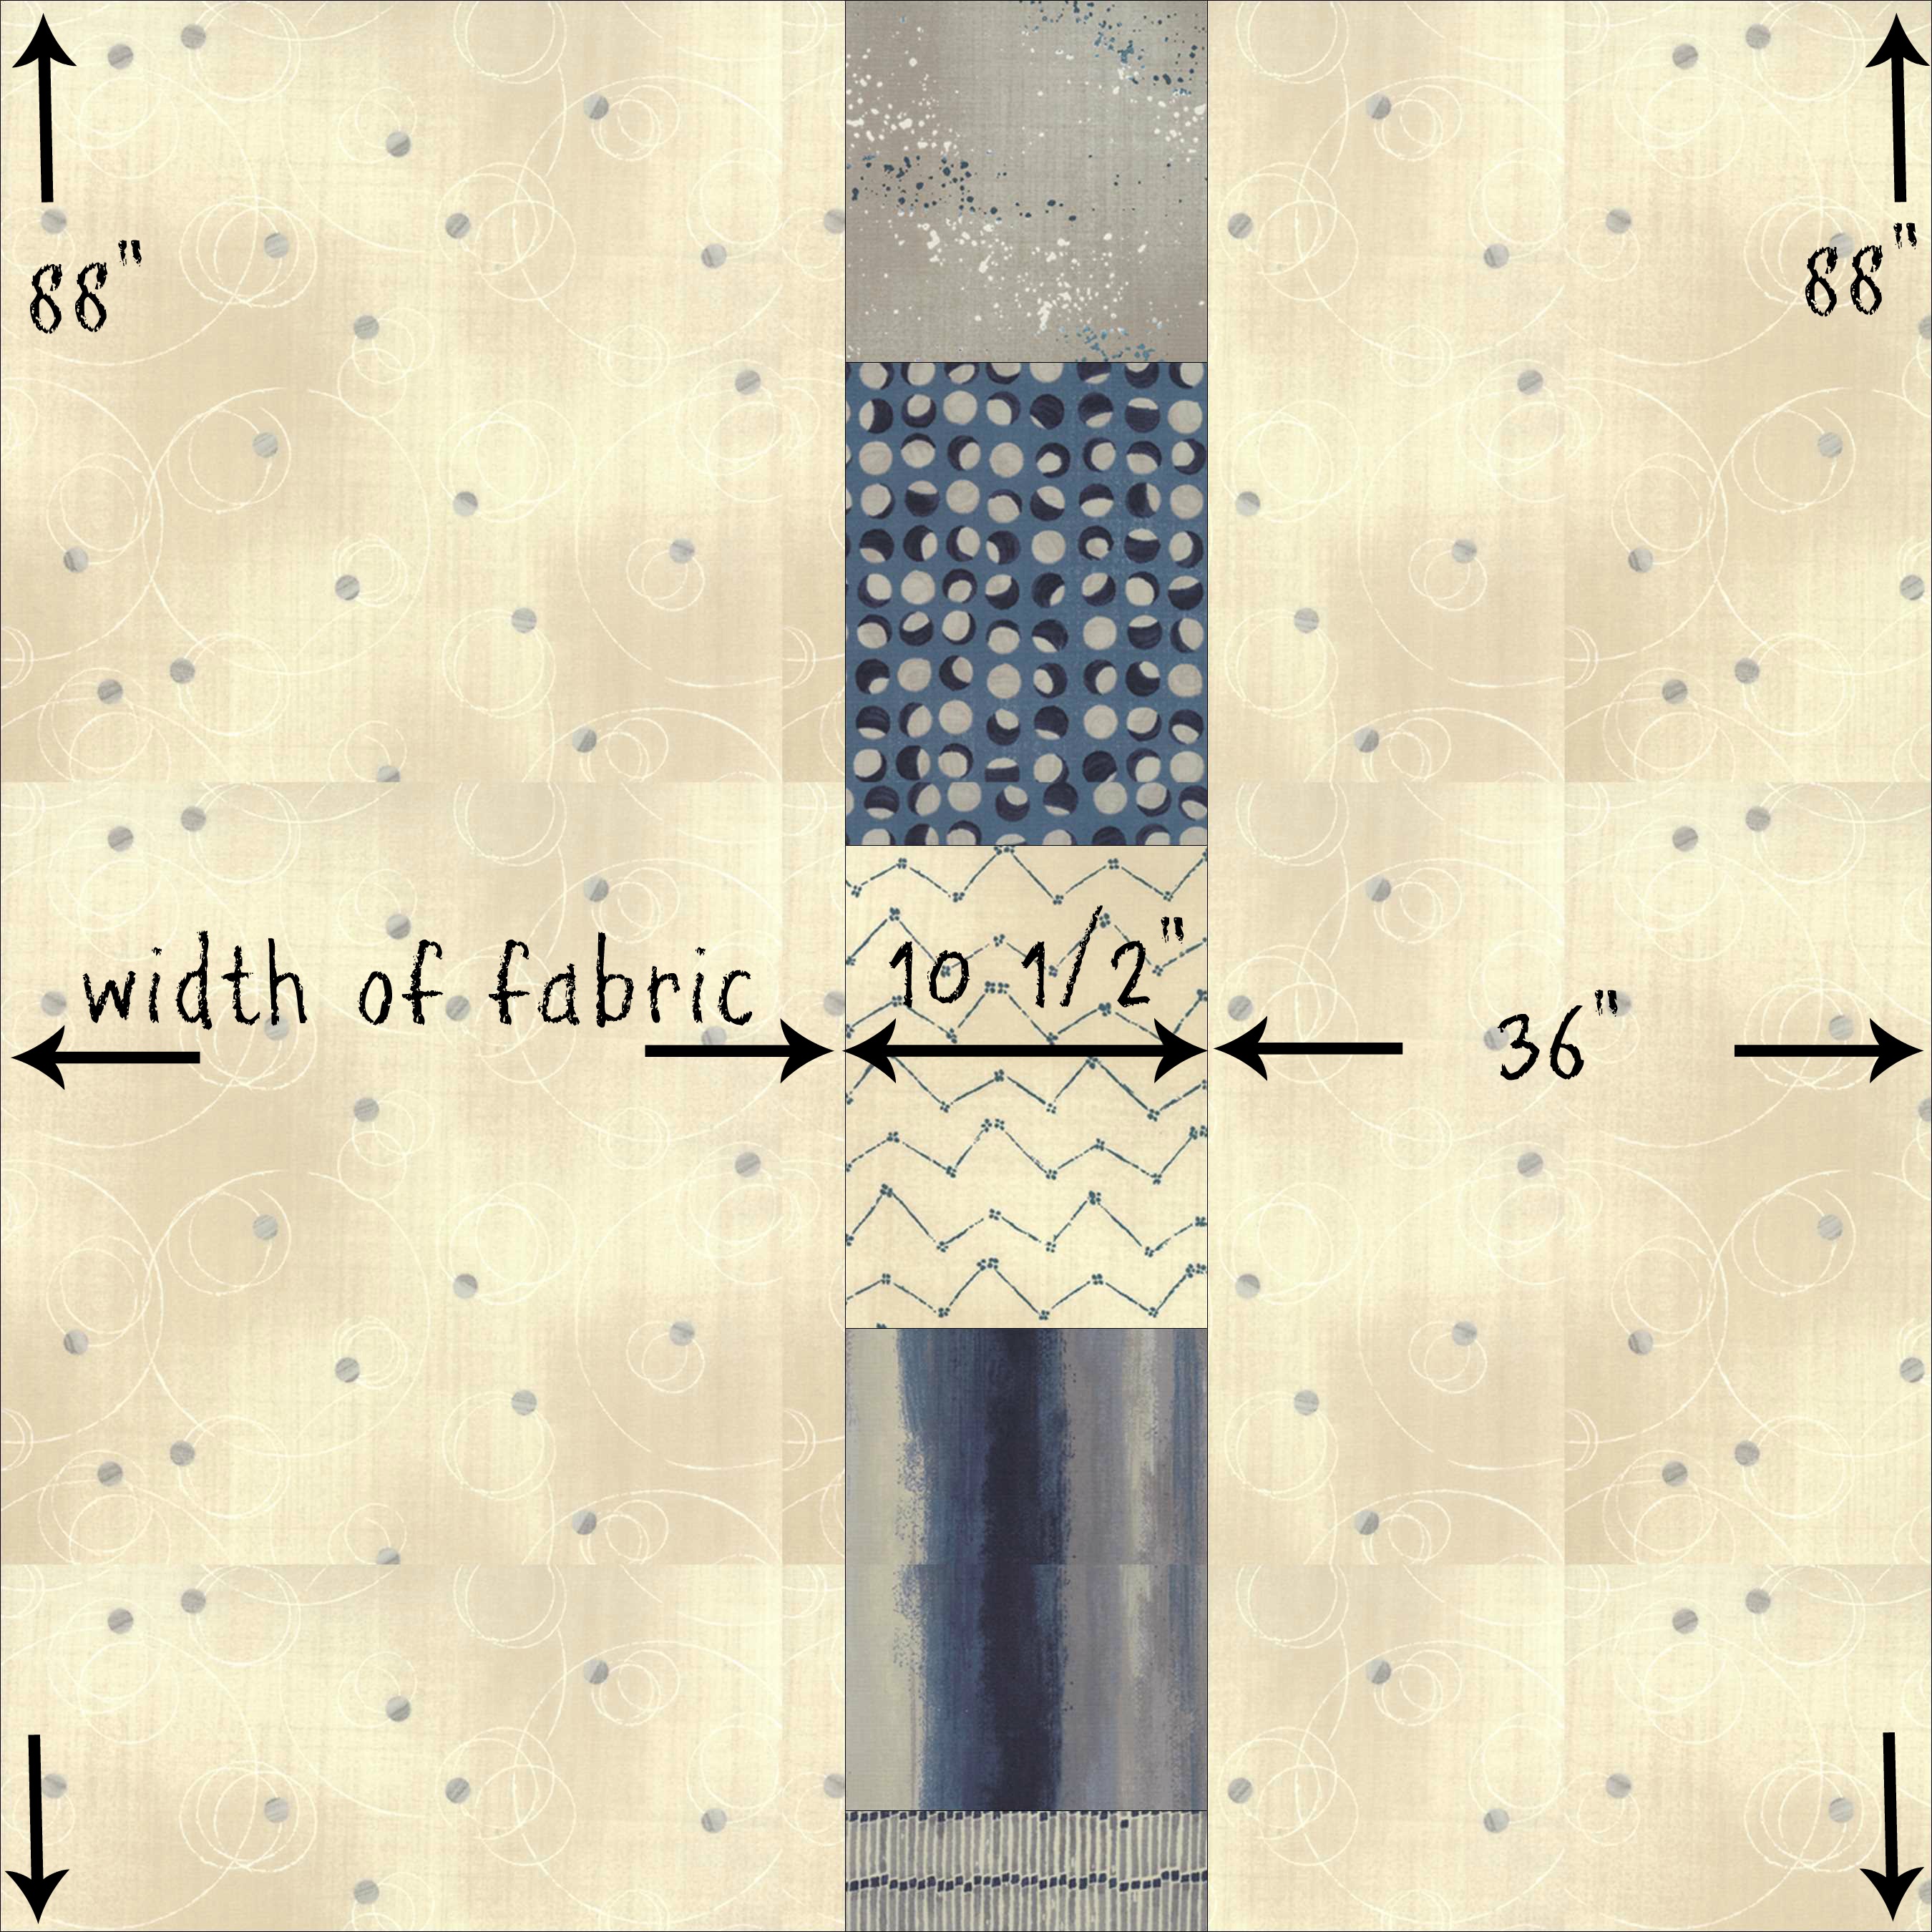
I recommend that you make your back between 6 and 8 inches bigger than your top. If your quilt top measured 10 x 10 (this one doesn't, but hang on for a moment.) then your back should be somewhere between 16 x 16 and 18 x 18. In this case my top measured 82 1/2 x 82 1/2. I made my back 88 x 88. While there is plenty of length in 5 yards of fabric to cover 88", there isn't quite enough width. To supplement my backing material, I cut 5, 10 1/2" x 18" strips off the fat quarters that didn't get used on the front, sewed them end for end (along the short dimension) and sewed them to the long edge of one wof x 88" cut. I then trimmed the second wof x 88" piece to 36" x wof and attached it to the other long side of the pieced column.

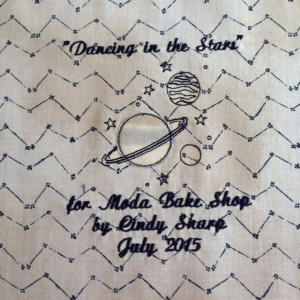
Don't forget your label! Embroider it on one of the cuts from a fat quarter before you start piecing the back. When you sew the final stitch on your binding your quilt will be finished indeed.
Finish and enjoy!
I quilted my sample with Seascape blue thread by Signature Threads. The quilt pattern is Avacado b2b by Anne Bright. I would love to see your version of my pattern. Please post a picture of your work in my Tops to Treasures group in Flickr.
![]()
One 82 1/2" x 82 1/2" quilt - big enough to put on a twin sized bed, with a bit of overhang at the sides, but no pillow tuck; to artfully drape over a couch, close at hand for late night snuggling; or to take on an evening star gazing excursion!
Cindy Sharp
{www.topstotreasures.com}
![]()
Posted in: