Welcome to Moda Fabrics!
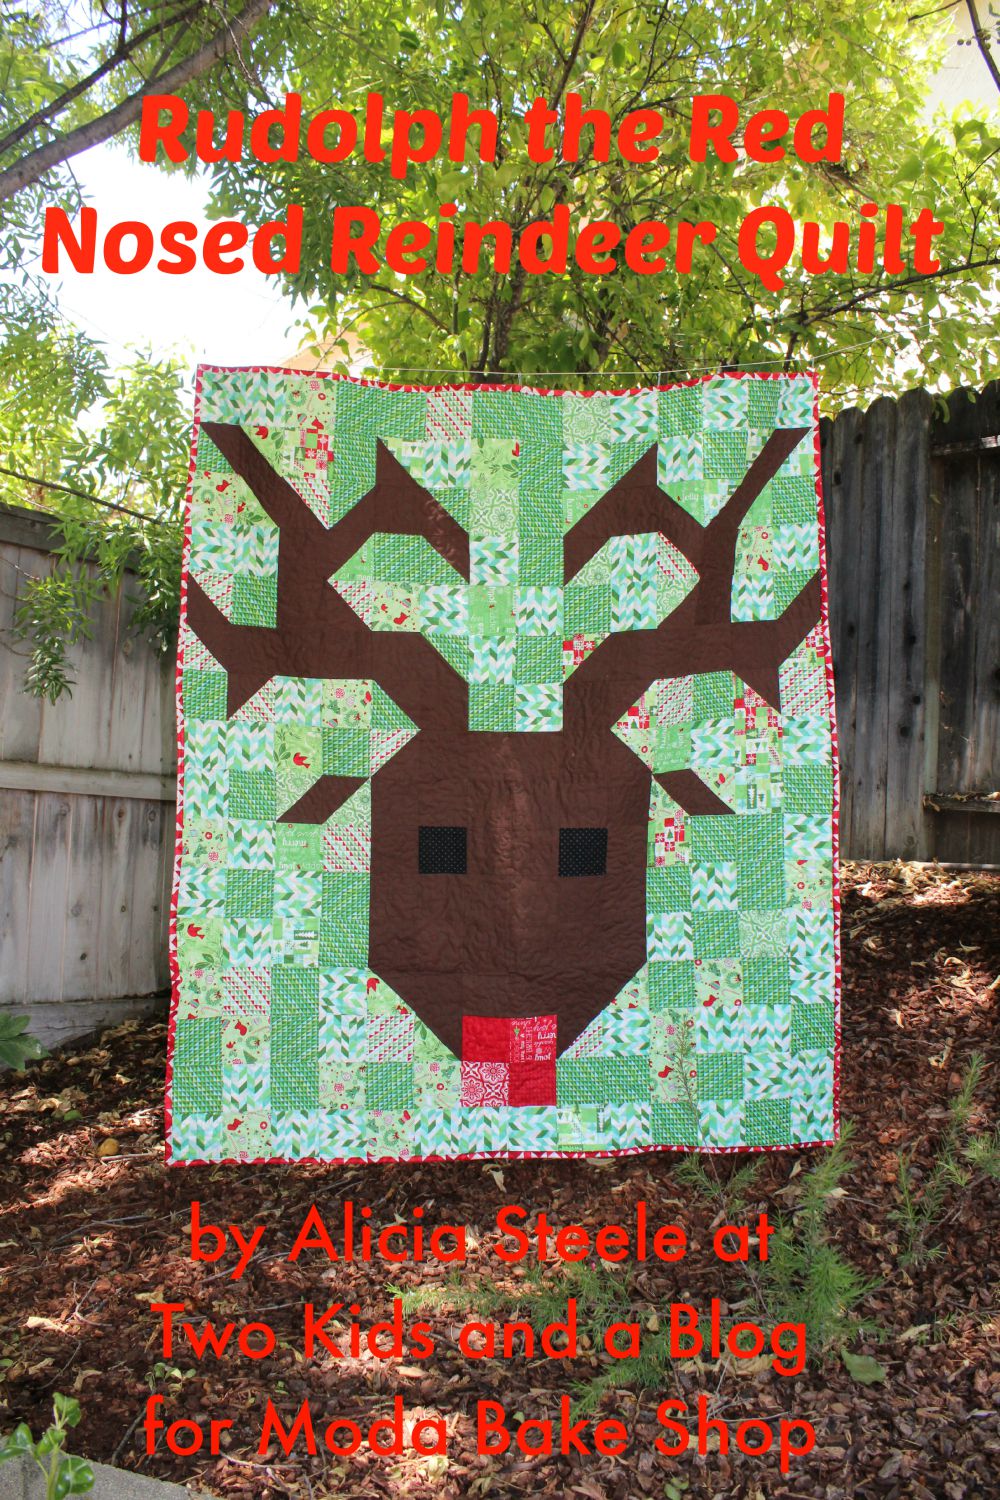
Reindeer Quilt
Reindeer Quilt
Published:
Jul 25 2015 - 23:00

![]()
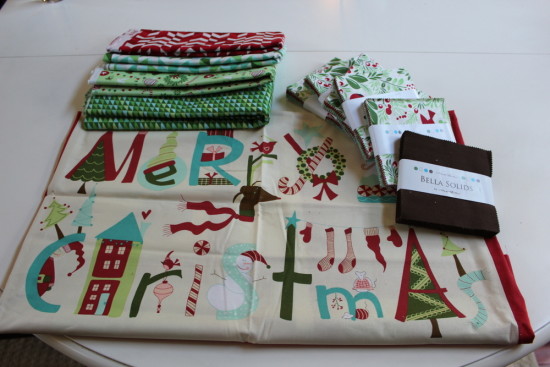
1 yard Jingle Christmas Crimson
1 yard Jingle Christmas Ice
2 yards Jingle Incline Cedar
1 yard Jingle Rejoice Cedar
5 Jingle charms packs
2 Bella Solid Chocolate charm packs
1 Very Merry Berry Panel
![]()
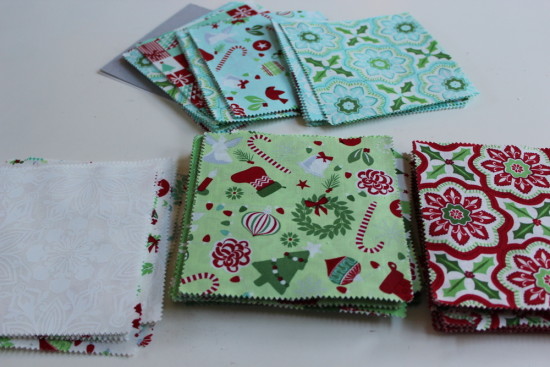
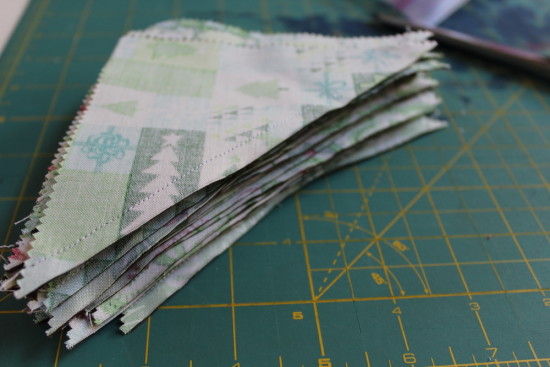
To start open all the charm packs and separate the colors. Put all the greens together, all the reds together and so on. For the front of the quilt, you will only use the green squares, plus 4 red squares for the nose. There will be some leftover squares (which would make a great pillow or even another quilt top.)
For the quilt top, you will need to trim 46 of the brown squares to 4.5". You will also need 132 green squares that are 4.5". To achieve this number I cut the "Ice" and the "Rejoice" into 4.5" squares as well as trimming the majority of the green charm pack squares. You will also need 20 brown squares and 20 green squares left untrimmed at 5". Lastly, I used a scrap piece of black fabric to create two 4.5" squares to create the eyes.
So to recap you need:
132- 4.5" green squares
46 - 4.5" brown squares
2- 4.5" black squares
4- 4.5" red squares
20 - 5" brown squares
20- 5" green squares
Now pair one 5" brown square with one 5" green square. Do this with all 20 of each brown and green 5" square. Then draw a line diagonally down the middle and sew 1/4" on each side of all your pairs.
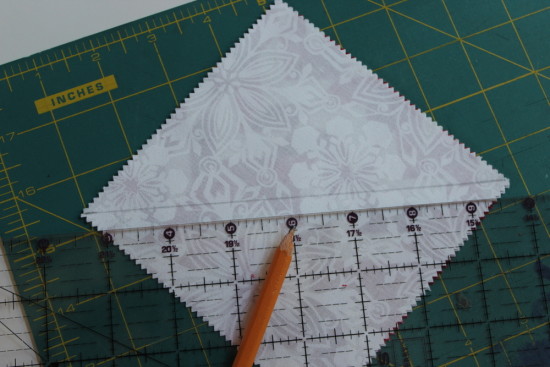
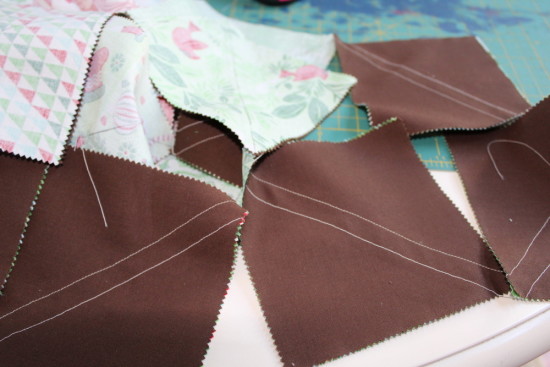
Trim along the drawn line. This will create two green and brown half square triangles (40 total once all are sewn.) Once you have sewn and pressed the half square triangles we are ready to assemble the quilt!
Go ahead and print out this Rudolph quilt pattern. I like to highlight things as I go along and it can turn into a bit of a puzzle as you start putting the antlers together so you will definitely need to reference the picture time and time again!
When I am assembling patchwork quilts like this I like to line up the entire quilt. Then I attach each square to the one next to it. Do a big assembly line and sew all the squares into pairs at the same time. Then press and trim where necessary. Then to make sure that things line up as much as possible I attach each pair to the pair above it. Creating a four square. I prefer to do it this way because if you do a long strip and then try and connect two strips together I always end up having things not line up at all! With this method you will always focus on making sure that the middle most seams line up and the other seams will fall in place.

Once you have created a 4 square you will attach it to another four square. Then this strip will be attached to the strip above it to create a 16 square and so on. There will be squares that don't fit into this pattern. That is okay, just add them as you go along and refrain from adding a long strip at any time.
That is it for the quilt top. Follow the pattern and piece all the squares and half square triangles together.

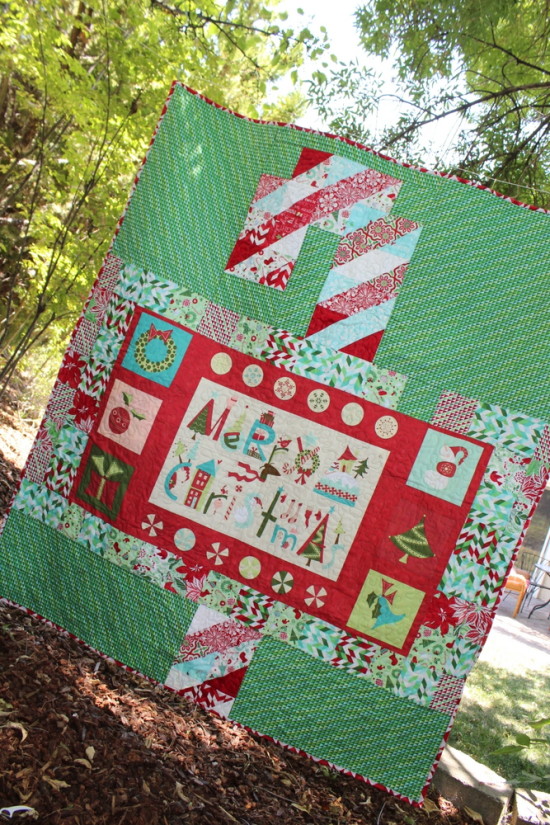
For the backing I used some of the leftover squares from the charm packs. You should have a large number of red and white squares to use up. I went ahead and created a cute candy cane pattern with some red and white half square triangles.
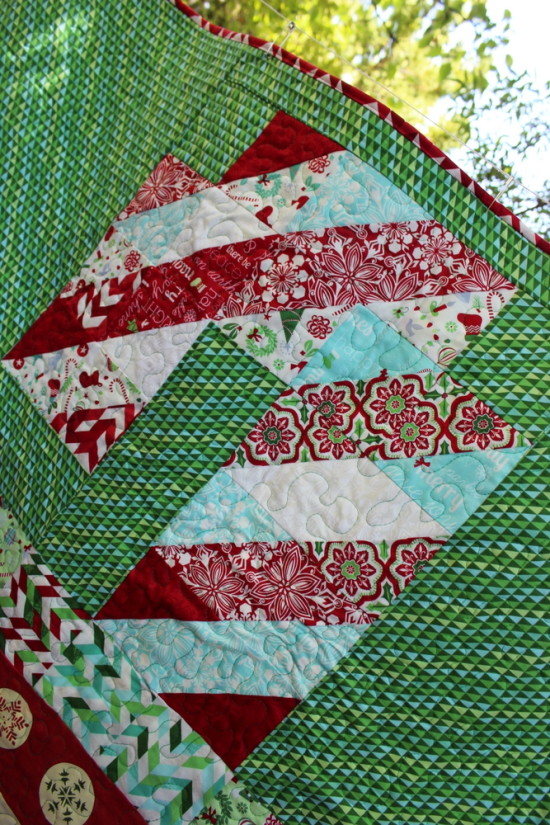
I also used the Very Merry Berry panel to add a fun image! Then I used the Jingle Incline Cedar to fill in the gaps and finish off the back.
For binding I cut six 3" x fabric width strips from the Jingle Christmas Crimson. Then sew them together diagonally to create a long strip of binding. Fold the strip in half and then press. Attach the binding by lining up the raw edge of the binding with the raw edge of the quilt on the quilt back. Sew this in place (I have a tutorial for attaching binding here) Then fold the binding over and attach to the front. You can hand stitch or sew in place with the sewing machine.
![]()
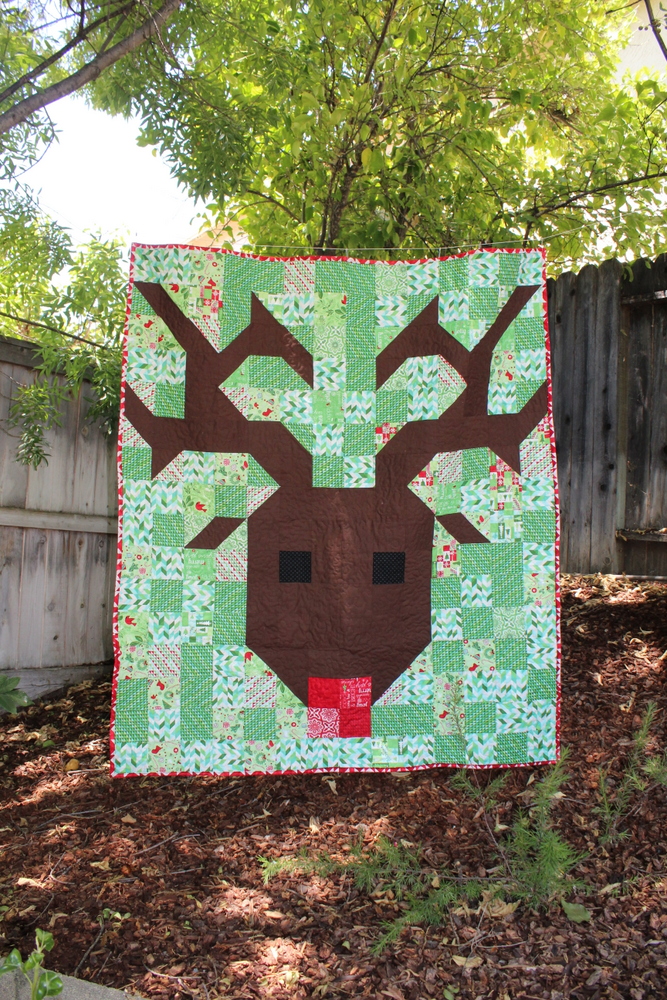
One quilt measuring 56 x 64" with plenty of extra squares for another project!
Thanks for checking out my tutorial! You can always find me over at Two Kids and a Blog.
Alicia Steele
{Two Kids and a Blog}
![]()
Posted in: