Welcome to Moda Fabrics!
Canyon Jewels Quilt
Canyon Jewels Quilt
Published:
Sep 7 2015 - 23:00


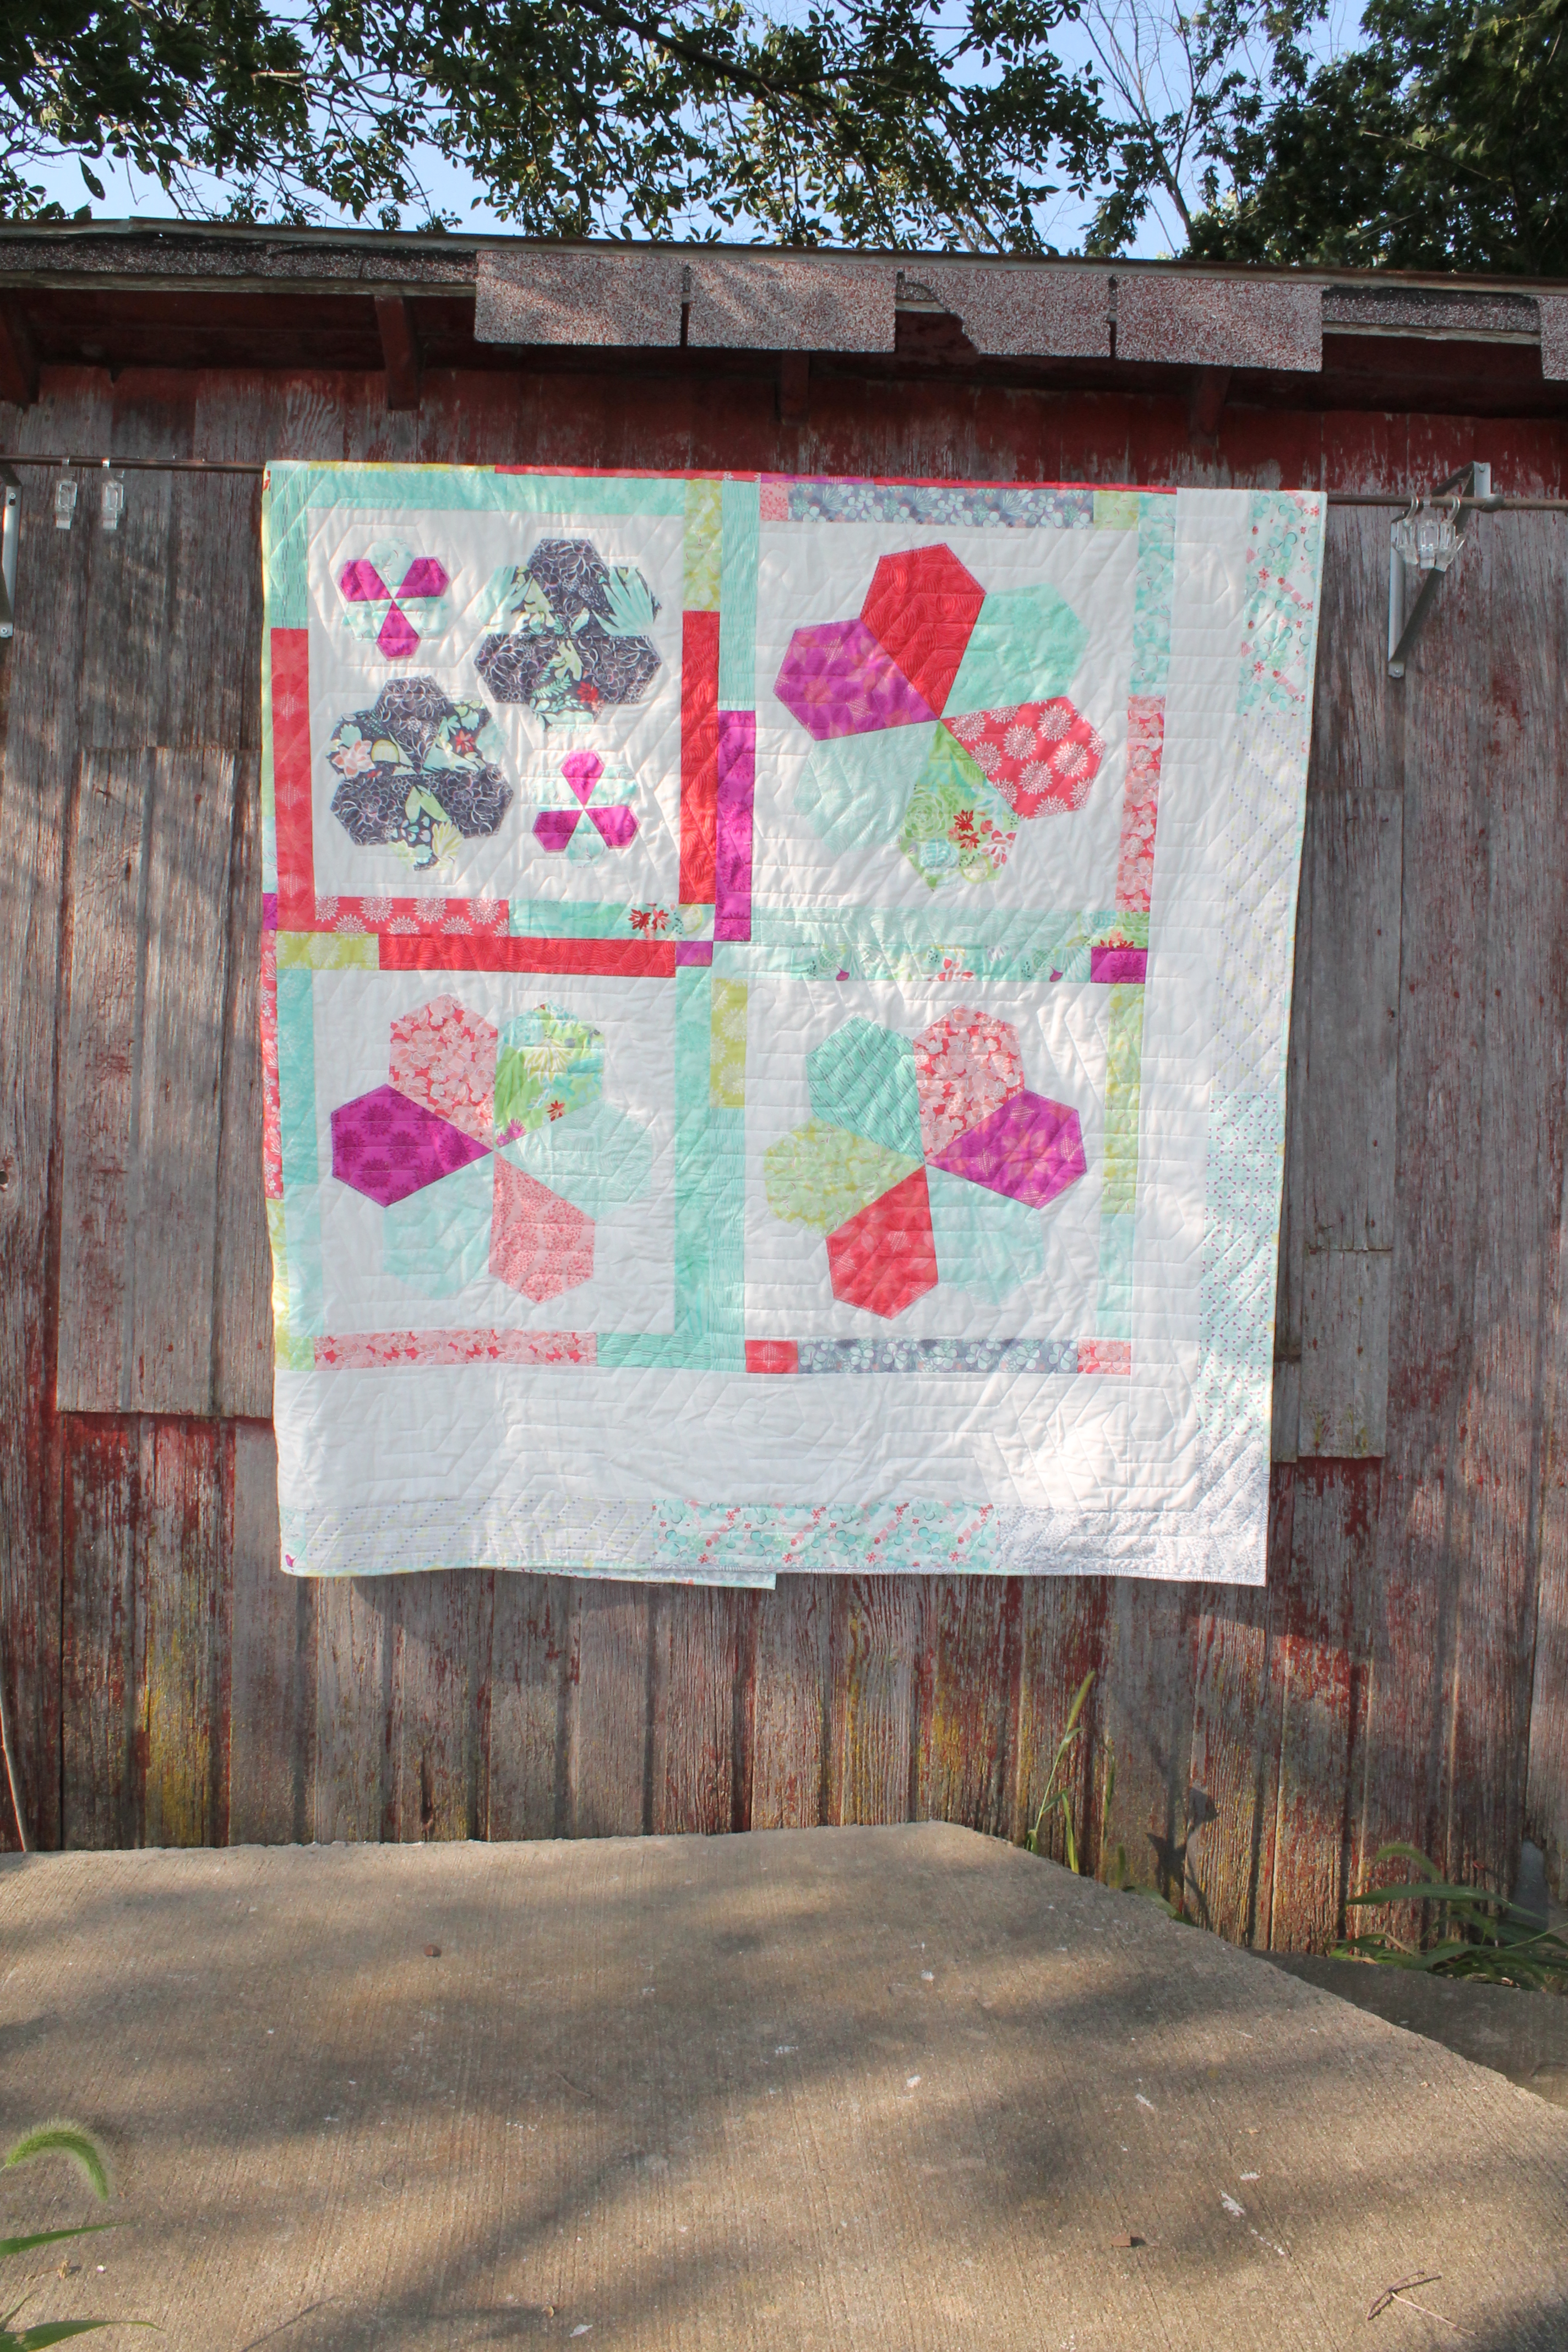
Hello! I'm happy to be back at the Bake Shop with an easy appliqué pattern using the amazing Canyon fabrics, by the incomparable Kate Spain. Although it started out as a throw sized quilt, I ended up turning it into a queen size bed-quilt when my tween daughter expressed her undying love of the colors. So I'll show you how to make both the smaller size, and how to up-size it to a queen size. I hope you enjoy!
This quilt finishes at 75" square with an option to add borders for a queen size.
![]()
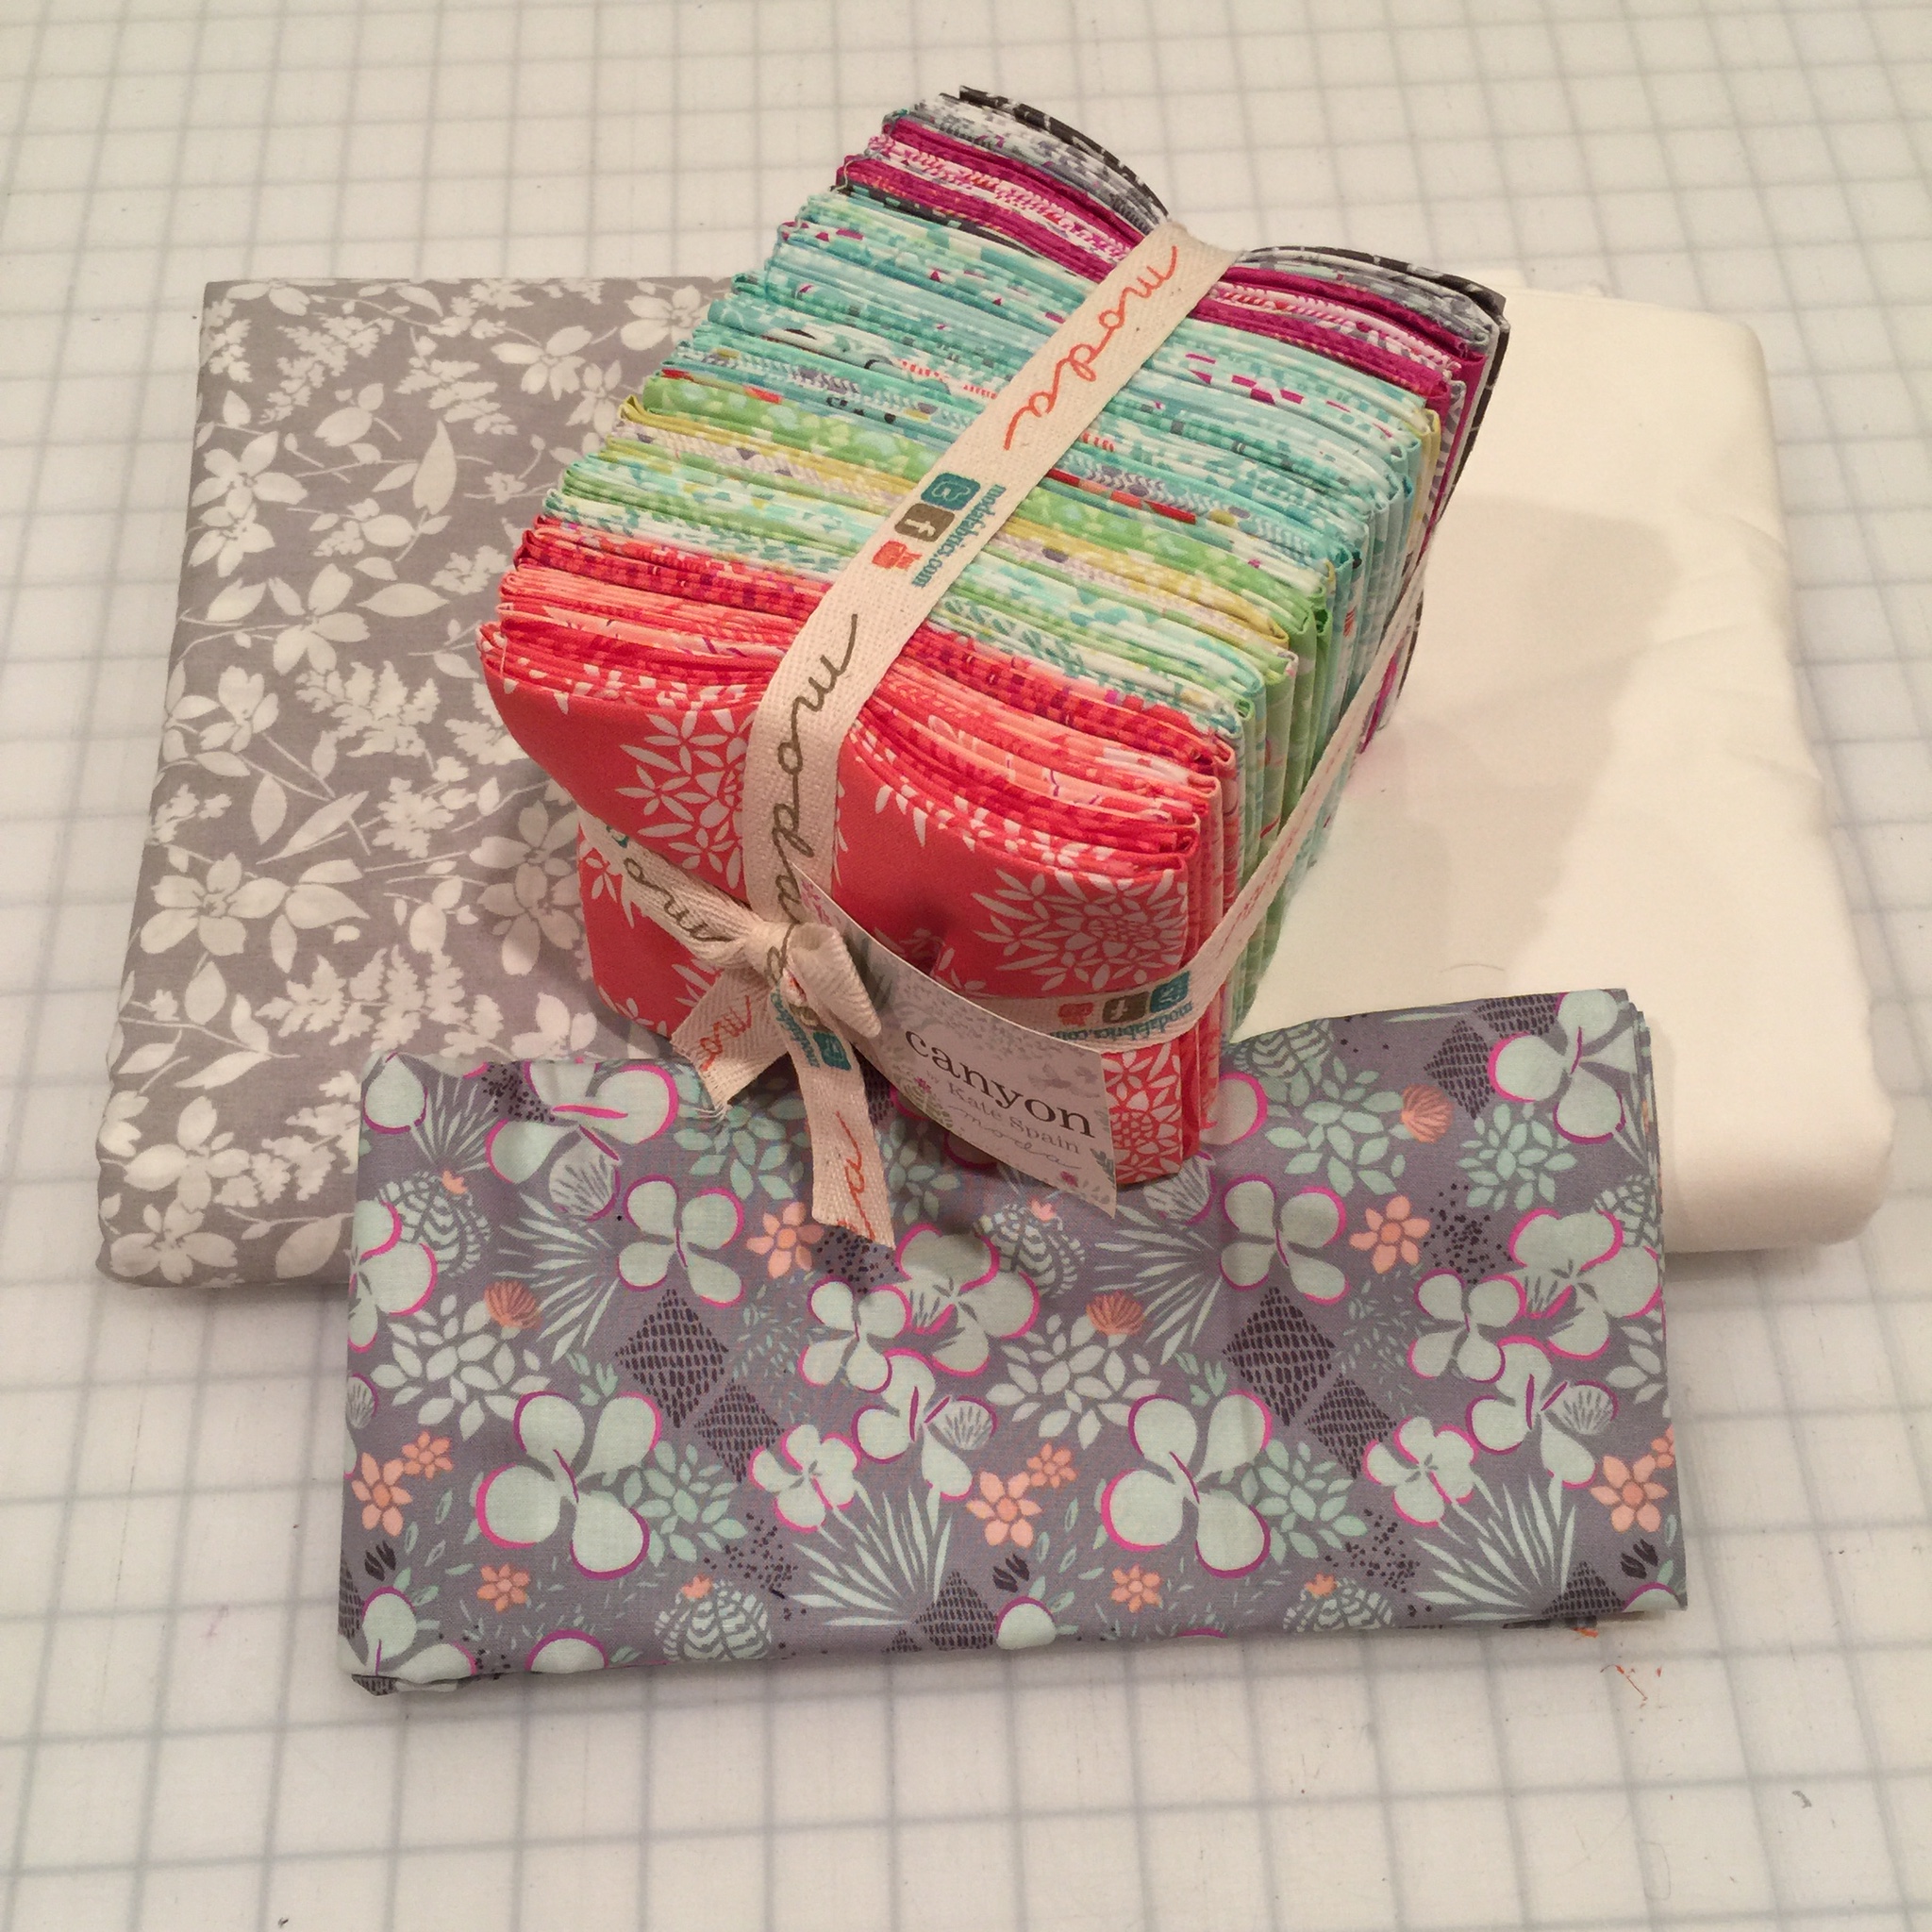
1 fat quarter bundle of Kate Spain's Canyon
2.75 (4.5 for queen) yards background fabric (I used Bella Solids White)
1 yard binding fabric
2 yards (2.5 for queen) 108" backing fabric
![]()
To start, I separated out all of the fat quarters with the white backgrounds.
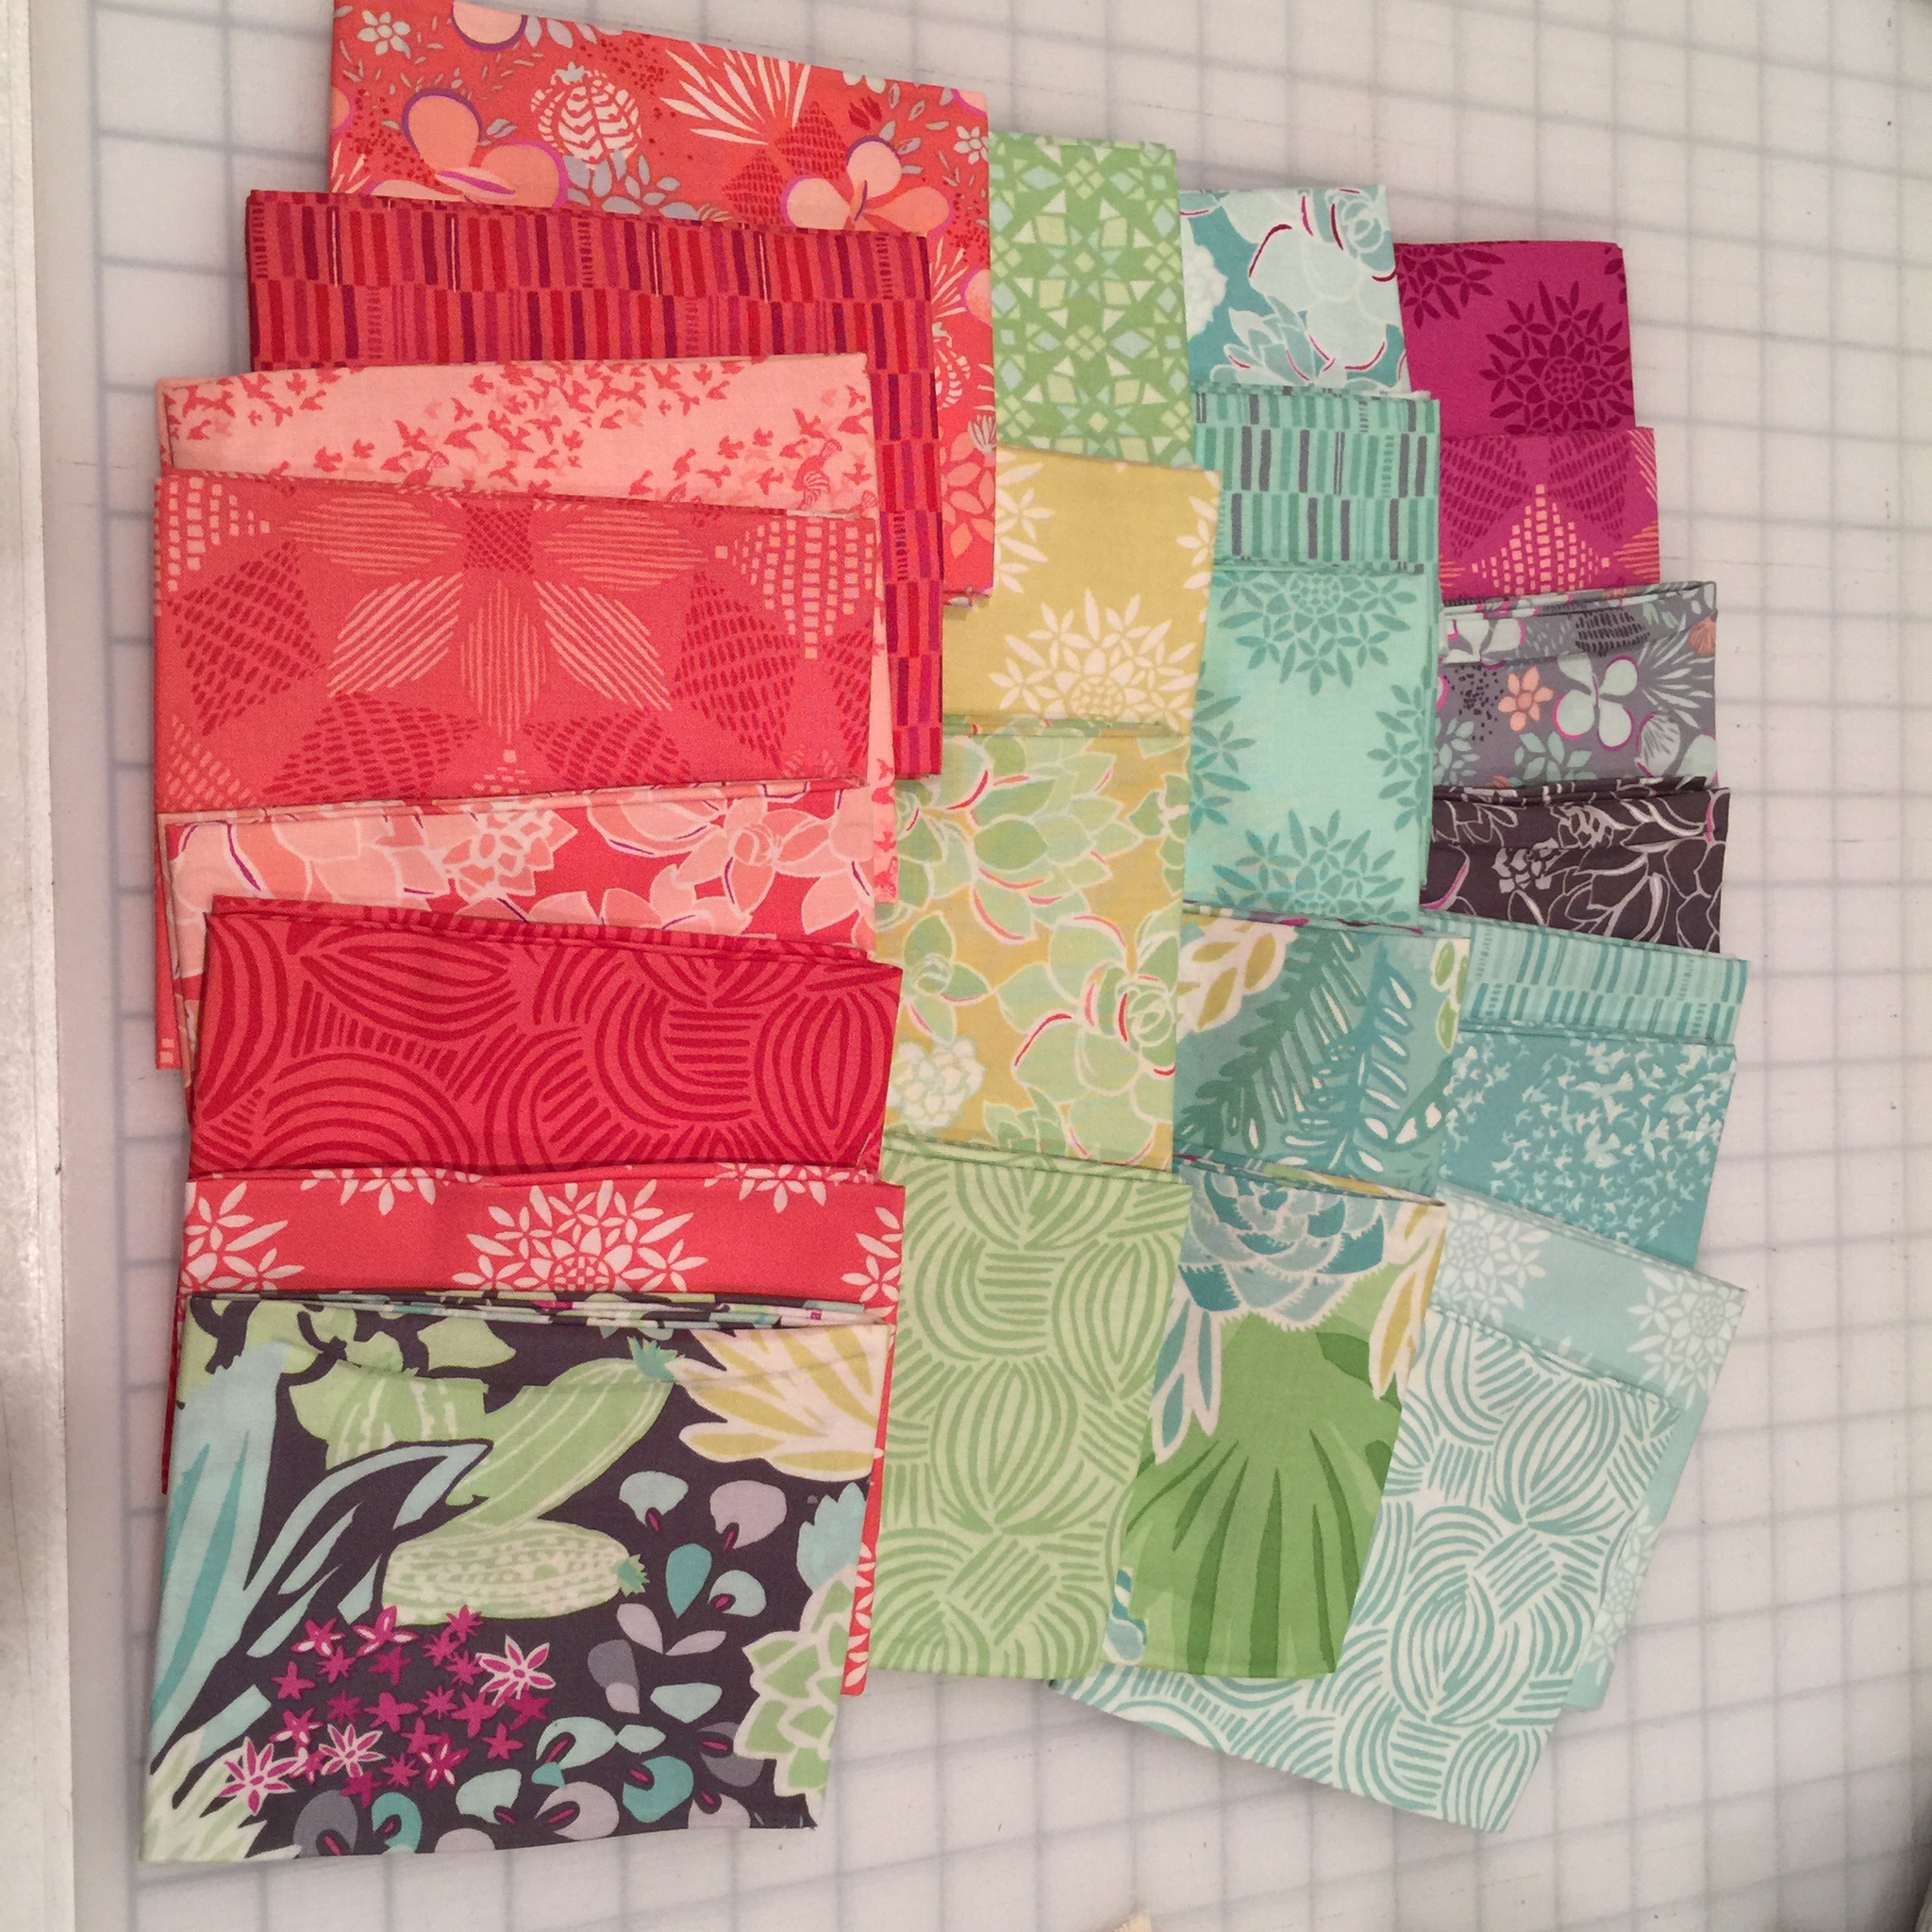
If you're using a different fabric, you'll need 25 fat quarters for the middle part of the quilt. One you've pressed them, you'll need to use the provided templates to cut out the three sizes of jewel shapes.
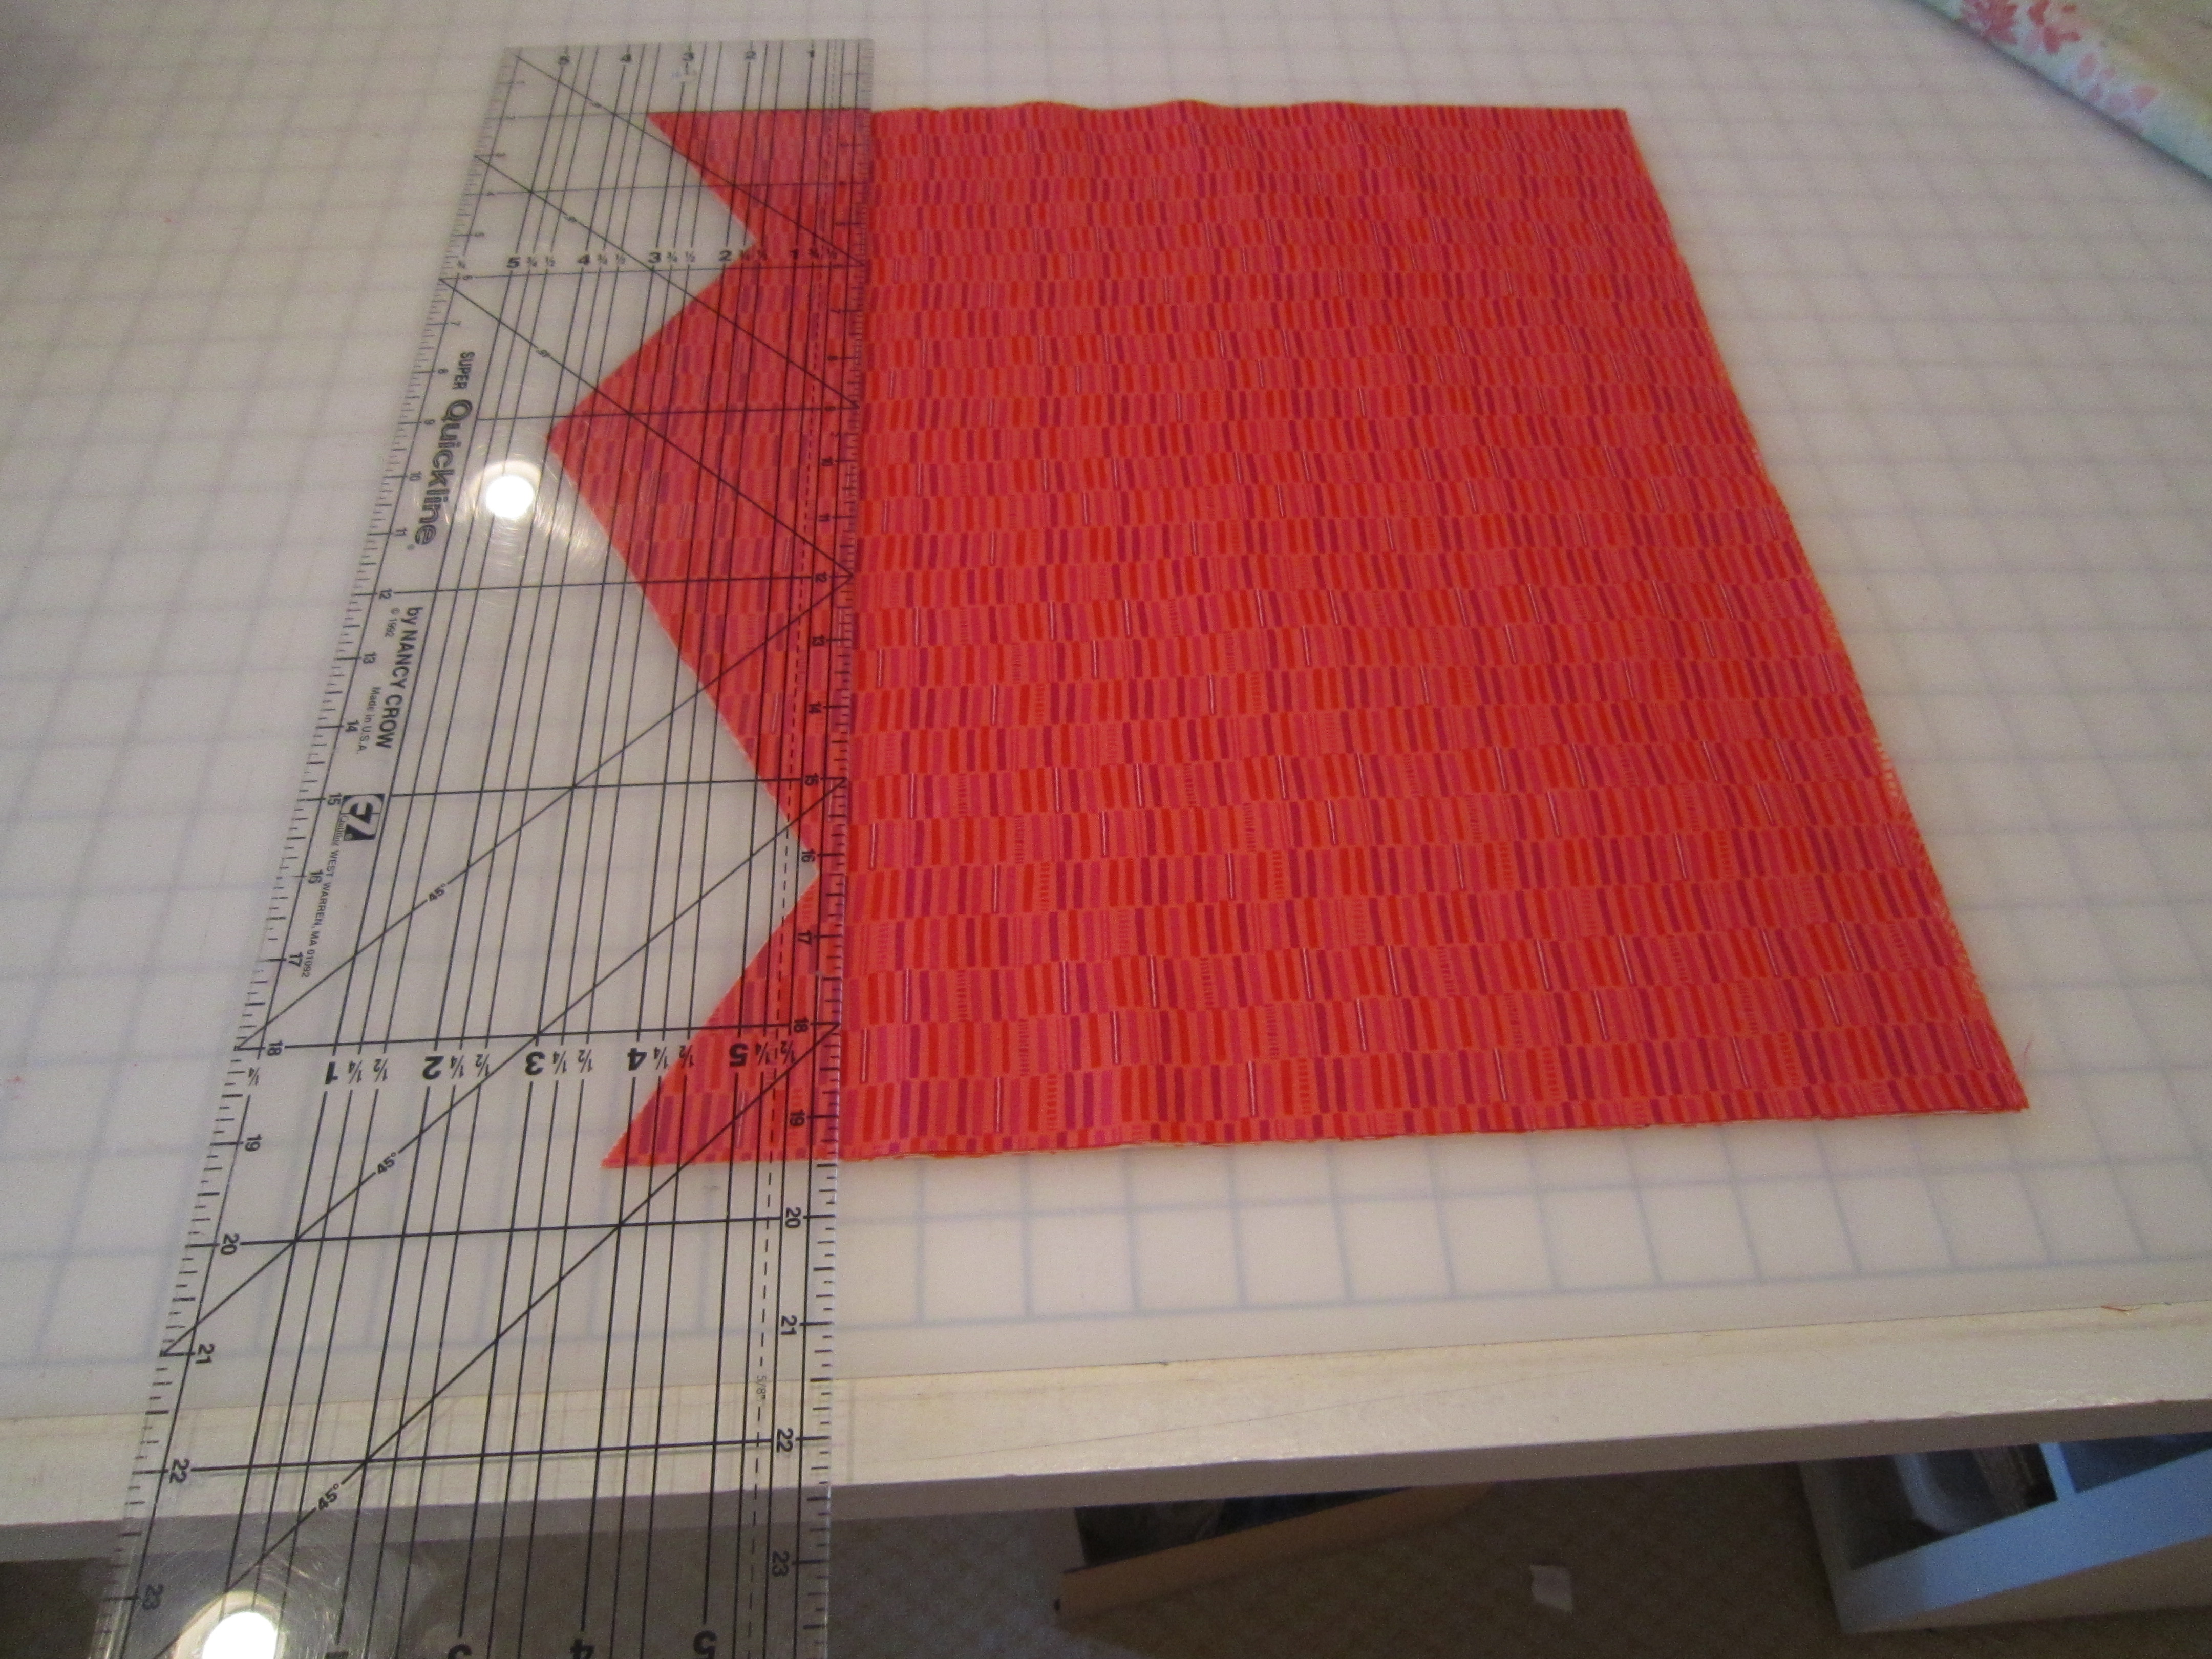
Transfer the jewel shape onto template plastic. From each of 24 fat quarters, cut one of the jewel shapes from a corner.
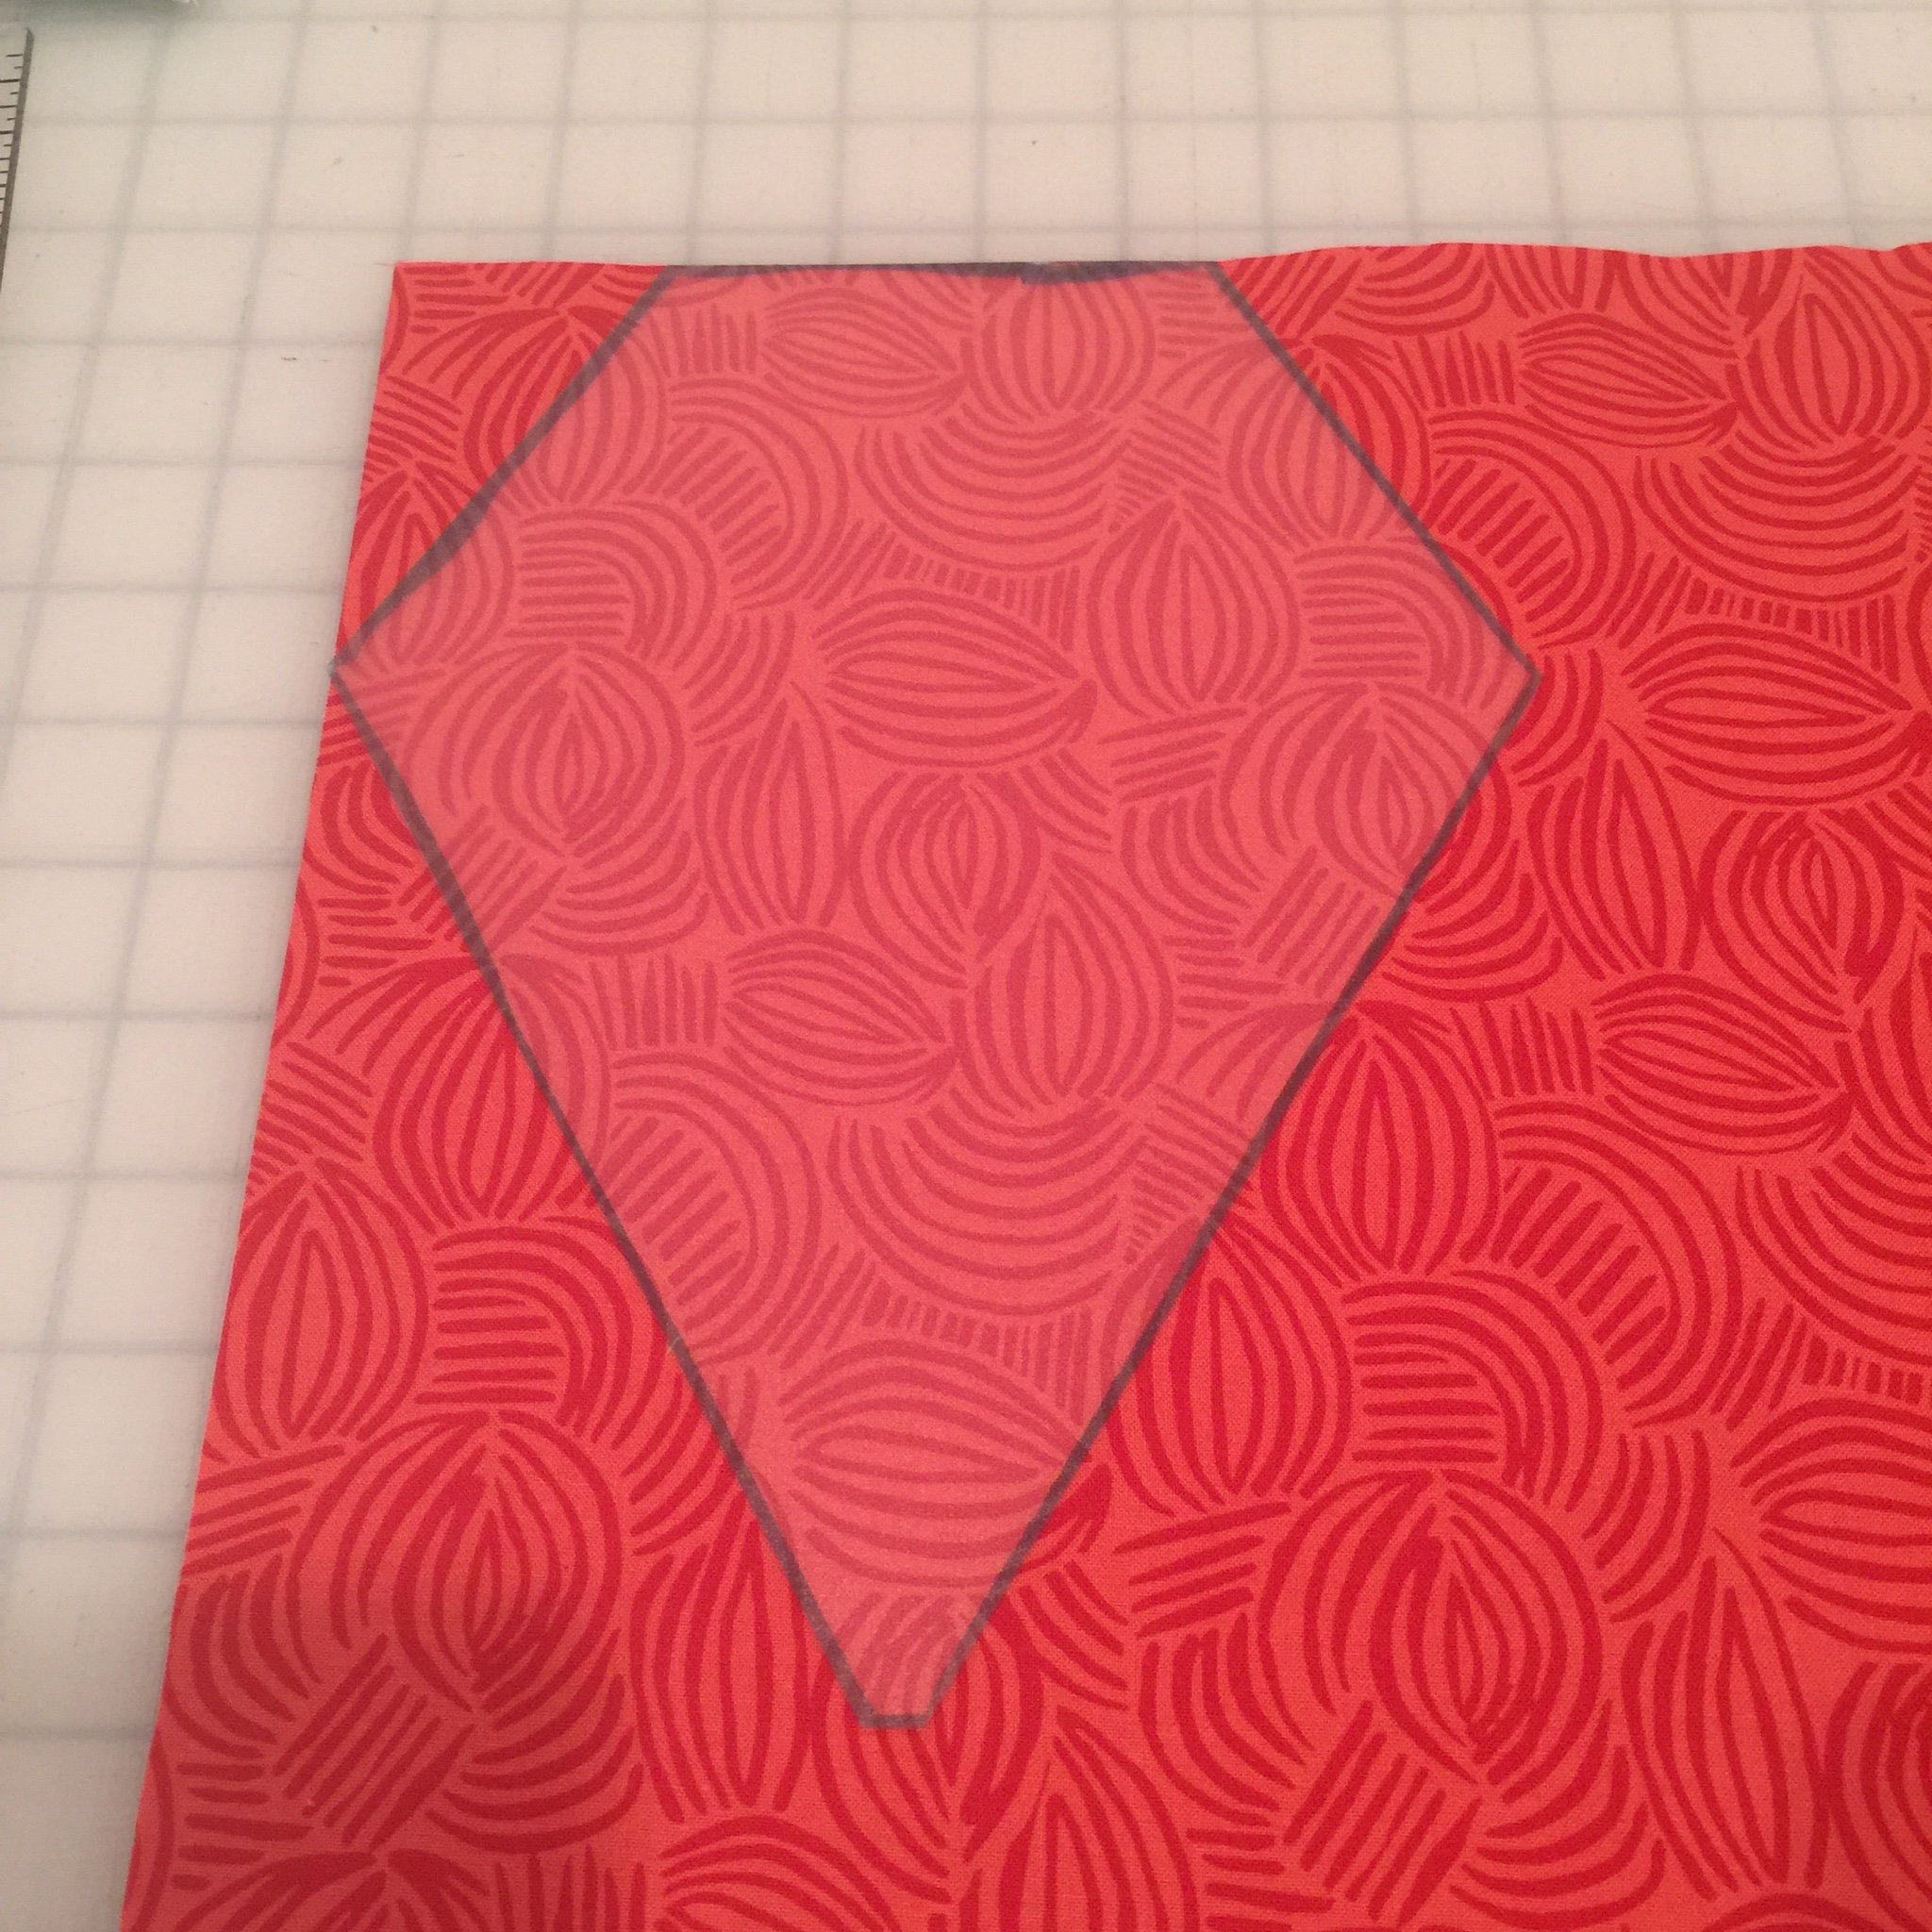
Turning the template the other way, cut another of the largest jewel shapes, being sure to cut the fabric with little waste, as we are going to cut strips out of them as well.
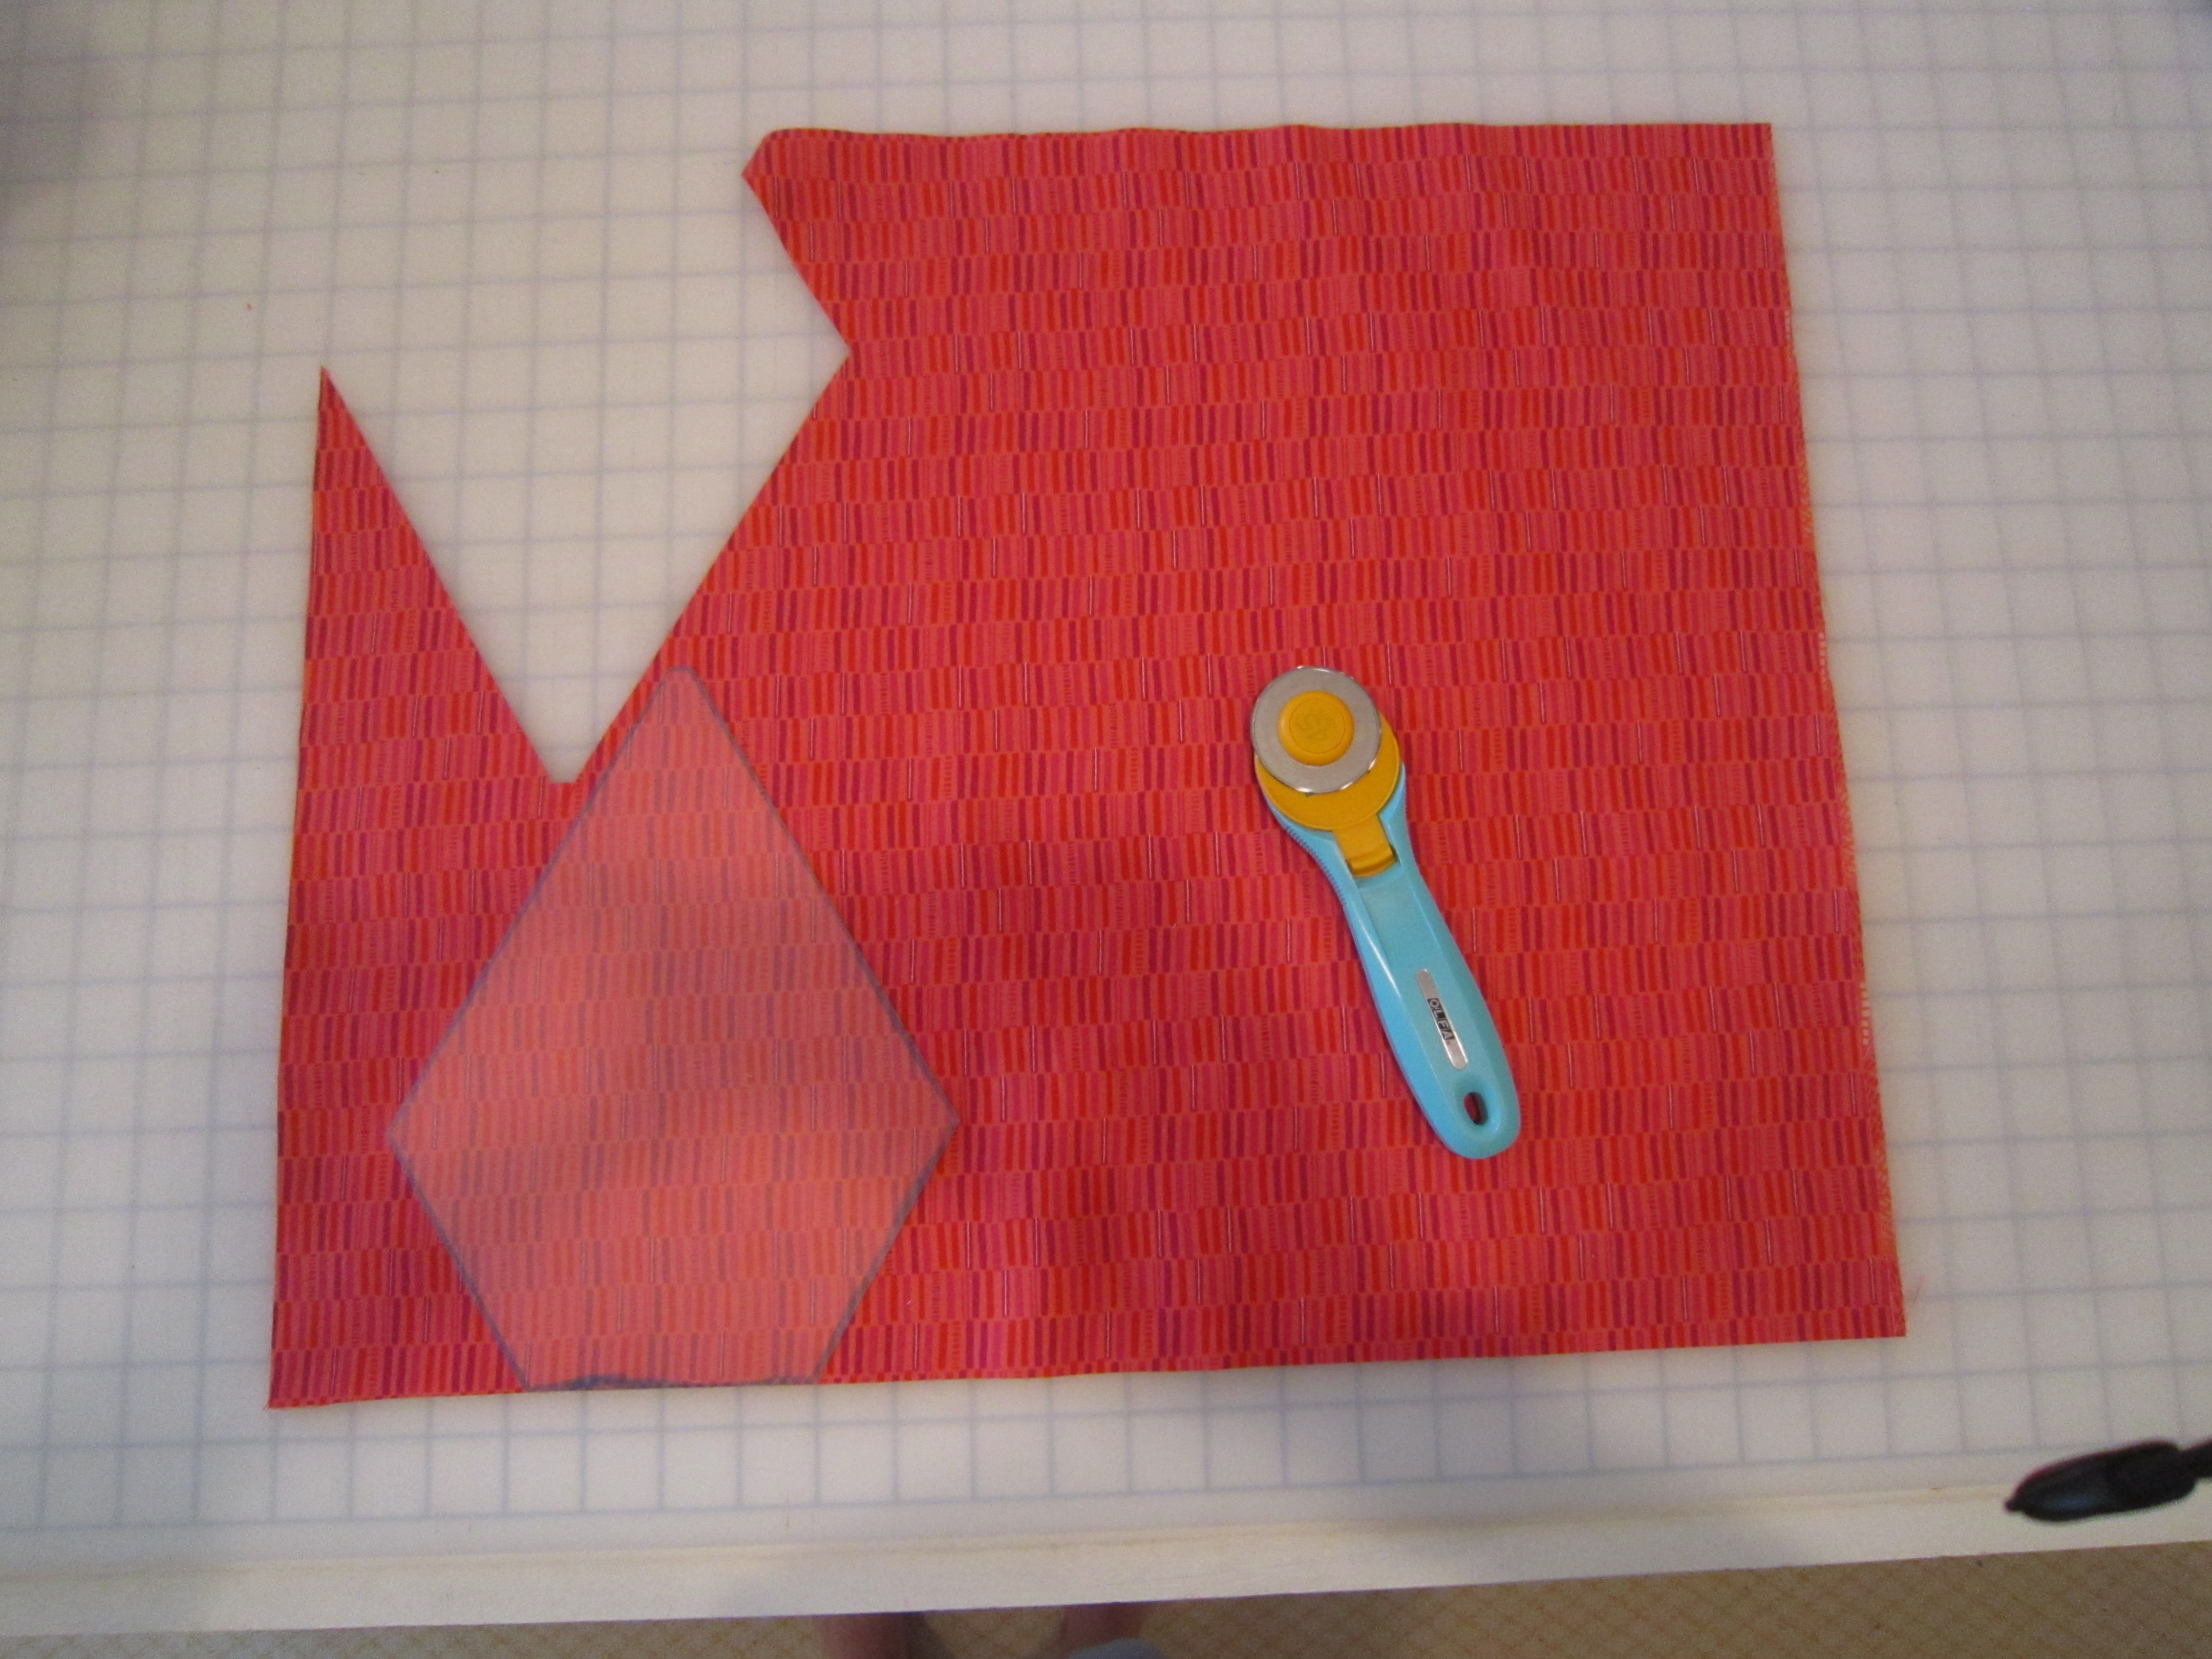
From each of two coordinating fat quarters, cut six of the medium jewel shapes.
From each of two other coordinating fabrics, cut six of the smallest jewel shapes.
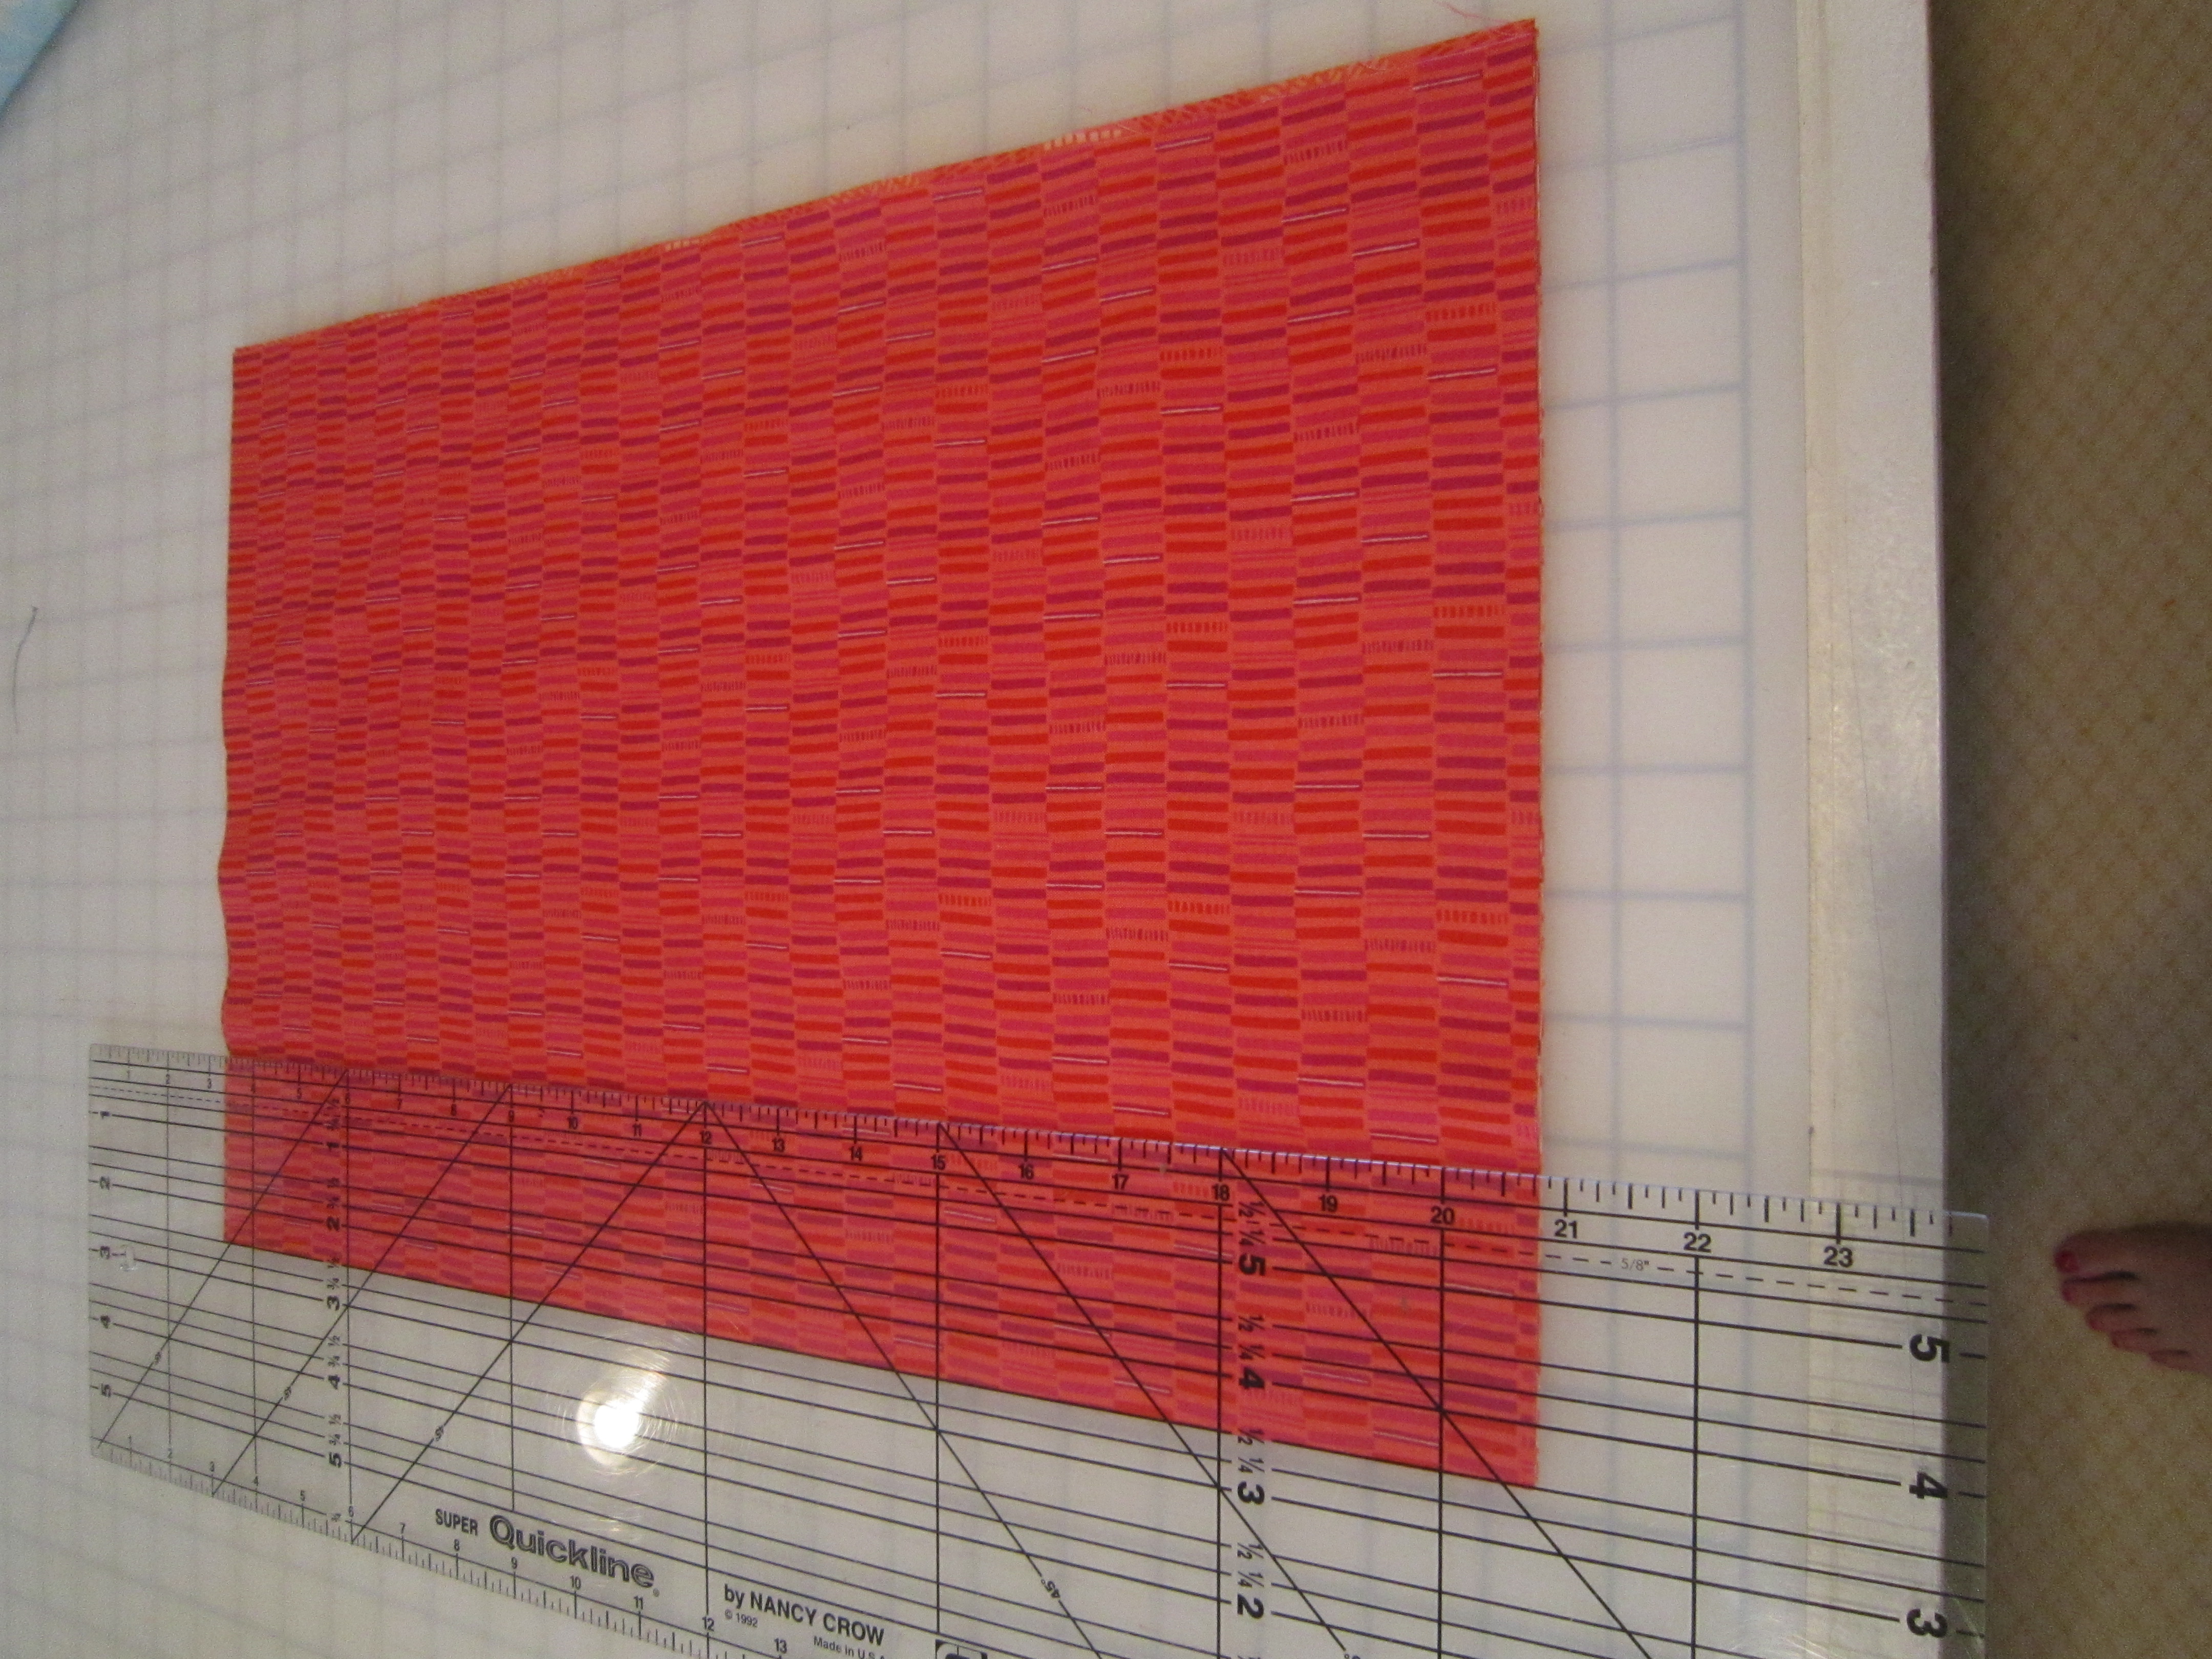
From all of the fat quarters, trim the uneven edge from the jewel shapes off.
Now cut the remaining width into two and a half inch strips.
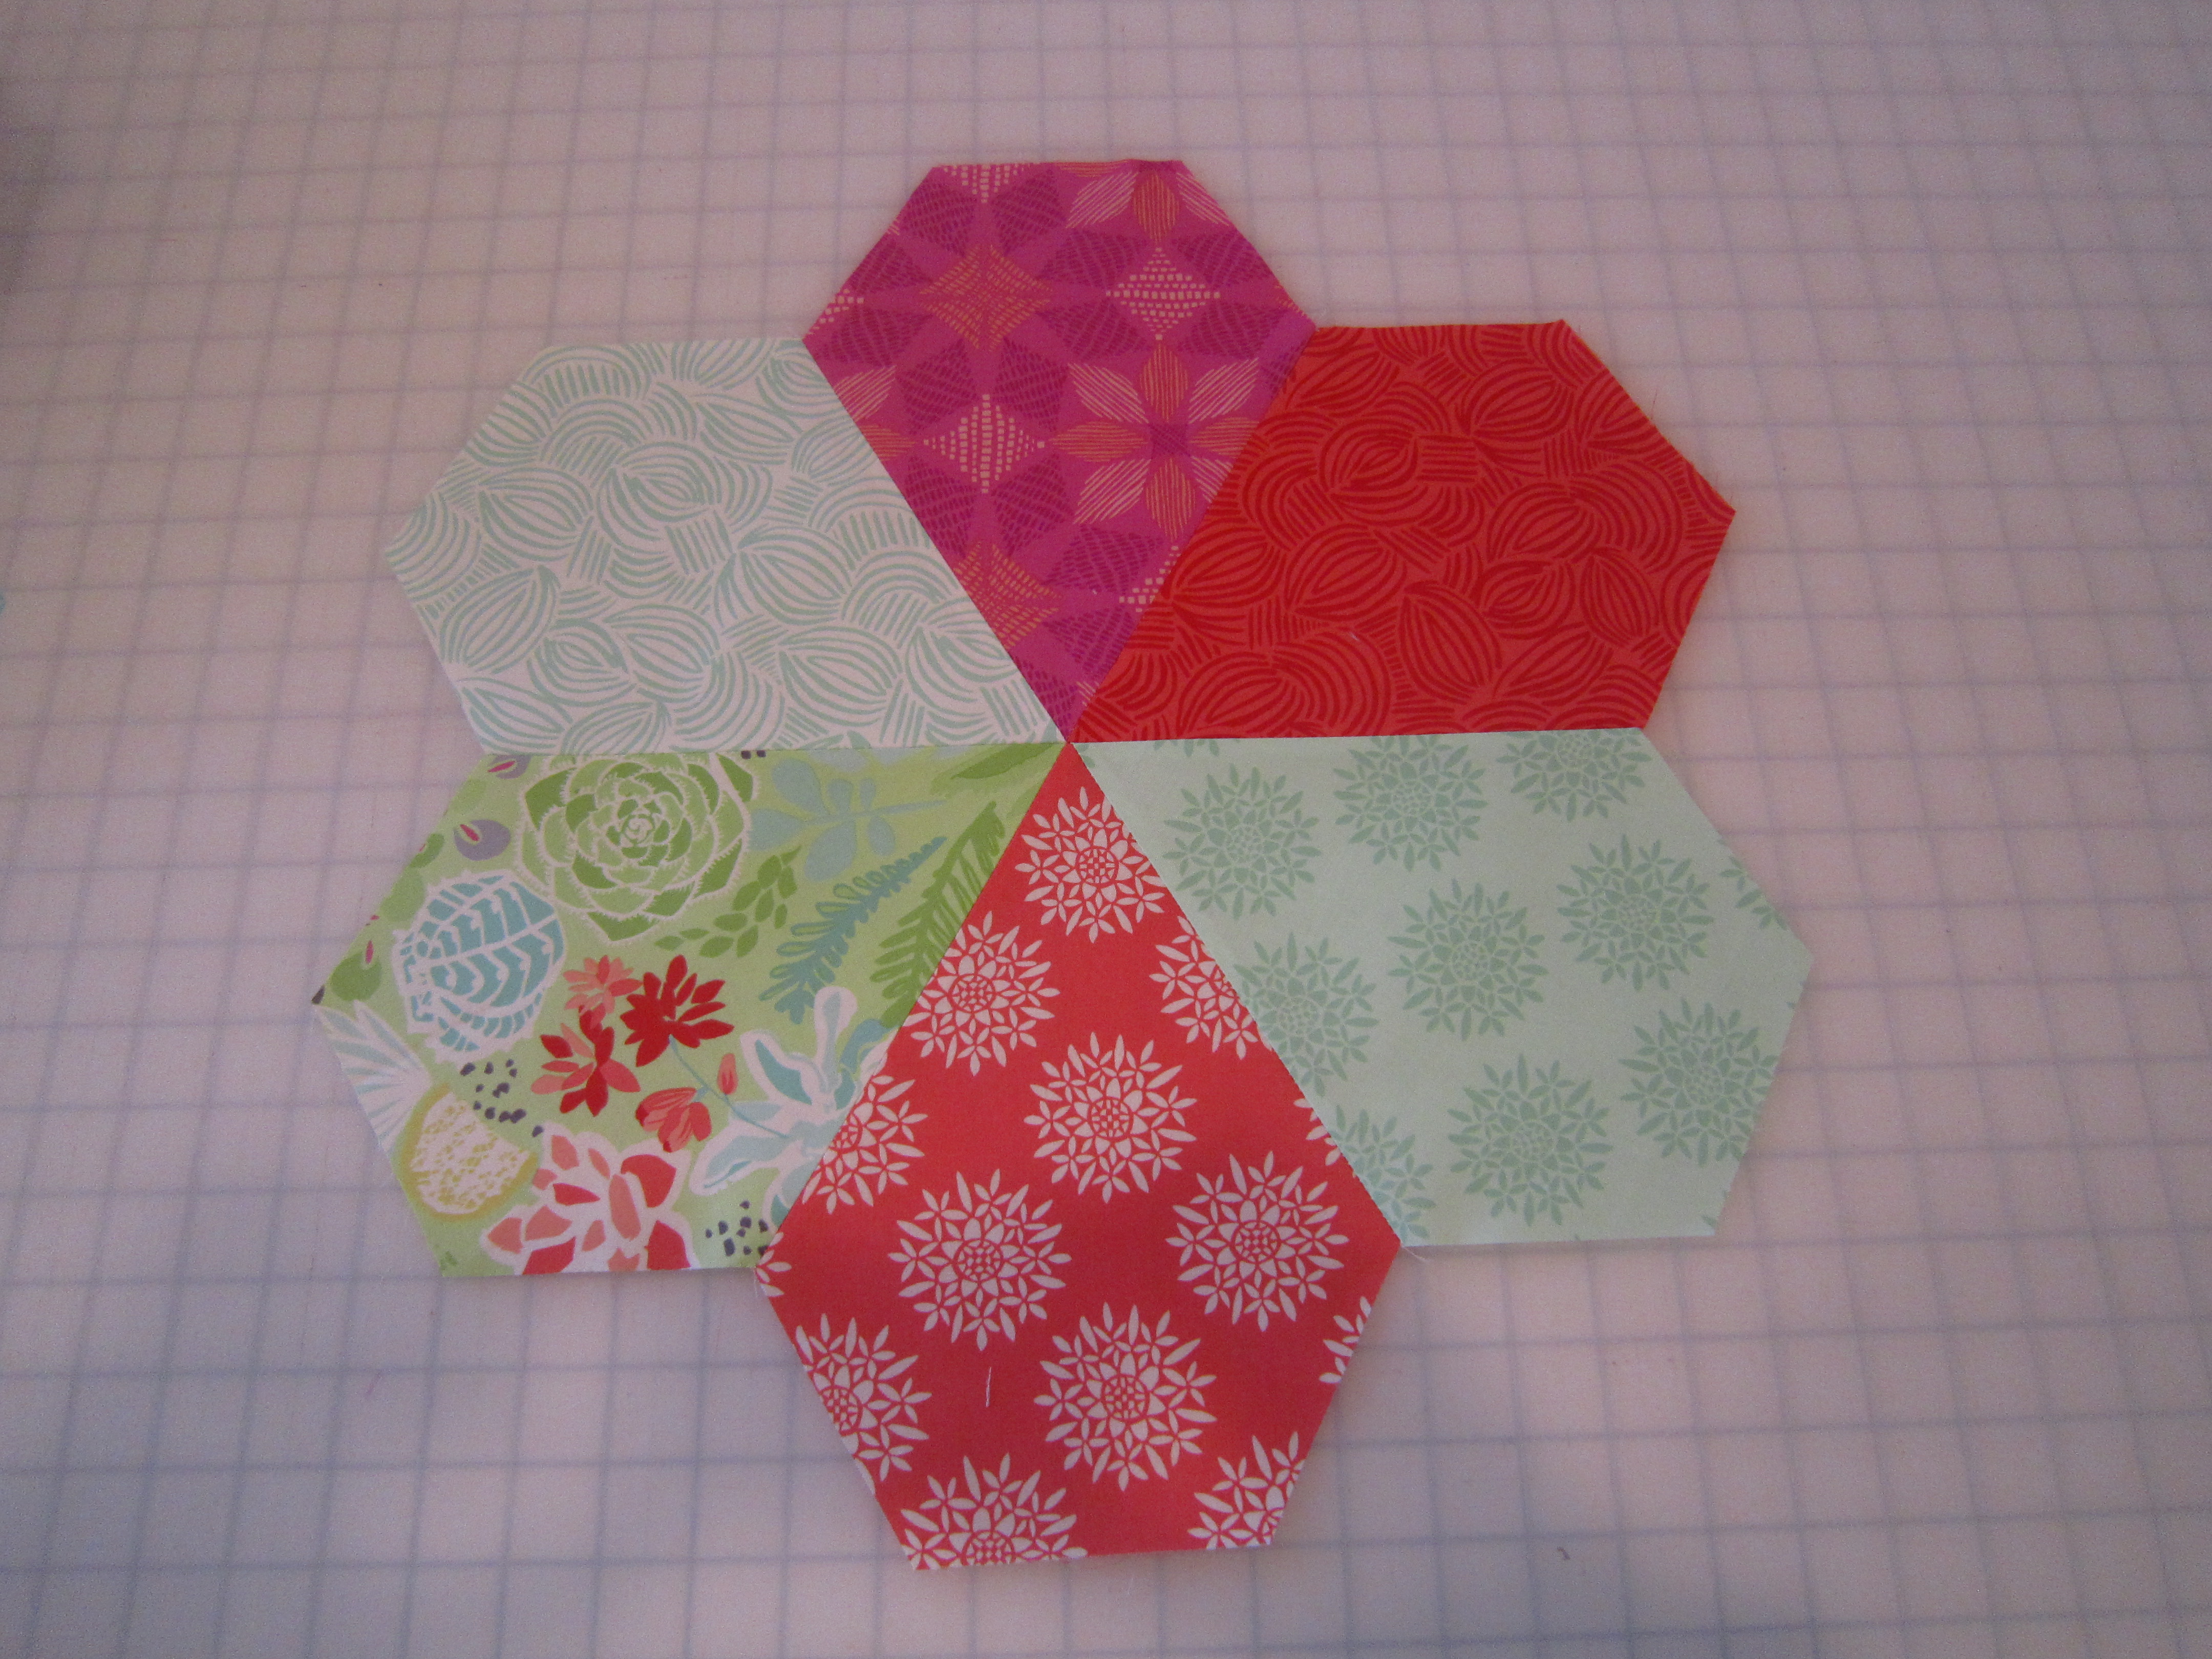
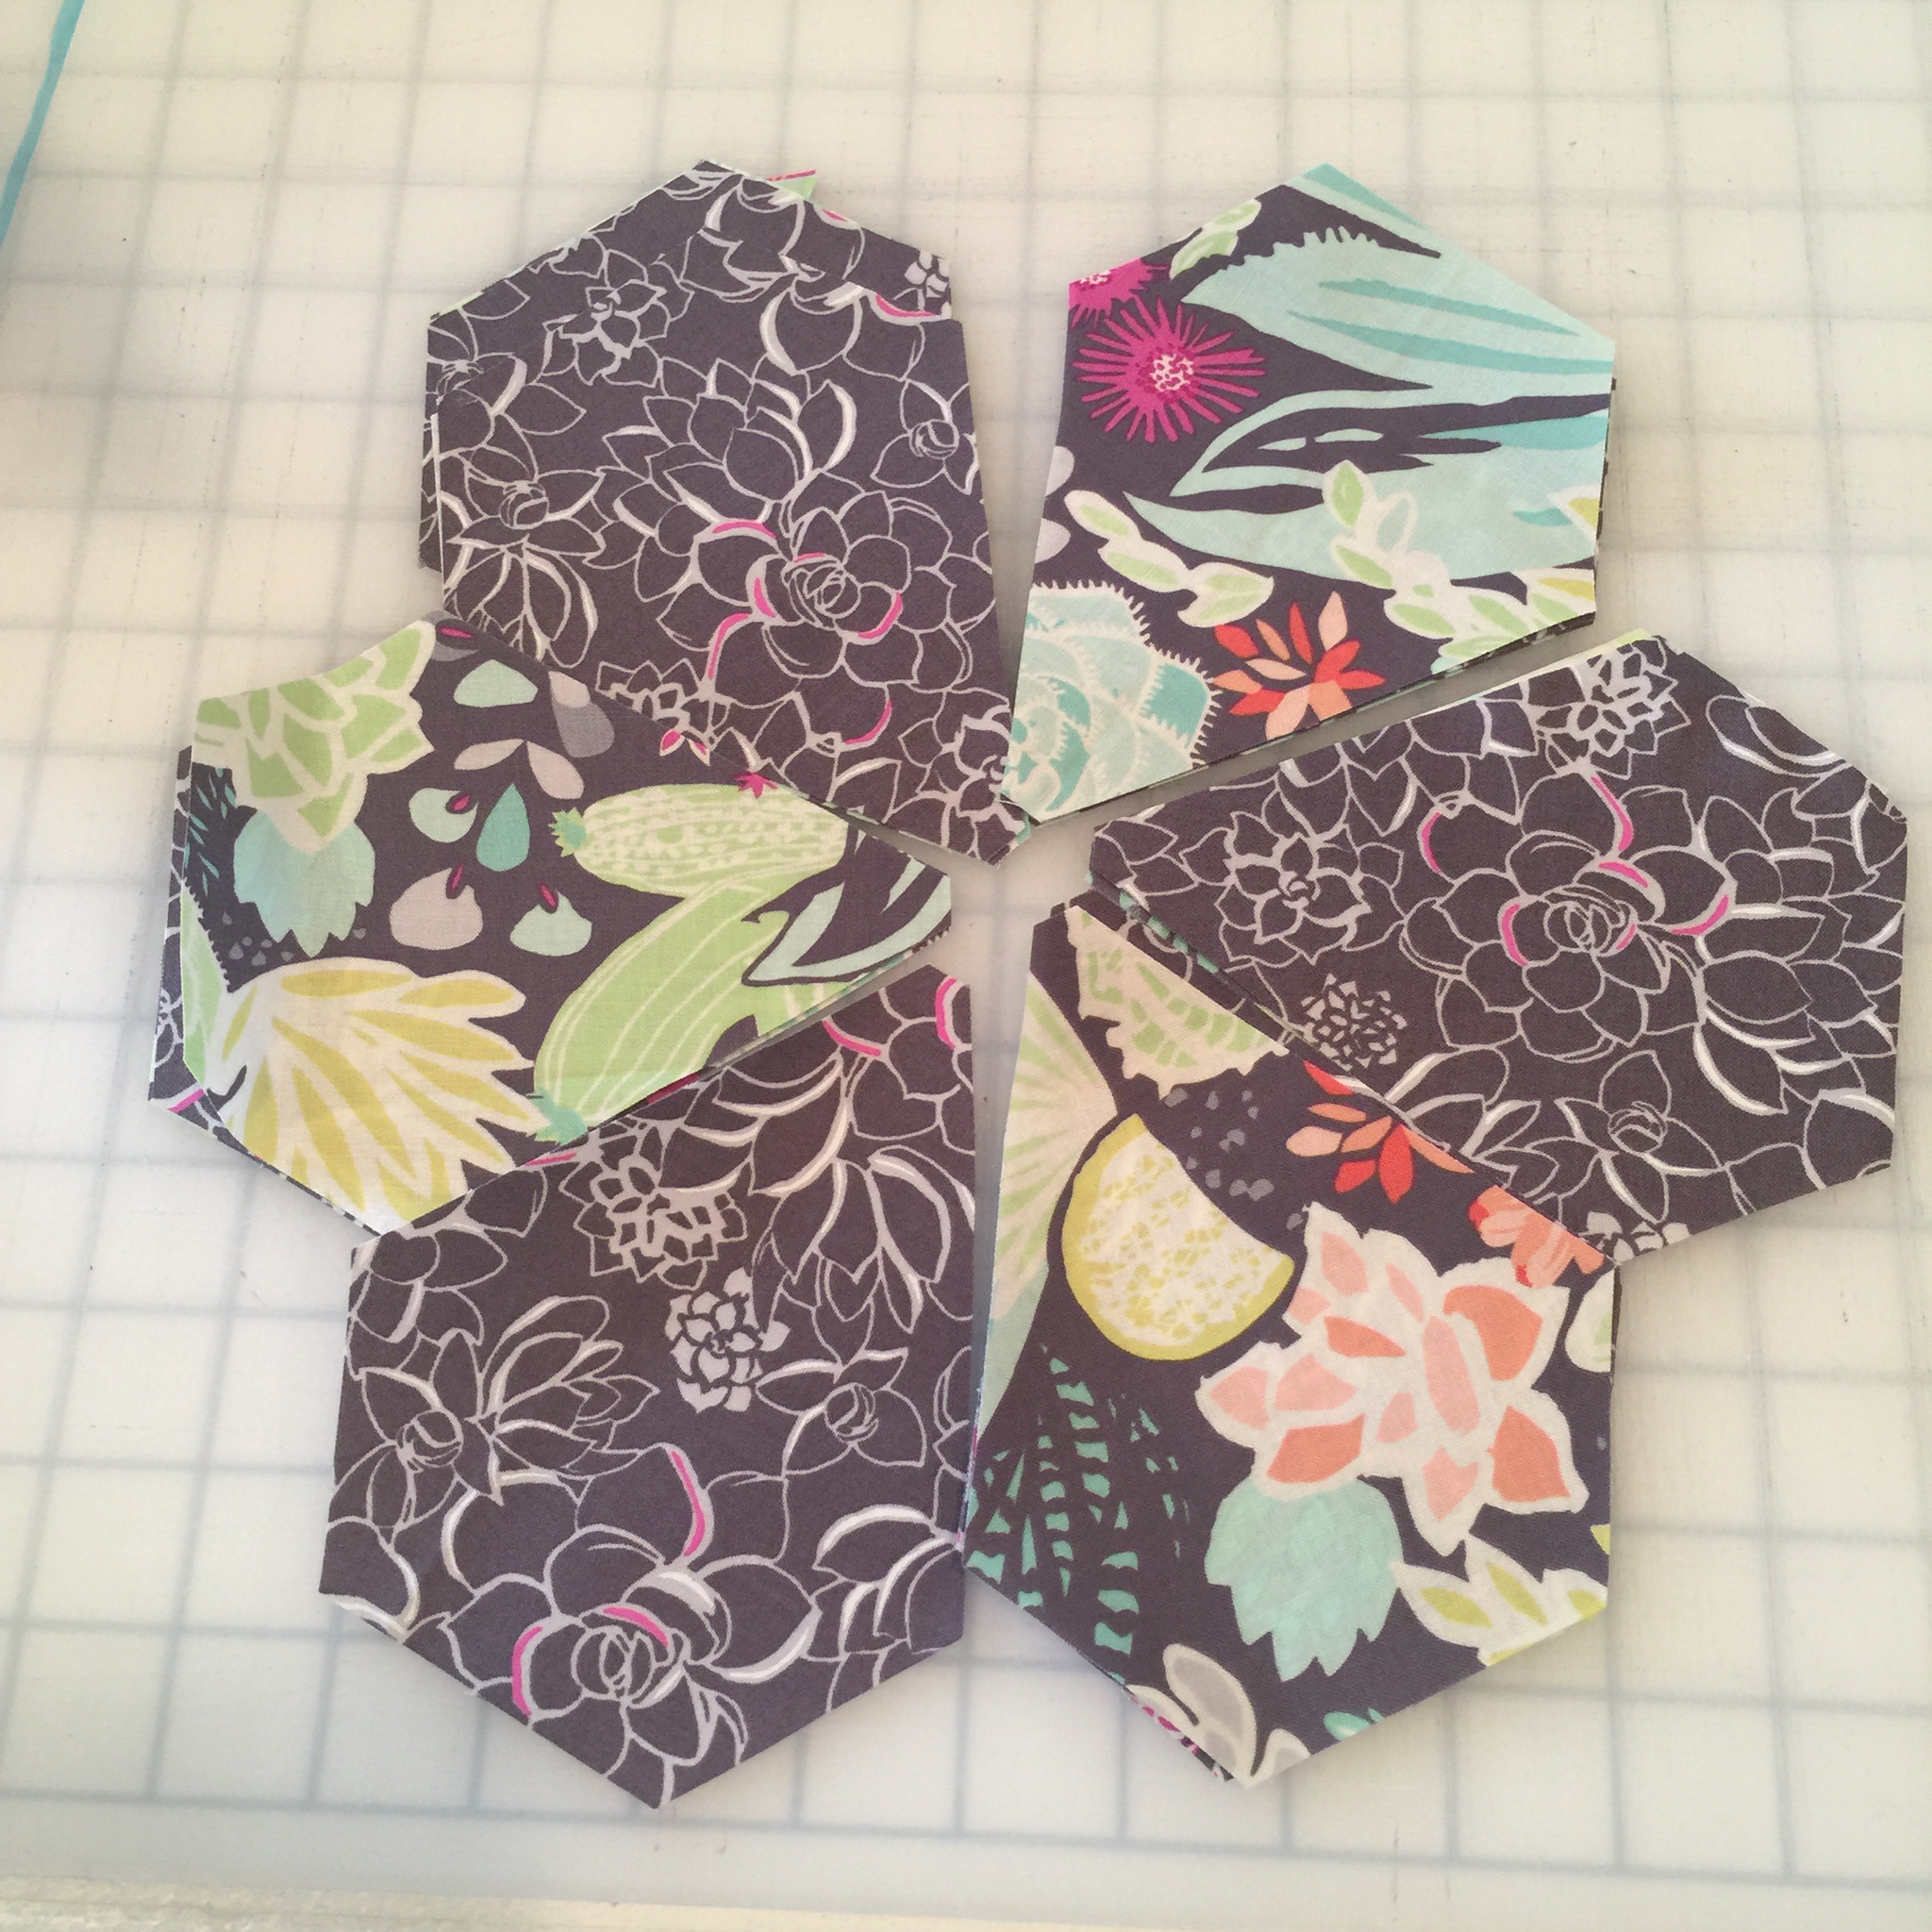
Arrange the jewels into eight large flower shapes, and two each of the medium and smaller shapes.

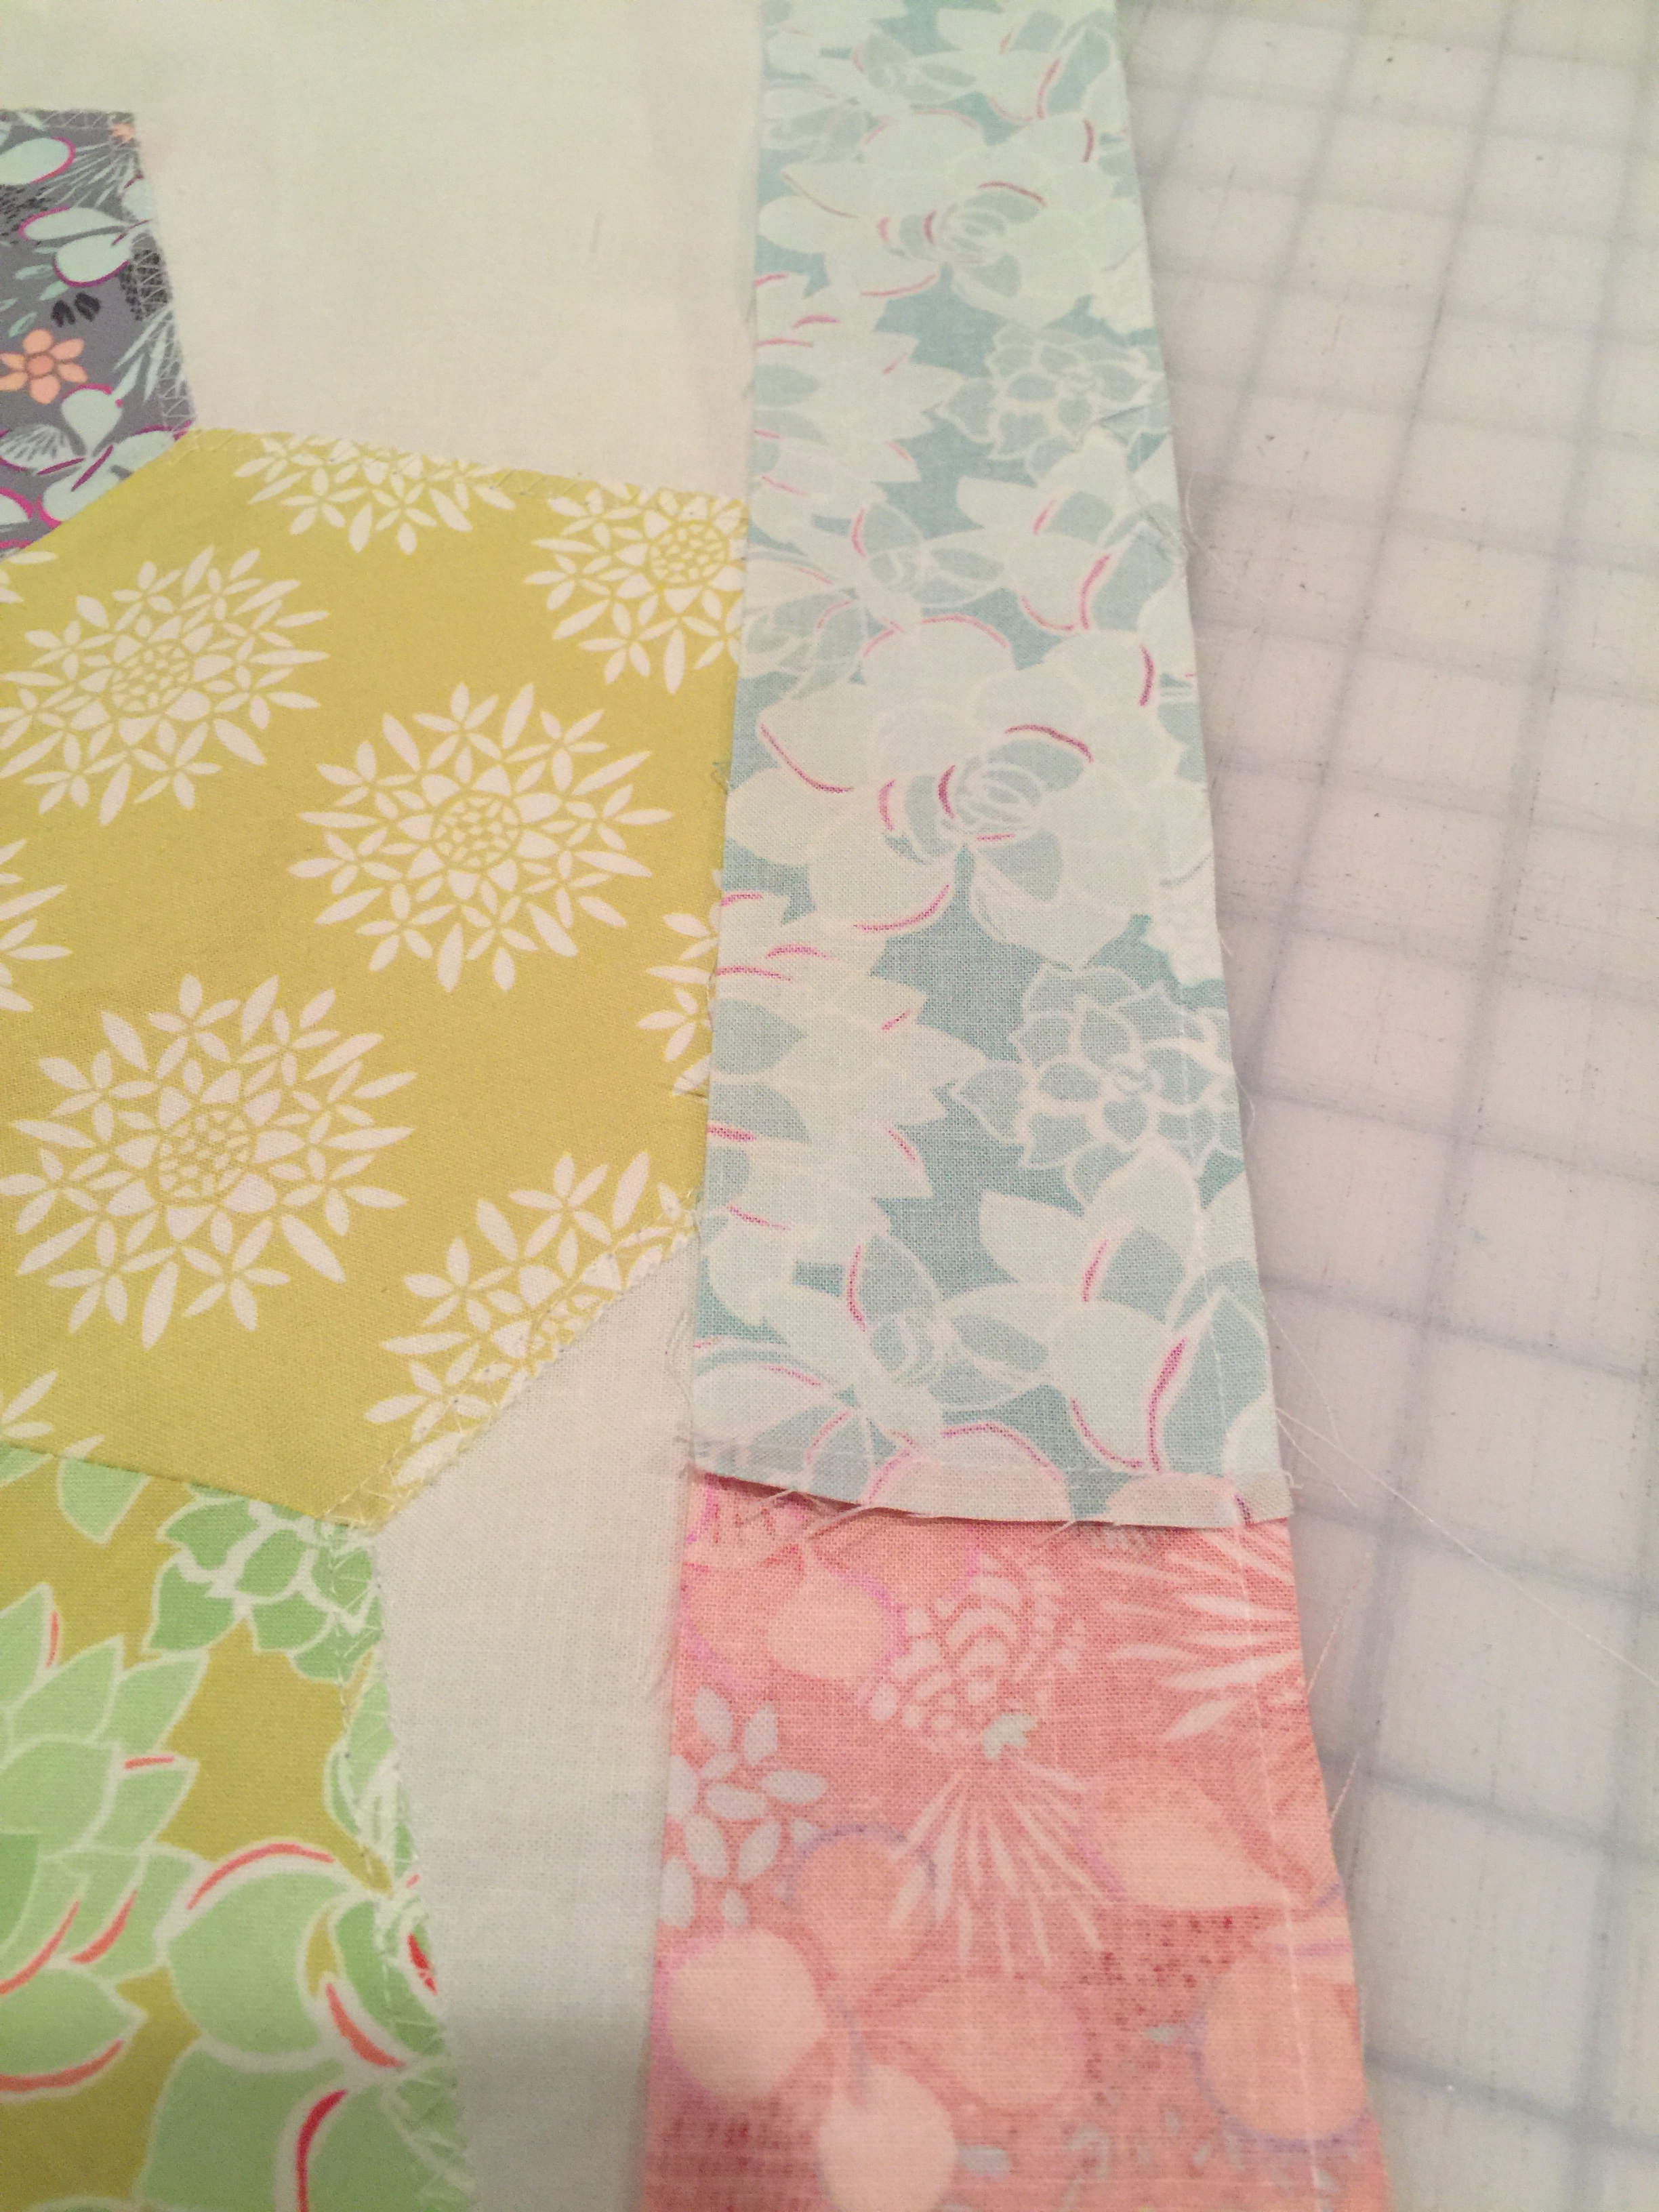
For each flower:
- Sew two jewels together, pressing open
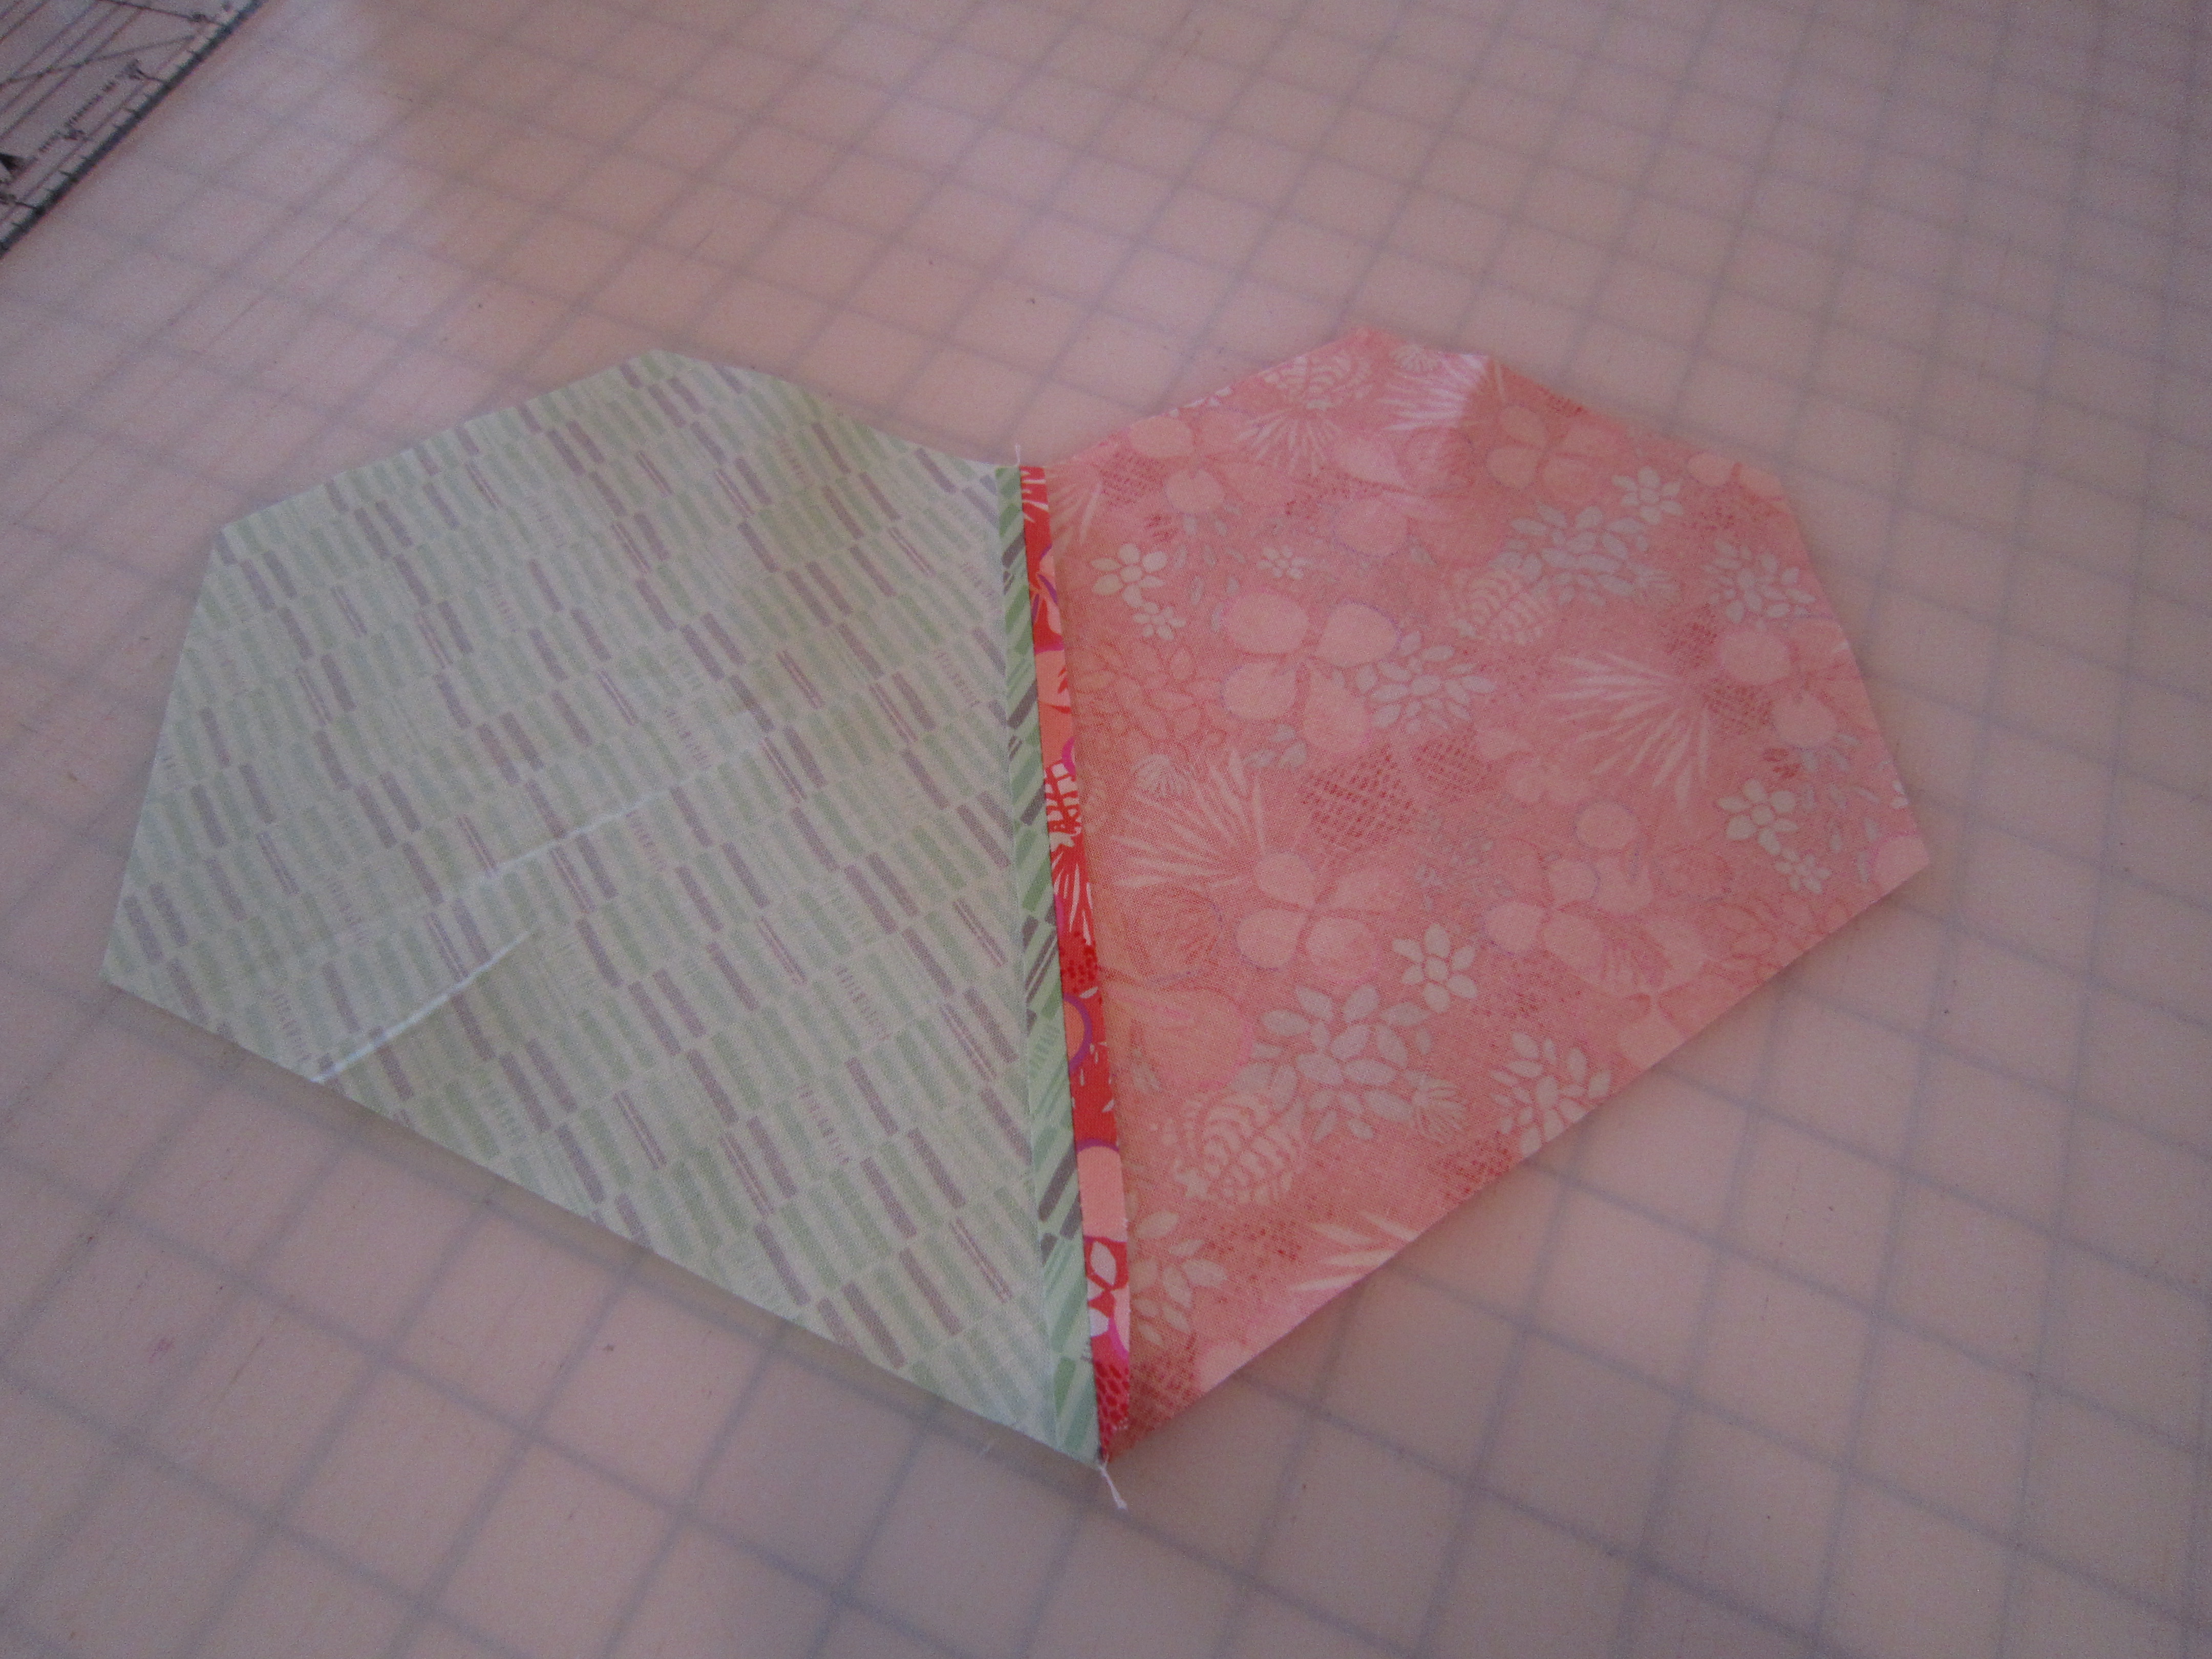
- Sew an additional jewel on, pressing to one side

- Repeat for the other half of the flower, pressing to the opposite side
- Sew the two halves of the flower together, pressing the seam open.
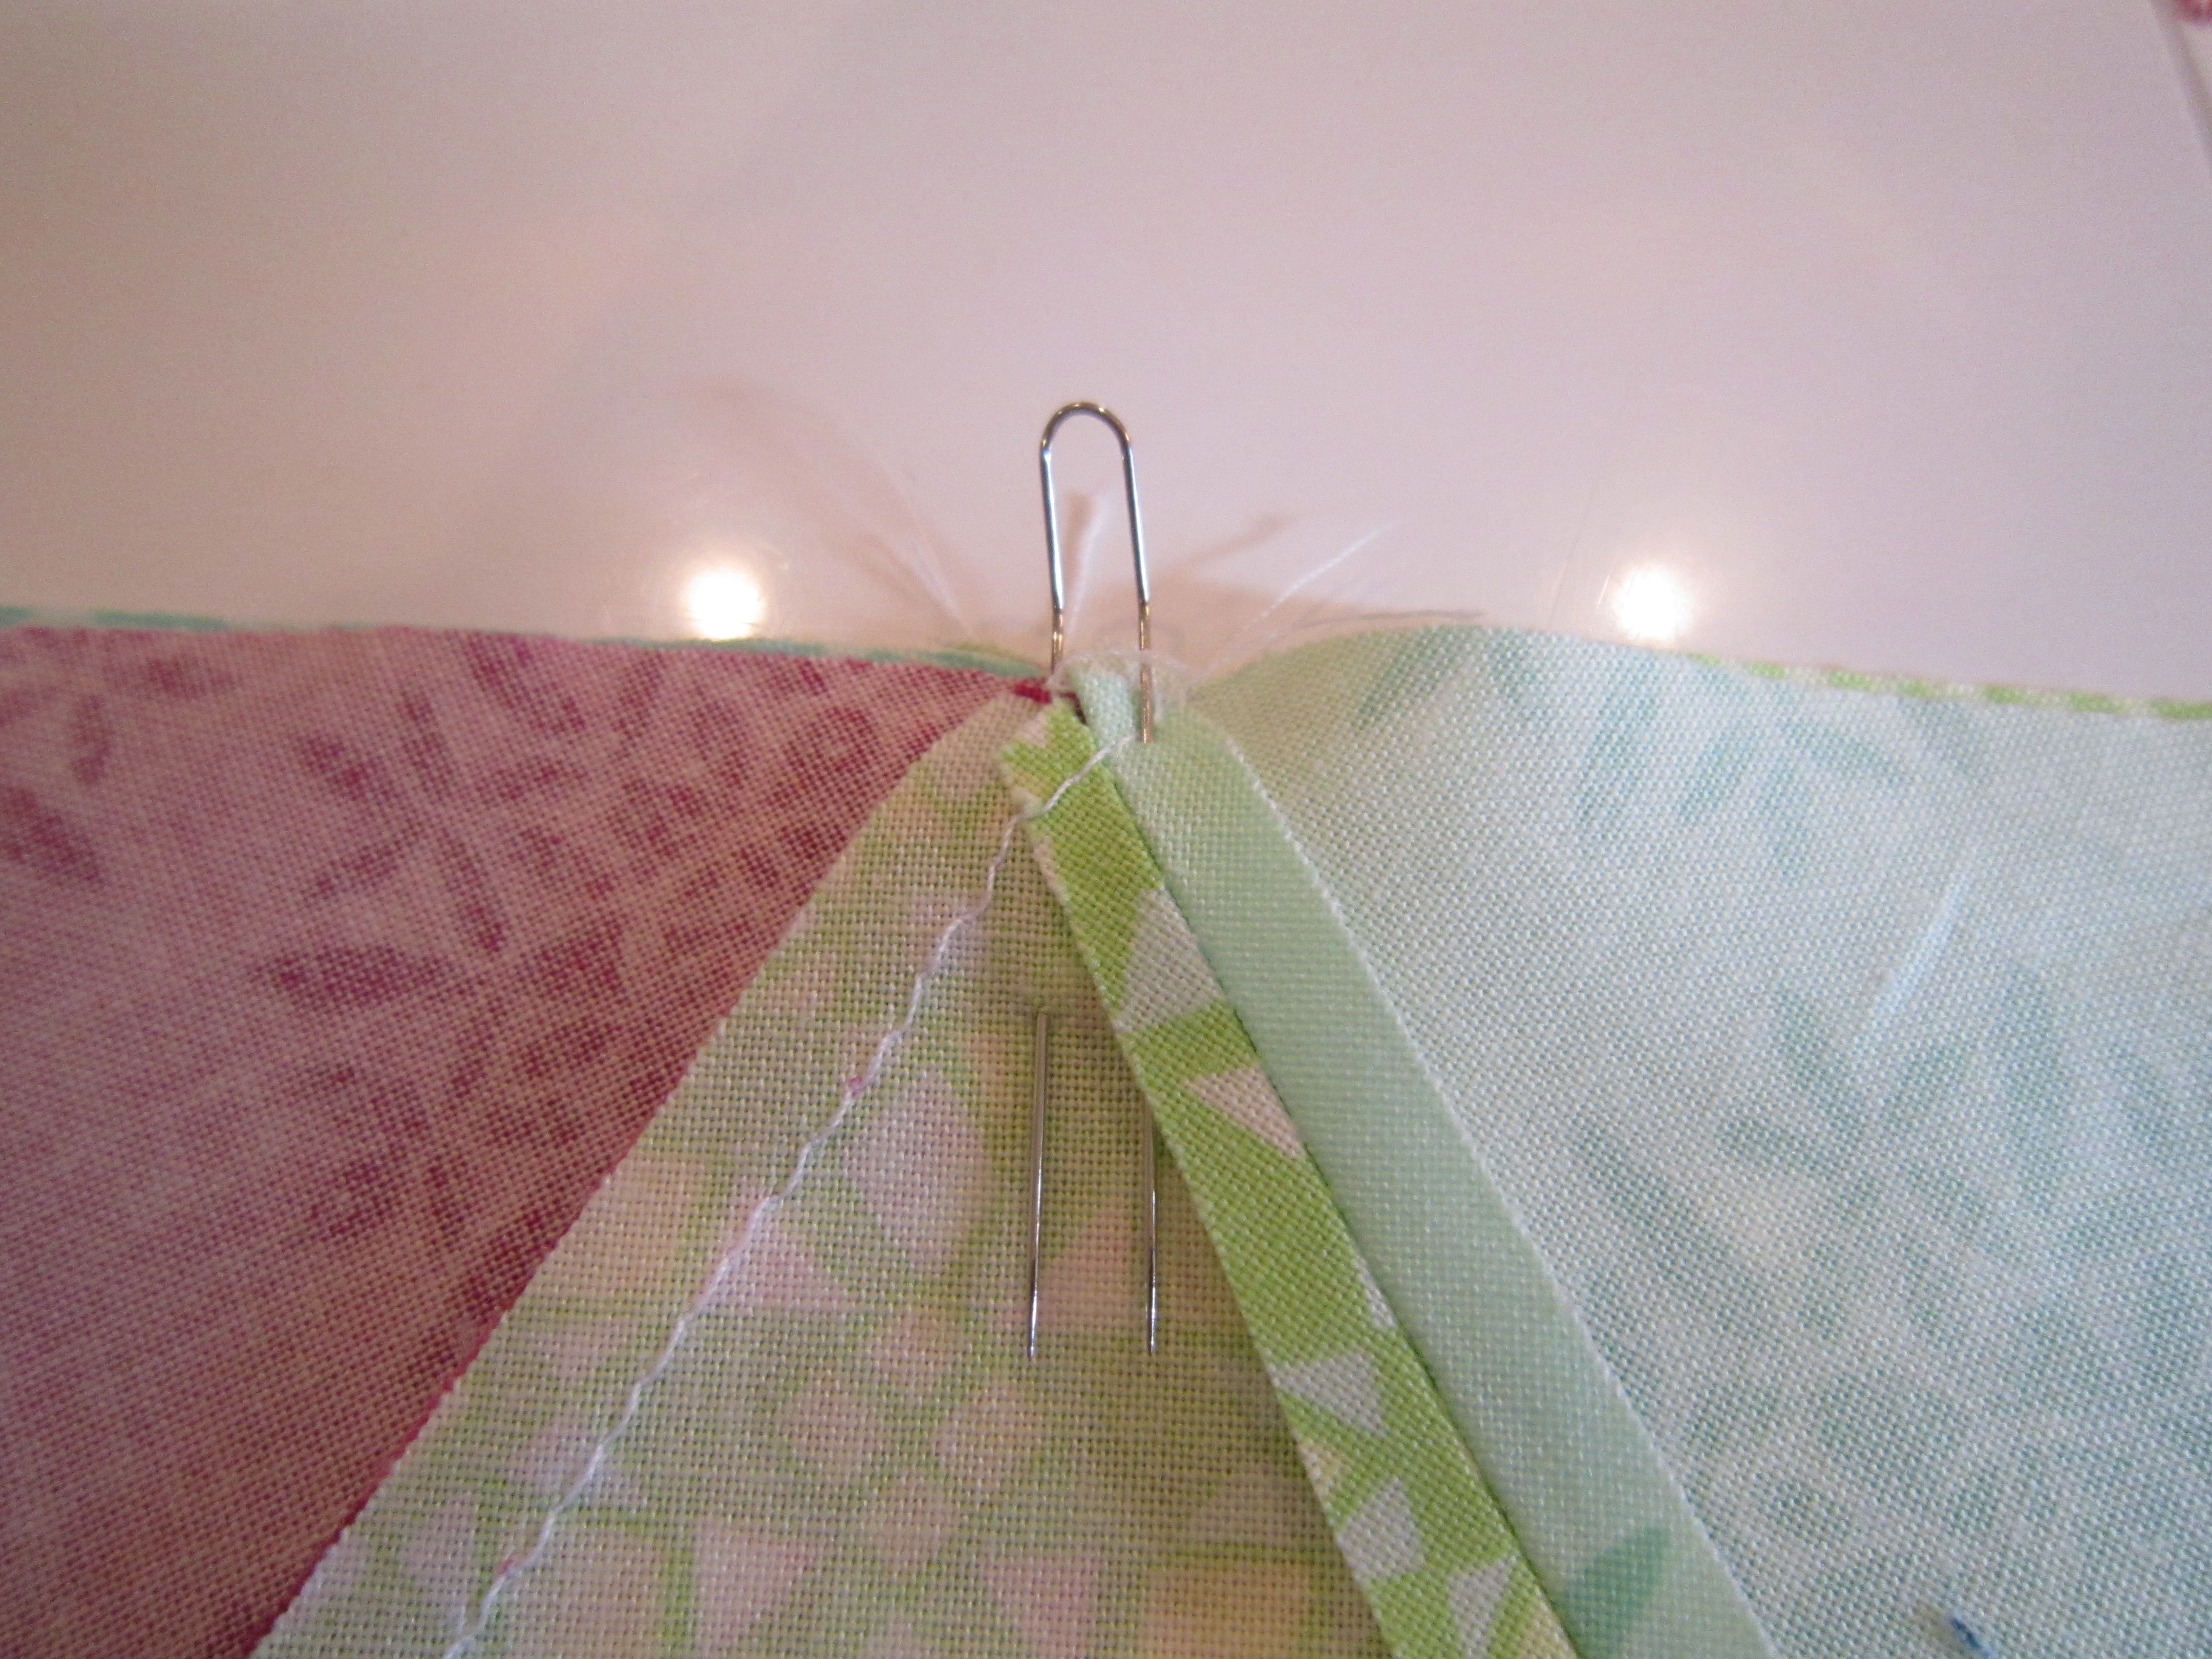
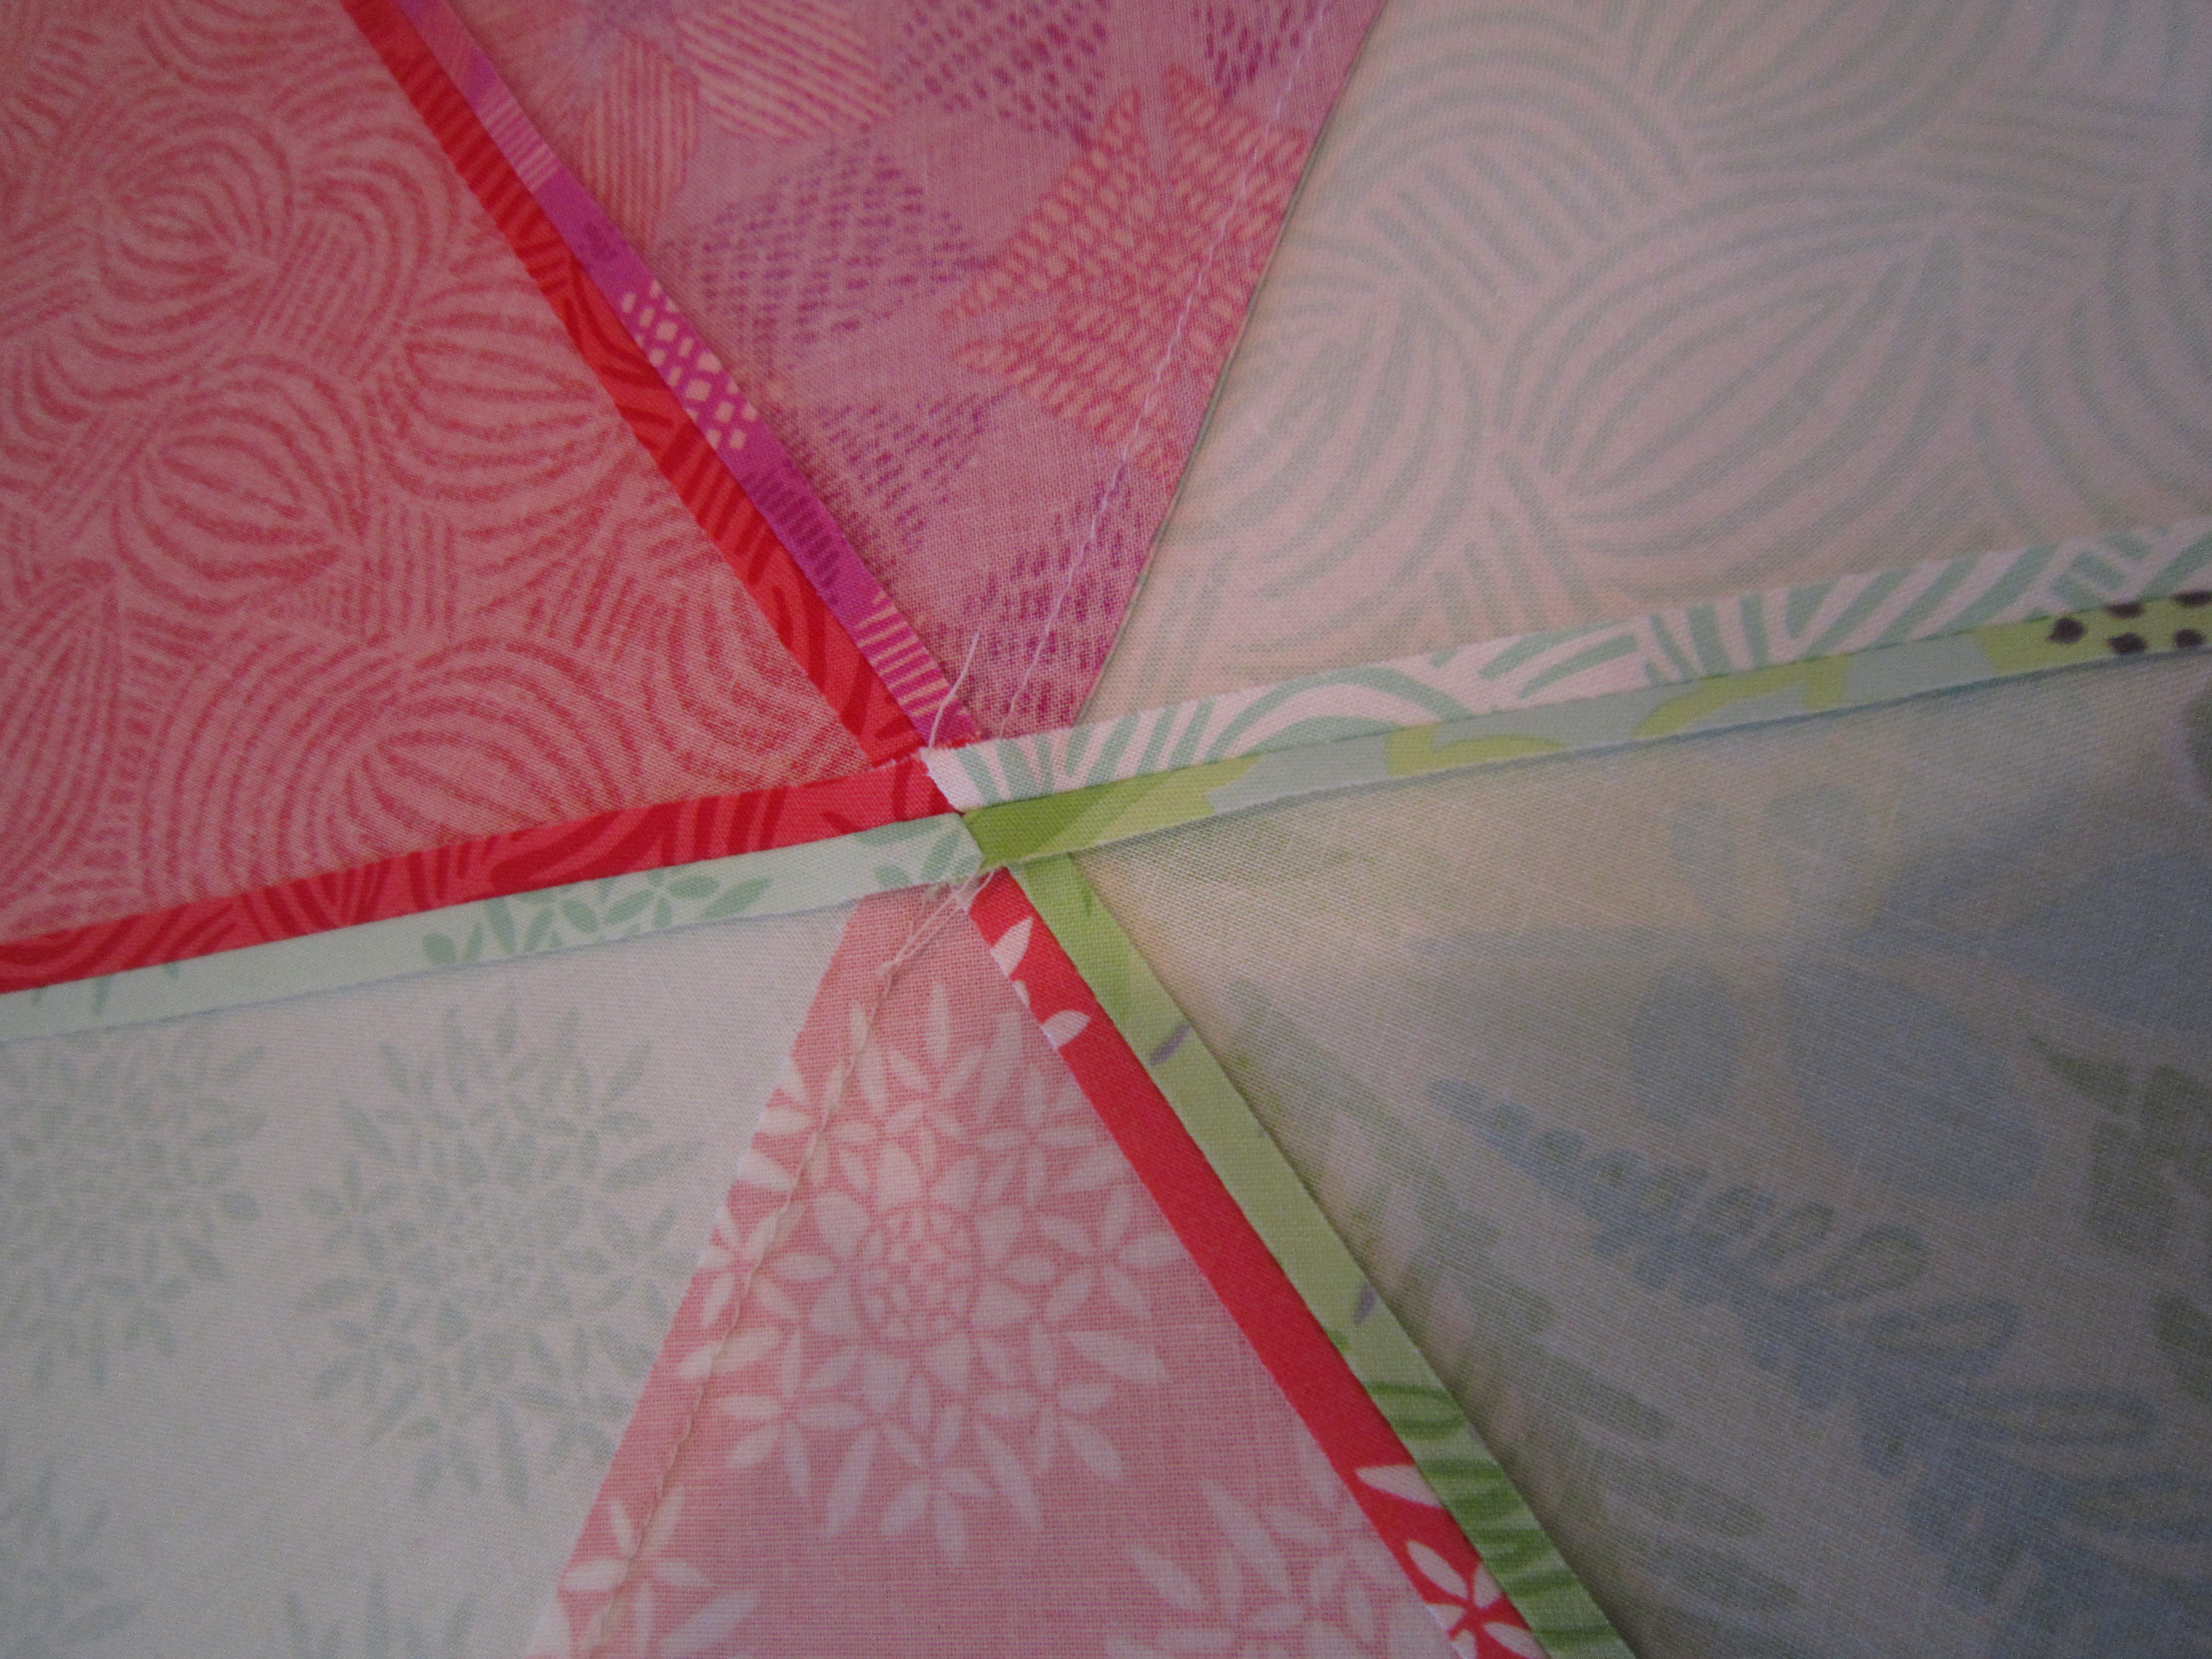
It may seem a bit complex, but I tried several different ways of pressing, and had the best luck getting a nice flat center with this method.
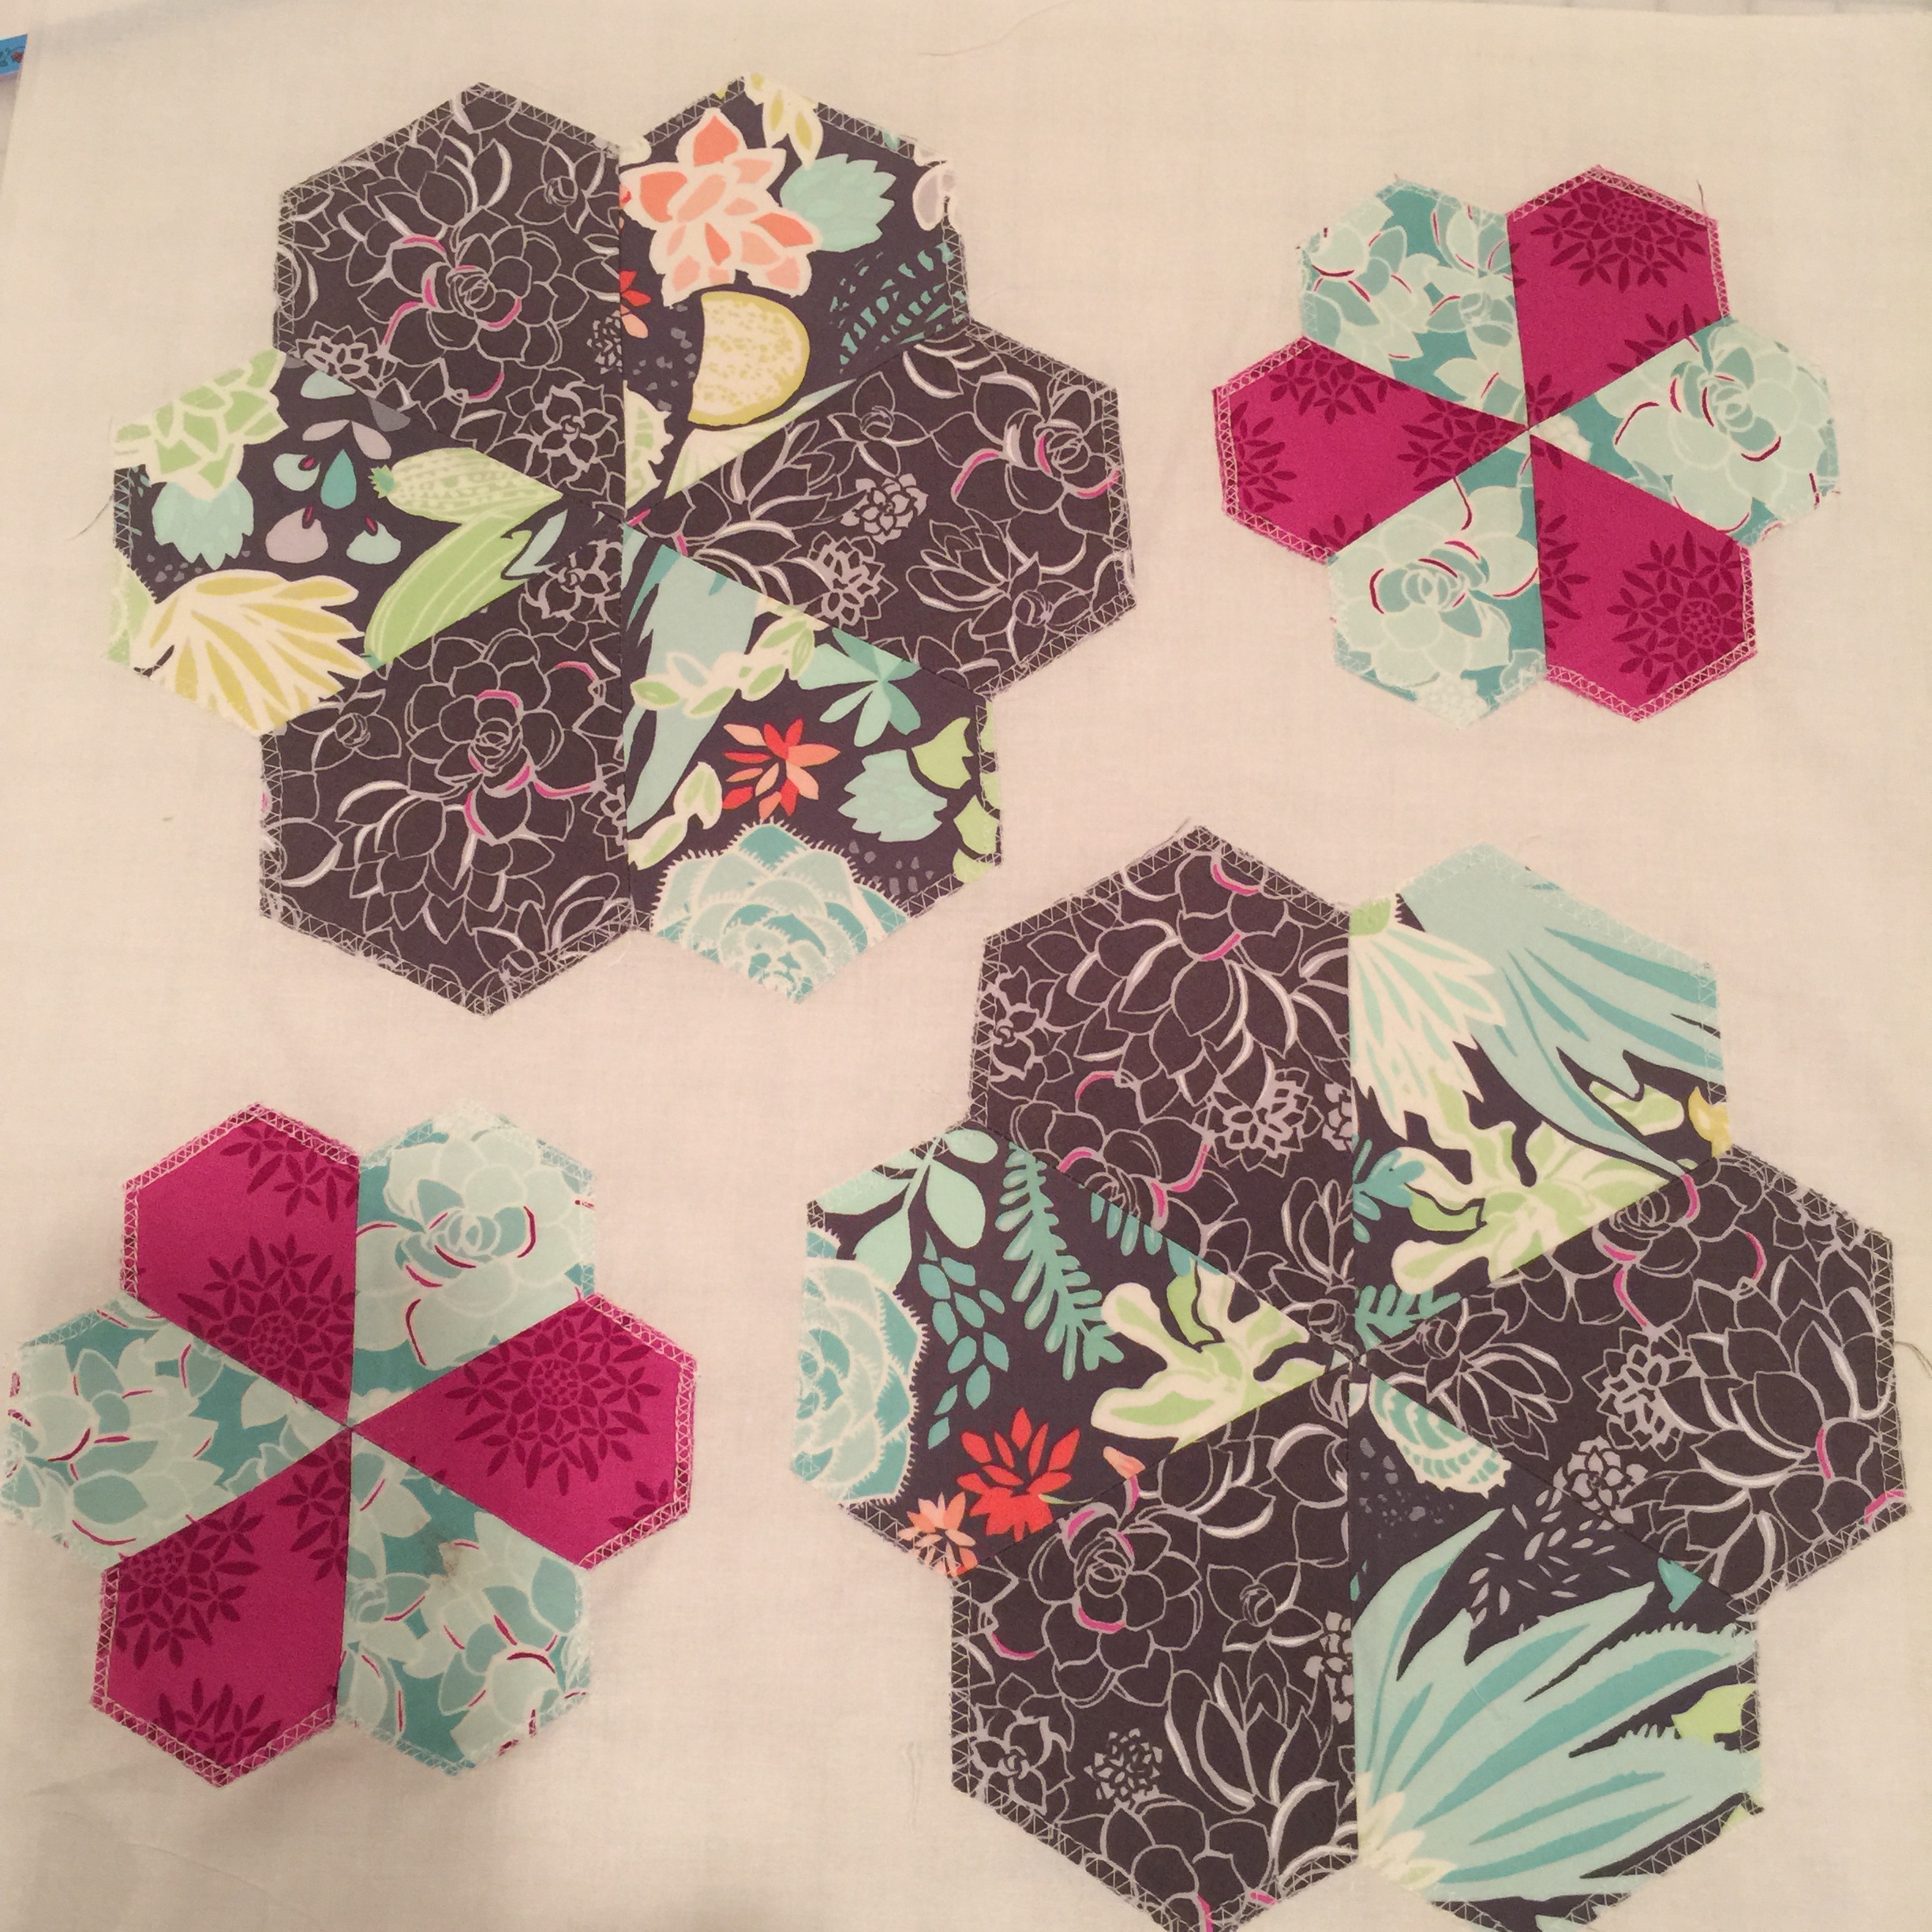
Repeat with all of the flower shapes.
From your background fabric, cut nine squares that are 21.5x21.5. Basically, you're going for as large as you can get and still get two squares from a width of fabric, so if your fabric has slightly less than 43 usable inches, just make them as large as you can - it will still work out.
For the large flowers: Mark the center of eight of your squares. Using the method of your choice, secure the flower to the square, matching the center of the flower to the mark you just made. I used spray adhesive, but feel free to use whichever method you're most comfortable with.
I used a decorative stitch to applique around the outside edge of each flower. If you happen to own a 40-year-old mechanical-only Elna, this is cam number X. In the more probable scenario that you don't have that, use a stitch of your choice. I like the triangles for this one - I think it worked well with the jewel shapes, but again, use what your machine has to offer. A simple zig-zag would be fine, as well.
For the center square, arrange the two smaller and two medium flowers to an arrangement of your liking, and appliqué them in place. Since I used two fabrics, I just alternated the fabrics.
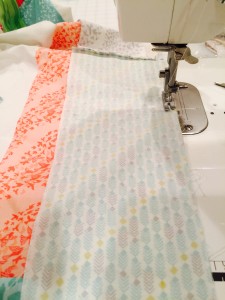
Next, take all of your 2.5 inch strips, and scramble them up. Then you're going to sew them all end-to-end until you've got one REALLY long strip. Start sewing your strip to the edge of a square. I left about an inch between the squares, and just sewed all nine onto the long strip.
Cut between them, press, and trim them square. Now, turn each square 90 degrees, and repeat.
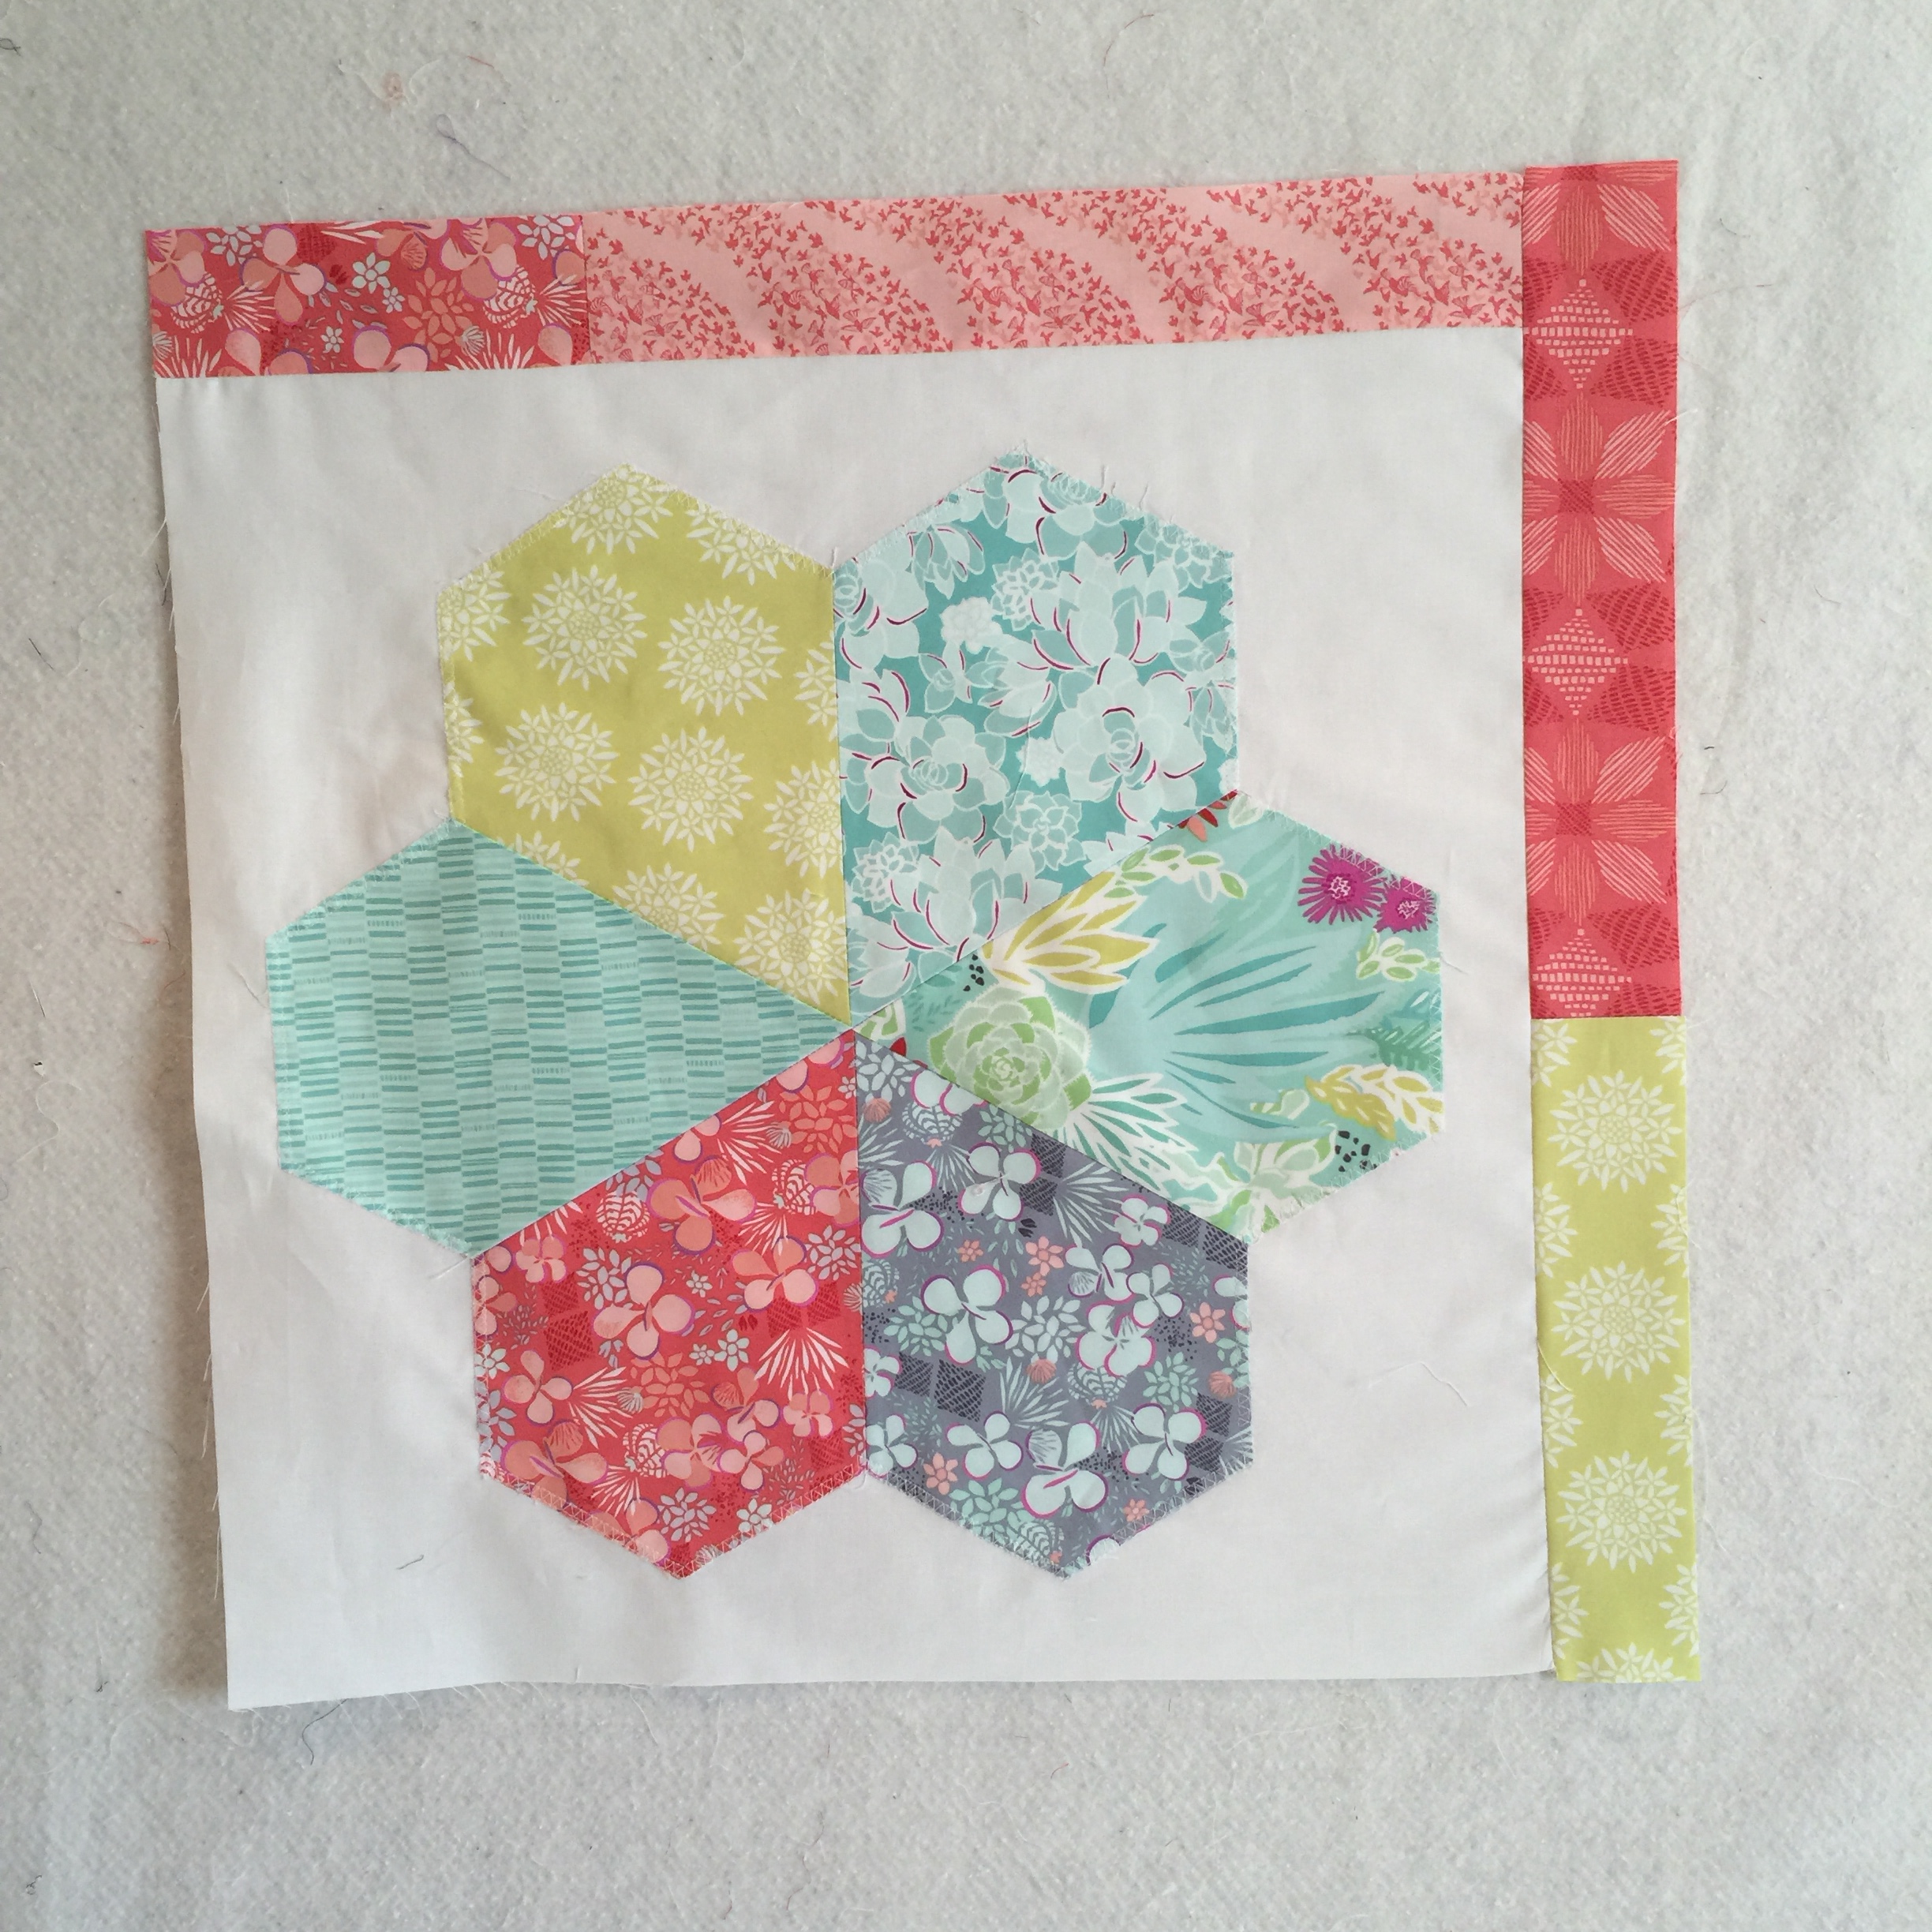
Turn 90 degrees again, and repeat two more times, until you've sewn a strip onto all four sides. Press and square them up, using the size of your original square plus 4.5 inches as your desired size.
Sew them together in rows of three. If you want the throw sized quilt (75" x 75"), you're finished!

Baste, then quilt as desired.
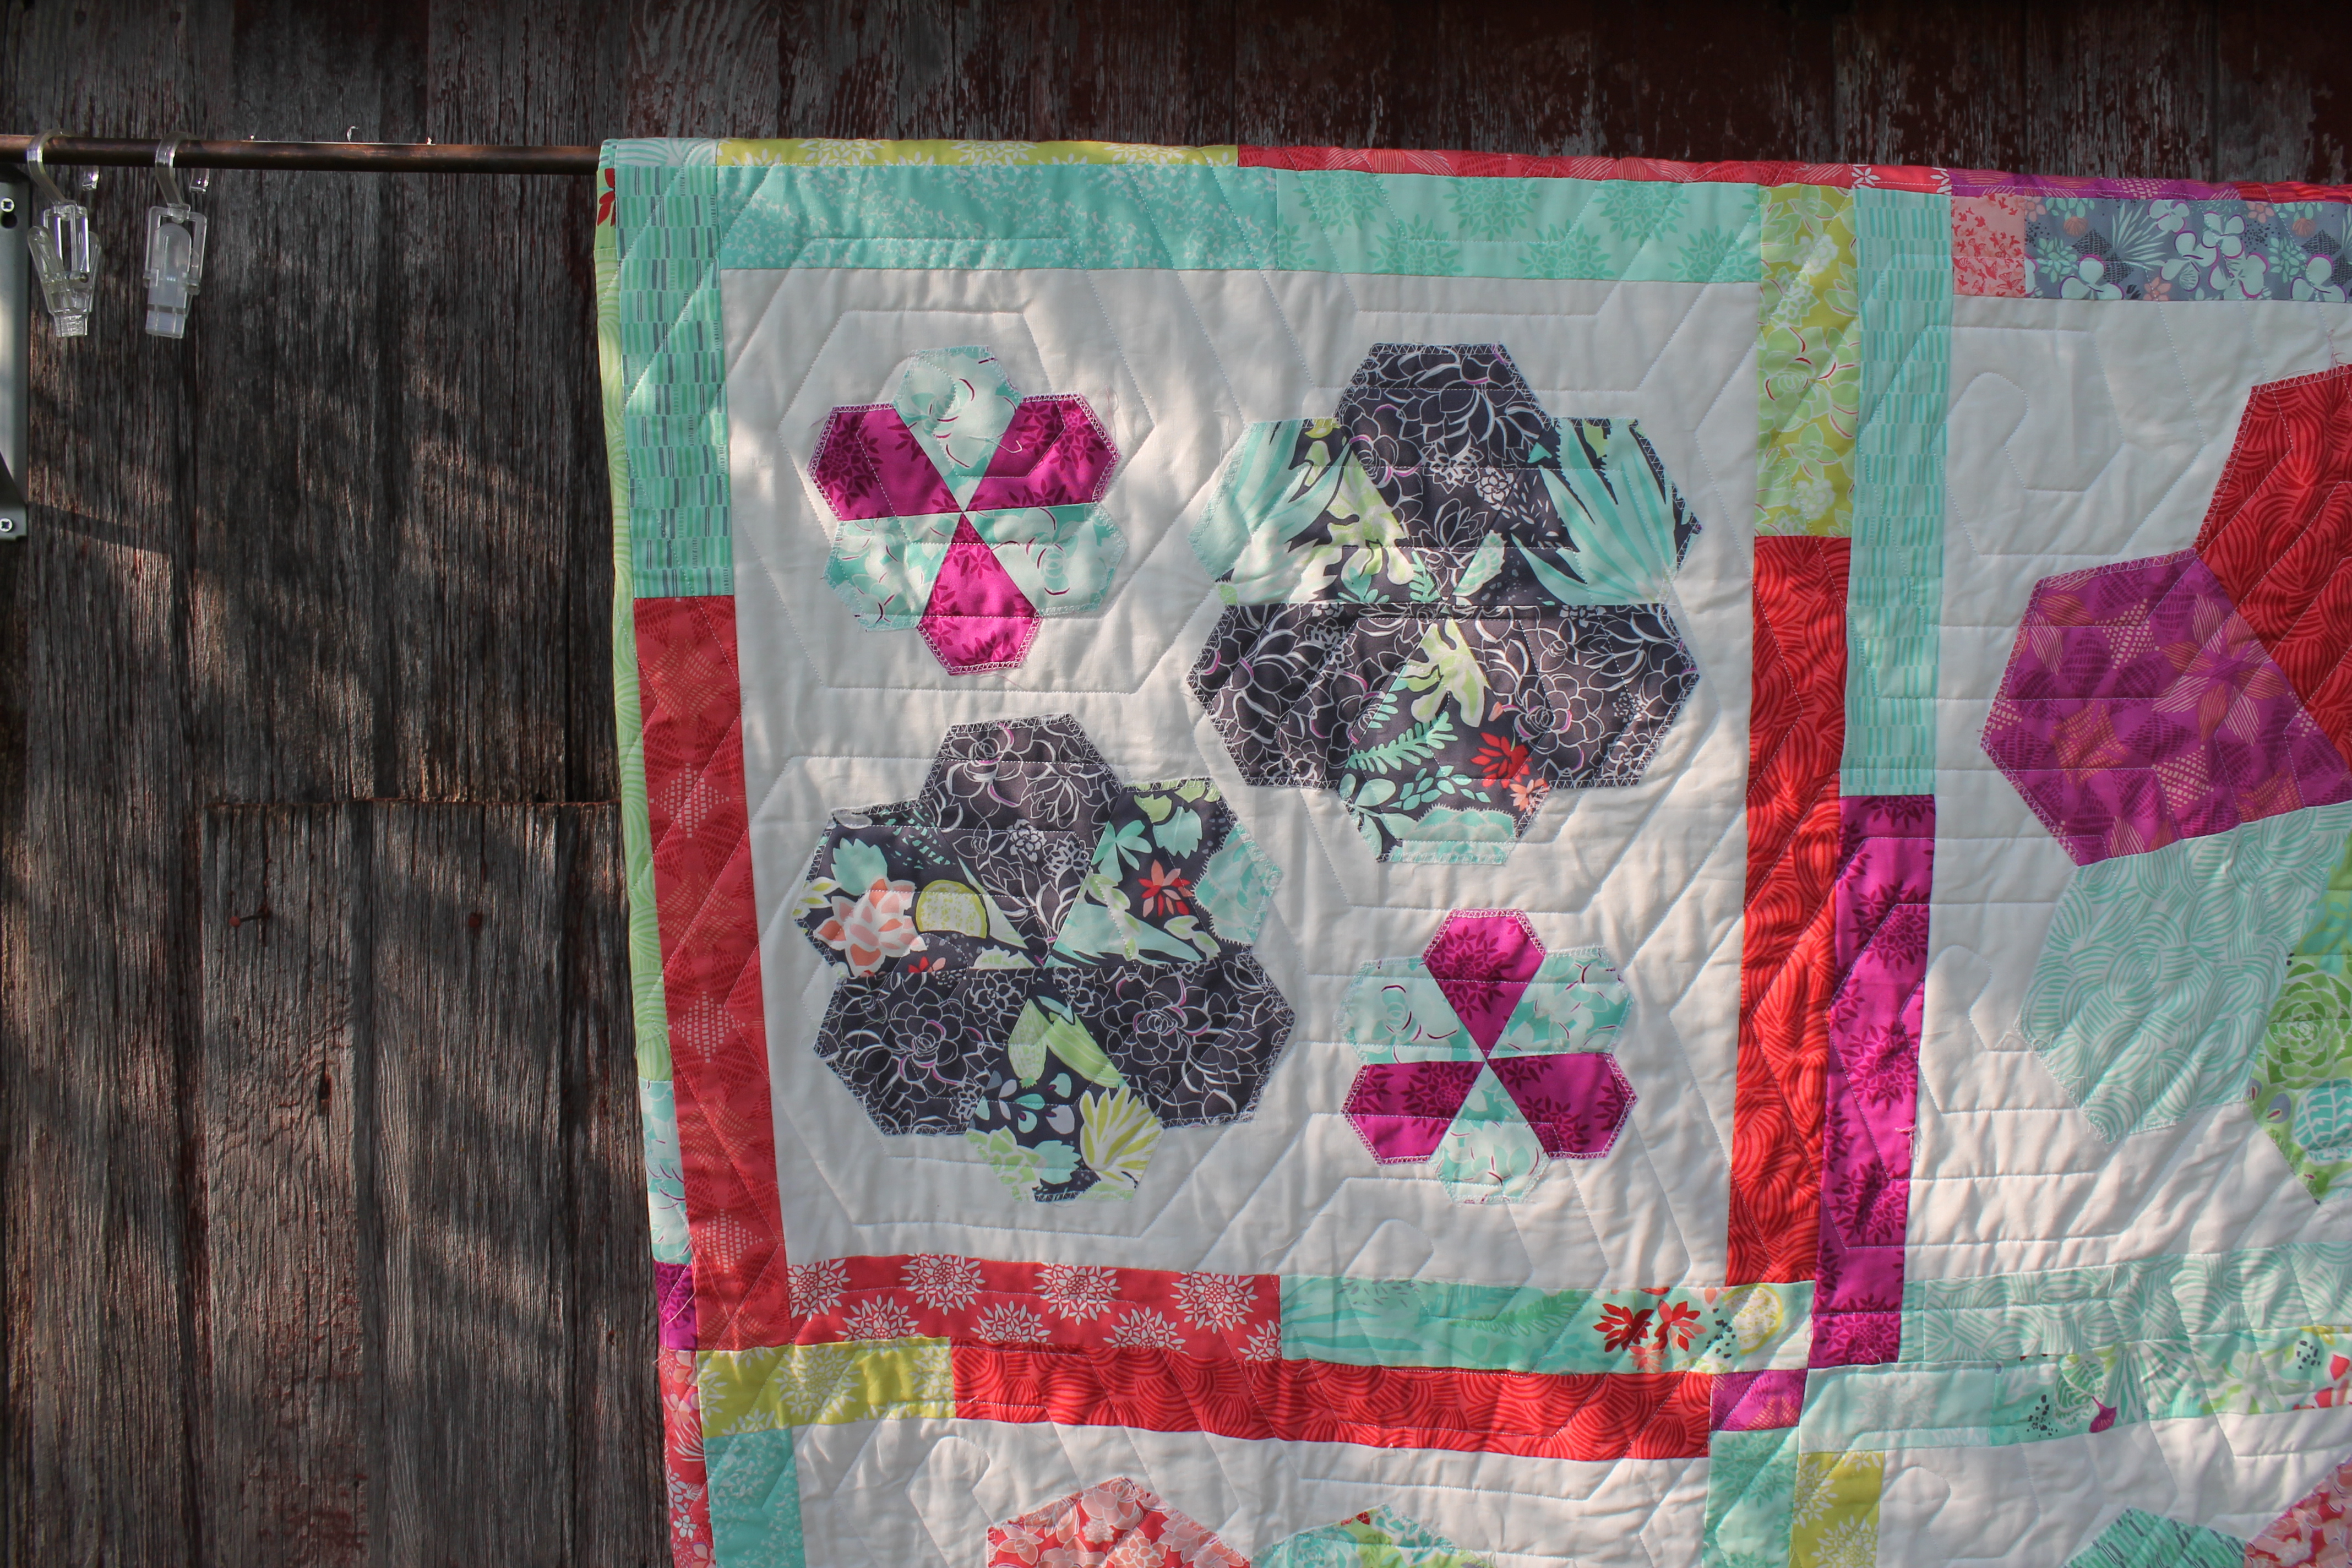
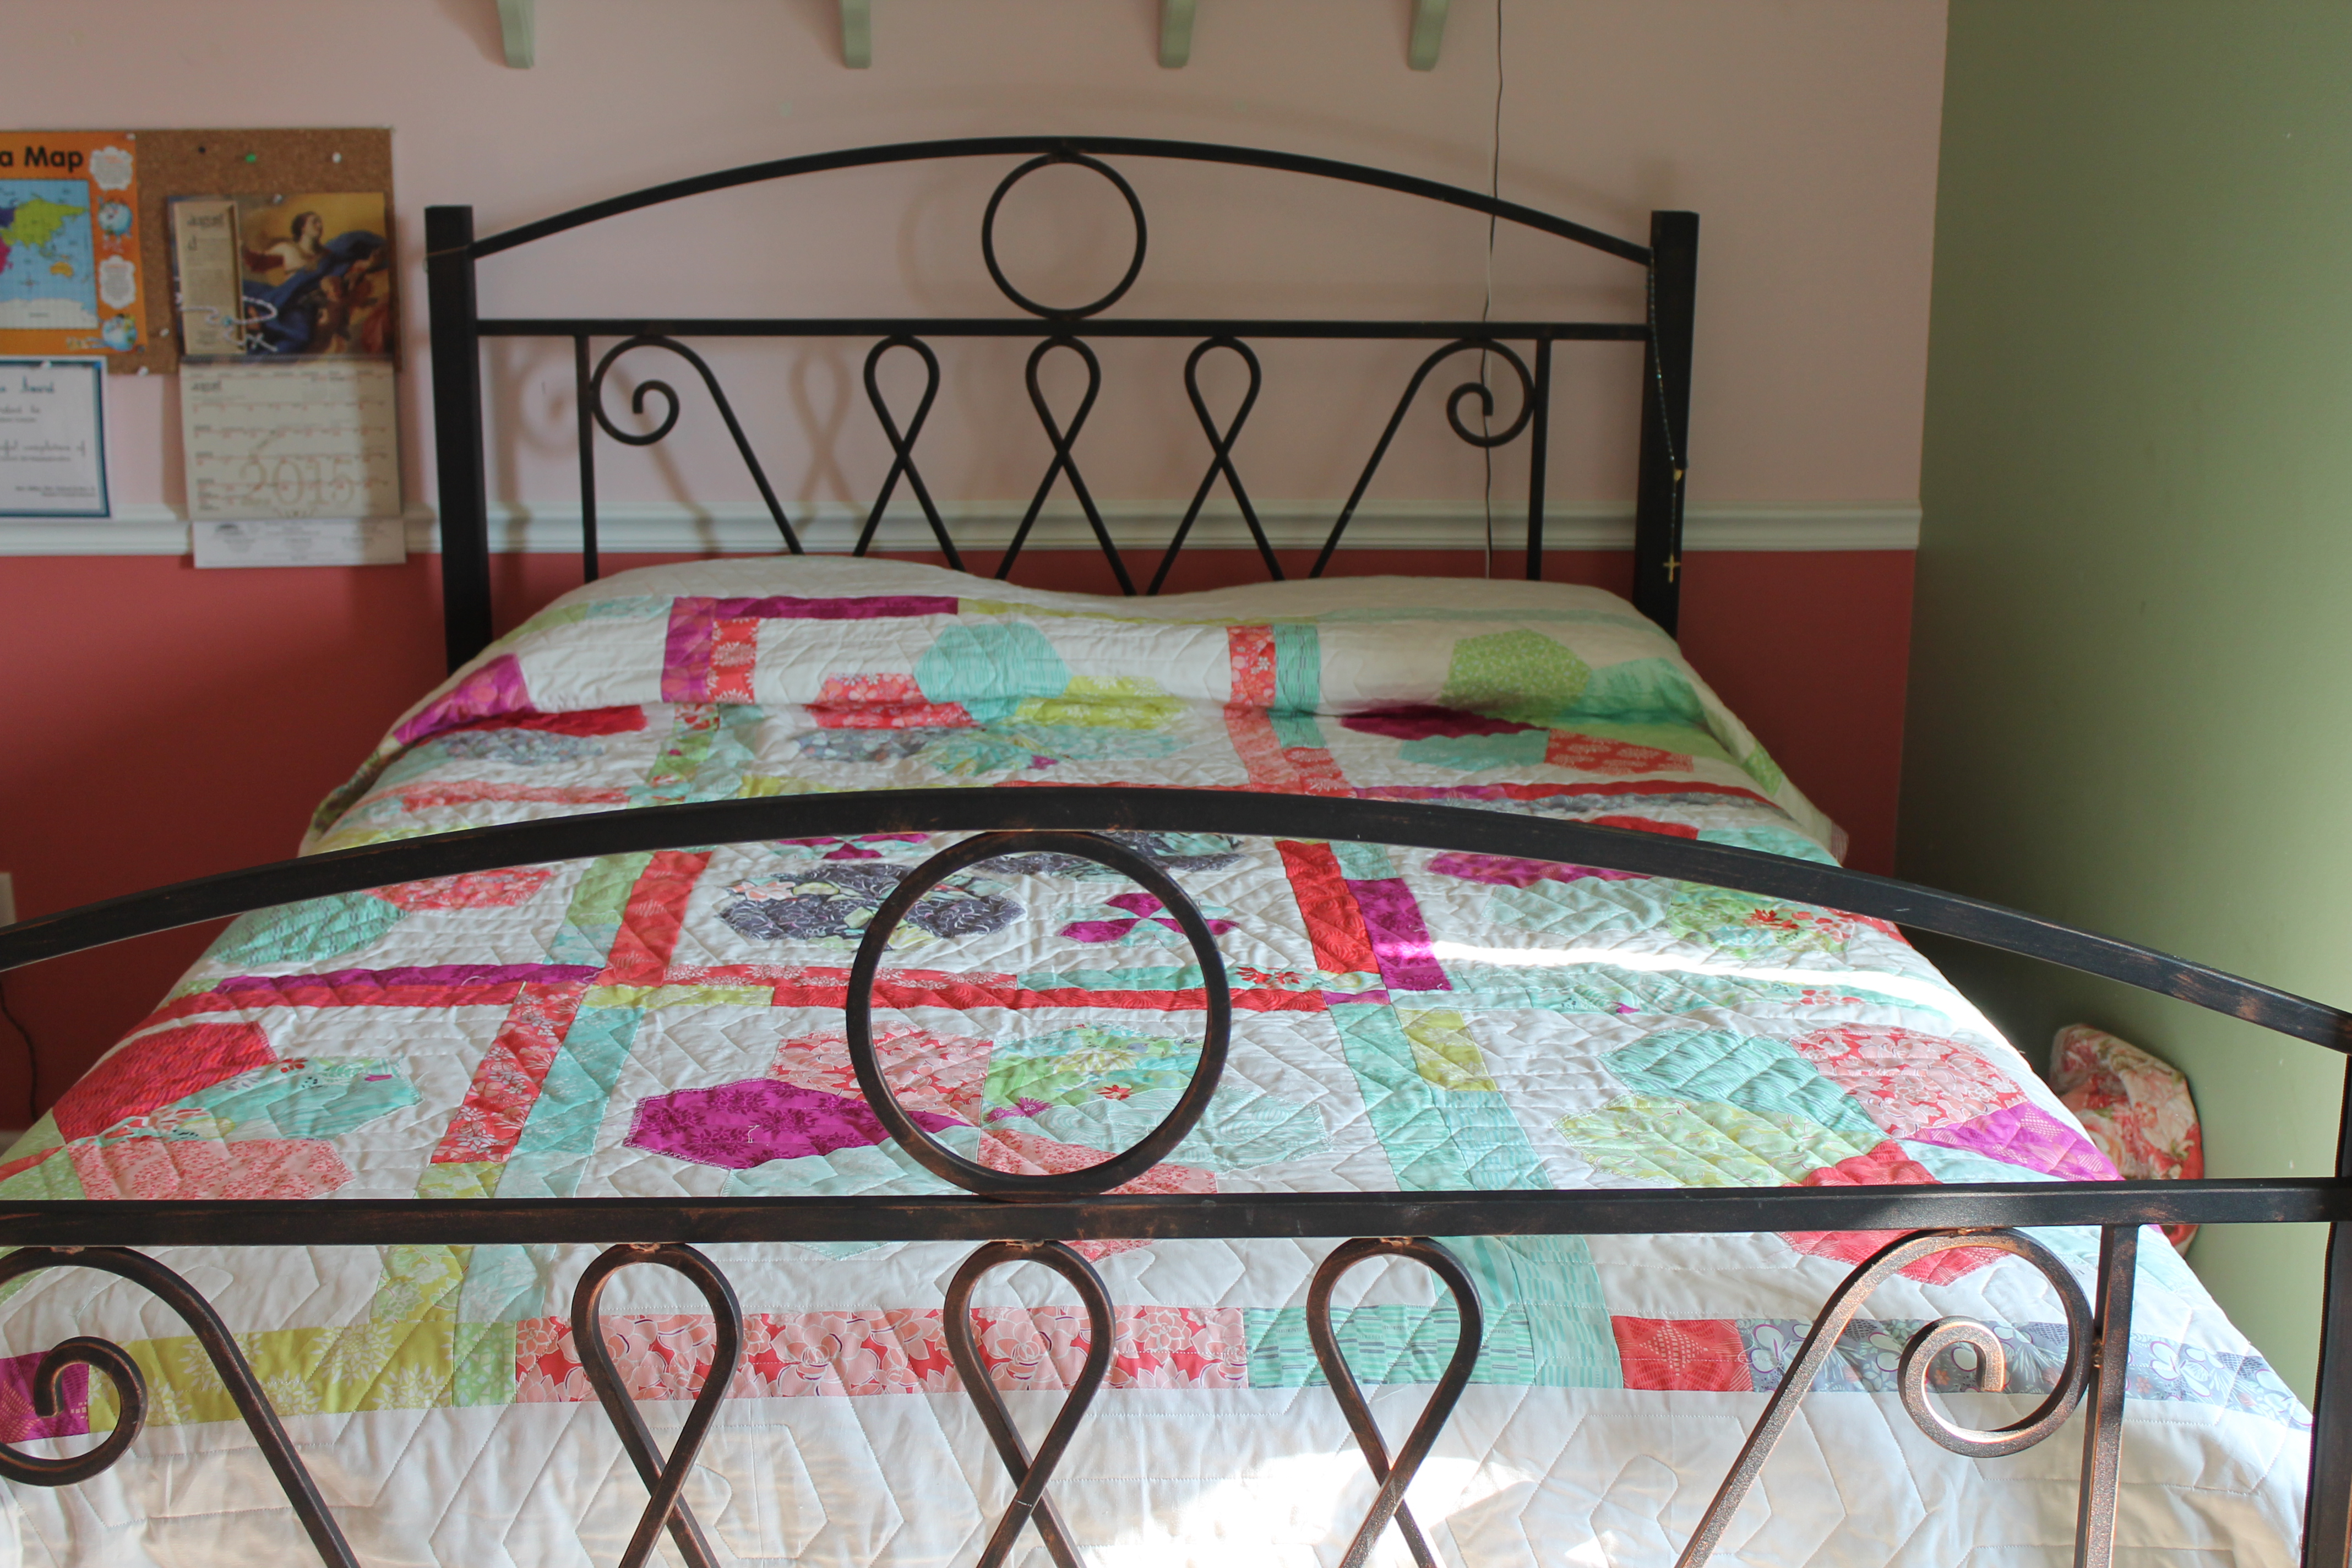
Like I said, my daughter absolutely loved this one, and asked to have it for her bed. I added borders enough to make it a queen size.
First take your remaining fat quarters (for me these were the ones with the white backgrounds), and square up the sides. Cut 20 4.5 inch wide strips.
Take your background fabric, and cut 5 strips 4.5 inches by WOF, and 4 strips 8.5 inches by WOF.
Sew the two sets of the wider strips together, and attach to opposite ends of the quilt. Trim to size.
Cut one of the narrower strips in half, and make two borders consisting of two full WOF and the half piece. Attach to the remaining sides, and trim to size.
Take all of your remaining pieces cut from the fat quarters, and sew them together end-to-end. Measure your quilt top and bottom, and average the two numbers. Cut two strips that length, pin, and attach.
Repeat the procedure for the two remaining sides. You should now have a generously queen sized top.
Baste the layers, and quilt as desired. I chose a hexagonal shaped all-over quilting pattern. Simple, but tied into the jewel shapes as well.
Cut your binding strips to your preferred width (I usually use 2 1/4), and bind using your preferred method.
You'll need eight strips for the smaller size, and 10 for the queen sized. For the queen sized, I elected to use left over pieces of the fat quarters for a scrappier binding.
![]()
One 75" square throw quilt or queen quilt if you added the borders.
Enjoy!
Brenna Goode
{quiltingintheheartland.blogspot.com}
![]()
Posted in: