Welcome to Moda Fabrics!
A tin with a red lining...
A tin with a red lining...
Published:
Dec 18 2015 - 04:00
Do you give your quilt-y friends quilt-y gifts?
Fabric? Quilt books? Notions and tools? Quilts? Frivols?
A couple of my friends are asking for - expecting? - all of the above. I suppose that comes with the job, right? I'm still trying to decide if - who - might get this wonderful Frivol - No. 5 - with Petite Prints Deux by Kaari Meng of French General.

This is Atelier - the French word for "workshop" or "workroom". I didn't make this quilt, it's one of the samples we made for Quilt Market. So I have the kit... and I really want to make this. Or maybe I just want the finished quilt. Both?
This quilt uses all 42 squares and that's it - no additional yardage is required to make the 28" x 31" quilt top. Backing and binding? Okay, we'll need that.
A side note... The size given on the bottom of the quilt is a skosh bigger - after the files for the tin had been sent to print, we made the decision to re-size the quilt to allow a little more leeway with cutting. The pattern is accurate - and we apologize for the discrepancy.
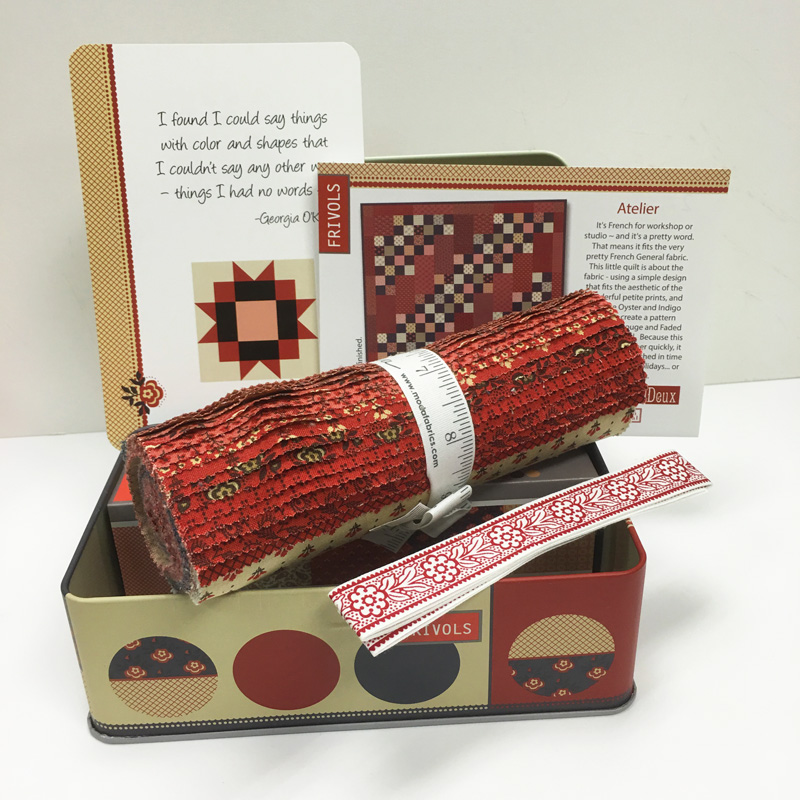
That ribbon - it was designed by Kaari just for the Frivols. (Do you think my friend would notice is the ribbon went "missing"?)
I did have some fun with one of the "sample" tins that arrived in the office.
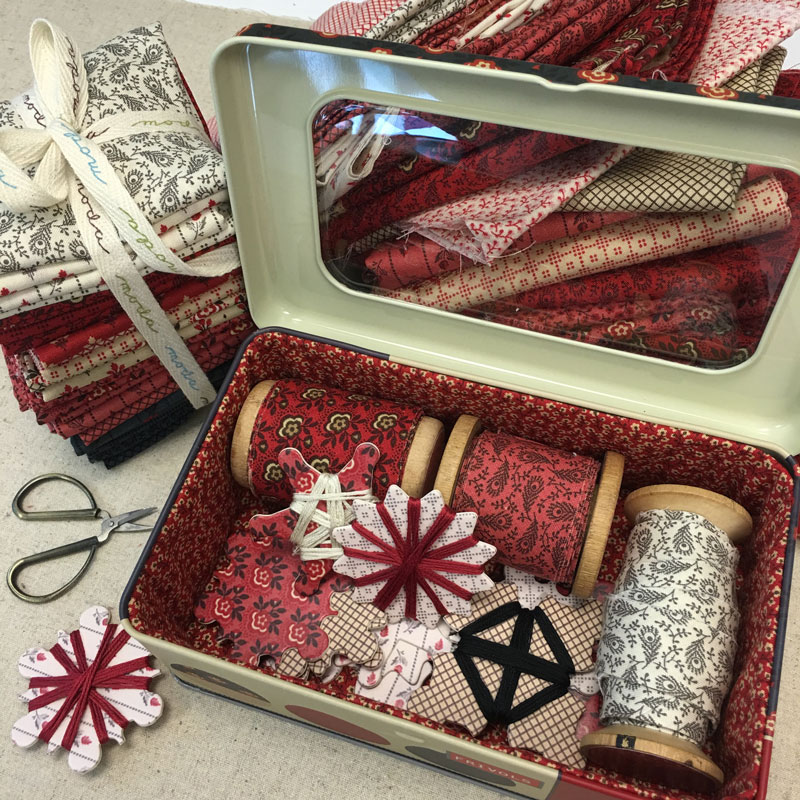
Call me crazy but the sound of things rattling around in a metal tin drives me crazy so I like to line them.
I recently posted a picture on Instagram showing a Frivols tin that I'd turned into a little sewing box. It was a surprise to learn that several people who had purchased Frivols tins didn't know they had a hinge - their tins were still wrapped in the original shrink-wrap to keep them in perfect condition. (I'm not judging... I may or may not have done the same kind of thing in my lifetime.)
Before I tell you how I lined the tin - the little thread bobbin cards were cut using the Sizzix die designed by Kaari Meng of French General. Color copies of the fabric were printed onto 20 lb. regular copier paper, then adhered to both sides of a cream-colored heavy card-stock using ModPodge and a foam brush-thing. (The cardstock is the weight of mat board or illustration board.) The boards were allowed to dry for at least 12 hours with something heavy on top to keep them flat. Then the board was trimmed of the excess paper on the sides and run through the Sizzix machine with the bobbin card die. The cards are then wound with embroidery floss.
To line the tin, start with a piece of cardboard, a pen/pencil/marker and a Frivols tin. The cardboard from the back of a Layer Cake works very nicely.
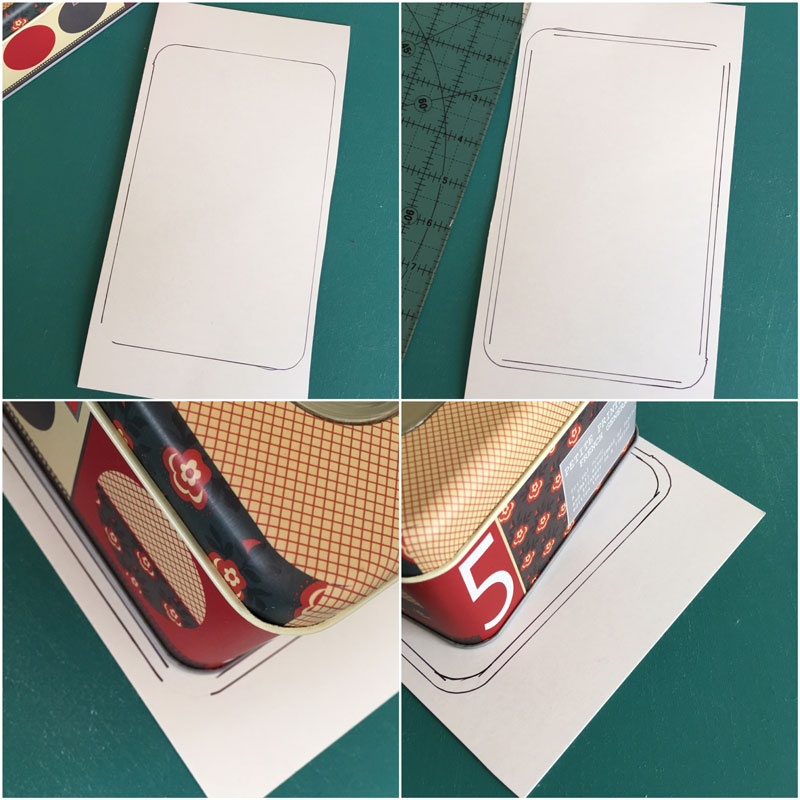
Trace the outside edge of the tin onto the cardboard using a pen/pencil/marker. Then draw a line 1/8th" inside the line as shown. Using the round-corner of the tin, connect the lines to draw the curved corner.
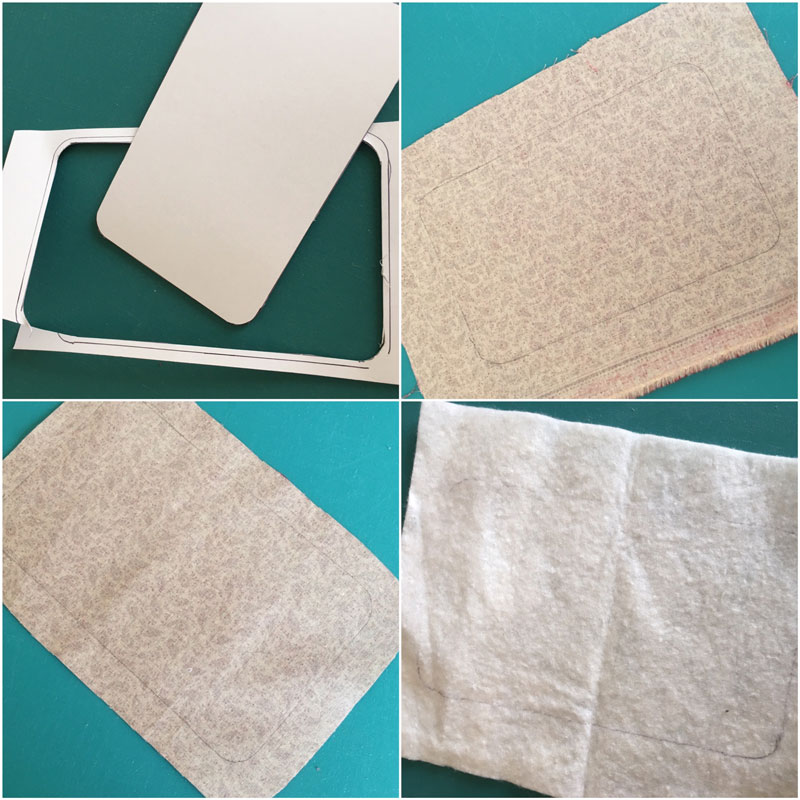
Using your best for-paper-only scissors, cut the cardboard on the inside drawn line. Using the piece of cardboard you just cut, trace the rectangle onto the wrong side of a piece of fabric. Trim the fabric leaving a 3/4" seam allowance from the drawn line.
Optional - using a very long stitch-setting on your machine, run a basting stitch around the outside edge of the fabric about 1/4" from the edge. This can be used to gather the fabric around the cardboard. It isn't required but I found it helped get nicely rounded corners.
On a scrap piece of batting, trace around the cut rectangle as shown. Trim the batting to 1/4" from the drawn line.
Optional - use a glue stick or glue to lightly stick the batting to one side of the cardboard. Center the cardboard rectangle on the batting.
Place the rectangle with the batting in the center of the rectangle. If you've done the line of stitching, use the thread to gather the rectangle around the cardboard.
Using glue, Elmer's School Glue or Steam-A-Seam, adhere the edges of the fabric to the "wrong side" of the rectangle. Glue-basting - I love it! If desired, adhere Steam-A-Seam to the wrong side of a second rectangle of fabric and use the cardboard to trace the shape. Then adhere the 2nd fabric to the exposed side of the rectangle. It serves no purpose other than to make the underside look a little bit prettier - if by some chance someone should see it.
For the sides, cut the following:
- Fabric: Cut a strip - 3" x at least 25" long
- Batting: Cut a strip - 2 1/8" x at least 25" long
- Lightweight cardstock - cut 3 strips - 1 7/8" x 11" long.
- Use a cardstock that is flexible - something like an 80 lb. weight will work perfectly.
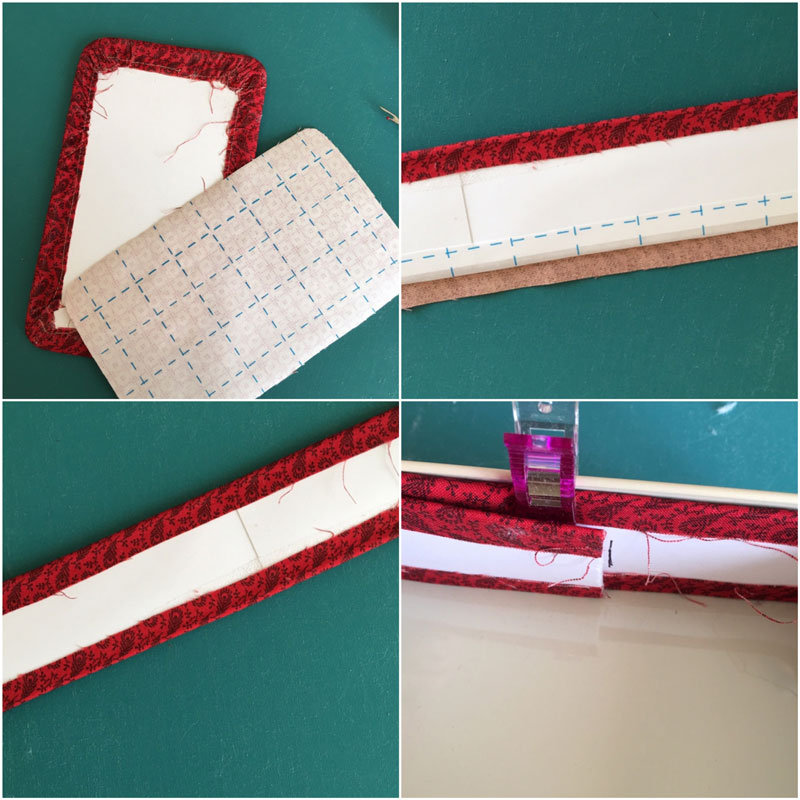
Overlapping the strips by 1/4", join the three strips of cardstock to make a strip that is at least 25" long. Center the strip of batting on the strip of fabric and use a light application of glue to adhere the two layers together. Then center the strip of cardboard on the batting and use a little glue to get the layers to stick. It's not required but it sure helped me.
Now glue the fabric on one side of the strip to the "wrong side" of the strip. For this, I found that using long strips of Steam-A-Seam worked the best. I have no idea why, but it did.
After adhering the first side, repeat the process and adhere the second side - pulling the fabric so that it's snug - but not tight.
With the right side toward the tin, fit the strip into the tin - making sure it's as tight as possible in the corners. Clover Wonder Clips help a lot for this. Mark where the two ends overlap - as shown.
Trim the long edge - 1/2" from the mark. On one side, pull back the fabric and trim the batting to 1/2" from the end of the cardstock. Making sure that the fabric is on the inside - use glue or Steam-A-Seam to join the overlapped ends of the cardstock a 1/2". On one end of the strip, turn the fabric under 1/4". This will be on the outside of the overlap. Using glue or Steam-A-Seam, finish the join of the two ends with a finished edge of the fabric. (I missed getting a picture of this but I'll update this as soon as possible.)
If you should happen to have your finished loop with the fabric on the inside, don't worry. It's easy enough to turn right-side-in - been there, done that. Just turn it carefully.
Finally, the side and bottom pieces can be adhered to the tin using double-stick tape or the glue-dots available wherever scrapbooking supplies are found. It's optional. We used double-stick tape on one tin, but didn't use anything on the other, and there didn't seem to be any significant advantages to one or the other. The bottom stays down nicely on it's own.
Whew. It was easier than it looks - to wit, I've now lined at least three tins.
As for the rest of the Frivol stuff - I'm a bit behind on my Maker blocks but I hope to catch up this weekend. (Yeah... wish me luck!)
I've also been enjoying seeing all the finished quilts at #modafrivols

How genius is the border on Lakeland - the Frivols 4 quilt using Brenda Riddle's Windermere? That is from the Sweetwater Cotton Shop, it made it into a very nice lap-sized quilt.
Comments