Warehouses Closed June 6-13 For Exclusive Event
Holly Jolly Santa
Holly Jolly Santa
Published:
Dec 1 2015 - 23:00
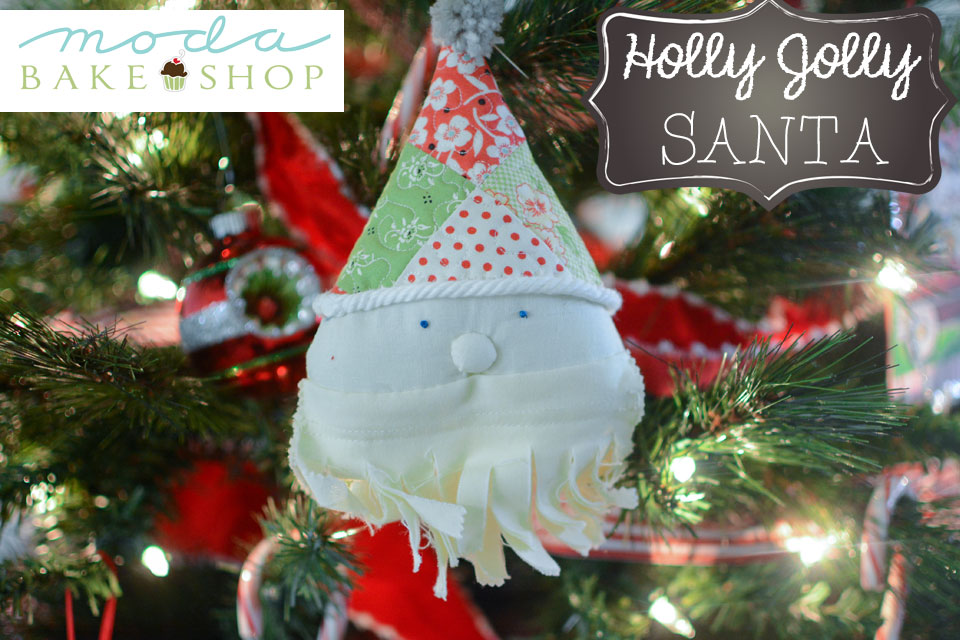

This little Santa was inspired by a vintage find. My version is made with Moda Candy, perfectly sweet for the holiday season! This little face would also make a happy gnome with a solid red hat.
This project finishes at approximately 5" x 7".

![]()
1 package of Moda Candy {Farmhouse by Fig Tree and Co.}
2 batting scraps measuring approximately 8" square
2 fabric scraps measuring approximately 8" square
Polyfill
(2) 6" squares of cream fabric for the face
Scrap of cream fabric for the nose
2 white or cream charm squares for the beard
Optional embellishments: tiny buttons, Perle cotton or embroidery floss, baker's twine, cording, ric rac, yarn
![]()
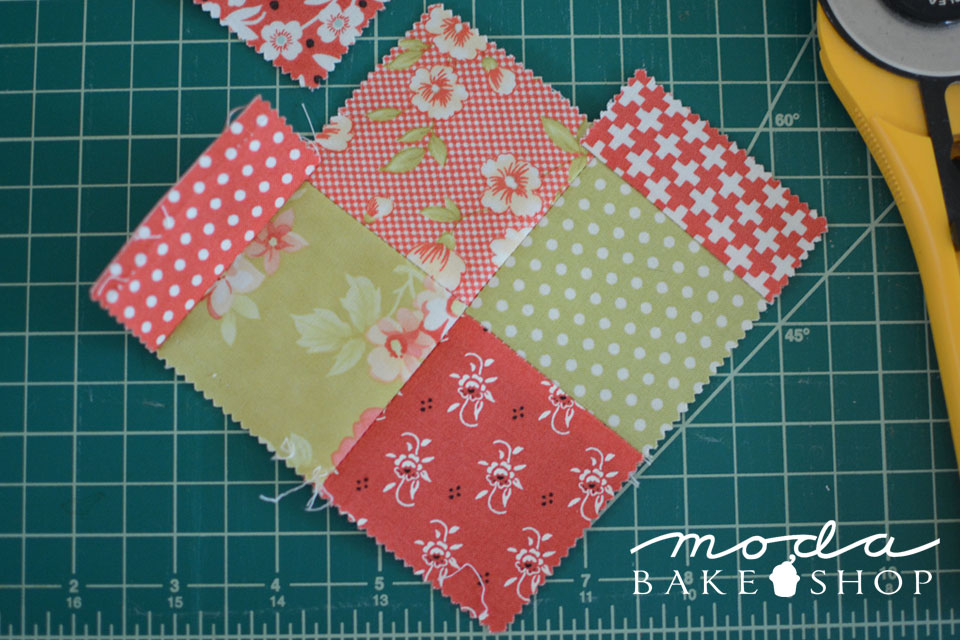
SANTA'S HAT
Select 10 squares from the package of Moda Candy. Create two 4-patches. Press.

Cut 2 Moda Candy squares in half. Sew each half to the 4-patches as shown. Press.
Layer 4-patches with batting and scrap fabric backing. Quilt as desired. Trim using the Hat template. Repeat with second 4-patch.

Place hat pieces right sides together and sew along two sides, using a 1/4" seam and backstitching at the beginning and end. Turn right sides out.

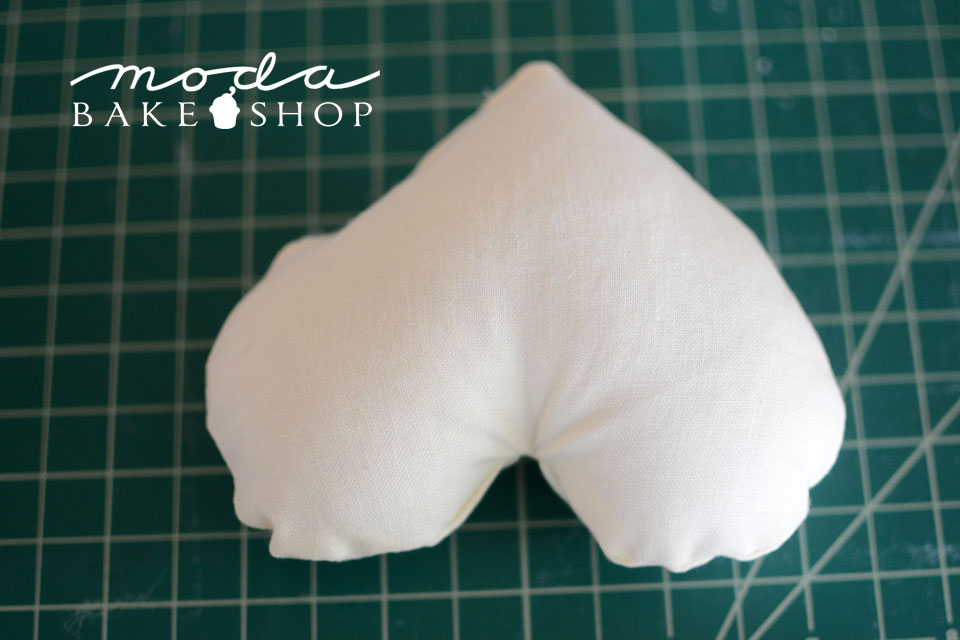
SANTA'S FACE
Using the template provided, cut two pieces of cream fabric for Santa's face. Line up edges and sew together using a 1/4" seam. Leave a 2"-3" opening along one straight edge. Turn right sides out and stuff. Turn raw edges of opening in and stitch closed with your machine. This seam will not show.
Cut out the circle for Santa's nose using the template provided. Sew a basting stitch around the circle, leaving long tails to gather the fabric together. Stuff a tiny pinch of Polyfill inside the nose and gather fabric until it closes. Tie string ends around the fabric, forming a sort of mushroom. Trim excess thread, fabric, and filler.

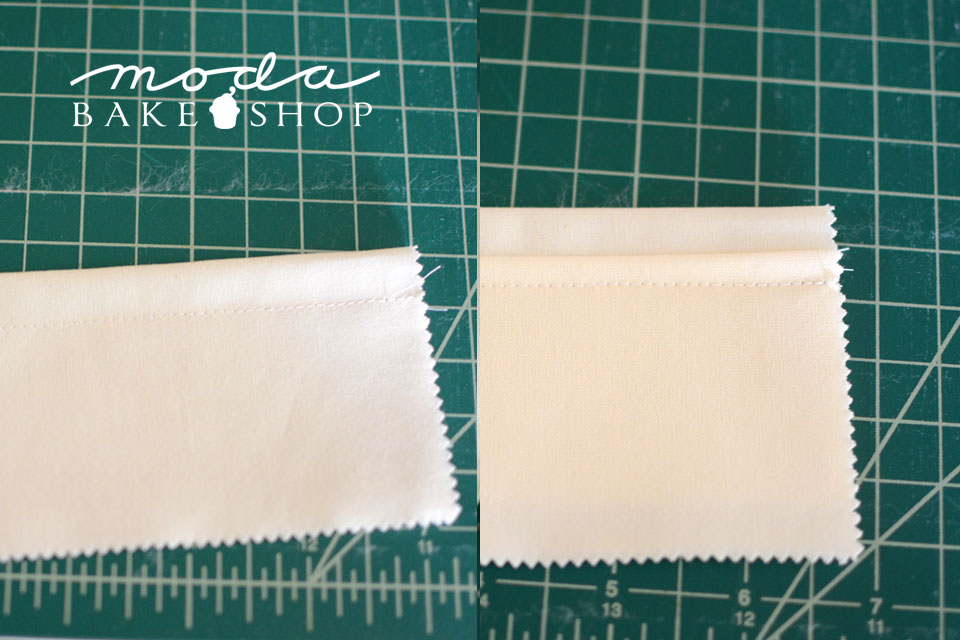
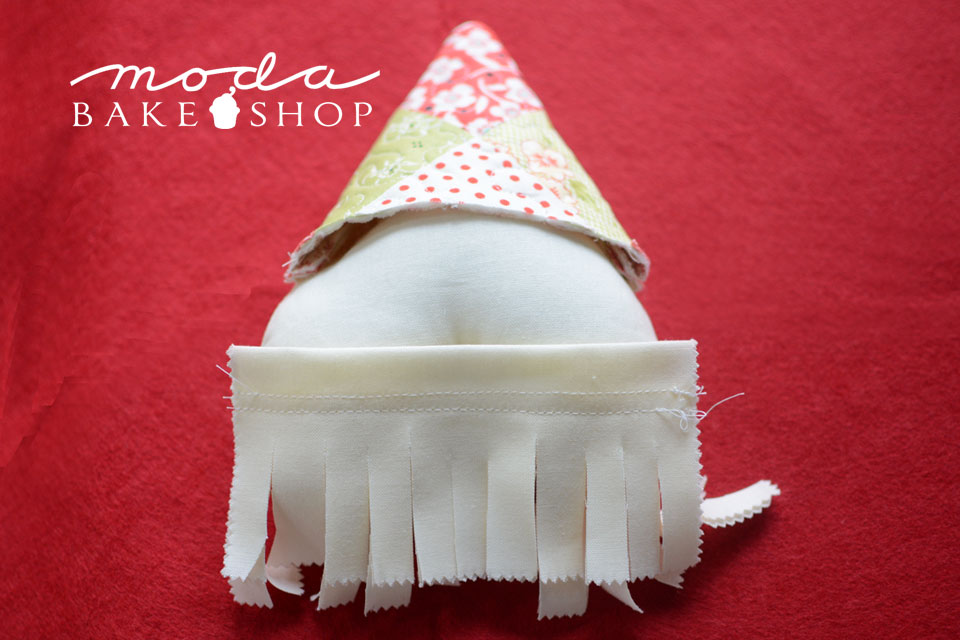
SANTA'S BEARD
Fold two charm squares in half and press. Sew a 1/2" seam along the pressed edge of one charm square. Line the pressed edge of the second charm square up against the sewn line and sew a 1/4" seam to attach the two pieces to one another.
Using a sharp pair of scissors cut vertically across the charm squares to create the beard. To give the beard more texture, soak in cold water and tumble dry on hot in the dryer until completely dry. The fabric edges will start to fray and curl.
Attach the beard and the hat to Santa's face using a needle an thread. Use invisible stitches along the beard and a whip stitch along the hat. Use a needle and thread to attach the nose to Santa's face, as well.
EMBELLISHMENTS
The embellishments you choose for Santa will give him to character to make him your own. I used cording for the trim on the hat. Cotton balls, scrap batting, yarn pom poms, ric rac and ribbon would all make wonderful decorative trim for his hat. Use French knots to create eyes or just a dot of a permanent marker or craft paint will do the trick. This is a quick sew project so use what you have on hand!
![]()

This Santa finishes at approximately 5" x 7". He looks cute on the tree and he'd be happy and festive gift, too!
Happy Holly Jolly Sewing!

![]()
Posted in: