Welcome to Moda!
Sugar Pop N Change Mini Quilt
Sugar Pop N Change Mini Quilt
Published:
Dec 7 2015 - 11:31


Hello Moda Bake Shoppers and Happy Holidays!!! Melissa from Happy Quilting here with you today ;) I was so excited to hear that Moda Bake Shop was celebrating this December with a whole month of Mini's from previous Moda Bake Shop projects!!!! I absolutely love making mini's and decided that it would be super fun to make a mini of my Sugar Pop N Change quilt that was actually my third Moda Bake Shop Tutorial. So here it is . . . The Sugar Pop N Change Mini!!!!!
This quilt/project finishes at 23" x 23". So let's get to it!!!
![]()
To make this adorable mini you will need:
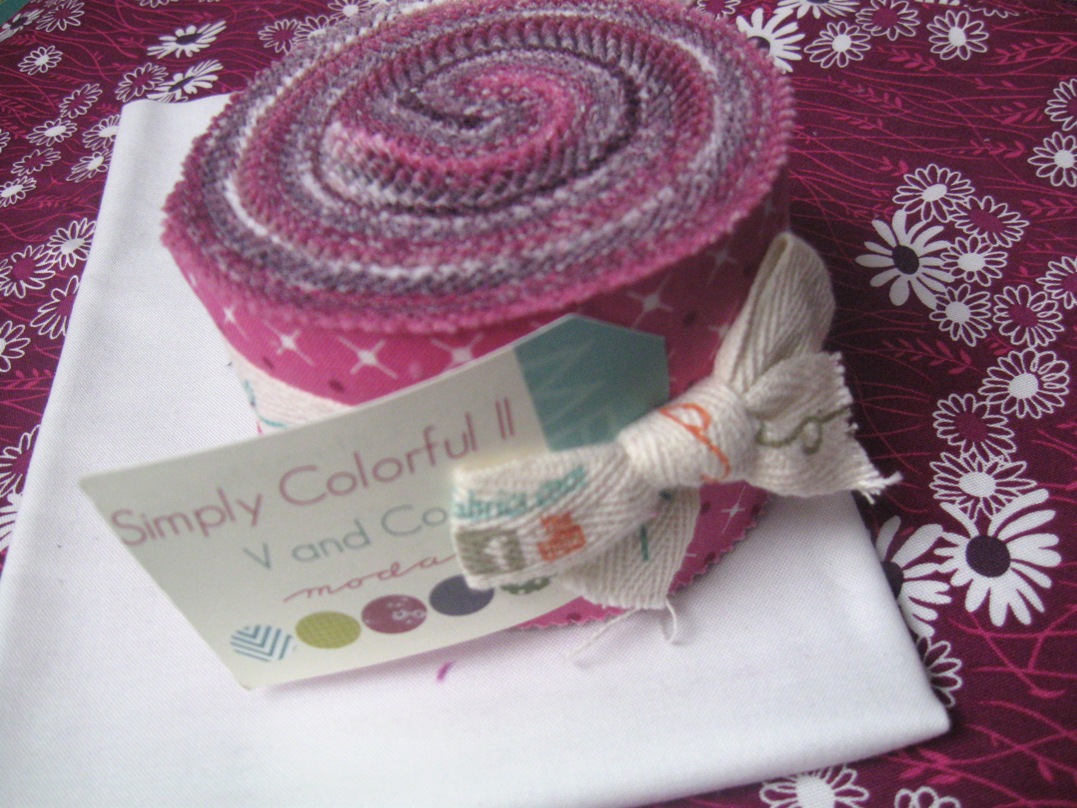
1 Junior Jelly Roll of Simply Colorful 2 by Vanessa Christenson (I choose purple, as that is my favorite, but it would look awesome in any of Vanessa's 6 color palettes)
1/3 a yard of Moda Bella Solids White for background fabric
1 yard of backing fabric
![]()
STEP 1 - CUTTING
From your Moda Bella Solids White cut (6) 1" x 25" strips and (24) 1" x 7 1/2" strips. I like to starch my white yardage before cutting as I will be cutting very thin strips that stretch easy.
From your Simply Colorful 2 Junior Jelly Roll Strips cut (189) 1 1/2" x 2 1/2" rectangles
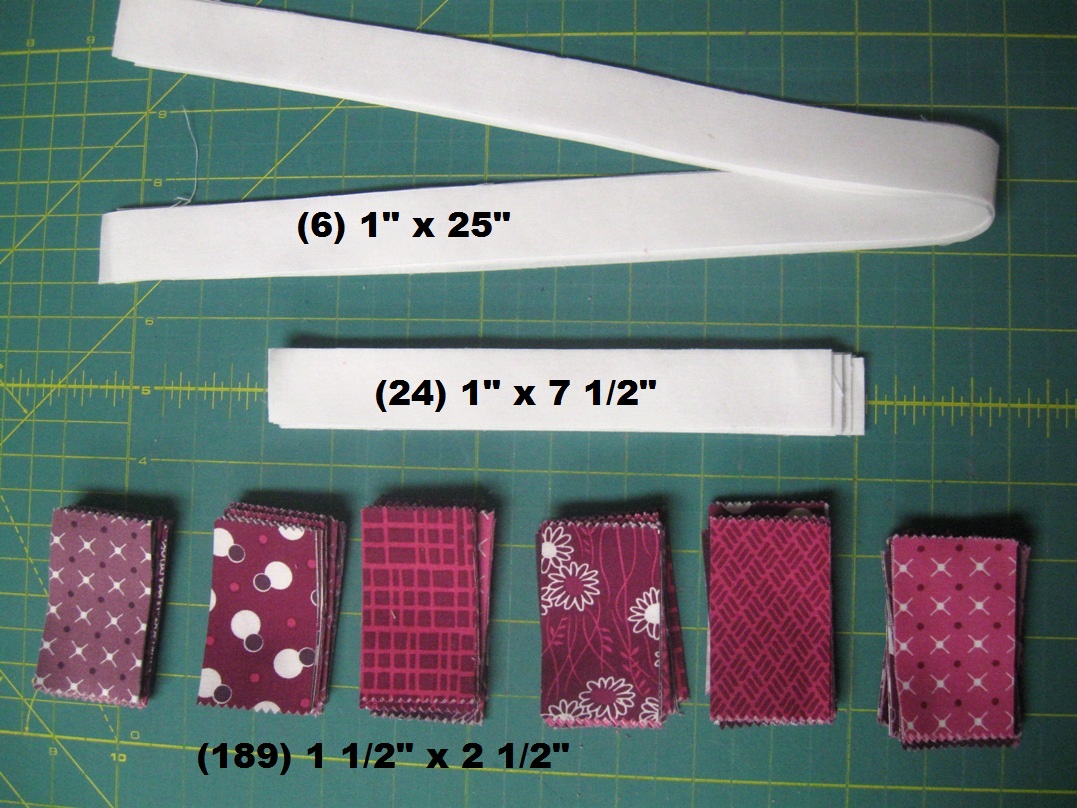
I found the easiest way to cut my print rectangles was to layout 7 jelly roll strips on my mat, trim the selvages, and then measure in 1 1/2" using my mat and cut. Continue doing this until you have 27 rectangles per strip.

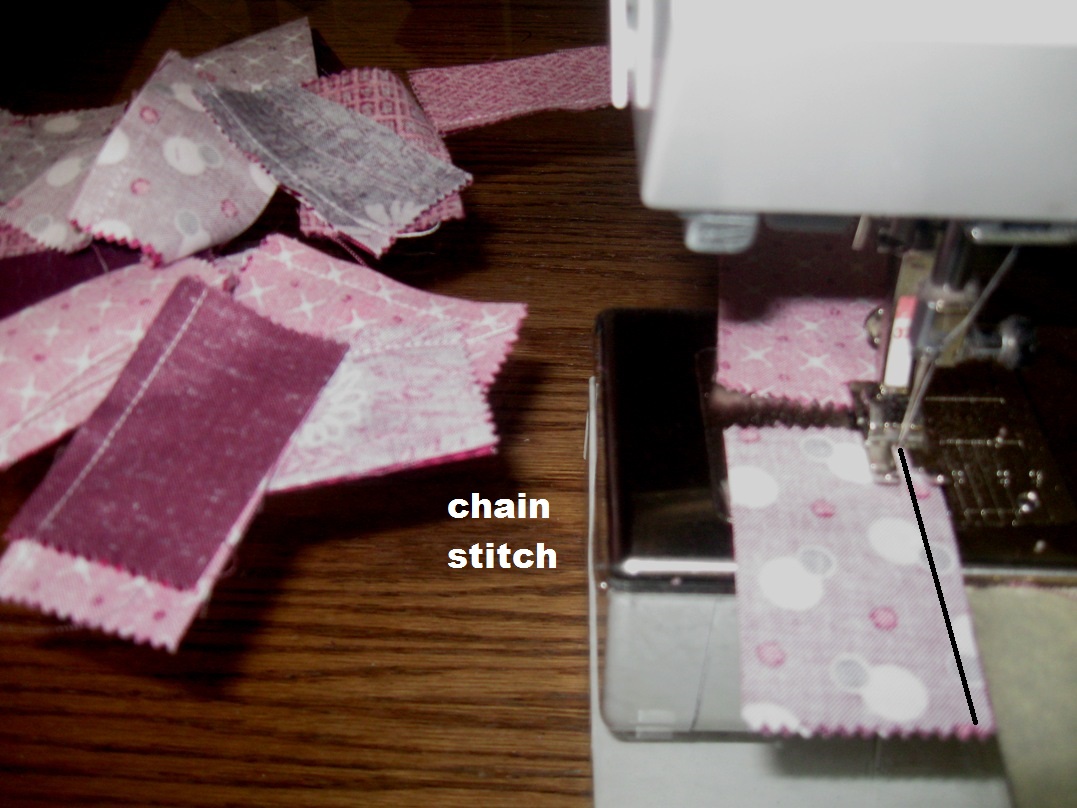
STEP 2 - MAKING THE COIN ROWS
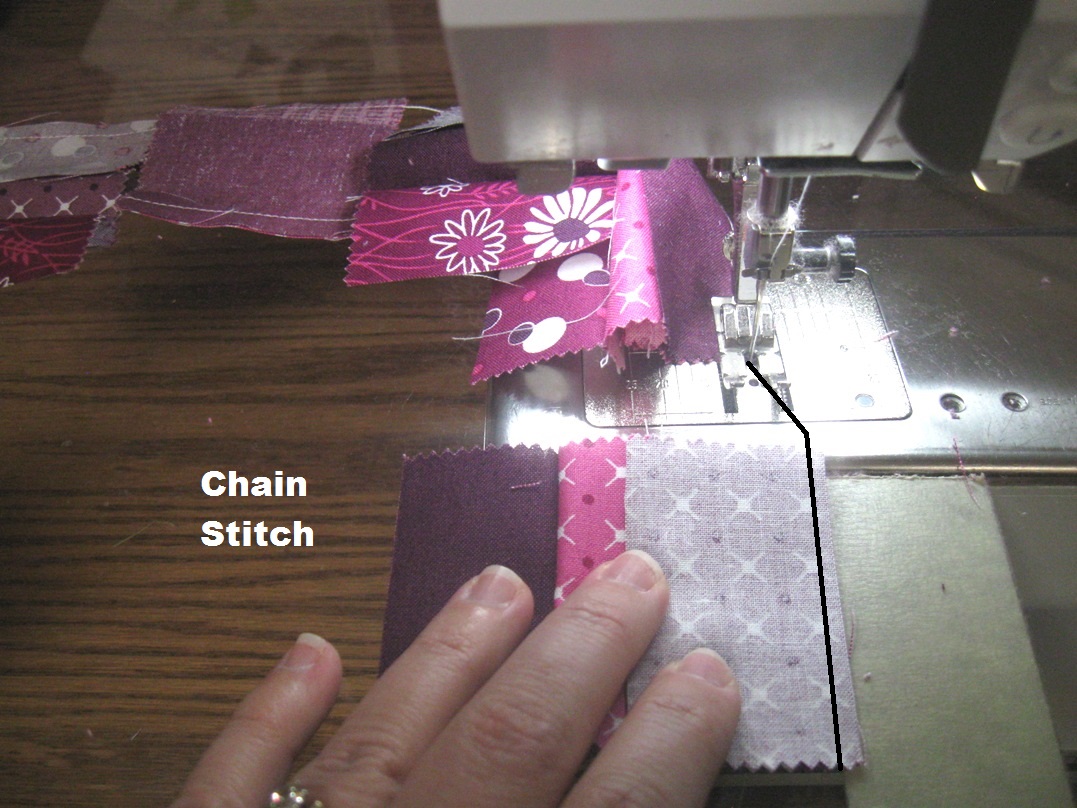
Each block has 3 "coin" rows that each consist of 7 "coins". You will be sewing a total of 27 coin rows, each with 7 coins in them. The easiest and fastest way to do this is to chain stitch.

So, start by sewing a 1/4" seam along the long side of 2 print rectangles with right sides together. Then, without removing them from your machine or clipping your threads, stitch another 1/4" seam on a set of 2 print rectangles. Continue in this fashion, until you have sewn 27 2 print rectangle sets. It is like making a long snake, or chain, of pieces.
Then, go ahead and clip your threads between each paired rectangles.

Then it is back to your machine. Place a third rectangle onto the now sewn together pair of rectangles with right sides together. Stitch a 1/4" seam along the edge. Once again, chain stitch a third rectangle on to all 27 pairs. Then clip your threads between each set.
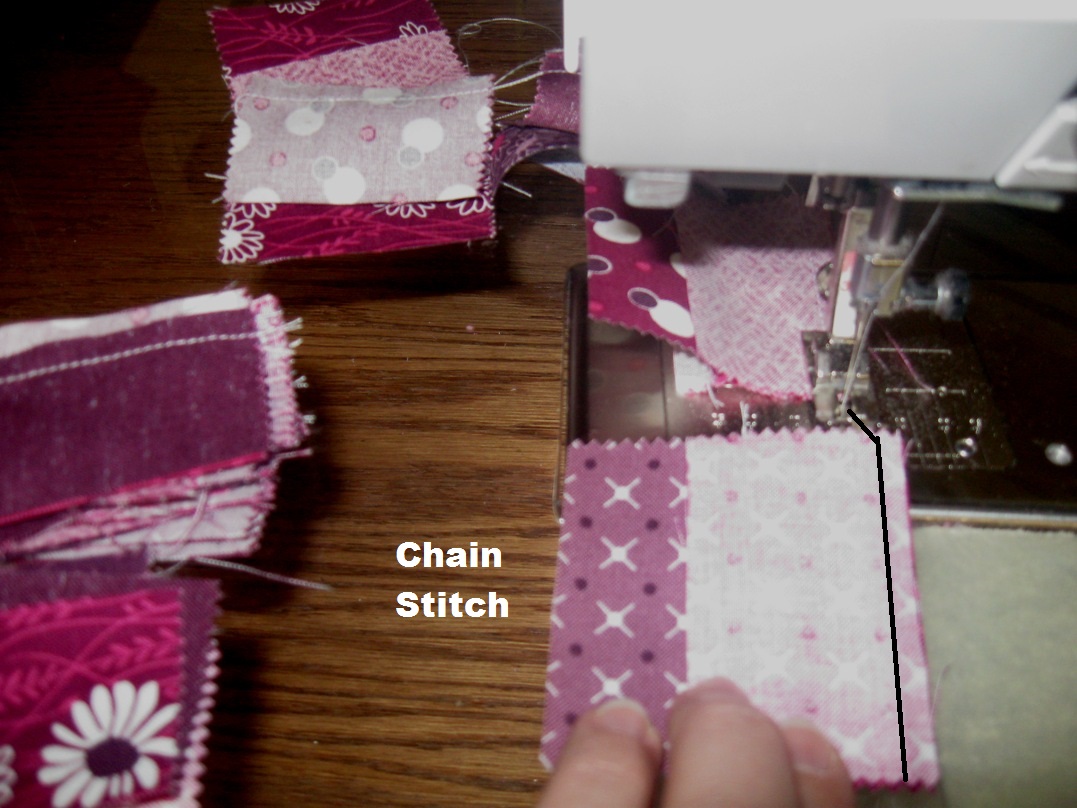
Repeat this process to add the fourth, fifth, sixth, and seventh "coins" to each of the 27 sets.
When you have all 7 "coins" in each row, clip your threads and you are ready to now move to the iron.

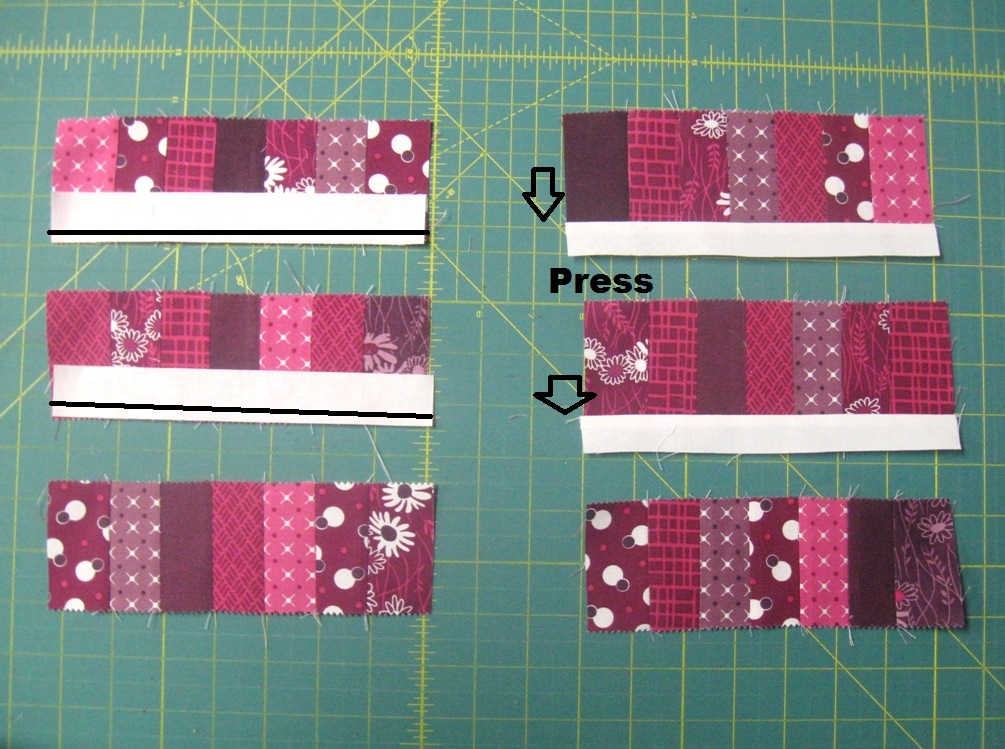
When pressing the rows, take care not to stretch them. I like to use little starch when working with these small pieces as it makes it easier to piece the blocks together. Press the seams in one direction and be sure to pull in that direction slightly so you don't get any little tucks in the seams.

You should now have 27 "coin" rows that look a little like this and measure appx. 2 1/2" x 7 1/2".

STEP 3 - MAKING THE BLOCKS
We will be making 9 blocks for this mini, and just like making the "coin" rows, it will save you a lot of time if you chain stitch each one of the following parts of Step 3 nine times so that when you get to the end of the step, all of your blocks are done.
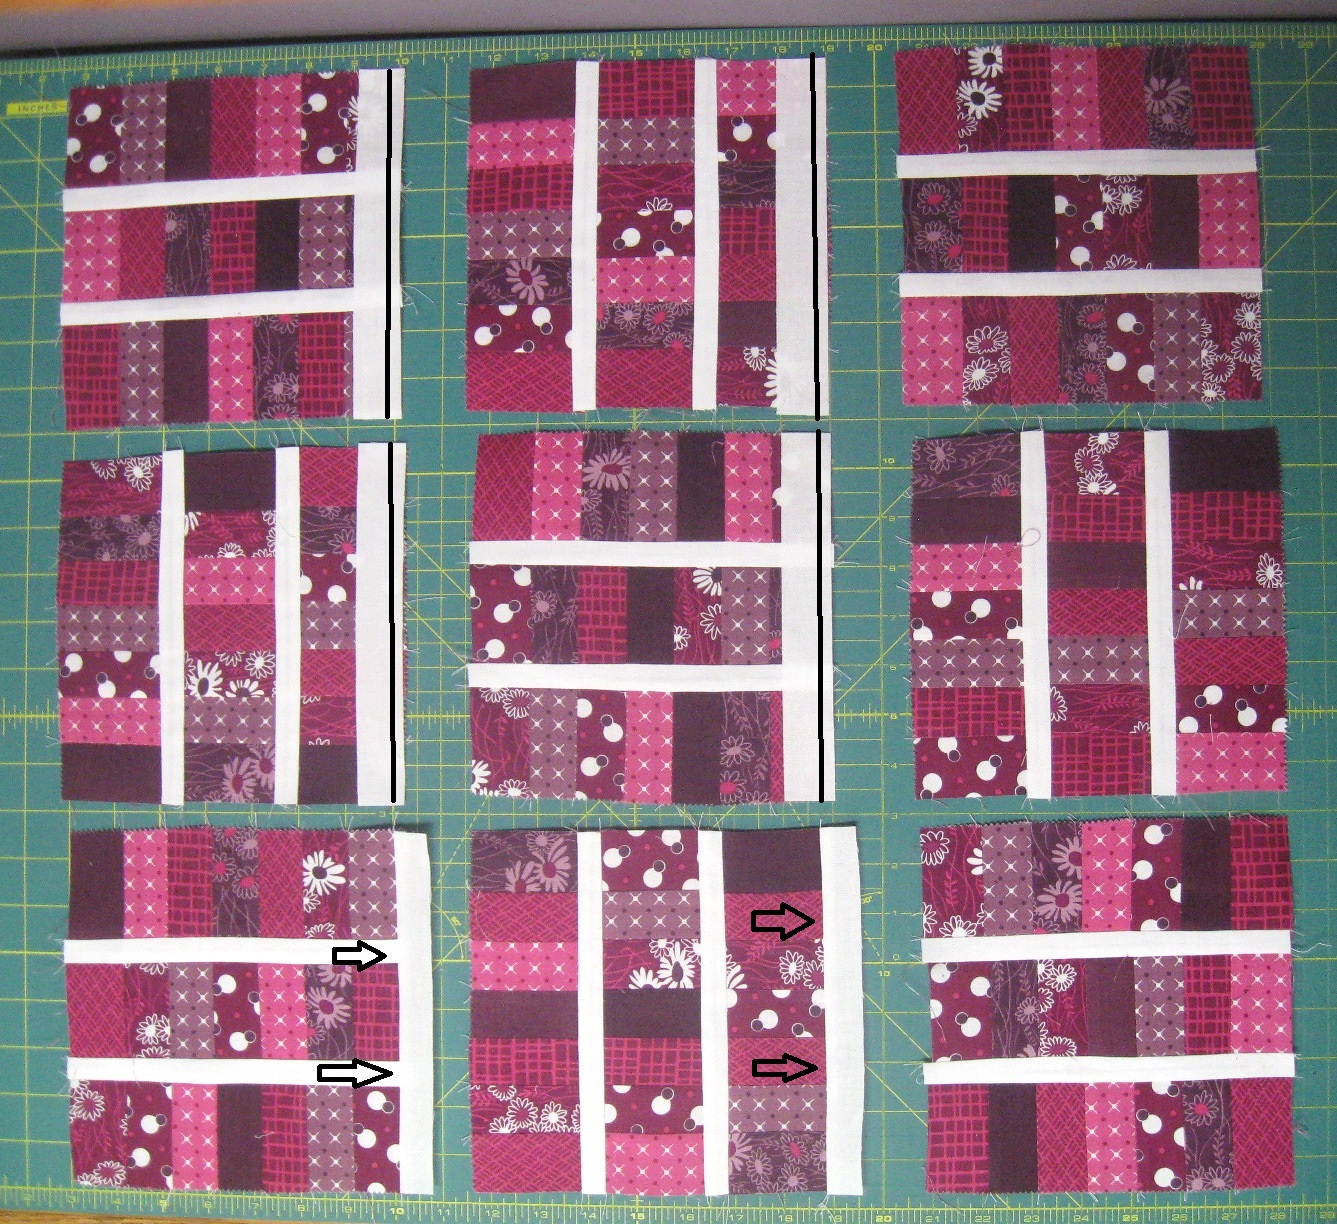
Layout 3 "coin" rows and 2 small sashing strips as shown below.

Place the sashing strips onto the coin rows with right sides together and stitch a 1/4" seam along the edges. Press the seam allowance towards the sashing strips.
Then place the second coin row onto the first coin row with right sides together and stitch a 1/4" seam along the edge. Finally, place the third coin row onto the now sewn together first and second coin rows and stitch a 1/4" seam along the edge. Press the seam allowances towards the sashings.

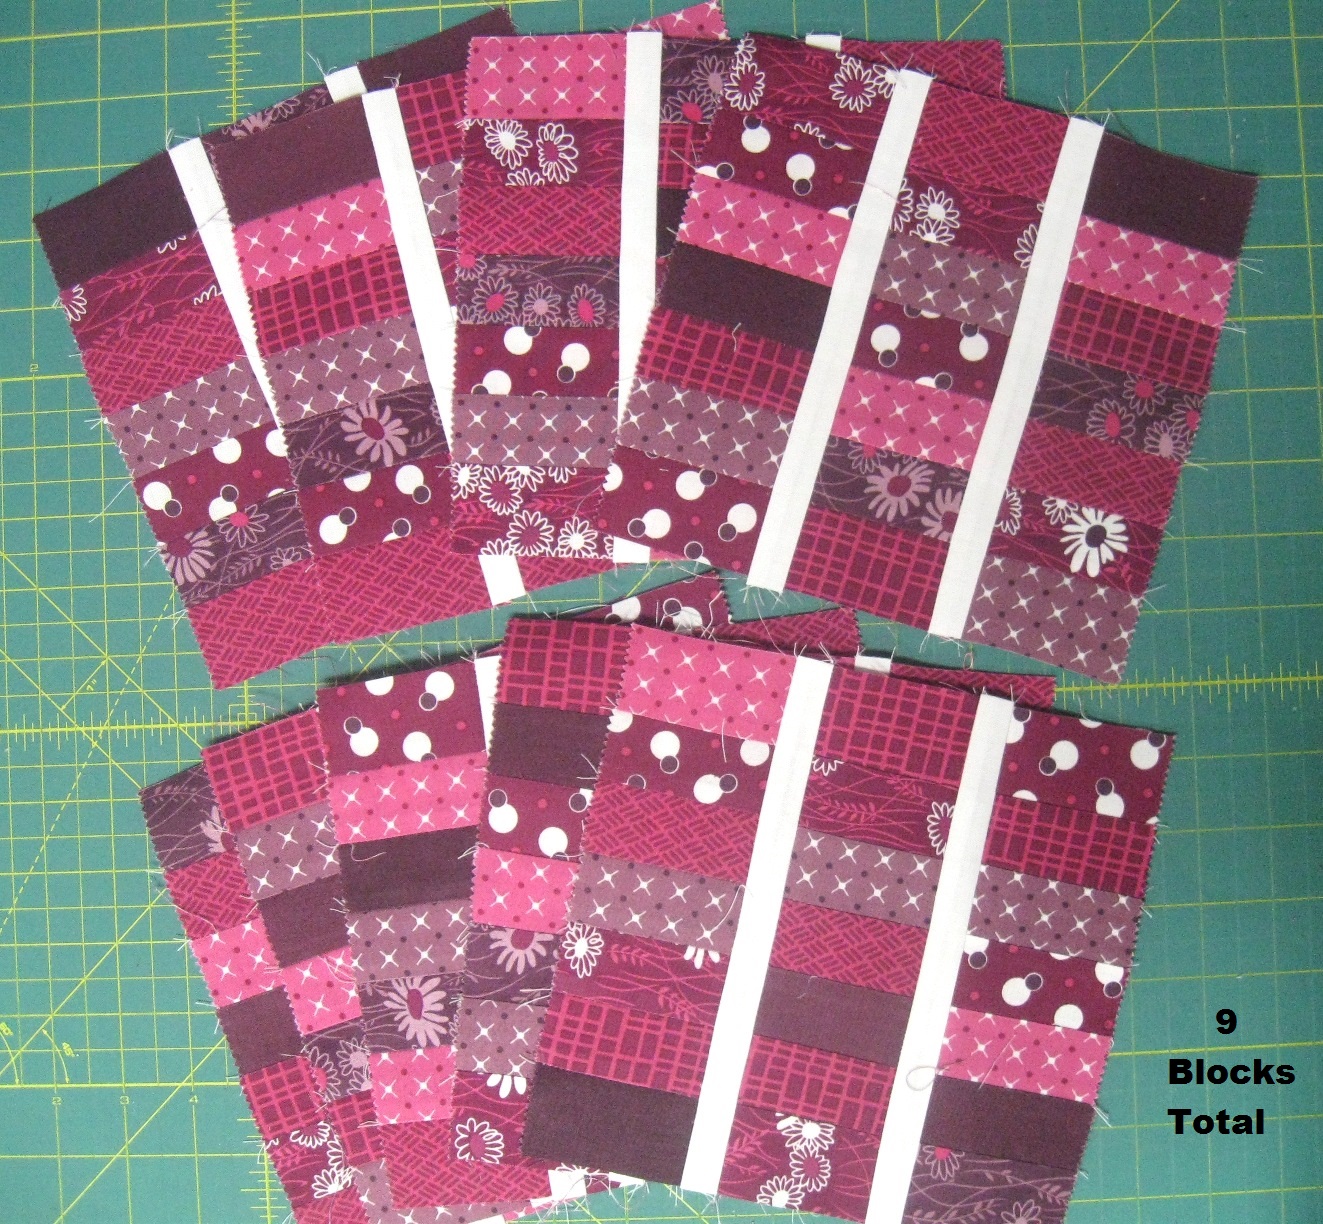
If you were chain stitching you now have 9 blocks ;) If you weren't repeat Step 3 until you have 9 blocks total. The blocks should measure appx. 7 1/2" x 7 1/2".
STEP 4 - MAKING THE MINI TOP
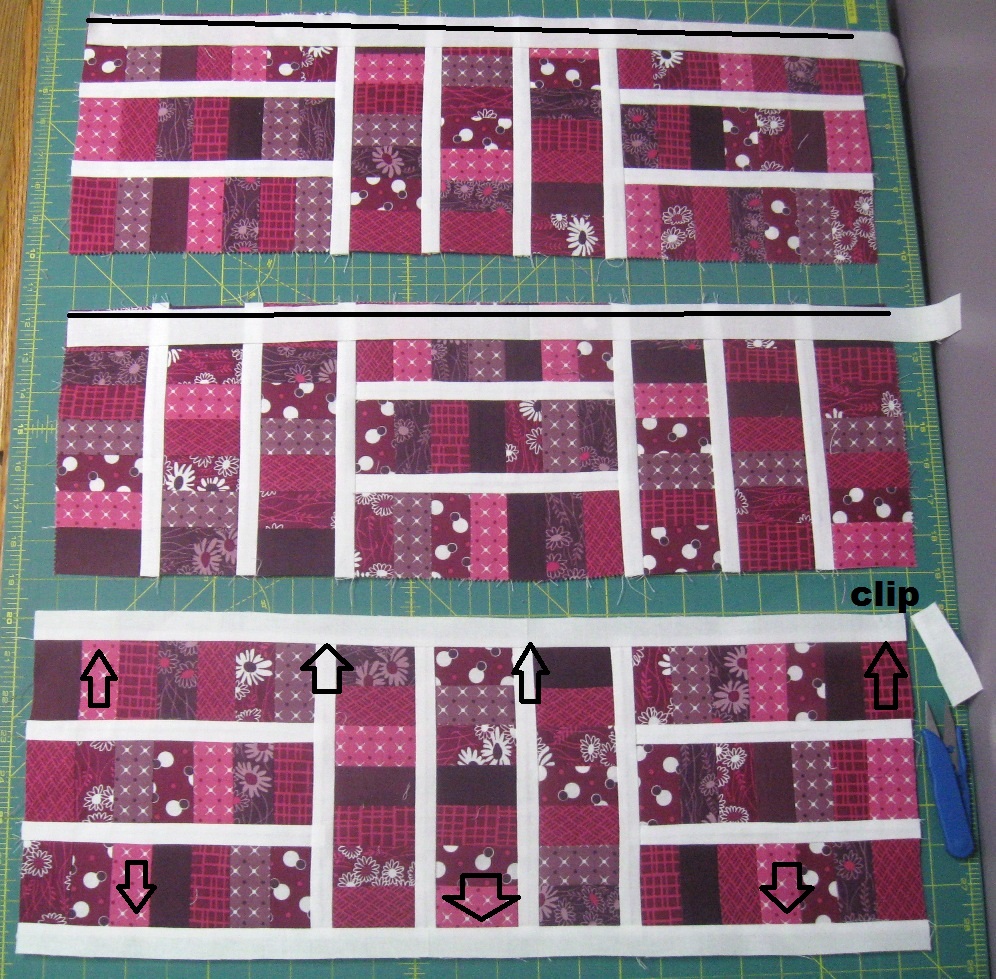
Layout your 9 blocks and 6 small sashings as shown below. Take care to watch the placement direction of the blocks. Making the mini top is just like making the blocks, only on a larger scale.
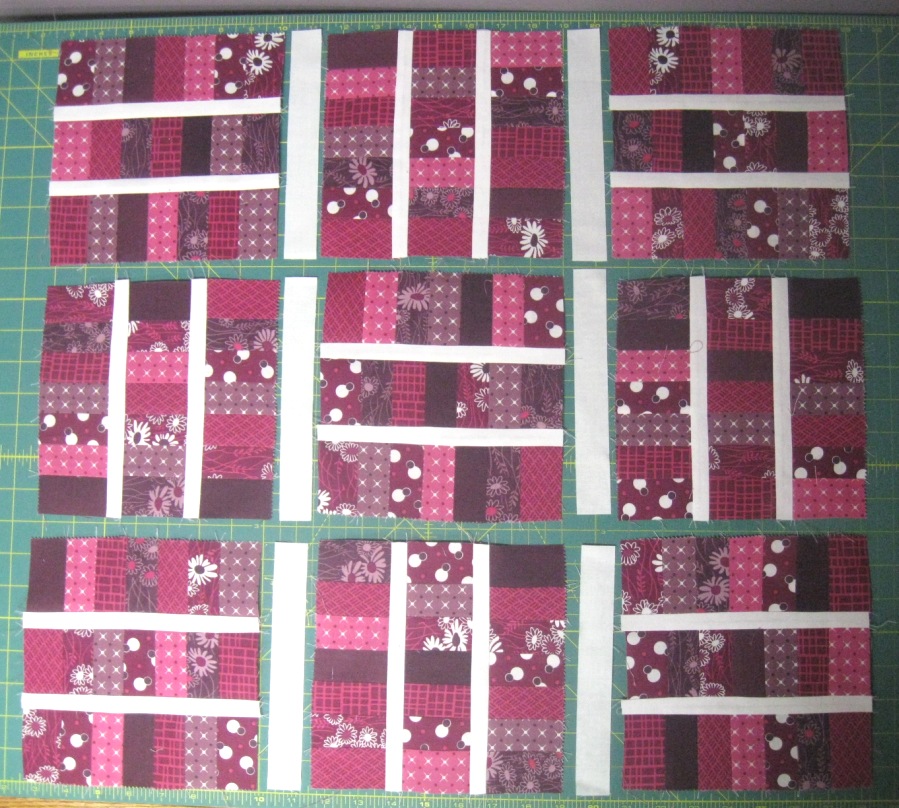
Place the small sashing strips on to the block sides with right sides together. Stitch a 1/4" seam along the edges. Press the seam allowances towards the sashing.
Place the second block in each row onto the first block with right sides together. Sew a 1/4" seam allowance along the edge. Then place the third block in each row onto the now sewn together first and second block with right sides together. Stitch a 1/4" seam allowance along the edge. Press all of the seam allowances towards the sashings.

And now you are ready to add in your large (or long) sashings. Layout 4 large sashing strips along each of your rows as shown below.

Place the sashings strips on the rows with right sides together. Stitch a 1/4" seam along the edge, aligning as you go. Trim or clip away the excess amount of strip. Press the seam allowances towards the sashing strip.
Place the second sashed row onto the first with right sides together. Take care to align and pin each of the sashing strips where the blocks line up. Sew a 1/4" seam along the edge. Then repeat the process placing the third row onto the now sewn together first and second row, aligning the seams, and stitch a 1/4" seam along the edge. Press the seam allowances towards the sashing strips.

Now all you have left to do is add the two side sashing strips. Place two large sashing strips onto the two sides of your mini with right sides together. Stitch a 1/4" seam along the edge. Trim or clip the excess and then press the seam allowance towards the sashing strips.

And just like that . . . you have an awesome Sugar Pop N Change Mini quilt top!!! Your quilt top should measure appx. 23 1/2" x 23 1/2" unfinished.

STEP 5 - FINISHING
Now all that is left is to Baste It, Bind It, and Quilt It!!!! If you are new to the quilting world and that little sentence was a little overwhelming, you can check out my Finishing Your Quilt Video Tutorials right here They will walk you through each step and give you lots of help along the way :)

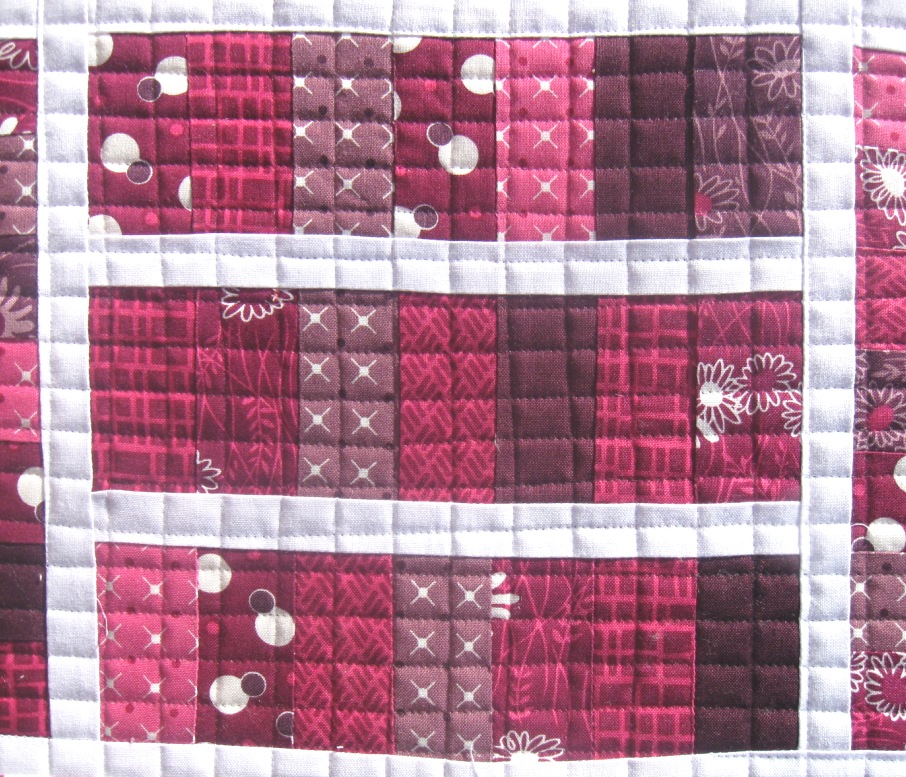
I decided to do some tiny cross hatch for the quilting using invisible thread. I love all of the yummy texture. And for the binding, I used three of the left over Junior Jelly Roll Strips. So fun :)
![]()
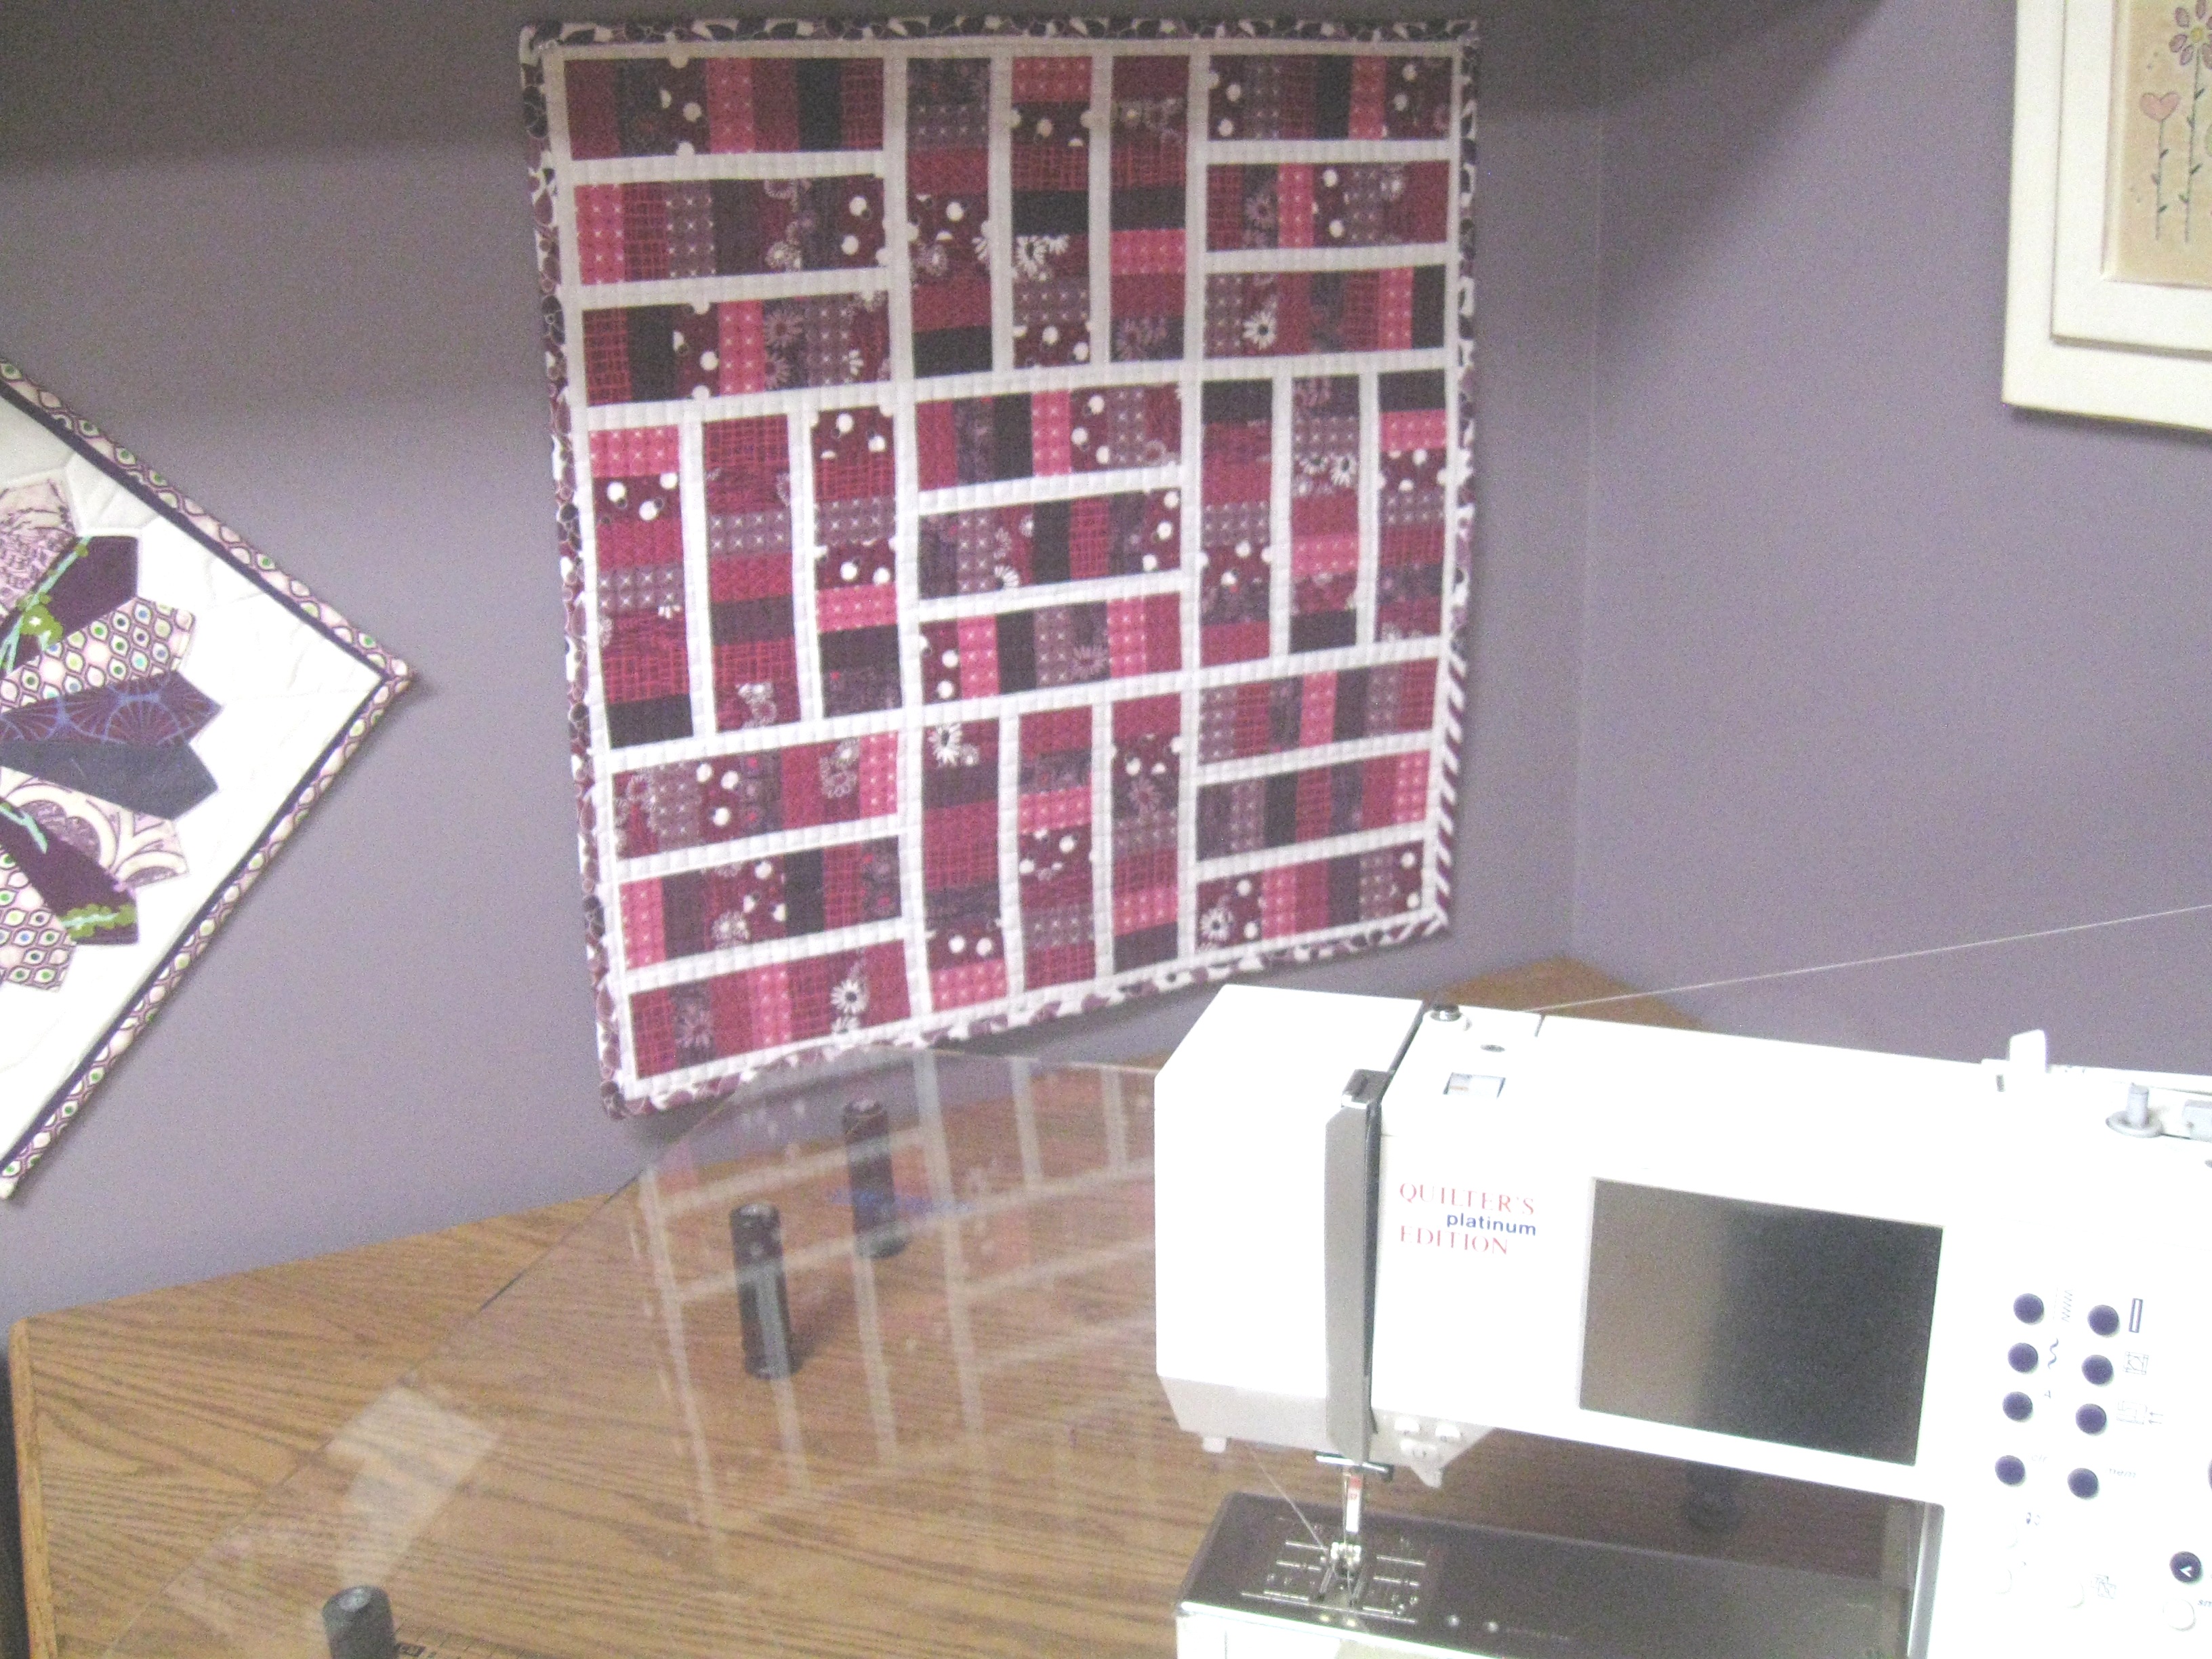
And that is your Sugar Pop N Change Mini!!! This quilt mini finishes at 23" x 23". I hope you just love yours and if you make your own I would love to see it!!! You can add it to my Flickr Group here or email me a picture at [email protected].
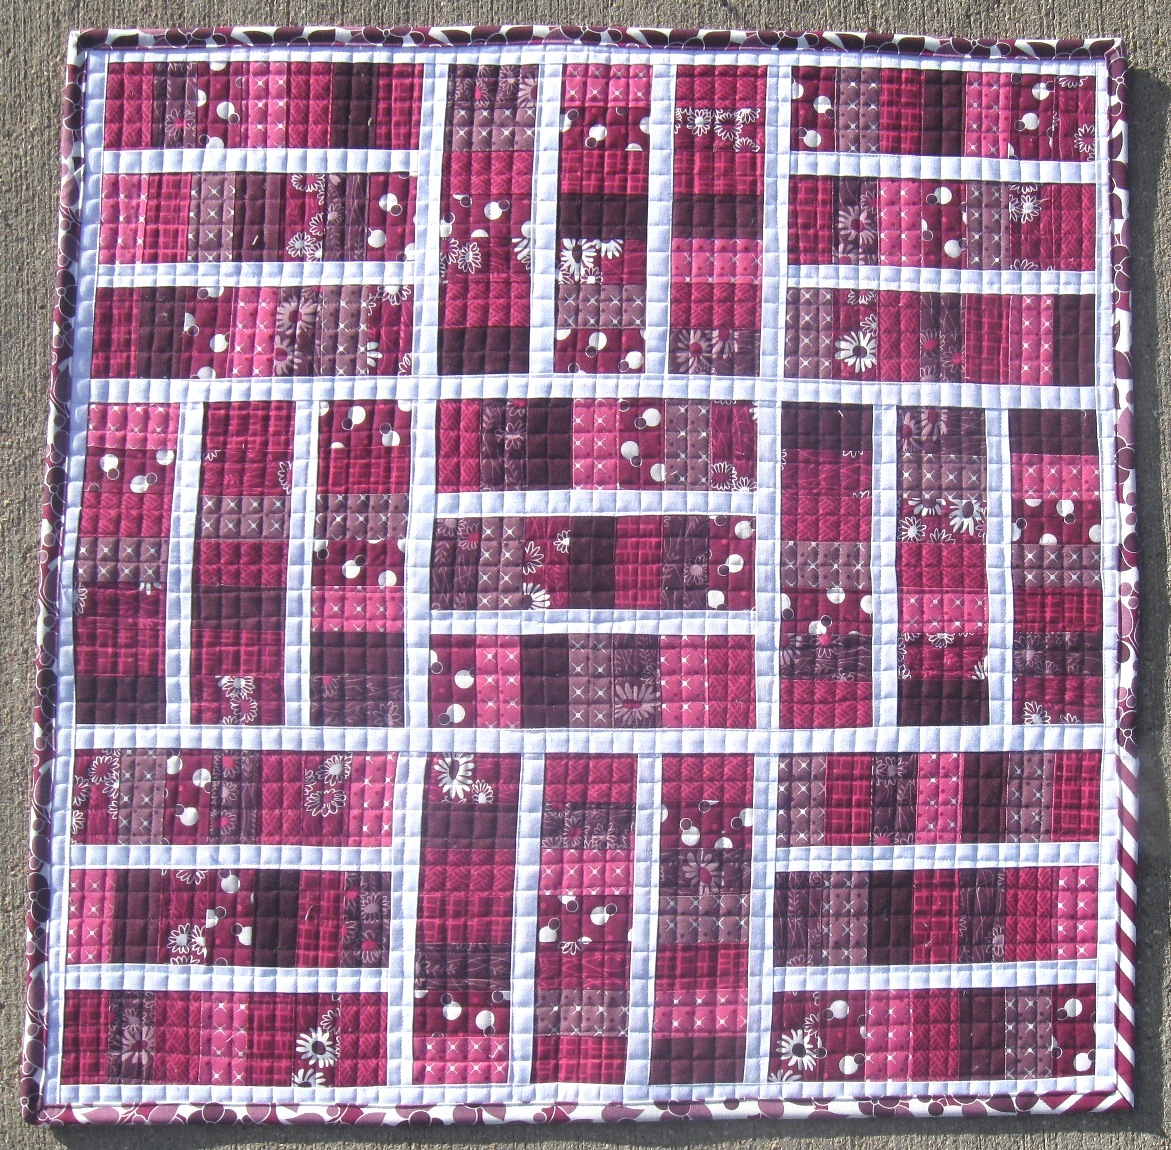
Mine is now hanging on my purple sewing room wall, with all of my other purple mini's, right next to my sewing machine and it makes me smile every time I stitch ;) Ya, did I mention, I love purple ;)
Have a Happy Quilting Day!!!!
Melissa Corry
{happyquiltingmelissa.com}
![]()
Posted in: