Warehouses Closed June 6-13 For Exclusive Event
Double Chevron Quilt
Double Chevron Quilt
Published:
Jan 31 2016 - 23:00
![]()

Hello, Karin Vail from Cascade Quilts here again and I am so glad to be back with another project for a full size quilt that requires only ONE jelly roll (and solid yardage). This one has quite an impact with it's scrappy double chevron design!
This quilt finishes at 85" x 85".
![]()
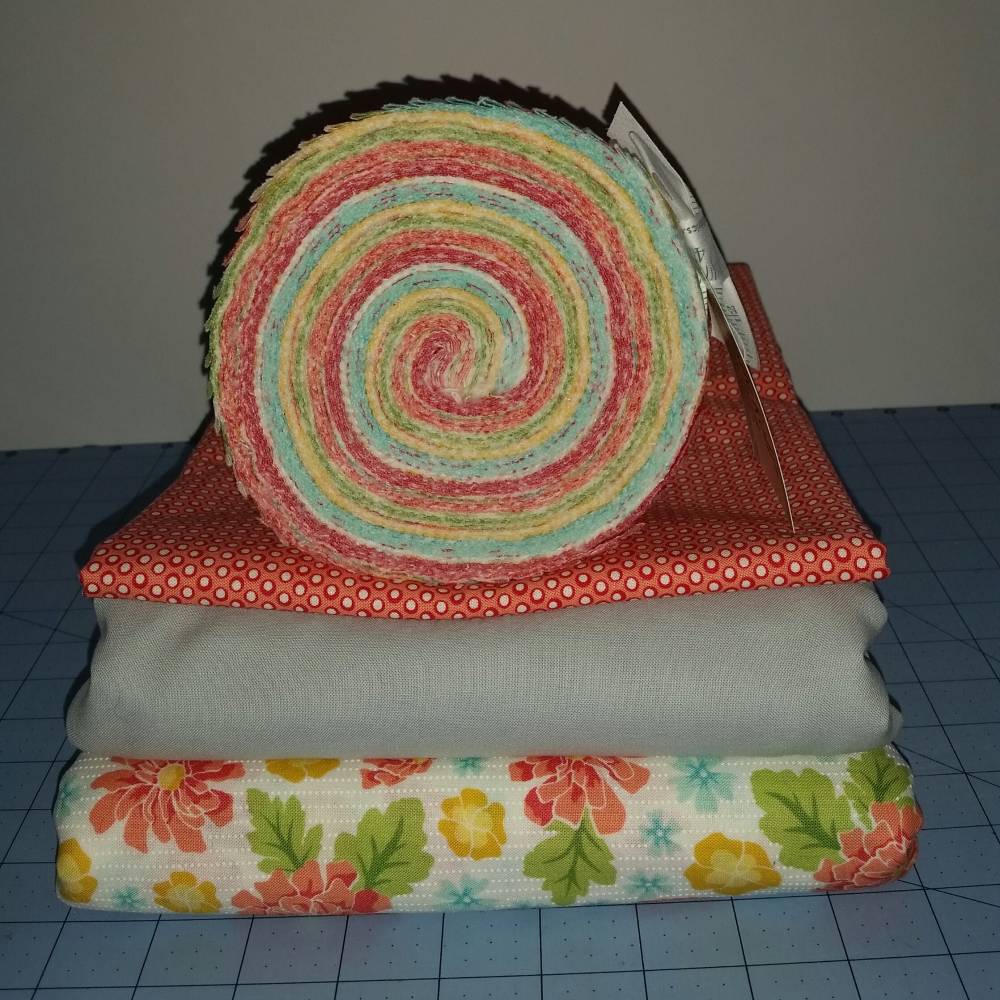
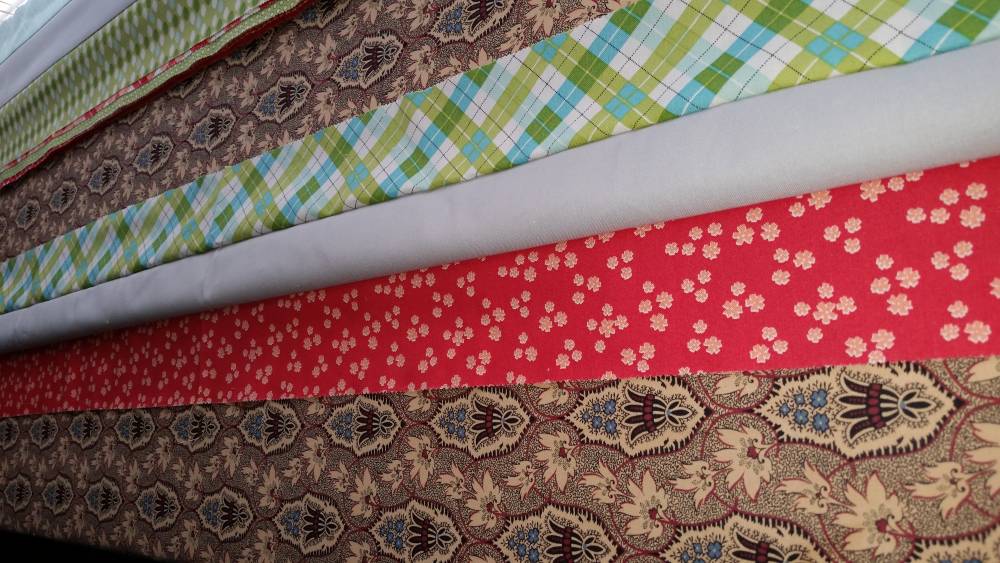
1 Jelly roll {SummerFest by April Rosenthal}
5 yards background
3/4 yard binding
5 yards backing
![]()
First, start by cutting your background. From the background you will cut:
20 x WOF @ 2.5'' wide
20 x WOF @ 6.5'' wide
Unroll your jelly roll and sew strip sets of 3 with 2 jelly roll prints on the outside and one solid/background between:
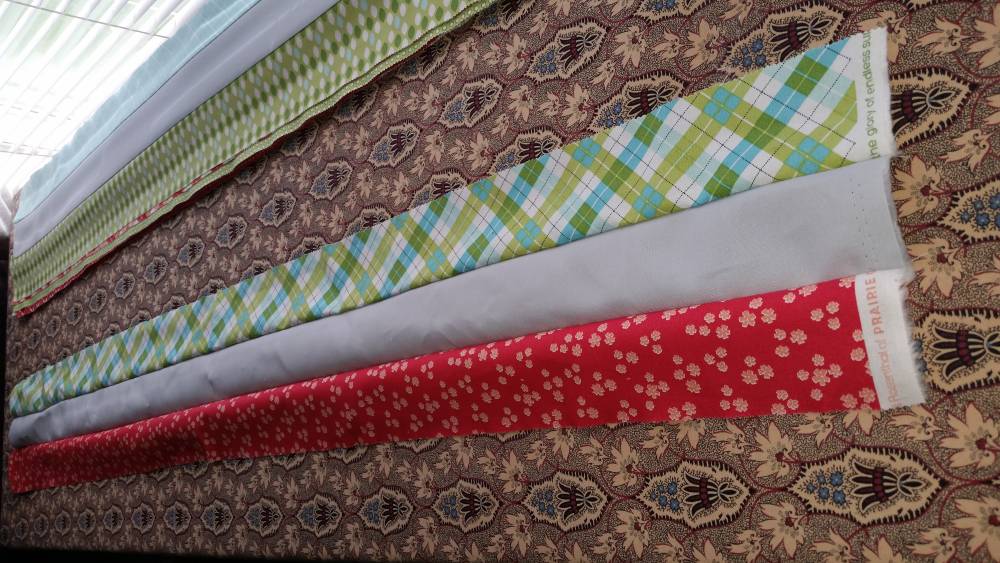
Continue with all 40 jelly roll strips until you have 20 of these strip sets.
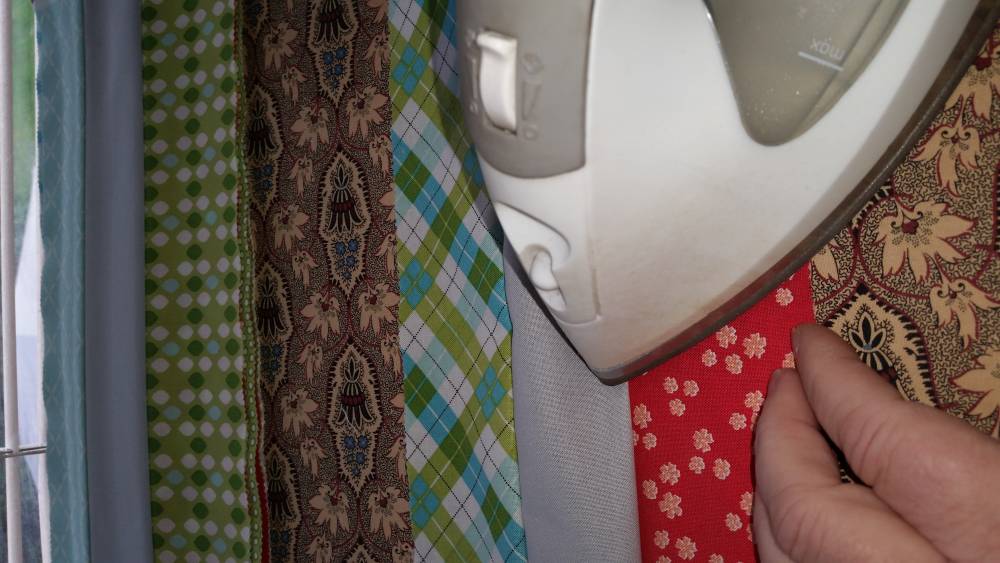
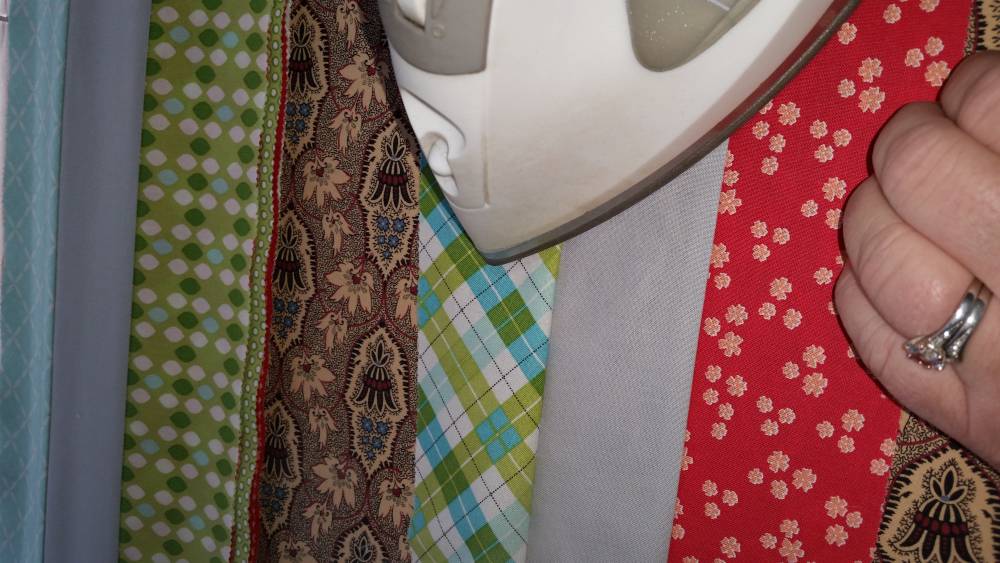
Careful pressing is critical so you get straight strip sets. You will press them with seams going in one direction.
I will explain how I press my strip sets. I first lay out the strip set with the seam closest to me facing away from me so I can set the seam:
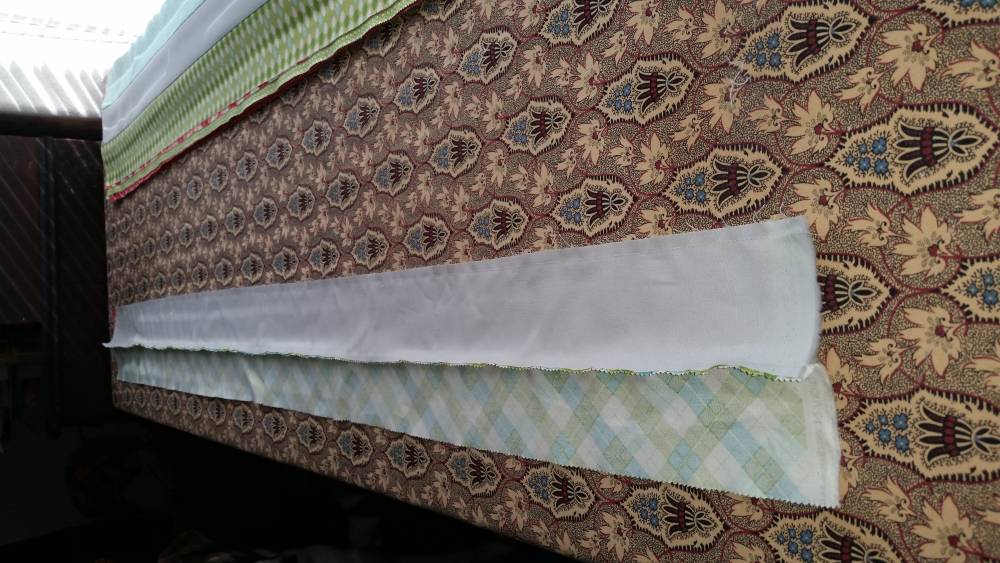
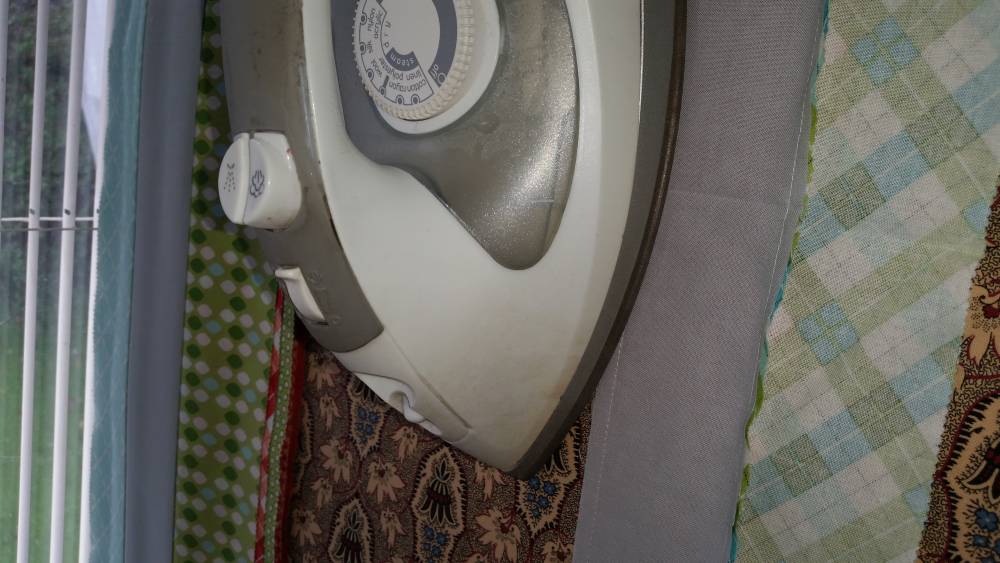
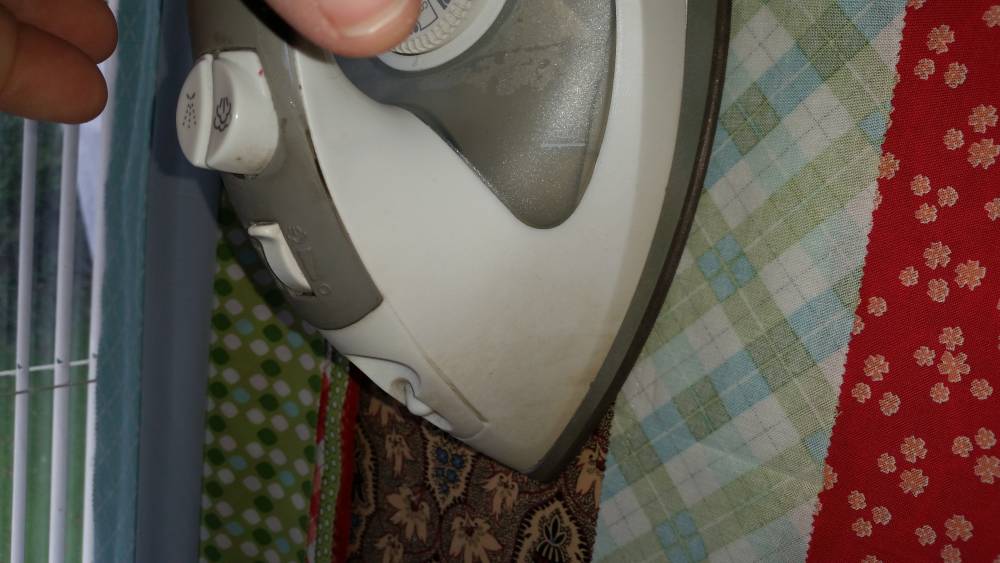
If you have lines or patterns on your ironing surface, it really helps to create a straight strip set. Press the first seam along the stitches to set the seam, then open up the strip set with the strip closest to you still flat on the ironing surface. It is a little hard to explain, but hopefully pictures will explain. Making sure the seam allowance is flat on the ironing surface, press the first seam flat.
work slowly and hold down the strip in front of the iron so it stays straight and isn't distorted by the ironing.
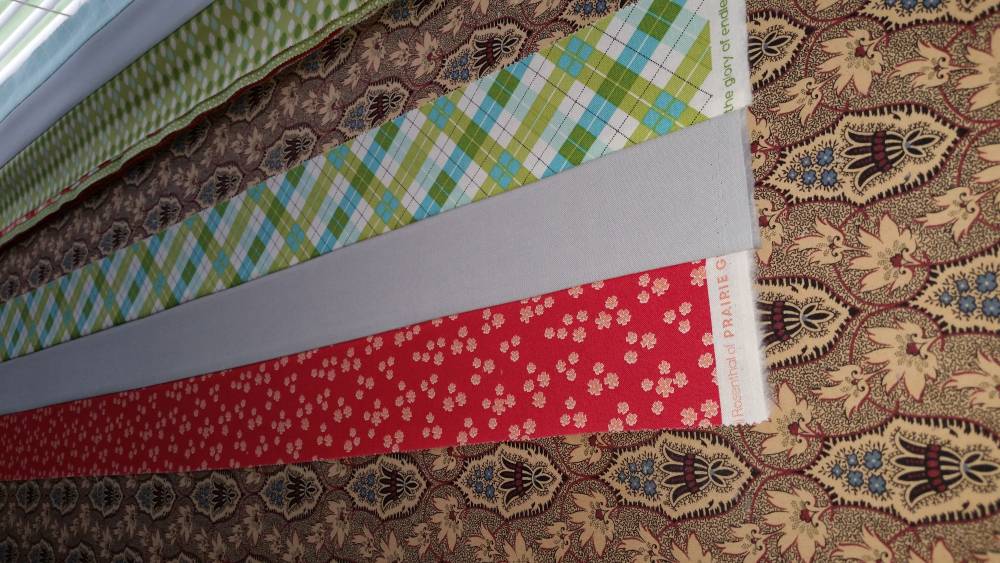
Once the first seam is pressed flat, do the same with the second seam.
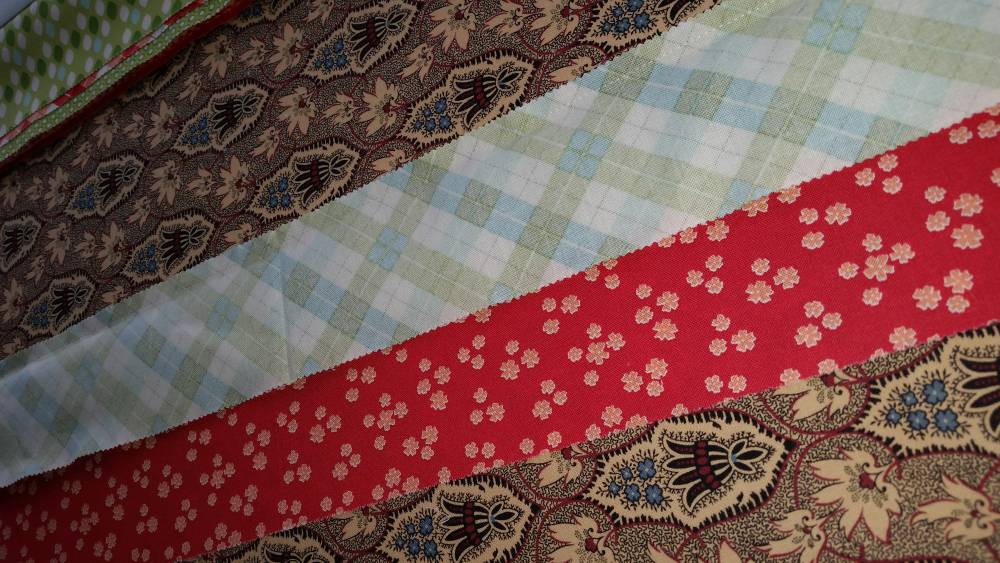
Set your seam:
flip to right sides up and press the seam flat being careful not to distort the strip set:
Then, you will have a nice straight strip set, which will result in a much easier quilt construction. I highly recommend starching your strip sets at this point.
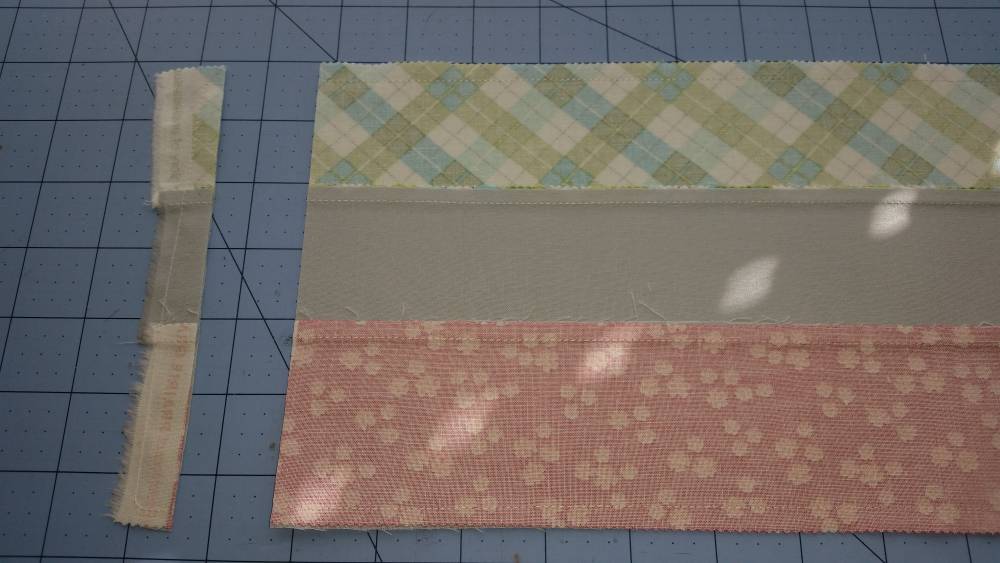
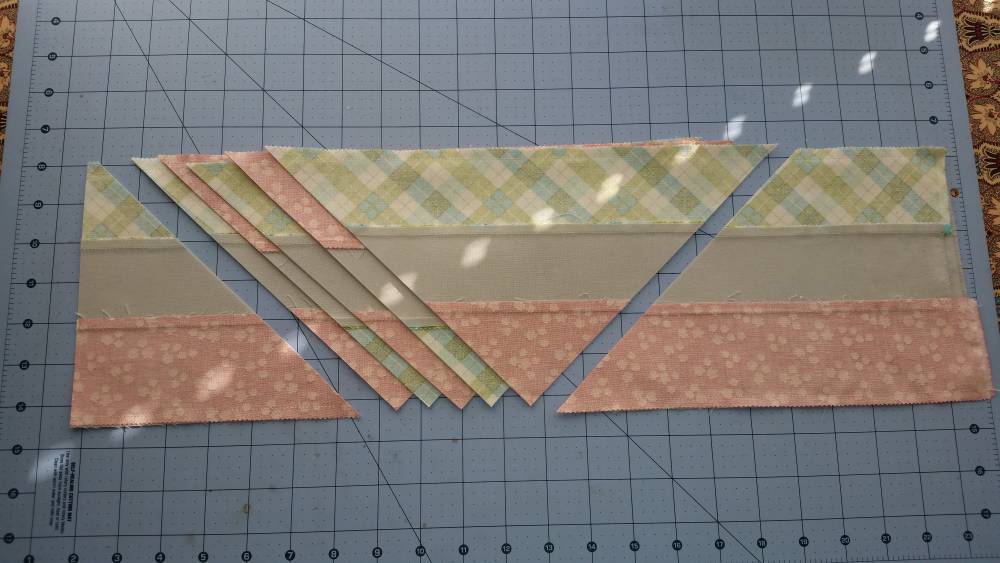
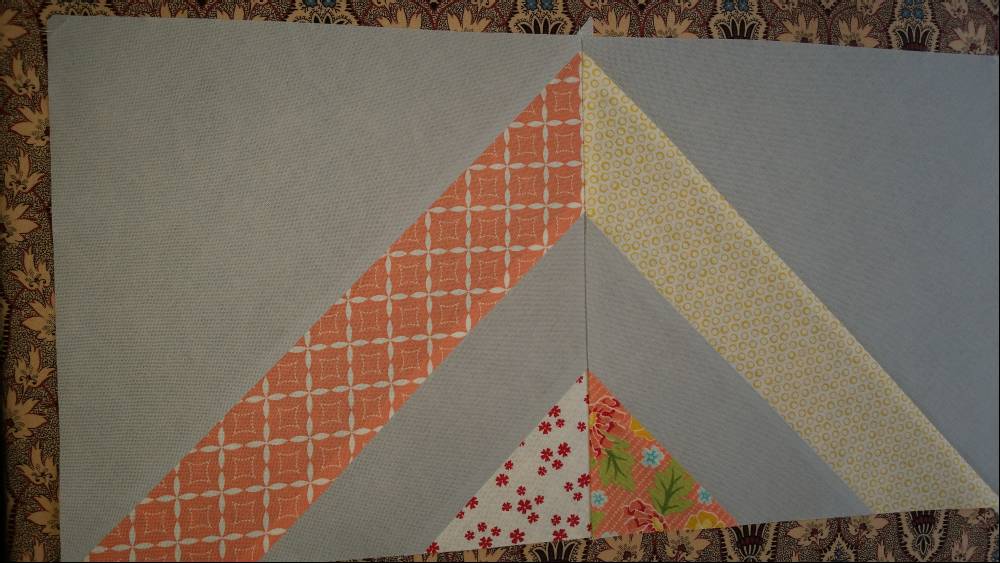
Continue with all 20 strip sets. Then, place a background 6.5'' strip on each strip set and sew on BOTH edges to the 6.5'' background strip (I recommend you starch this 6.5'' strip as well). This will create a ''tube''. Once you have your 20 tube strip sets complete, you can start cutting your blocks from them. First straighten off one end:
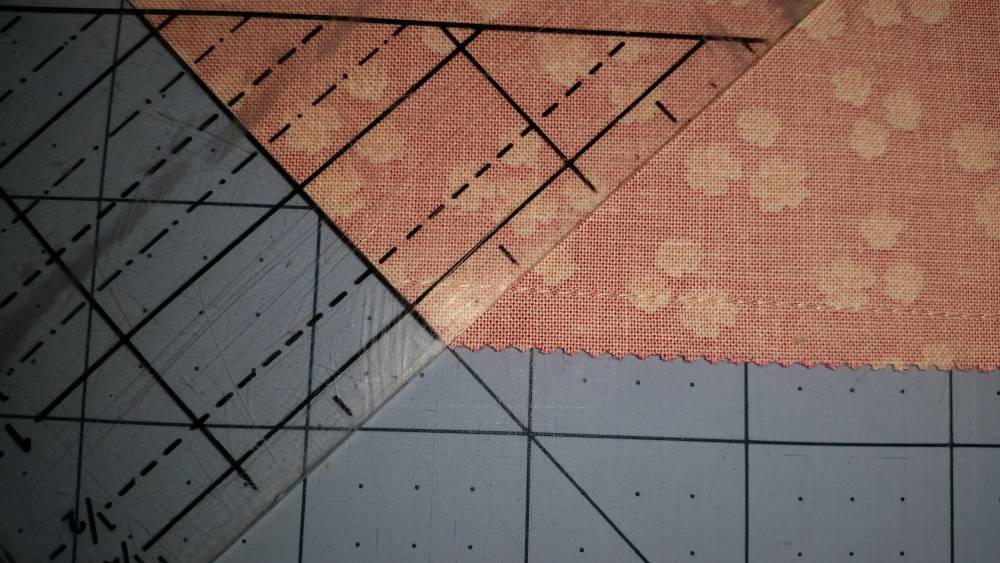
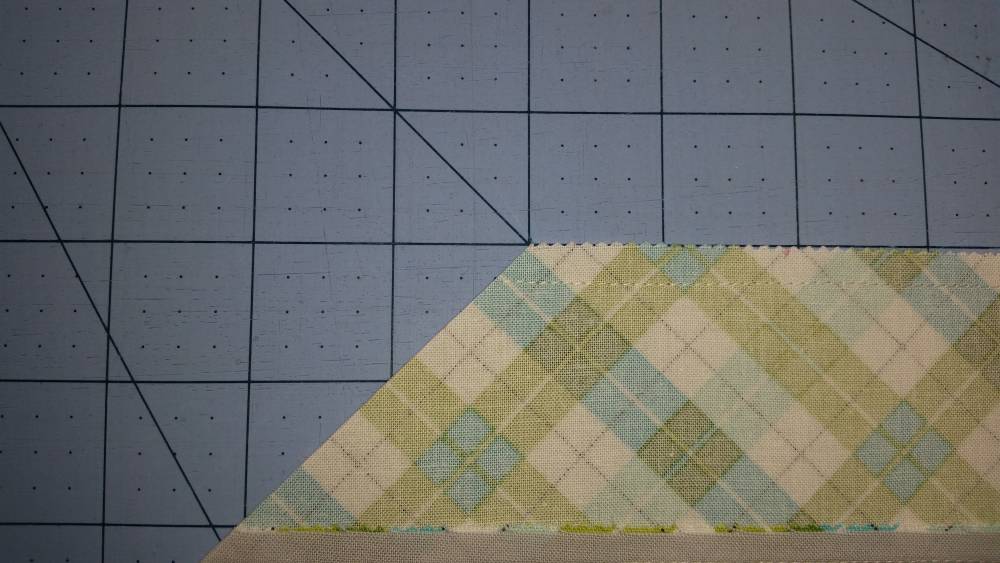
Then, cut a 45° angle:

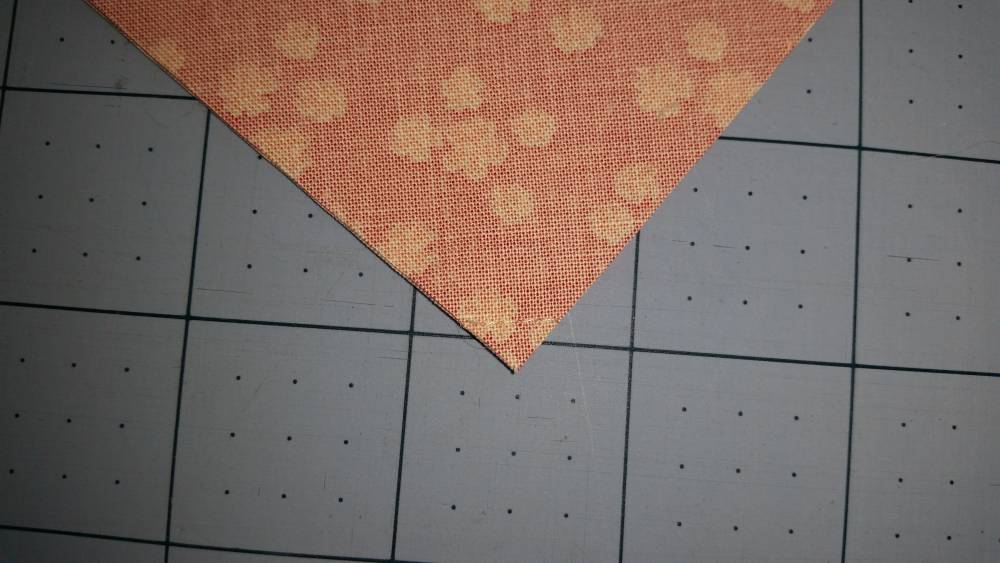
I used my cutting boards lines to carefully line up the strip set so it was straight on the cutting board and I used the 45° line on it to cut that angle. This first piece you won't need for this quilt (but save it for later!)
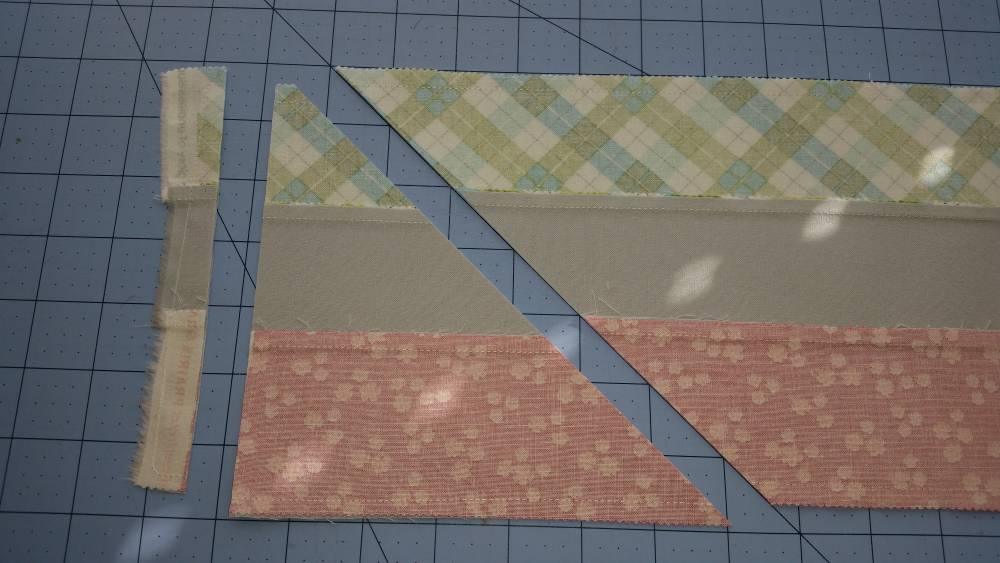
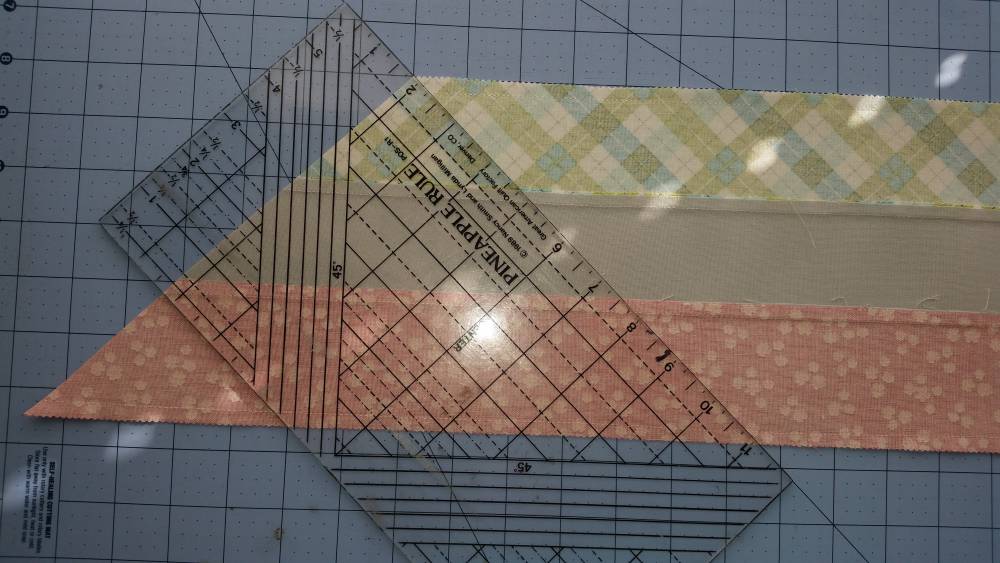
Next, to cut your first block, you will cut at a 90° from that line. I just used my 6''x12'' ruler to do the cutting. Line up the edge of the ruler with the very edge of the strip set and the 90° line on your ruler to the 45° cut mark.
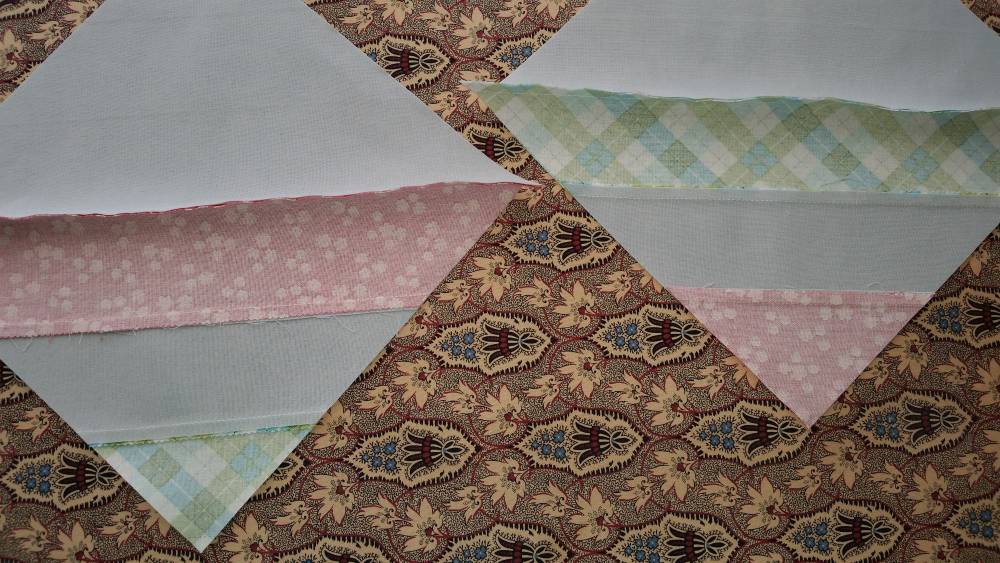
Voila! Your first block is almost done!
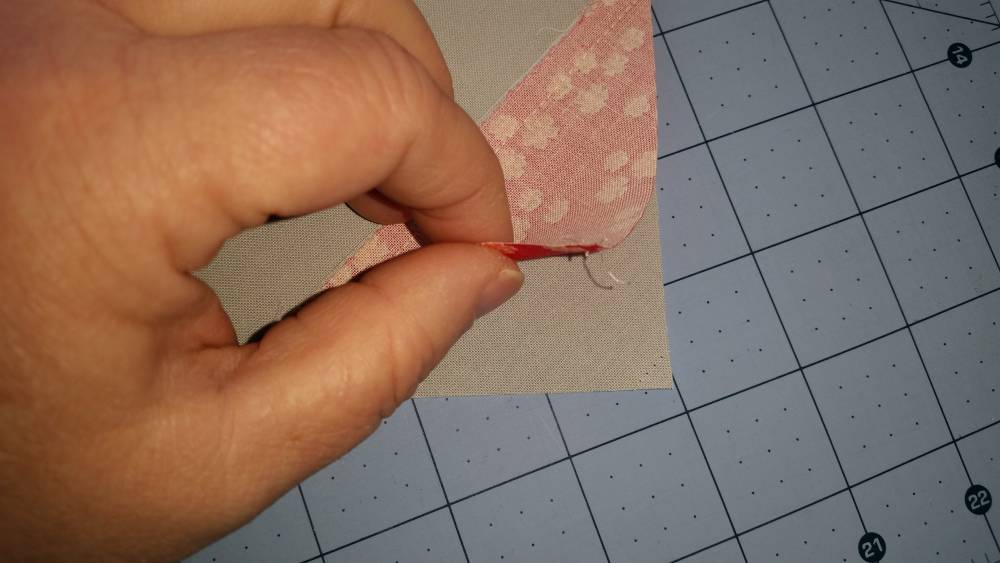
You just need to open up a few stitches at the corner:
I use a 2.5mm stitch length and these 3-4 stitches pop out without any trouble:
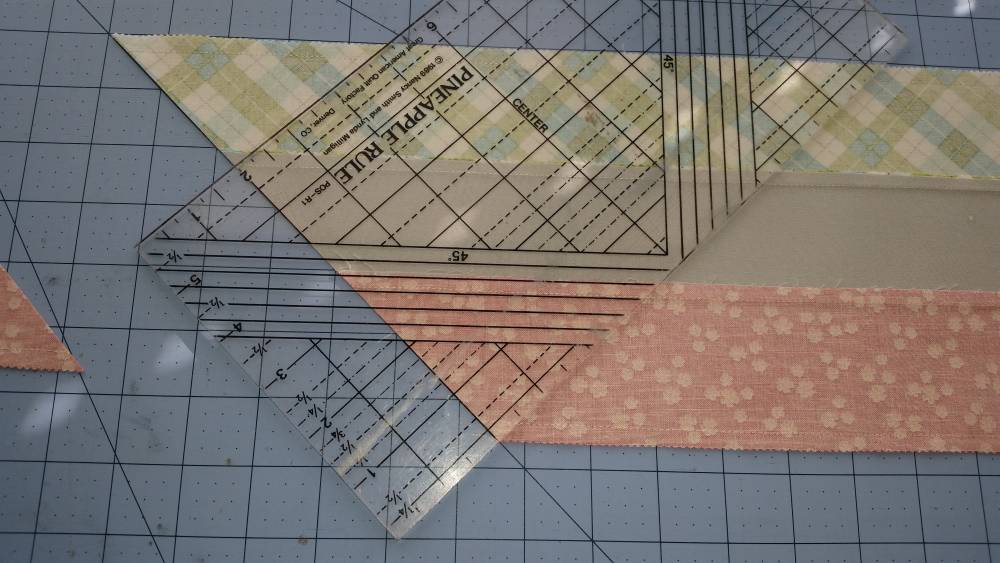
Continue cutting your strip set cutting 90° from each subsequent cut. For cuts that angled this direction, I used my 45° line on my cutting mat. Line up the edge where the last cut meets the edge with the diagonal line on the cutting mat and cut your angle:
Make *sure* your strip set is lined up straight before you cut!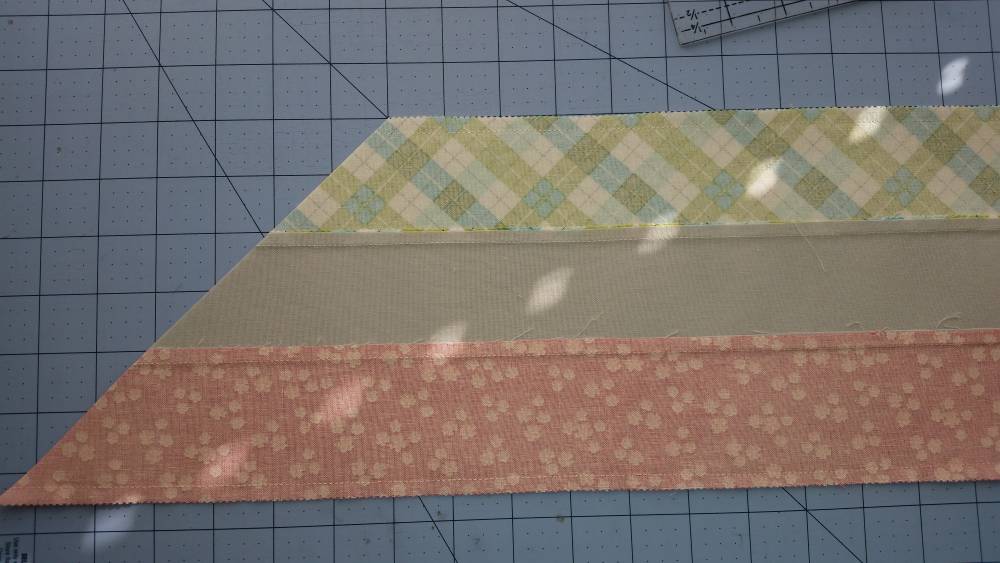
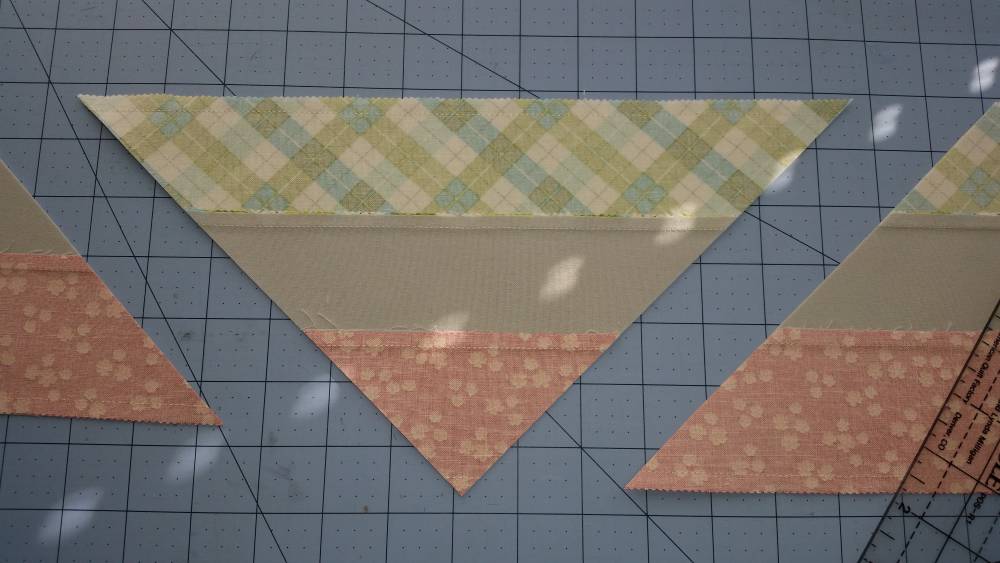
Continue along in the same manner - you will get 5 blocks from each strip set and 2 nice sized scraps (save these scraps for later!)
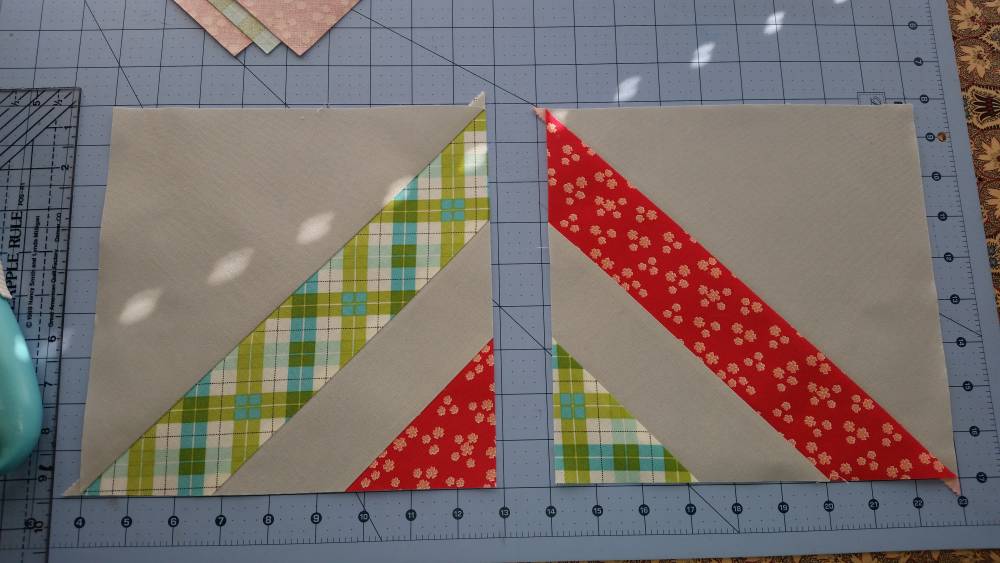
Continue with all 20 strip sets until you have your 100 blocks. Now, when you go to press them open, pay attention to how the seams are pressed in each block. Press the middle seam *in the same direction* as the other seams. This way, you will have half of your blocks pressed one way and half of them pressed the other way so your seams will 'nest' :) Pictured below, the one on the left will get pressed toward the print, the one on the right will get pressed toward the background.
With all 100 blocks pressed, you can start assembly.
Pair up your blocks so that one has seams going one direction and the other has seams going the other direction:
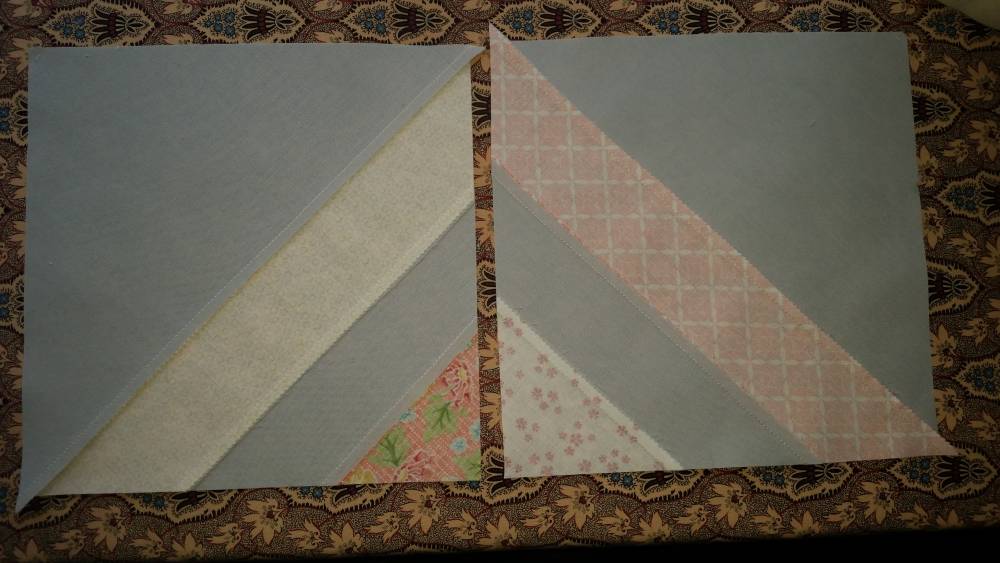
Stitch them together with a scant 1/4'' seam (seams will nest) and press.
Depending on what layout you choose, will determine your assembly. I chose to assemble them into rows of 10 blocks. 5 rows were made using two blocks paired together like above, and 5 rows were made using two blocks paired like below:

Then they were sewn into sets of two rows to look like this:
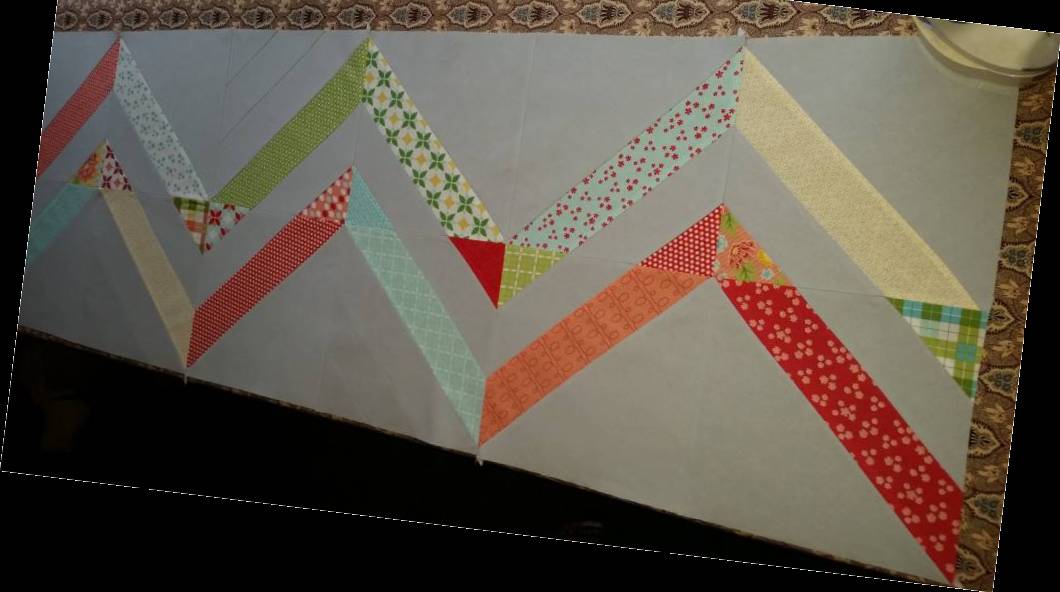
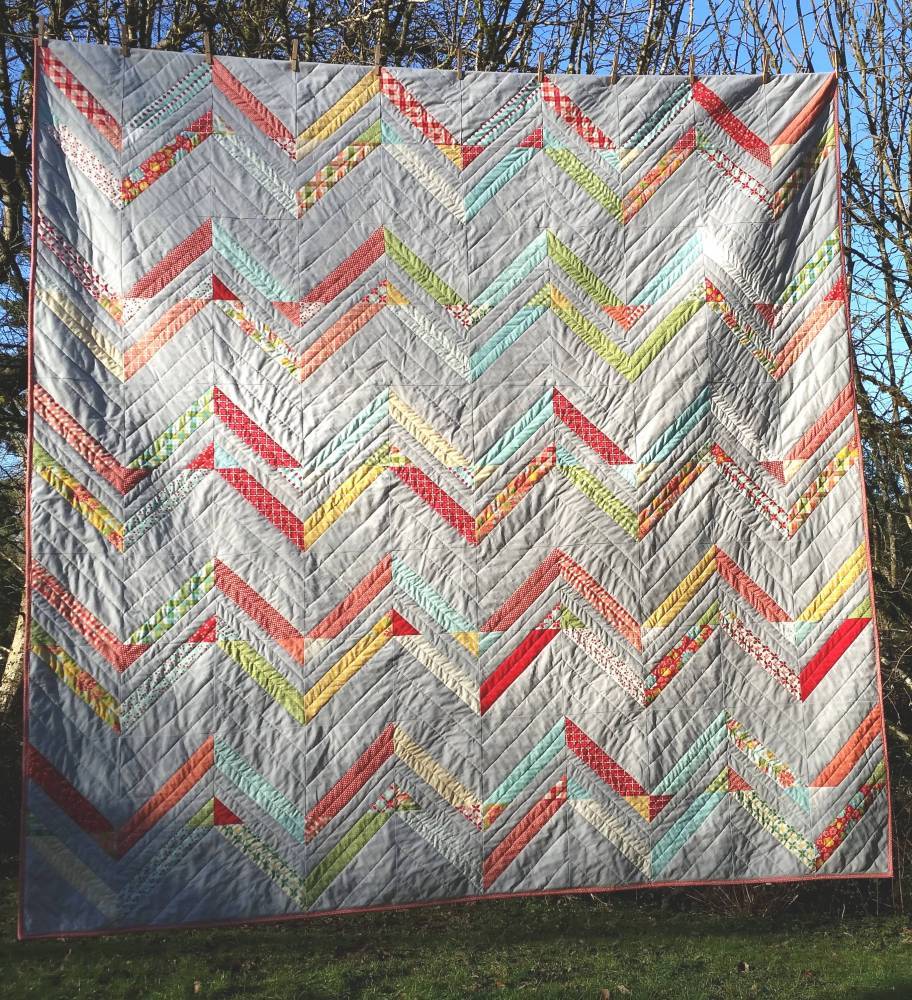
Once you have all 100 blocks assembled, it should look something like this!
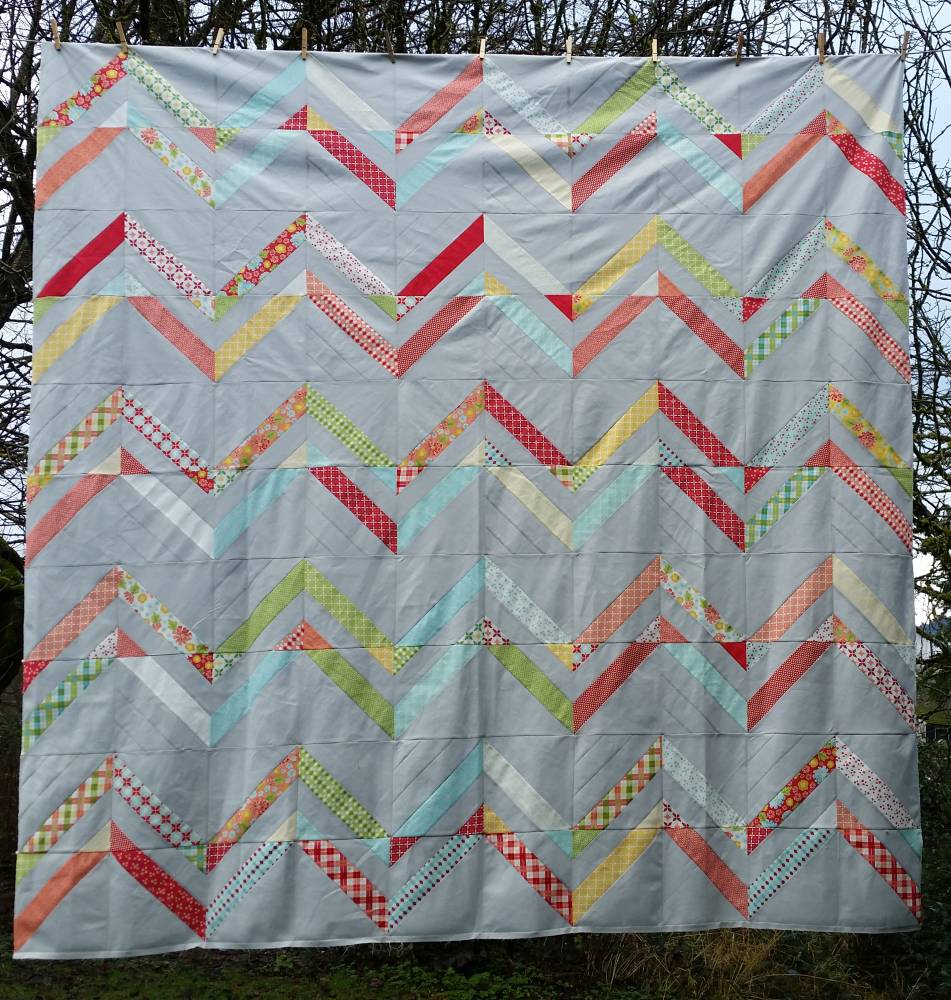
But, there are SO many possibilities with the layout of this pattern! Have fun with the layout!
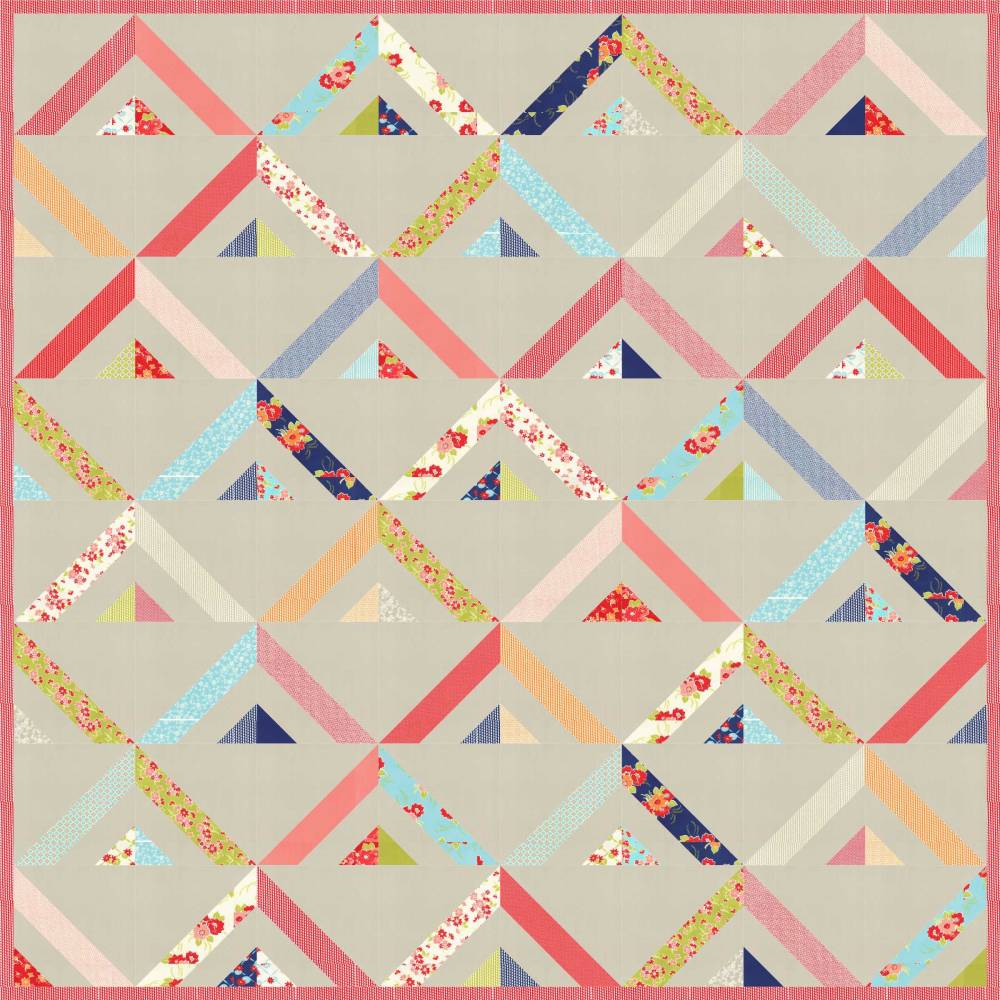

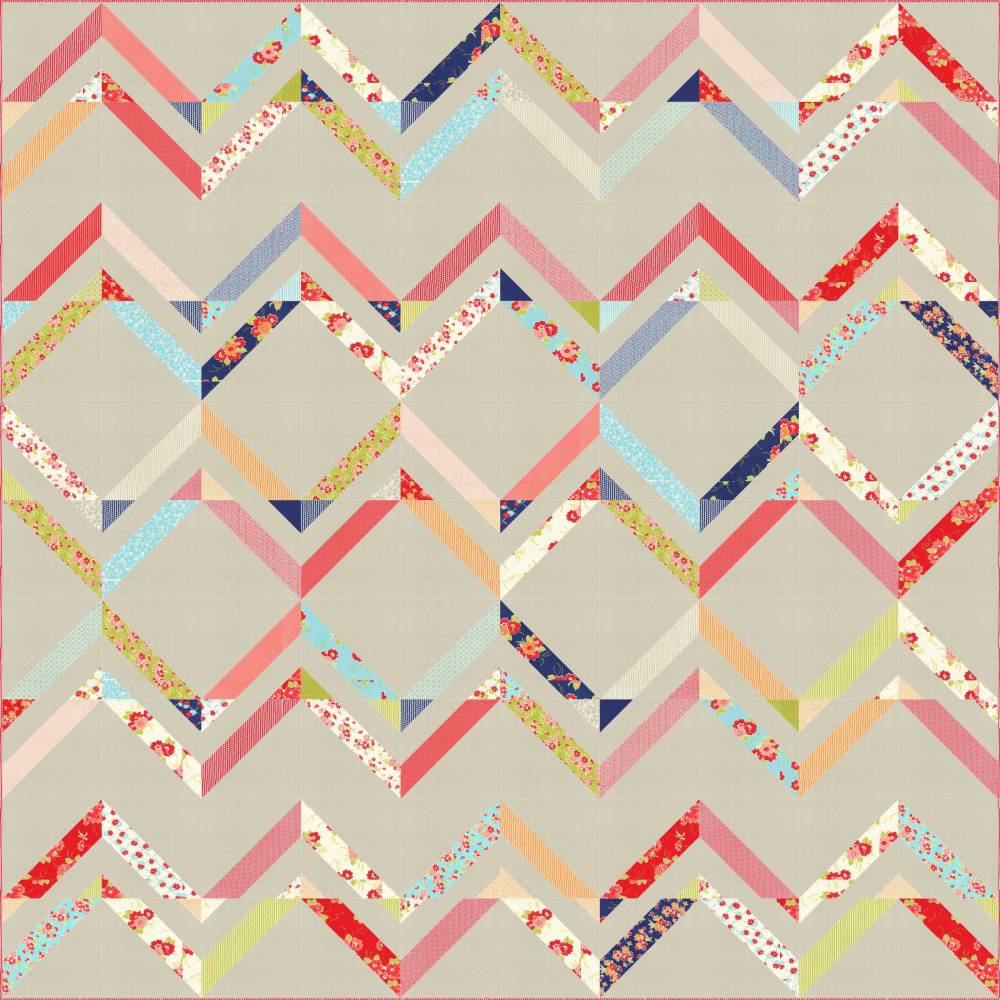
Here is the mock-up of the layout I used:![]()
Head over to my blog to see what I did with the scraps from this quilt!
![]()
A full size quilt that finishes at 85" x 85".
Karin Vail
{cascadequilts.com}
![]()
Posted in: