Welcome to Moda Fabrics!
Speedwell Quilt
Speedwell Quilt
Published:
Feb 18 2016 - 11:50
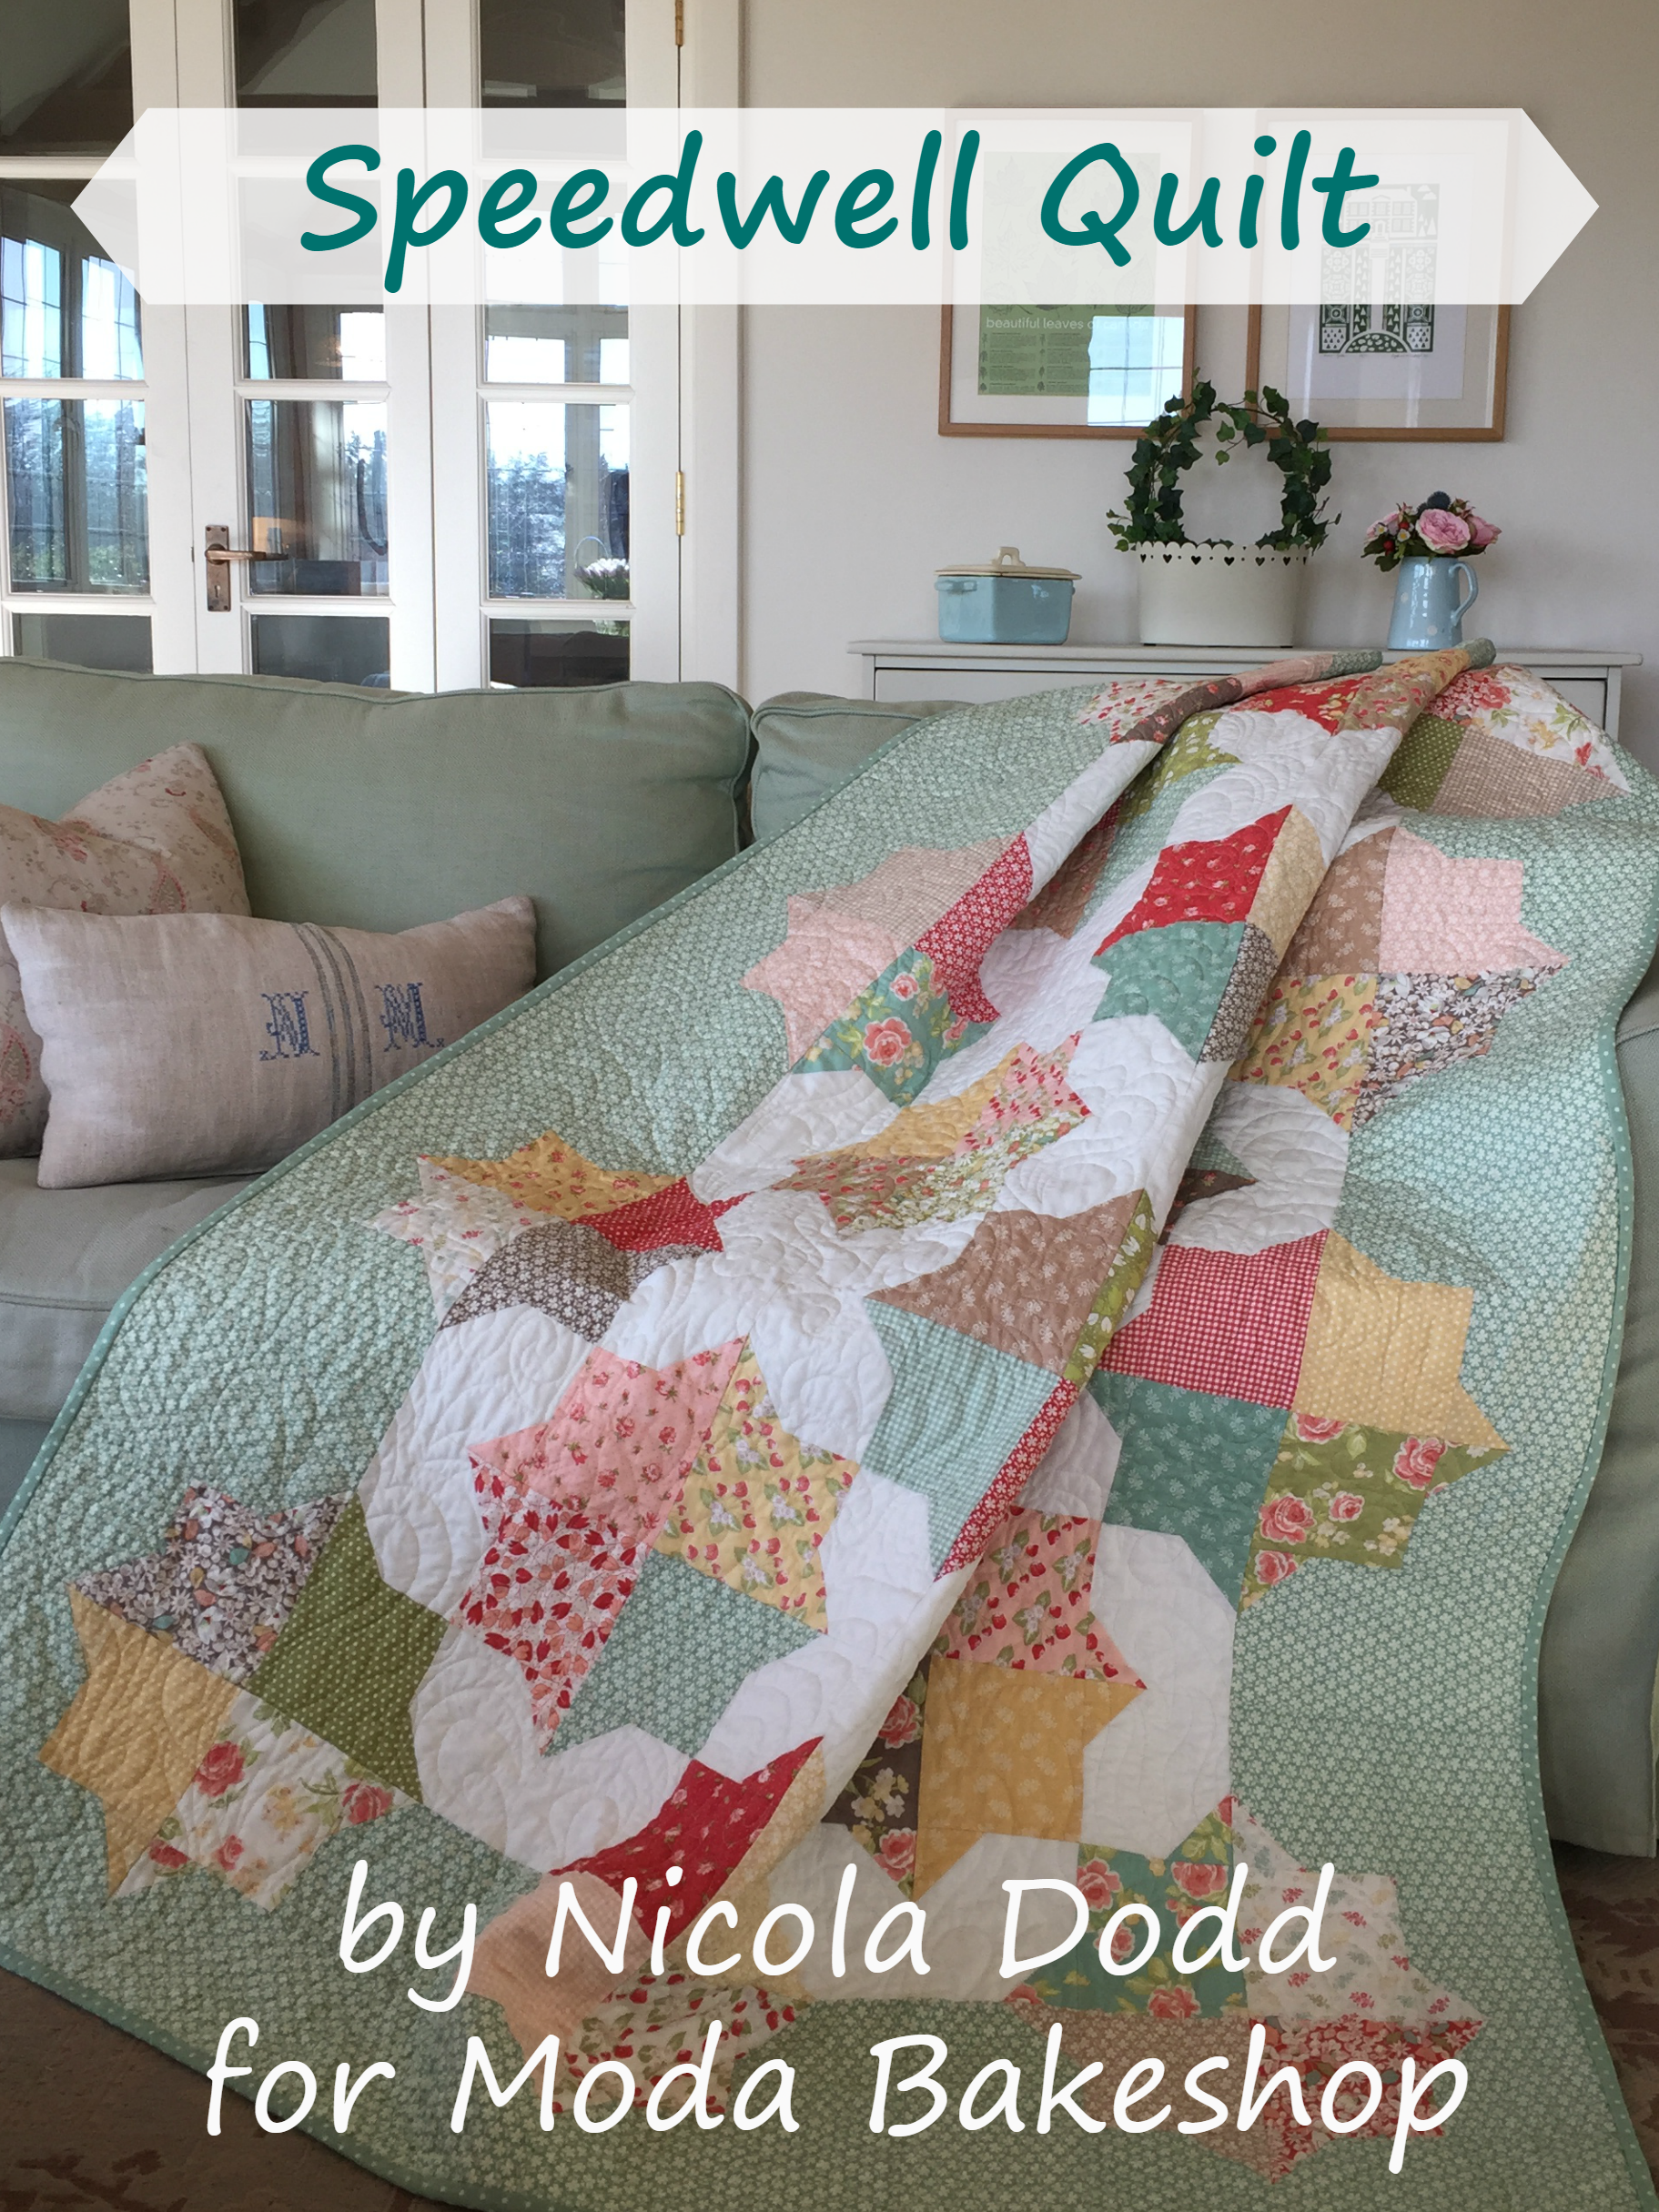

Hello! My name is Nicola Dodd from CakeStand Quilts and it's so lovely to be here at the Moda Bakeshop sharing my very first recipe. I live in the UK, where we're still waiting patiently for some Spring sunshine. Luckily I've had Joanna Figueroa's beautiful Strawberry Fields Revisited collection to brighten up my sewing room. My recipe uses a Layer Cake - my favourite pre-cut - and is constructed from just two repeated blocks! I hope you’ll love making it as much as I did... 54” x 72” Finished Quilt ![]() Part of 1 Layer Cake or 36 10” squares 1 yd neutral fabric for central blocks 1¼ yd fabric for border blocks 3½ yds fabric for backing 62” x 80” Cotton Batting ½ yd fabric for binding
Part of 1 Layer Cake or 36 10” squares 1 yd neutral fabric for central blocks 1¼ yd fabric for border blocks 3½ yds fabric for backing 62” x 80” Cotton Batting ½ yd fabric for binding ![]() Please read through the pattern before you begin, assuming a ¼” seam allowance and a fabric width (WOF) of 42”. I would always recommend making a test block. CUTTING: 1. From each of the 36 10” print squares - 24 for your central blocks and 12 for your border blocks - cut 2 5” squares and 4 2½” squares (fig.1)
Please read through the pattern before you begin, assuming a ¼” seam allowance and a fabric width (WOF) of 42”. I would always recommend making a test block. CUTTING: 1. From each of the 36 10” print squares - 24 for your central blocks and 12 for your border blocks - cut 2 5” squares and 4 2½” squares (fig.1) 
Fig.1
Please note: If you are a confident cutter - and have a nice, sharp rotary blade – you can cut three or four at a time 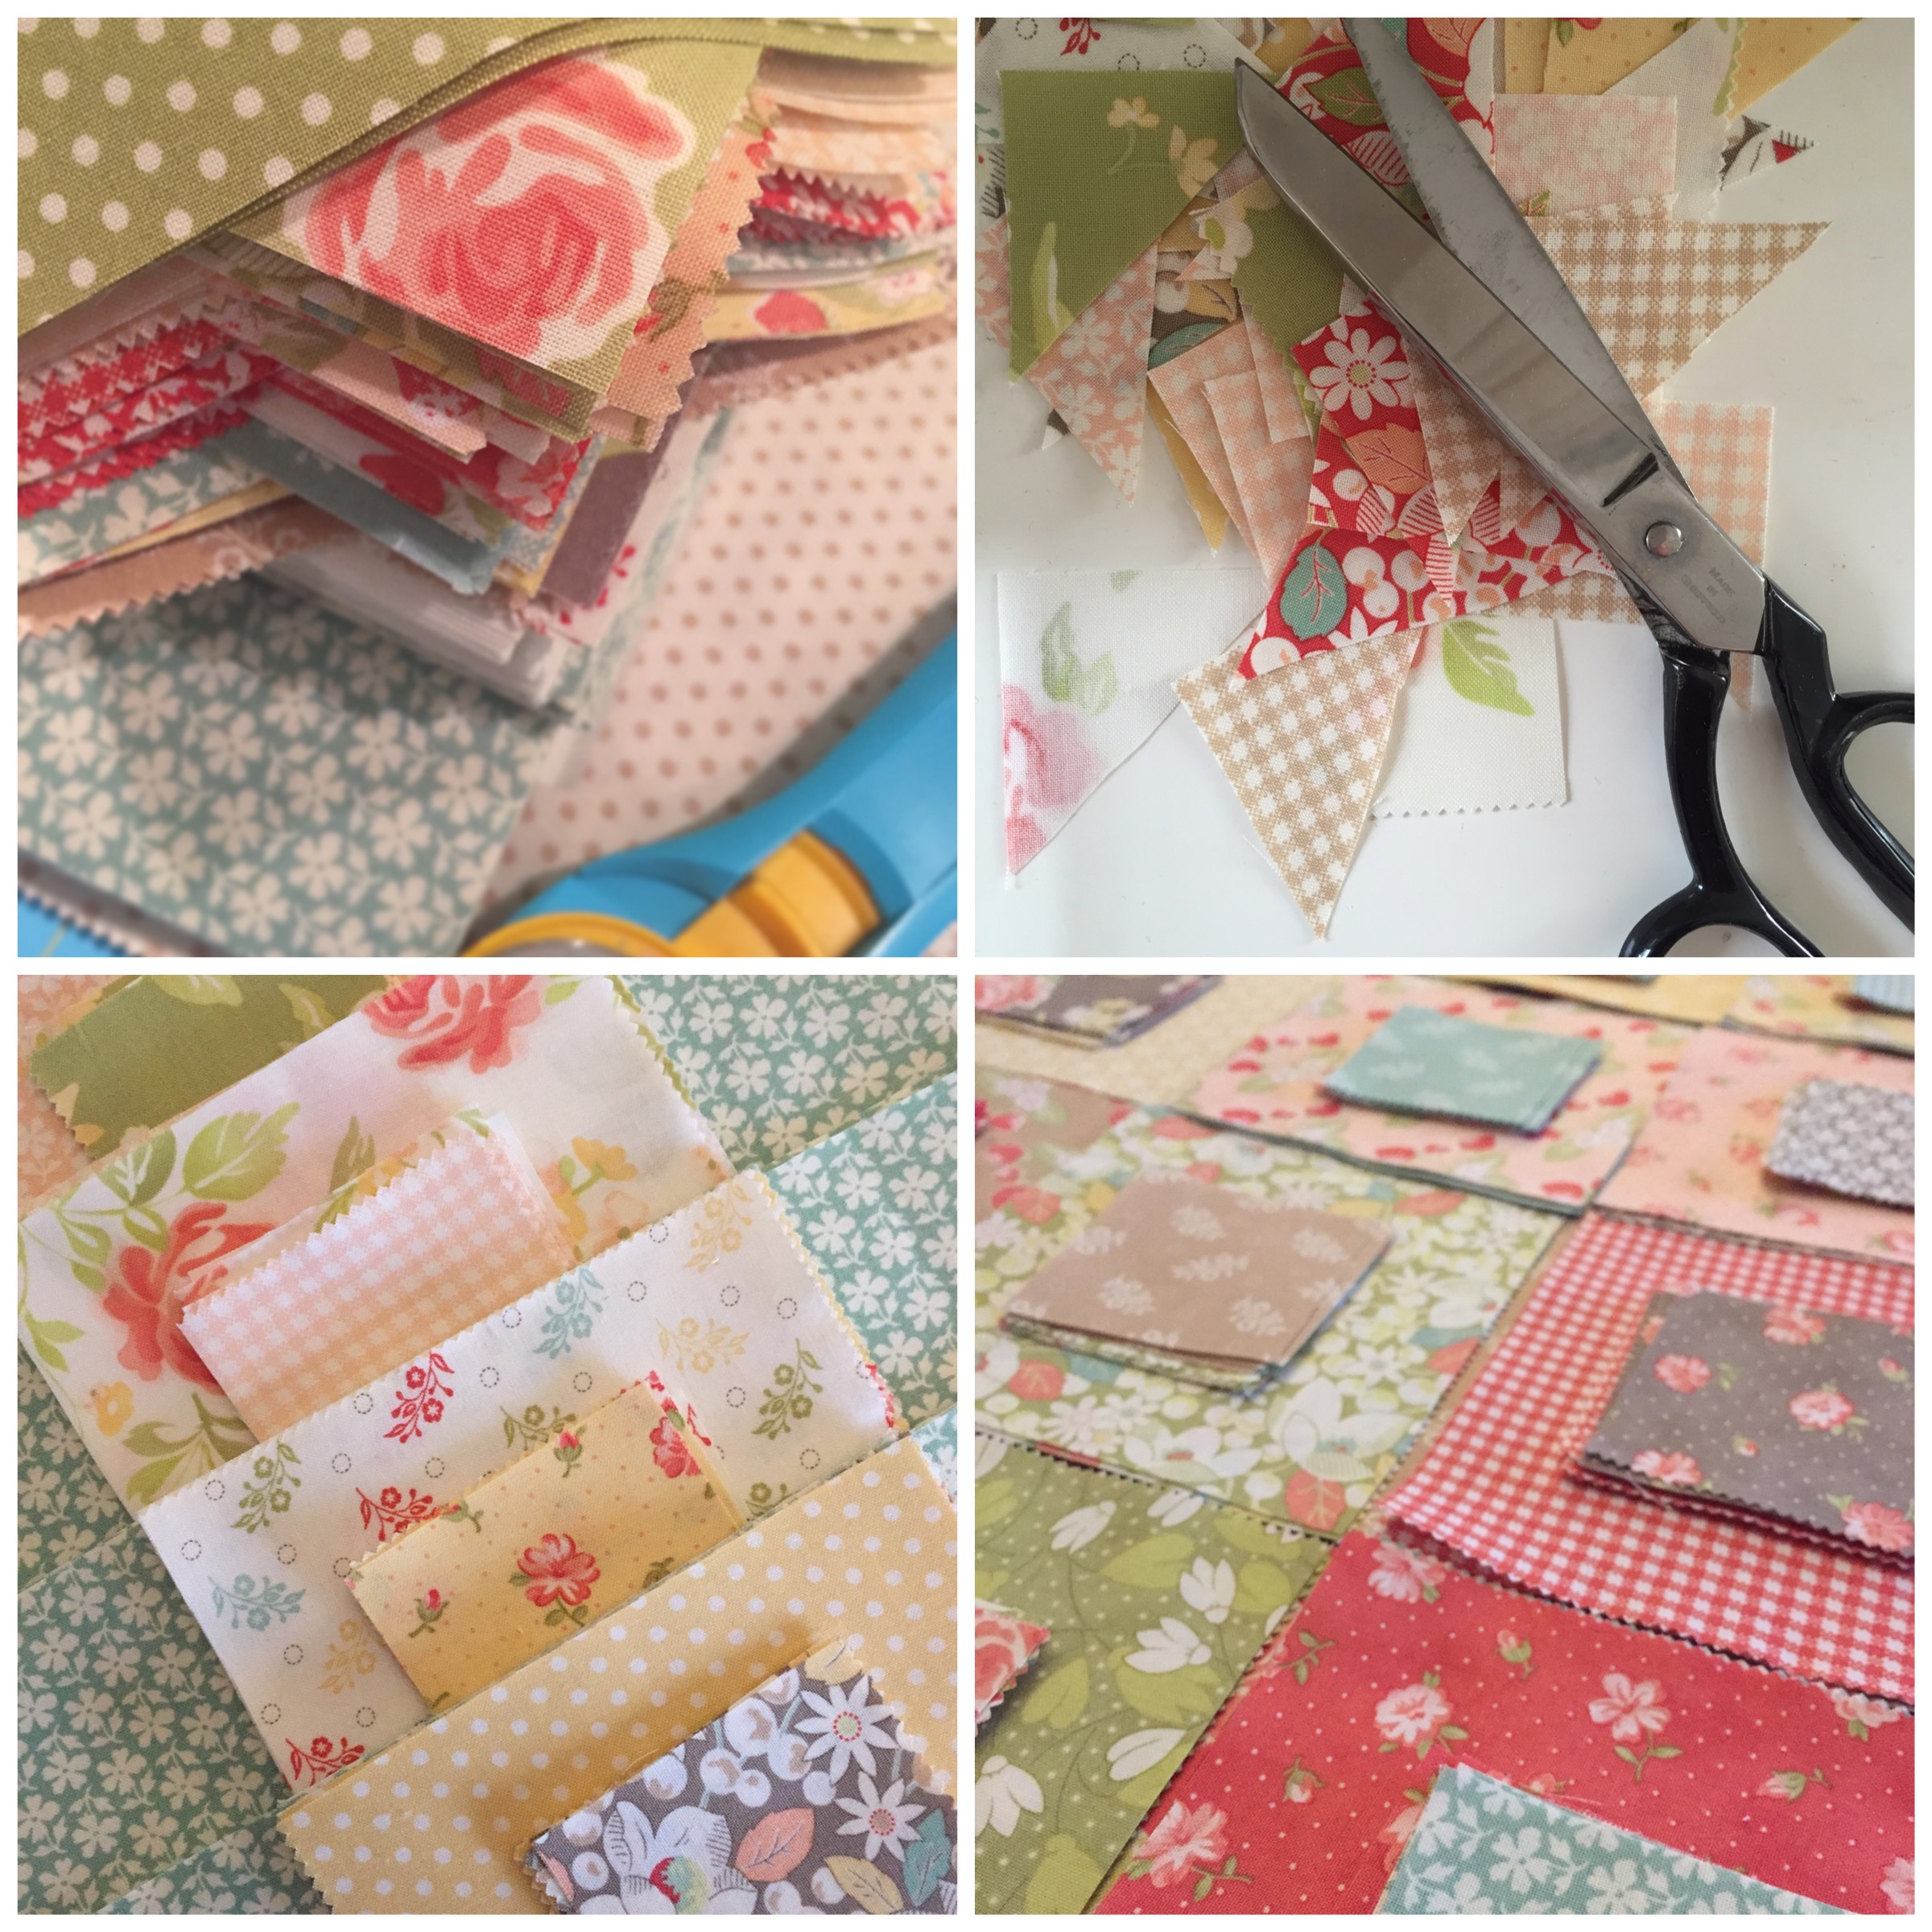 This will leave you with a 5” square (or a Charm Pack) to set aside for another project and I have a suggestion for using it at the end of the recipe… 2. From your neutral fabric, cut 6 5” x WOF strips and subcut into 48 5” squares 3. From your border fabric cut 9 5” x WOF strips; then from 6 of those strips subcut 24 5” x 9½” pieces and from the remaining 3 strips subcut 24 5” squares 4. From your binding fabric cut 7 2½” x WOF strips PIECING THE CENTRE BLOCKS: 5. For each centre block choose 2 sets of contrasting print pieces, each set comprising of a 5” square and 2 matching 2½” squares. You will also need 2 neutral 5” squares. 6. Draw or press a diagonal line on the back of the 2½” squares, pin one of each print, right sides together, on opposite corners of the neutral square 7. Stitch on the line, flip ‘open’ and press – to ‘snowball’ the corners – trimming away the middle layer of fabric and leaving the background cream fabric to keep your block nice and square (figs. 2 & 3). If you’ve chosen a darker neutral you may prefer to trim out this back layer too.

Fig. 2 Fig. 3
8. Assemble the block, as shown below, taking care to position the prints correctly (fig. 4). Press your seams in the direction of the arrows (>) 
Fig. 4
9. Your block should measure 9½” square MAKE 24 PIECING THE BORDER BLOCKS: 10. For each centre block choose a set of print pieces, each set comprising of a 5” square and 2 matching 2½” squares. You will also need a 5” square and a 5” x 9½” piece of border fabric. 11. ‘Snowball’ one corner of each of the border pieces, as described in step 7 12. Assemble the block, as shown (fig.5), pressing your seams in the direction of the arrows (>) 
Fig. 5
13. Again, your block should measure 9½” square MAKE 24 ASSEMBLING THE QUILT: 14. Lay out your quilt blocks - arranging the border blocks around the edge – then assemble the quilt centre (fig. 6), taking care to pin at the points marked ◊ Alternate the direction in which you press the seams in each row, so they will ‘nest’ nicely when you join the rows together. 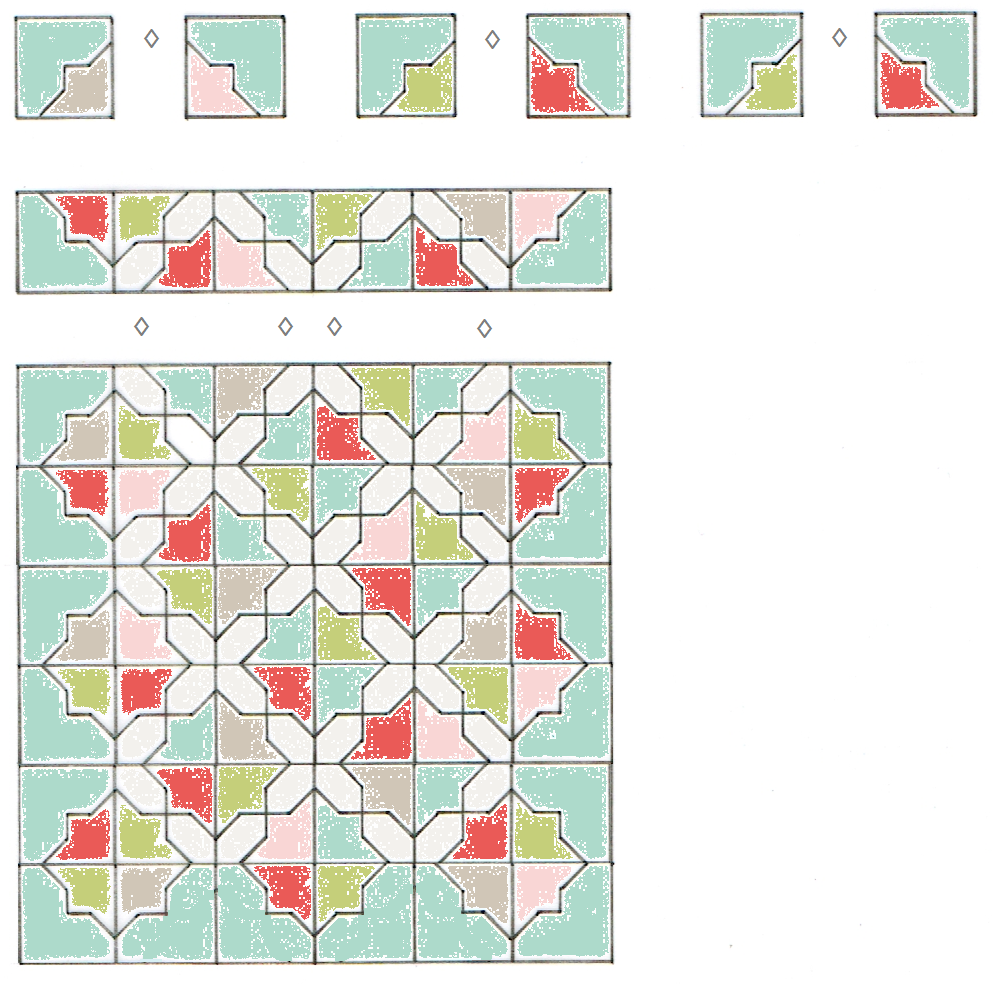
Fig. 6
15. Cut your backing into two WOF x 62” pieces, trim off the selvages and join together using a ½” seam, pressed open. 16. Sandwich the batting between the backing and the quilt top, baste, then machine or hand quilt. My lovely quilter Maureen {from the Quilting Place} used a scrummy Peacock Meander. 17. Join your binding strips end to end to form one long strip and press in half, wrong sides together, along its length. Trim away excess batting and background - taking the opportunity to ensure your corners are square - and bind the raw edge using your preferred method {and you can find my favourite method on the Sketchbook page of my website, here}. 
![]() A 54” x 72” Lap or Baby Quilt plus a Charm Pack!
A 54” x 72” Lap or Baby Quilt plus a Charm Pack! 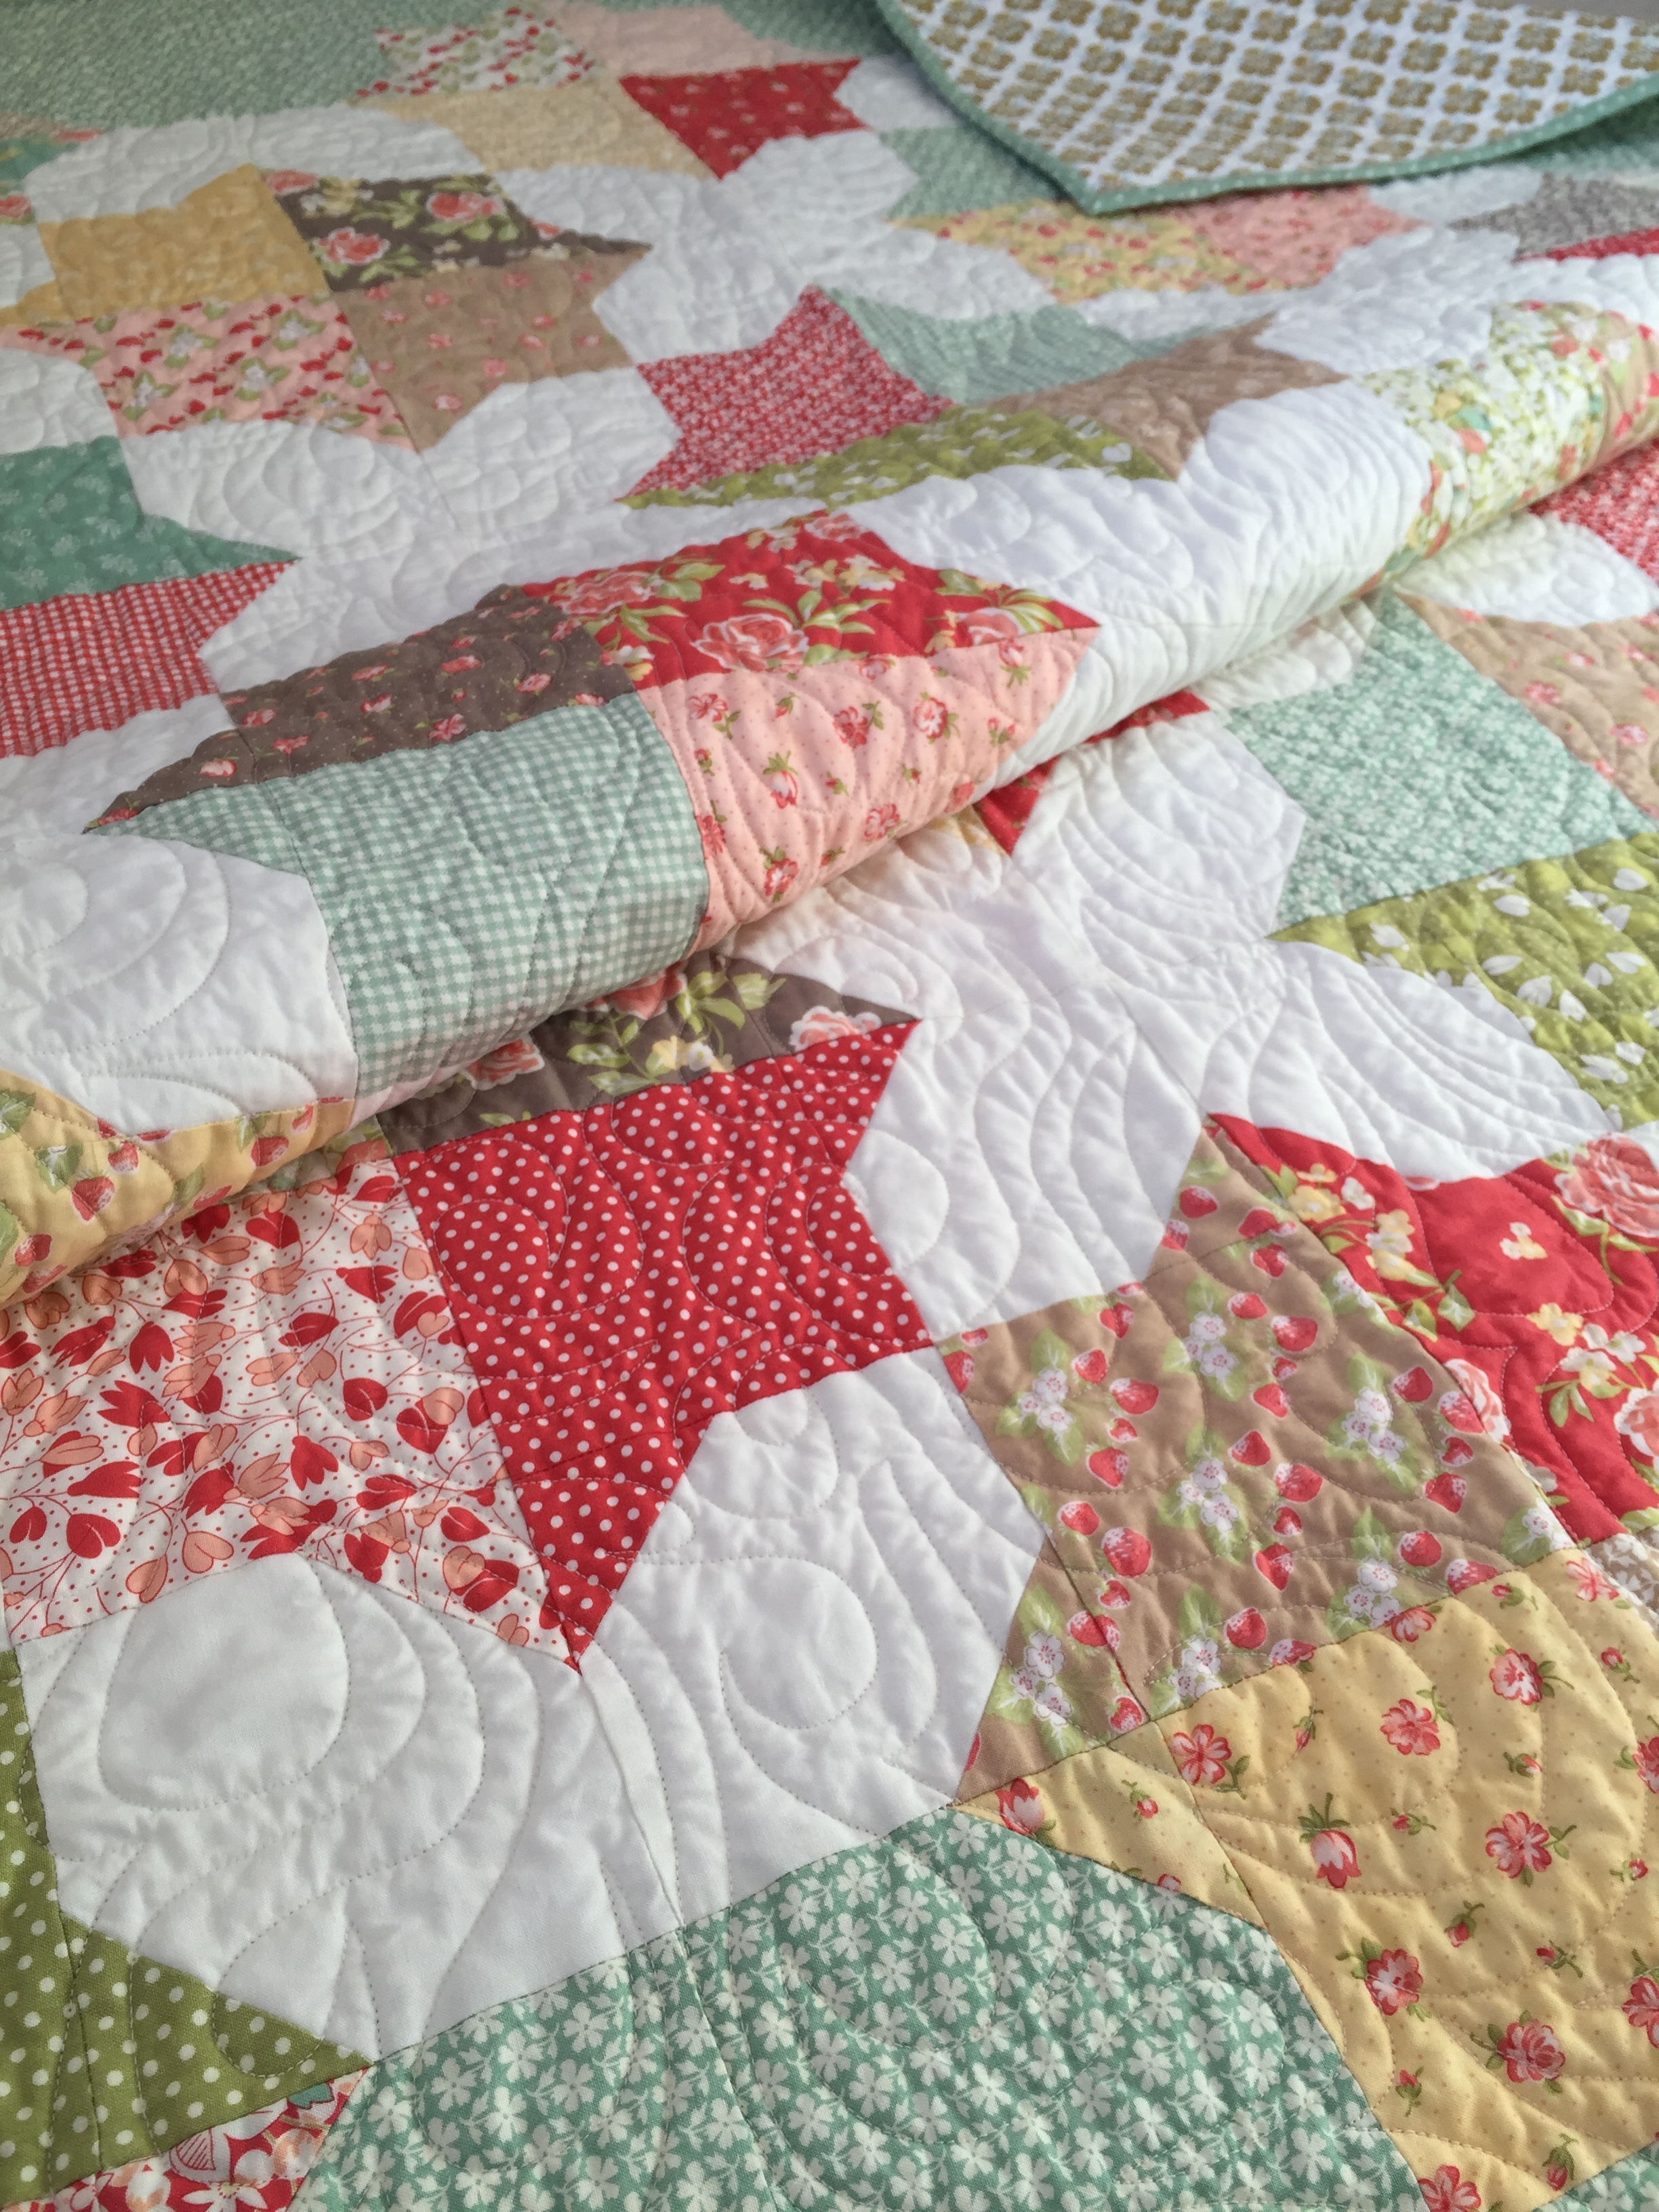 How about using that ‘bonus’ Charm Pack to encourage a friend to start quilting. My very first project was a Moda Bakeshop recipe: a pretty table runner designed by Camille Roskelley and made with a Charm Pack. And there are lots of other lovely Bakeshop projects that use a Charm Pack too. I'll be giving my Strawberry Fields Revisited Charm Pack away on Instagram so come and say hello! Until then, this has been such fun!! Happy sewing, Nicola x {CakeStand Quilts}
 ![]()
Posted in: