Welcome to Moda!
The Wordsmith Diamonds Quilt
The Wordsmith Diamonds Quilt
Published:
Feb 8 2016 - 22:17
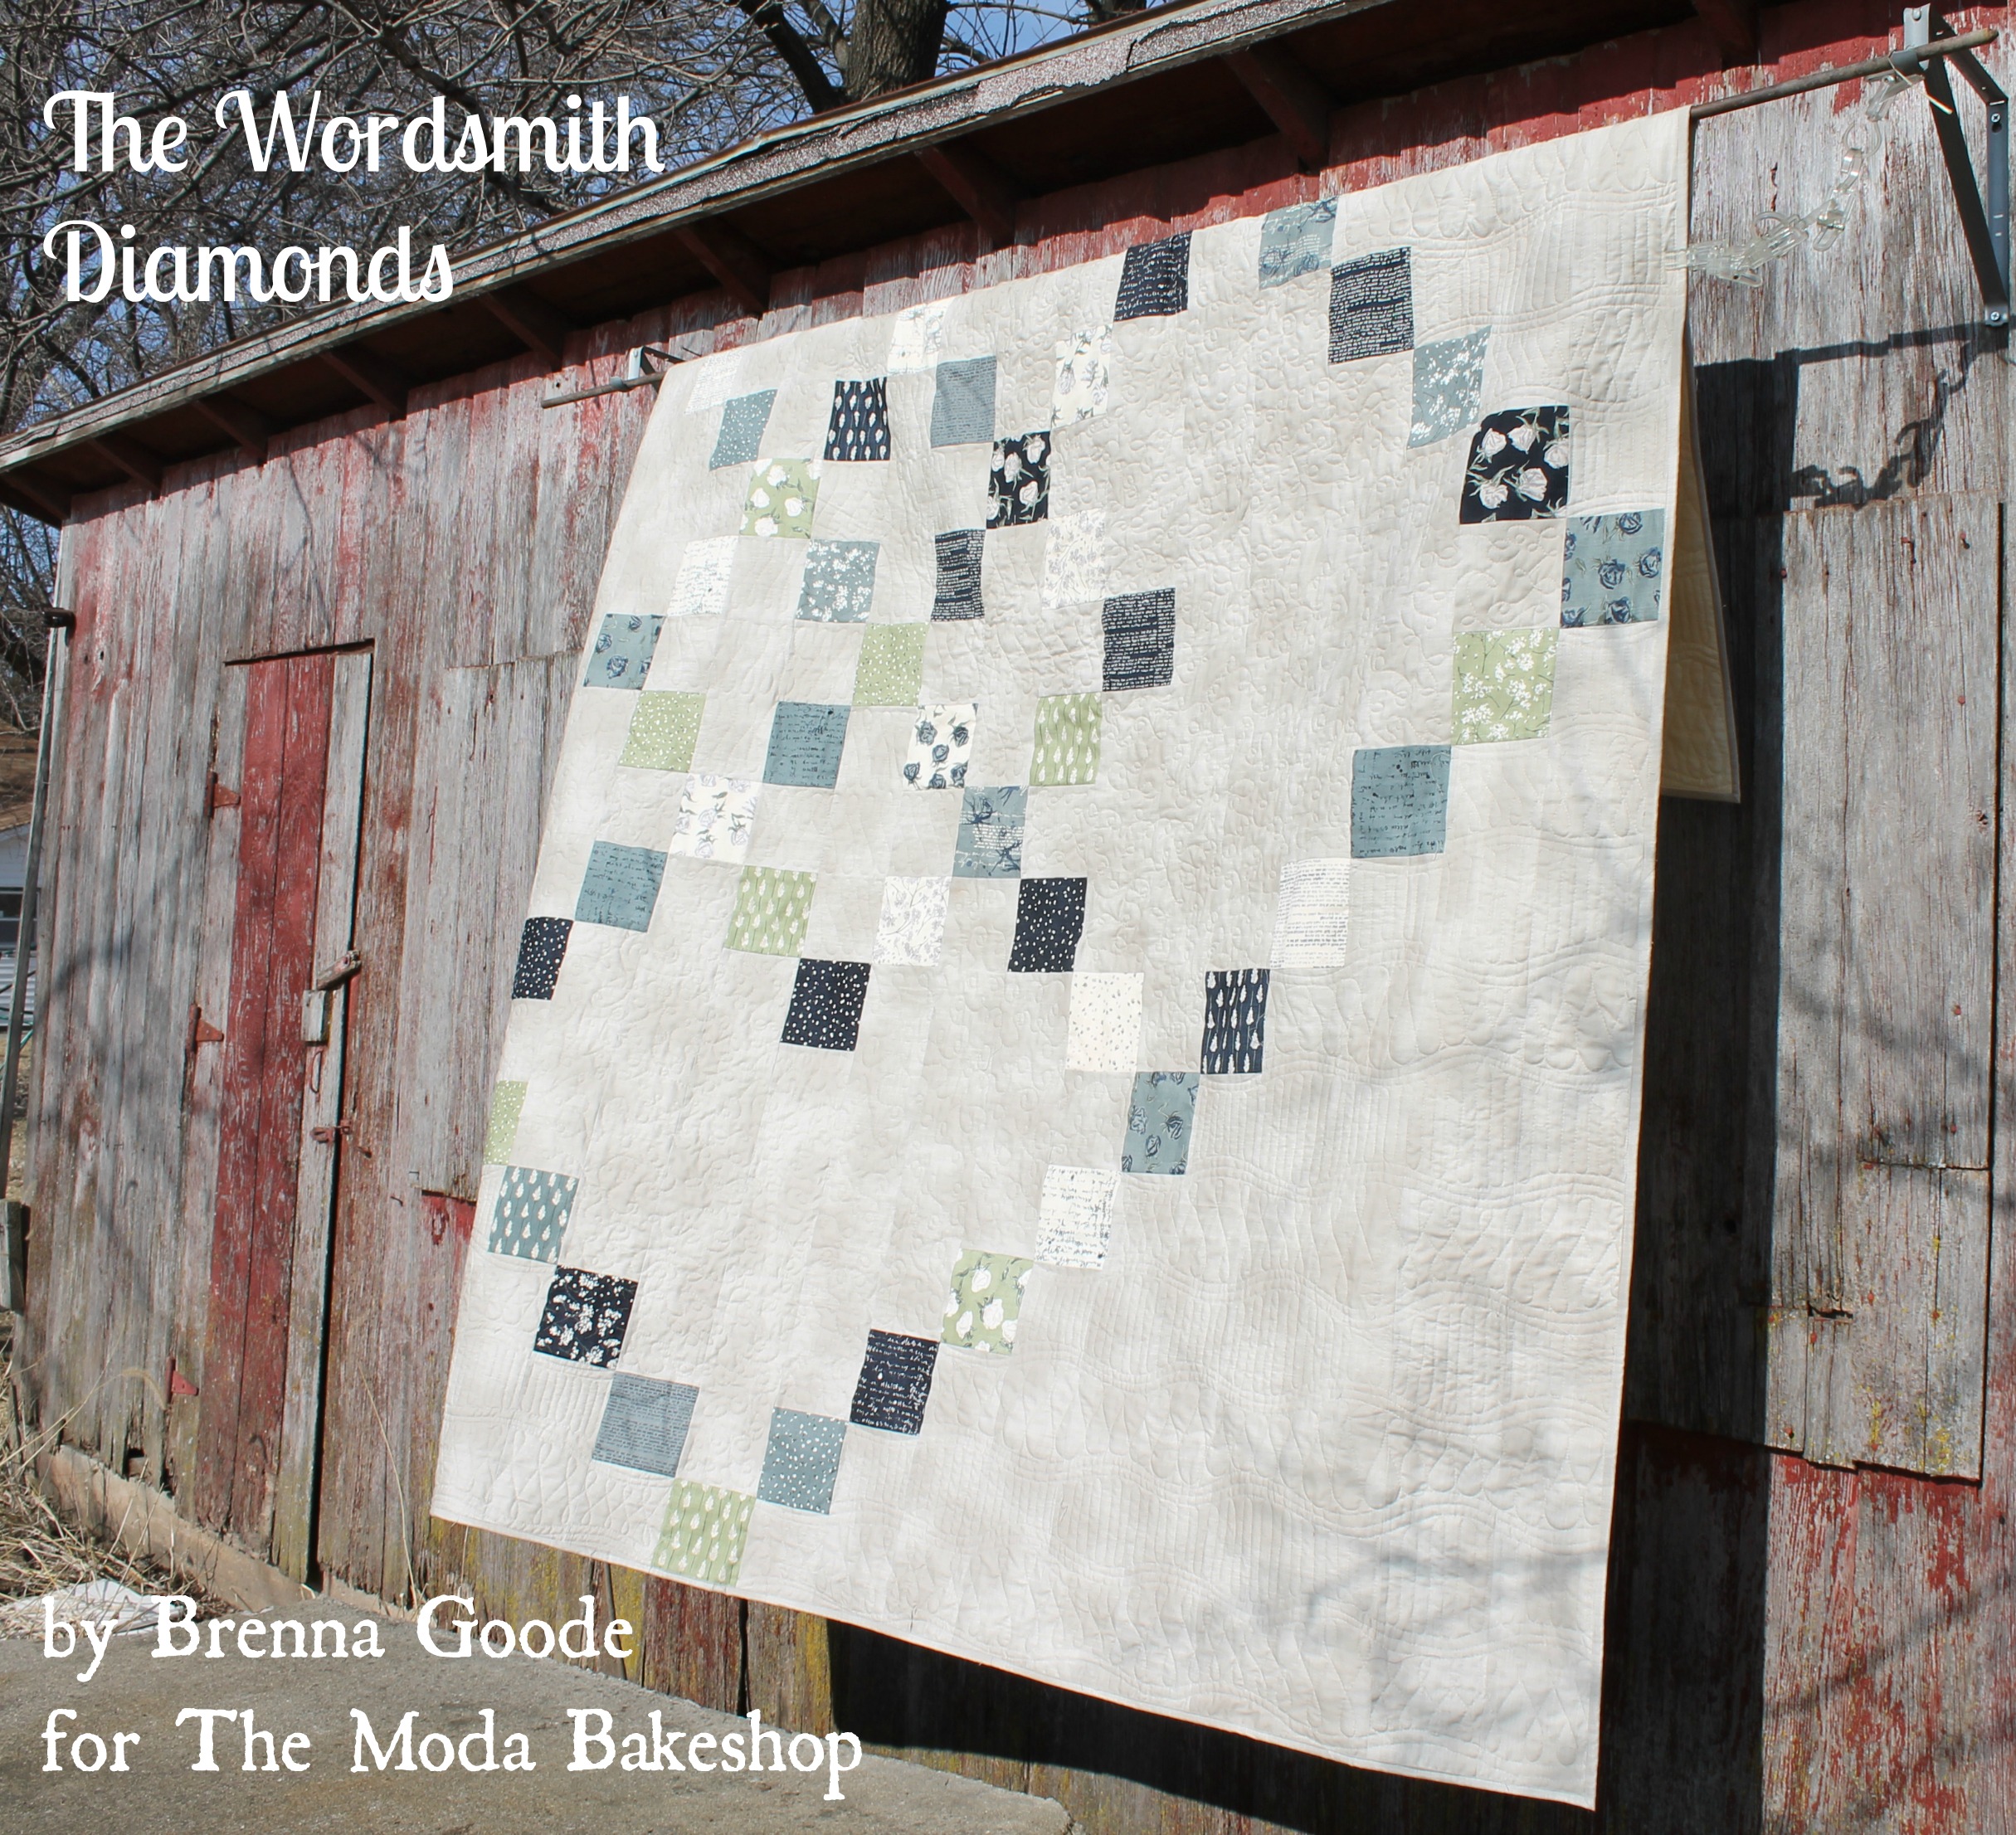

Greetings, everyone! I'm happy to be back at the Bake Shop, using the amazing The Wordsmith fabrics by Janet Clare, to create a queen-sized quilt. I had a couple of goals in mind with this project. First, I haven't done many quilts with charm squares, so I wanted to see what I could come up with. Secondly, I wanted something bed-sized. Many of the quilts I make are donated to be auctioned off at charity events, and I've noticed the bed-sized quilts often attract a lot more interest. I also wanted to do something in more neutral tones; these beautiful fabrics fit the bill perfectly. Finally, I have been working on my free-motion quilting, and I wanted a quilt with lots of negative space. I hope you like what I've come up with! Stop by my blog for more pictures, and for a bonus project with some leftover charms.
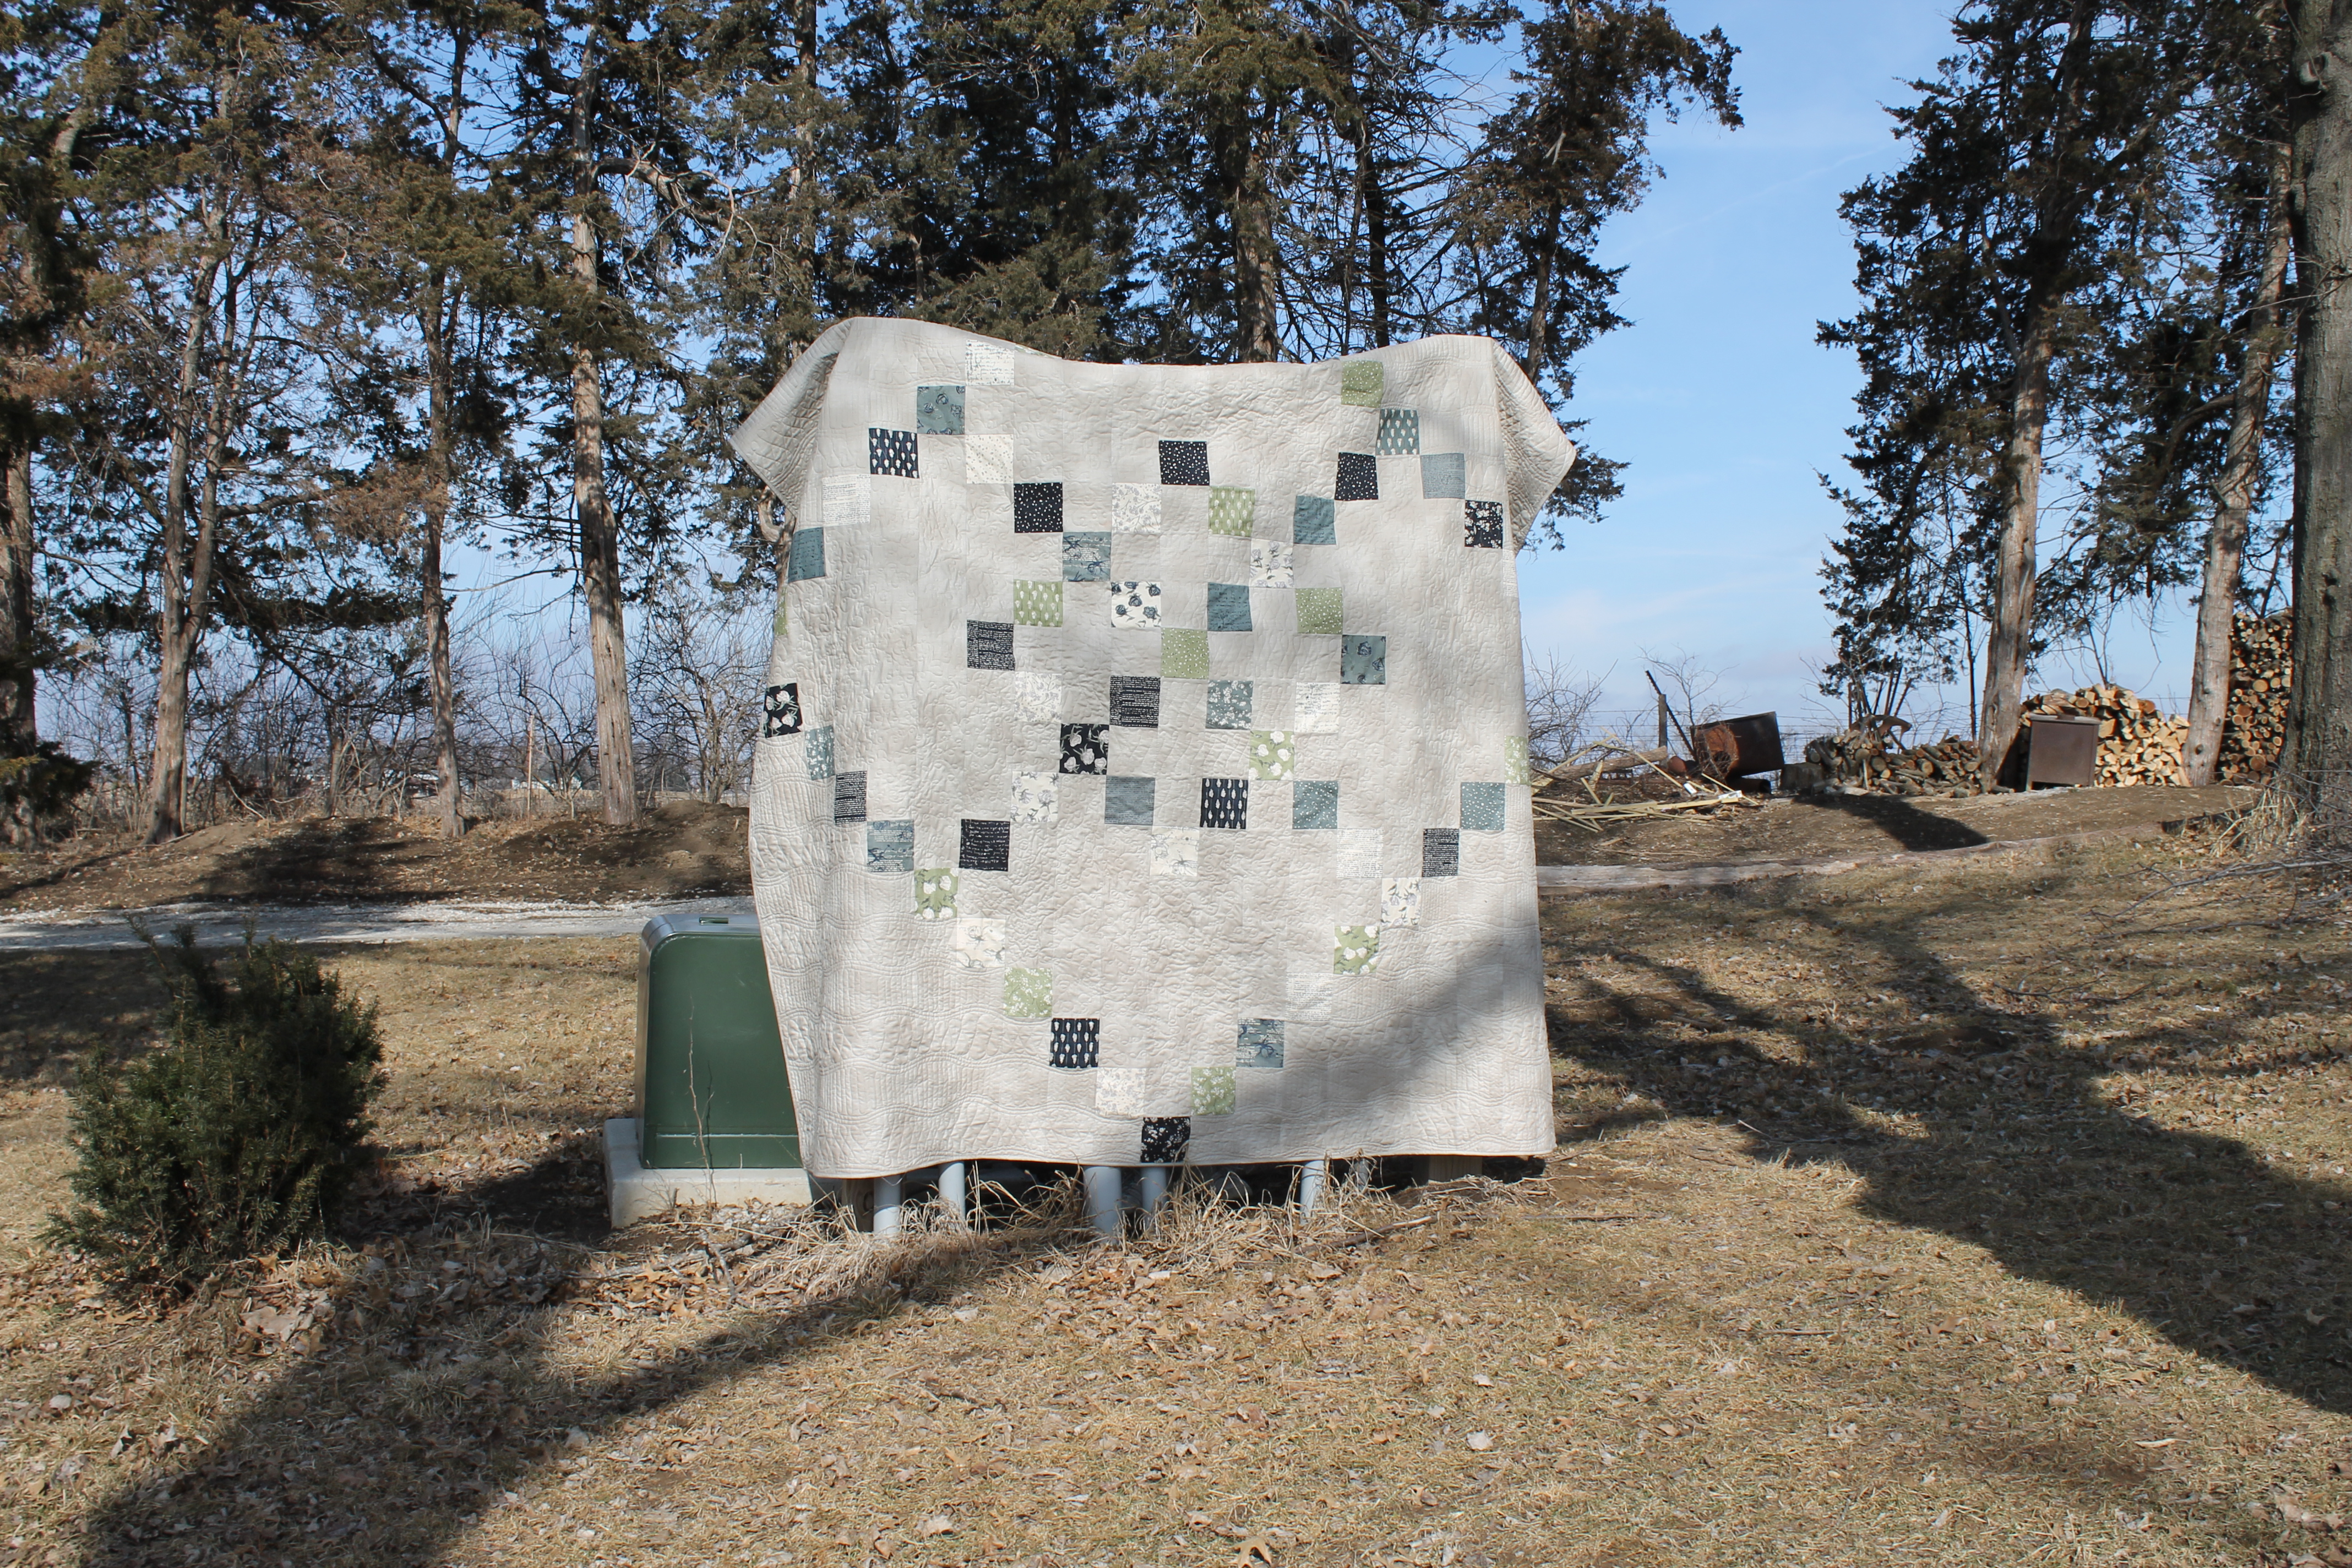
This quilt/project finishes at 95" x 95".
![]()
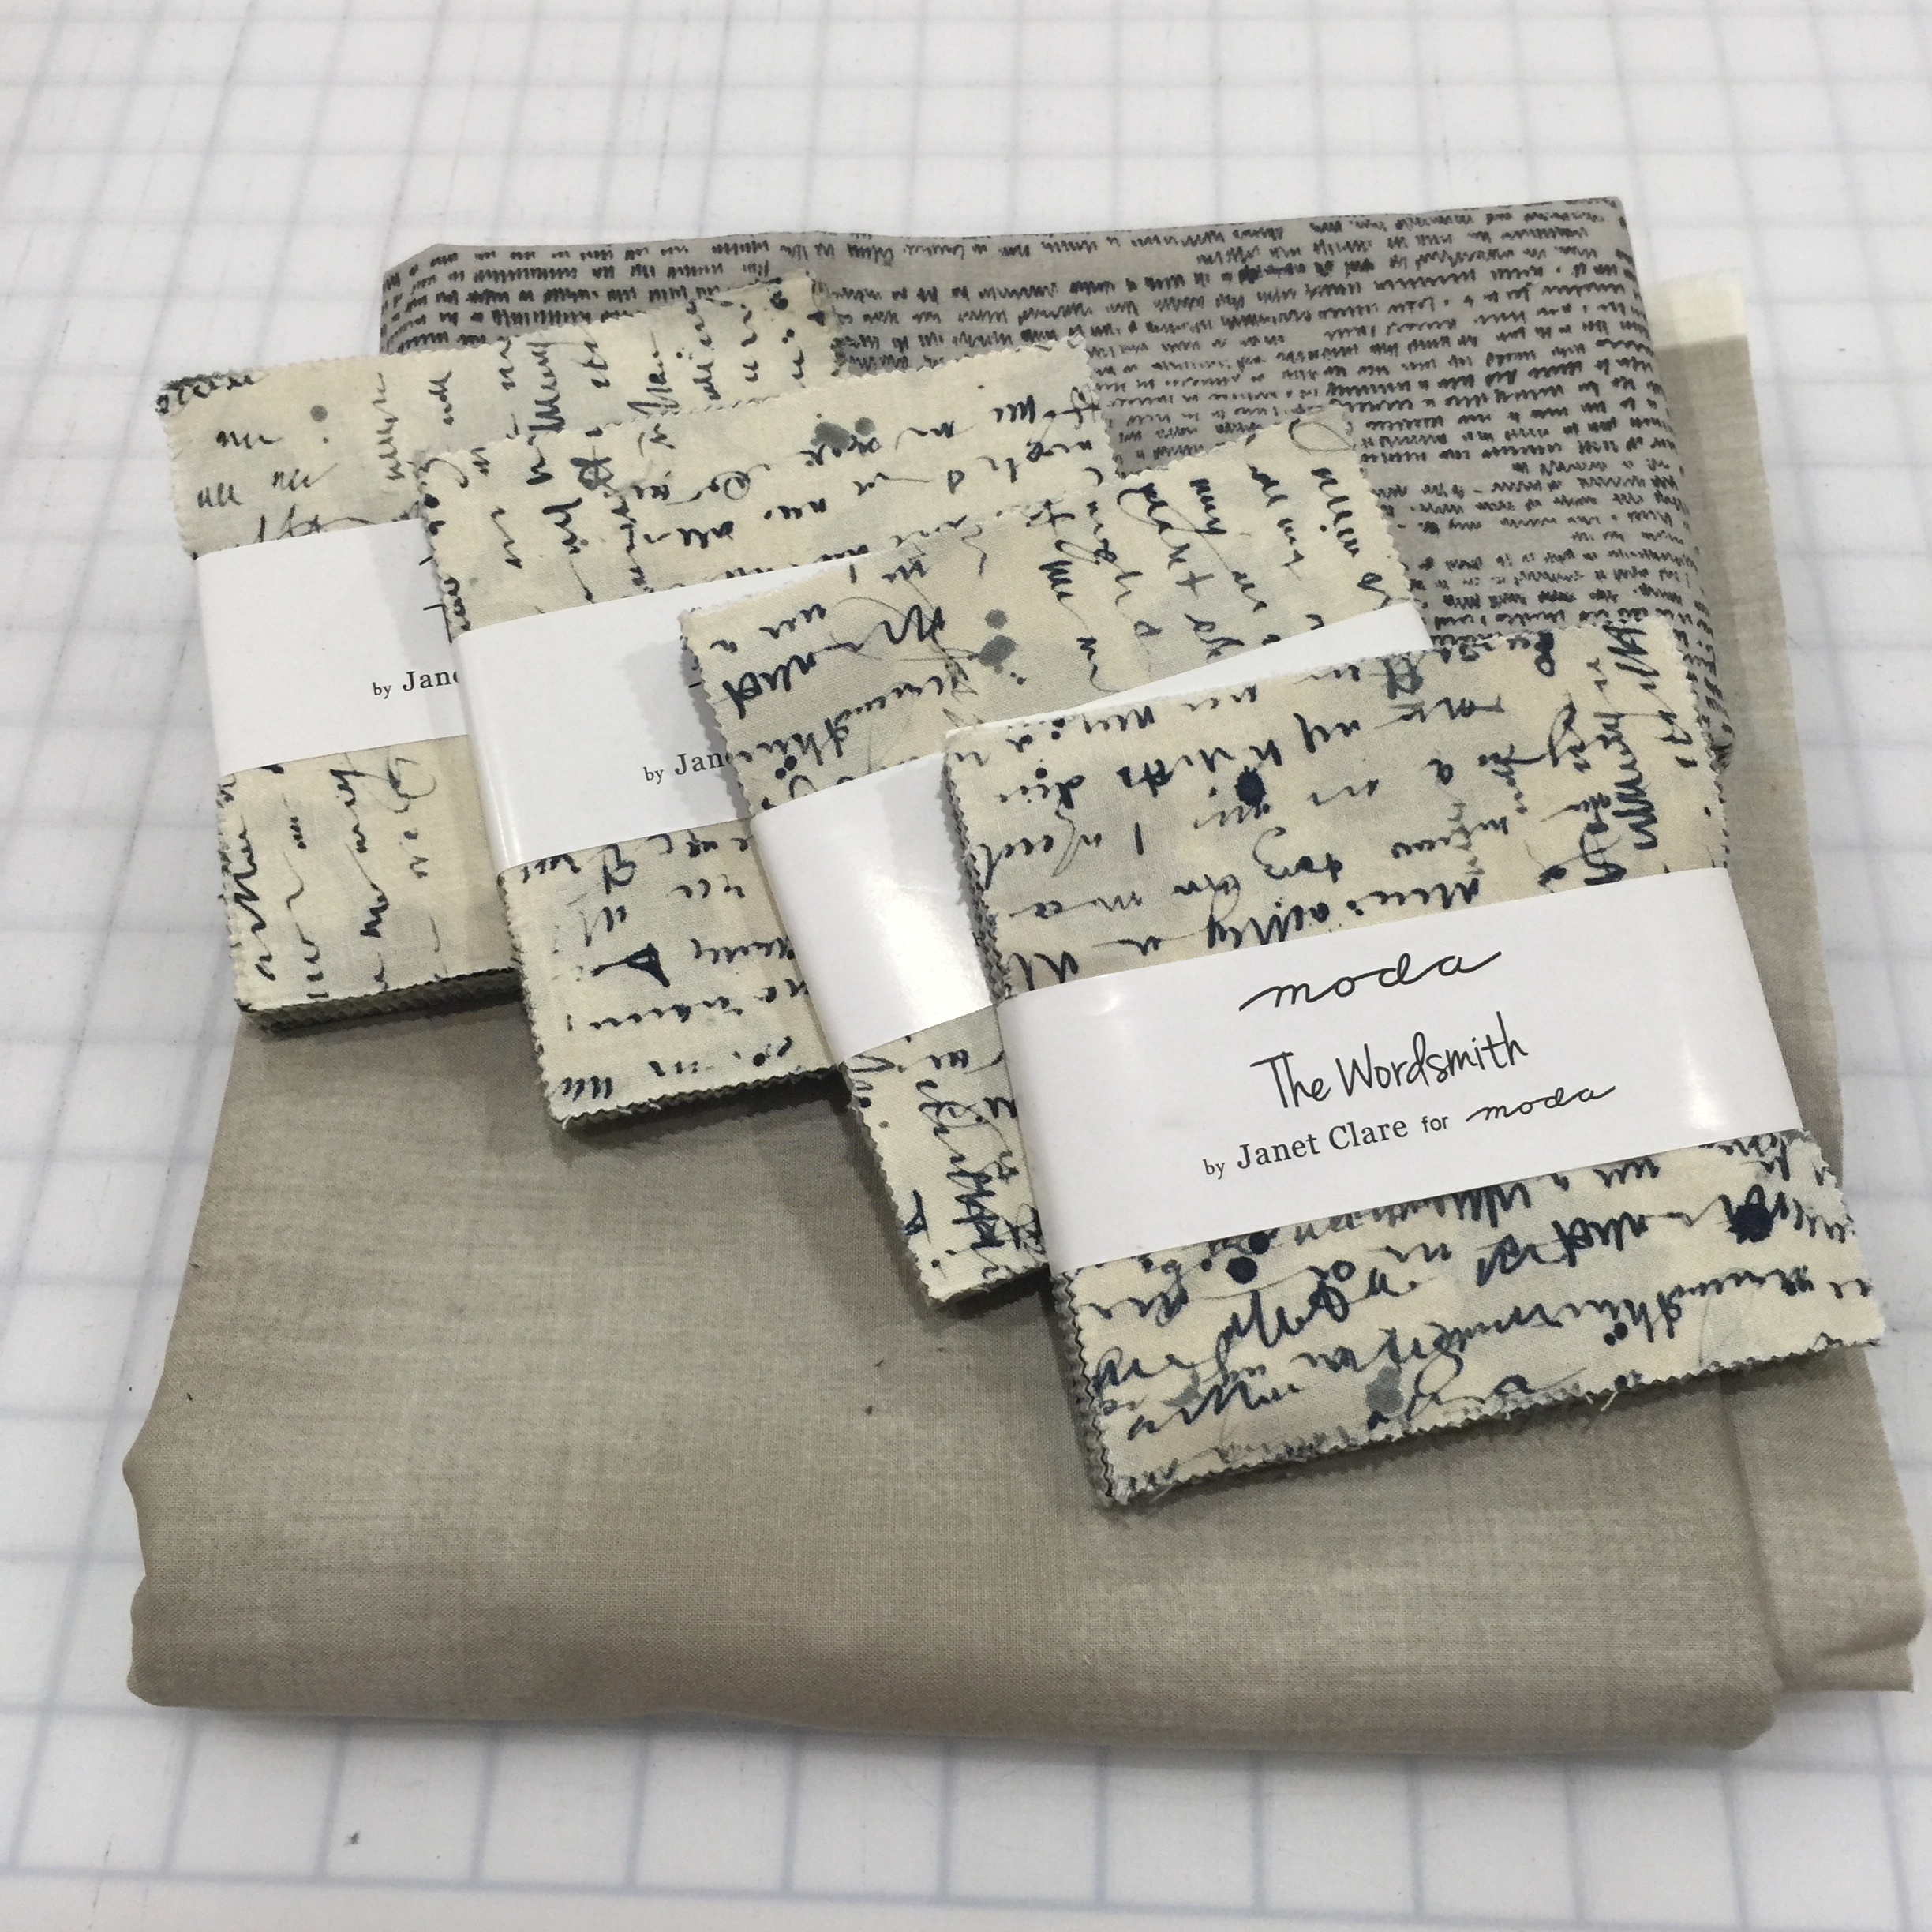
4 Charm Packs* {The Wordsmith by Janet Clare}
6 yards background fabric {Quill | 1396 12}
8 yards backing fabric
1 yard binding fabric
*3 charm packs is enough but I pulled certain fabrics to get the look I wanted so I needed 4.
![]()
First, open up all your charm packs. I removed all of the solid color charms, and all of the charms with the same background color as my background fabric. If you don't do this step, three charm packs are enough.
Cut one piece of background fabric that is 45.5 inches long, by the width of fabric. Cut it into five inch strips LENGTHWISE. Reserve four of them for your outermost columns.
Cut the remaining background fabric into 5 inch strips.
Subcut the remaining 45.5 inch pieces and all of the 5xWOF strips into pieces the following lengths. Cut the longest piece you need from each strip, then continue to cut the longest possible required piece from the remaining segment.
6 - 41 inches
4 - 36.5 inches
6 - 32 inches
4 - 27.5 inches
16 - 23 inches
4 - 18.5 inches
18 - 14 inches
4 - 9.5 inches
22 - 5 inches
Lay out your charms on a design wall, floor, etc, according to the diagram.

I overlapped them to get them all on the wall - this project ends up quite large! Arrange them in a design pleasing to you; I simply tried to avoid getting two that were similar in color or design next to each other. The lovely variety in these fabrics gives you plenty of options, even if you've removed some.
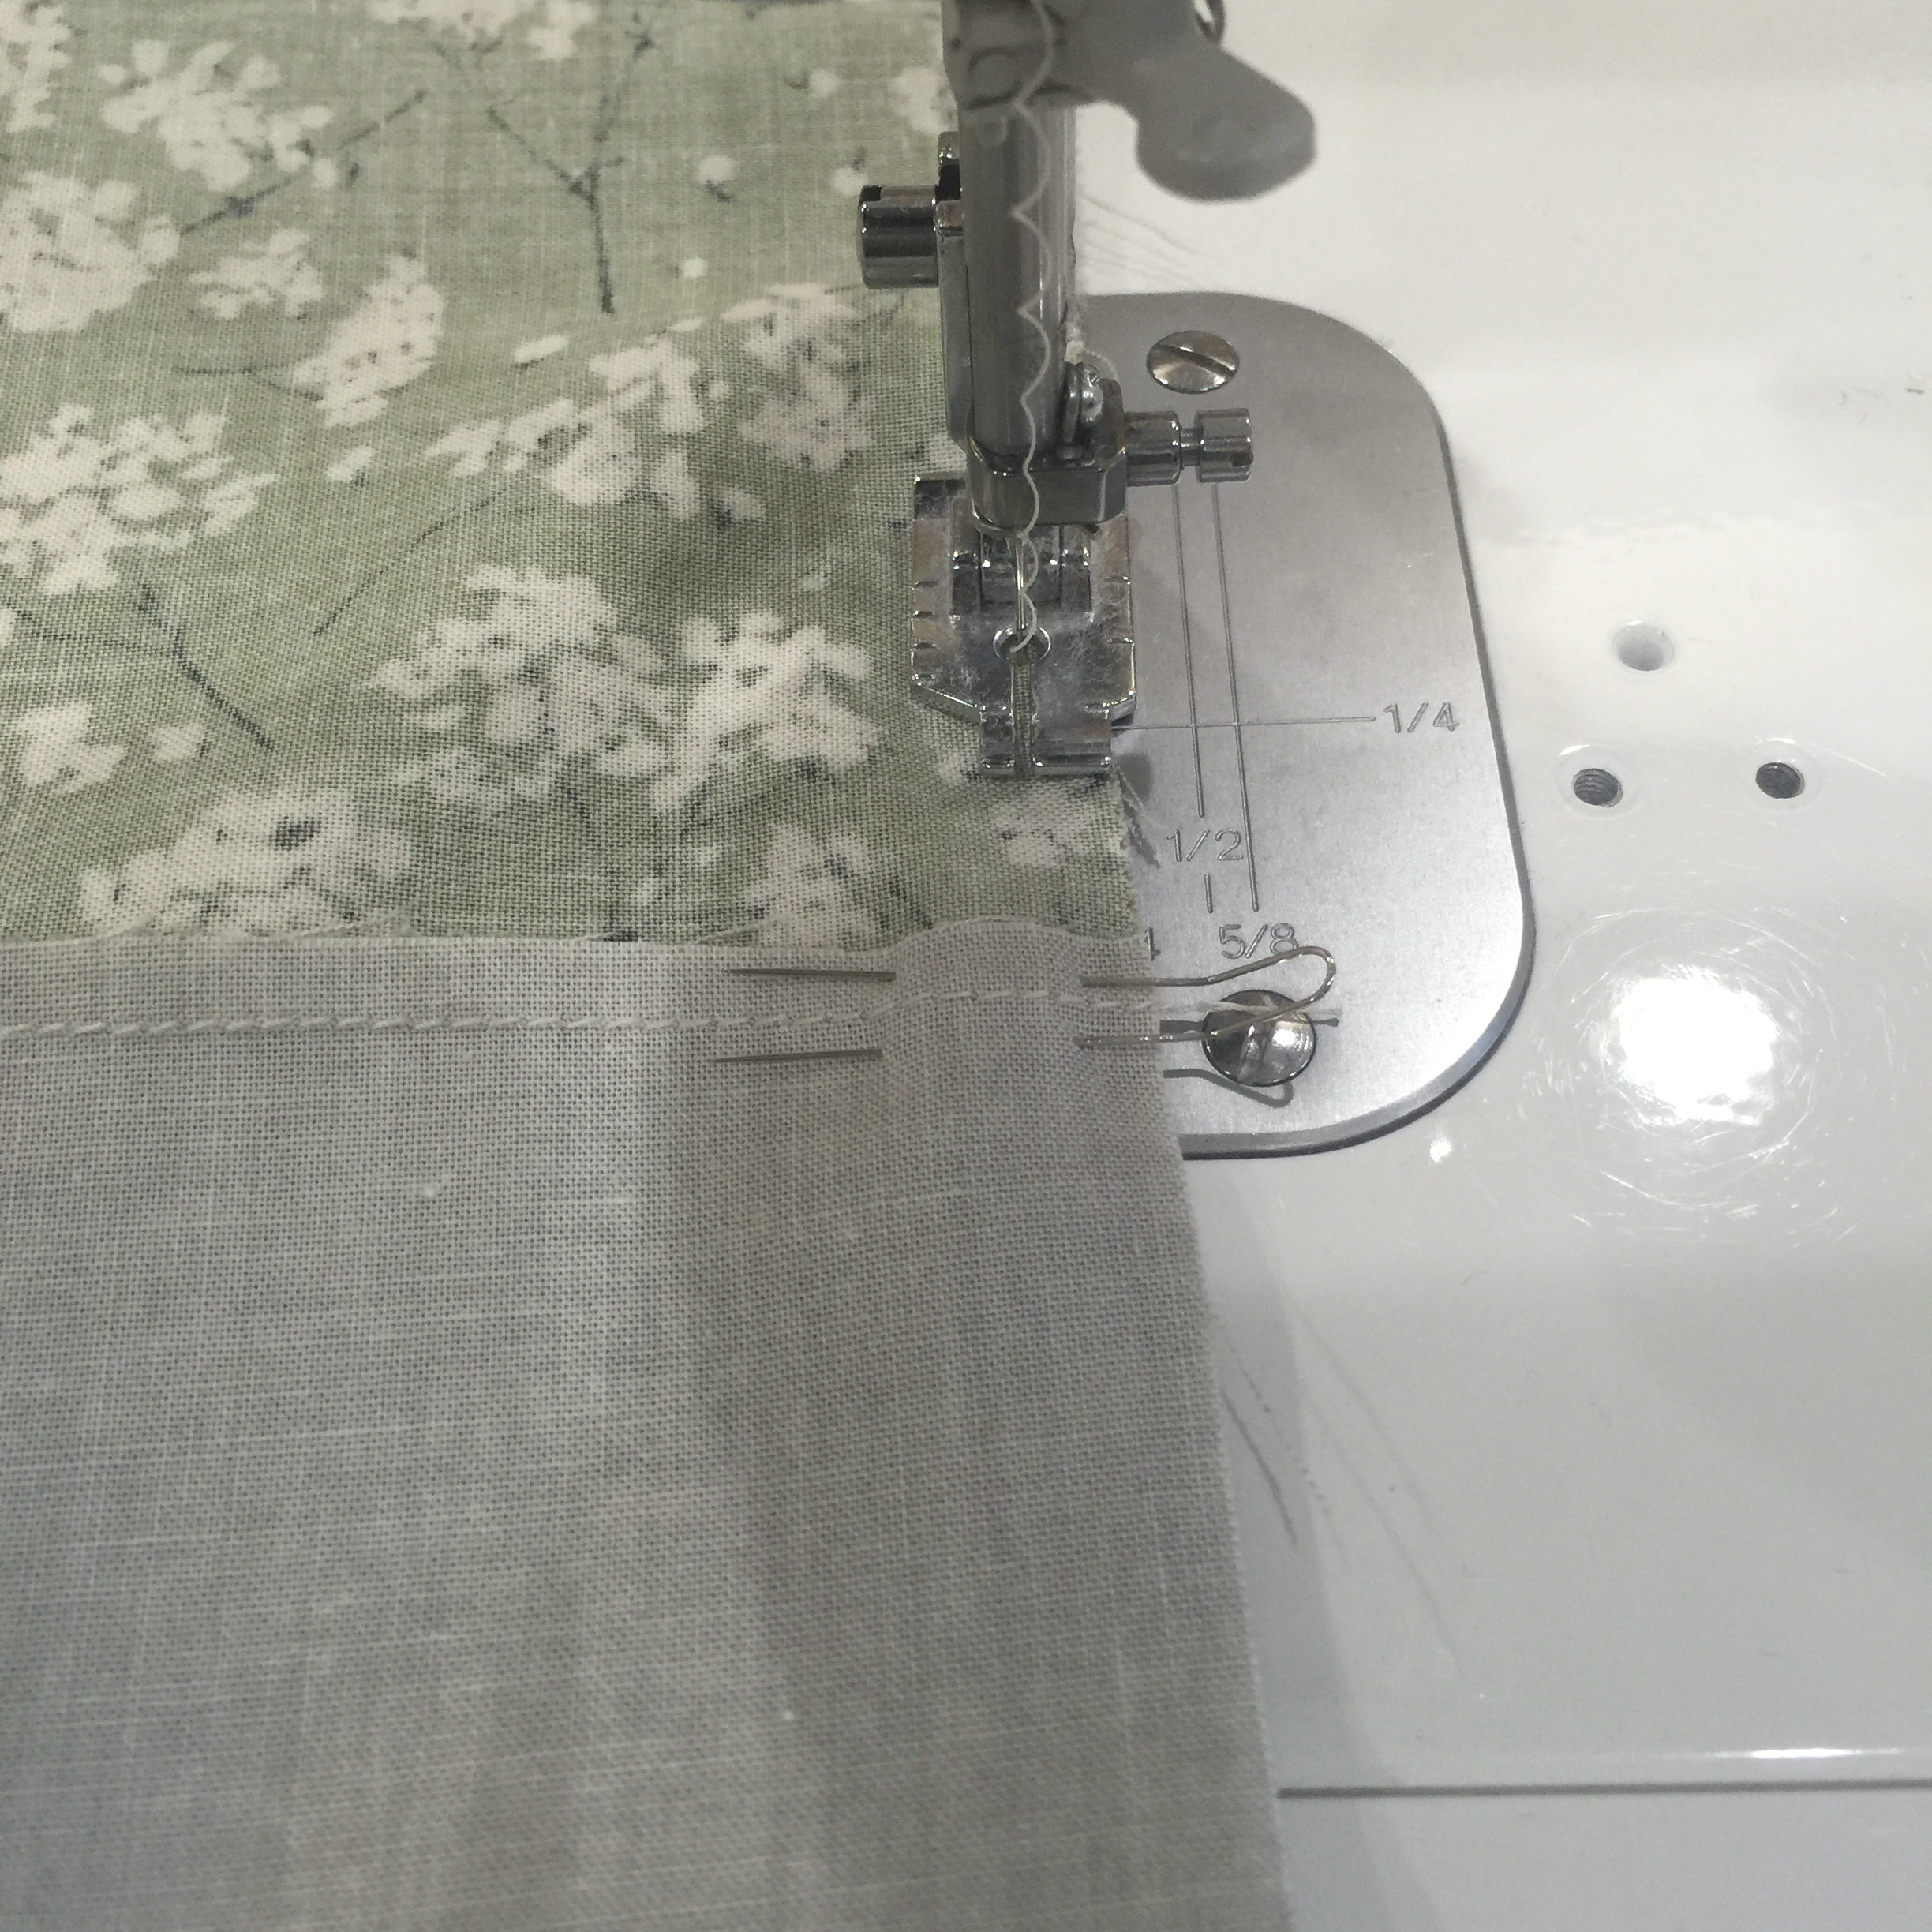
This is assembled in columns. Take your two pieces of 45.5 inch fabric, and sew to either side of a charm to create your first column.
Following the diagram, continue to assemble columns.

Press all the seams on the first column towards the bottom, and all of the seams on the next column towards the top, continuing to alternate. Pinning carefully, nest the seams together and assemble the quilt top. Press seams to one side.

Piece your backing, make your quilt sandwich, baste, and quilt as desired. Cut 10 binding strips to your preferred width, and bind.
As I said before, I wanted to do take advantage of all the negative space on the quilt to do some free motion quilting.
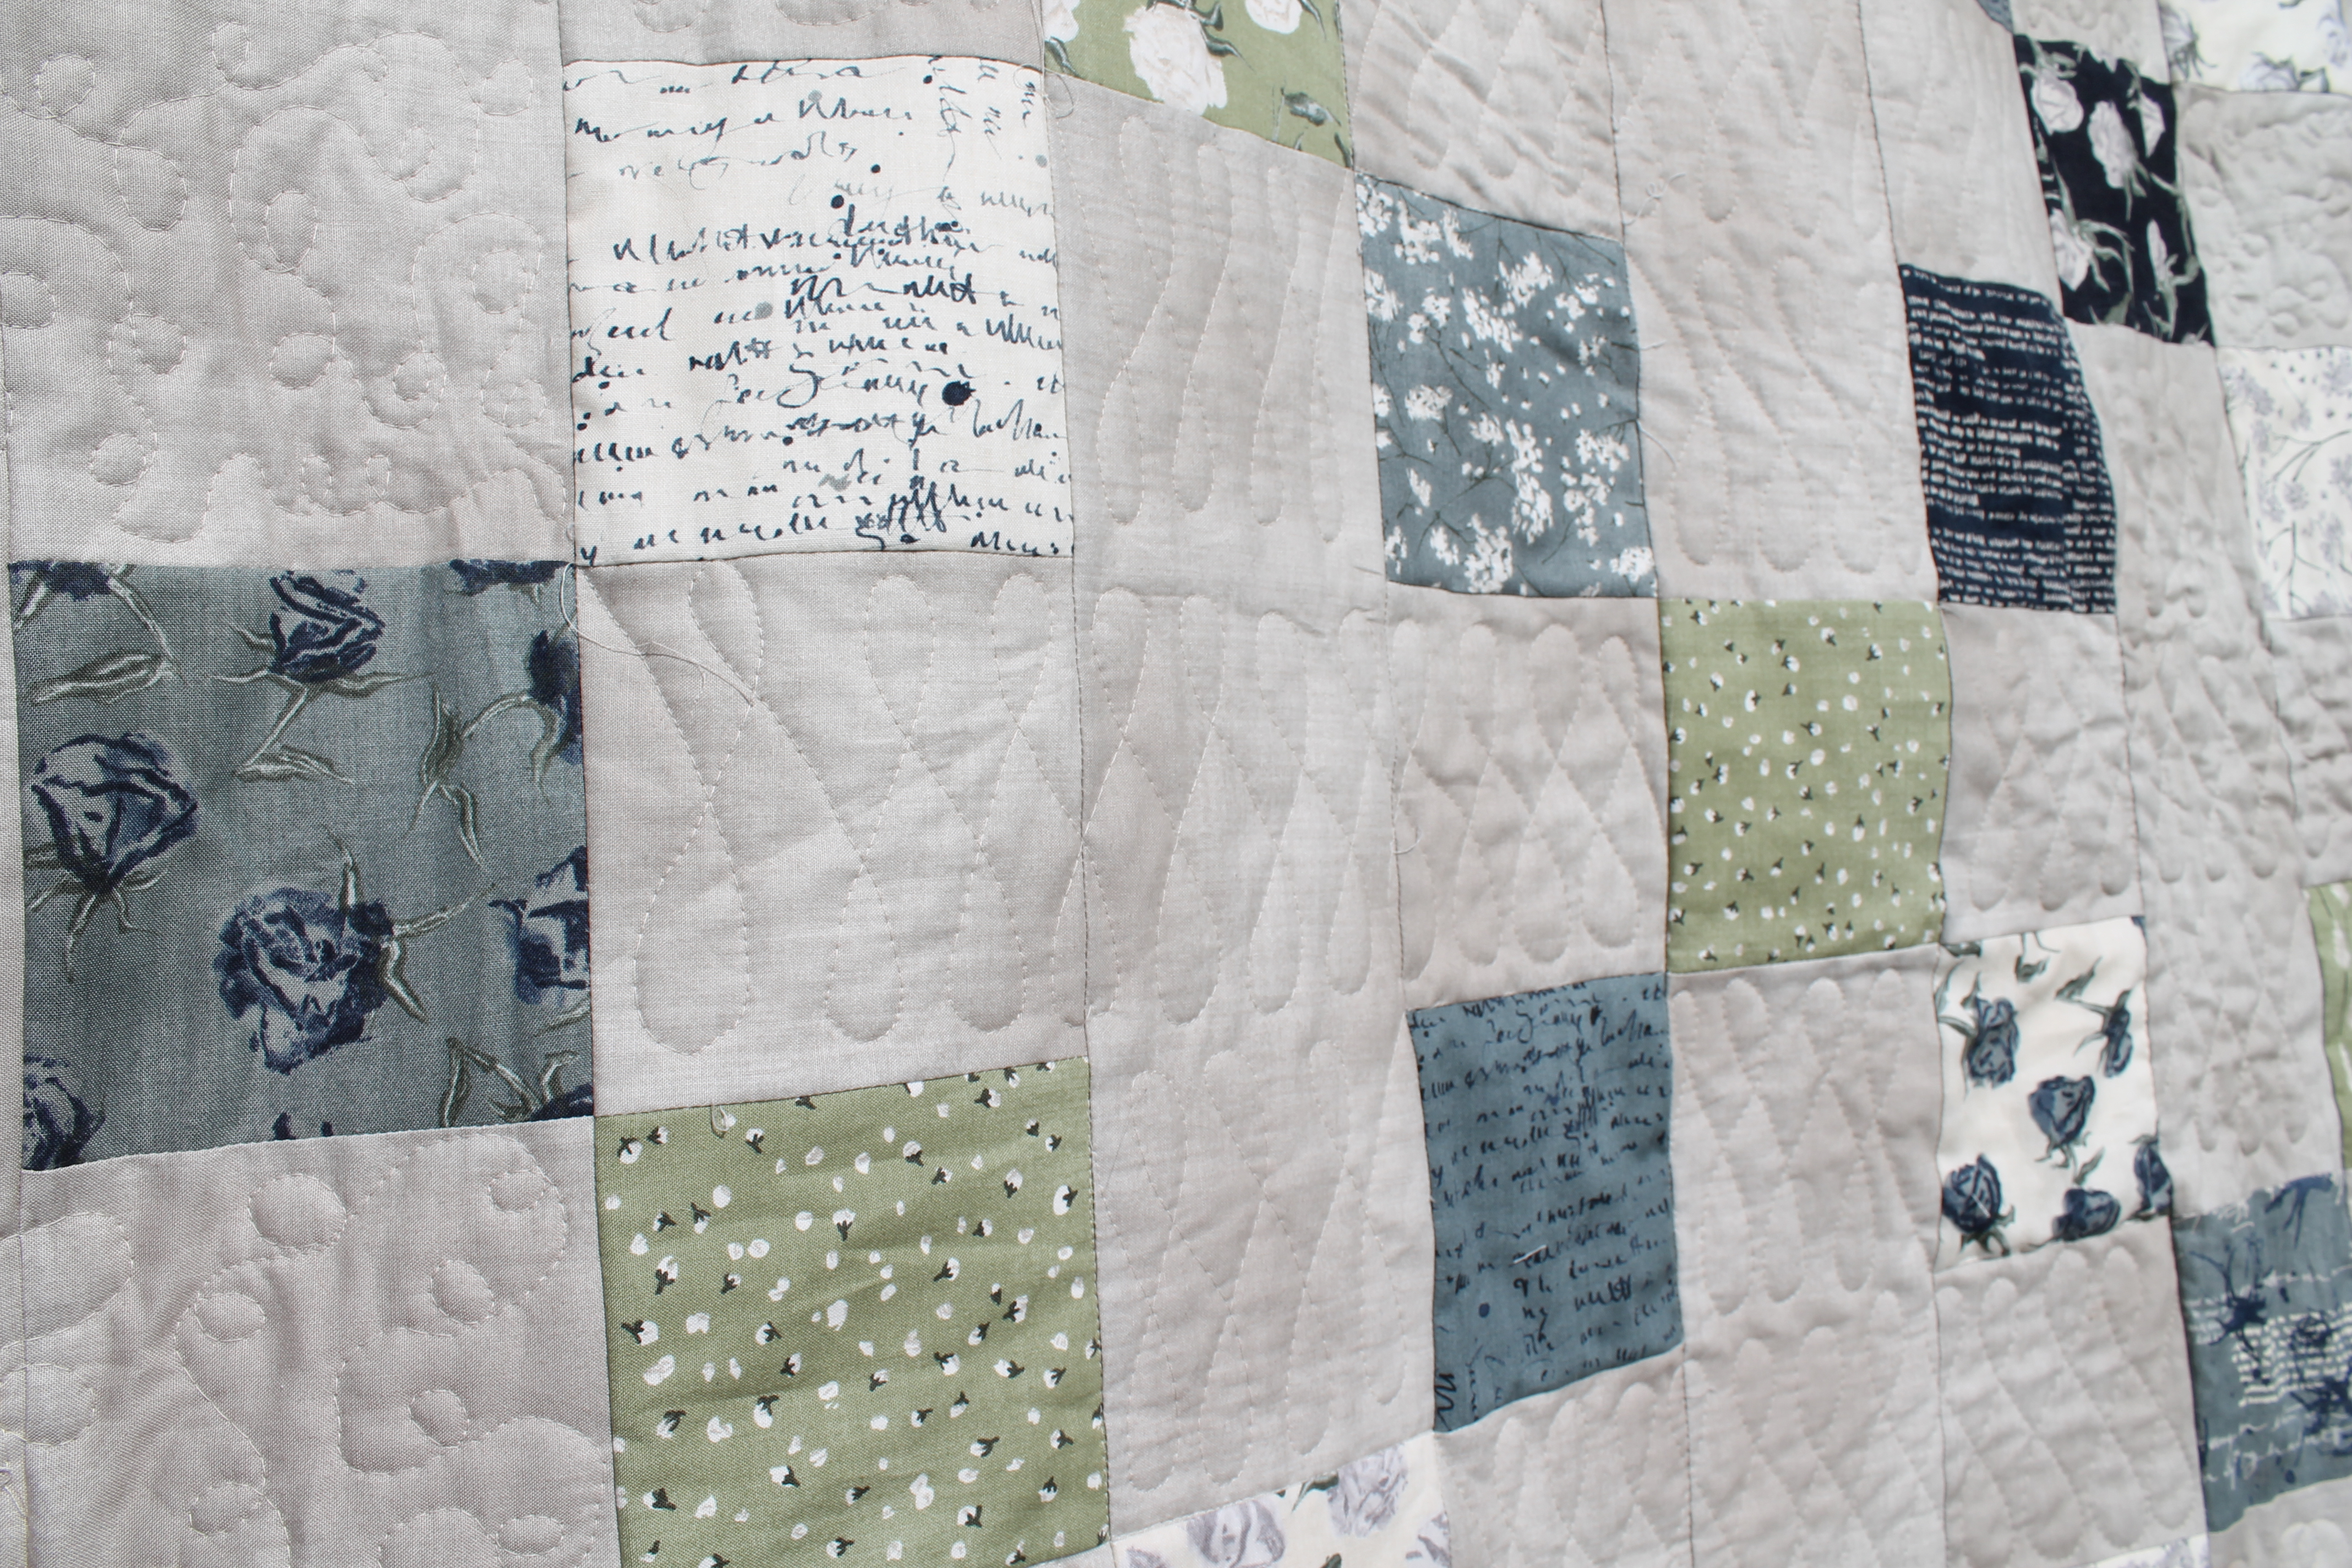
I did a looping stipple in the heart shapes, and a stretched figure 8 in the crosses in the center.
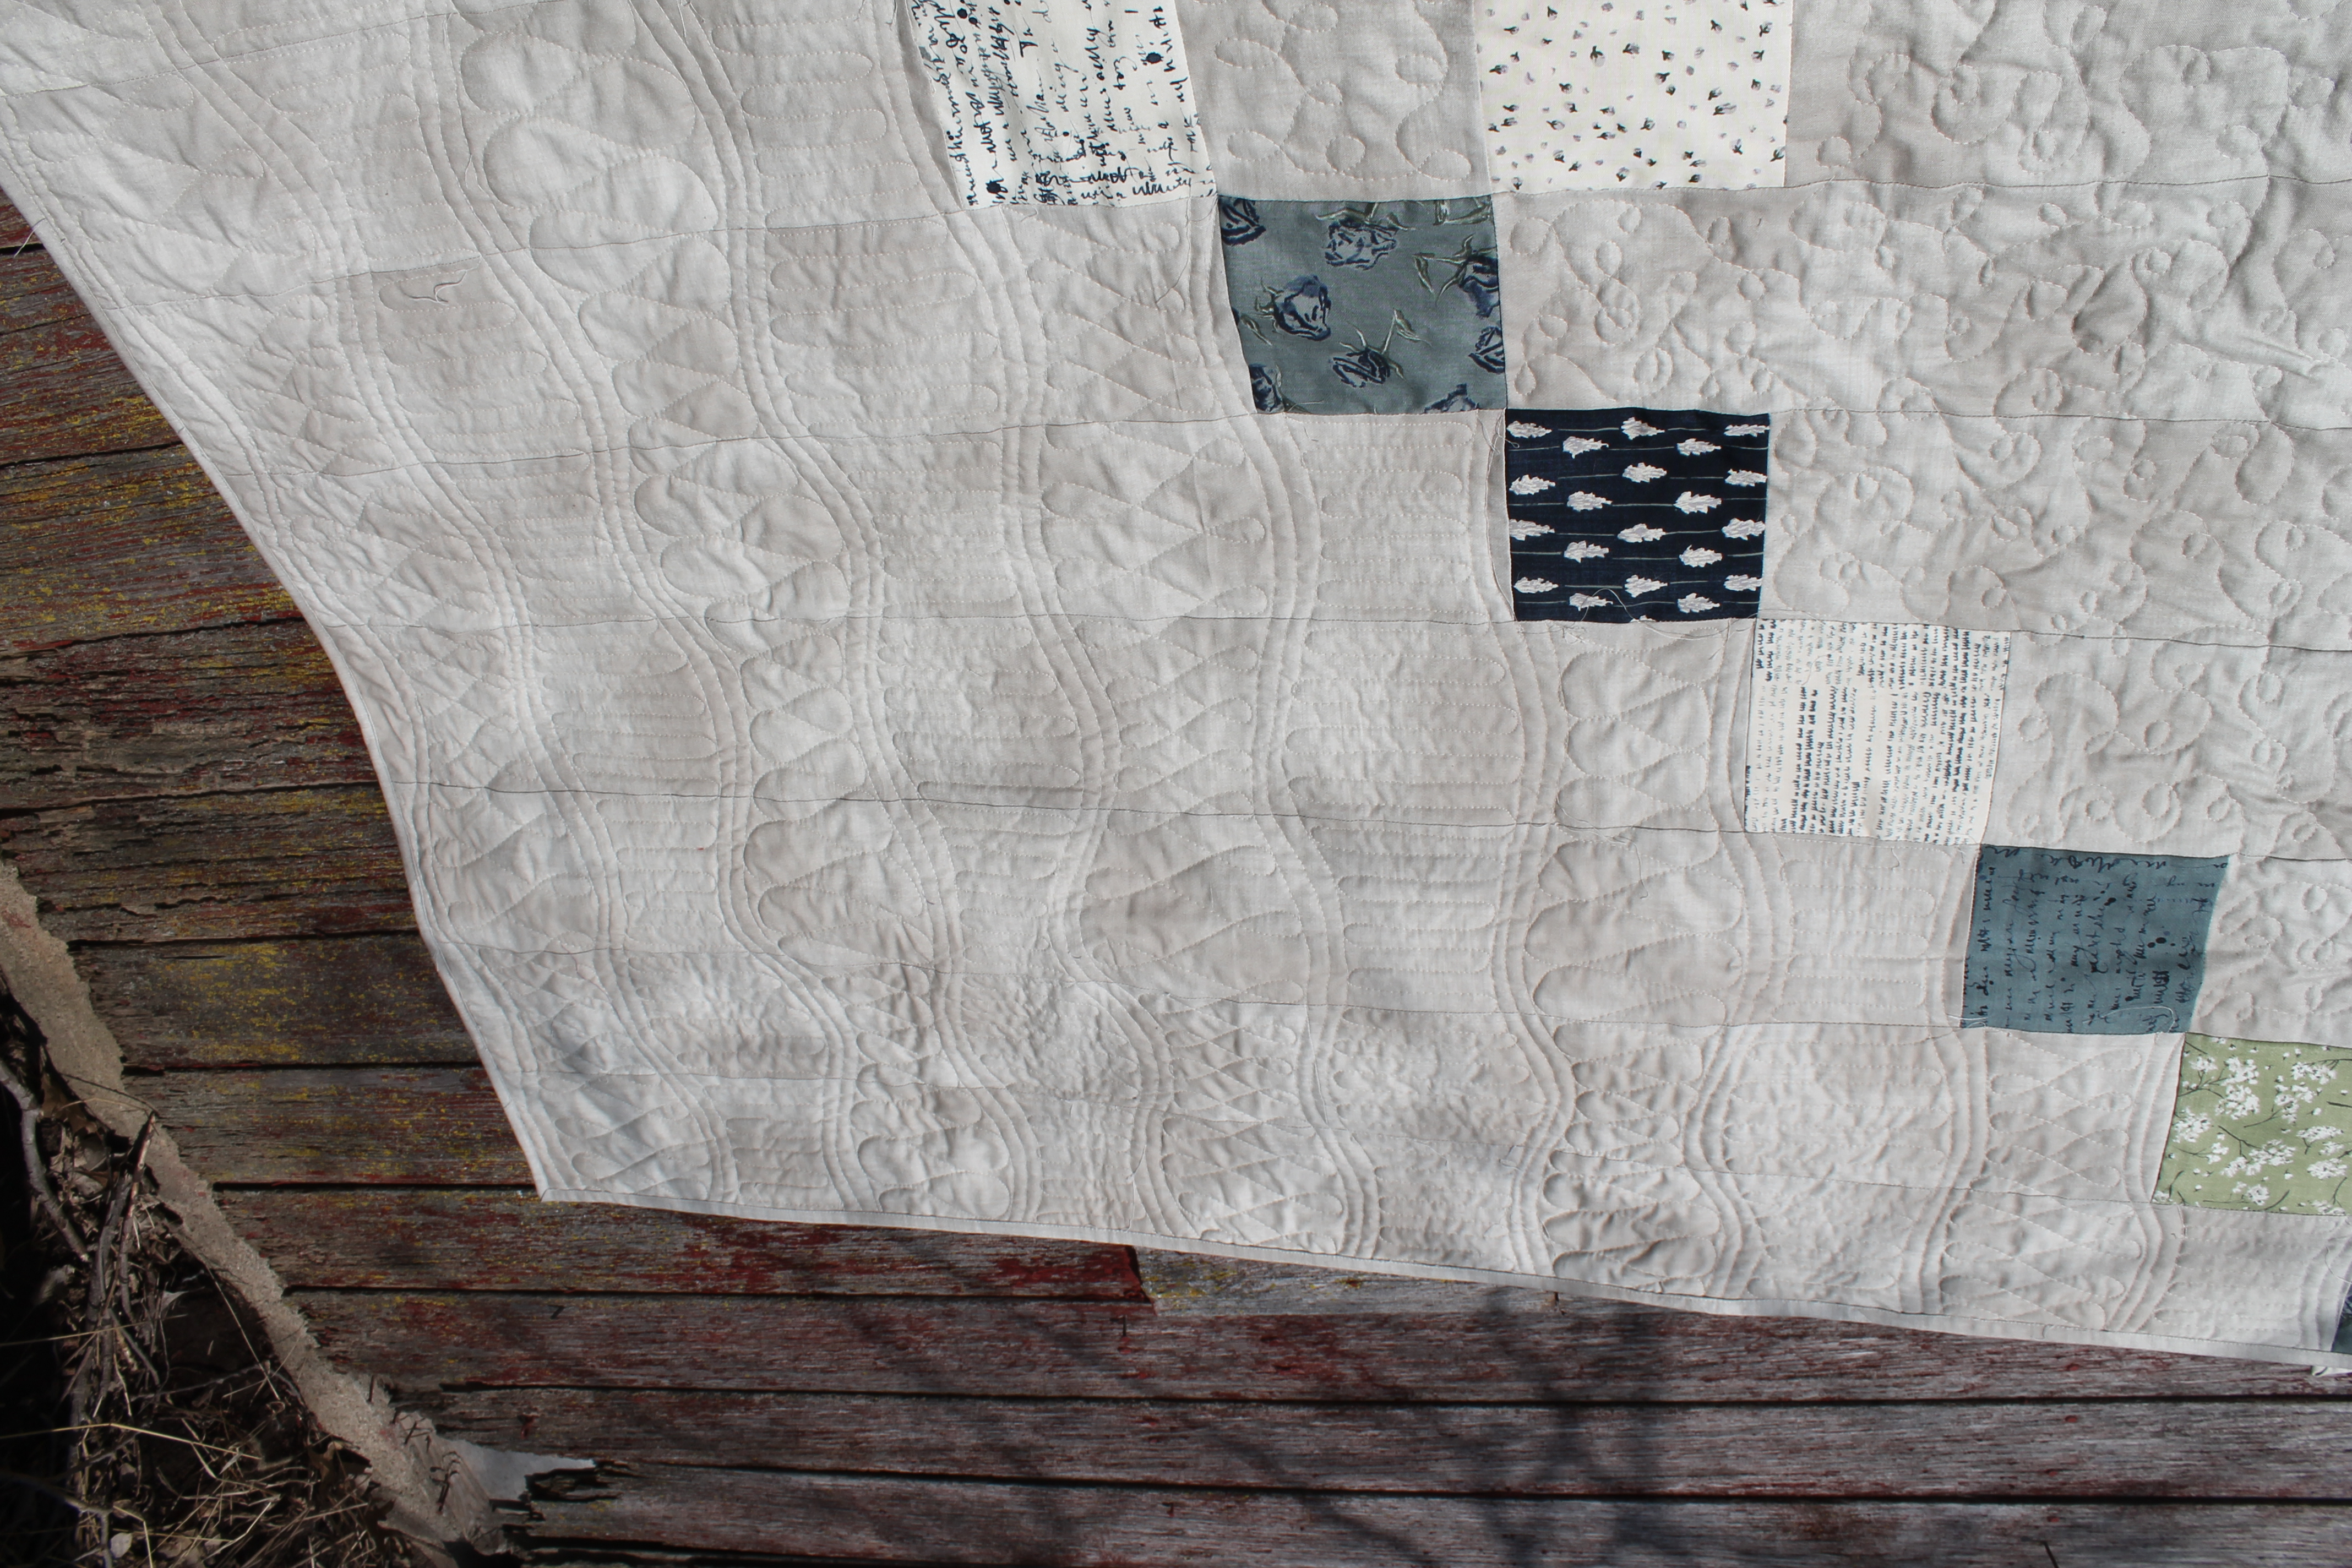
I left all of the charm squares without quilting, to highlight the wonderful design of the fabrics. In the corners, an alternating pattern keeps things interesting.
![]()
This quilt finishes at 95" square.
Brenna Goode
{quiltingintheheartland.blogspot.com}
![]()
Posted in: