Warehouse Closed On July 4th
Cookies for Santa Place Mat
Cookies for Santa Place Mat
Published:
May 27 2016 - 23:00


Welcome Santa to your house with a plateful of cookies (and maybe a carrot for Rudolph)! He'll easily find your treats on this colorful patchwork place mat with a self-binding back.
The finished place mat measures 12½" x 17".

![]()
1 Charm Pack OR 1 Moda Candy plus a 4½" square of light coordinating fabric {JOL by Wenche Wolff Hatling}
½ yard binding/backing fabric {JOL 39704-16}
Fusible fleece
Lightweight interfacing
Marking pen/pencil
Needle and thread for embroidery
Embroidery transfer (in the Printer Friendly Version at the bottom of this post) or make your own using a favorite font
![]()
From the interfacing, cut one 21" x 15" rectangle.
From the fusible fleece, cut one 12" x 17½" rectangle.
From the binding/backing fabric, cut one 15" x 20½" rectangle
From the charm pack, fussy cut your favorite prints into (35) 2½" squares. Trim one charm square down to a 4½" square.
Patchwork Front
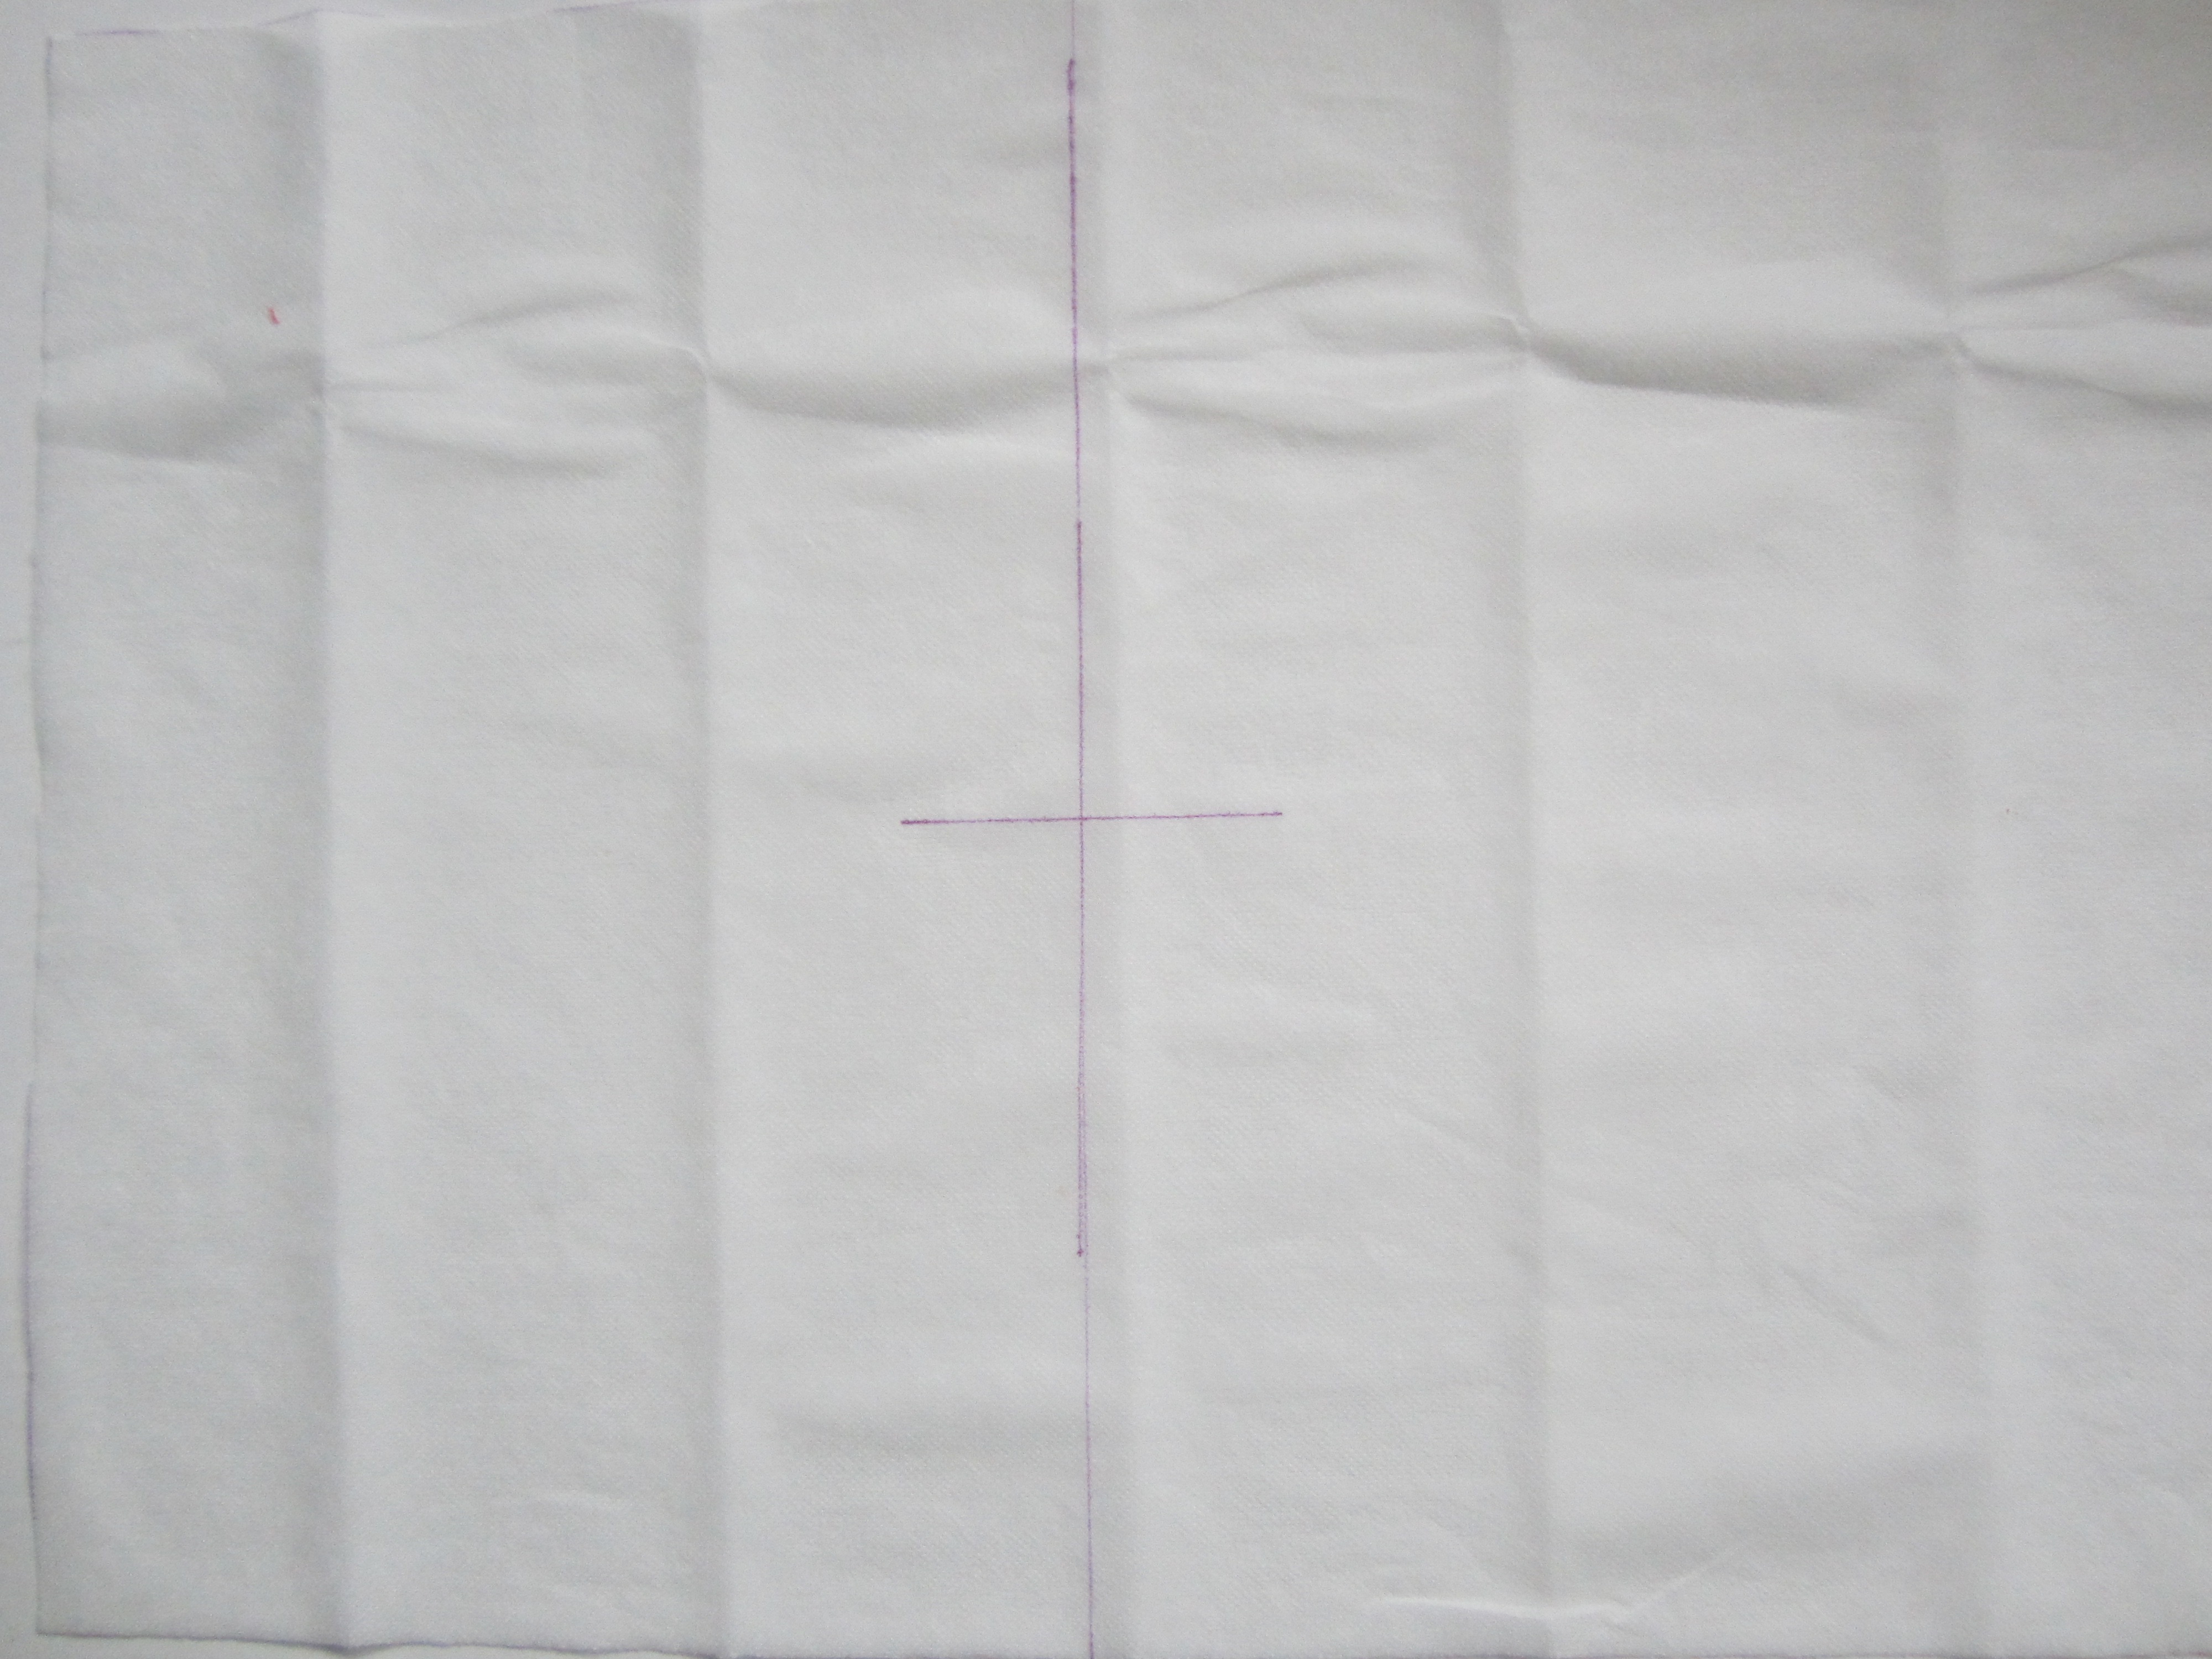
Draw a center line on the "bumpy" side of the lightweight interfacing. This will help to line up the squares neatly.
Arrange the squares next to each other ~ 7 across and 5 up.

When you are satisfied with your design, press squares onto interfacing with a wool/steam setting.
Beginning horizontally, fold the first row right sides together; press down with your hand making sure that the edges are even. Sew a 1/4" seam along the fold.

Repeat for the remaining five rows.
Lightly iron the seams to the right.

Begin the same process for the vertical rows.
When you have finished, the back of your design should look like this:

Trim the patchwork piece to 12" x 17½".
Iron a scrap of lightweight interfacing to the back of the 4½" square of fabric. Print the embroidery text and transfer to the fabric. Embroider using a simple back stitch. Applique the square onto the patchwork using needle turn or raw edge, using the photos as a placement guide. This would be a good spot to add some charm with a decorative hand stitch around the edge of the embroidered square.

Self-Binding Back
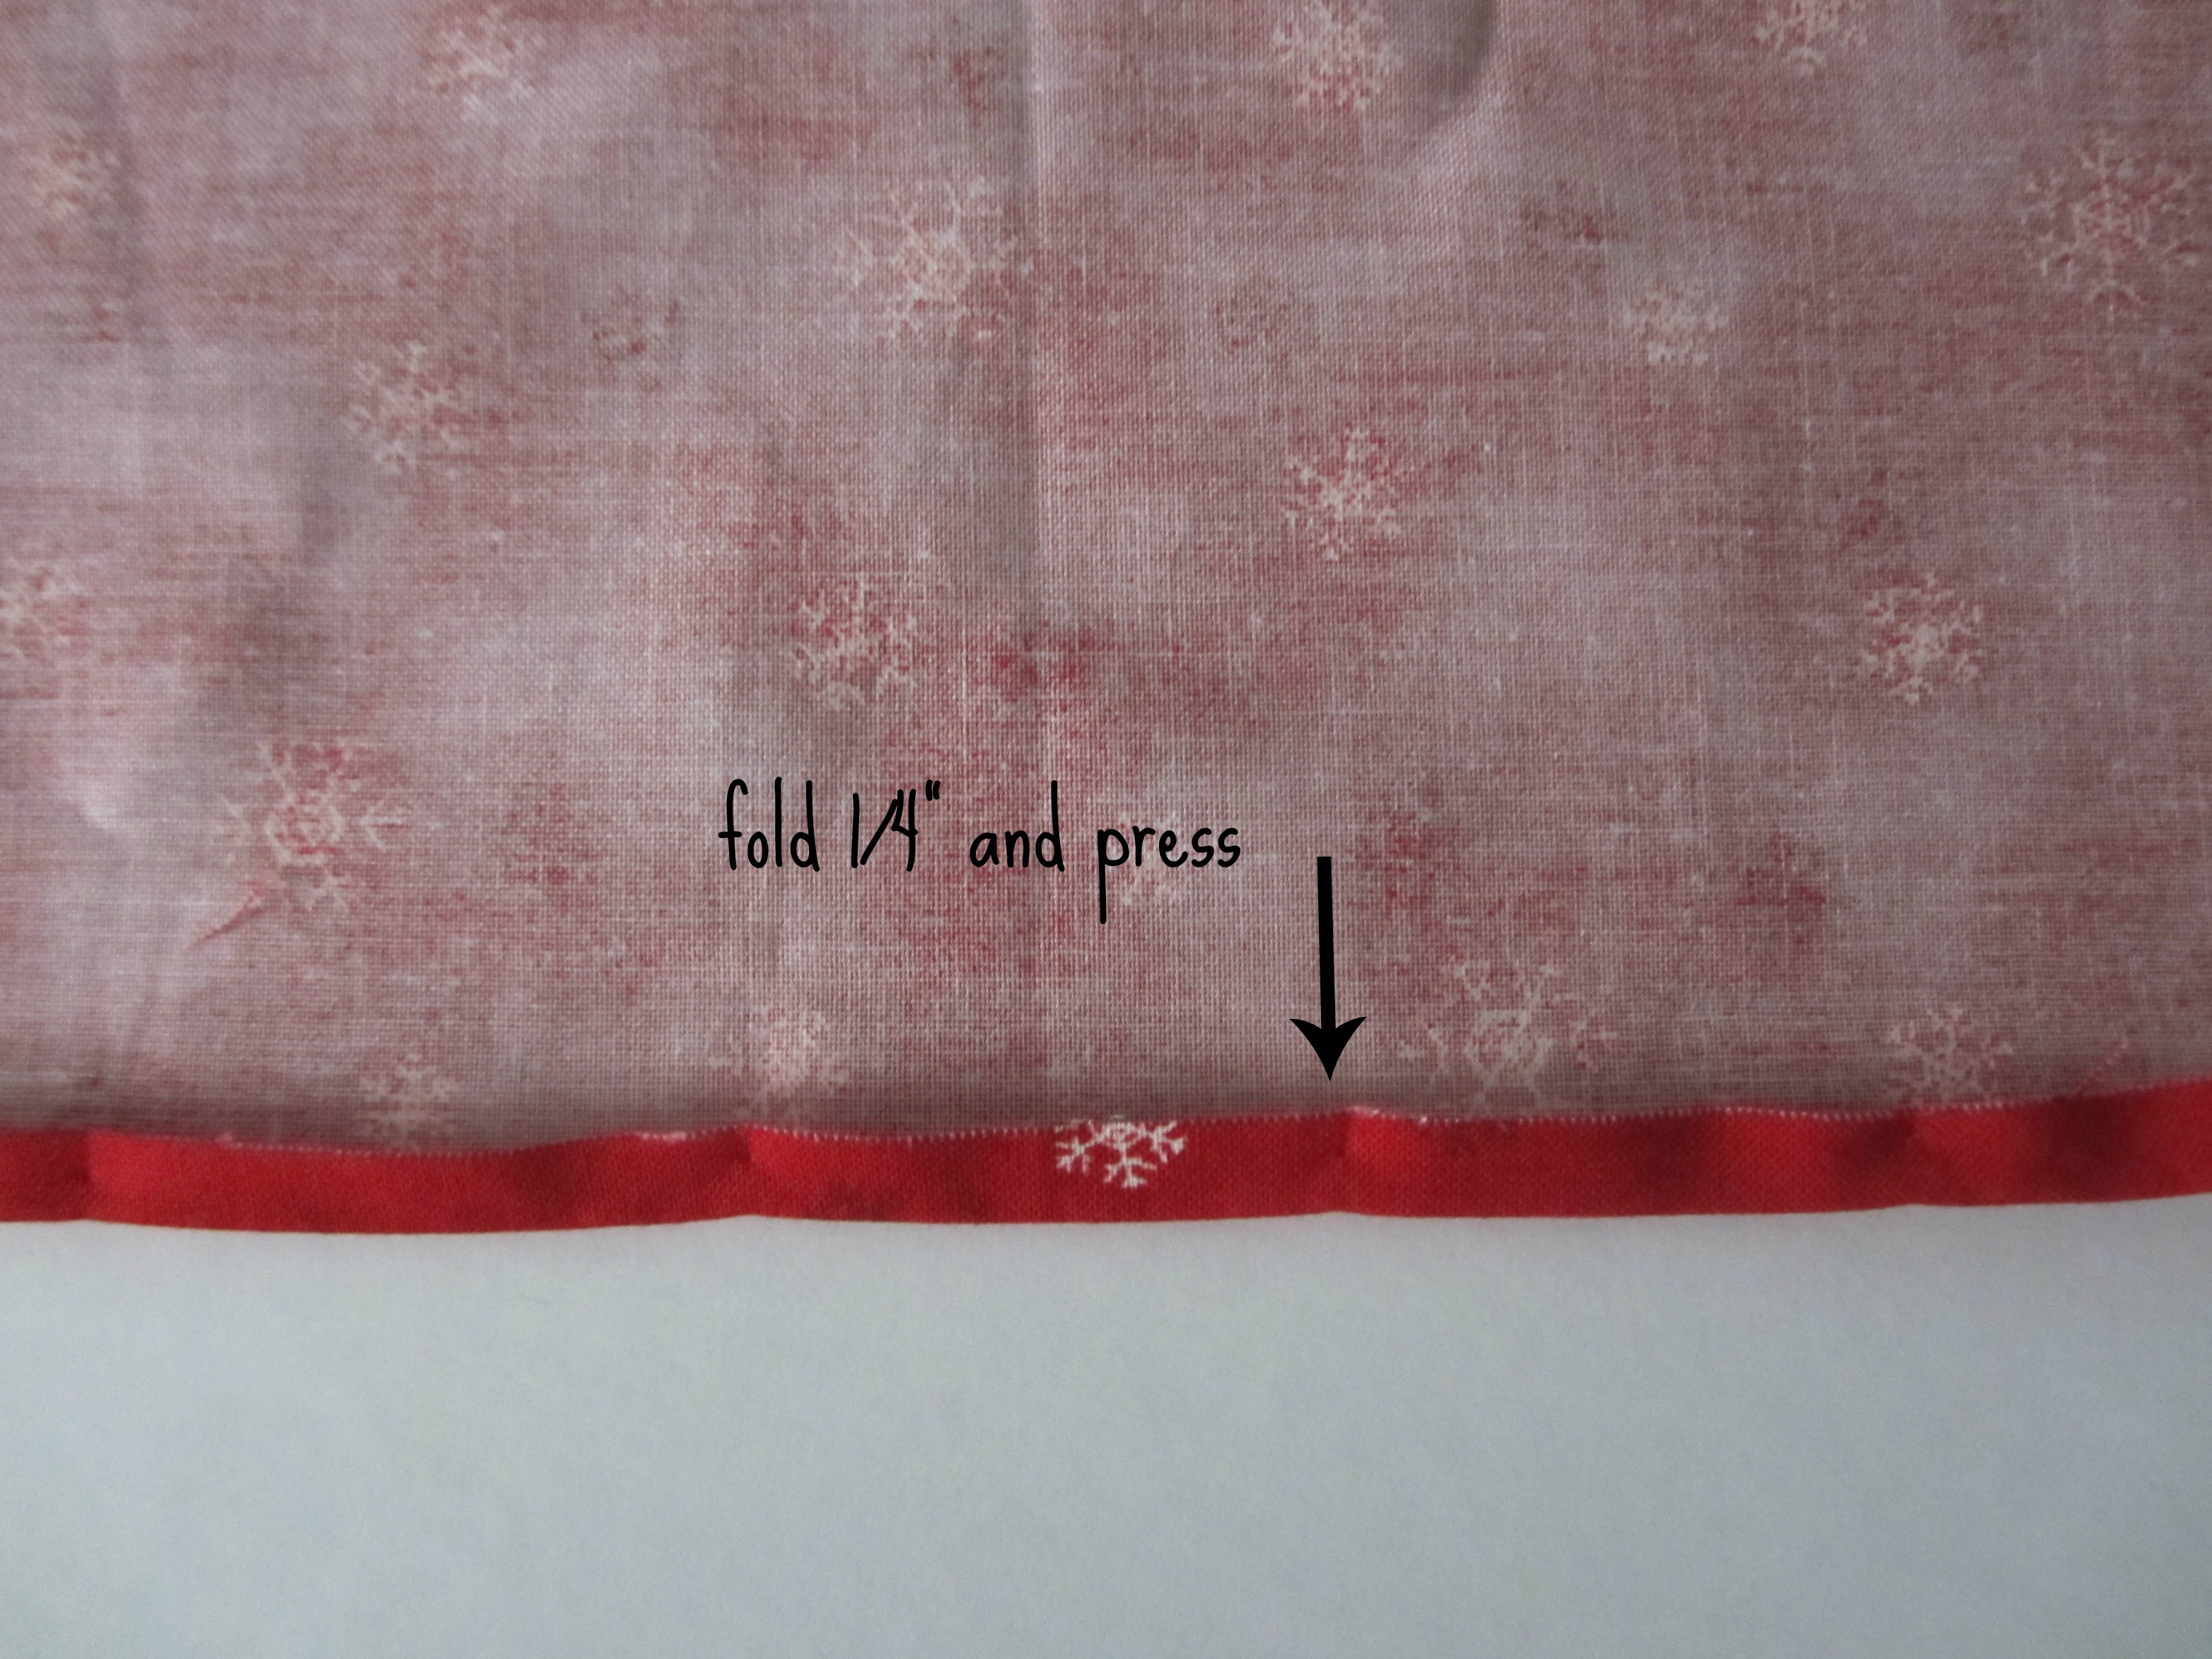
Press a ¼" hem around the entire 15" x 20½" backing fabric.
Fold again 1" on all sides.

Unfold just the 1" fold, and measure 2" from each corner to create mitered corners. Mark as shown.


Fold corners right-side together ~ be sure edges are even. Draw a line; sew along the line. Trim close to stitching.


Push out the corners, and repress the 1" hem on all four sides.
Insert your patchwork piece into the "frame."
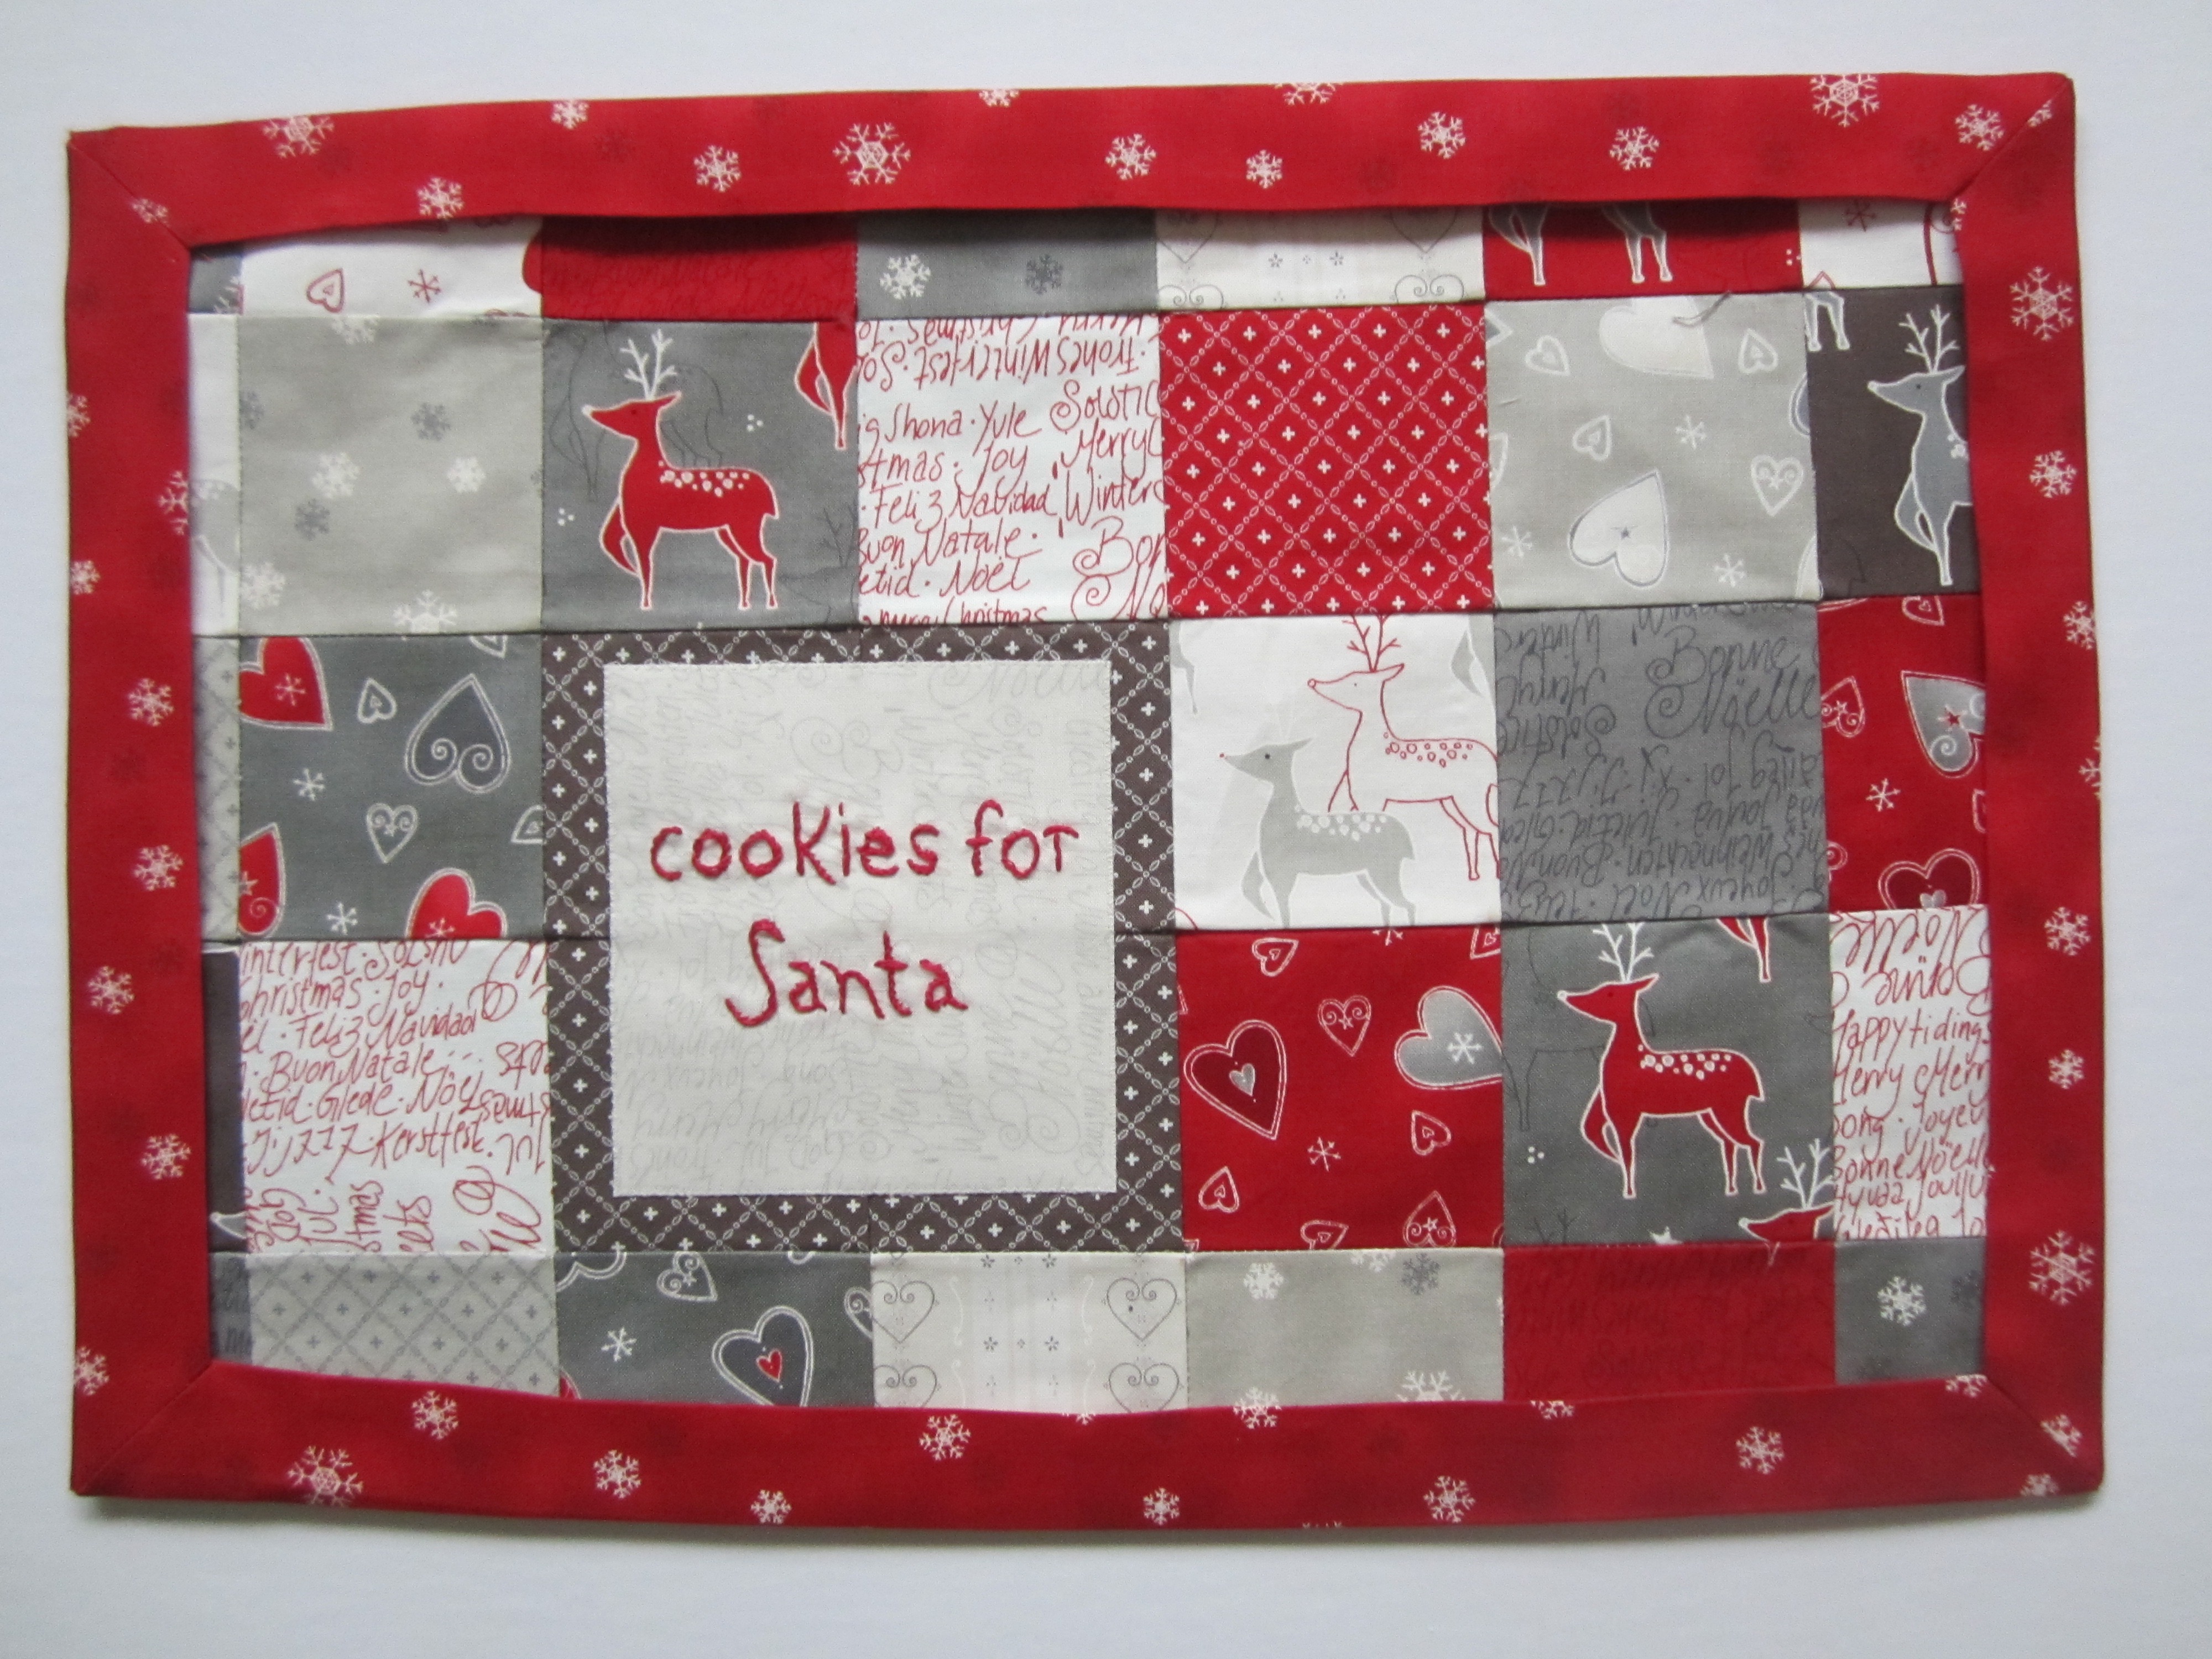
Machine stitch or again add some charm with a decorative stitch along the binding edge and your place mat is finished!
Patricia Candee
co-blogger with my daughter Kendra at {sweetmagnoliaway.blogspot.com}
![]()
Posted in: