Warehouses Closed June 6-13 For Exclusive Event
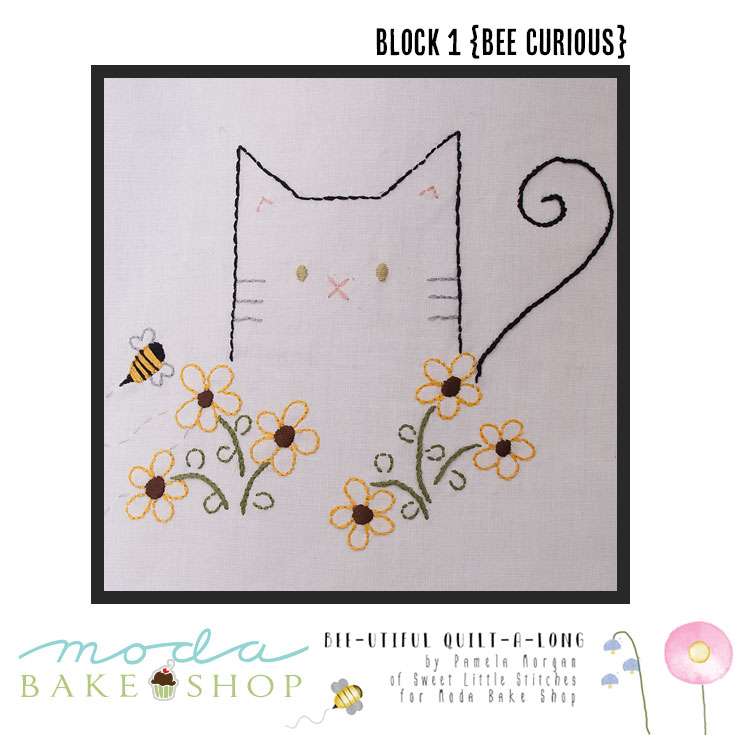
Bee-utiful Quilt-a-long {Block 1 - Bee Curious}
Bee-utiful Quilt-a-long {Block 1 - Bee Curious}
Published:
Jun 9 2016 - 23:00

NOTE: This quilt-a-long has wrapped up. If you are looking for the full set of embroidery patterns and quilt assembly instructions, please visit the final post {here}.
Hello there! Since I'm a new Moda Bake Shop Chef, I'd like to introduce myself. I'm Pamela Morgan from Sweet Little Stitches. I'm the designer of the Bee-utiful Quilt-a-long for the Summer Sewing Camp.
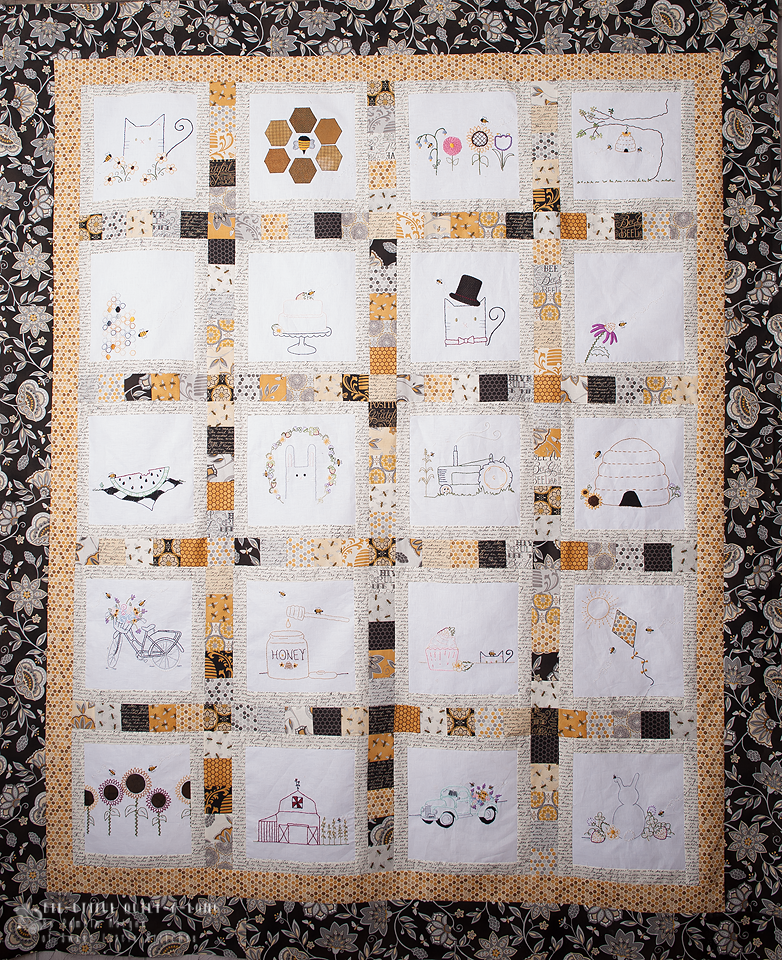
The quilt-a-long features twenty of my original embroidery designs, and each block has one (or more) adorable little bee!


The best part about this quilt is that it's charm pack friendly. I also have a "thing" for designing custom labels for every quilt I make, and this one is no different.
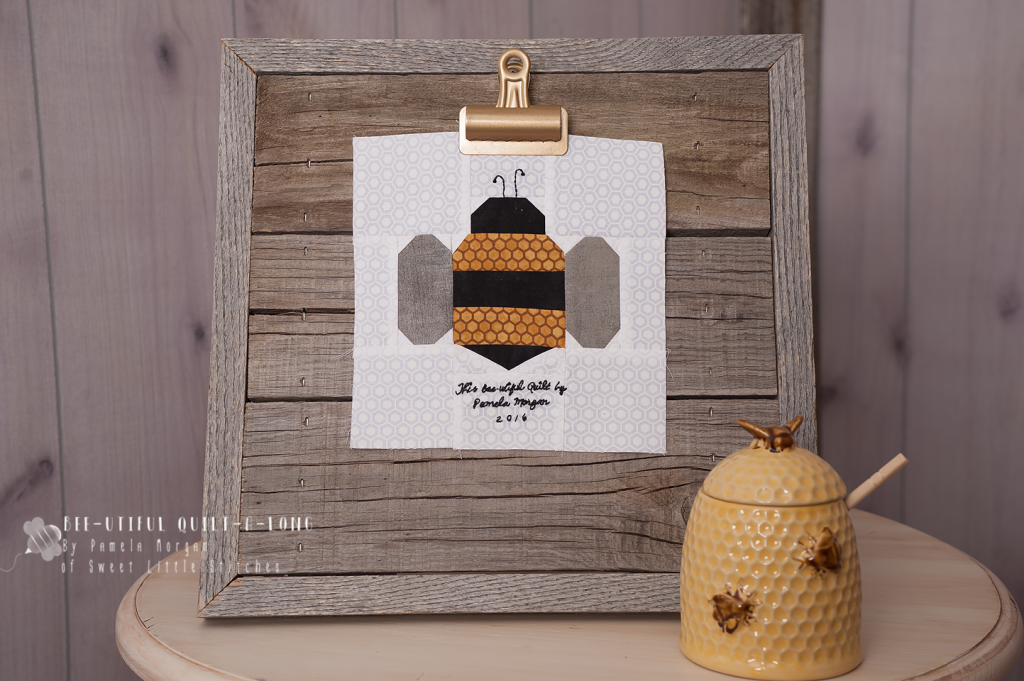
This time, I've designed an adorable paper-pieced bee. If you're unfamiliar with embroidery or paper-piecing, never fear! I'll guide you along, every step of the way with easy-to-follow video tutorials (The video for block one is at the end of this post), and I've created a special Facebook group as well, where you can feel free to ask questions and share your work!
So, shall we get started?
The Bee-utiful quilt finishes at 58" x 70". Each block measures 10" finished.
![]()
{for the quilt}
1 5/8 yd Bleached White Bella Solid (For embroidery foundation)
1 charm pack or 4 mini charm packs (I used Bee Creative by Deb Strain) (sashing)
1 yd cream handwriting print (Block border)
½ yard tonal honeycomb print (inner border)
1 1/4 yd large black floral (outer border)
4 yards backing fabric
5/8 yd Black Bella Solid (binding)
Various colors six-strand embroidery floss
Small scraps coordinating hand-dyed wool or coordinating cotton scraps for appliqué (optional)
4" and 5" embroidery hoop
Stabilizer (optional)
![]()
CUTTING
For now, we'll just be cutting our embroidery foundation. So, you can set everything else aside. Take your white Bella Solid and cut 5 strips 10½" x WOF. Now, cut each of those strips into (4) 10½" squares.
Set aside all but one of your foundation squares. For your convenience, I've made each block into its own PDF printable. You can download block one {Bee Curious} here and it is also included in the Printer Friendly Version at the end of this post.

Embroidery
Once you've downloaded and printed the PDF, trace using your desired method. I used this light pad and a FriXion pen (disclaimer: I know of others who've used these for quilting designs and had problems, but I only ever use mine for embroidery and I've never had an issue).
If you go with a darker material, or want to use a stabilizer, I highly recommend these water-soluble, inkjet printable sheets by Sulky. I didn't include these in my tutorial, since I didn't use these for my blocks, but a Google search will pull up lots of good tutorials if you choose to go this route.
Once you've traced your design onto your fabric, follow the instructions included in the PDF file, and if you need help with the stitches, watch my tutorial below:
![]()
One bee-utiful cat! Each block measures 10" finished.
I hope you enjoy making this quilt as much as I have! Come back next week (June 16) for blocks 2 and 3. And, if you're on Instagram, don't forget to follow me @sweetlittlestitches and share your finished block 1 with the hashtags #beeutifulQAL, #beecurious, and #MBSsummersewingcamp!!! I can't wait to see what y'all create!
Pamela Morgan
{mysweetlittlestitches.com}
{QAL Facebook Group}

![]()
Posted in: