Welcome to Moda Fabrics!
Bee-utiful QAL {Block 20 - Bee Friendly} and Wrap-up!
Bee-utiful QAL {Block 20 - Bee Friendly} and Wrap-up!
Published:
Aug 24 2016 - 23:00

Hello quilty friends. I am actually sad to be posting today, because this is the very last block of our bee-utiful QAL. It really has been such a bee-utiful journey, and I am sad to see it end. I made this sweet little video which features some of mine and your favorite blocks from this quilt-a-long. I kept all the blocks fairly simple, so that beginners and experienced stitchers alike could enjoy this project. You'll see from the video that some of our more experienced stitchers took every opportunity to bee creative, and I'm loving the results!
[embed]https://youtu.be/E-LuOpvLD0g[/embed]
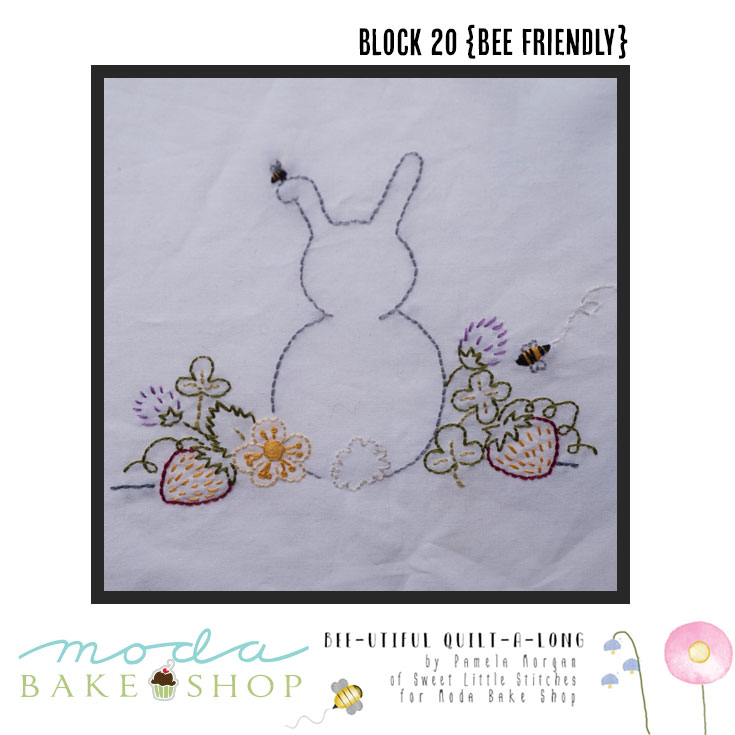
Now, to download the instructions for Block 20 {Bee Friendly}, click {here}.
If you are just discovering this quilt, you can find the instructions for the previous blocks at the end of this post in the Printer Friendly Version or click {here} to explore the posts from the quilt-a-long.
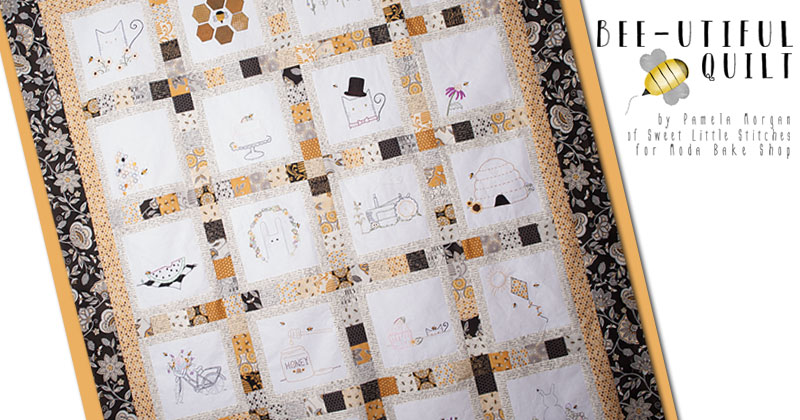
Onto the instructions for putting your bee-utiful quilt together! The Bee-utiful quilt finishes at 58″ x 70″.
![]()
{for the quilt}
1 charm pack or 4 mini charm packs for sashing (Bee Creative by Deb Strain)
1 yd cream handwriting print (block border)
½ yard tonal honeycomb print (inner border)
1¼ yard large black floral (outer border)
4¼ yard backing
⅝ yard binding
![]()
{cutting}
Trim your finished embroidery blocks to 8.5" square. Next, we're going to cut the handwriting print for framing the embroidery blocks. You're going to need 40 - 1.5" x 8.5" rectangles, and 40 - 1.5" x 10.5" rectangles. For me, figuring this step in order to get all of the handwriting facing the correct direction was the hardest part of this quilt! So to make things a little easier on you, I've made this handy-dandy cutting diagram (note: this only applies to this specific print, from Deb Strain's Bee Creative line.)
 Note: This drawing is absolutely, positively not to scale.
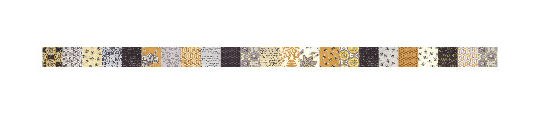
Next, cut your charm squares into four equal parts, like so:
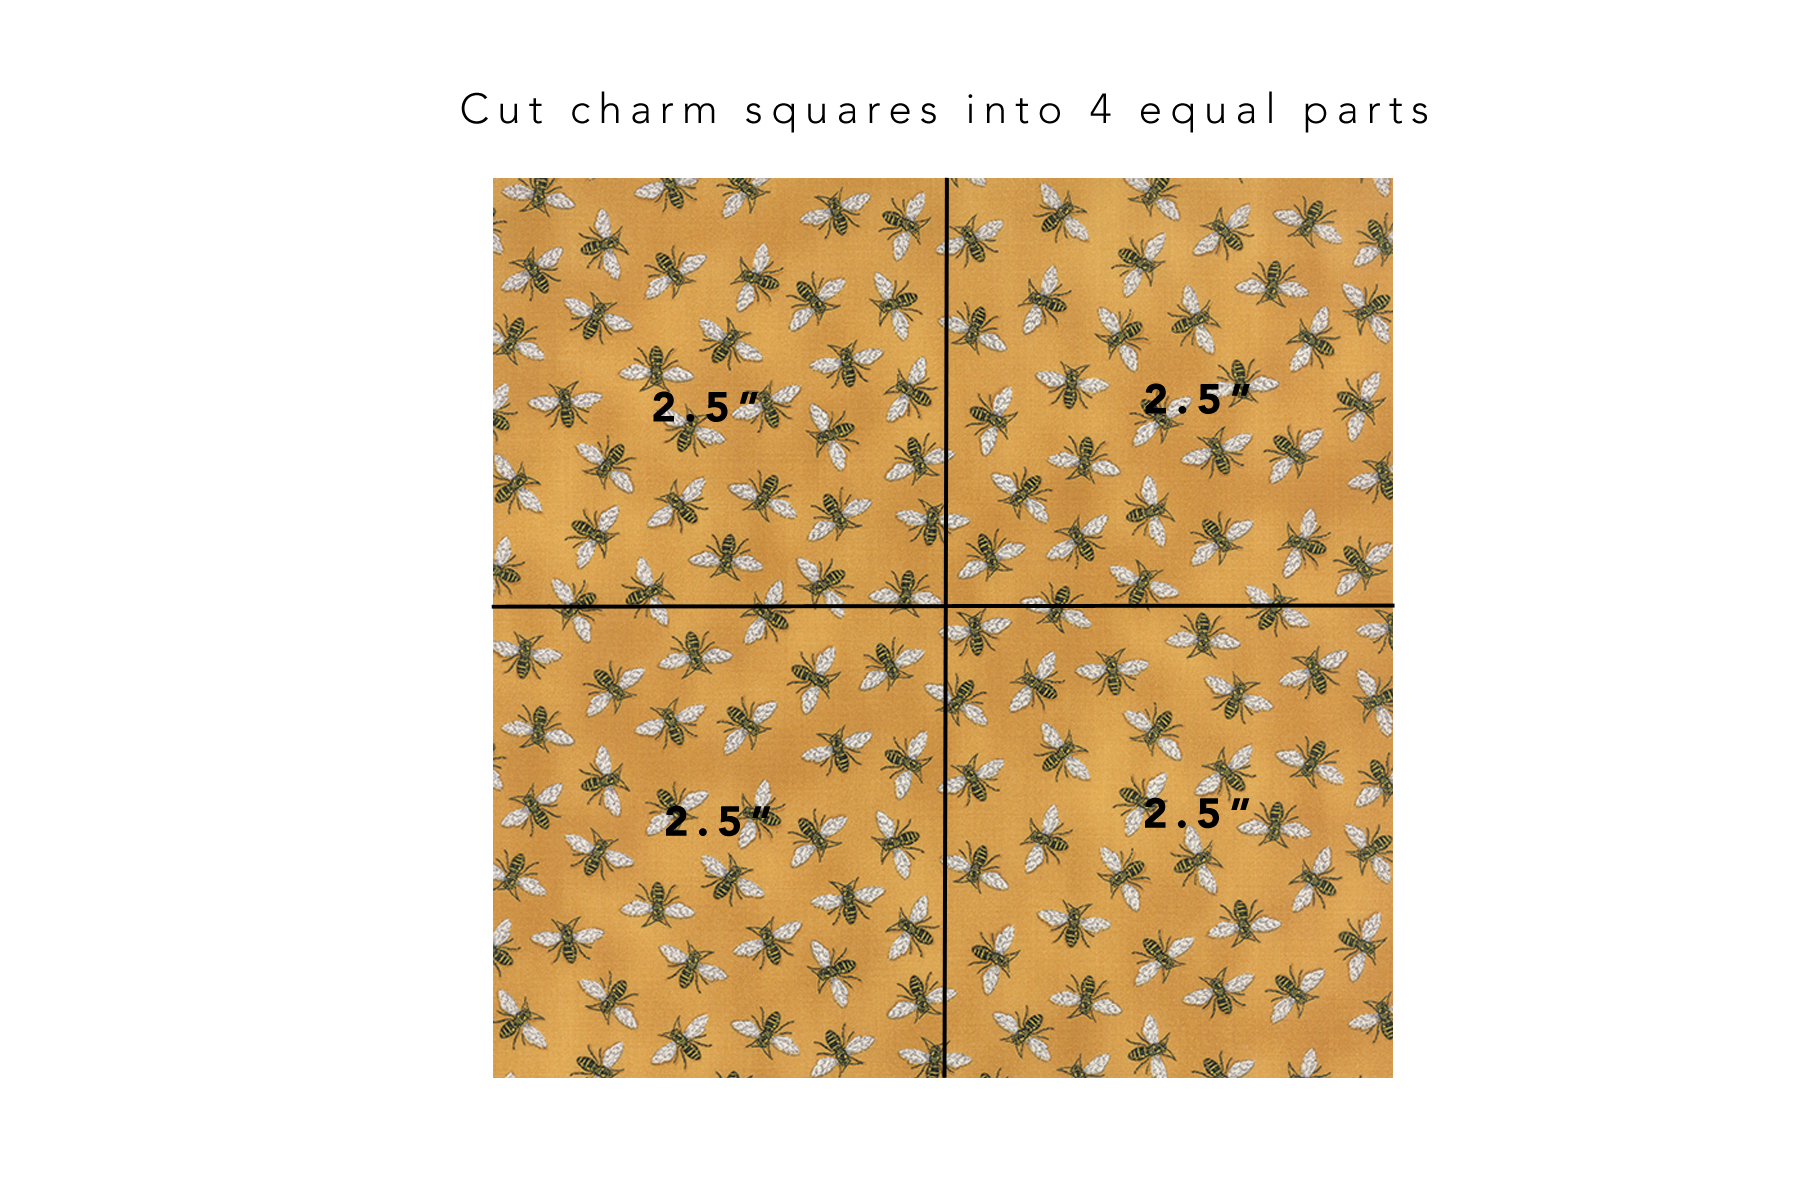
Assuming that your charm pack contains 40 - 5" squares, this will yield 160 - 2.5" squares. You will need a total of 167 squares for the sashing. Not to worry, though, you will have extra of your frame and border fabrics, from which you can cut those extra 7 squares.
From the tonal honeycomb print, cut 6 strips, 2.5" x WOF. From your large black floral, cut 6 strips, 4.25" x WOF. From your leftover material, cut those last 7 - 2.5" squares. Now on to piecing.
{piecing}
All blocks are pieced with a scant 1/4" seam.
Your first step is to frame your embroidered blocks. Sew 2 - 1.5" x 8.5" rectangles to the left and right of each block. Press seams outward (away from embroidery). Then sew 2 - 1.5" x 10.5" rectangles to the top and bottom of each block. Now your blocks are framed. They should measure 10.5" square (unfinished).

Next, choose 5 of the 2.5" squares. Sew together end to end, so you end up with a piece that looks like this:
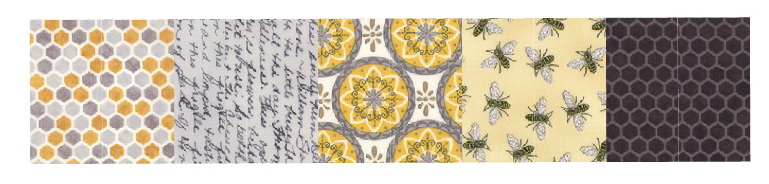 Make 15.
Then, take 23 of the 2.5" and piece them together end to end. You should end up with a strip that looks like this:
 Make 4.
Next, take your 2.5" strips of the tonal honeycomb print. Sew them together, end to end, so that you have one long strip. Subcut the strip into 2 strips, 2.5" x 58.5" and 2 strips, 2.5" x 50.5" (Note: Always measure your quilt for accuracy before cutting border strips, and correct strip lengths accordingly).
Then, sew your 6 - 4.25" strips of black floral print together, end to end, to make one long strip. Subcut this into 2 strips, 4.25" x 62.5" and 2 strips 4.25" x 58" (Again, always measure for accuracy before cutting border strips, and adjust strip lengths accordingly).
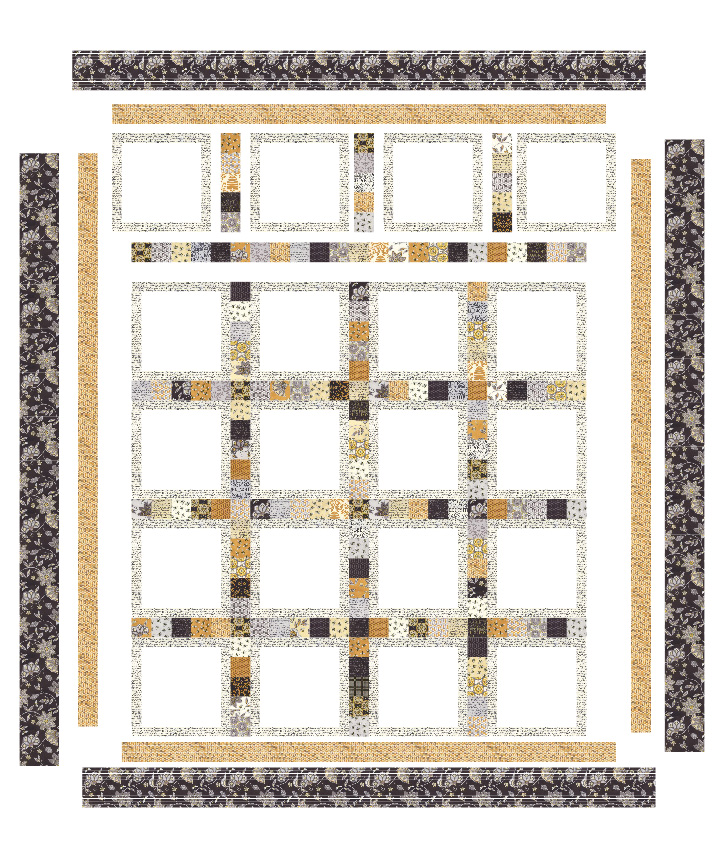
Now piece your rows together. Layout should be 5 rows of four blocks, with sashing in between blocks only. Then add the 4 rows of 23 blocks in between each row. Lastly, add borders, one at a time. Attach the vertical strips of the inner border first, followed by the horizontal. Add the second border, vertical strips first, followed by horizontal.
Layer, baste, and quilt as desired!
![]()
One bee-utiful quilt! The Bee-utiful quilt finishes at 58″ x 70″.

Now pat yourself on the back. You've worked so hard. You earned it!
And stay tuned!!! Next week (August 31), I'll be doing a Moda Bake Shop Basics post on adding labels to your quilt. In that post, I'll share my bonus label block for this quilt and the piecing instructions for the back. Also, make sure you head over to my blog, Sweet Little Stitches, and subscribe! I'll be sharing later this week how I quilted this quilt, and sharing some more goodies!
Thank you so much for participating in this quilt-a-long! I have enjoyed each and every moment!
Happy Stitching!
-Pamela
![]()
Posted in: