Welcome to Moda Fabrics!
Improved 9-Patch Quilt
Improved 9-Patch Quilt
Published:
Aug 8 2016 - 23:00
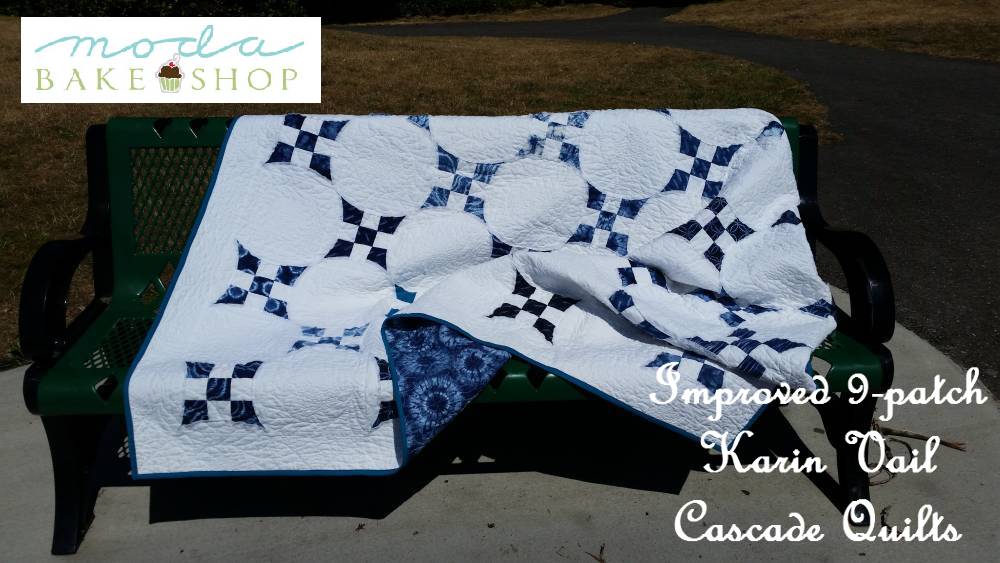

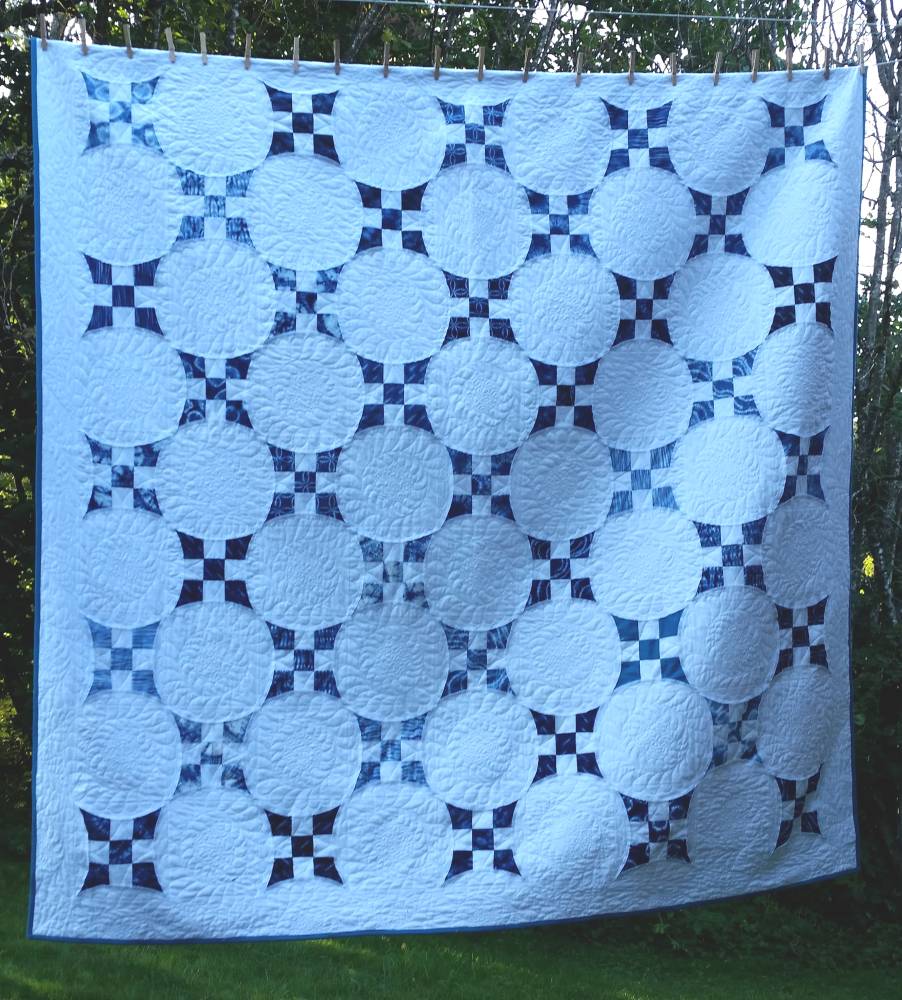
I adore curved pieced quilts, but don't enjoy the tedious sewing of the curved blocks. So, I decided to create a pattern for this traditional block using raw-edge applique. Raw-edge applique is so much easier than curved piecing and when the curved raw edges are washed, they have a wonderful soft texture which makes them instantly look vintage.
This quilt finishes at 84" x 84".
![]()
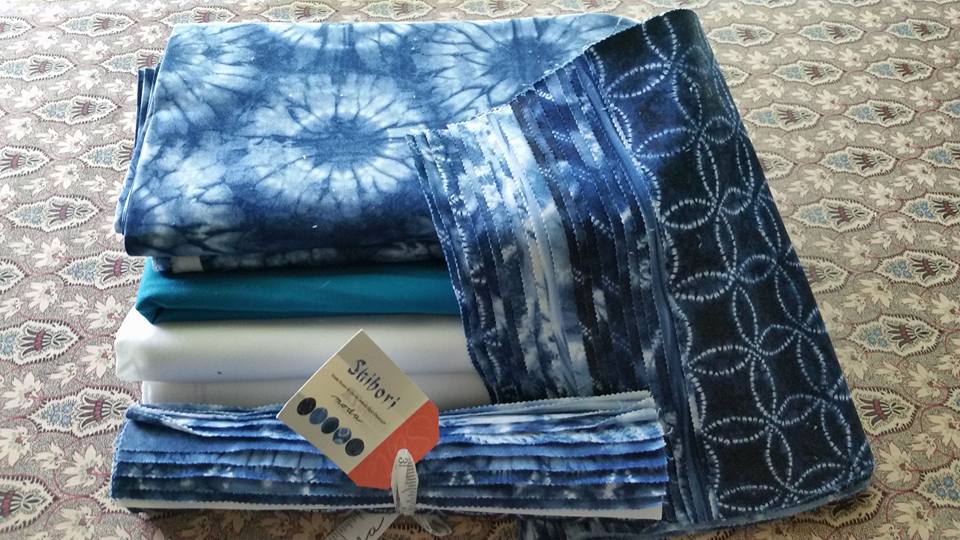
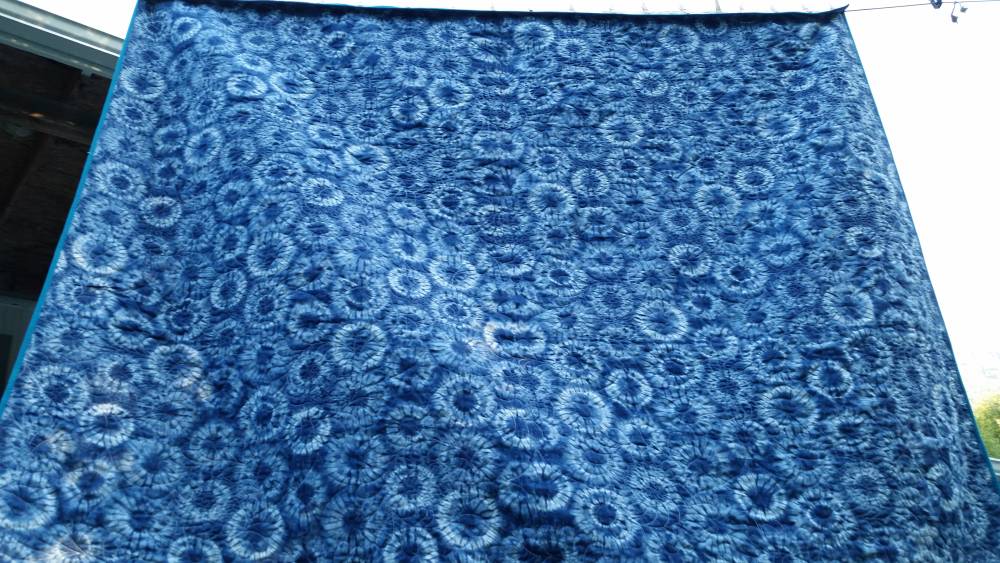
1 layer cake {Shibori by Debbie Maddy}
6 1/4 yards Moda Bella white (background)
1 yard turquoise Moda Bella solid (binding and 1 block)
5 yards backing
The Quick Curve Ruler is necessary for this project.
![]()
Follow the cutting directions carefully - there is very little waste if you cut as I have outlined.
You will use 41 layer cake squares (or 40 layer cake squares and one 10''x10'' square cut from a solid like I did)
Cut from background fabric:
15 strips @ 2.5''xWOF. Subcut these 15 strips into 3 3/4''x2.5'' pieces. You should get 165 pieces (11 pieces from each strip), and that makes for only one extra (you need 164). These are for the background on the 9-patch blocks.
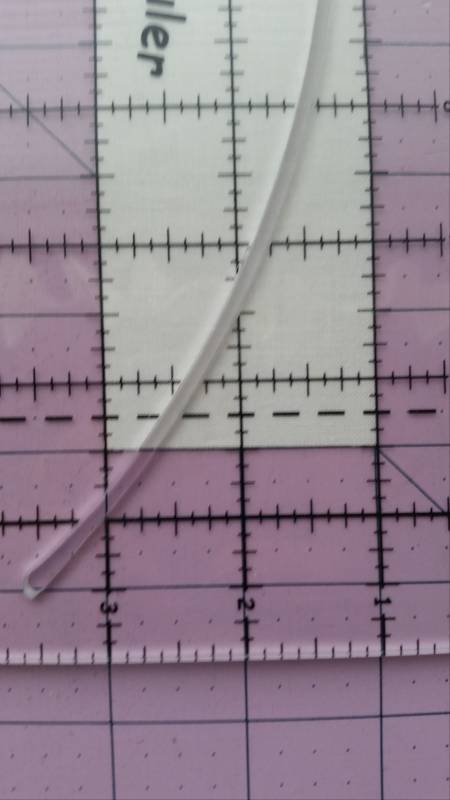
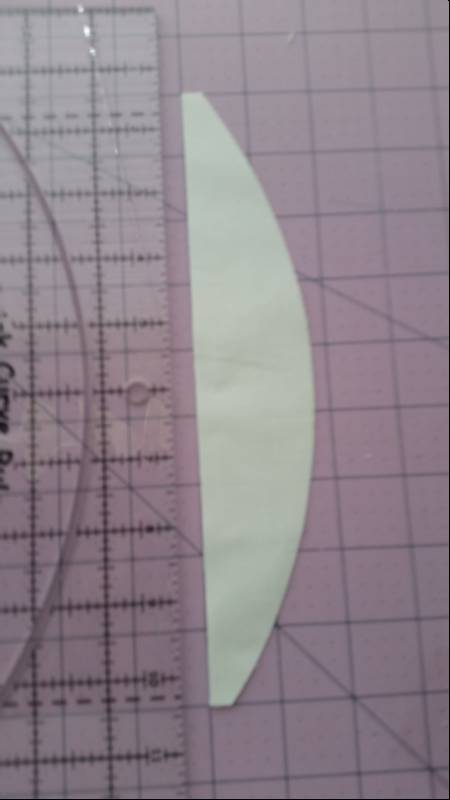
17 strips @ 9''xWOF. From 10 of those strips, you will cut 40(9''x9'') blocks (4 from each WOF strip) . These are the alternating blocks. Set these 40(9''x9'') blocks aside as you won't need to do anything else with these until quilt top assembly. With the scraps from these first 10 strips, you will cut 2''x9'' pieces (you need at least 17 pieces from these scraps, so 2 from each of the partial remaining strips will be enough). From the remaining 7 pieces of 9''xWOF strips, subcut them into 2''x9'' pieces. You should get 21 pieces from each strip and when you have them all cut, you should have 164 @ 2''x9''. These are for the curved section of the blocks. While we are working with these 2''x9'' pieces, let's go ahead and cut the curves. With the Quick Curve Ruler, line the pieces up between the 3'' and 1'' lines and center it on the curve of the ruler. Each short end will be 1/4'' past the dotted line:

Cut the curve. The piece on the right will be a scrap.
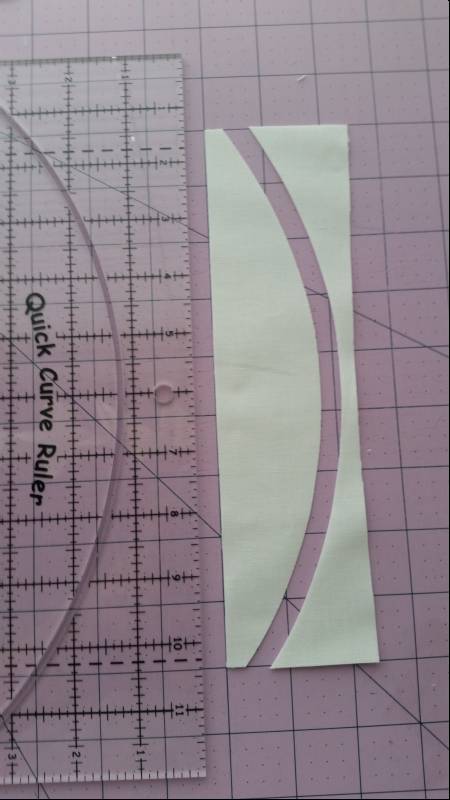
You should end up with 164 curved pieces like this:
You should have just under a yard (about 34.5'') of the background fabric left, from which you will cut 8 equal strips - 8 strips @4 1/4'' x WOF. If you have a little less or more, adjust your strip width so you have 8 equal WOF strips. This will be the outer border. Set these aside for final assembly.
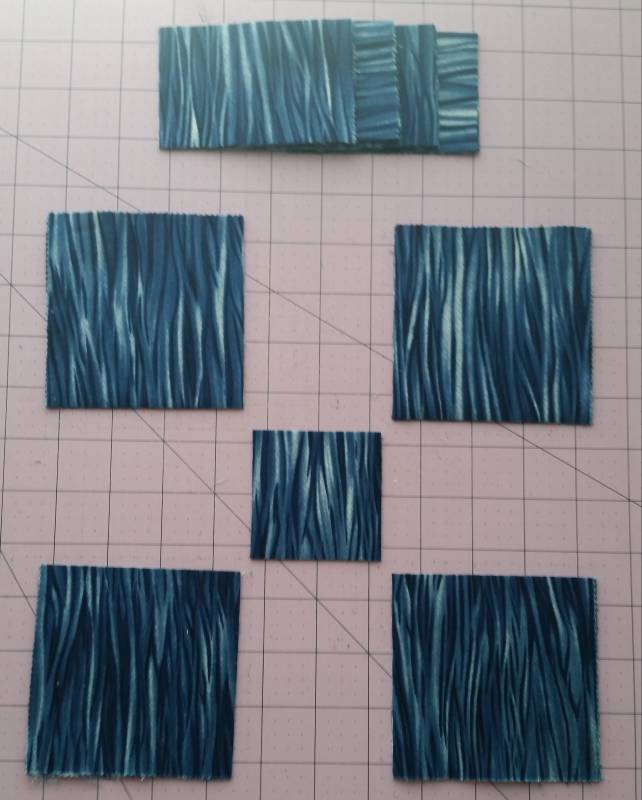
Next, we will cut 40 pieces of the layer cake and 1 solid 10''x10'' square (or 41 layer cake squares if you decide to do your blocks in all prints). You will be cutting the squares at 3 3/4'' from each edge. I layered 4 at a time to do the cutting.

Turning your mat 90° each cut, continue to cut 3 3/4'' from each of the 4 edges until your layer cake squares are in 9 pieces.

You will be using the outside corners and the middle piece for your blocks - the outside middle pieces (164@ 2 1/2'' x 3 3/4'') are extra that you can use to piece into your backing or even a scrappy binding if you prefer. You will replace these 2 1/2''x 3 3/4'' pieces with the solid white pieces you cut earlier of the background fabric.
Sew your pieces together to form this exaggerated 9-patch block, pressing your seams toward the dark squares:

Now, you can start attaching your curved background pieces. Just line up the straight edge of the piece with the edge of the 9-patch:
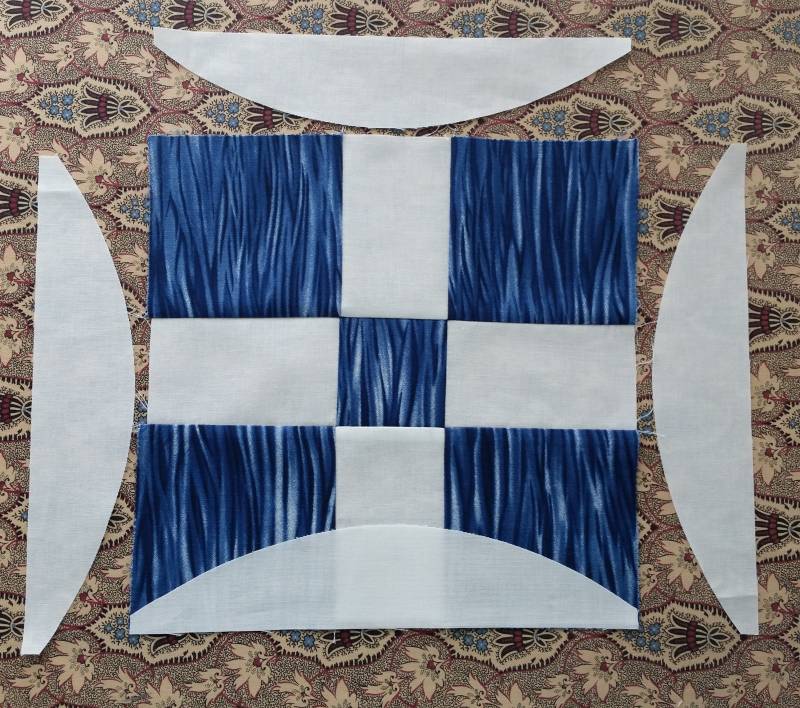

Pin in place and stitch around the curves 1/4'' from the curved edge:

You can leave these as-is, or if you have a bit of shadowing through the curved pieces like I did, you can trim from behind and press toward the center (I ended up using a SewLine glue pen and finger pressed these seams in place and then pressed with an iron later from the front):

Once you have your 41 blocks finished, you can alternate them with the solid 9'' squares and sew them into rows, then the rows together into the top. Sew the strips you set aside for the border into pairs end-to-end. Sew them onto top and bottom and then the sides, trimming to length as necessary.
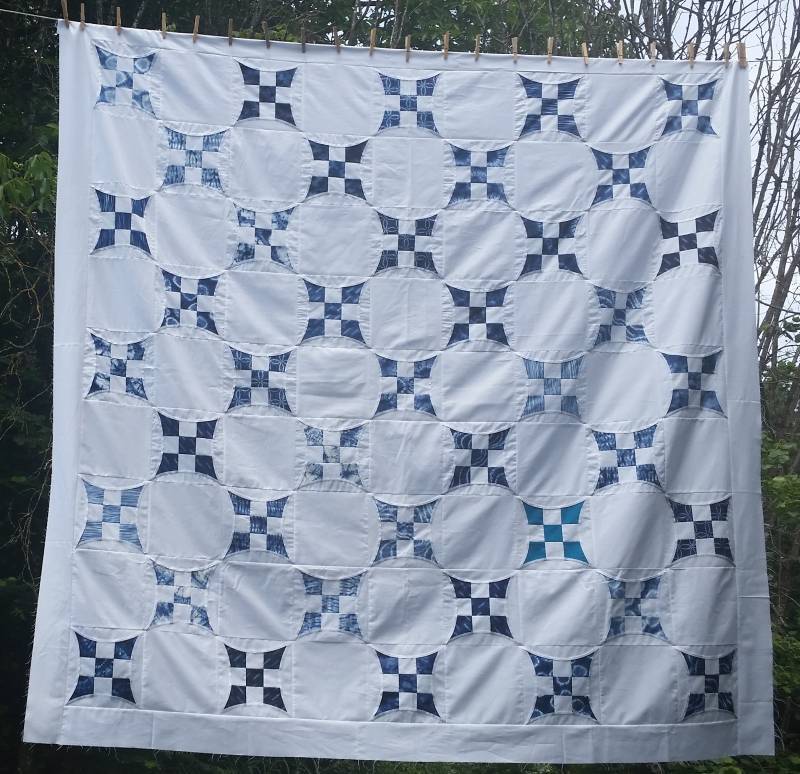
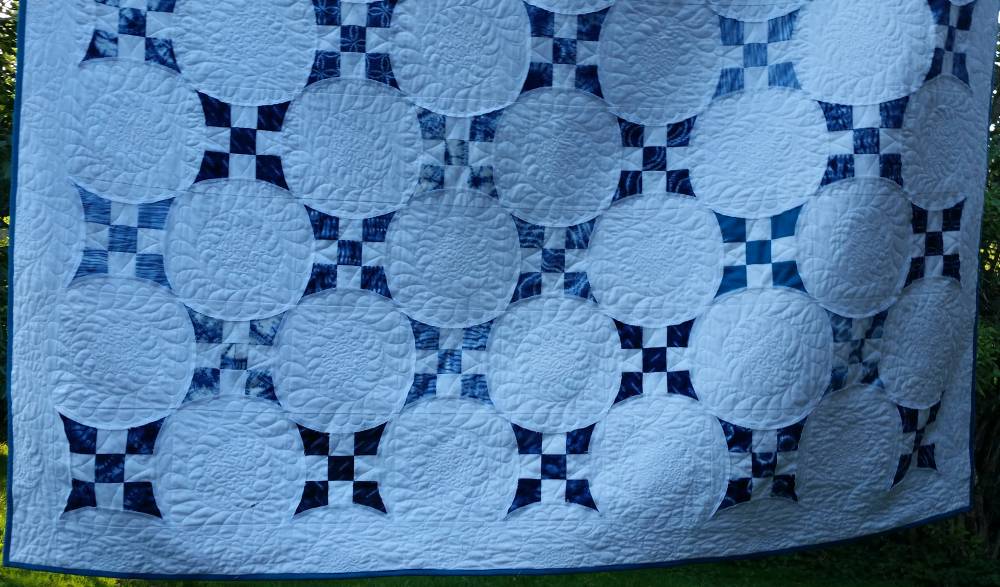
Quilt as desired! I chose to do traditional feather wreath quilting in the white spaces. I did this quilting on my DSM, so you can too!
![]()
This quilt finishes at 84" x 84".
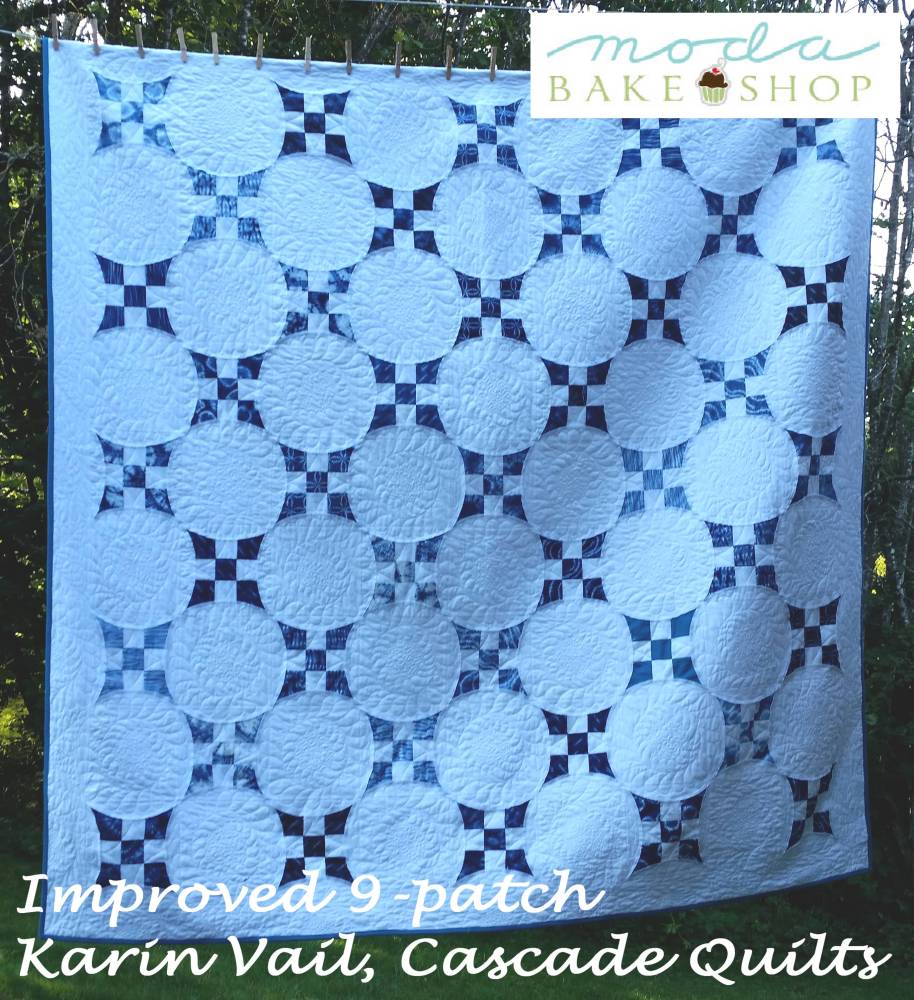
Karin Vail
{Cascade Quilts}
![]()
Posted in: