Welcome to Moda Fabrics!
Black and...BOO! Table Runner
Black and...BOO! Table Runner
Published:
Oct 3 2016 - 23:00
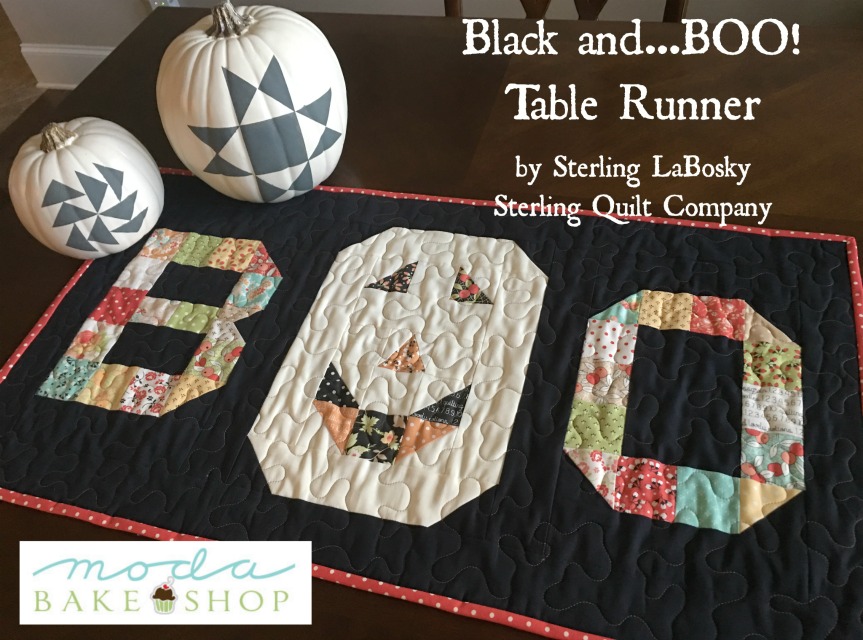

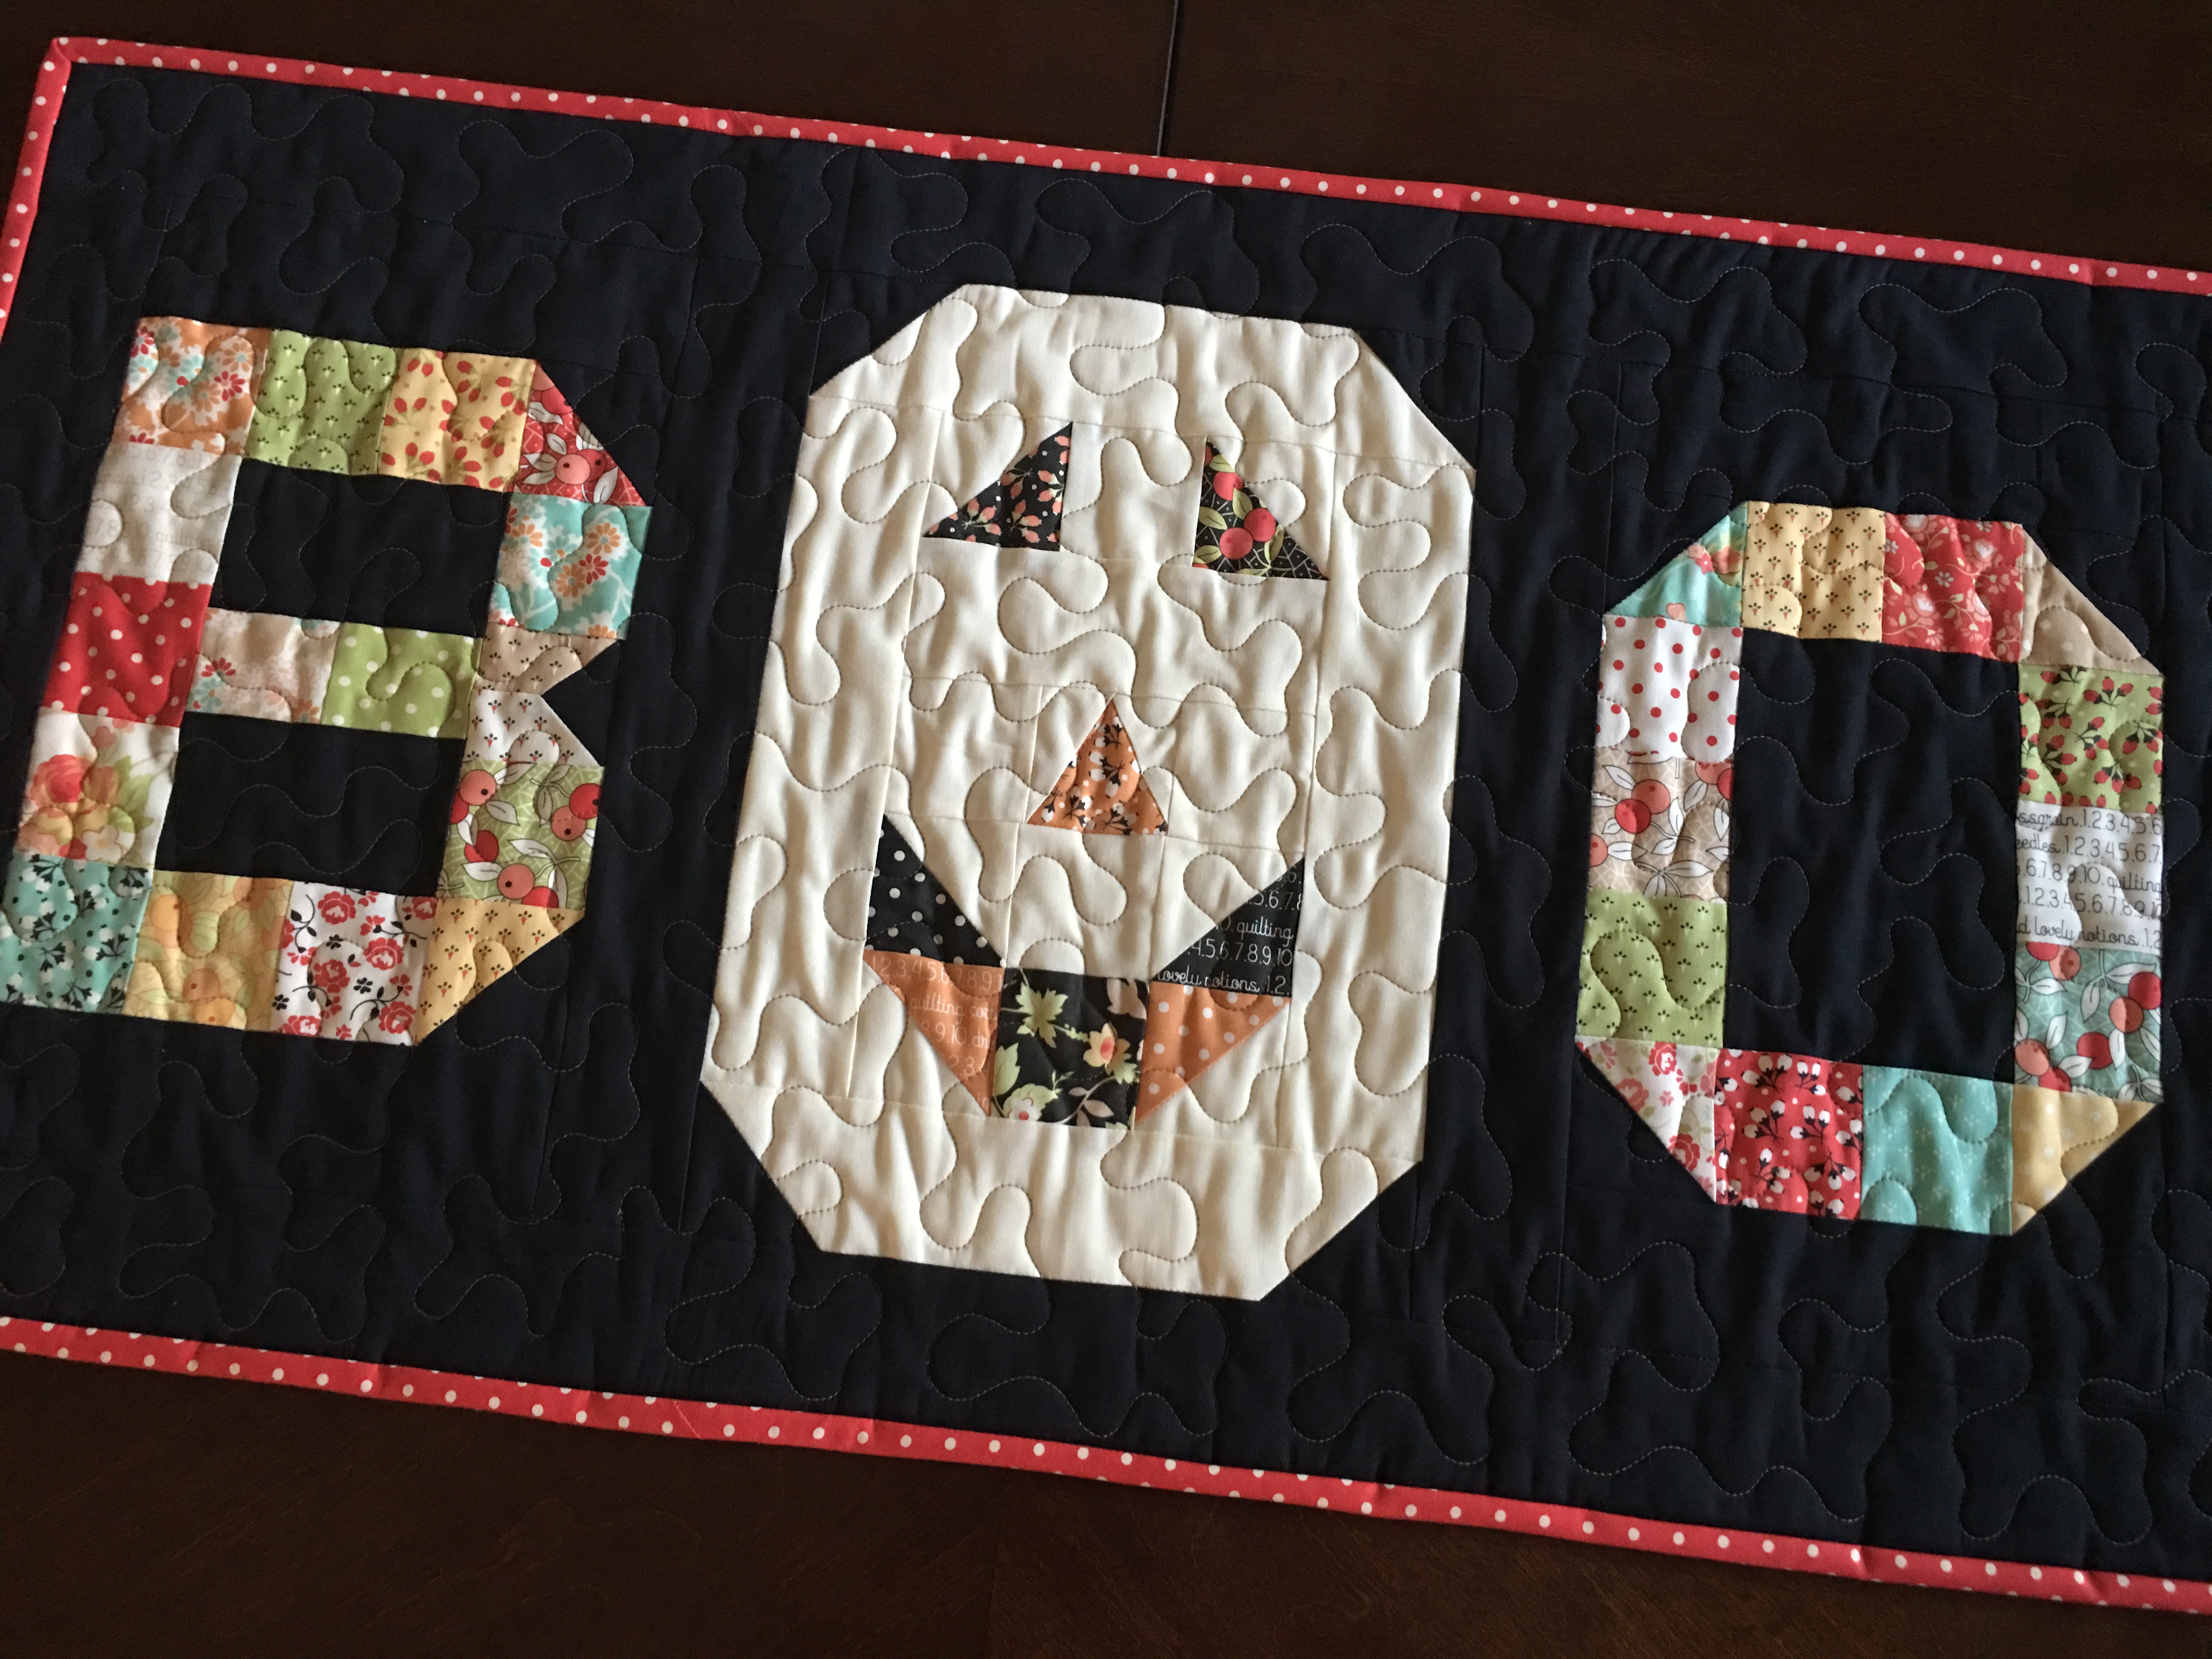
Hi! It's Sterling LaBosky again, owner of Sterling Quilt Company, back with a super cute, super quick table runner project. Fall is my favorite season, October is my favorite month, and Halloween is my favorite holiday, and this recipe is perfect for your favorite fall mini charm pack. It's also the perfect project to break out of your white background comfort zone. Black and...BOO! I dare you to try it! ;-) This table runner finishes at 18" x 34".
![]()
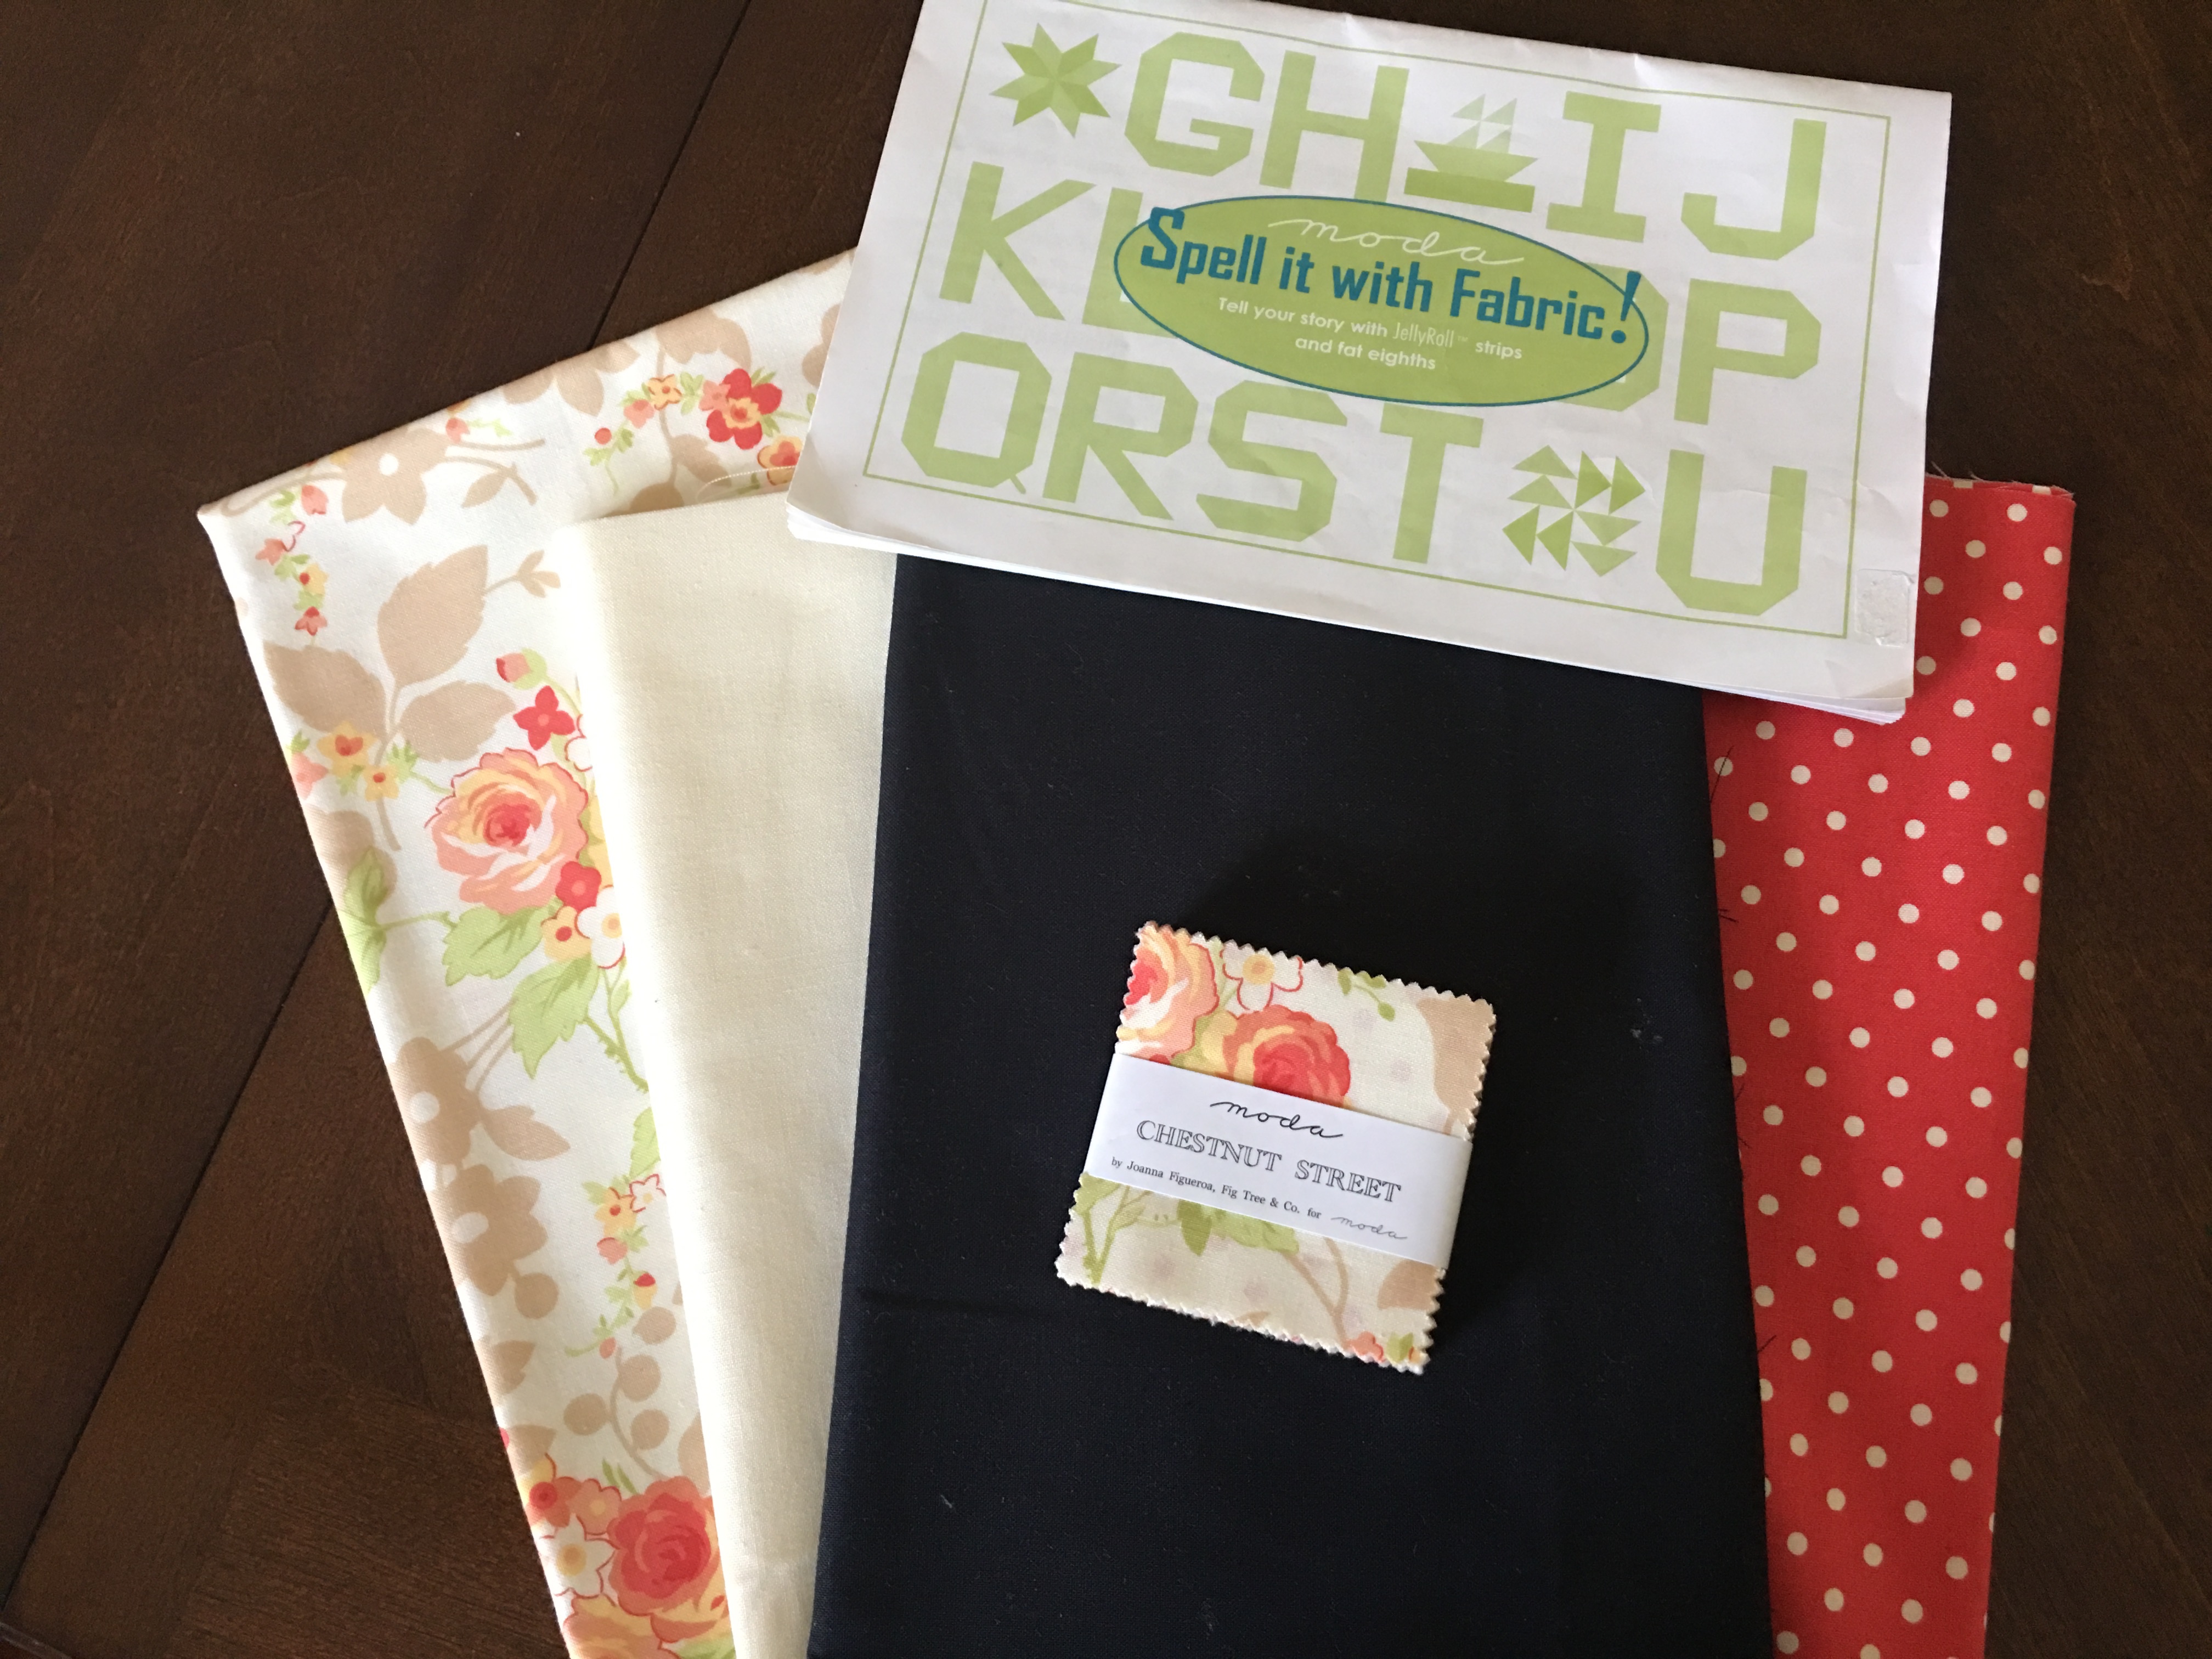
1 Chestnut Street by Fig Tree & Co. mini charm pack 1/2 yard background fabric {Bella Solid Washed Black 9900 118} 1/4 yard pumpkin fabric {Bella Solid Snow 9900 11} 2/3 yard backing fabric 1/4 yard binding fabric
![]()
Cutting: From the background fabric: Cut (1) 4 1/2" x WOF strip and (5) 2 1/2" x WOF strips. Subcut into:
- (2) 2 1/2" x 34 1/2" rectangles
- (4) 2 1/2" x 14 1/2" rectangles
- (4) 2 1/2" x 8 1/2" rectangles
- (10) 2 1/2" x 2 1/2" squares
- (2) 2 3/4" x 4 1/2" rectangles
- (1) 4 1/2" x 6 1/2" rectangle
- (2) 1 1/2" x 1 1/2" squares
From the pumpkin fabric: Cut (2) 2 1/2" x WOF strips. Subcut into:
- (4) 2 1/2" x 10 1/2" rectangles
- (1) 2 1/2" x 6 1/2" rectangle
- (10) 2 1/2" x 2 1/2" squares
- Cut the remainder of your strip in half for (2) rectangles approx. 4-6" long
From the binding fabric cut (3) 2 1/2" x WOF strips. Piecing: All seam allowances are 1/4" throughout.
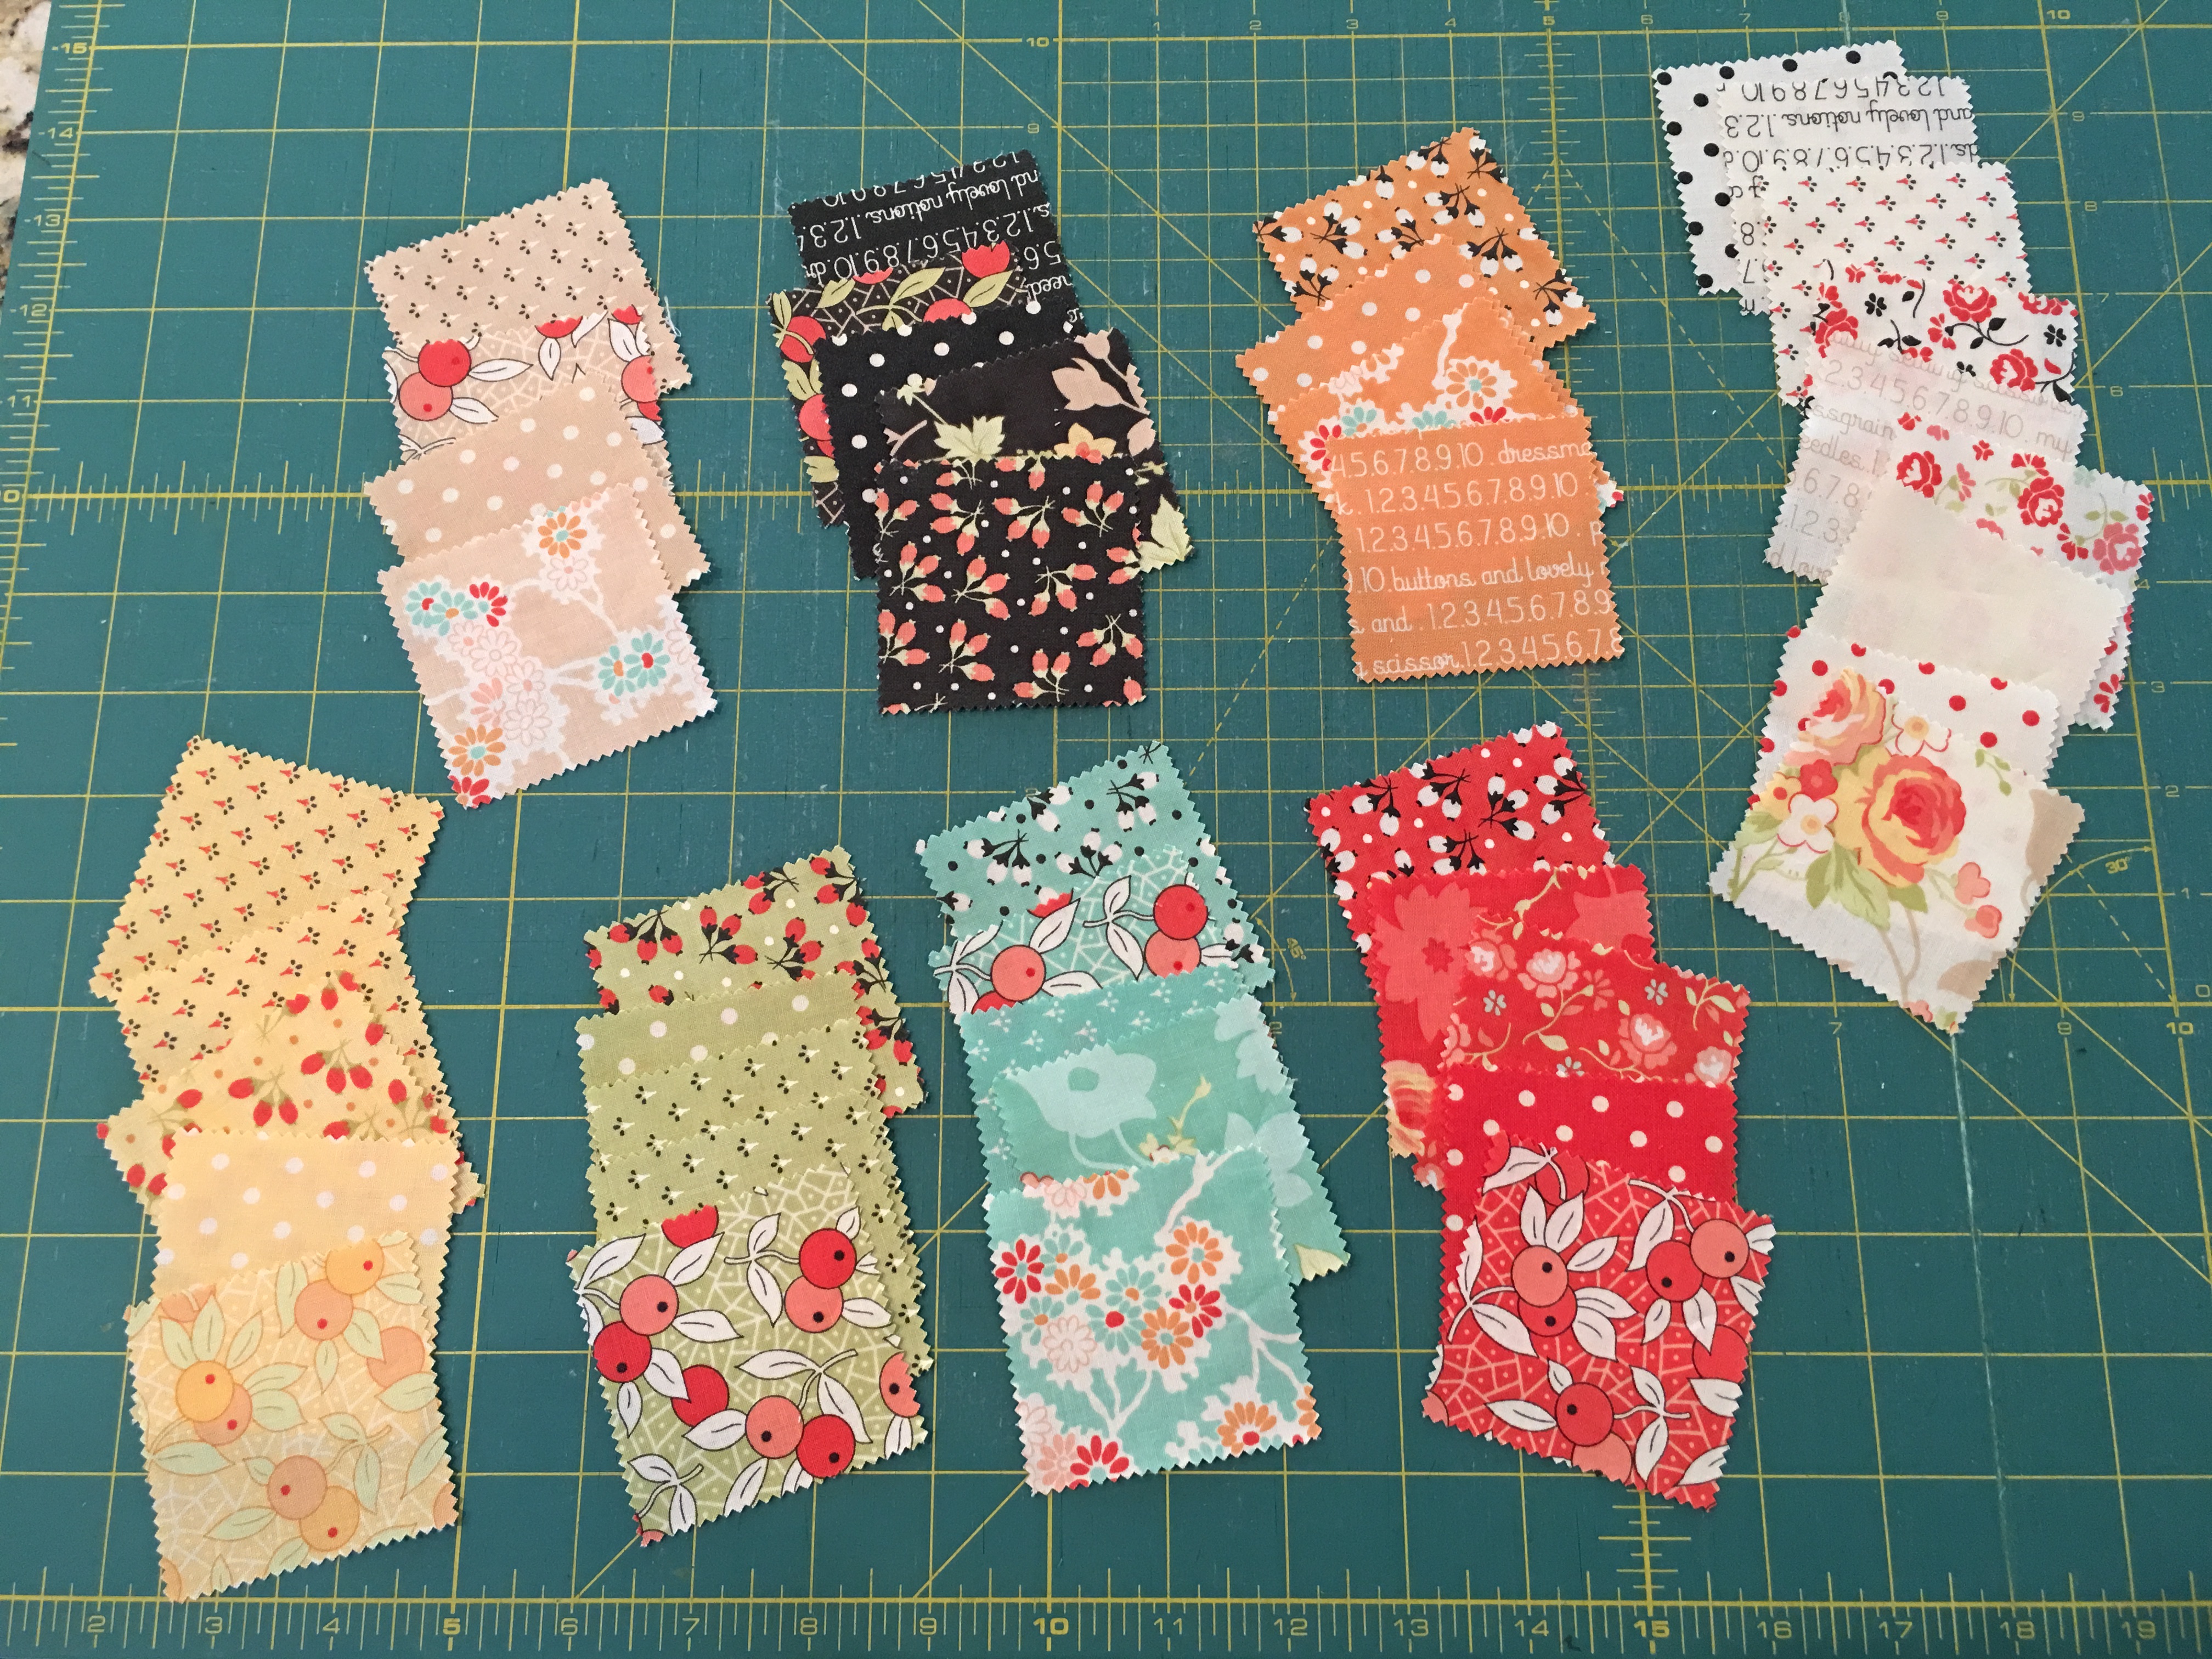
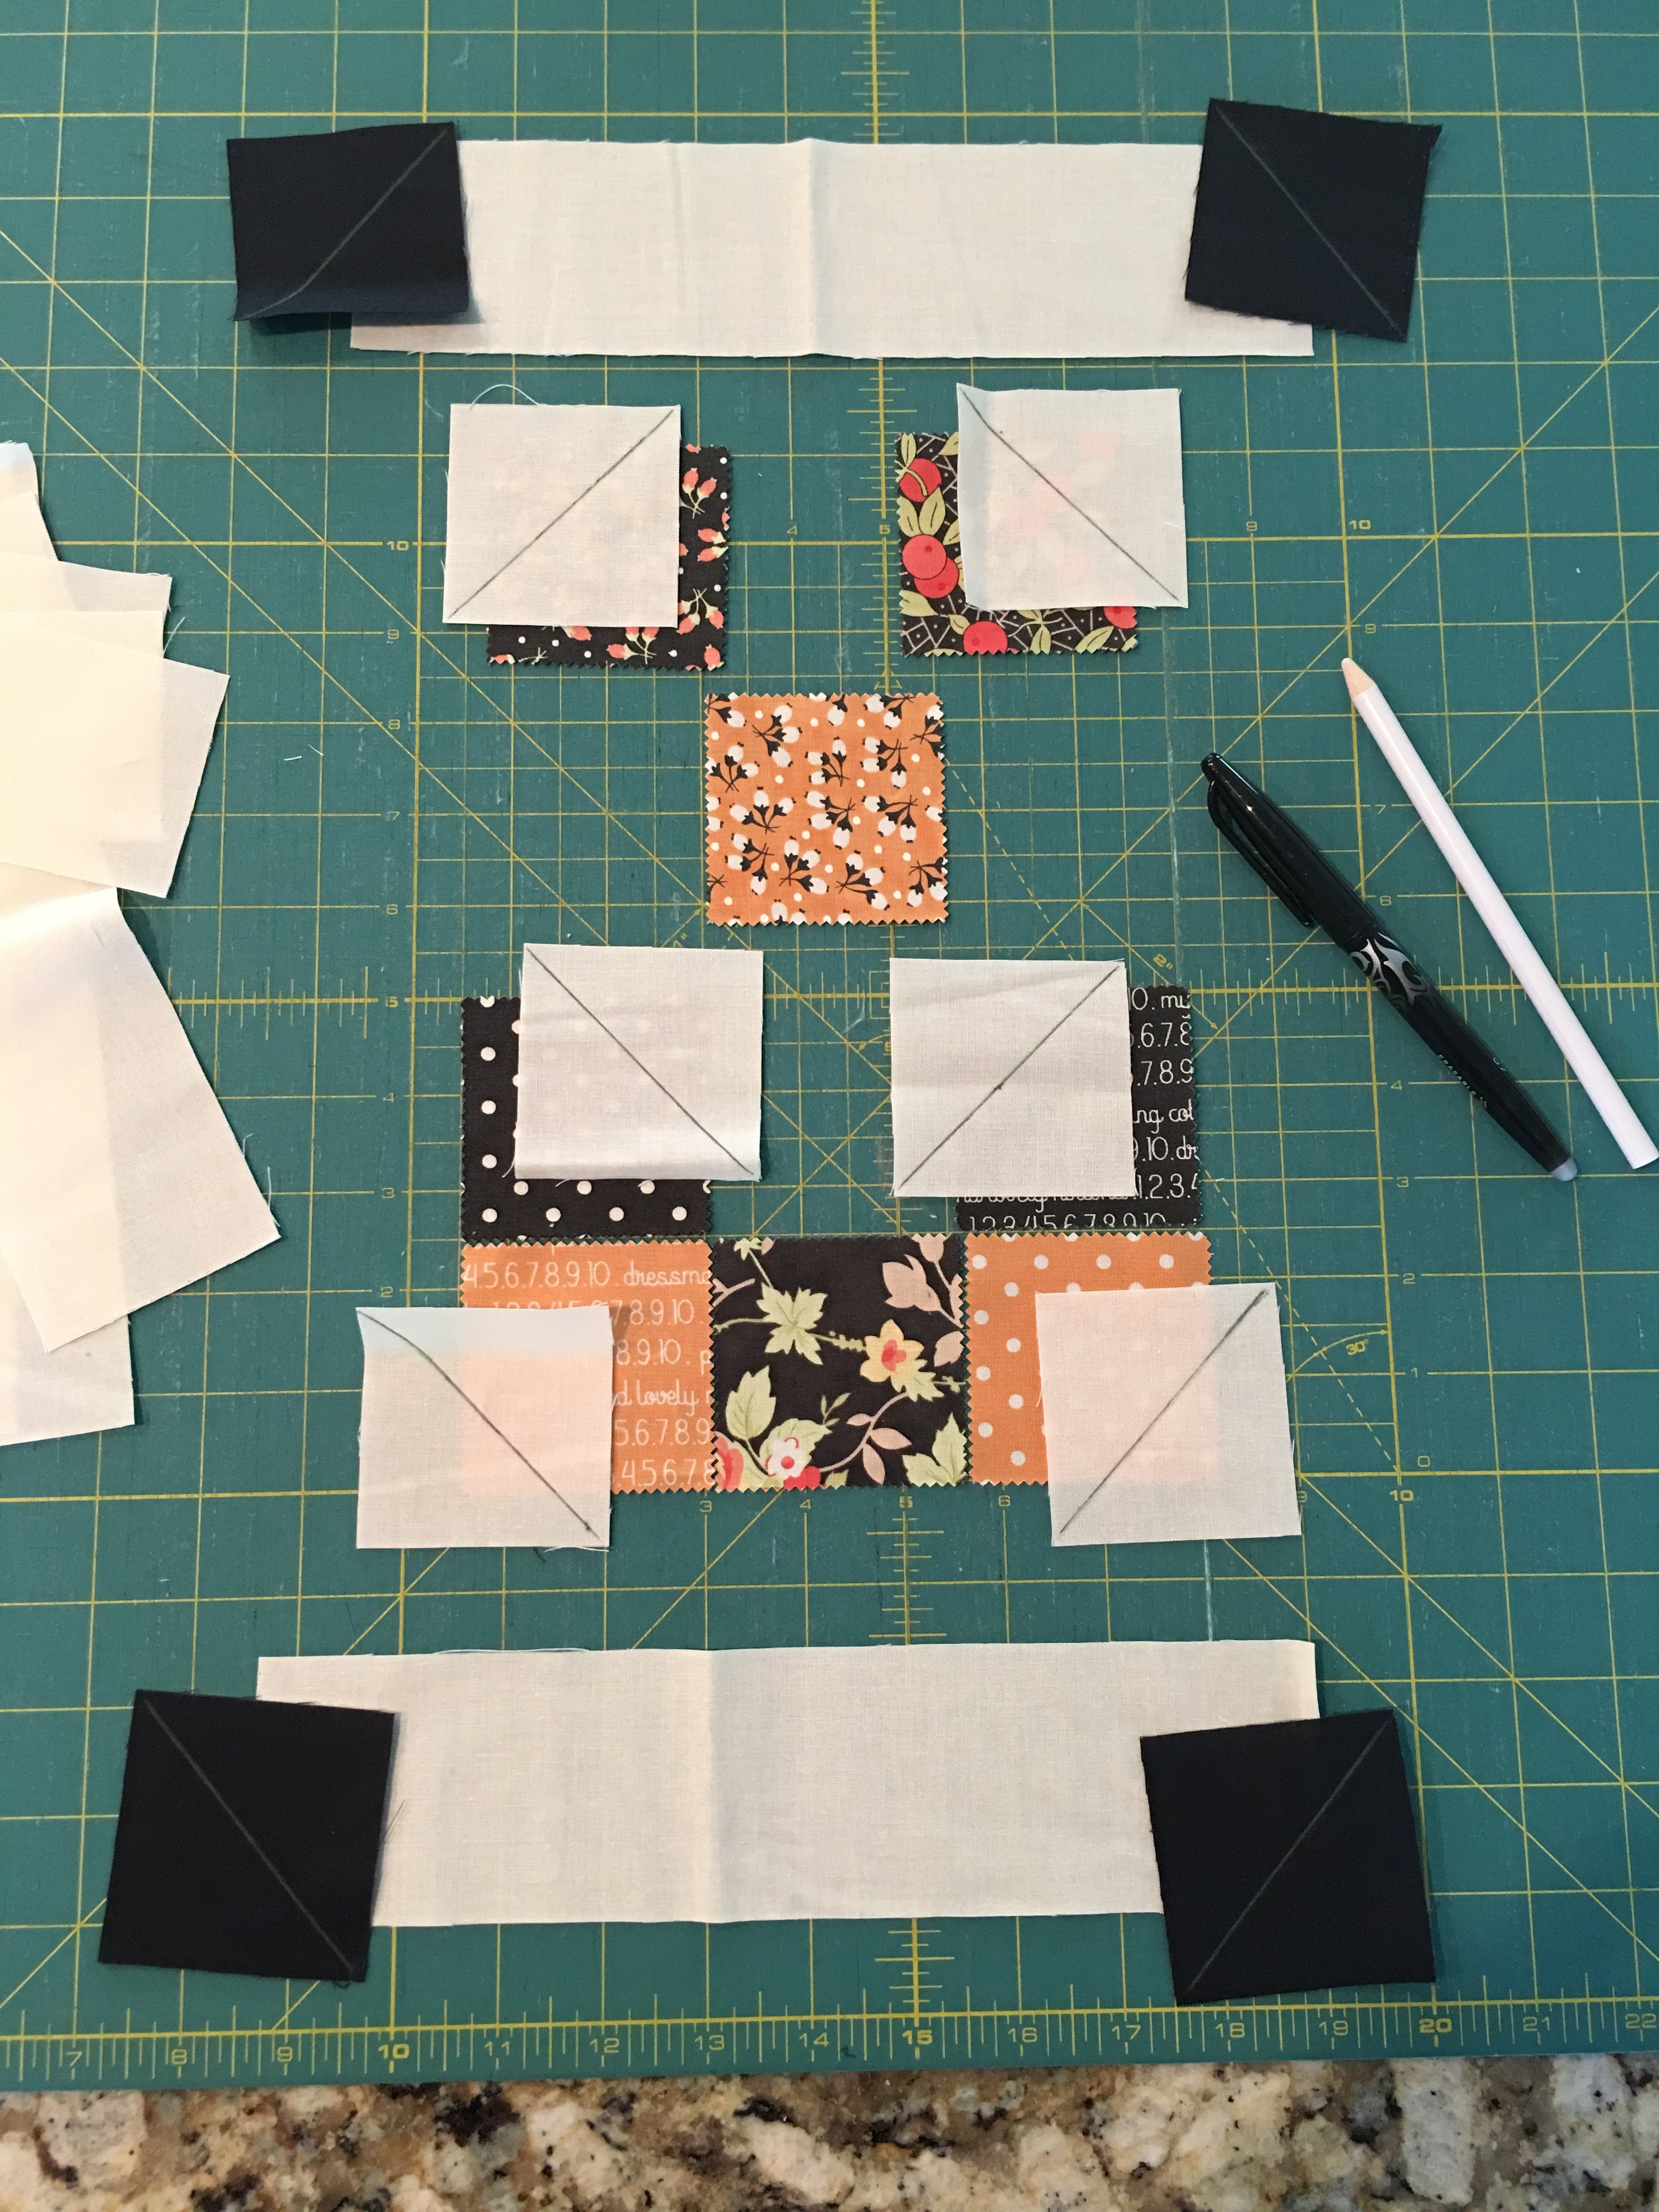
Open your mini charm pack and let the fun begin! I like to sort my squares by color first. Then I just go through each pile evenly distributing the colors and patterns for the letters and the pumpkin face. You will need 17 squares for the 'B', 14 for the 'O', and 8 for the pumpkin. You will have three extra squares.
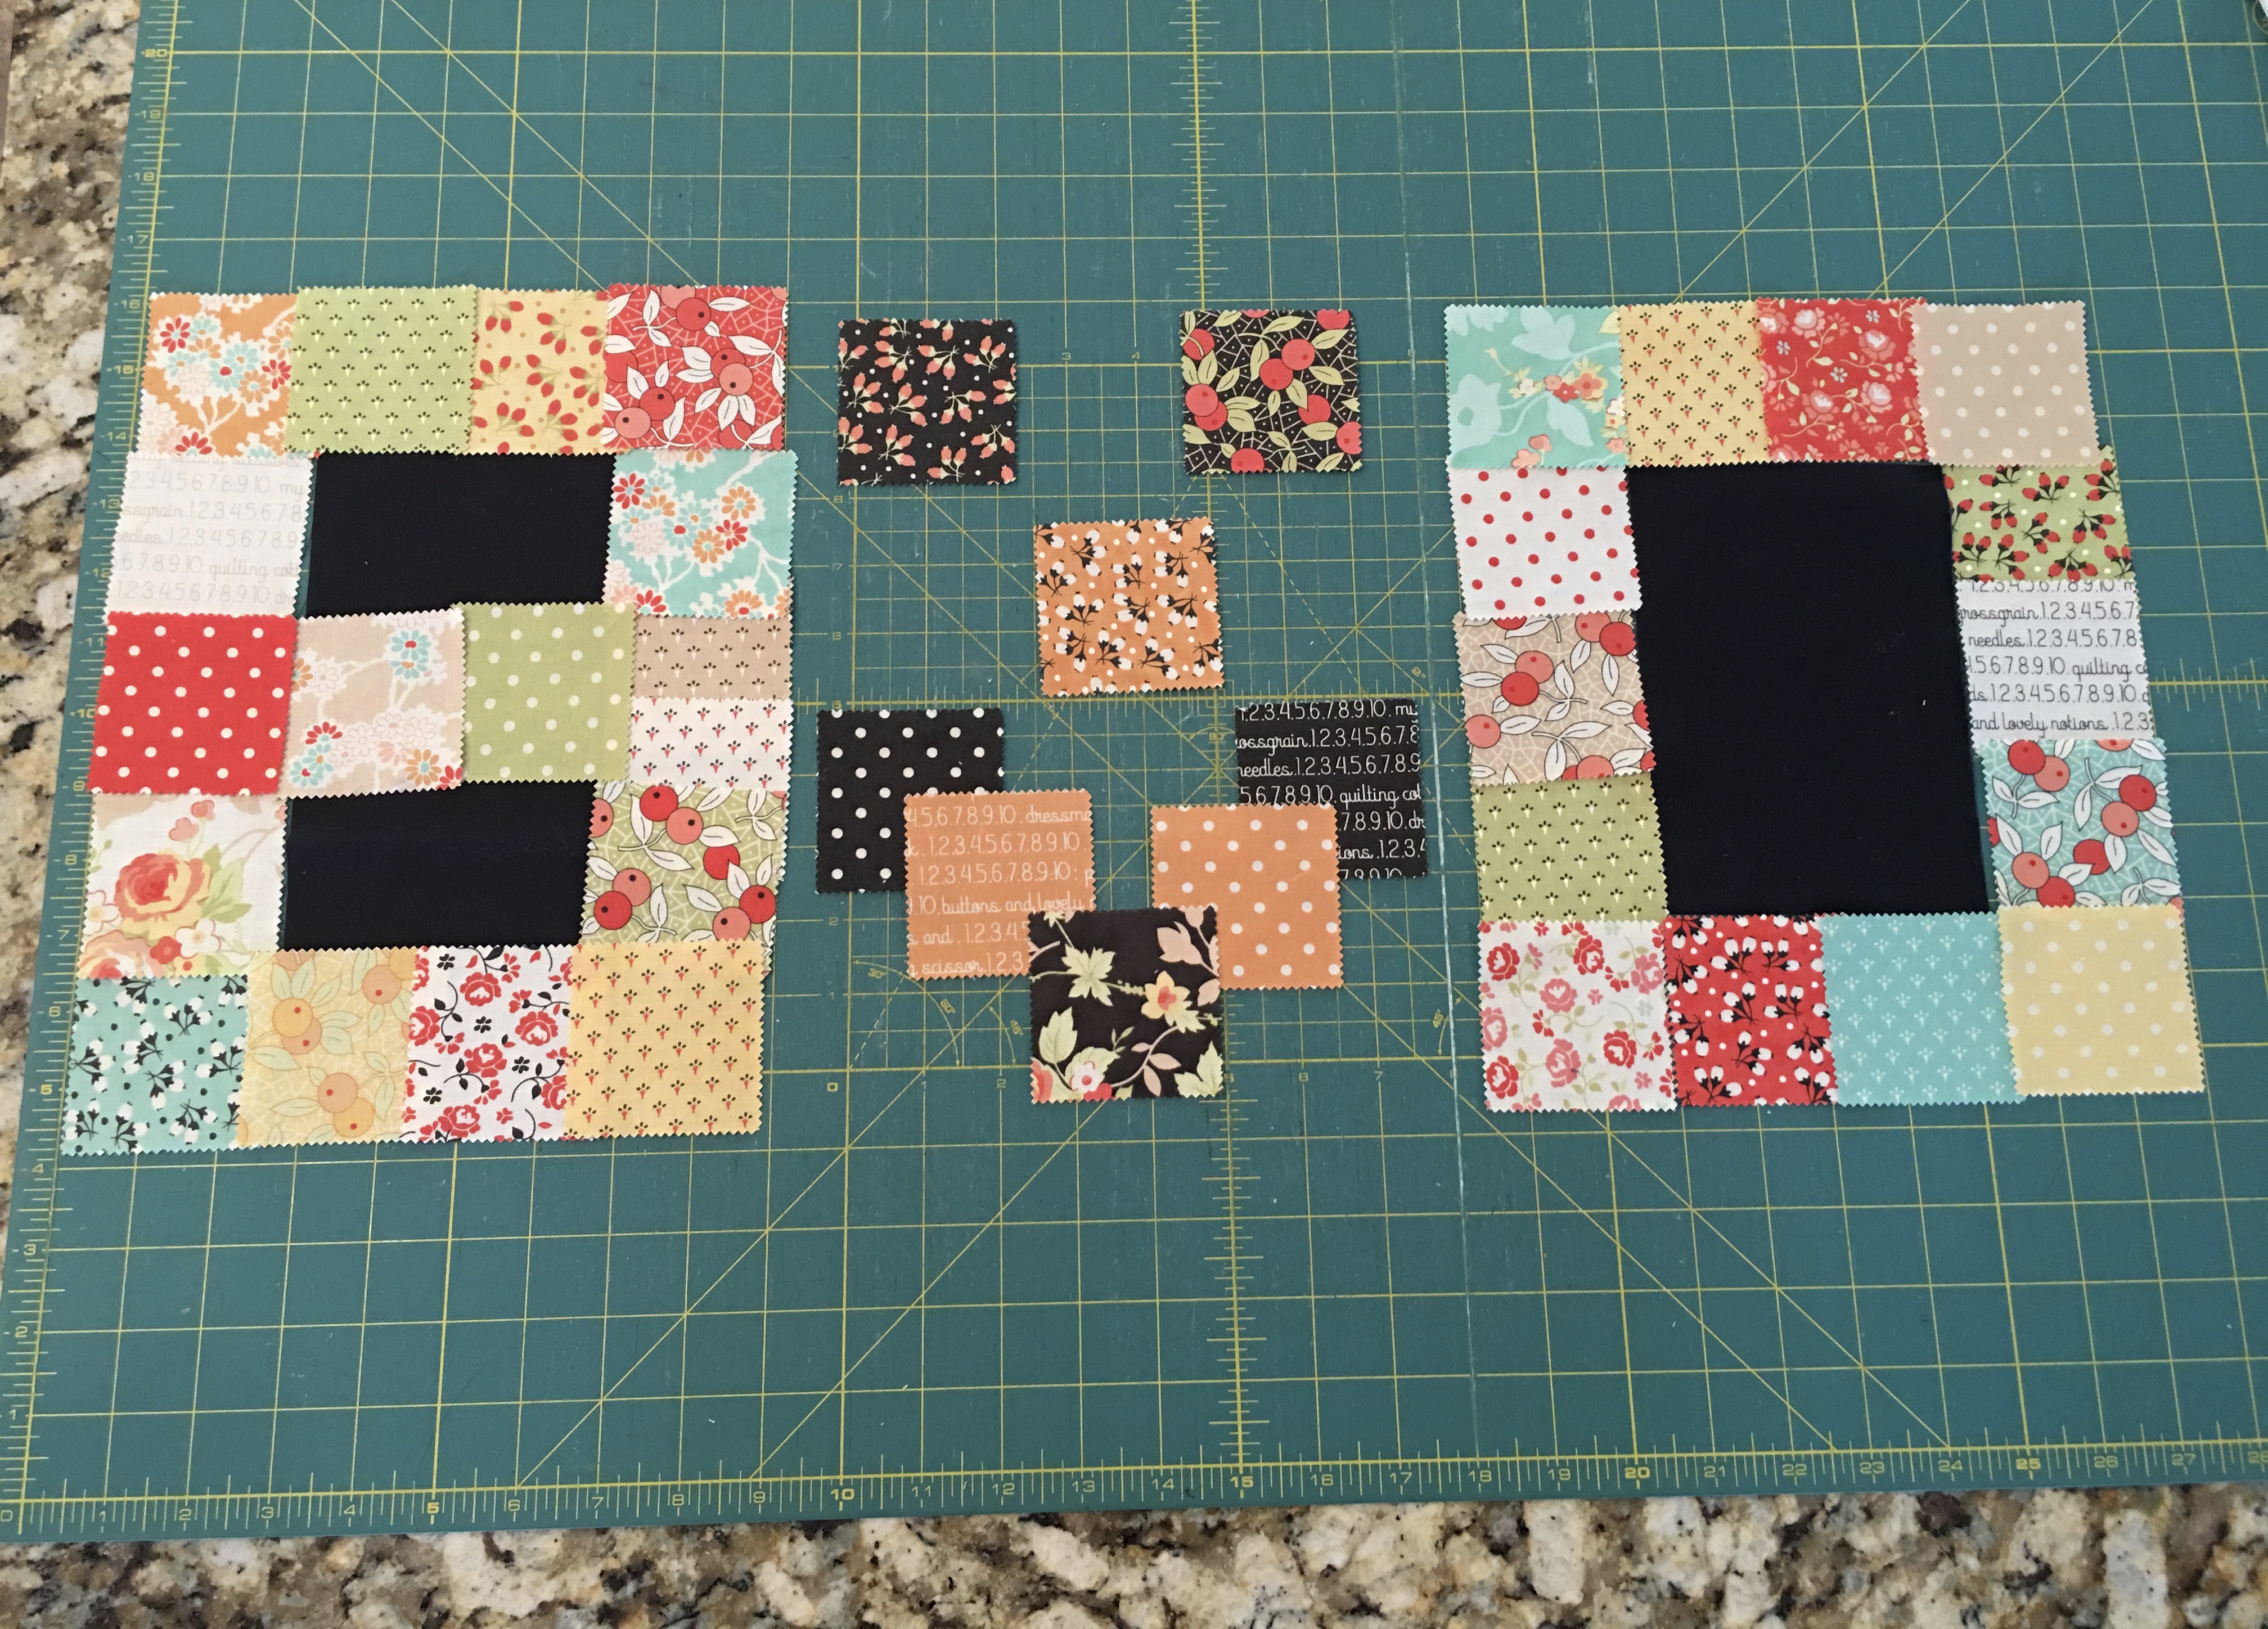
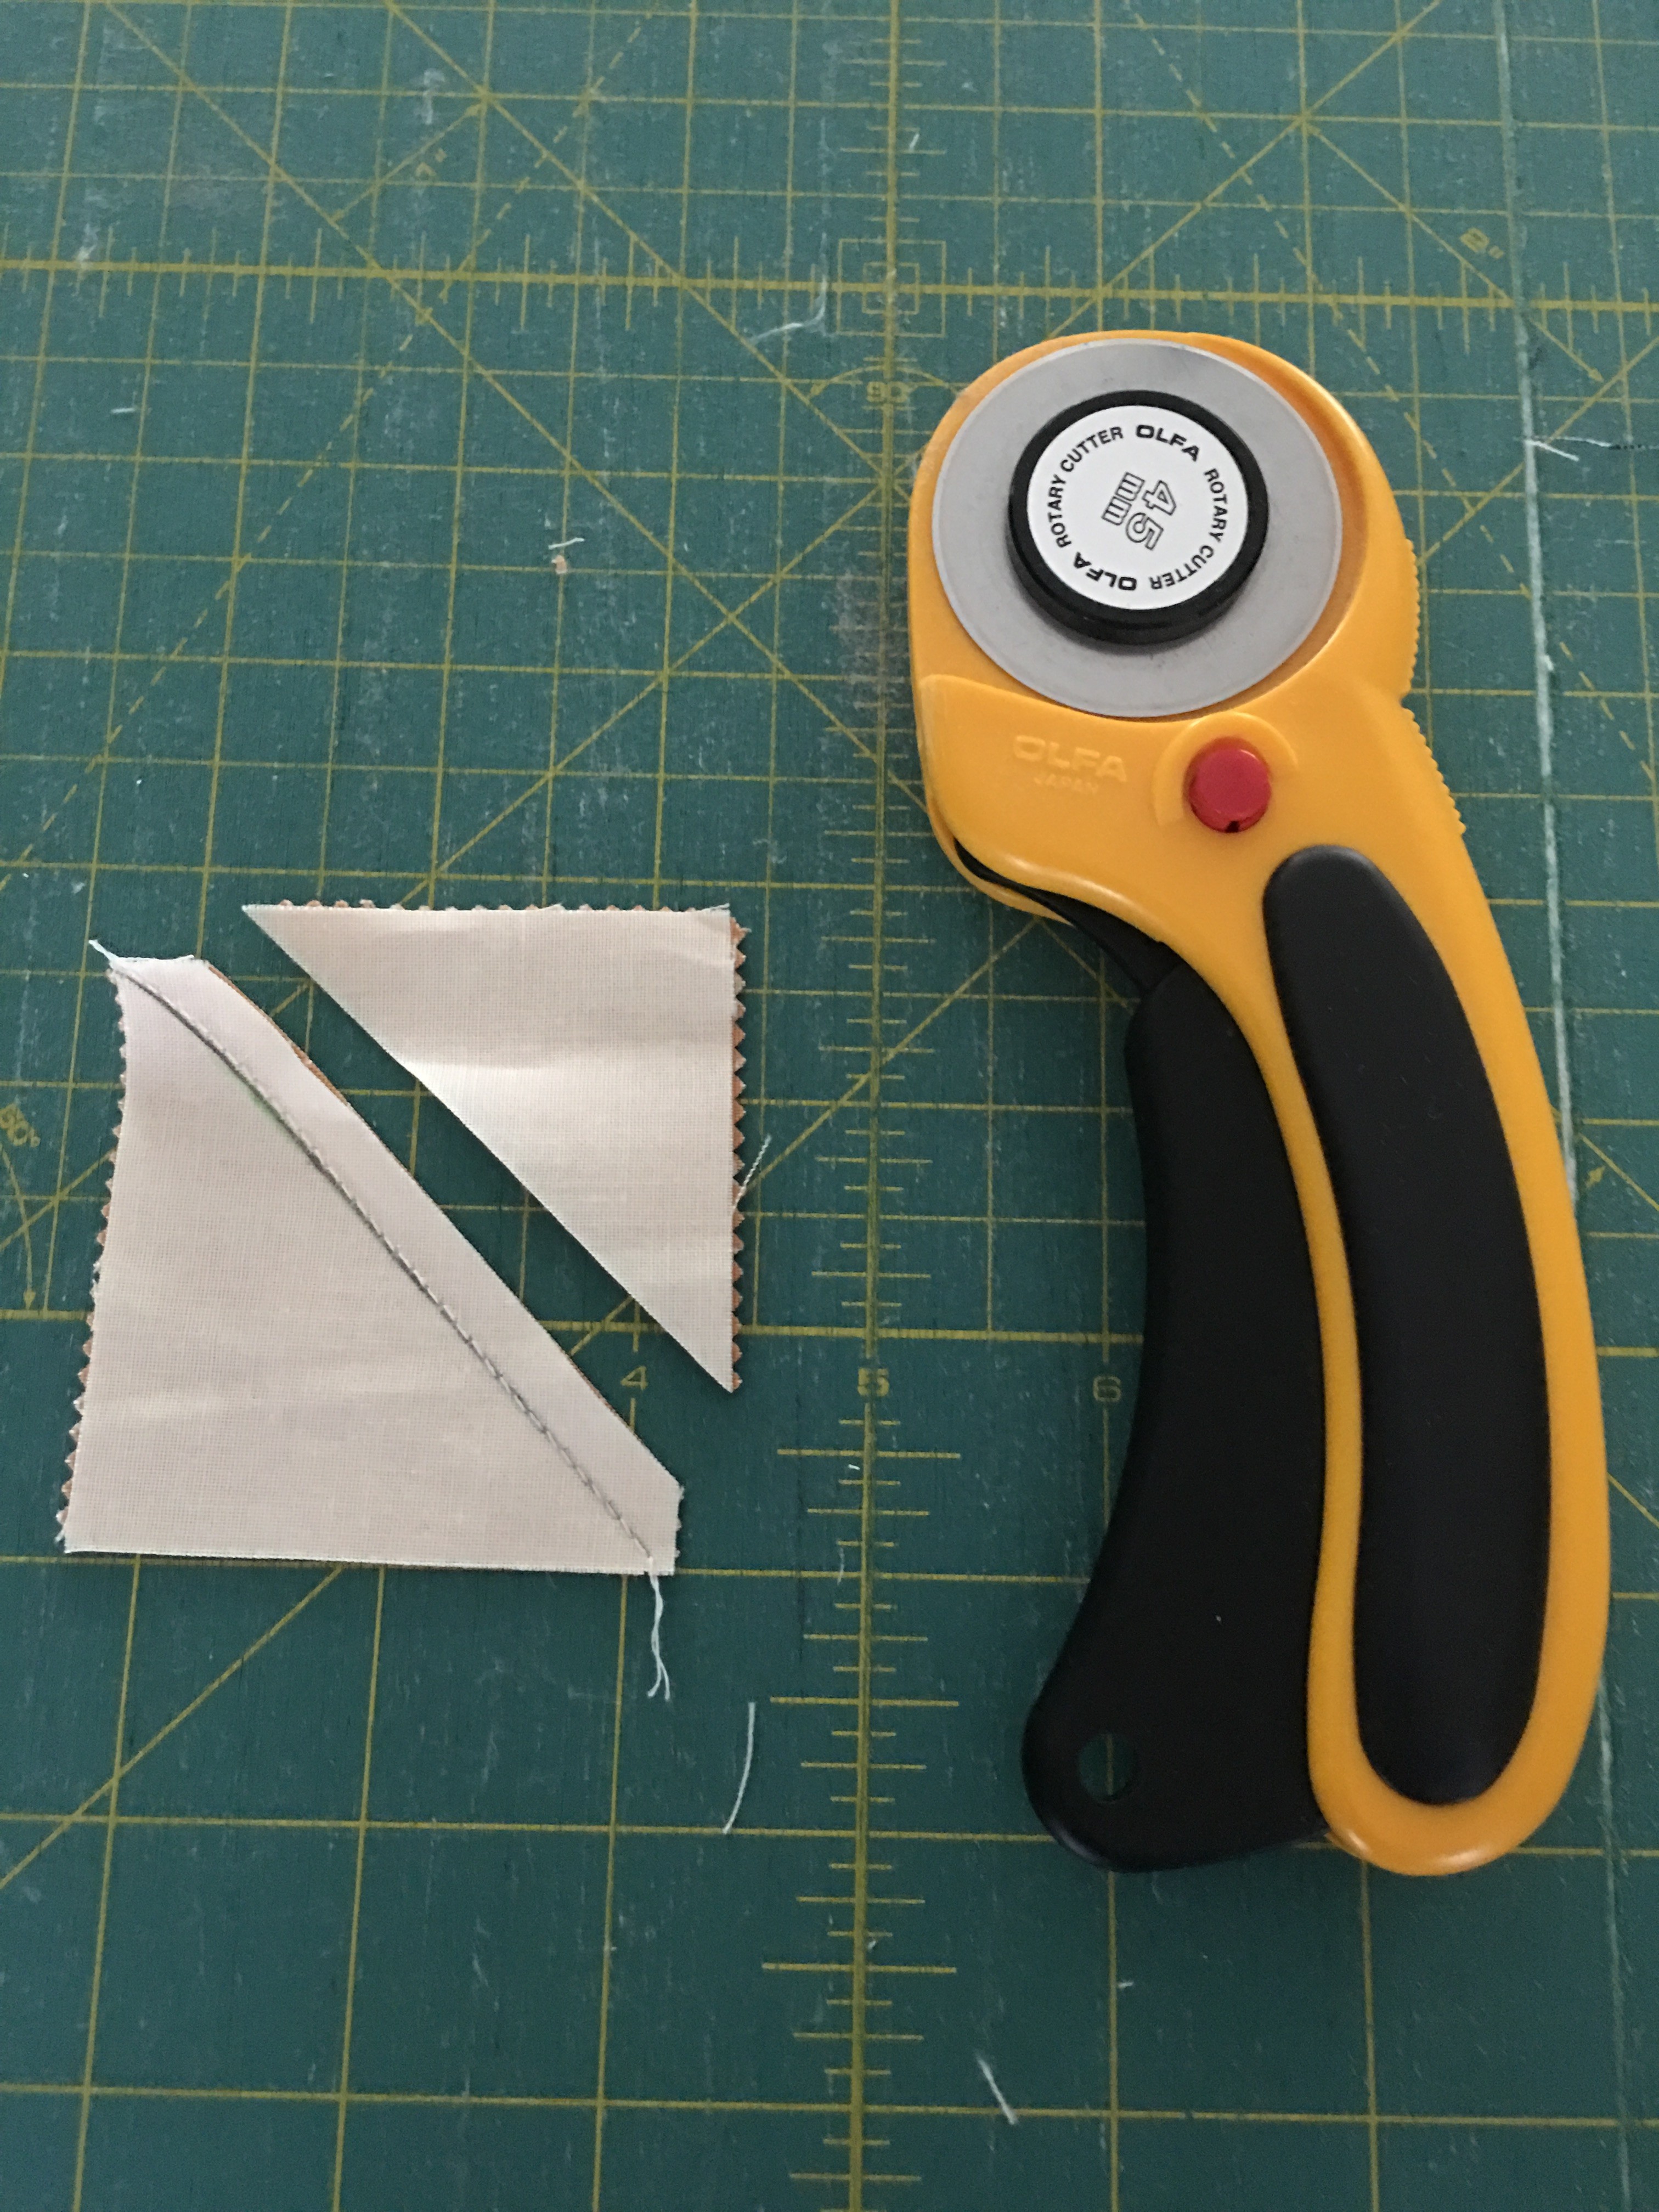
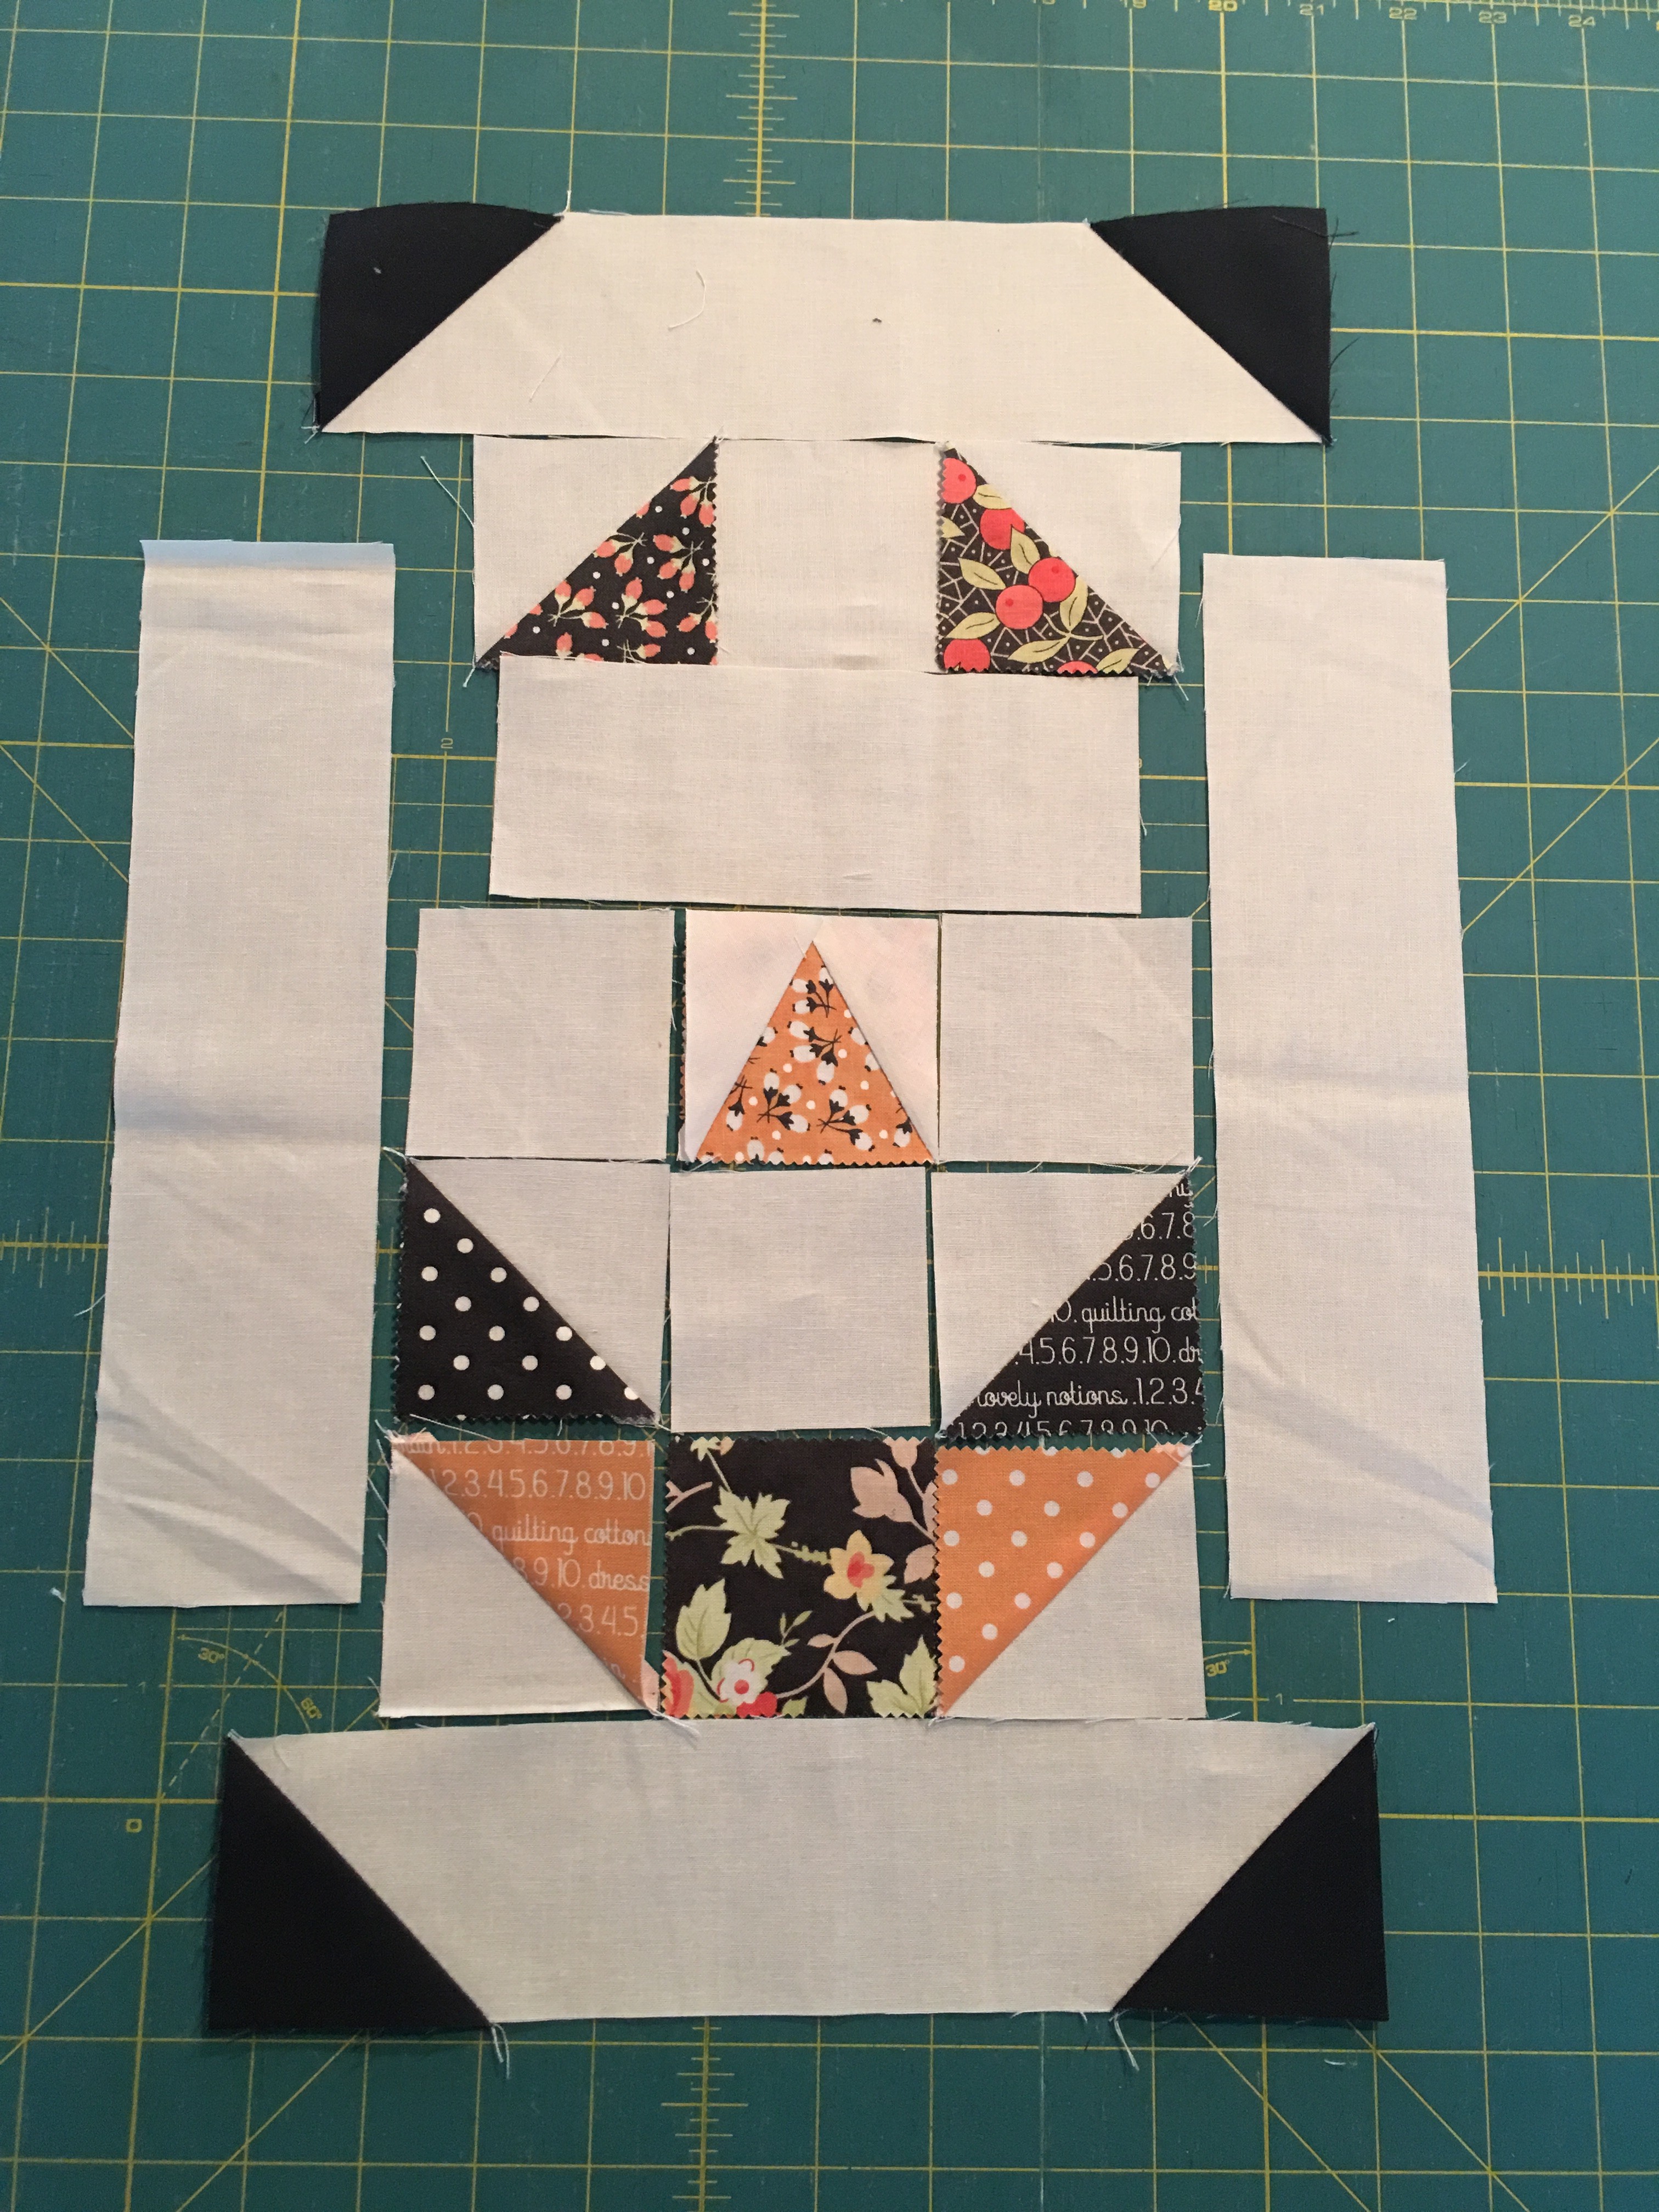
To make the letters, just follow the instructions in the Spell it With Moda pattern booklet, or you can link to the instructions for the 'B' here and the 'O' here. Arrange your mini charms and your pumpkin fabric squares for your face and mark a diagonal line on the back of your pumpkin fabric squares. Sew on the lines and cut away the excess 1/4" from the seams and press.
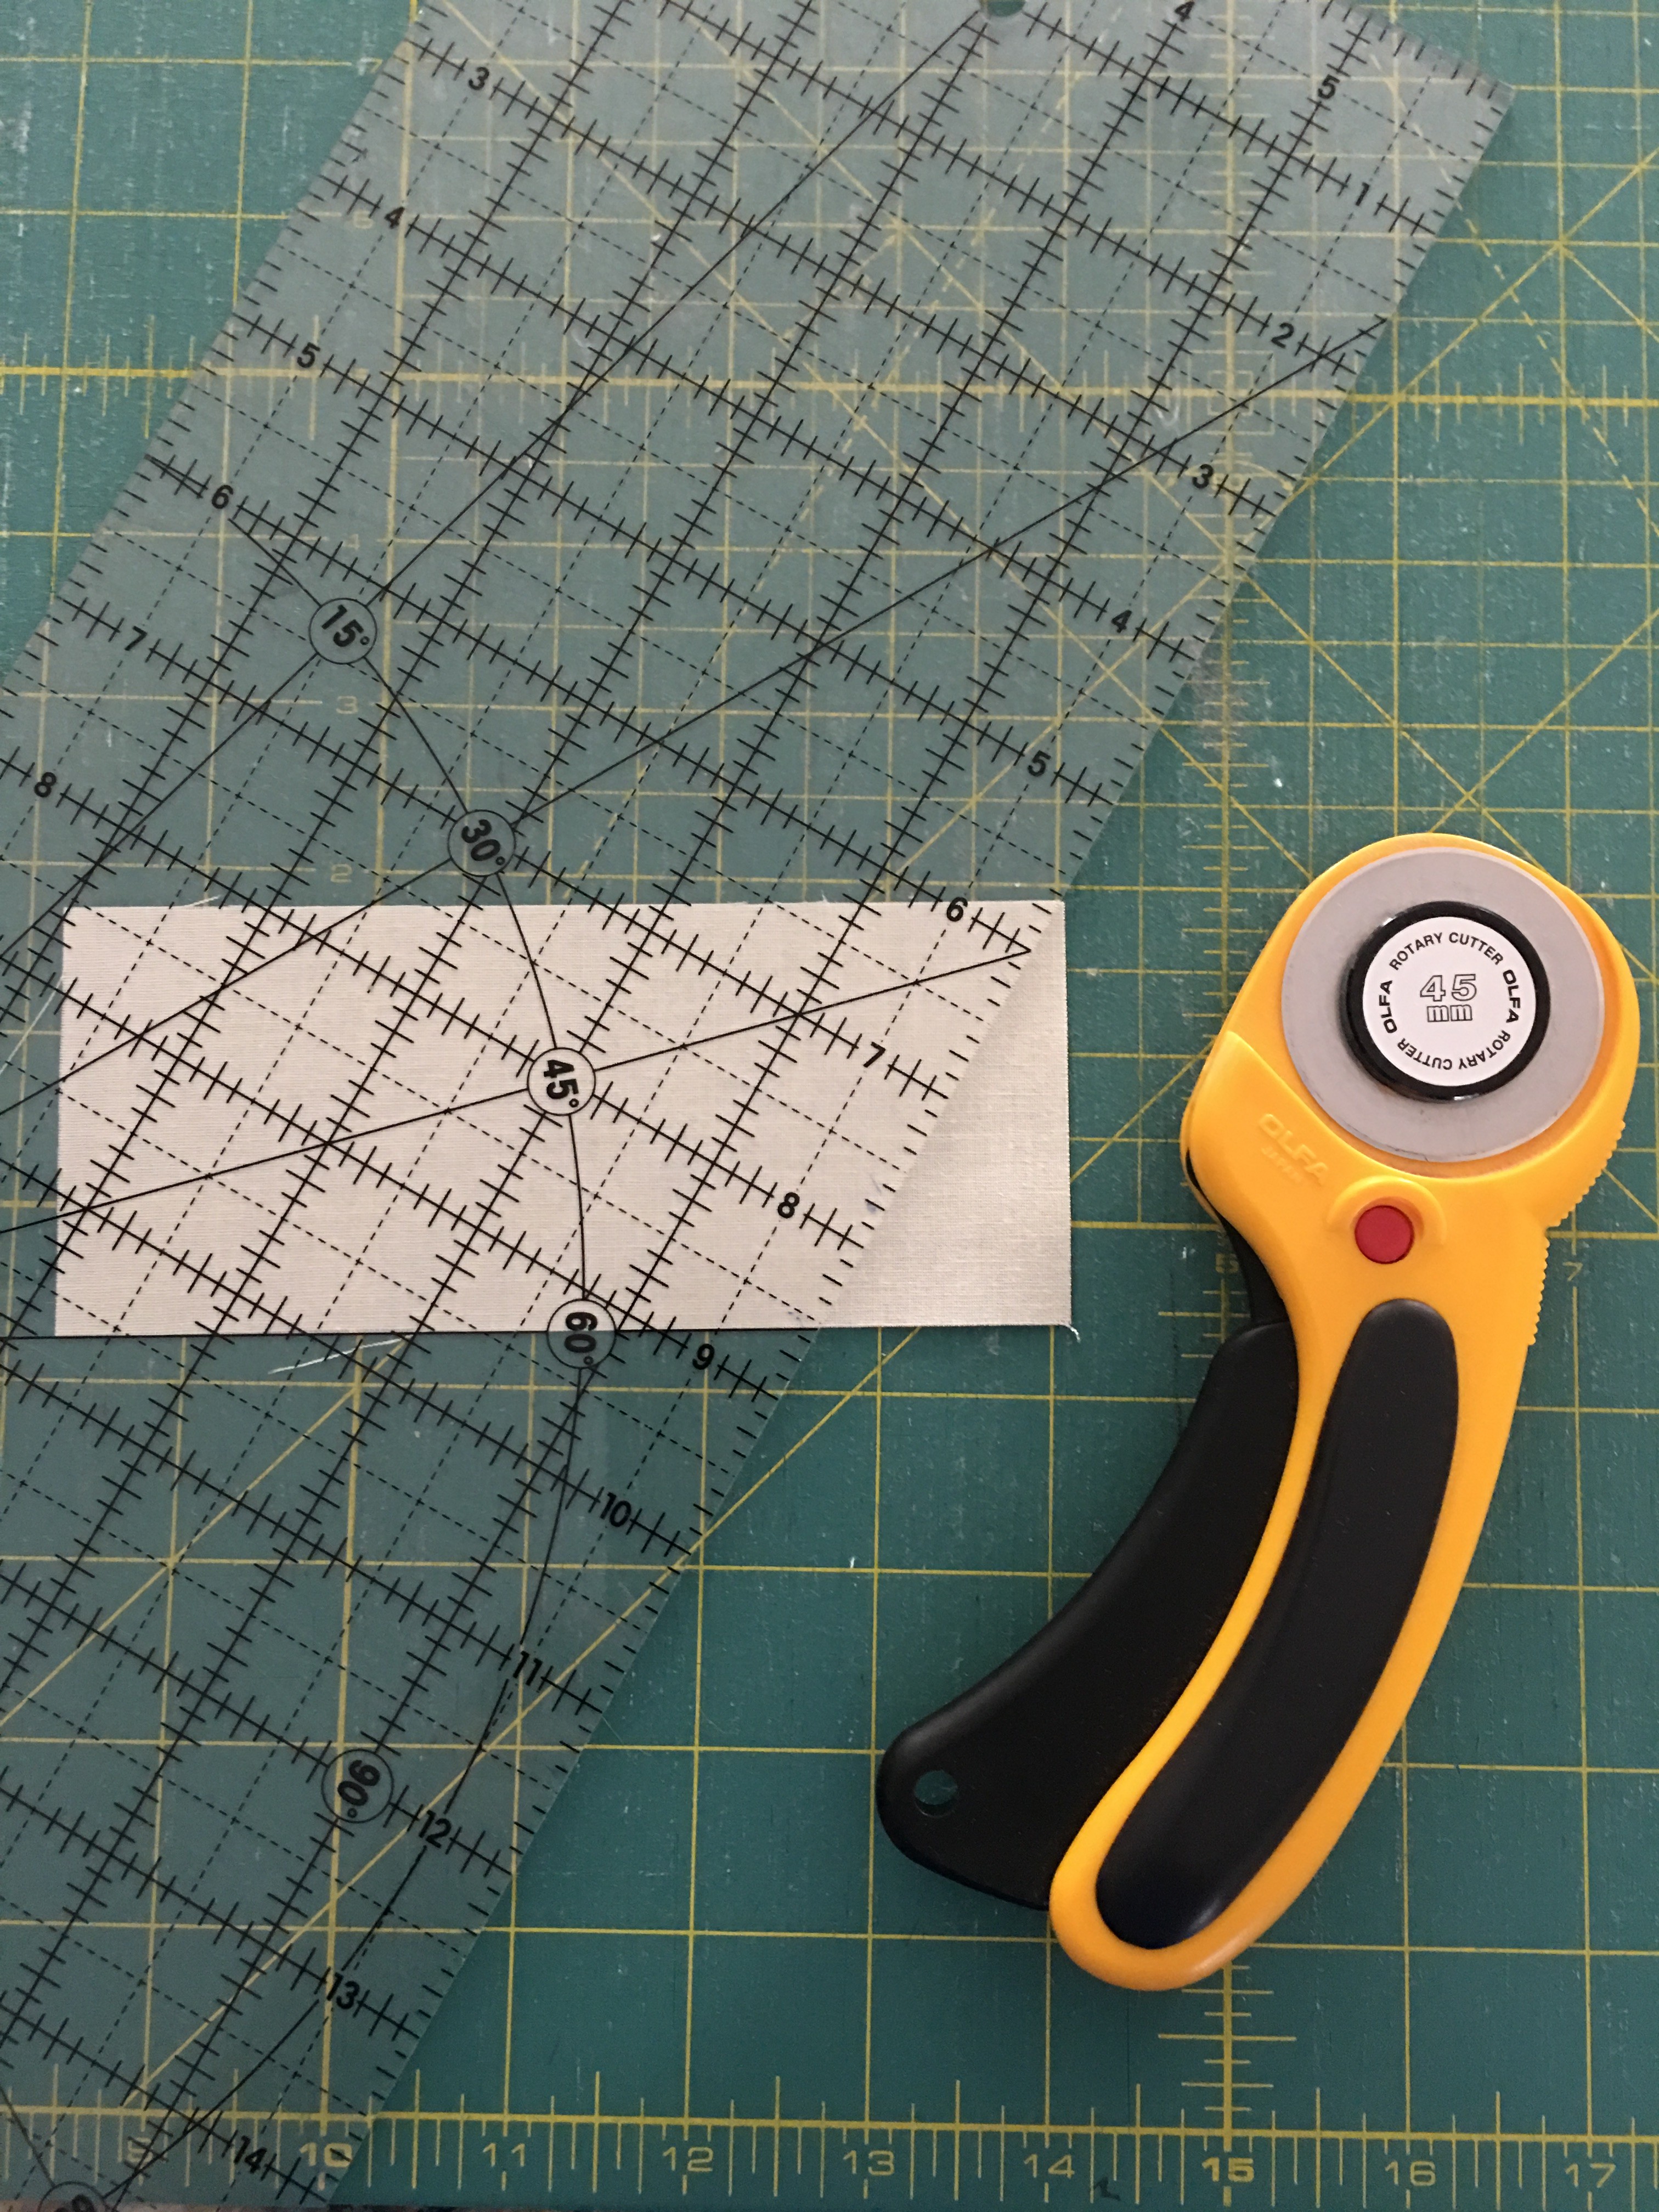
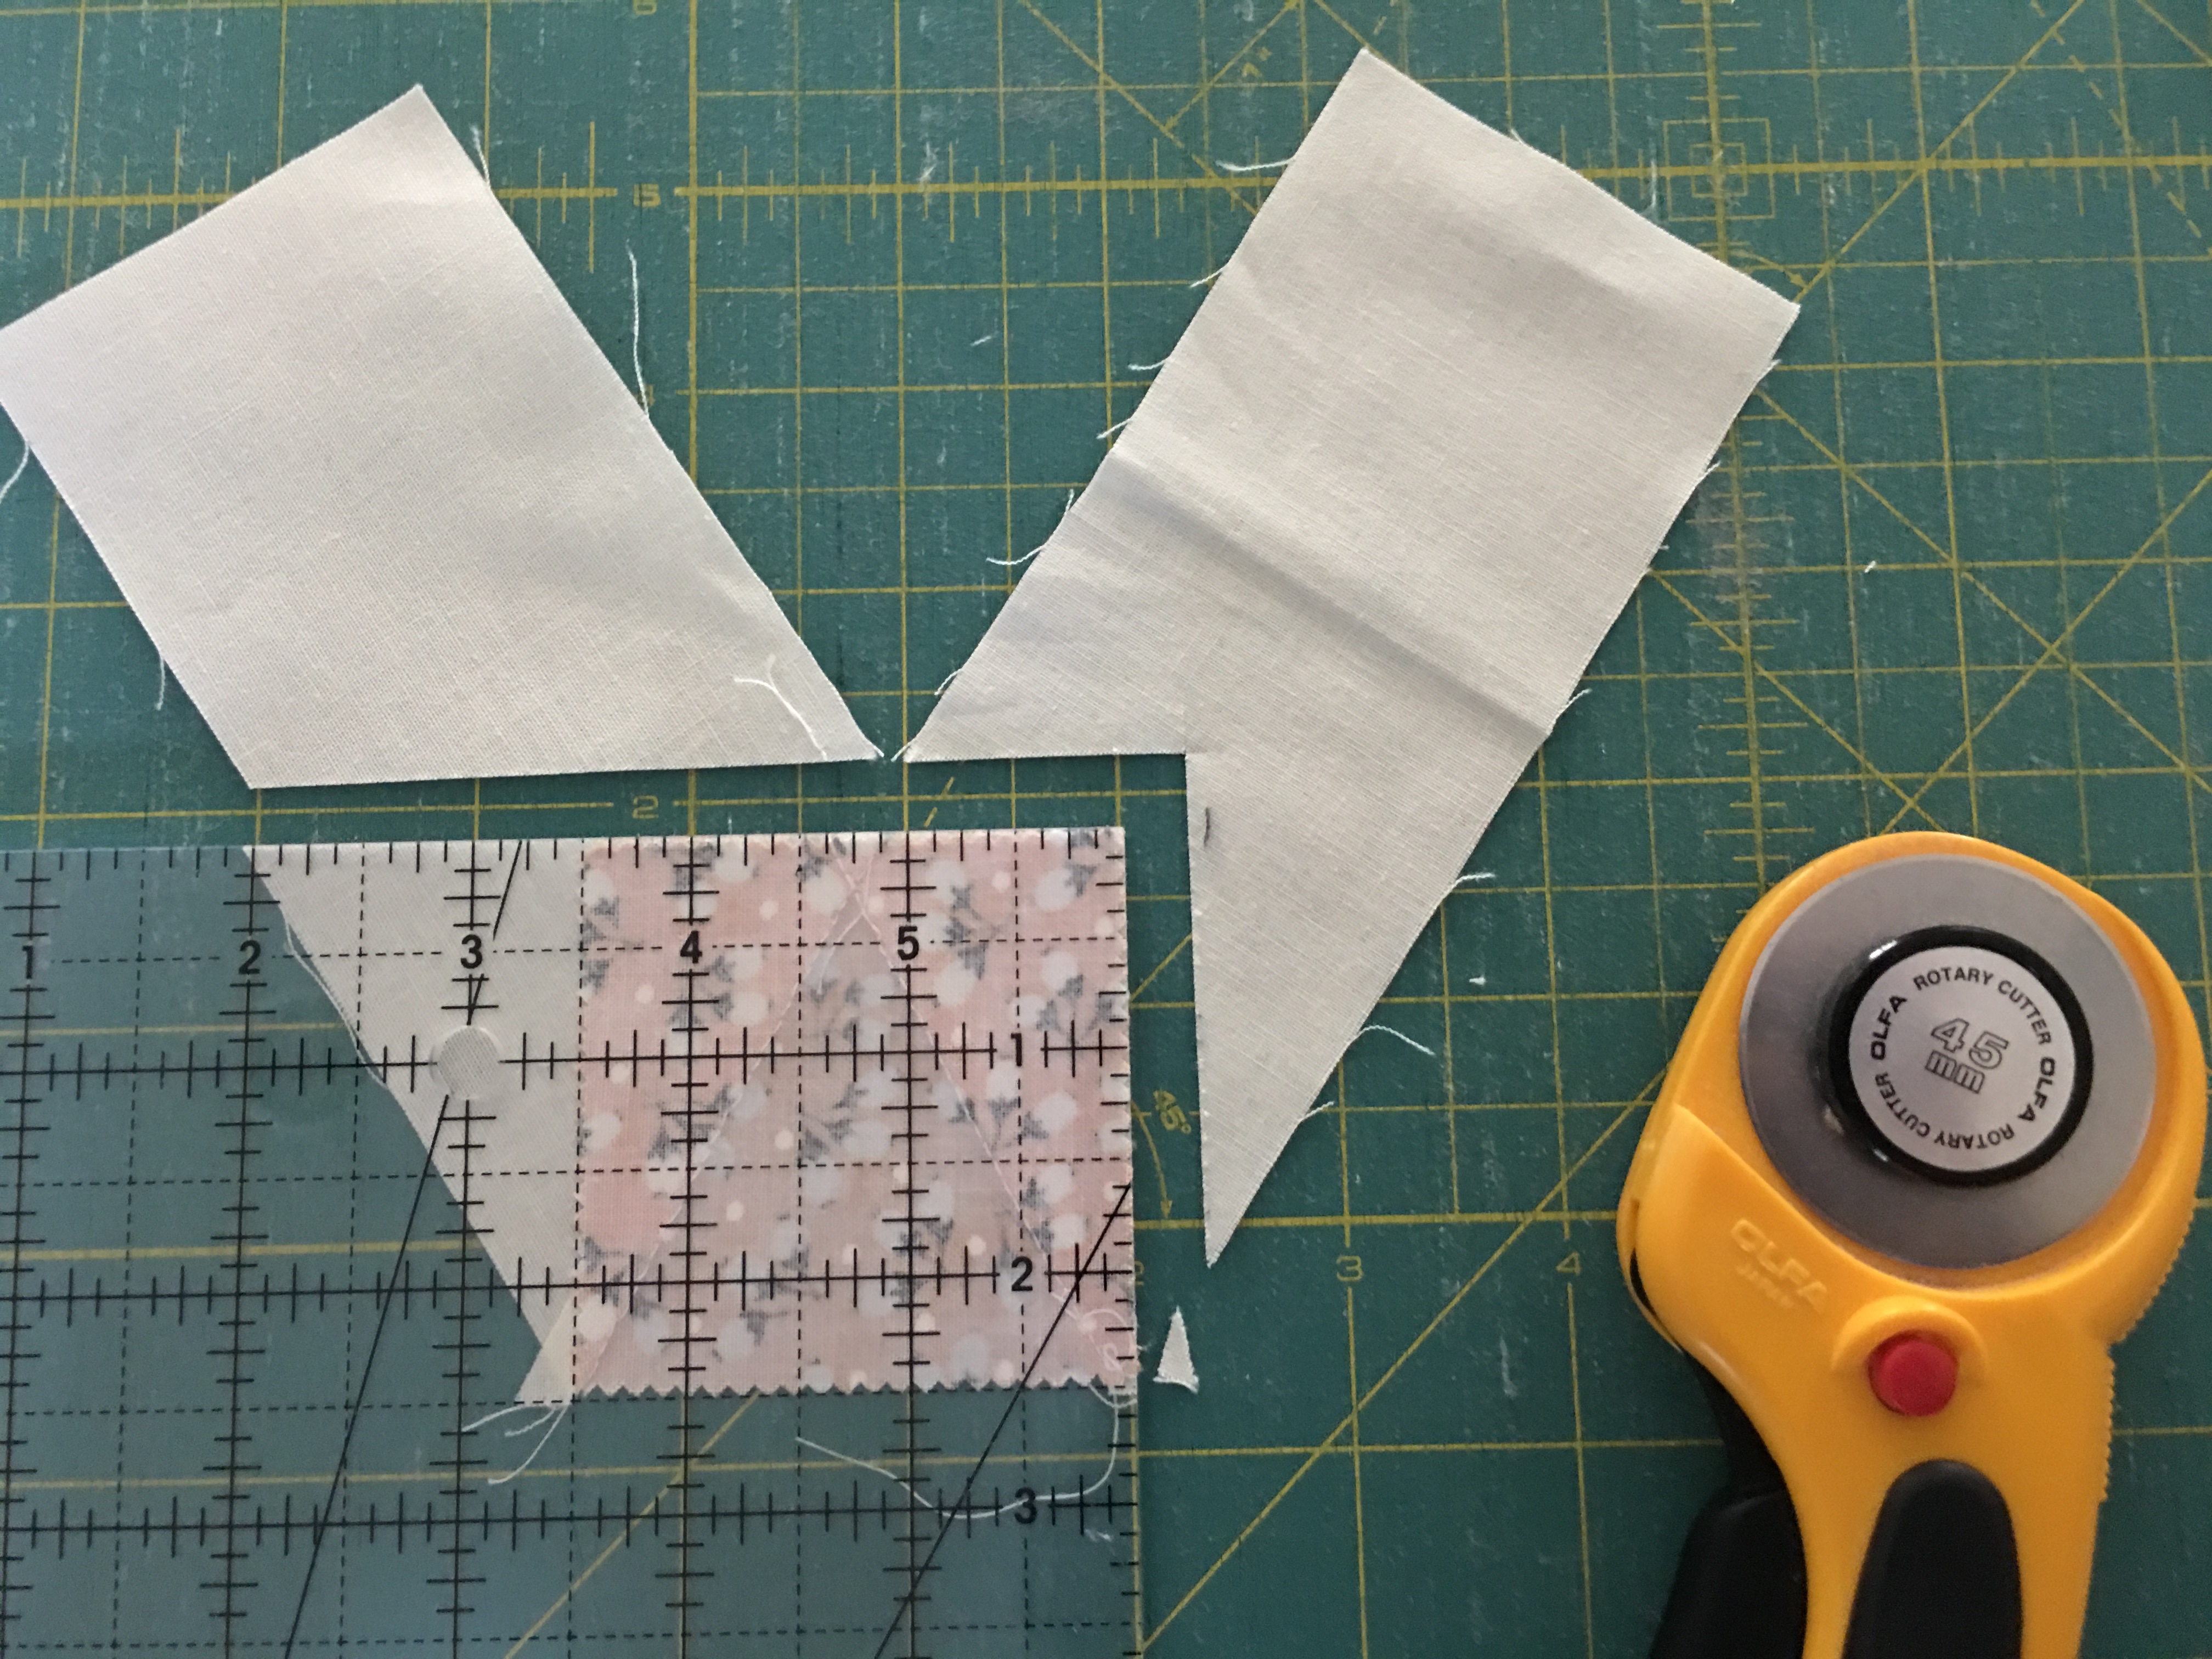
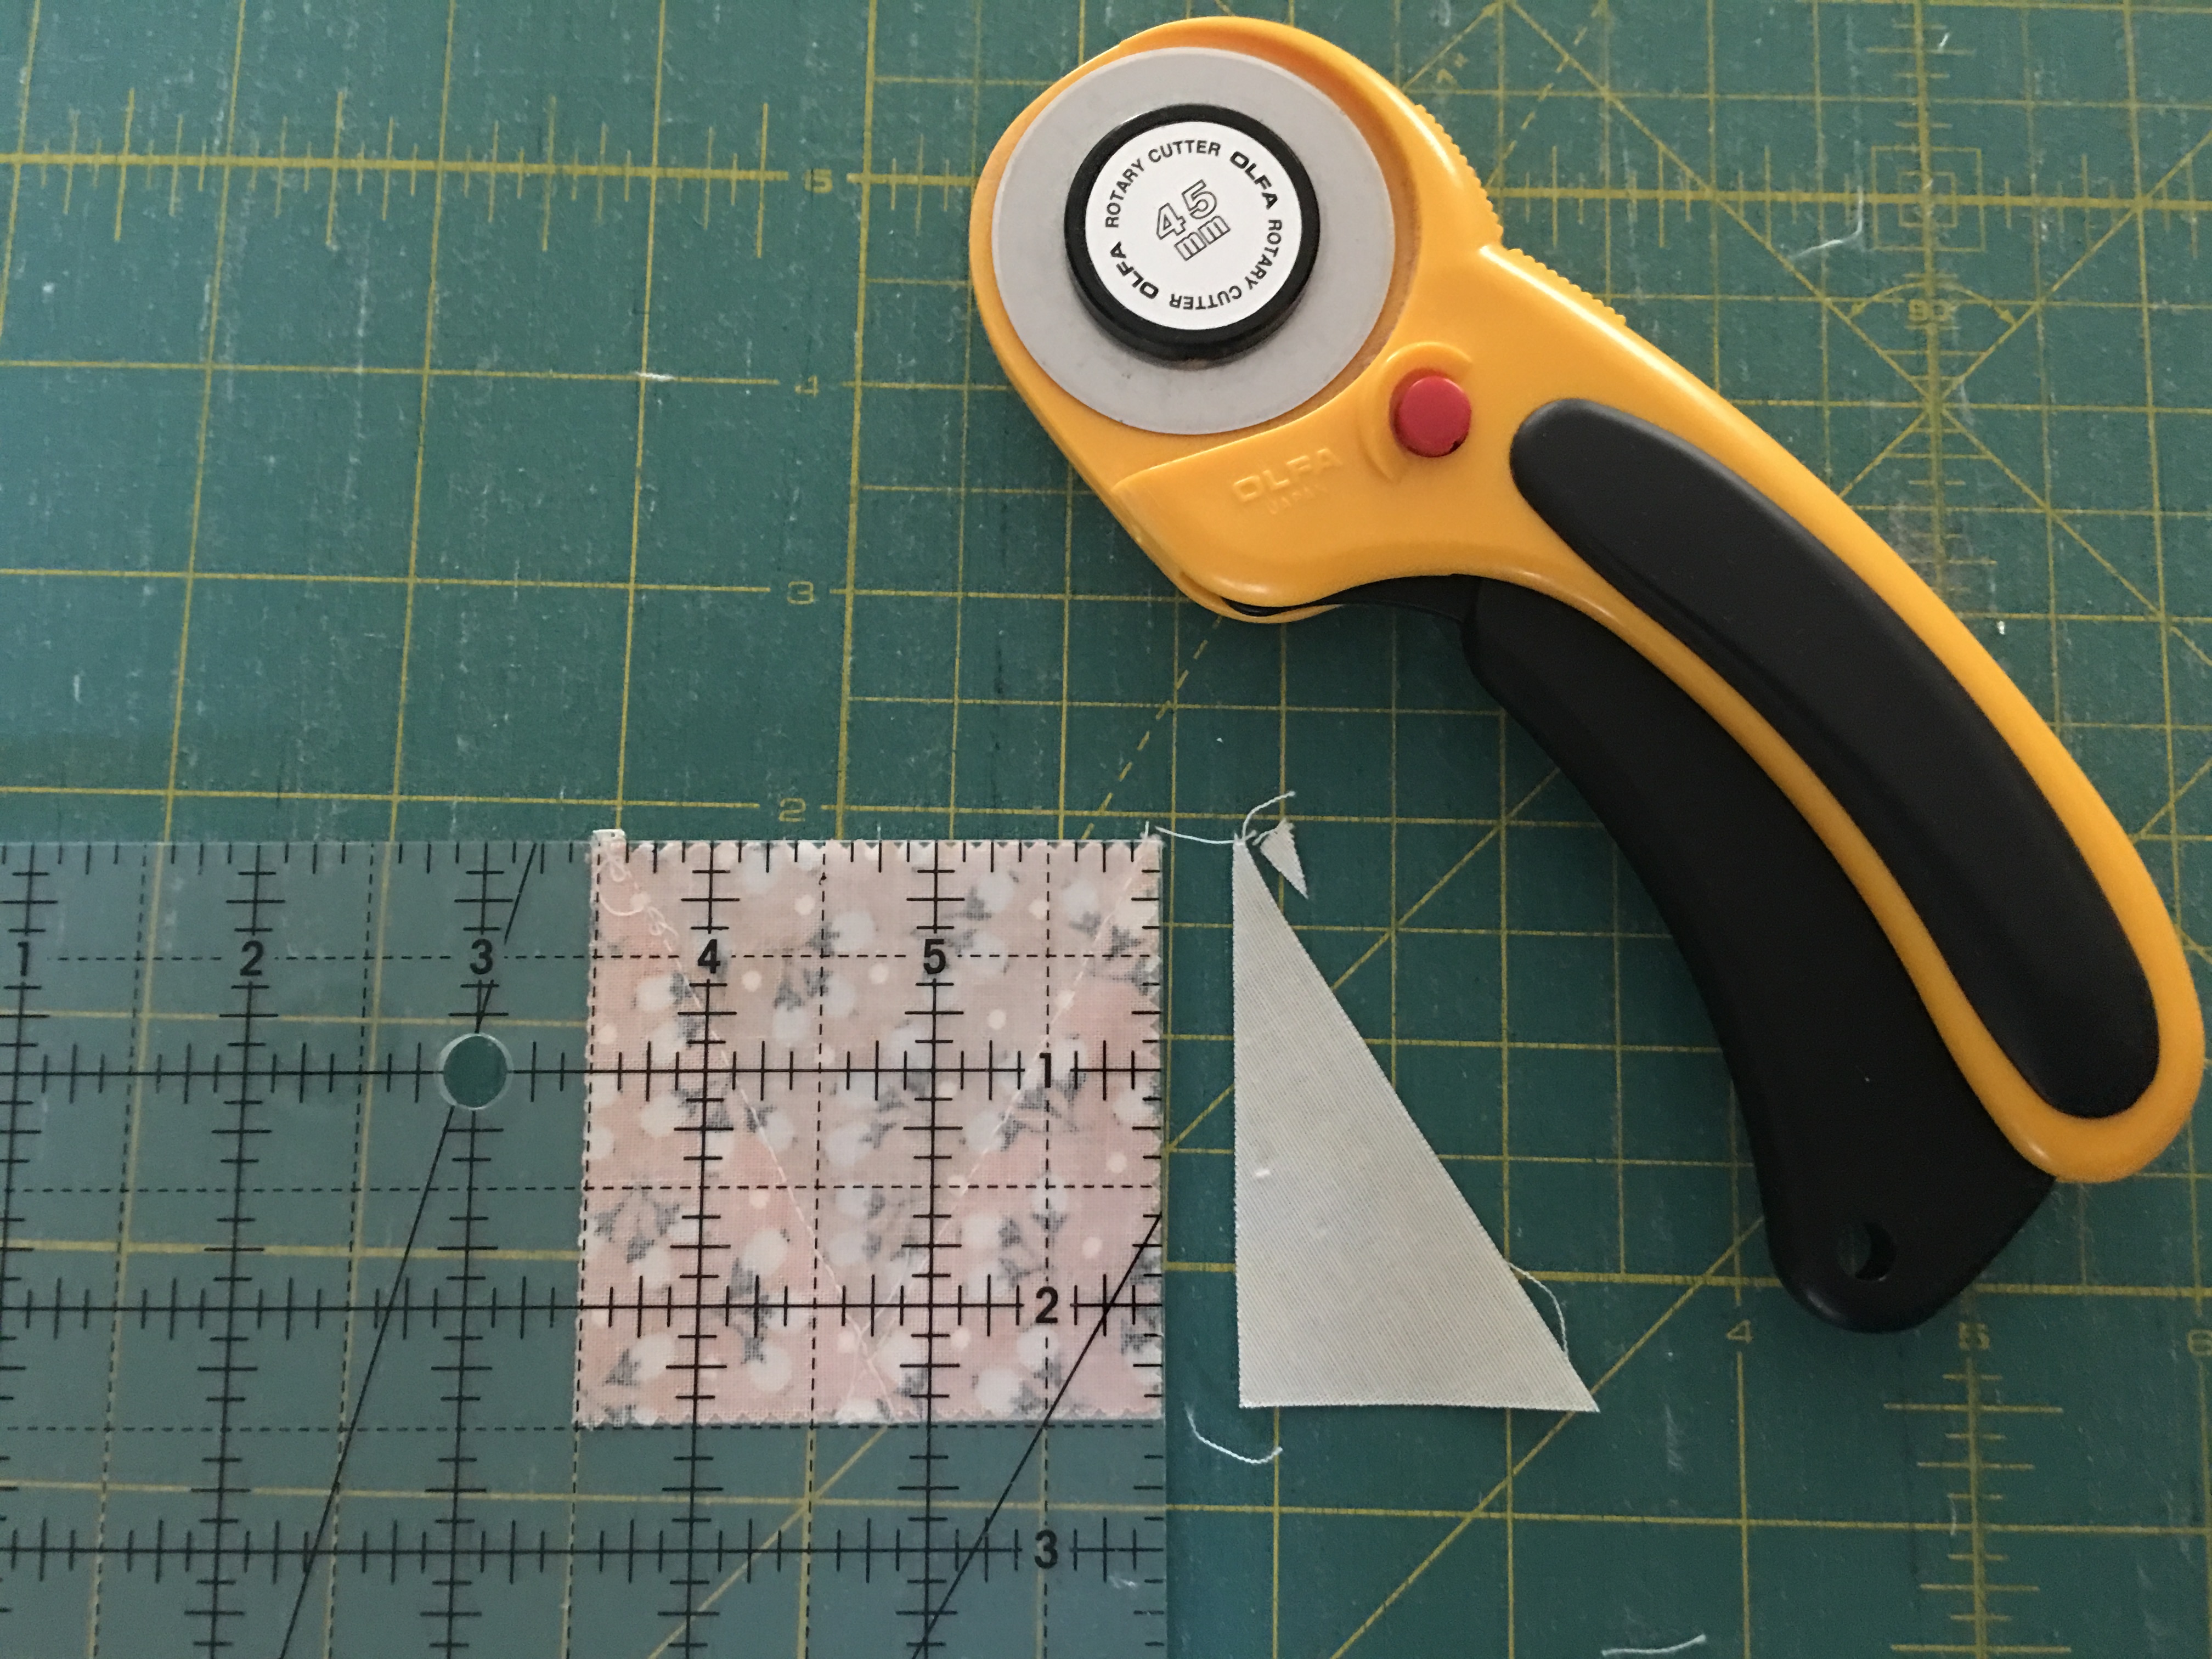
To make your nose, take your two rectangles cut from the remainder of your pumpkin fabric strip and stack them on top of each other. Line up the 60 degree line on your ruler with the bottom of the strips and cut the angle.


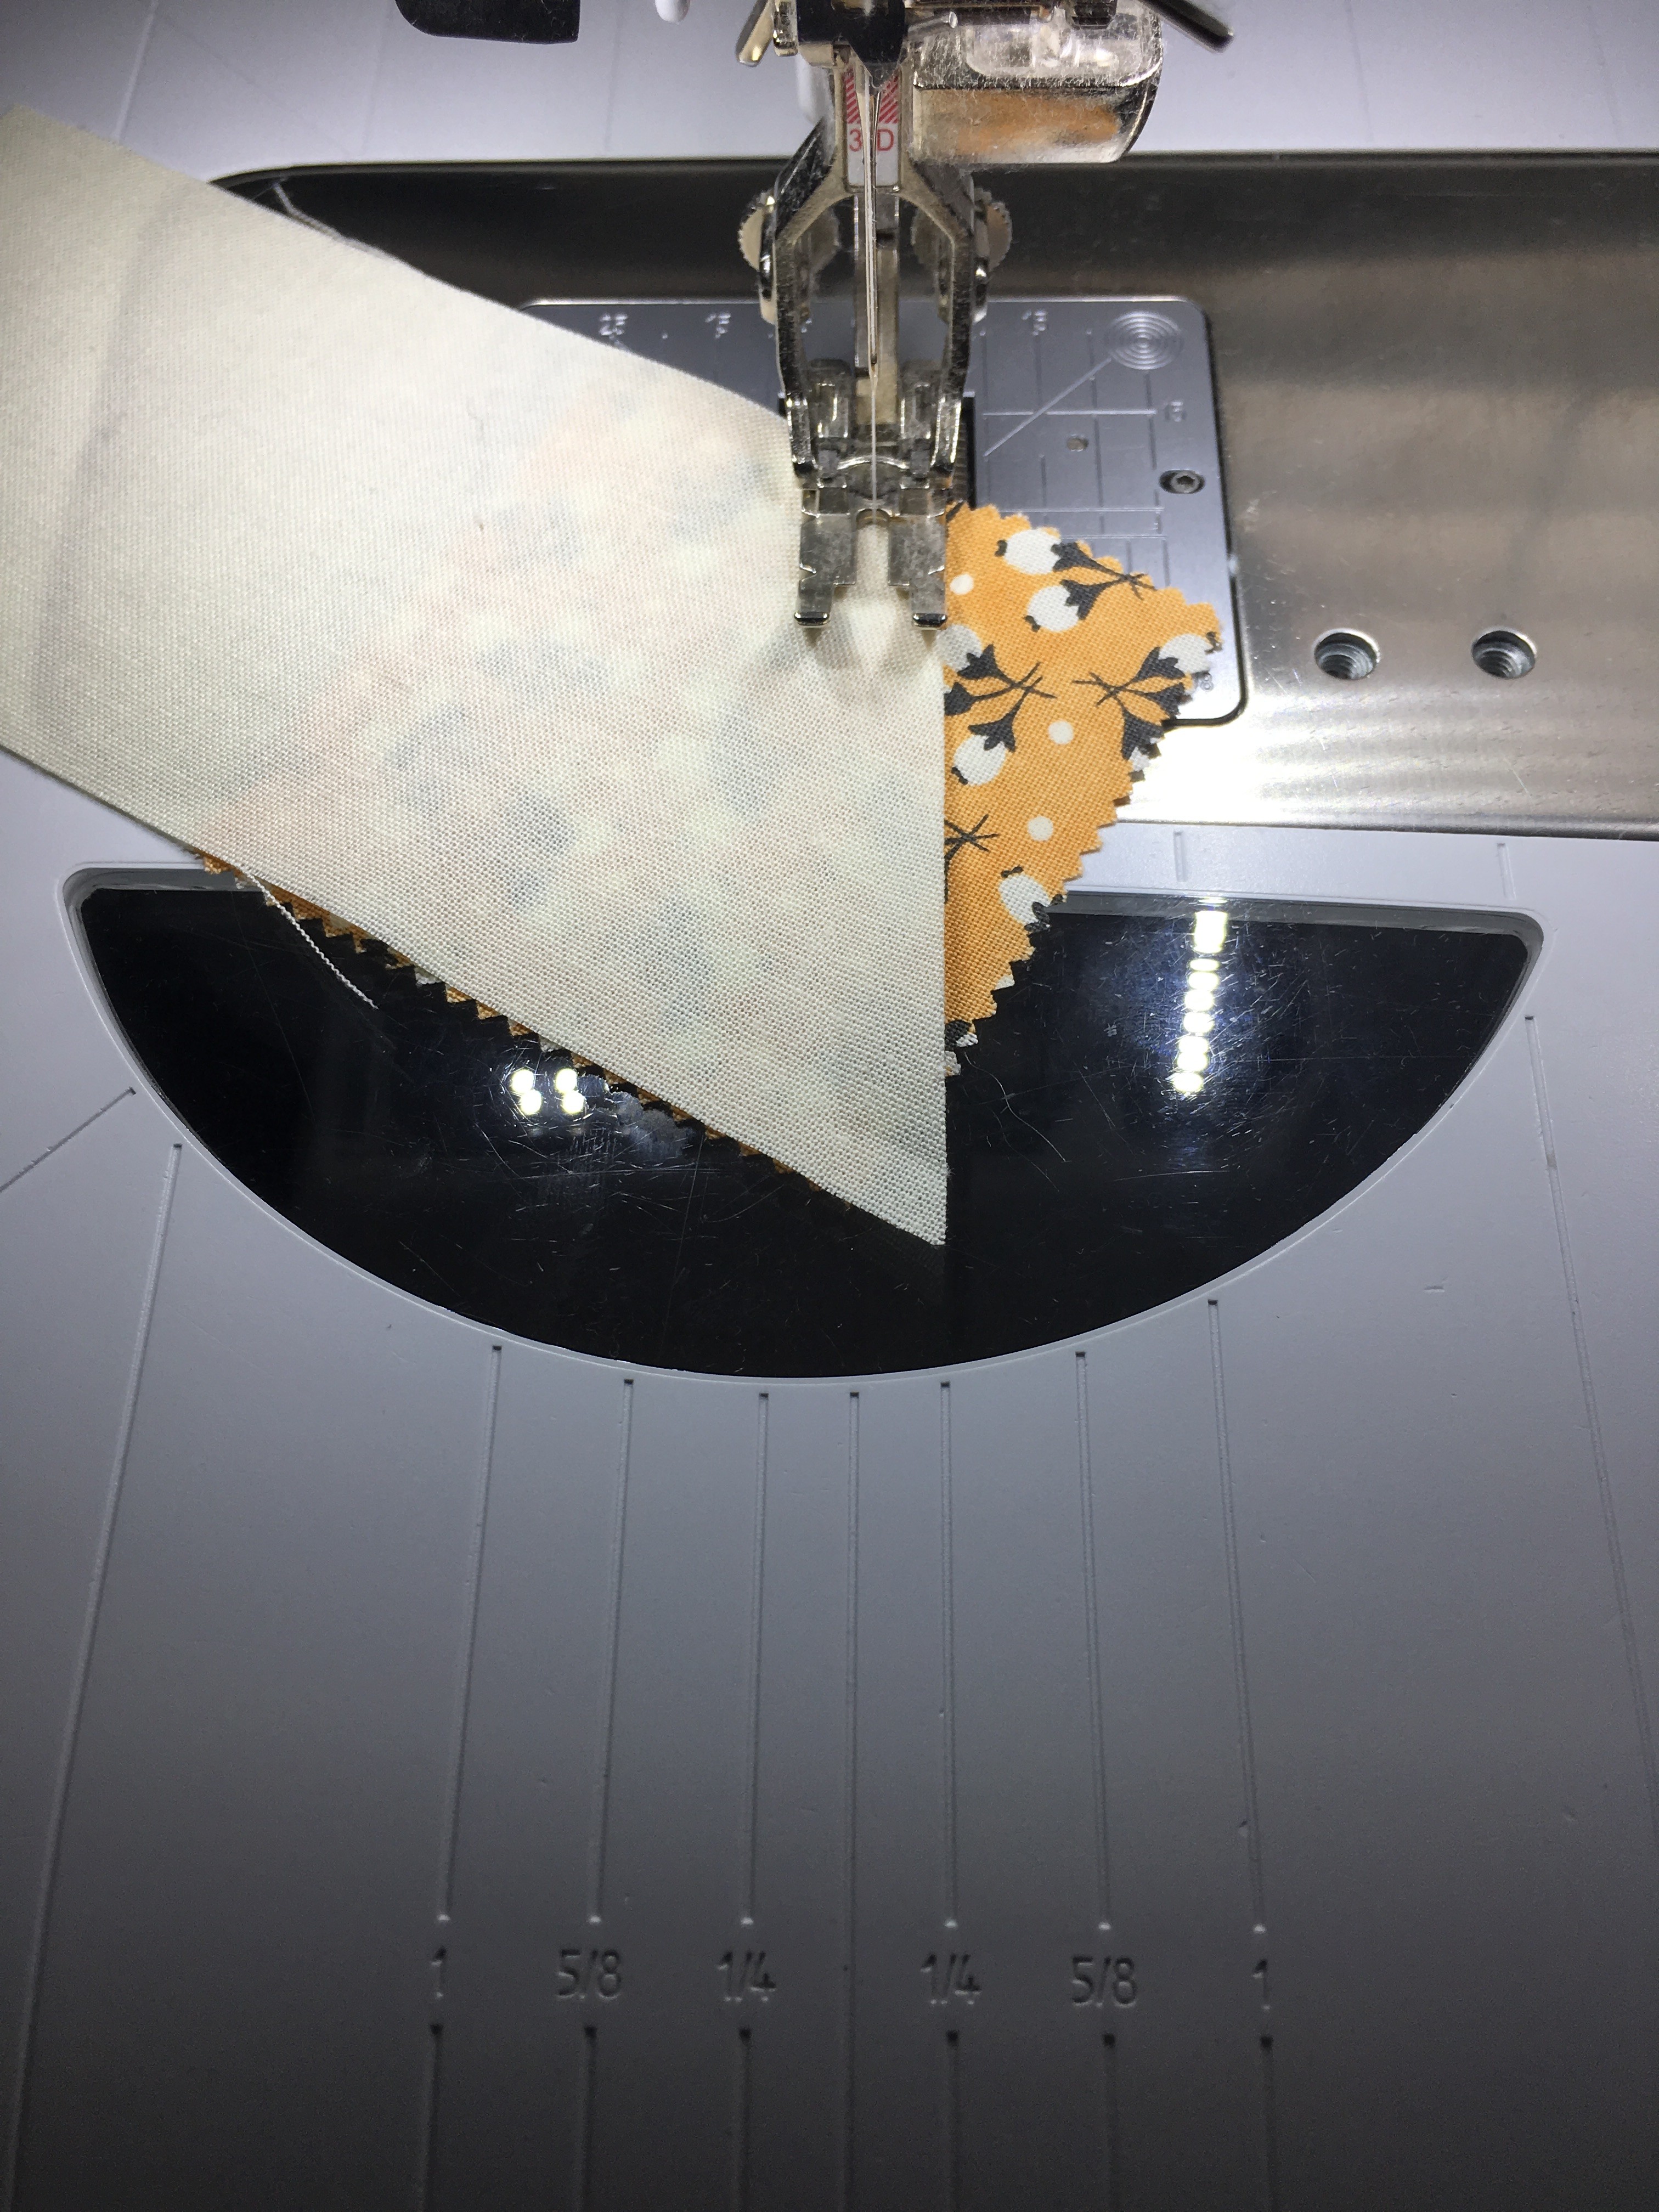
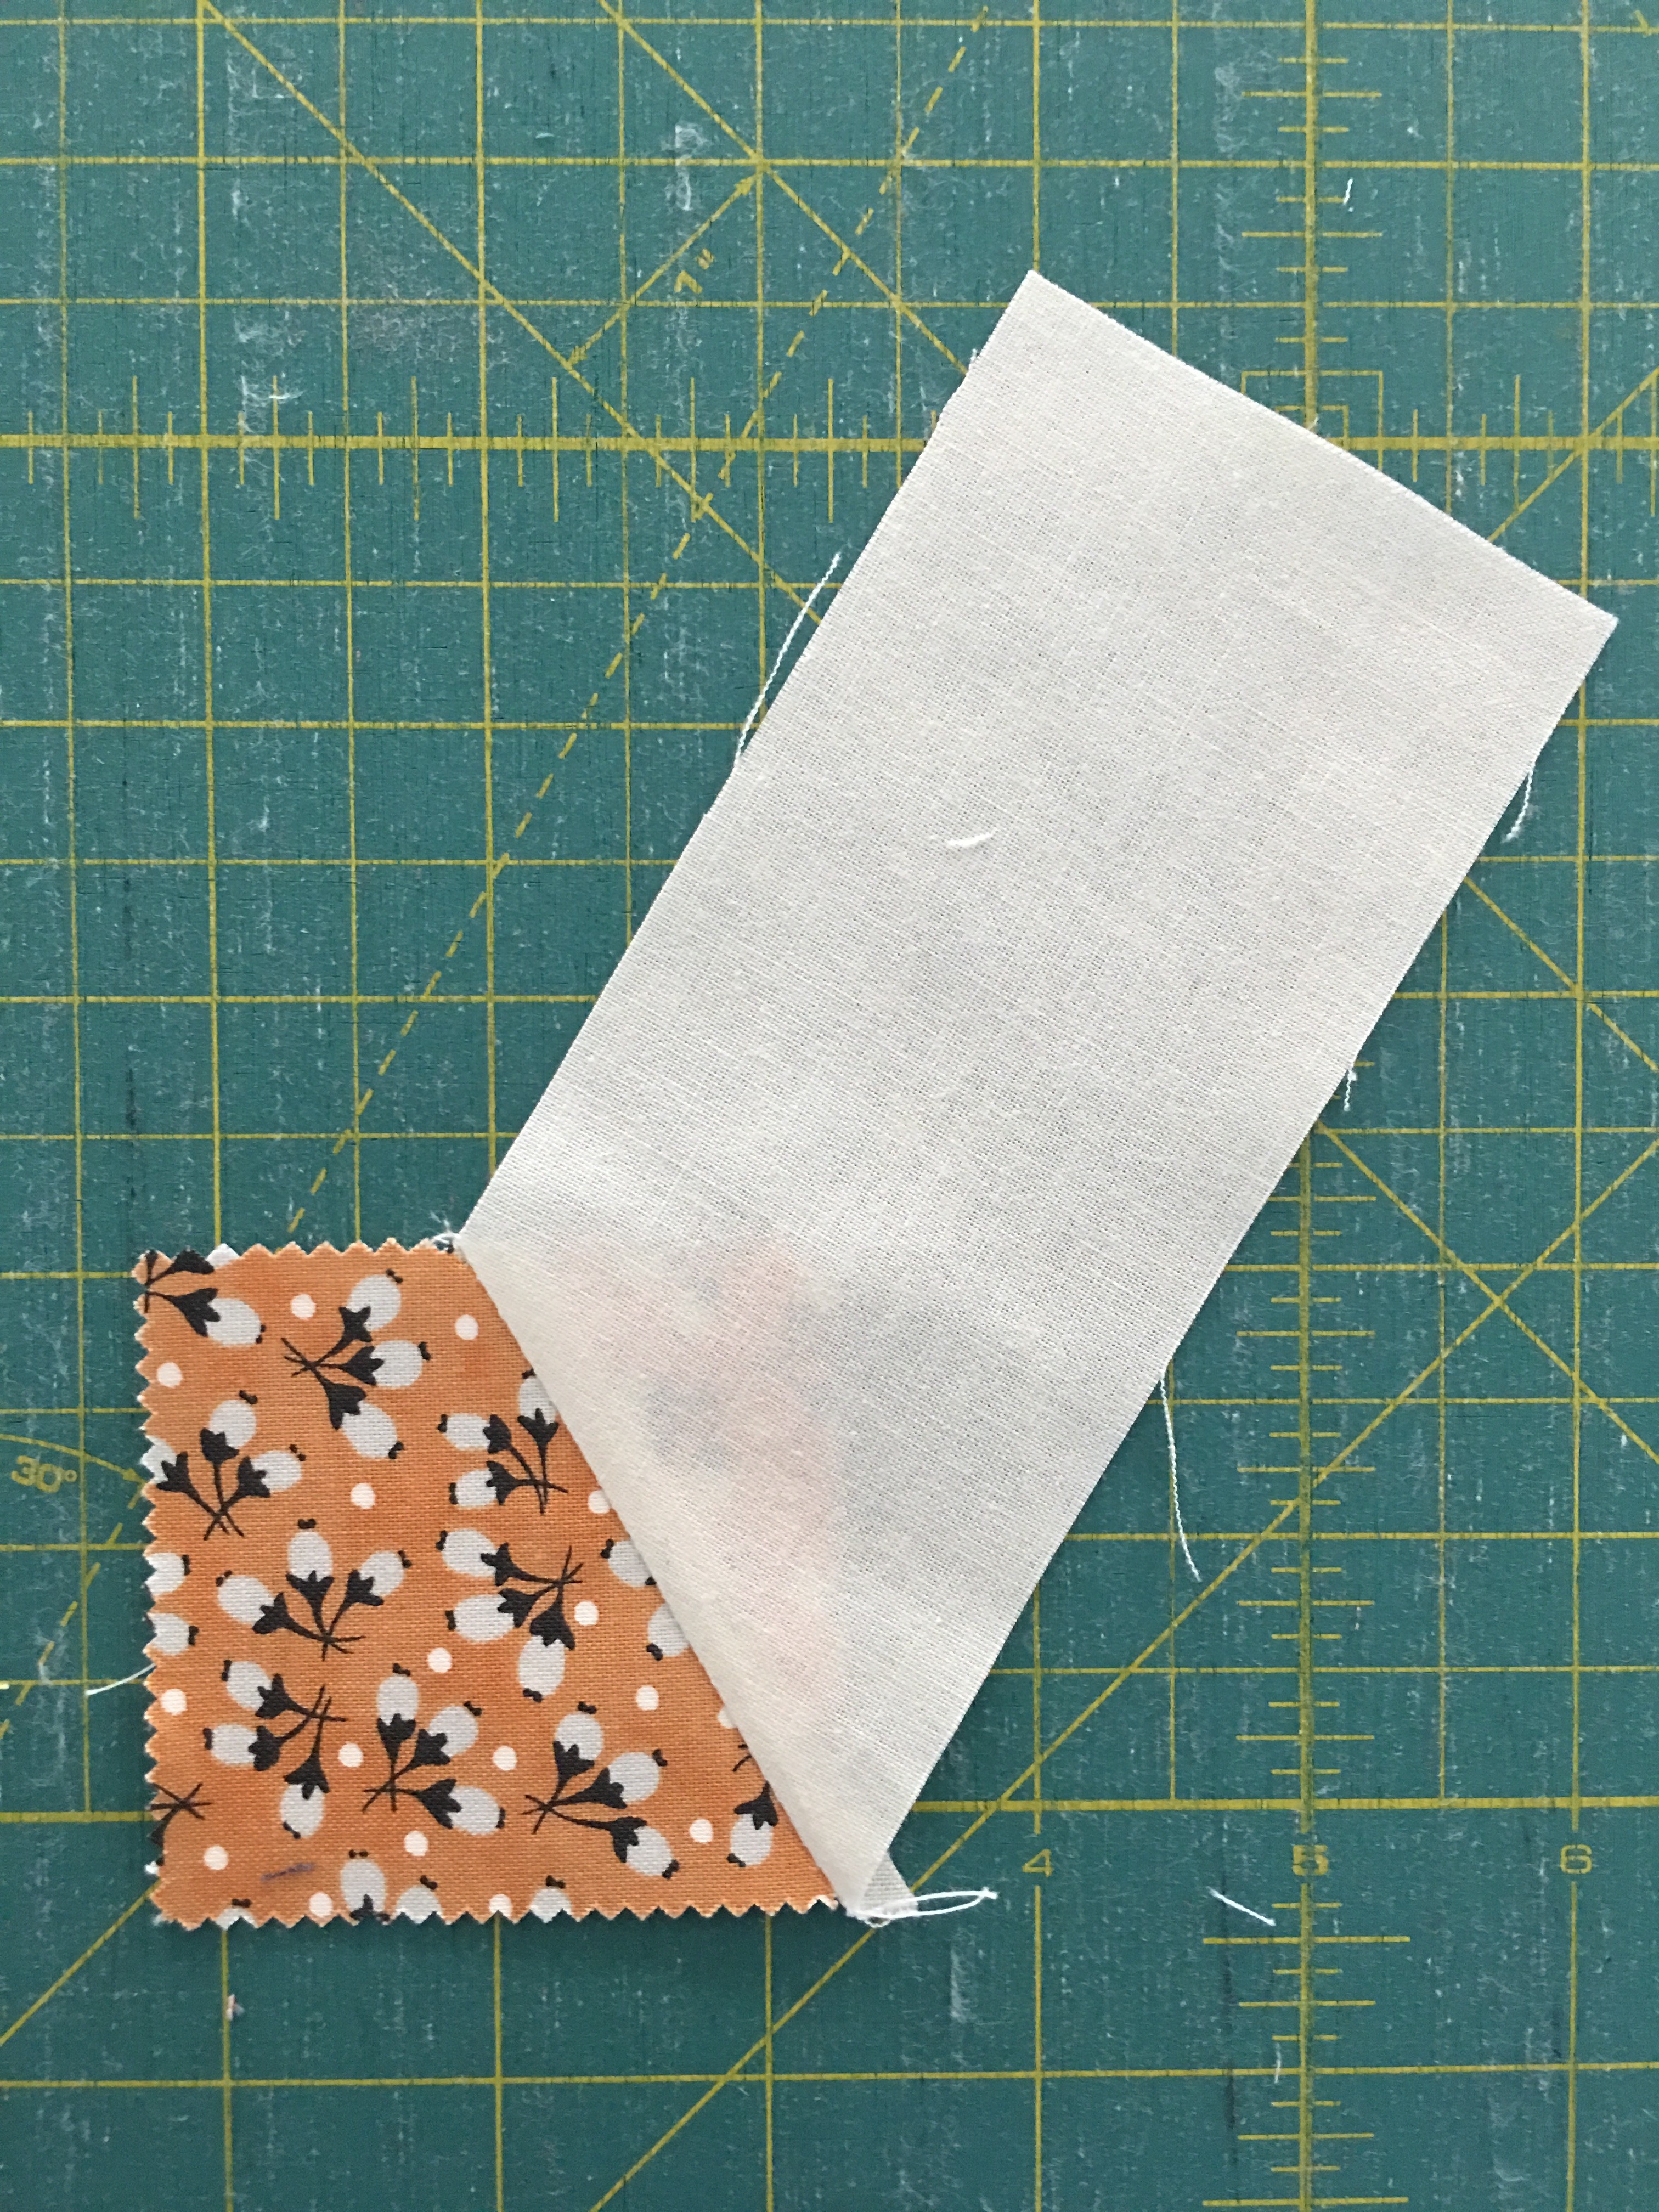
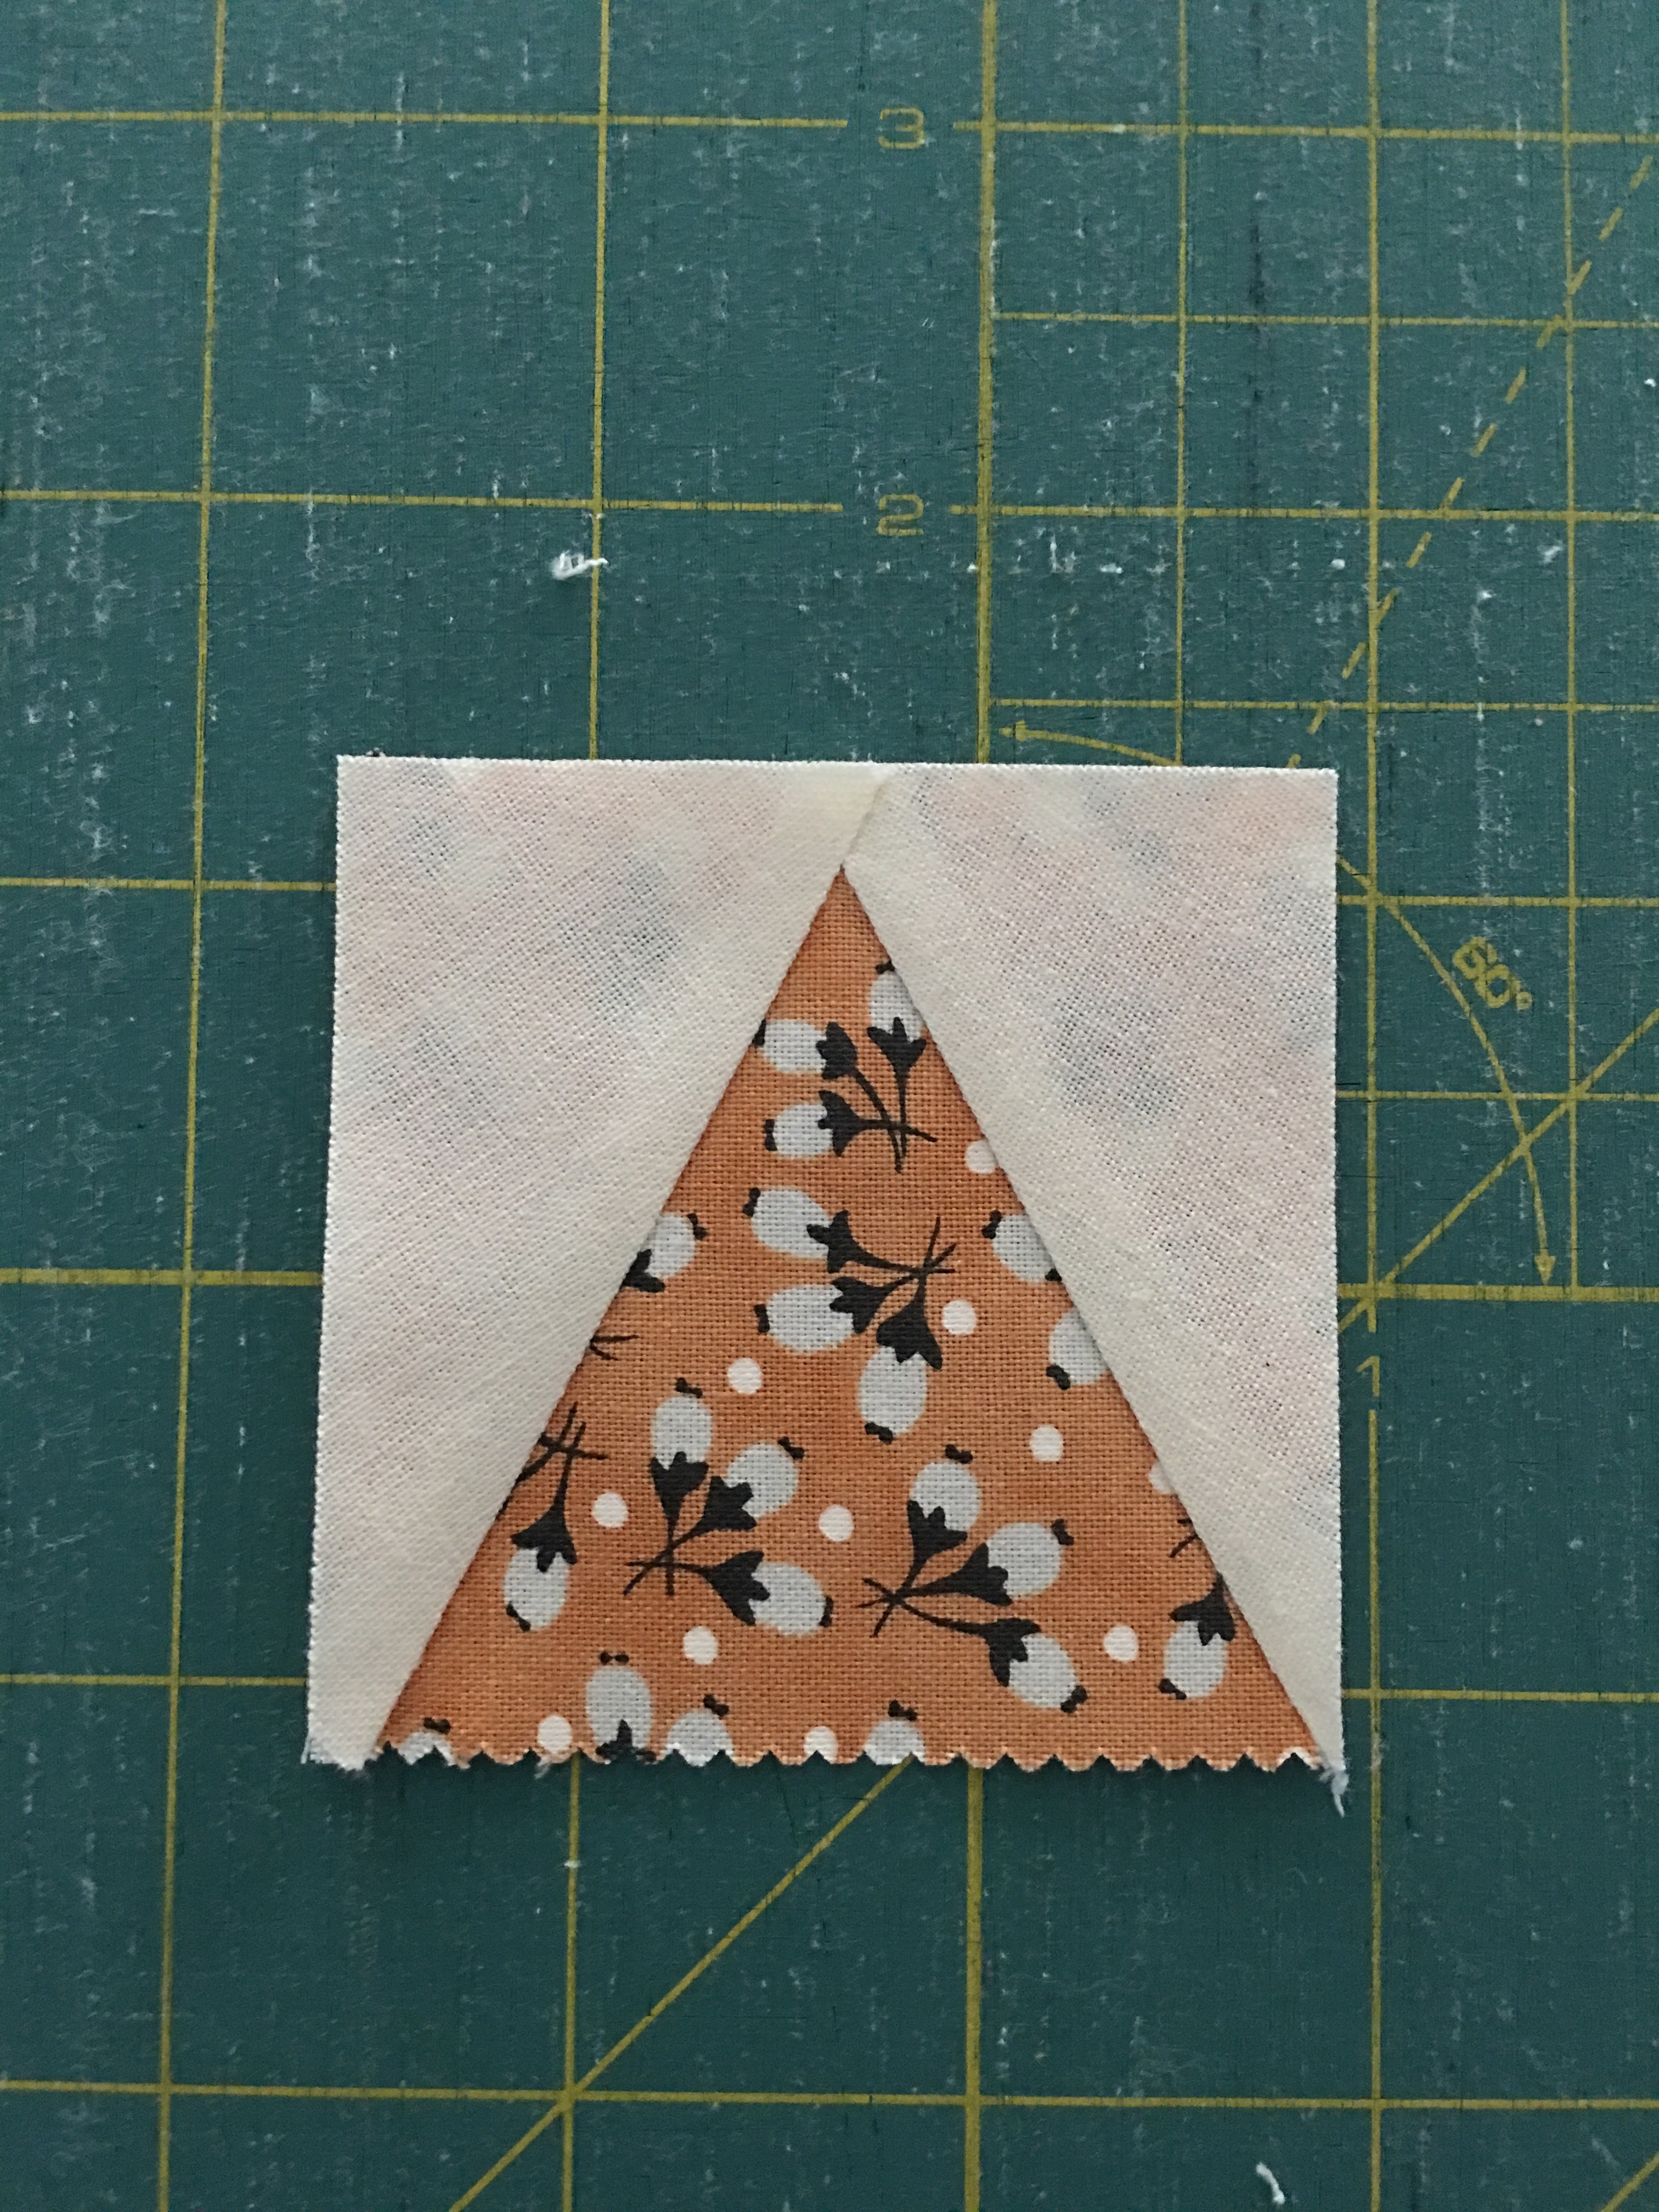
Take the right side strip and lay it with 1/4" hanging past the right edge of the mini charm square. Sew along the 60 degree edge with a 1/4" seam allowance. Press the strip out.
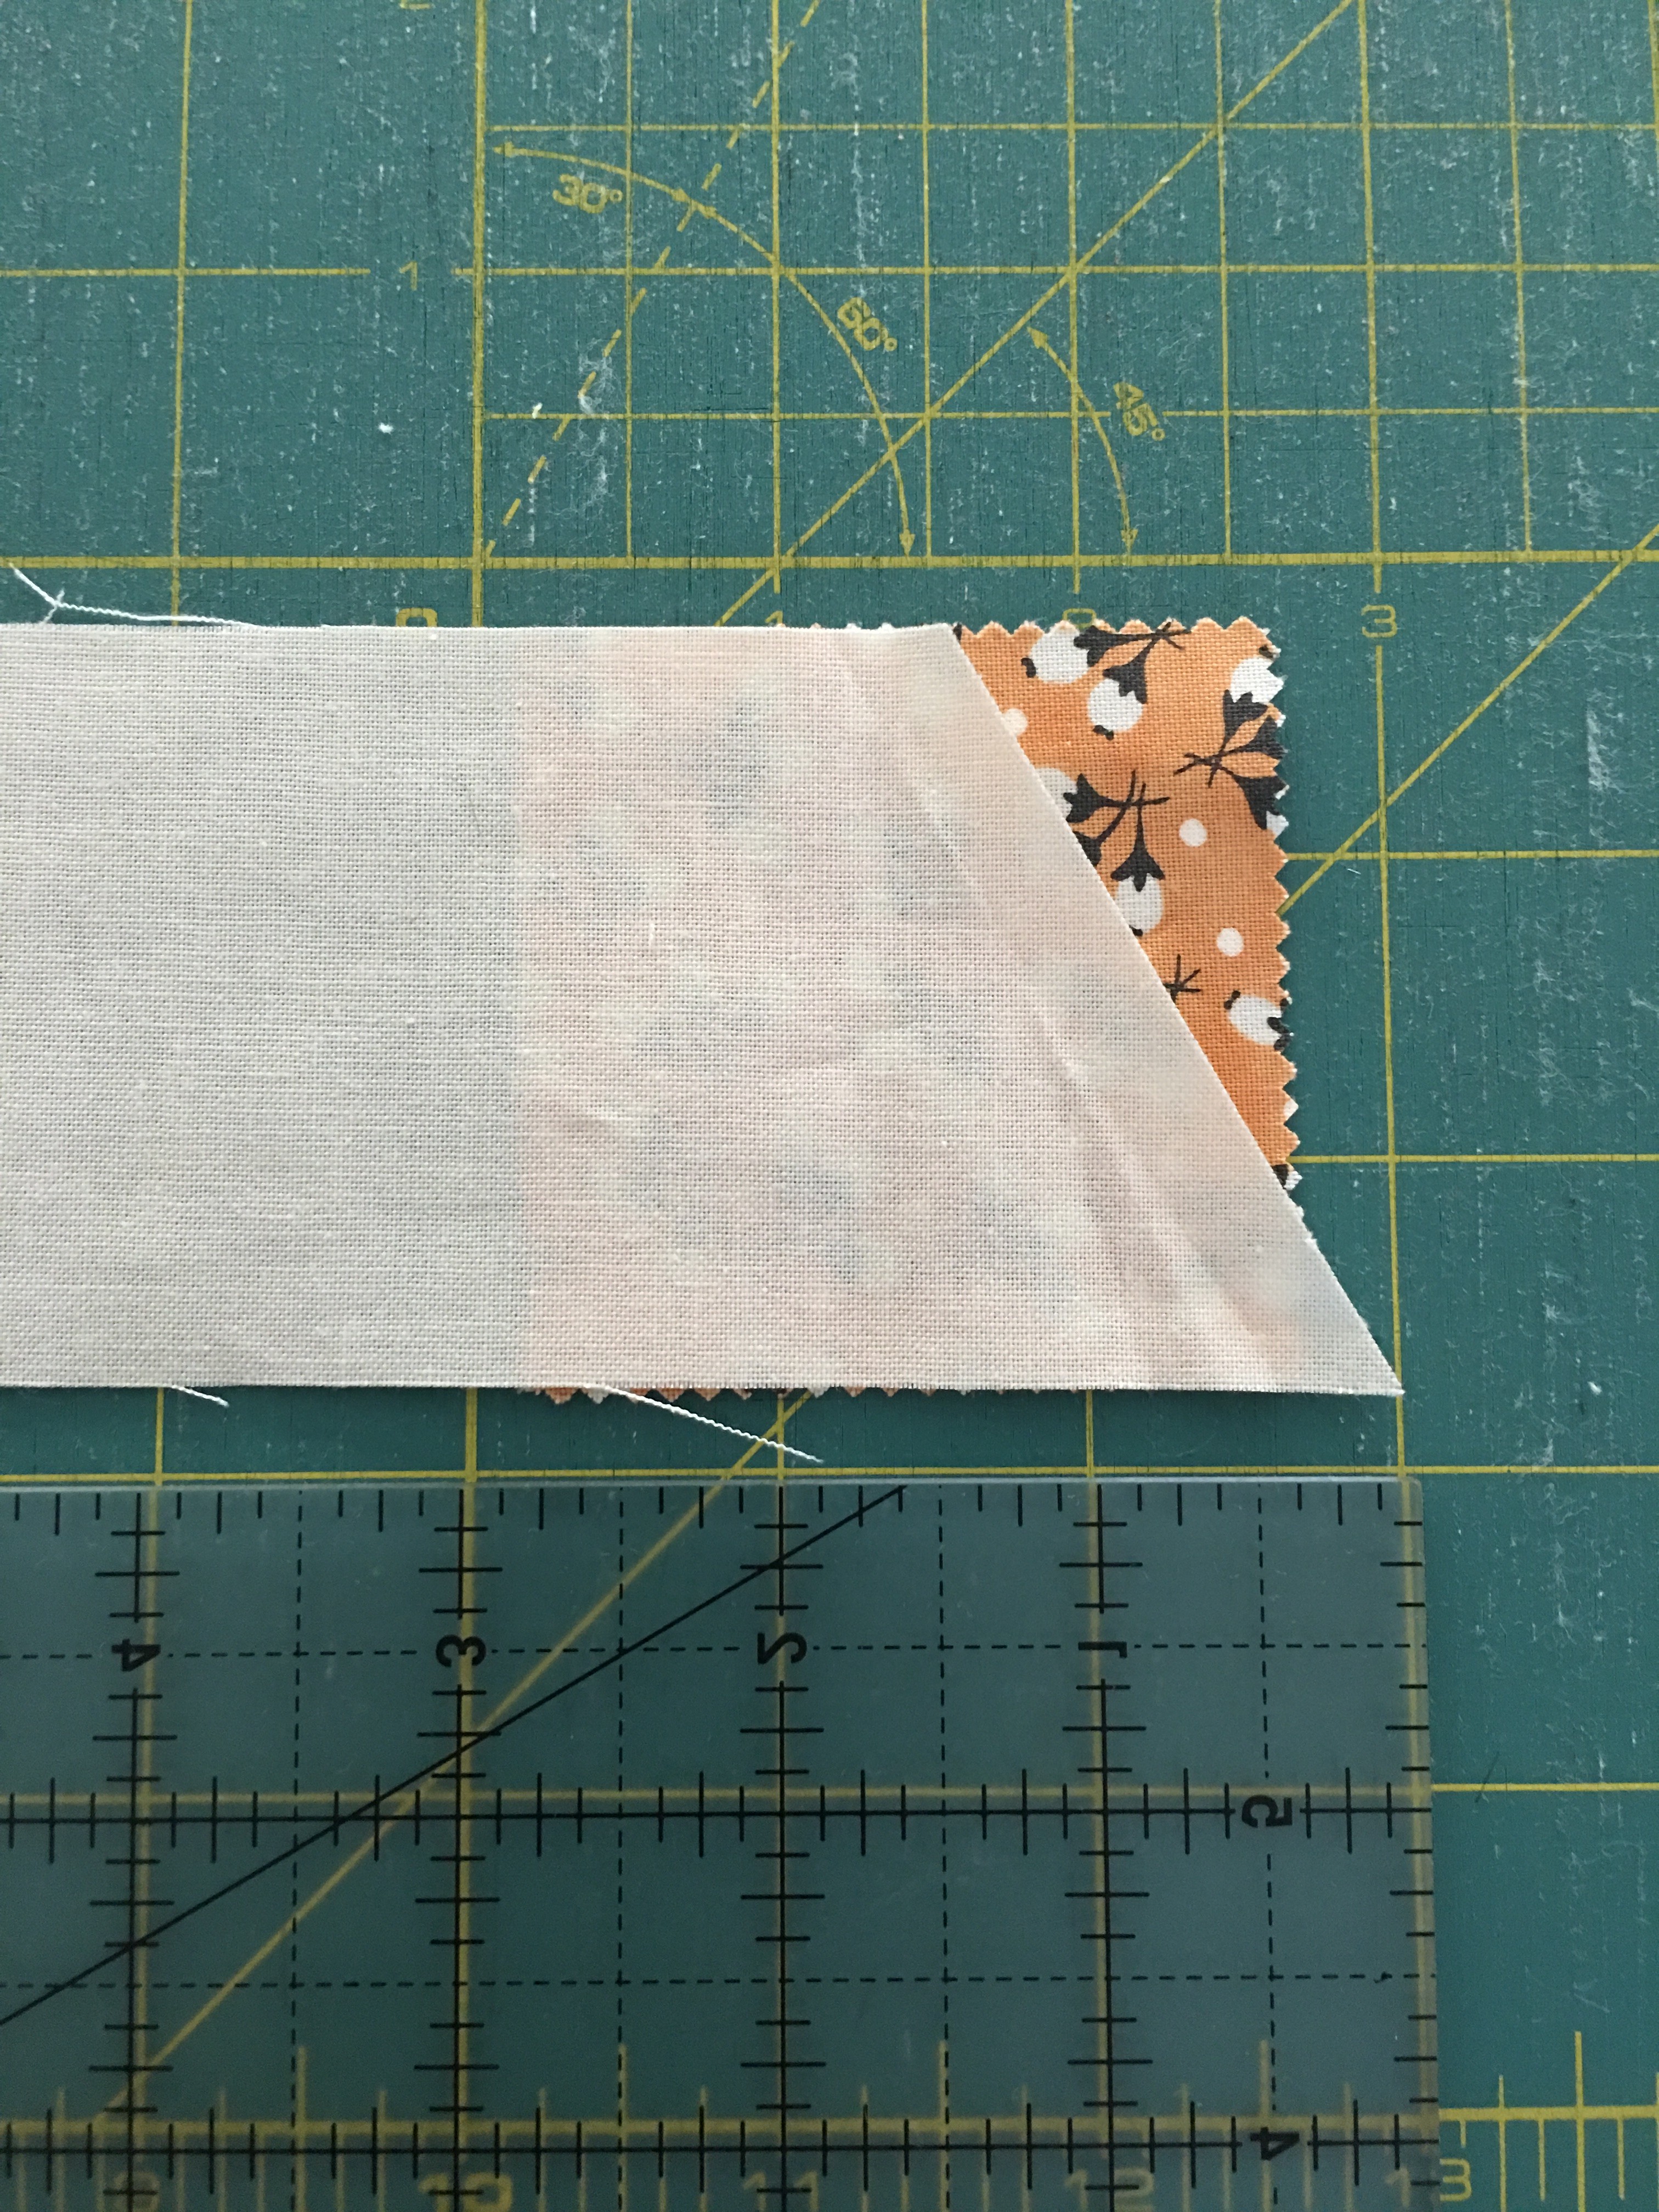
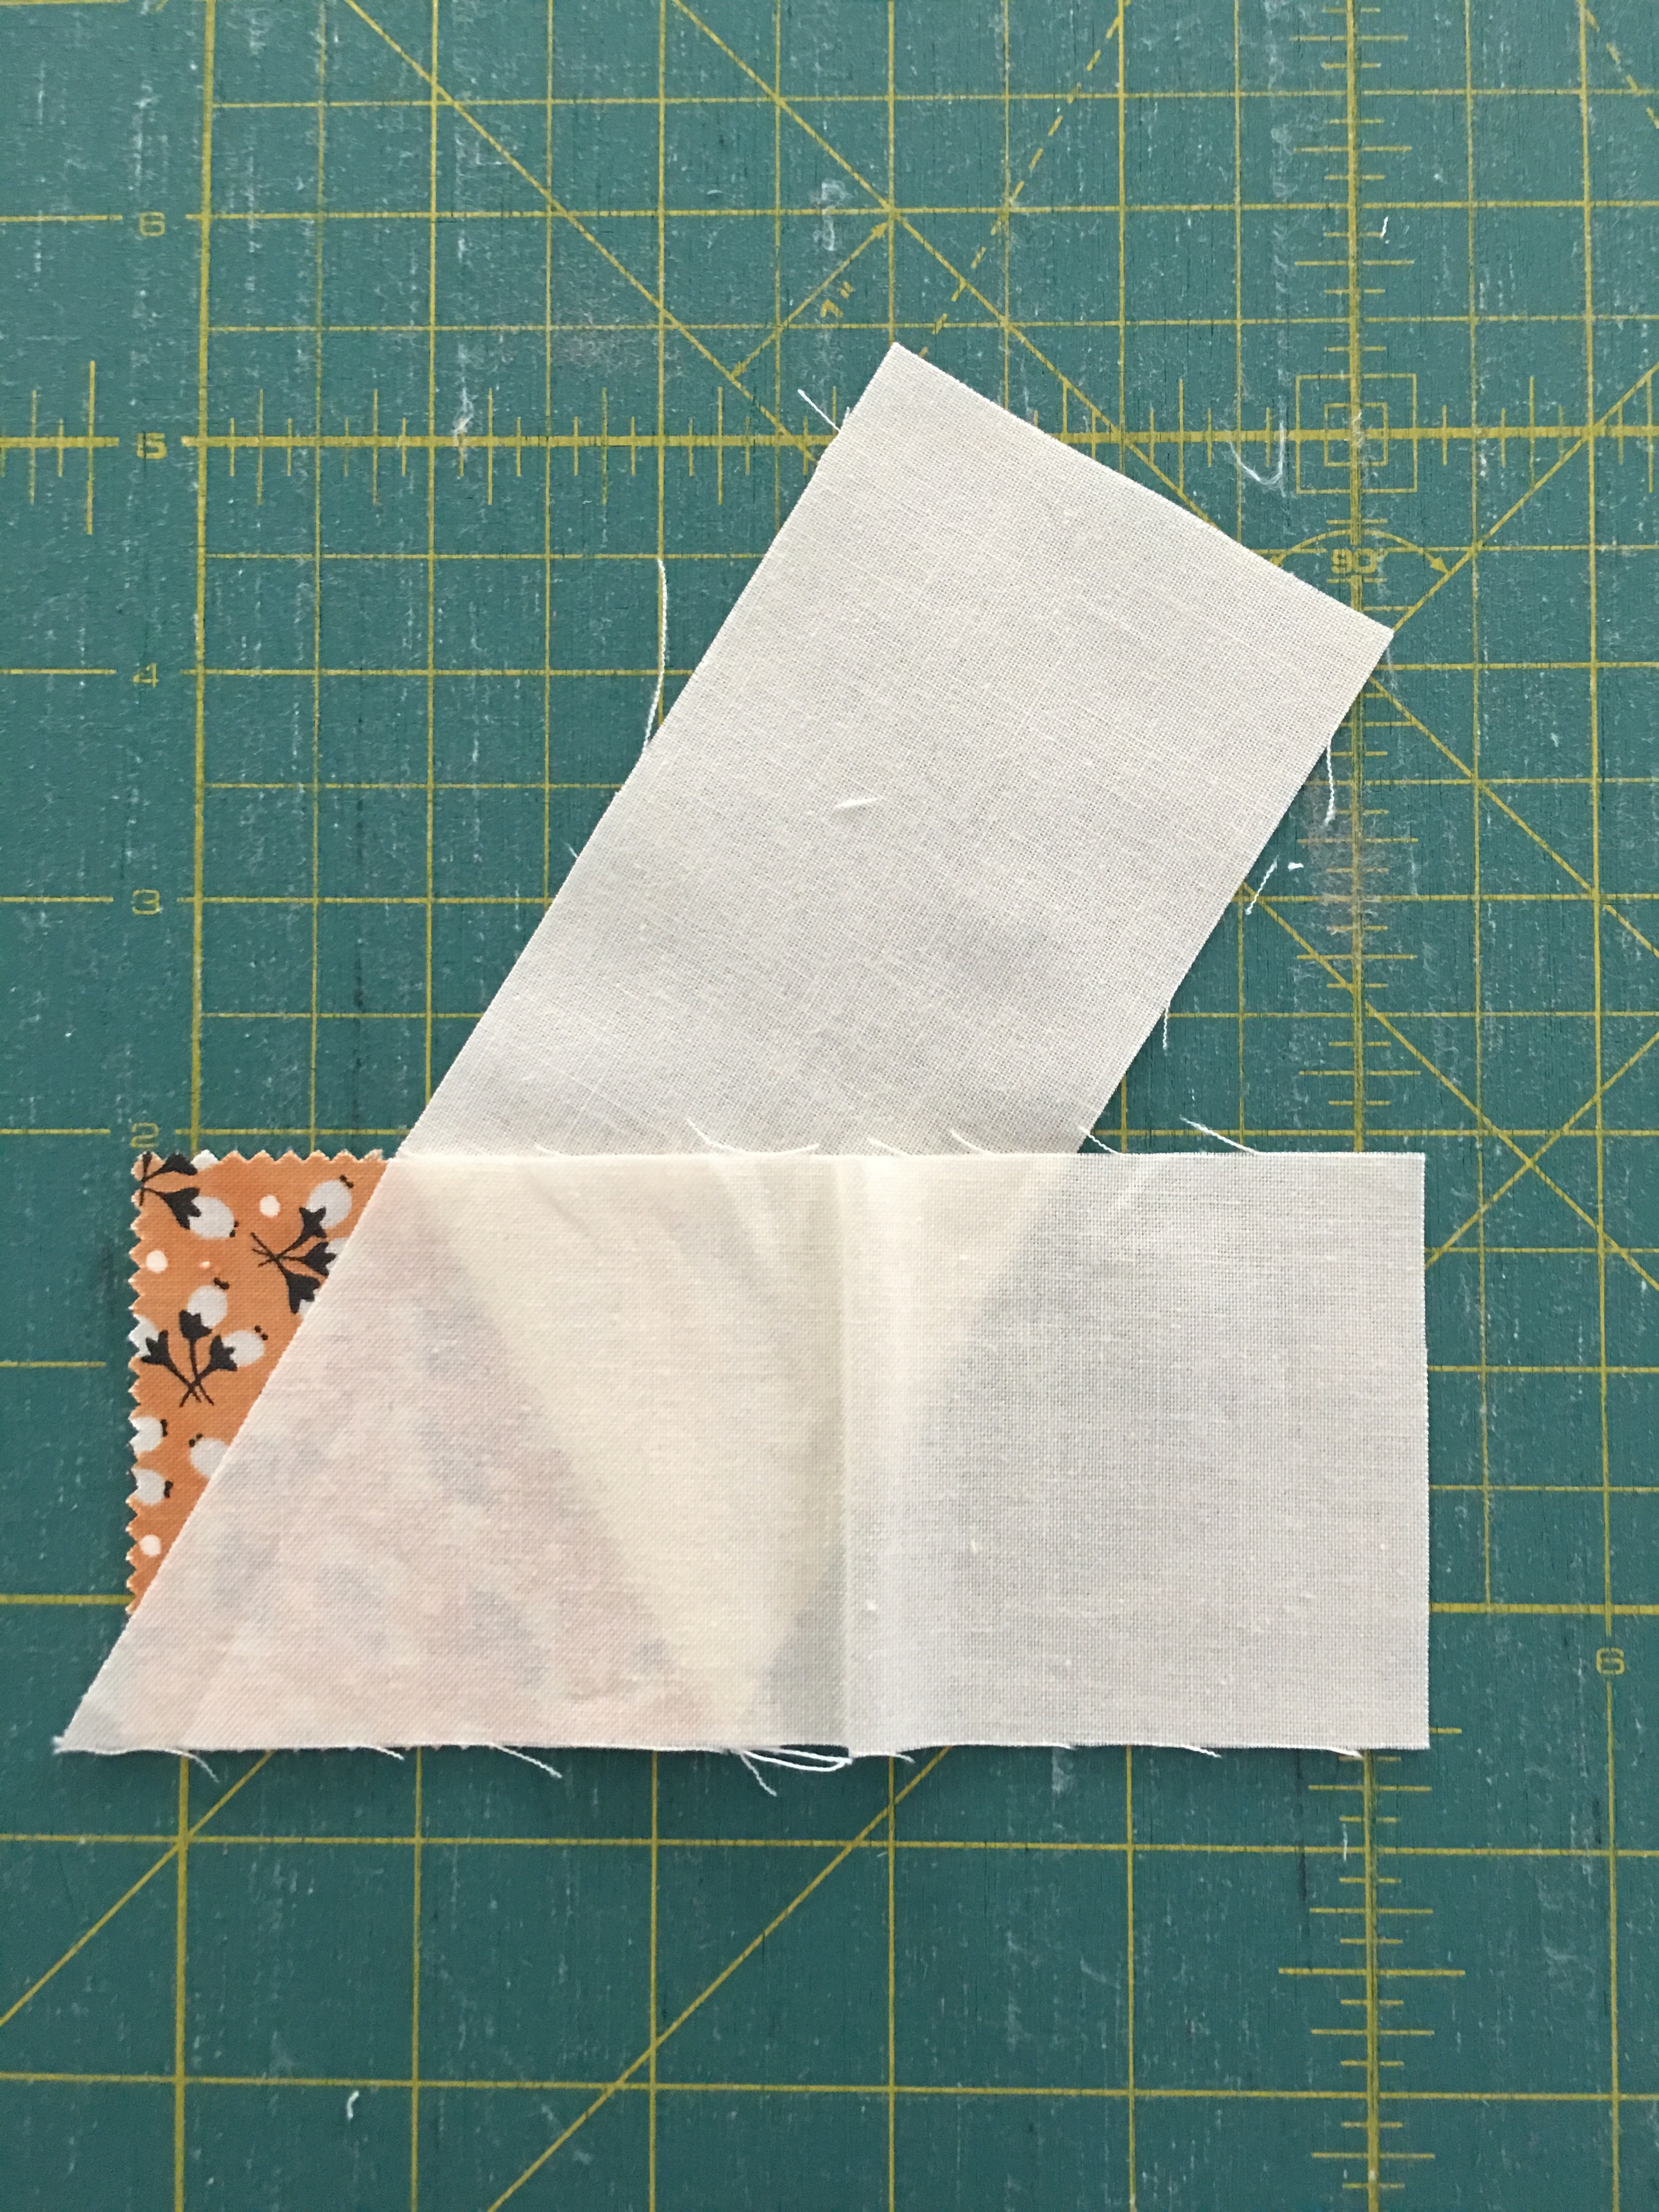
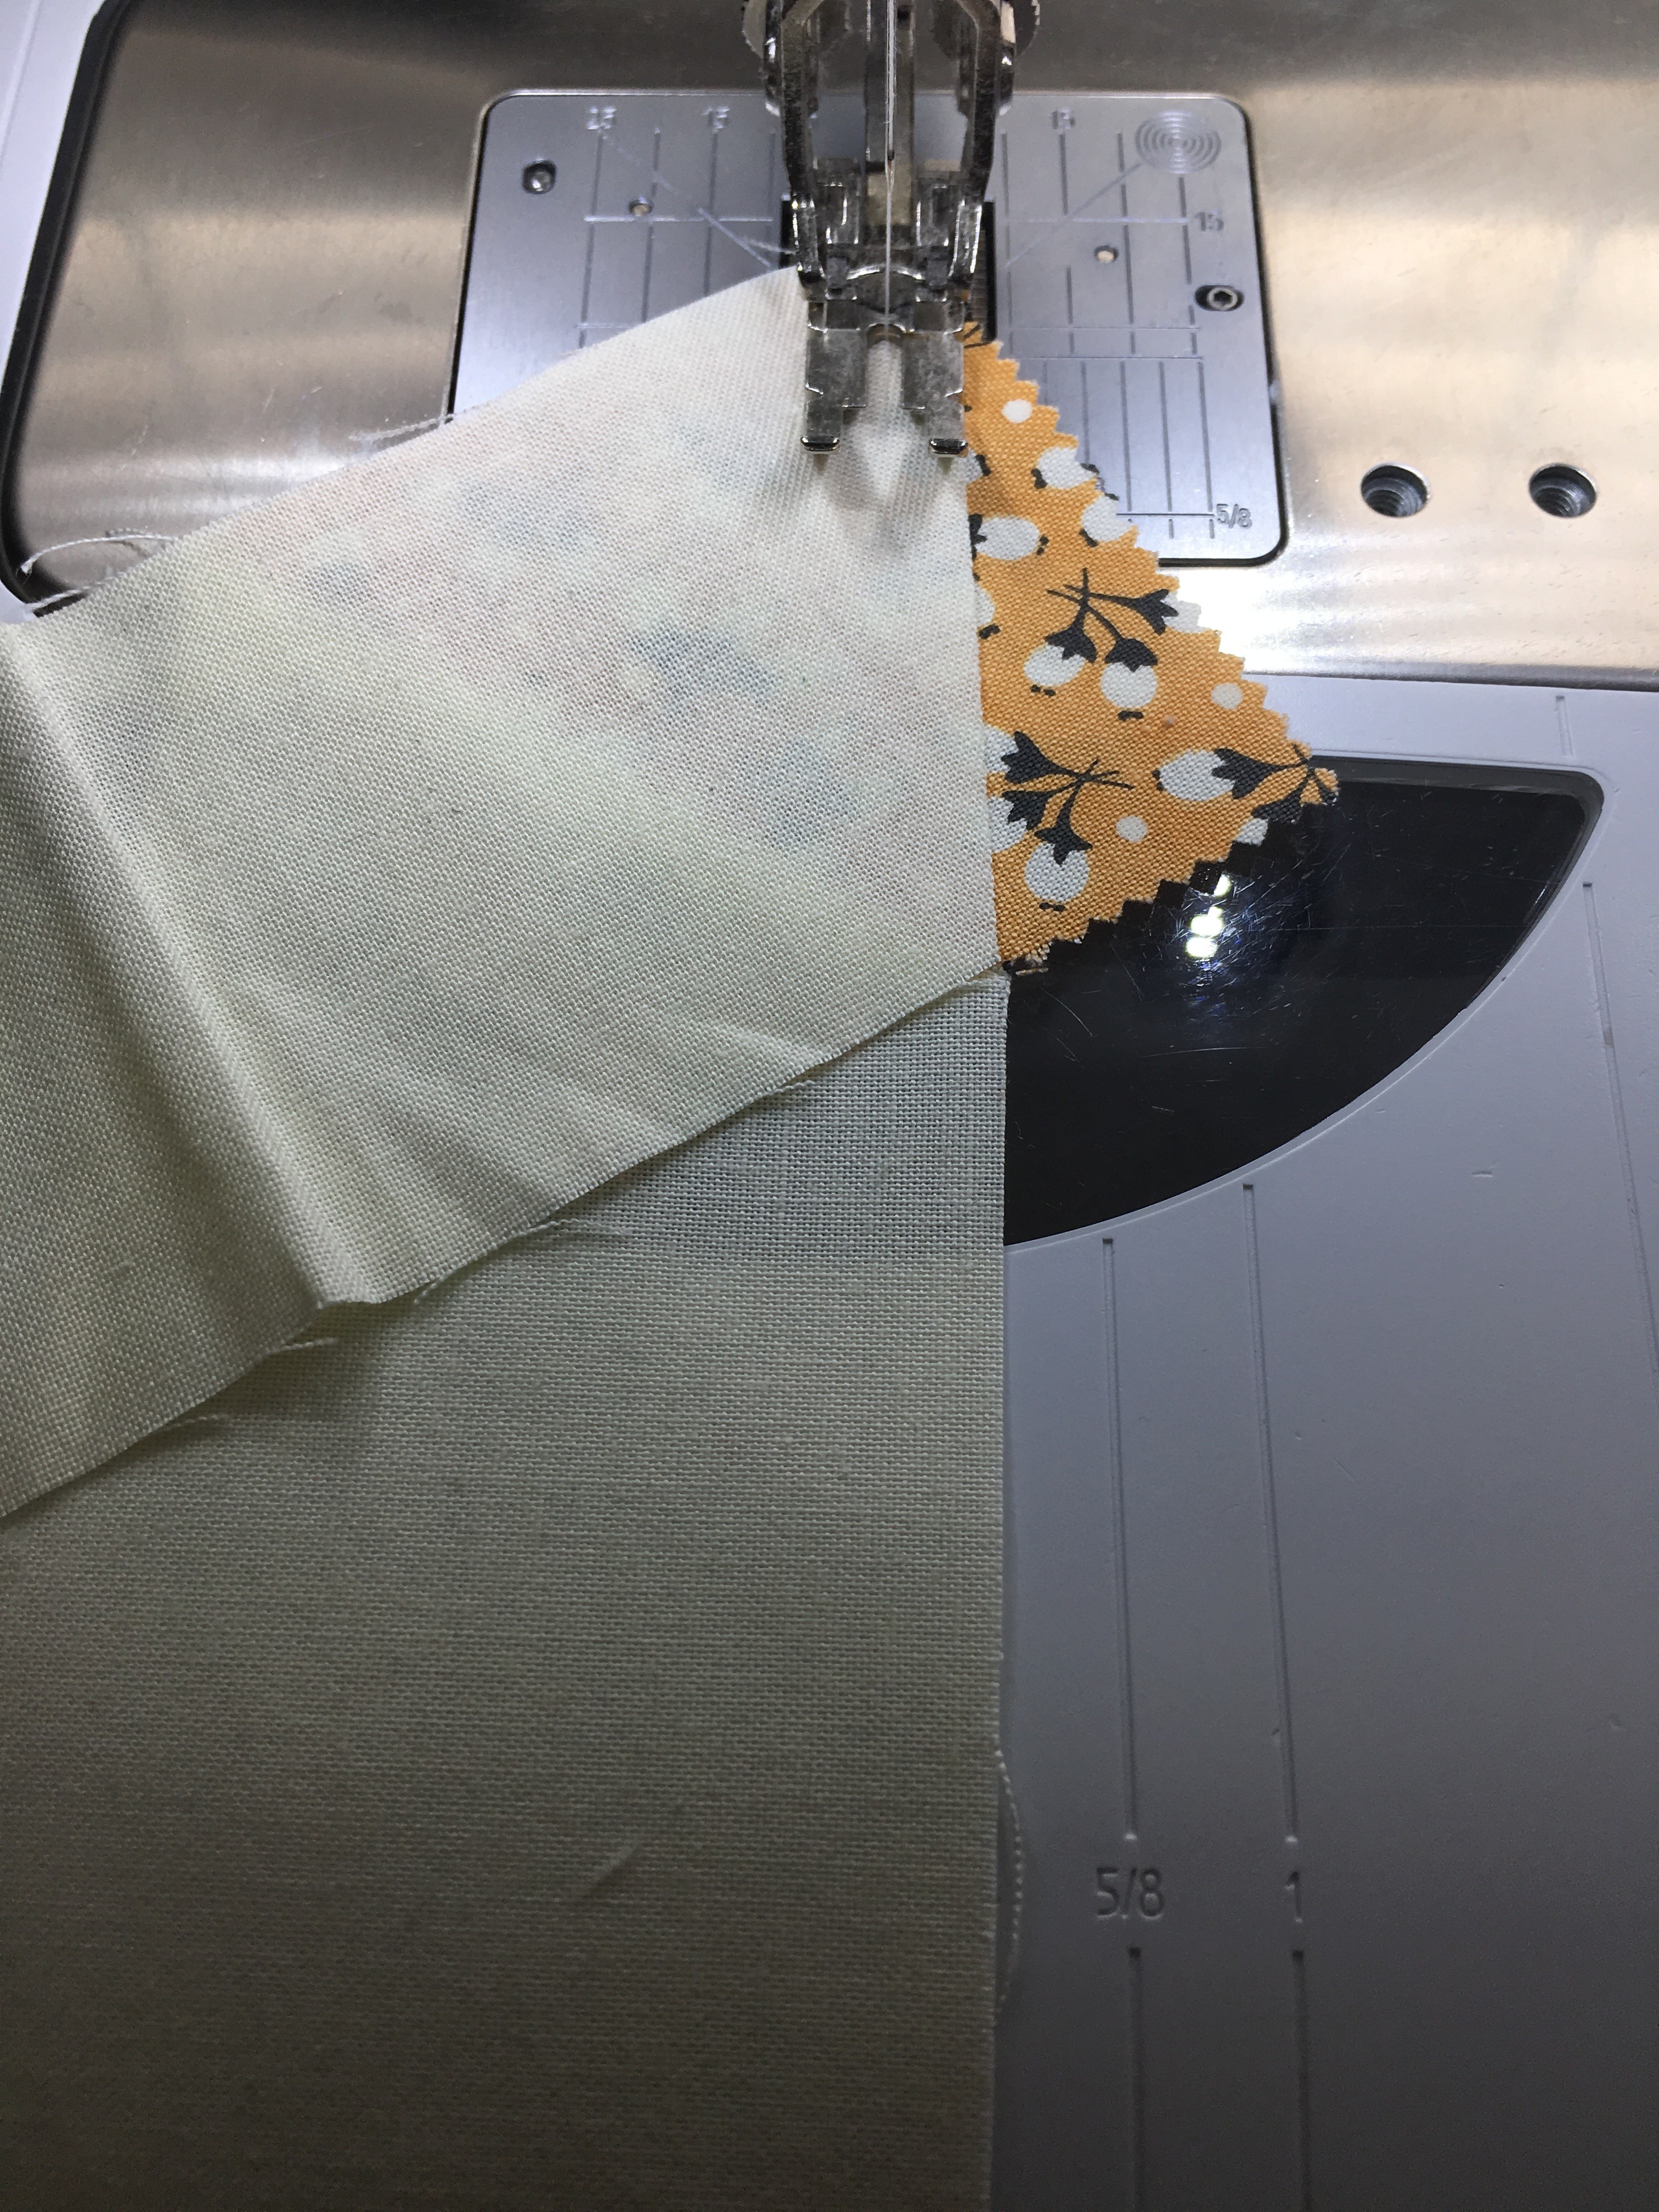
Sew the left side strip on the same way as the right side making sure to leave 1/4" hanging past the left edge of the mini charm square. Press the strip out.

Flip your nose piece over, using the mini charm square as your guide, trim to 2 1/2" square.
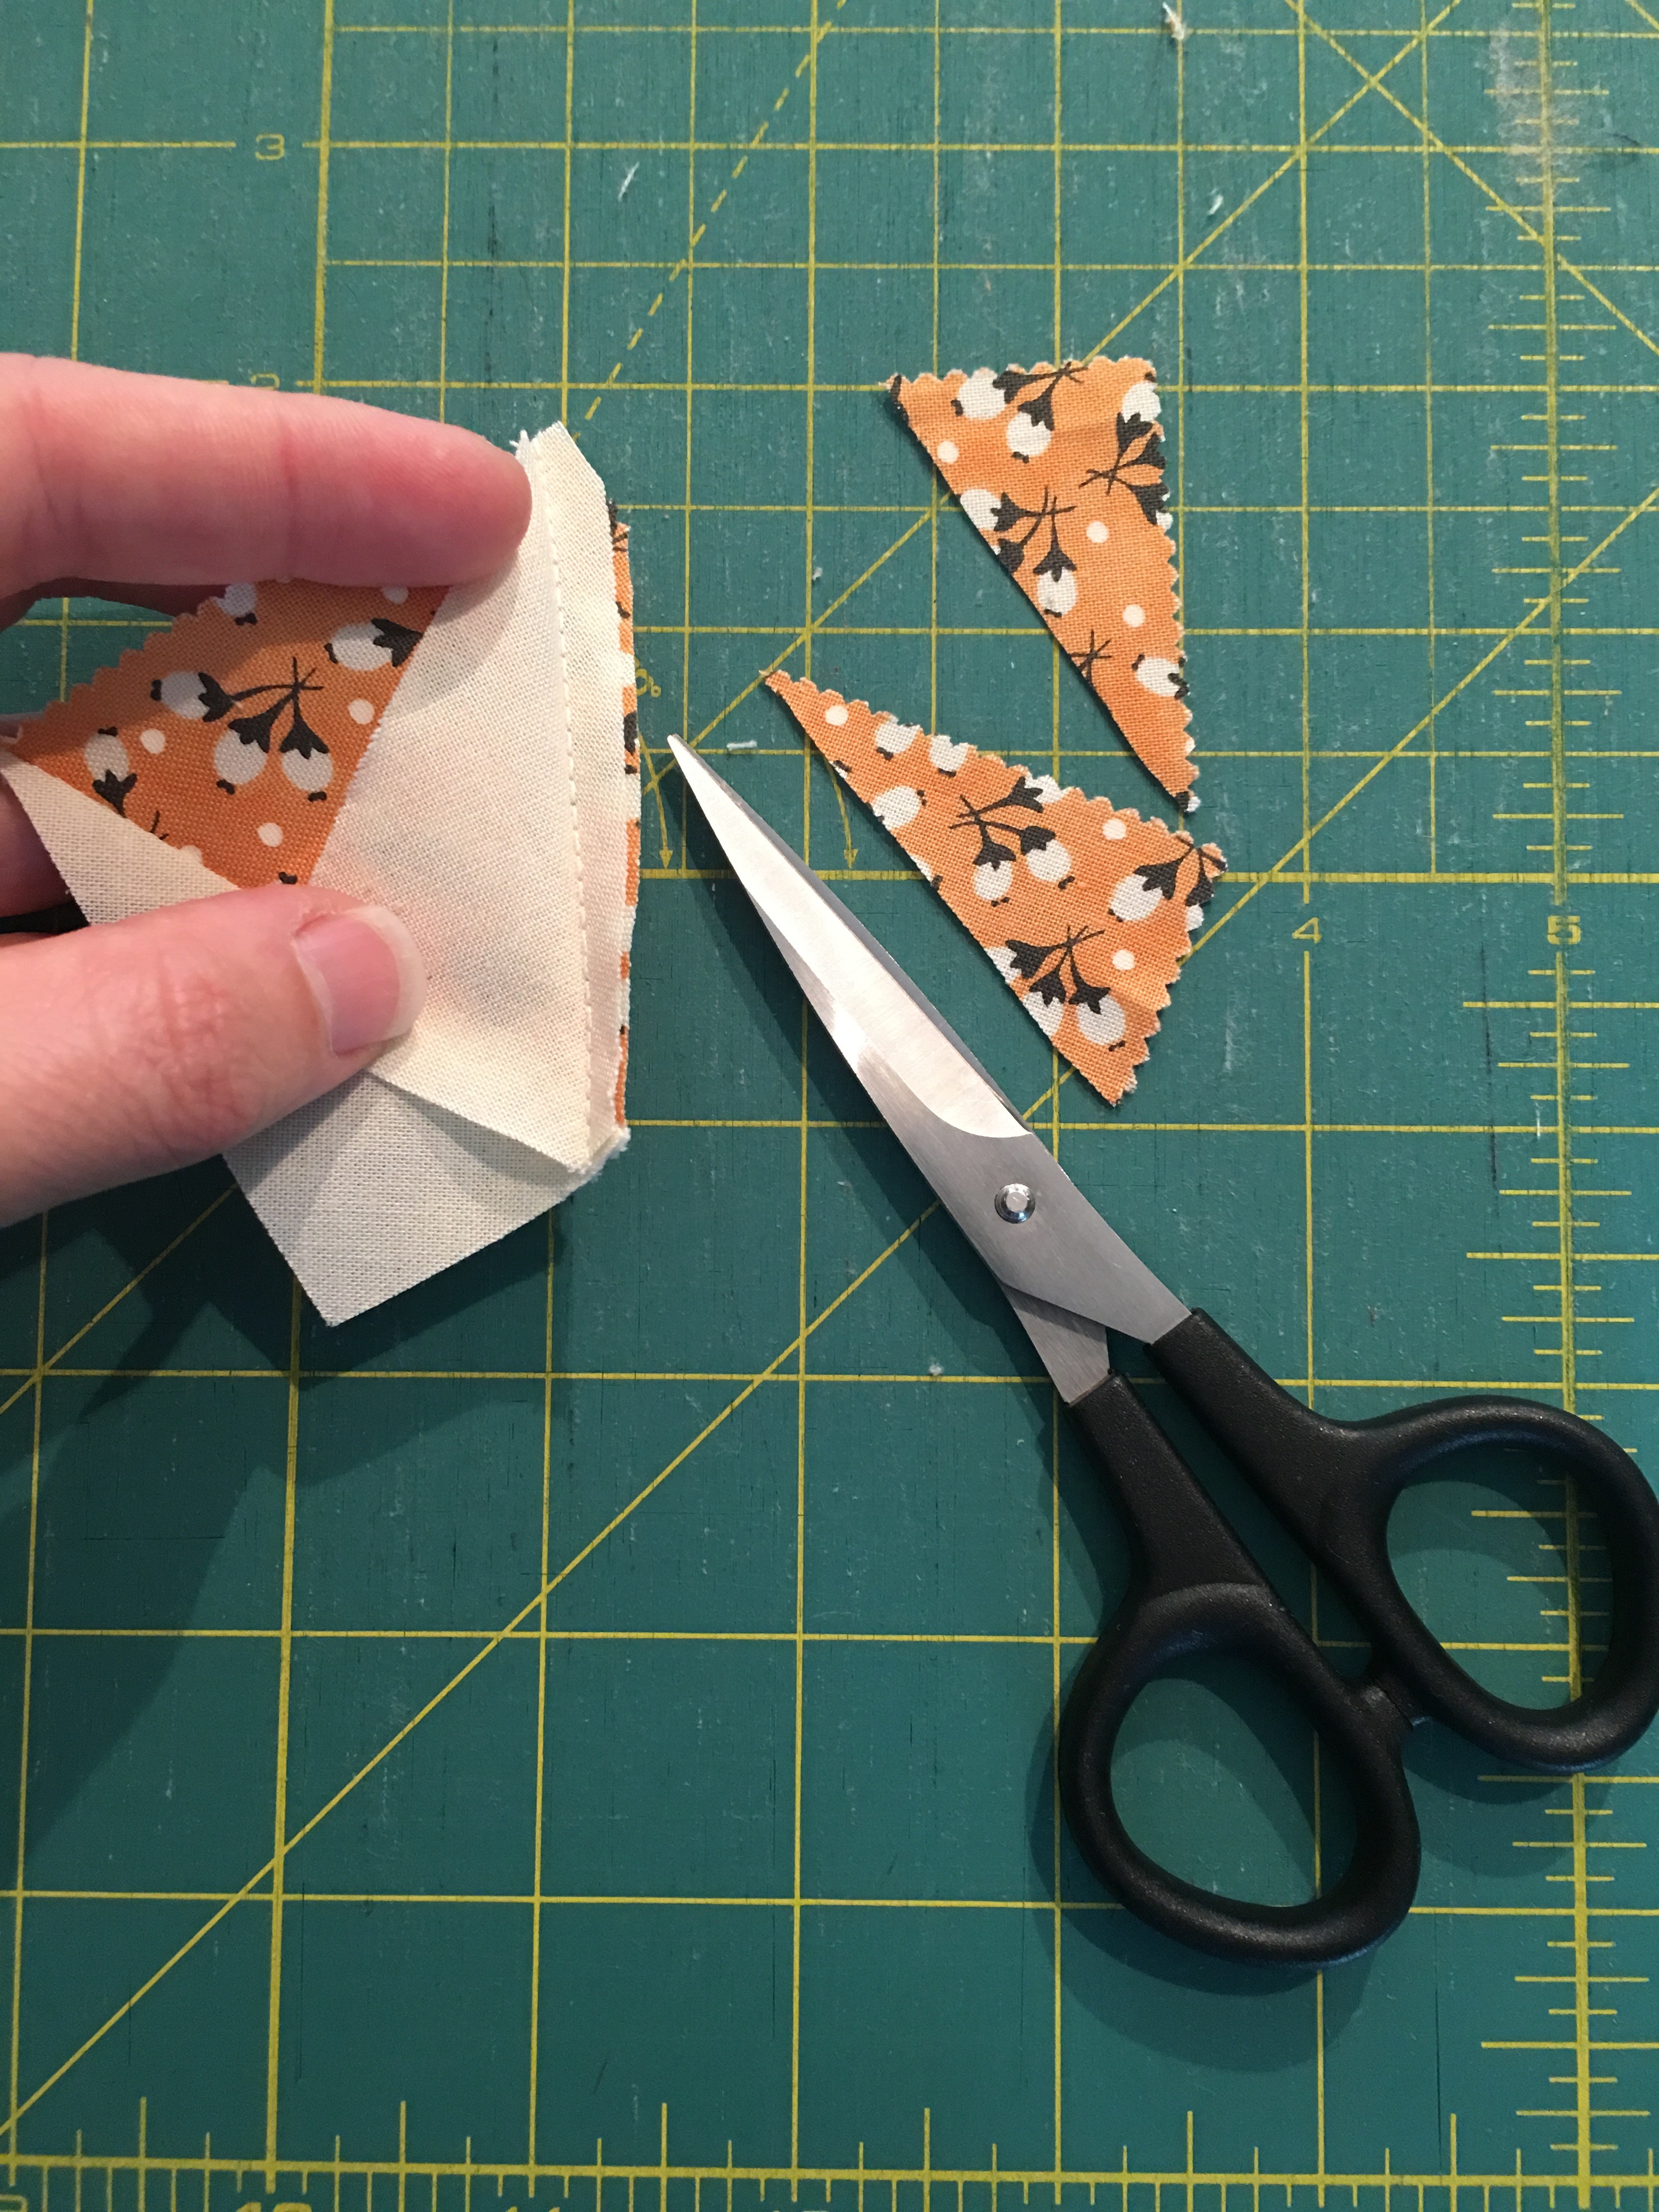
Now take your scissors and trim away the extra mini charm square from behind your pumpkin fabric.
Arrange all your pumpkin pieces according to the picture. Sew the face together first, then add the two sides, and then the top and bottom. Your pumpkin block should measure 10 1/2" x 14 1/2".
Sew a 2 1/2" x 8 1/2" background rectangle to the top and bottom of each letter and press. Each letter block should measure 8 1/2" x 14 1/2".
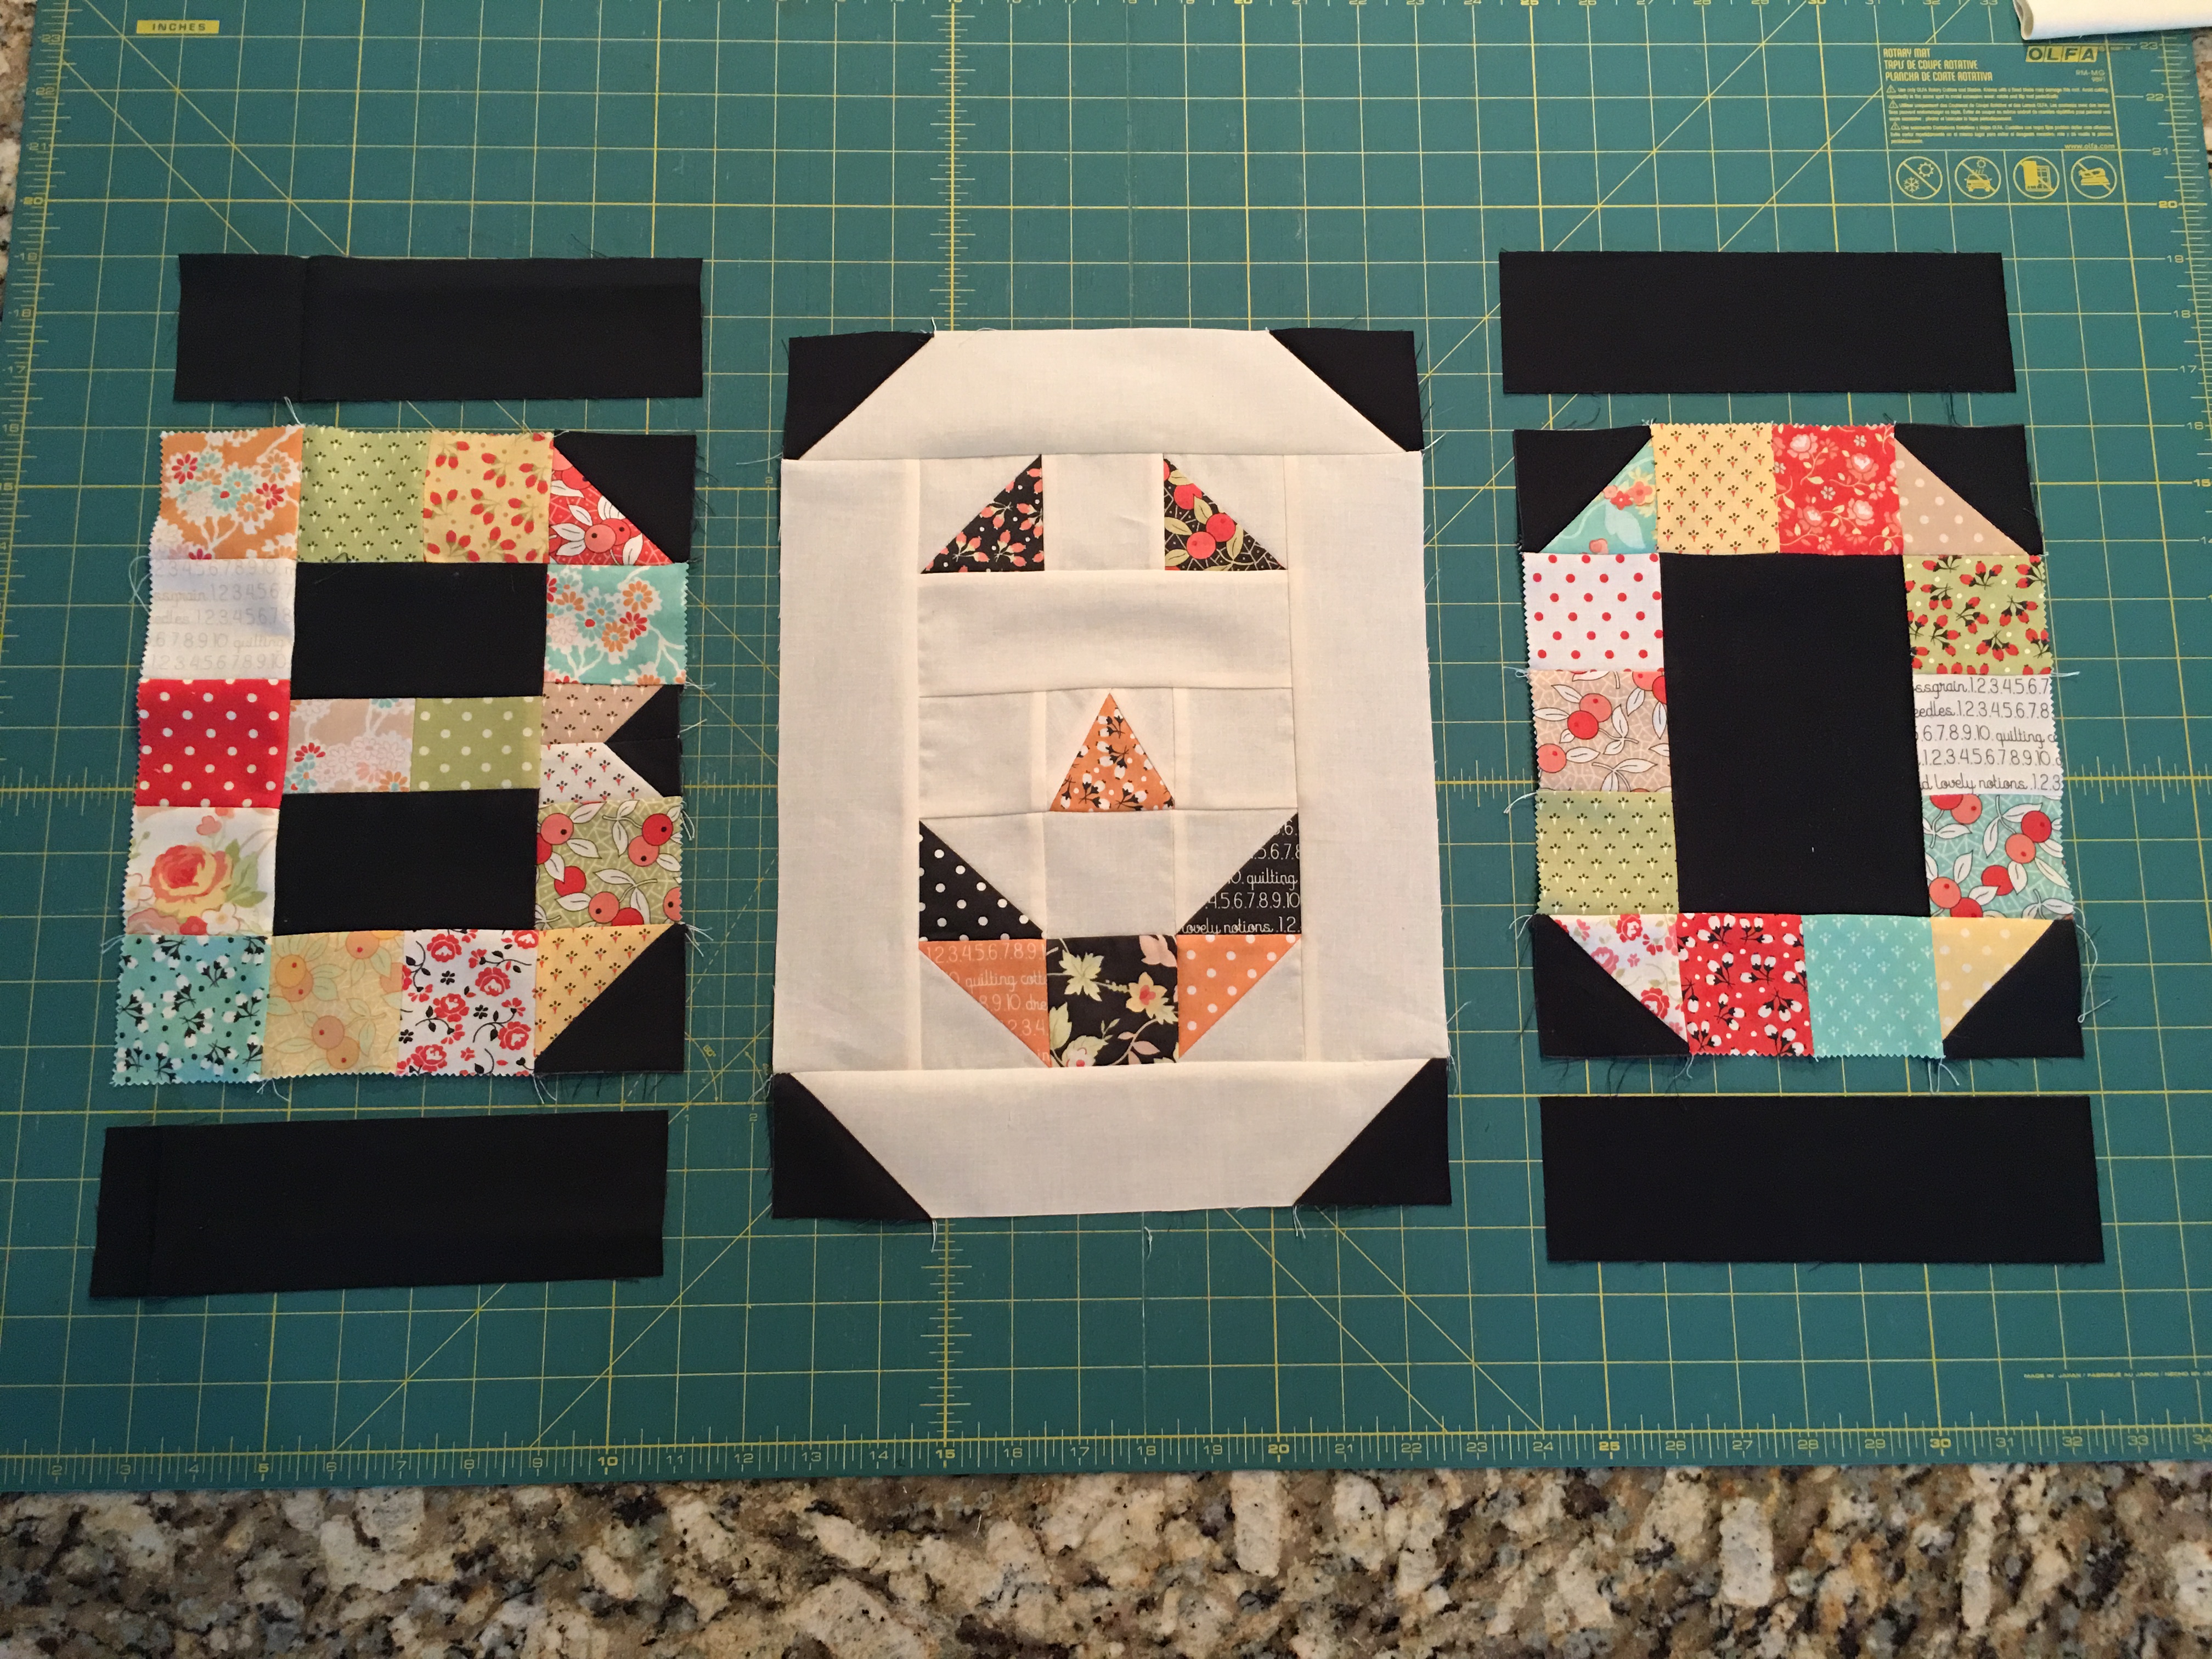
Add your 2 1/2" x 14 1/2" sashing rectangles between your blocks and then your 2 1/2" x 34 1/2" top and bottom rectangles.
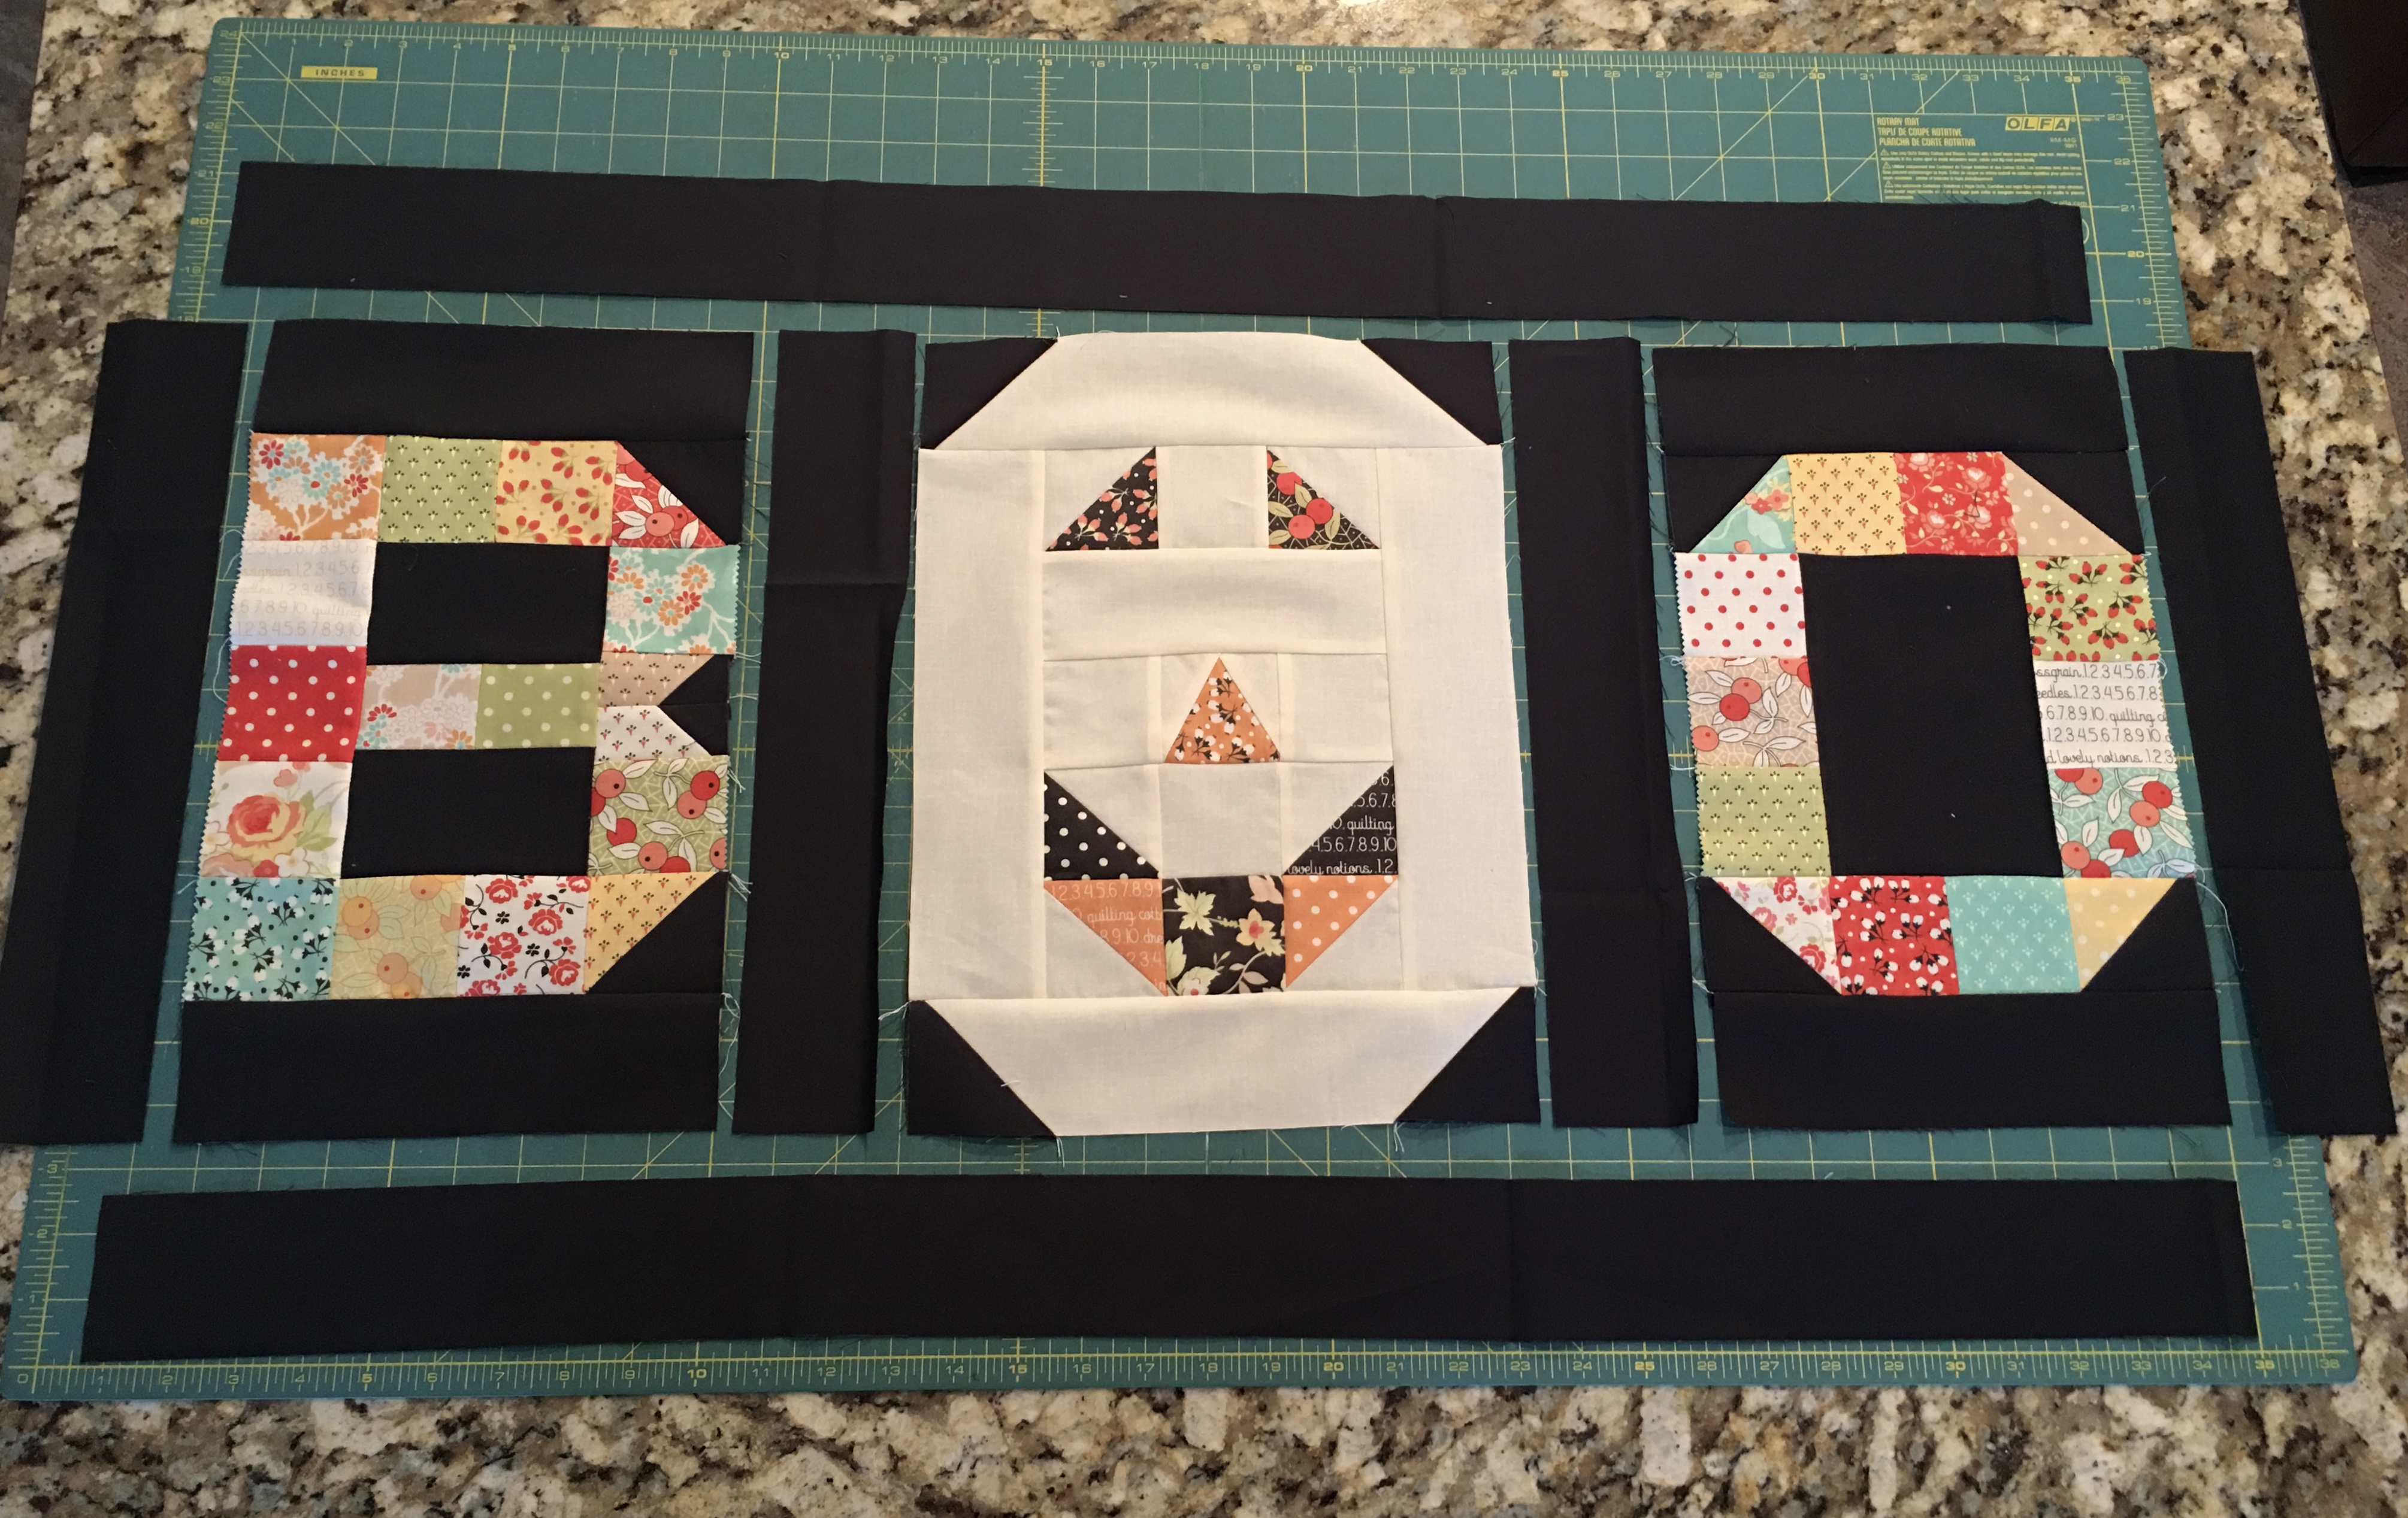
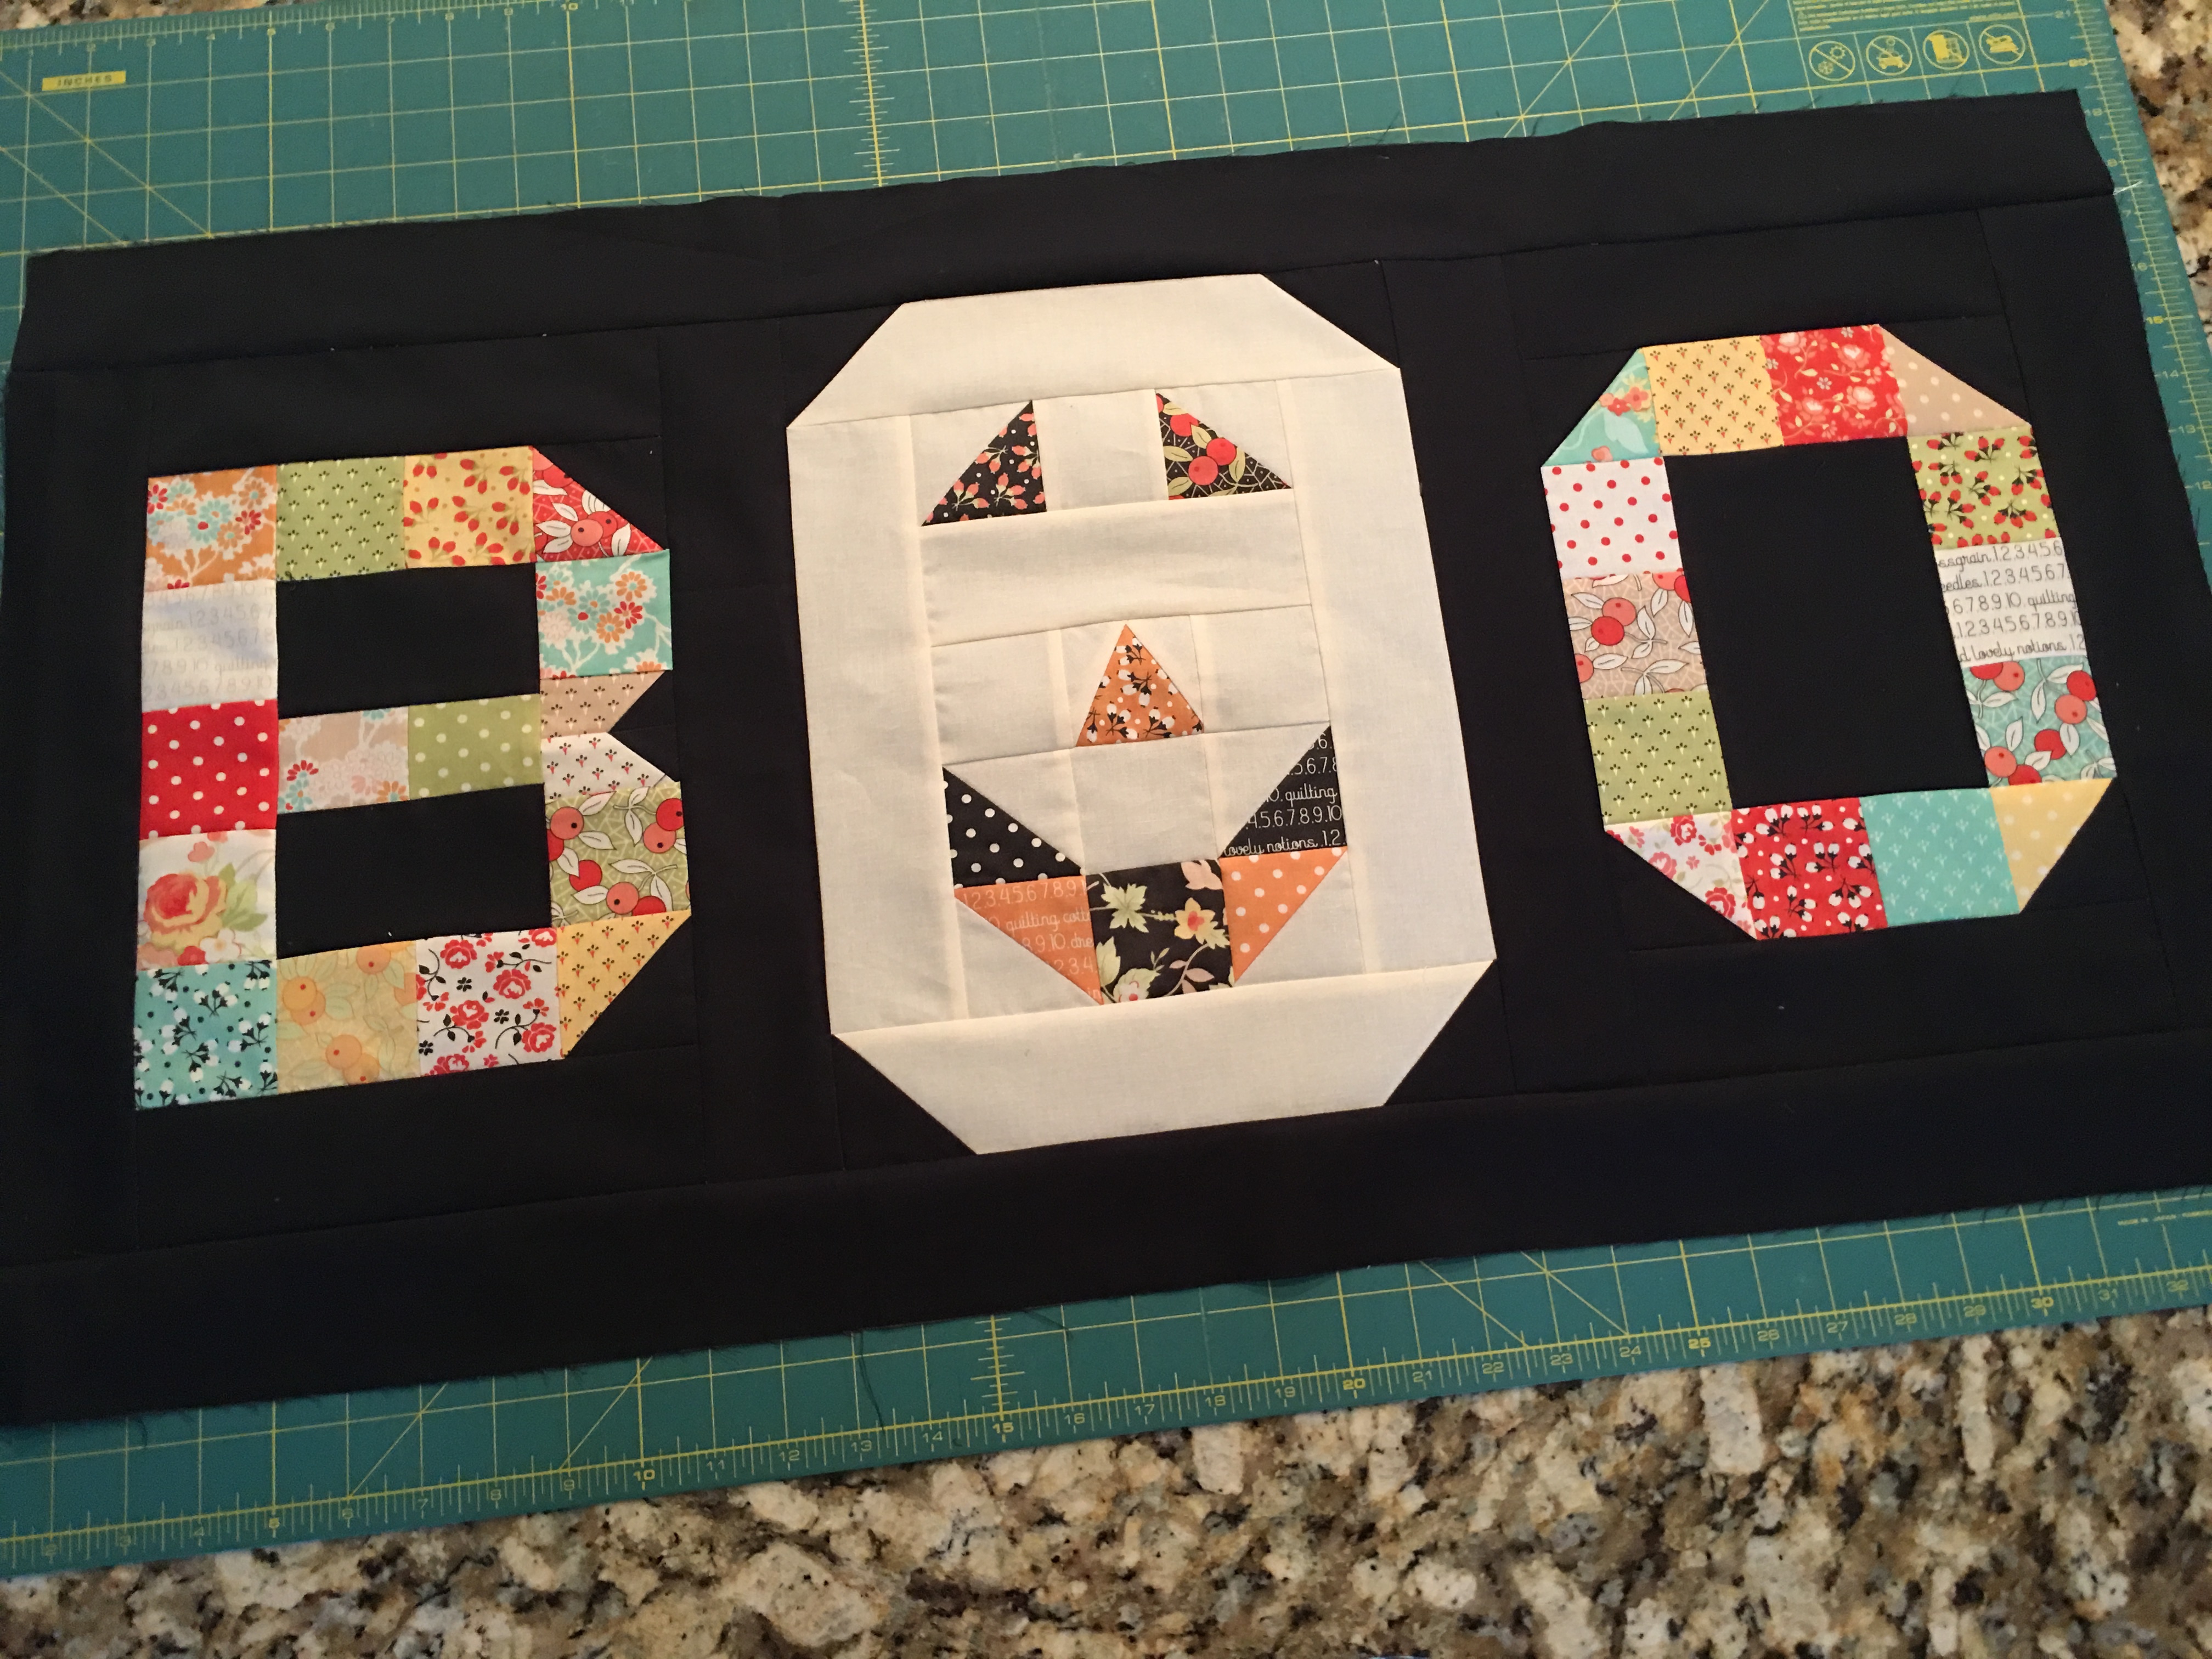
Quilt, bind, and enjoy!
![]()
This quilt finishes at 18" x 34".

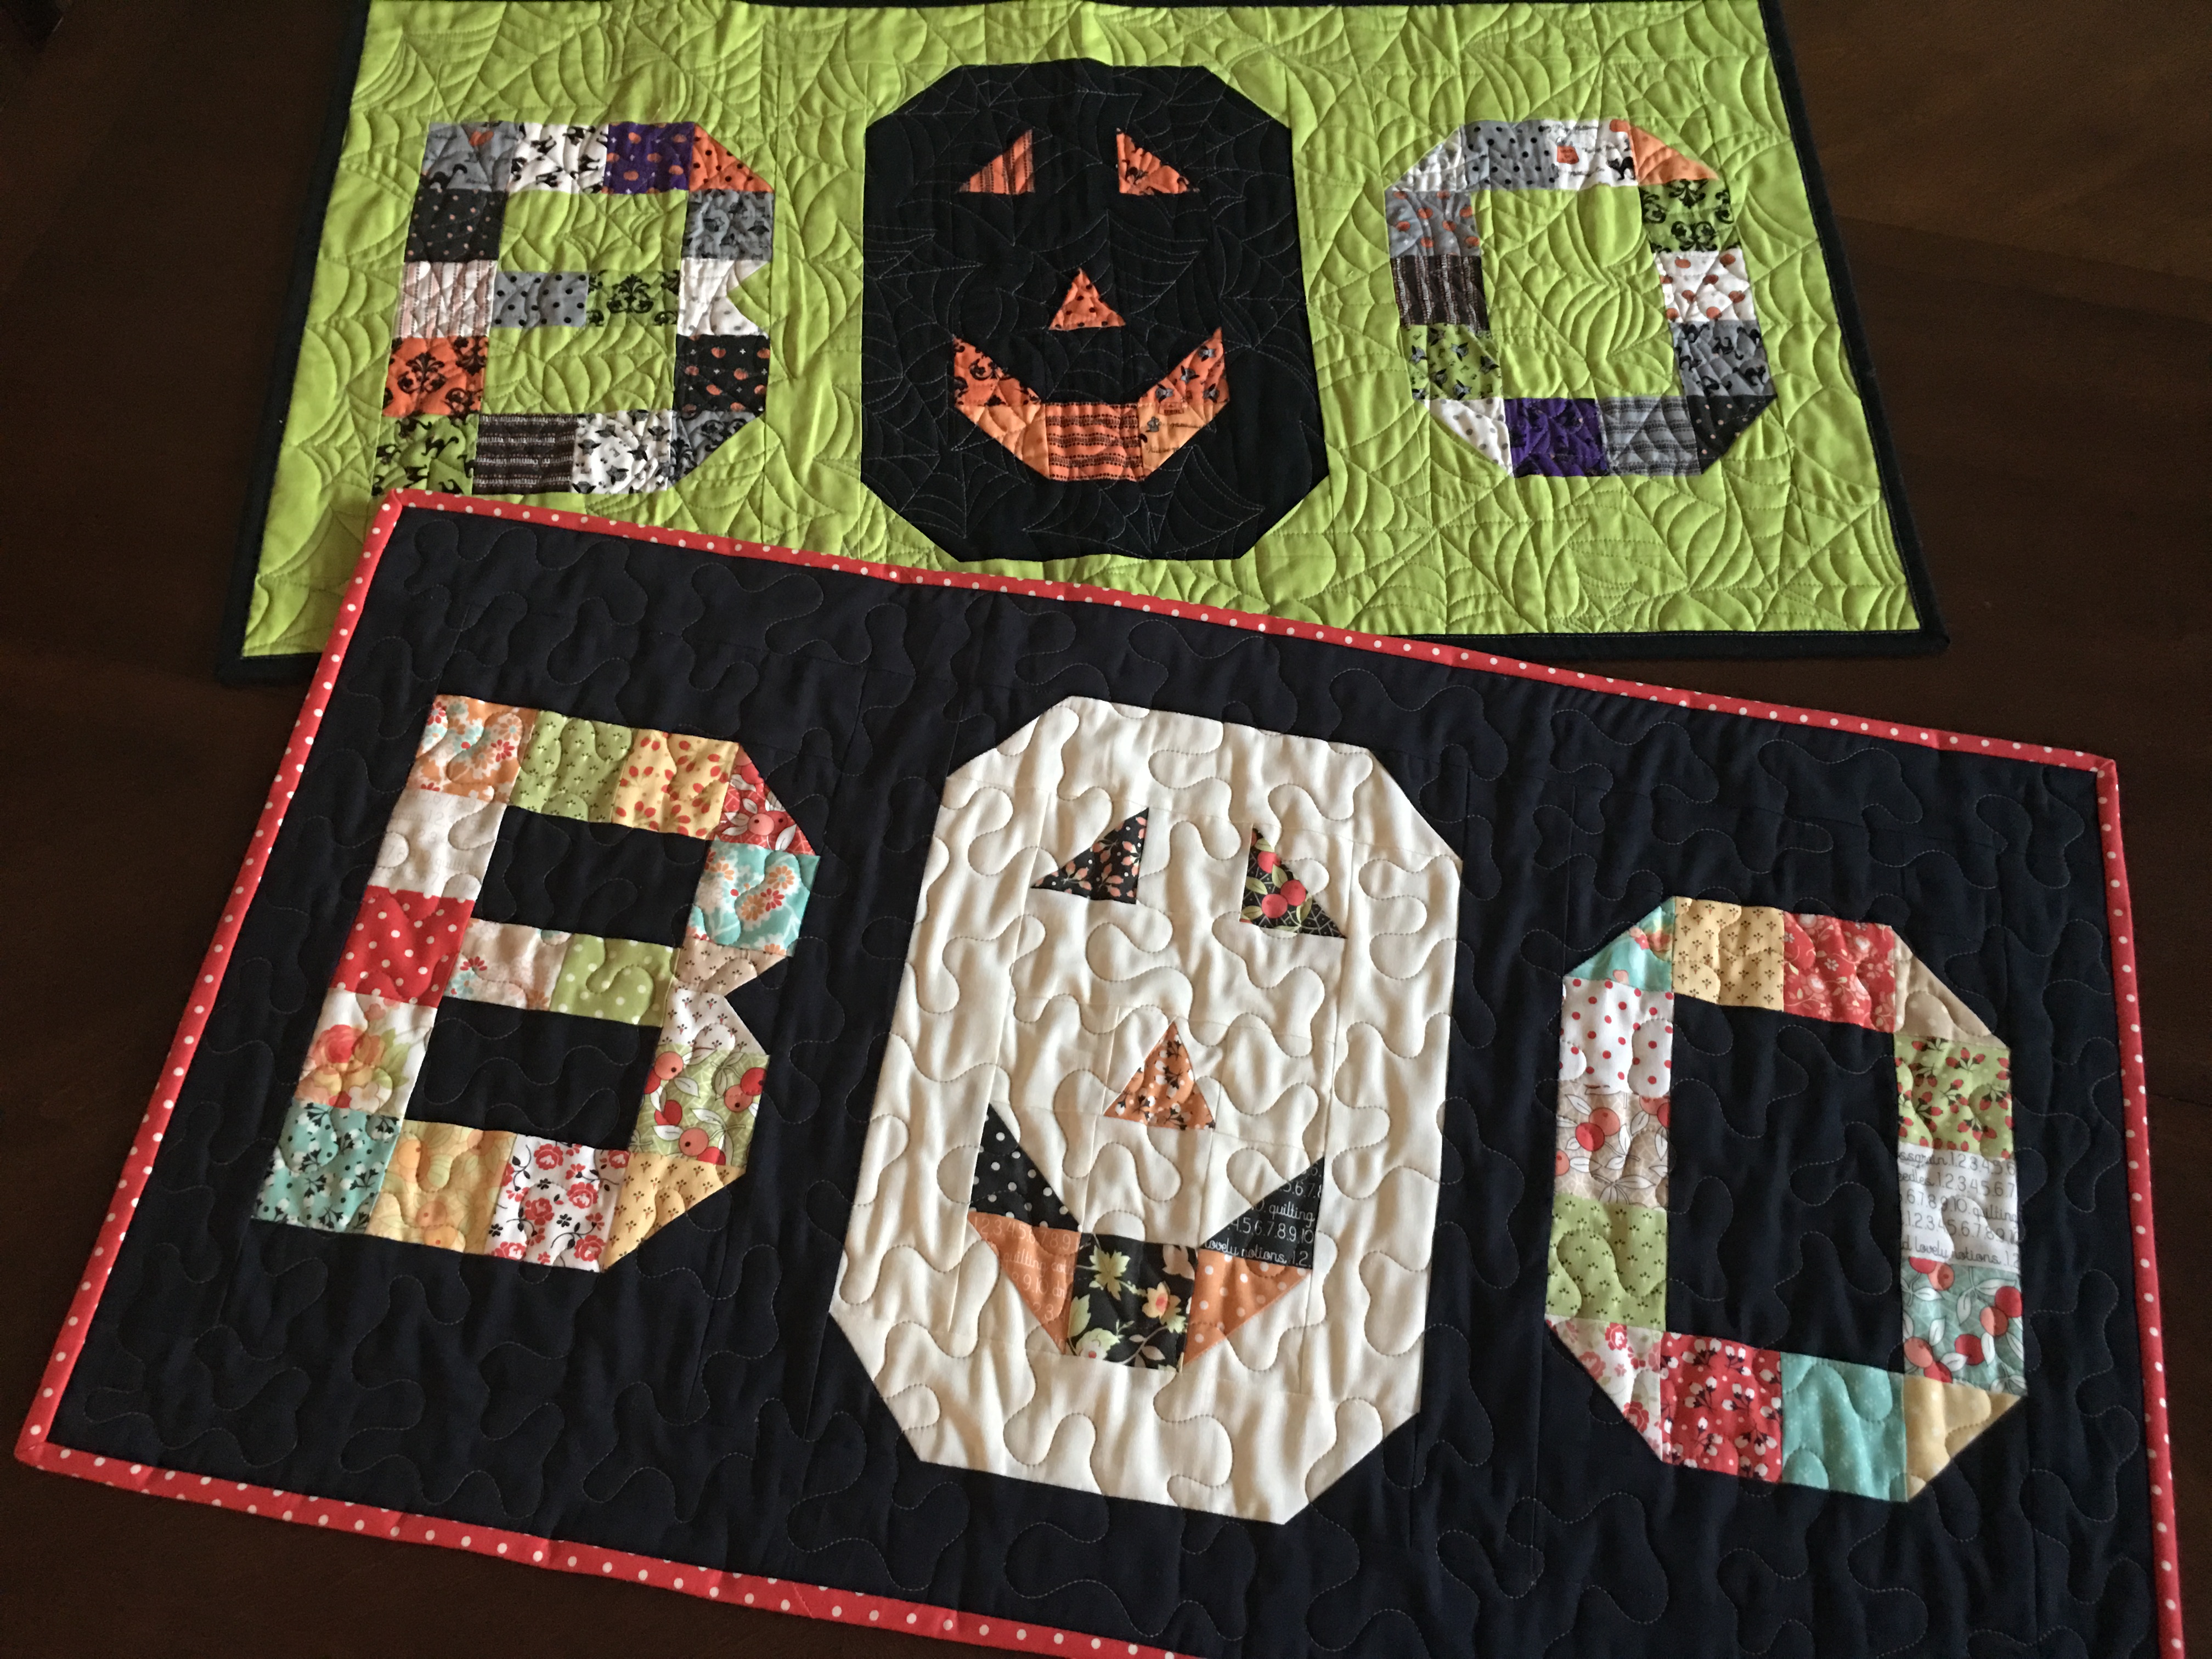
I hope you guys like this little pumpkin runner as much as I do and have found it's not too scary to try a darker background fabric. I even made another one using a Spooky Delight by Bunny Hill Designs mini charm pack and a fun green background. I like them both so much, it's hard to choose a favorite. Want to make one, or two ;-) like mine? I have a few kits available in my Etsy shop in both versions. Happy Halloween and Happy Sewing!
Sterling LaBosky

Posted in: