Welcome to Moda Fabrics!
Timehop: Easy as Pie Layer Cake Quilt
Timehop: Easy as Pie Layer Cake Quilt
Published:
Dec 24 2016 - 23:00

![]()
Hi! My name is Sherri, and I blog over at A Quilting Life! I'm happy to be here today to share a fast and fun Layer Cake Quilt! What I love about this quilt is that there is absolutely no fabric waste, the quilt goes together quickly, and it's the perfect classic pattern to showcase the fabrics you love!

1 Moda Layer Cake, you'll need 42 squares
Extra Background Fabric, if desired*
1 1/4 yard Border Fabric
1/2 yard Binding Fabric
4 yards Backing Fabric
*If your Layer Cake has a lot more dark fabrics than light and medium, you might want to get a little extra yardage and cut a few 10" light squares. For this quilt, I used 1/3 yard of one of the light prints and cut 4 squares 10" x 10" to add into the mix. I took out 4 of the darker squares, so that I still had 42 squares for my quilt.

Choose a Layer Cake...

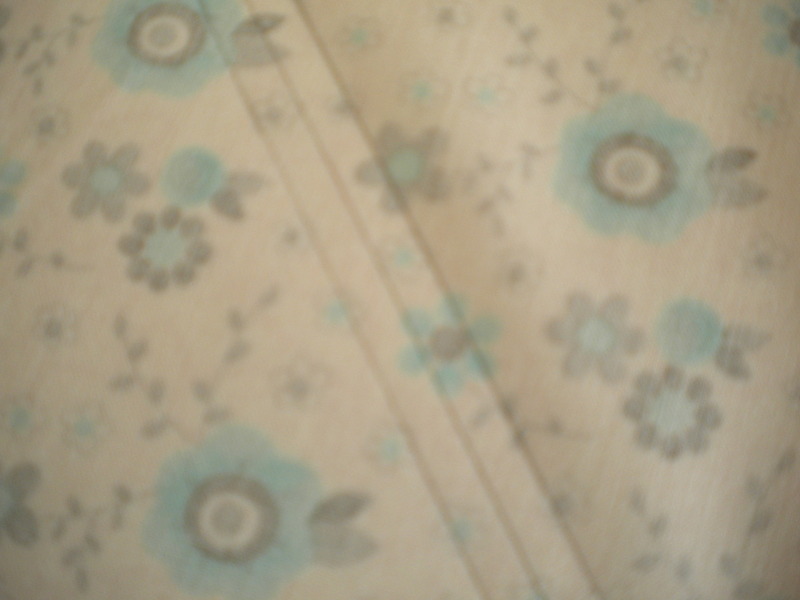
Pick out some coordinating fabrics. Shown below, from top to bottom, are my binding, border, a little extra background fabric, and my quilt backing.

Start out by dividing your 42 Layer Cake squares into groups of two. Be sure there is good contrast between each set of two squares.

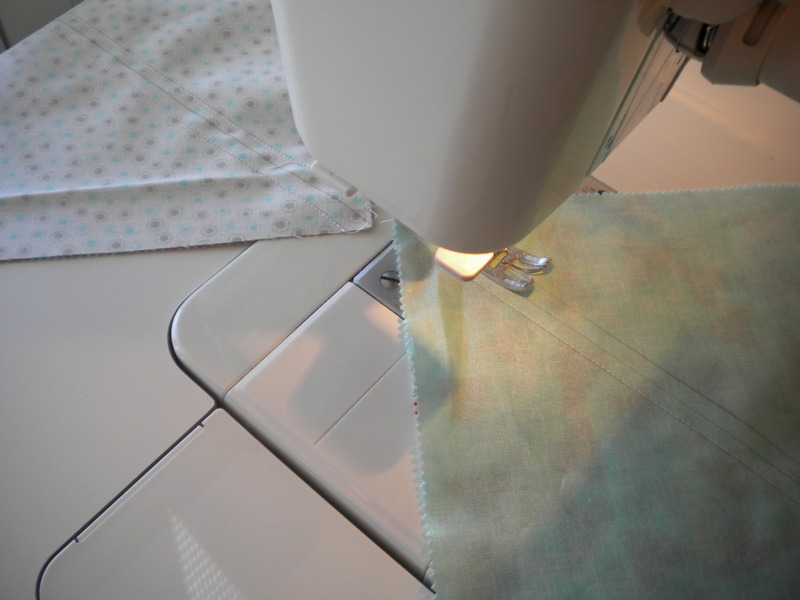
Next, draw a diagonal line from corner to corner on each of the lighter squares in each pair. Next you will sew 1/4" from either side of the drawn line. I've drawn the stitching lines on either side of the diagonal line, shown above.
It saves a lot of time if you do the stitching by "chain piecing"...just stack up your fabrics and start sewing!
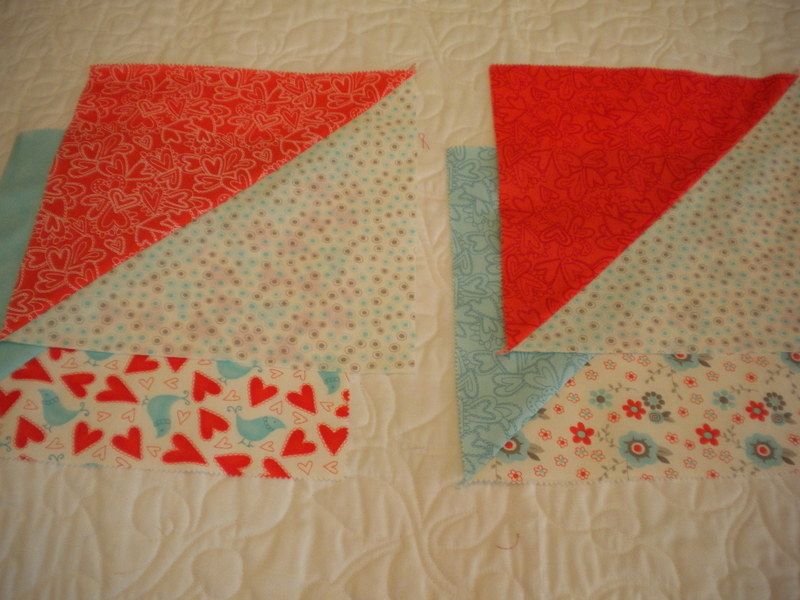
Next you will cut each pair of fabrics on the diagonal line.

Press seams toward the dark fabric. Each pair of squares will give you two matching half-square triangles.

Next, put your half-square triangles into sets of two. Again, go for contrast and variety...each pair of half-square triangles will make two quarter-square triangles for your quilt.
Now, put each pair of half-square triangles right sides together. be sure the dark fabrics of each pair are on opposite sides so the seams "nest" together.

Now, draw lines as you did when making the half-square triangles. Draw a diagonal line that goes across your stitching line. Sew 1/4" away from either side of the diagonal line. Again, I've again drawn the stitching lines to the right and left to make it easier to see.

Once again, cut on the diagonal line...

Then press each block to one side. You will now have 42 quarter square triangle blocks! At this point you will want to trim your blocks to measure 9" by 9". The easiest way to do this is to use a 9" or larger square ruler and line up the 4 1/2" marks with the centers.

Lay out your blocks, mixing up the fabrics. Make 7 rows of 6 blocks each, and turn the blocks so that the darks from one block are next to the lights in the surrounding blocks.

Sew the blocks in each row together, and then sew the rows together. Since there are so many seams coming together, I pressed the block and row seams open to reduce bulk where 4 blocks come together. This helped the points to meet evenly.

Now it's time to attach your borders. Cut 8 border strips 5" by width of fabric. Piece together for length. Measure the sides of your quilt and cut two strips to equal that measurement. Your strips for your left and right borders should measure close to 5" x 60". Sew these borders to your quilt, pressing towards the border fabric.
Next, measure your quilt at the top and bottom and cut two border strips equal to that measurement. Your top and bottom border strips should measure close to 5" x 60 1/2". Again, sew these borders to your quilt and then press towards the border fabric.
Your quilt should now measure about 60 1/2" x 69 1/2". Piece your backing fabric to make a backing at least 68" x 78". Layer Backing, Batting, and Quilt Top...then quilt as desired.
Cut 7 strips 2 1/2" x width of fabric and piece for length, to make your binding. Bind...

1 Fast and Fun Quilt, 60" x 69"

And be sure to enjoy your quilt!
Thanks so much...I hope you'll enjoy making this!
Sherri McConnell
{www.aquiltinglife.com}
![]()
This project was first published December 29, 2012.
Posted in: