Welcome to Moda Fabrics!
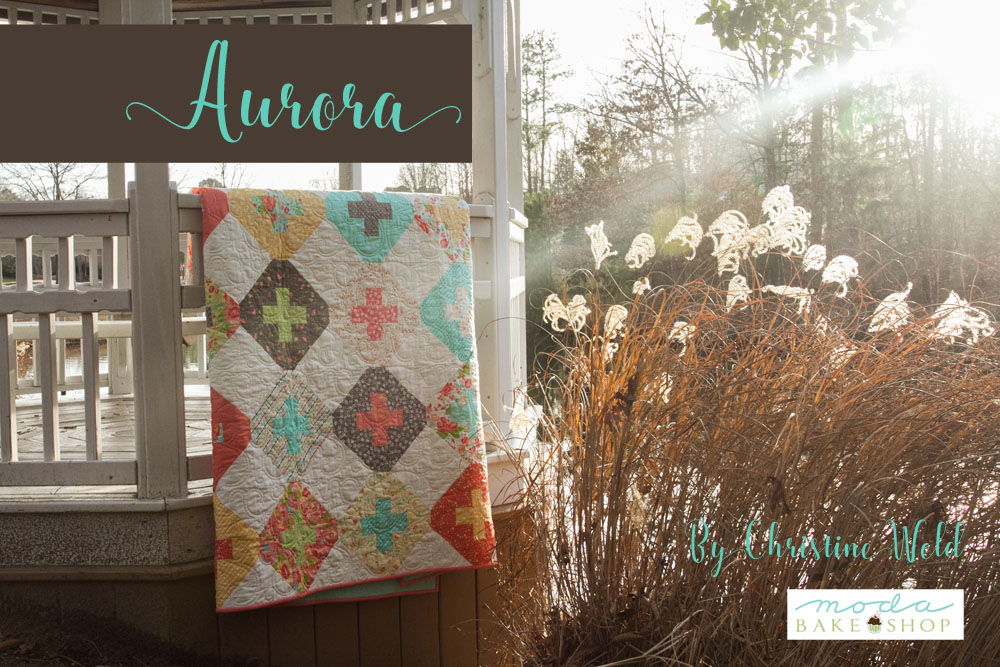
Aurora Quilt
Aurora Quilt
Published:
Jan 20 2017 - 23:00

For two years, I enjoyed being the block of the month coordinator for my quilt guild. During one of my terms, I decided to focus on blocks with state names. We all know New York Beauty and Road to California, but I had fun discovering some lesser known blocks with state names.
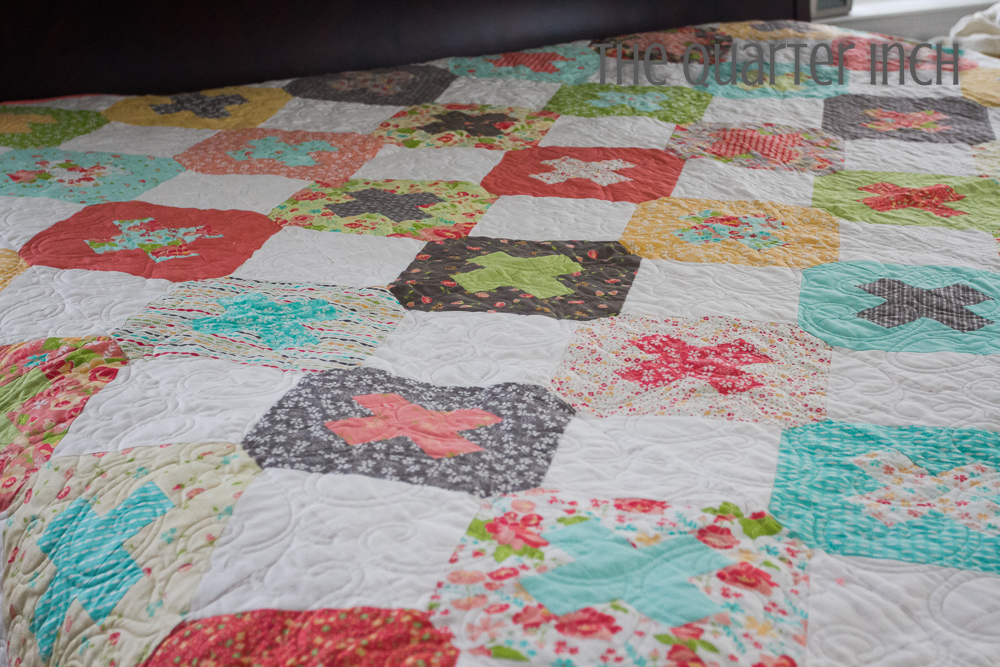
I loved a block called Alaska Homestead. An elegant block, it lends itself well to a scrappy quilt. I tweaked the color placement of the block a bit, making the cross in the middle pop a bit more. In honor of this block's namesake state and the beautiful northern lights seen there, I named this quilt Aurora.
This quilt finishes at 84" x 96".
![]()
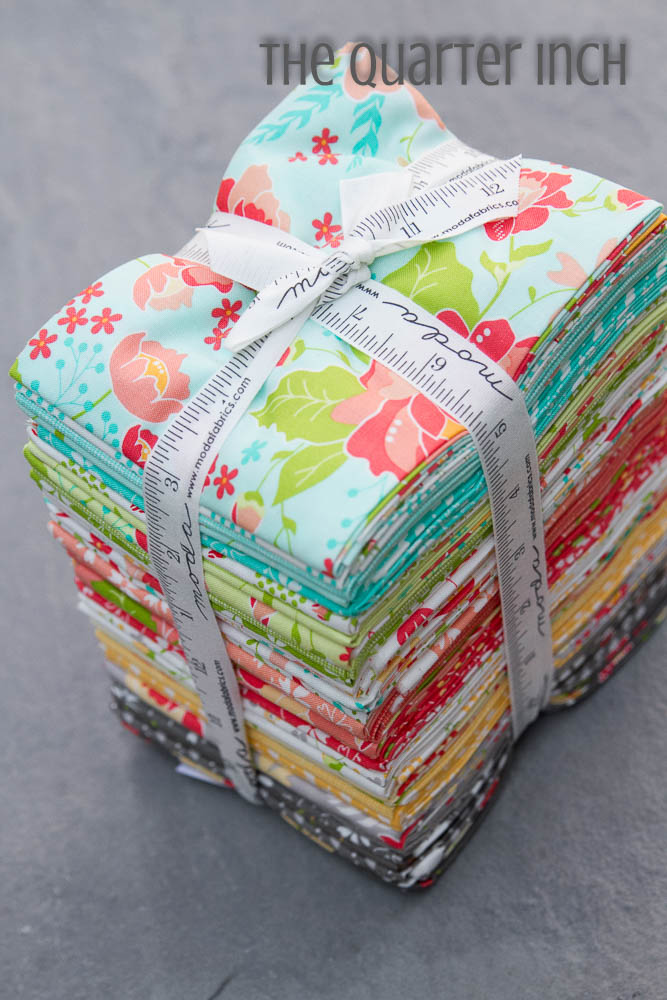
One Fat Quarter Bundle (or at least 28 fat quarters). I used Lulu Lane by Corey Yoder.
3 1/2 yards background fabric
8 yards backing fabric
1 yard binding fabric
If your bundle has more than 28 fat quarters, it will add more variety to the quilt top.
![]()
Note: Be sure to read the pressing instruction before you begin sewing!
Cutting Instructions
Fat Quarters
From each fat quarter, cut the pieces for two complete squares. The pieces will later be rearranged to form the design.
Use the following cutting diagram for each fat quarter. Be sure you cut from the correct side of the fat quarter.
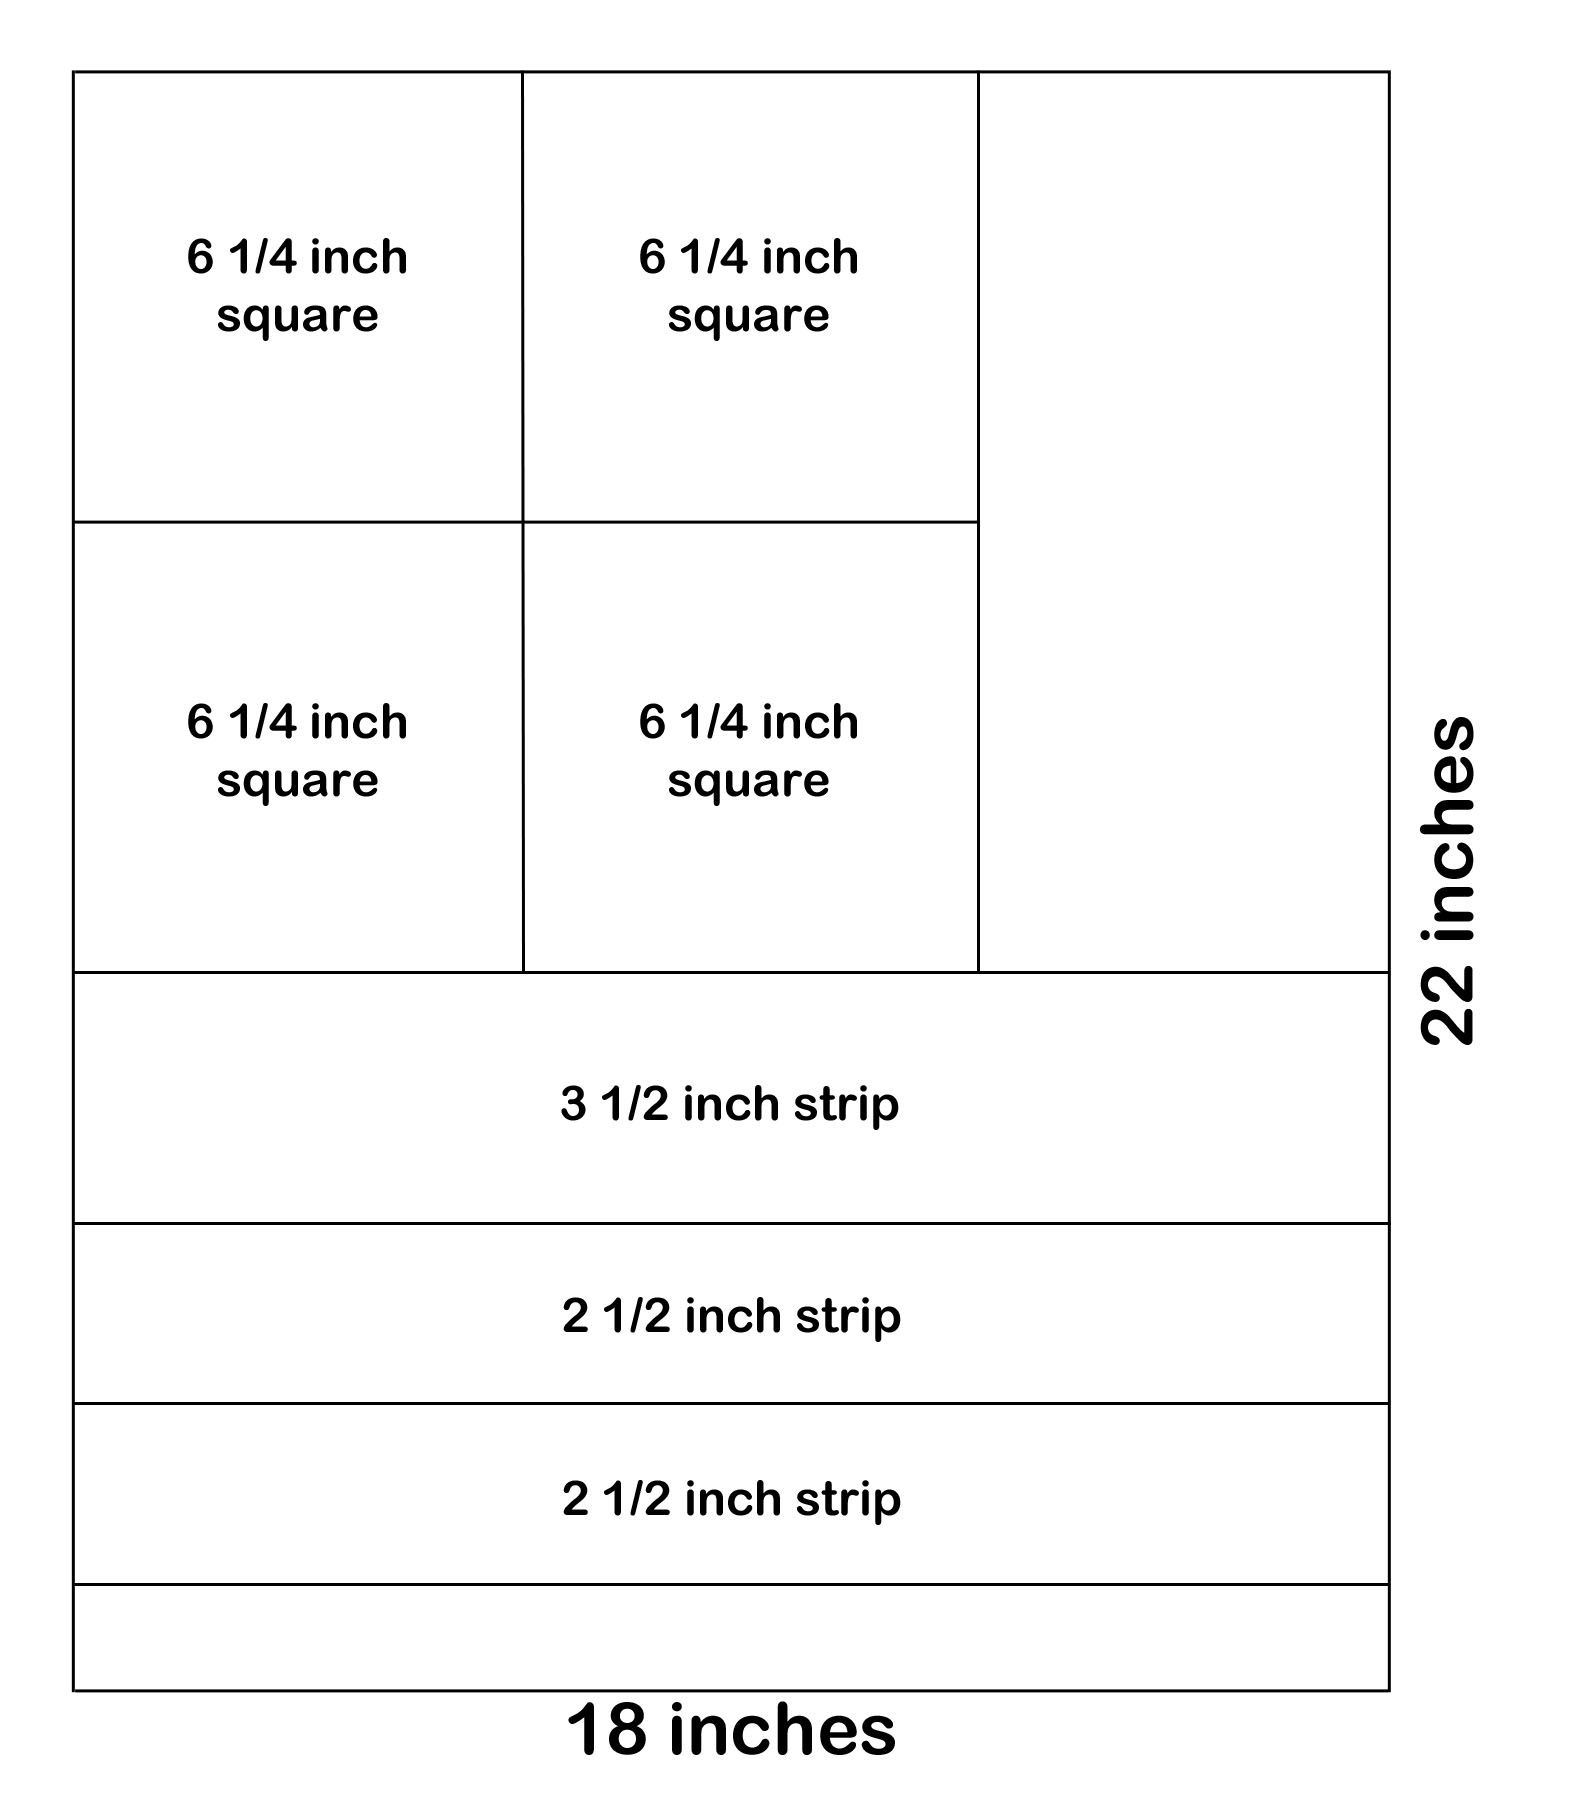
From the 3 1/2" strip, cut six 3 1/2" by 2 1/2" pieces.
From the first 2 1/2" strip, cut four 2 1/2" squares and one 3 1/2" by 2 1/2" piece.
From the second 2 1/2" strip, cut two 6 1/2" by 2 1/2" pieces and one 3 1/2" by 2 1/2" piece.

To review, you should cut the following from each fat quarter:
Four 6 1/4" squares
Eight 3 1/2" by 2 1/2" pieces.
Four 2 1/2" squares and
Two 6 1/2" by 2 1/2" pieces
Background Fabric
Cut 112 6 1/4" squares from the background fabric.
Draw a line diagonally across the background squares.
Assembling the Blocks
Before you begin sewing, take a moment to consider pressing. Because there is no sashing in this quilt, you need to press the blocks in two different ways for the seams to nestle nicely. The instructions below will give directions for pressing. Plan accordingly!
Each block has three different fabrics:
Two 6 1/4" squares of background fabric
Two 6 1/4" squares of fabric A
Four 2 1/2" by 3 1/2" rectangles of fabric A
One 6 1/2" by 2 1/2" rectangle of fabric B
Two 2 1/2" squares of fabric B

Placing right sides together, pair a 6 1/4" square of background fabric with a 6 1/4" square of printed fabric. Sew on each side of the drawn line. Cut apart. Press half of the half square triangles towards the background and half towards the main fabric.
Take the four 2 1/2" by 3 1/2" rectangles of fabric A. Sew one to each side of the 6 1/2" by 2 1/2" rectangle of fabric B. Sew one to each of the two 2 1/2" squares of fabric B.

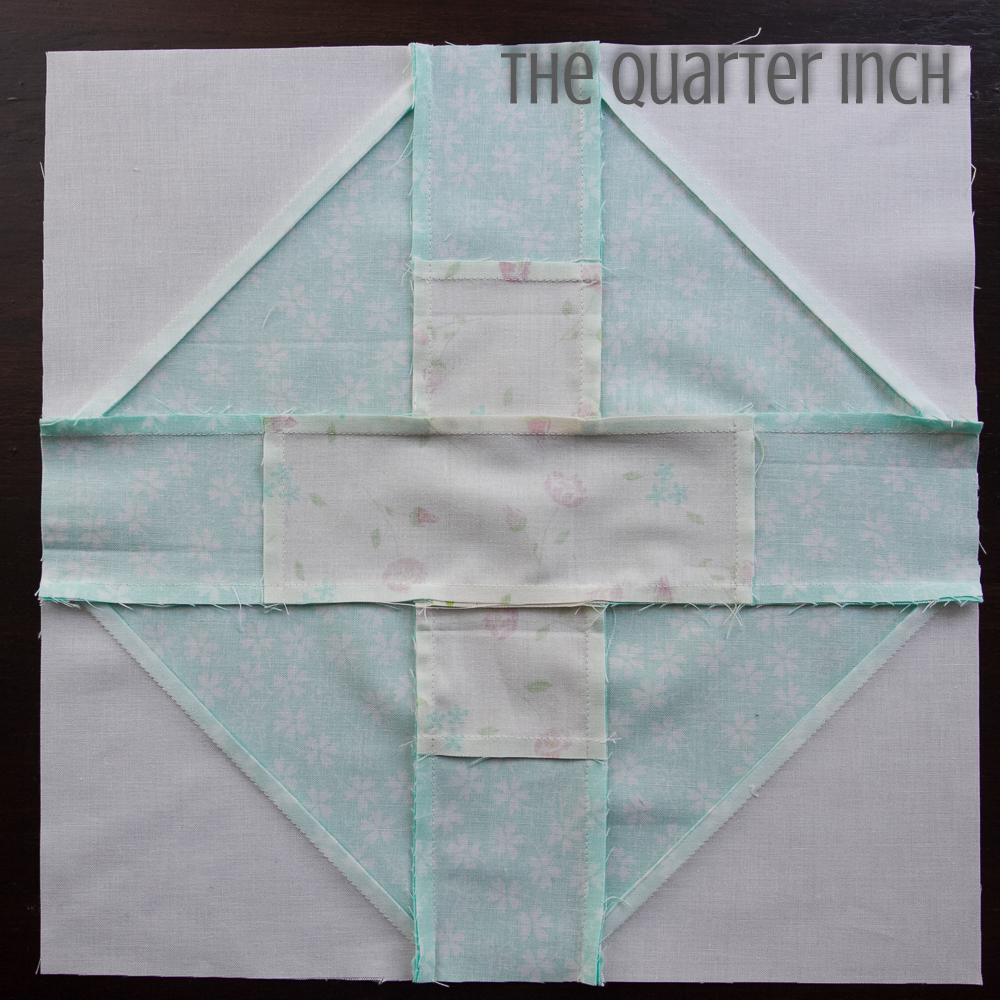
Arrange the pieces for each square with the half square triangles in each corner and with fabric B forming a plus sign in the middle.

Pressing
Use the HSTs to guide the rest of the pressing for each block. For the squares with HSTs pressed towards the background fabric, press the inner pieces toward the center (pressing style X, shown on left below). For the squares with HSTs pressed towards the main fabric, press the inner pieces away from the center (pressing style Y, picture on right below).

Note: Because the seams joining the 3 1/2" piece to the 2 1/2" square do not meet other seams, they can be pressed either way. You may wish to press these open to reduce bulk.
Assembling the Quilt Top
The quilt top consists of eights rows, each made up of seven blocks. Alternate the two styles of pressing in each row so that the seams nestle.
Begin odd numbered rows with pressing style X and even numbered rows with pressing style Y. This will ensure that the seams will nestle both horizontally and vertically.
Row 1: X Y X Y X Y X
Row 2: Y X Y X Y X Y

Finishing
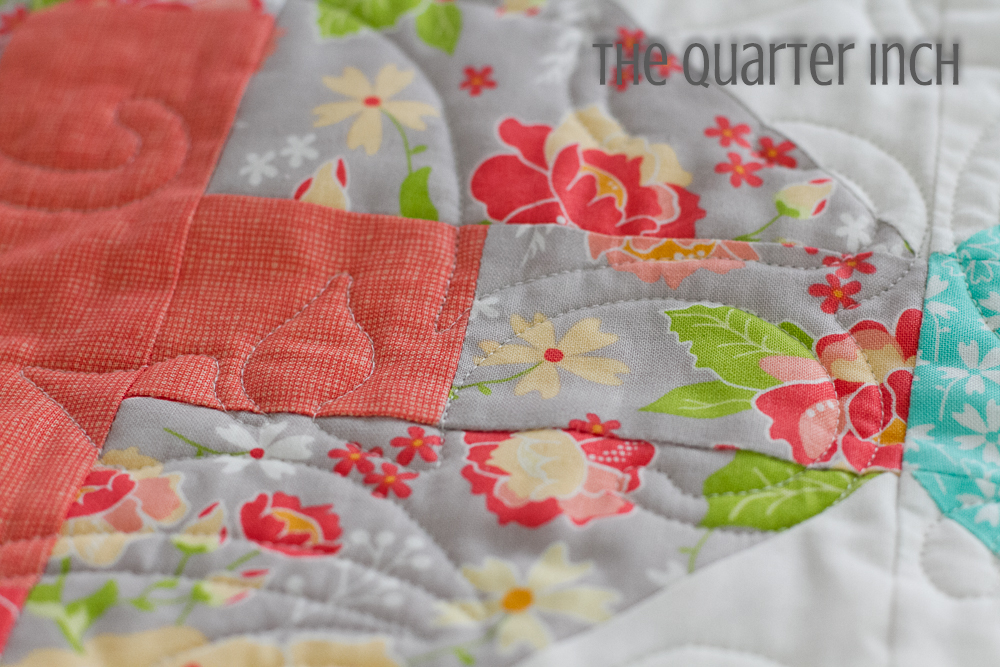
Layer the backing, batting and quilt top. Quilt as desired and bind.
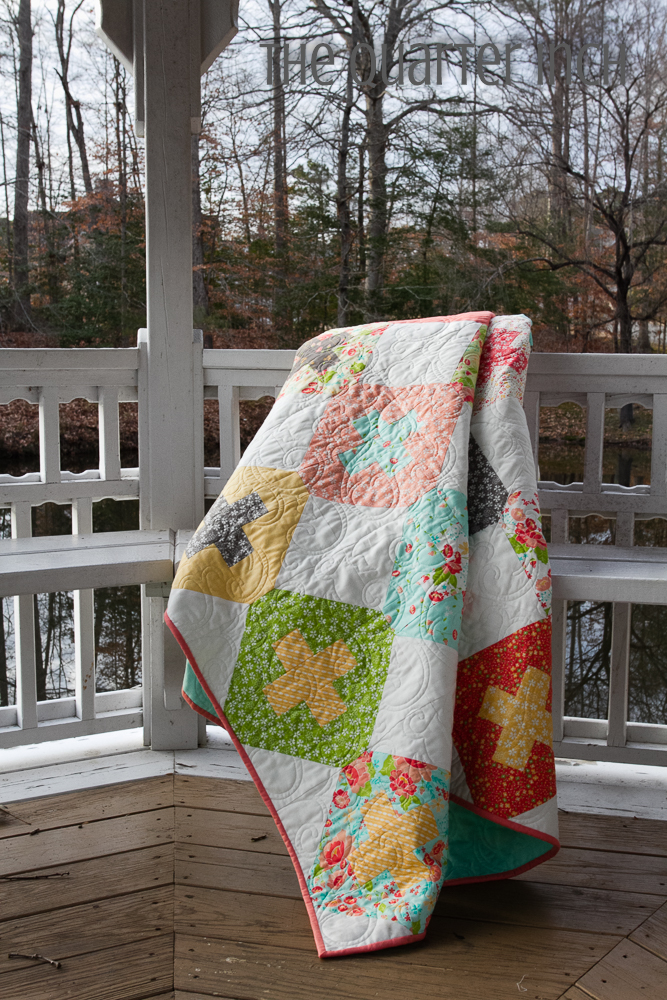
I quilted the top on a longarm using the Celtic Vines pattern.

![]()
This quilt finishes at 84" x 96".
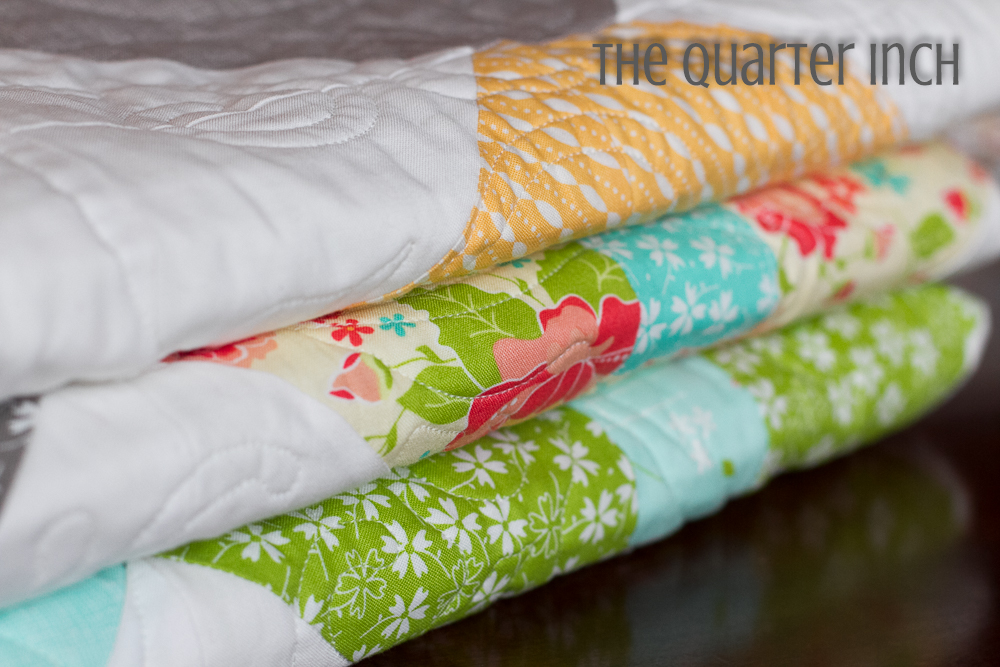
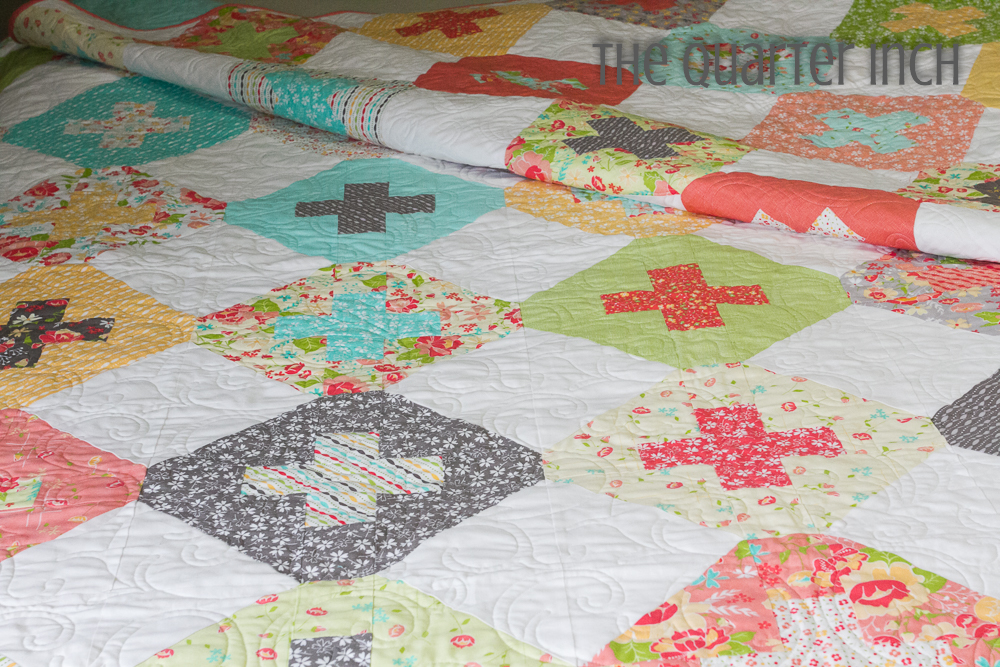
This quilt was a joy to make--it's such a happy quilt! Take a hop over to my blog for some other ideas for this block and two alternate quilt sizes.

Happy sewing!
Christine Weld
![]()
Posted in:
Comments