Welcome to Moda Fabrics!
Heads Up Quilt
Heads Up Quilt
Published:
Jan 8 2017 - 23:00


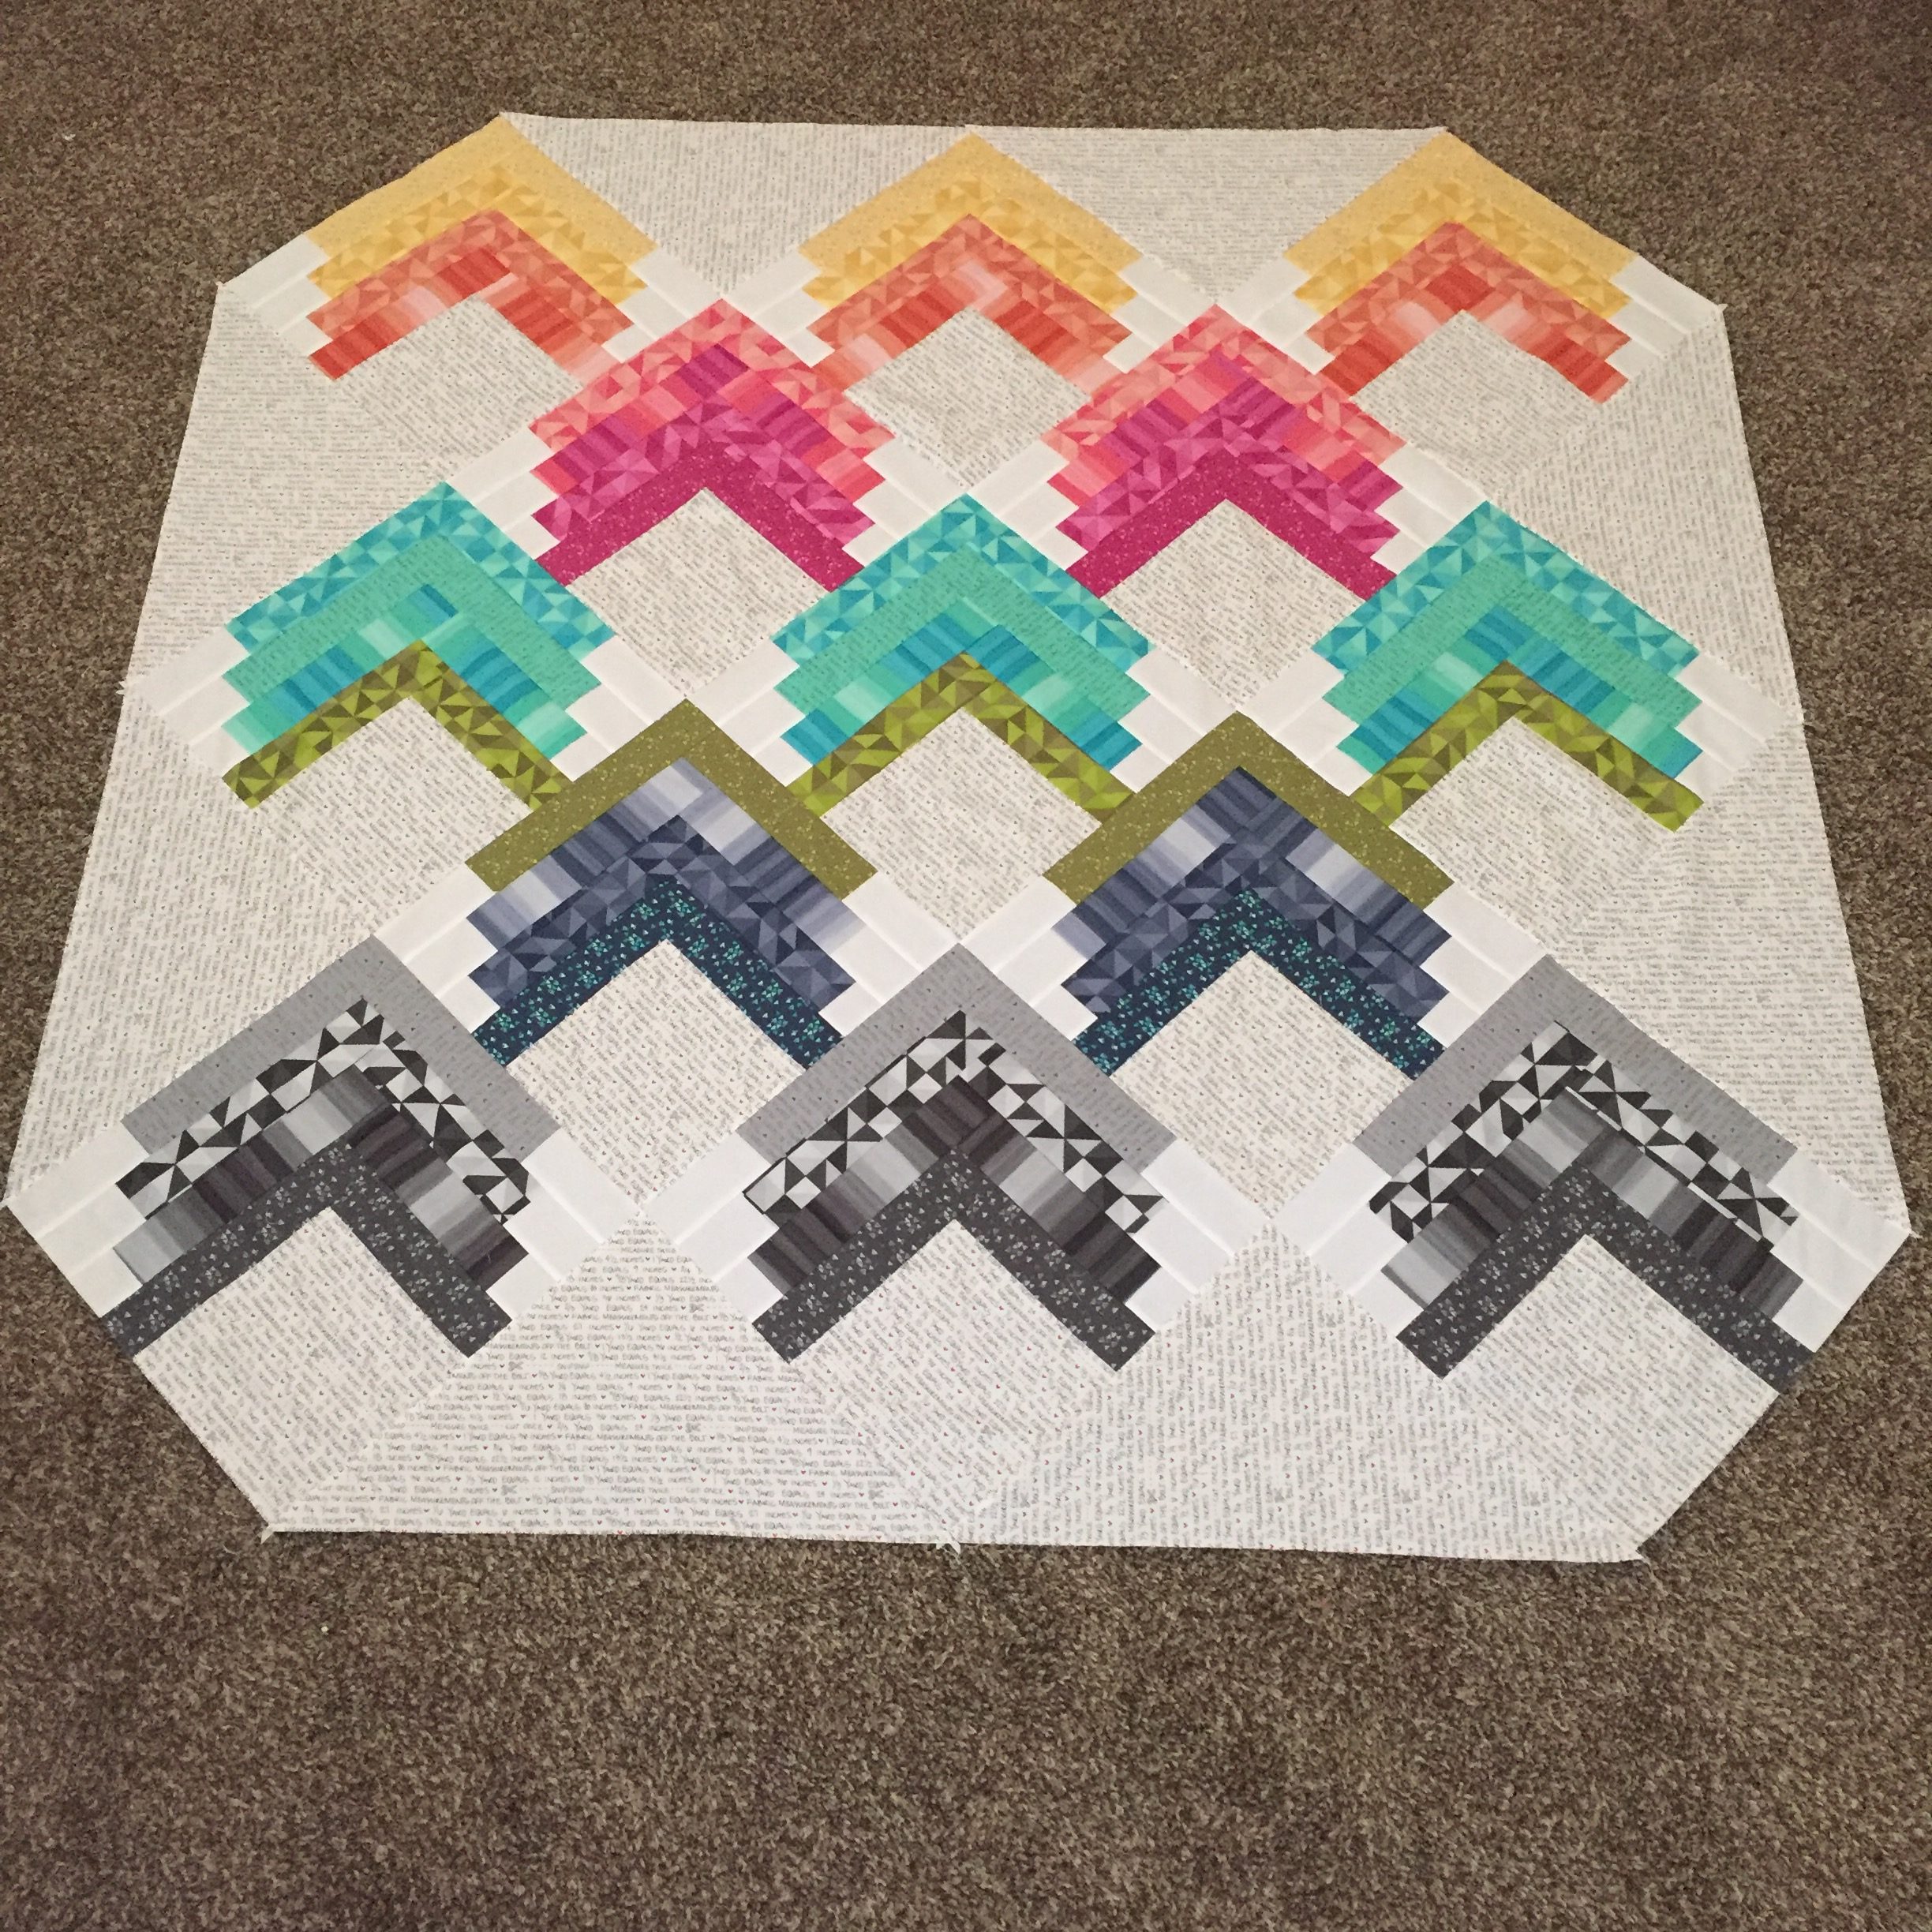
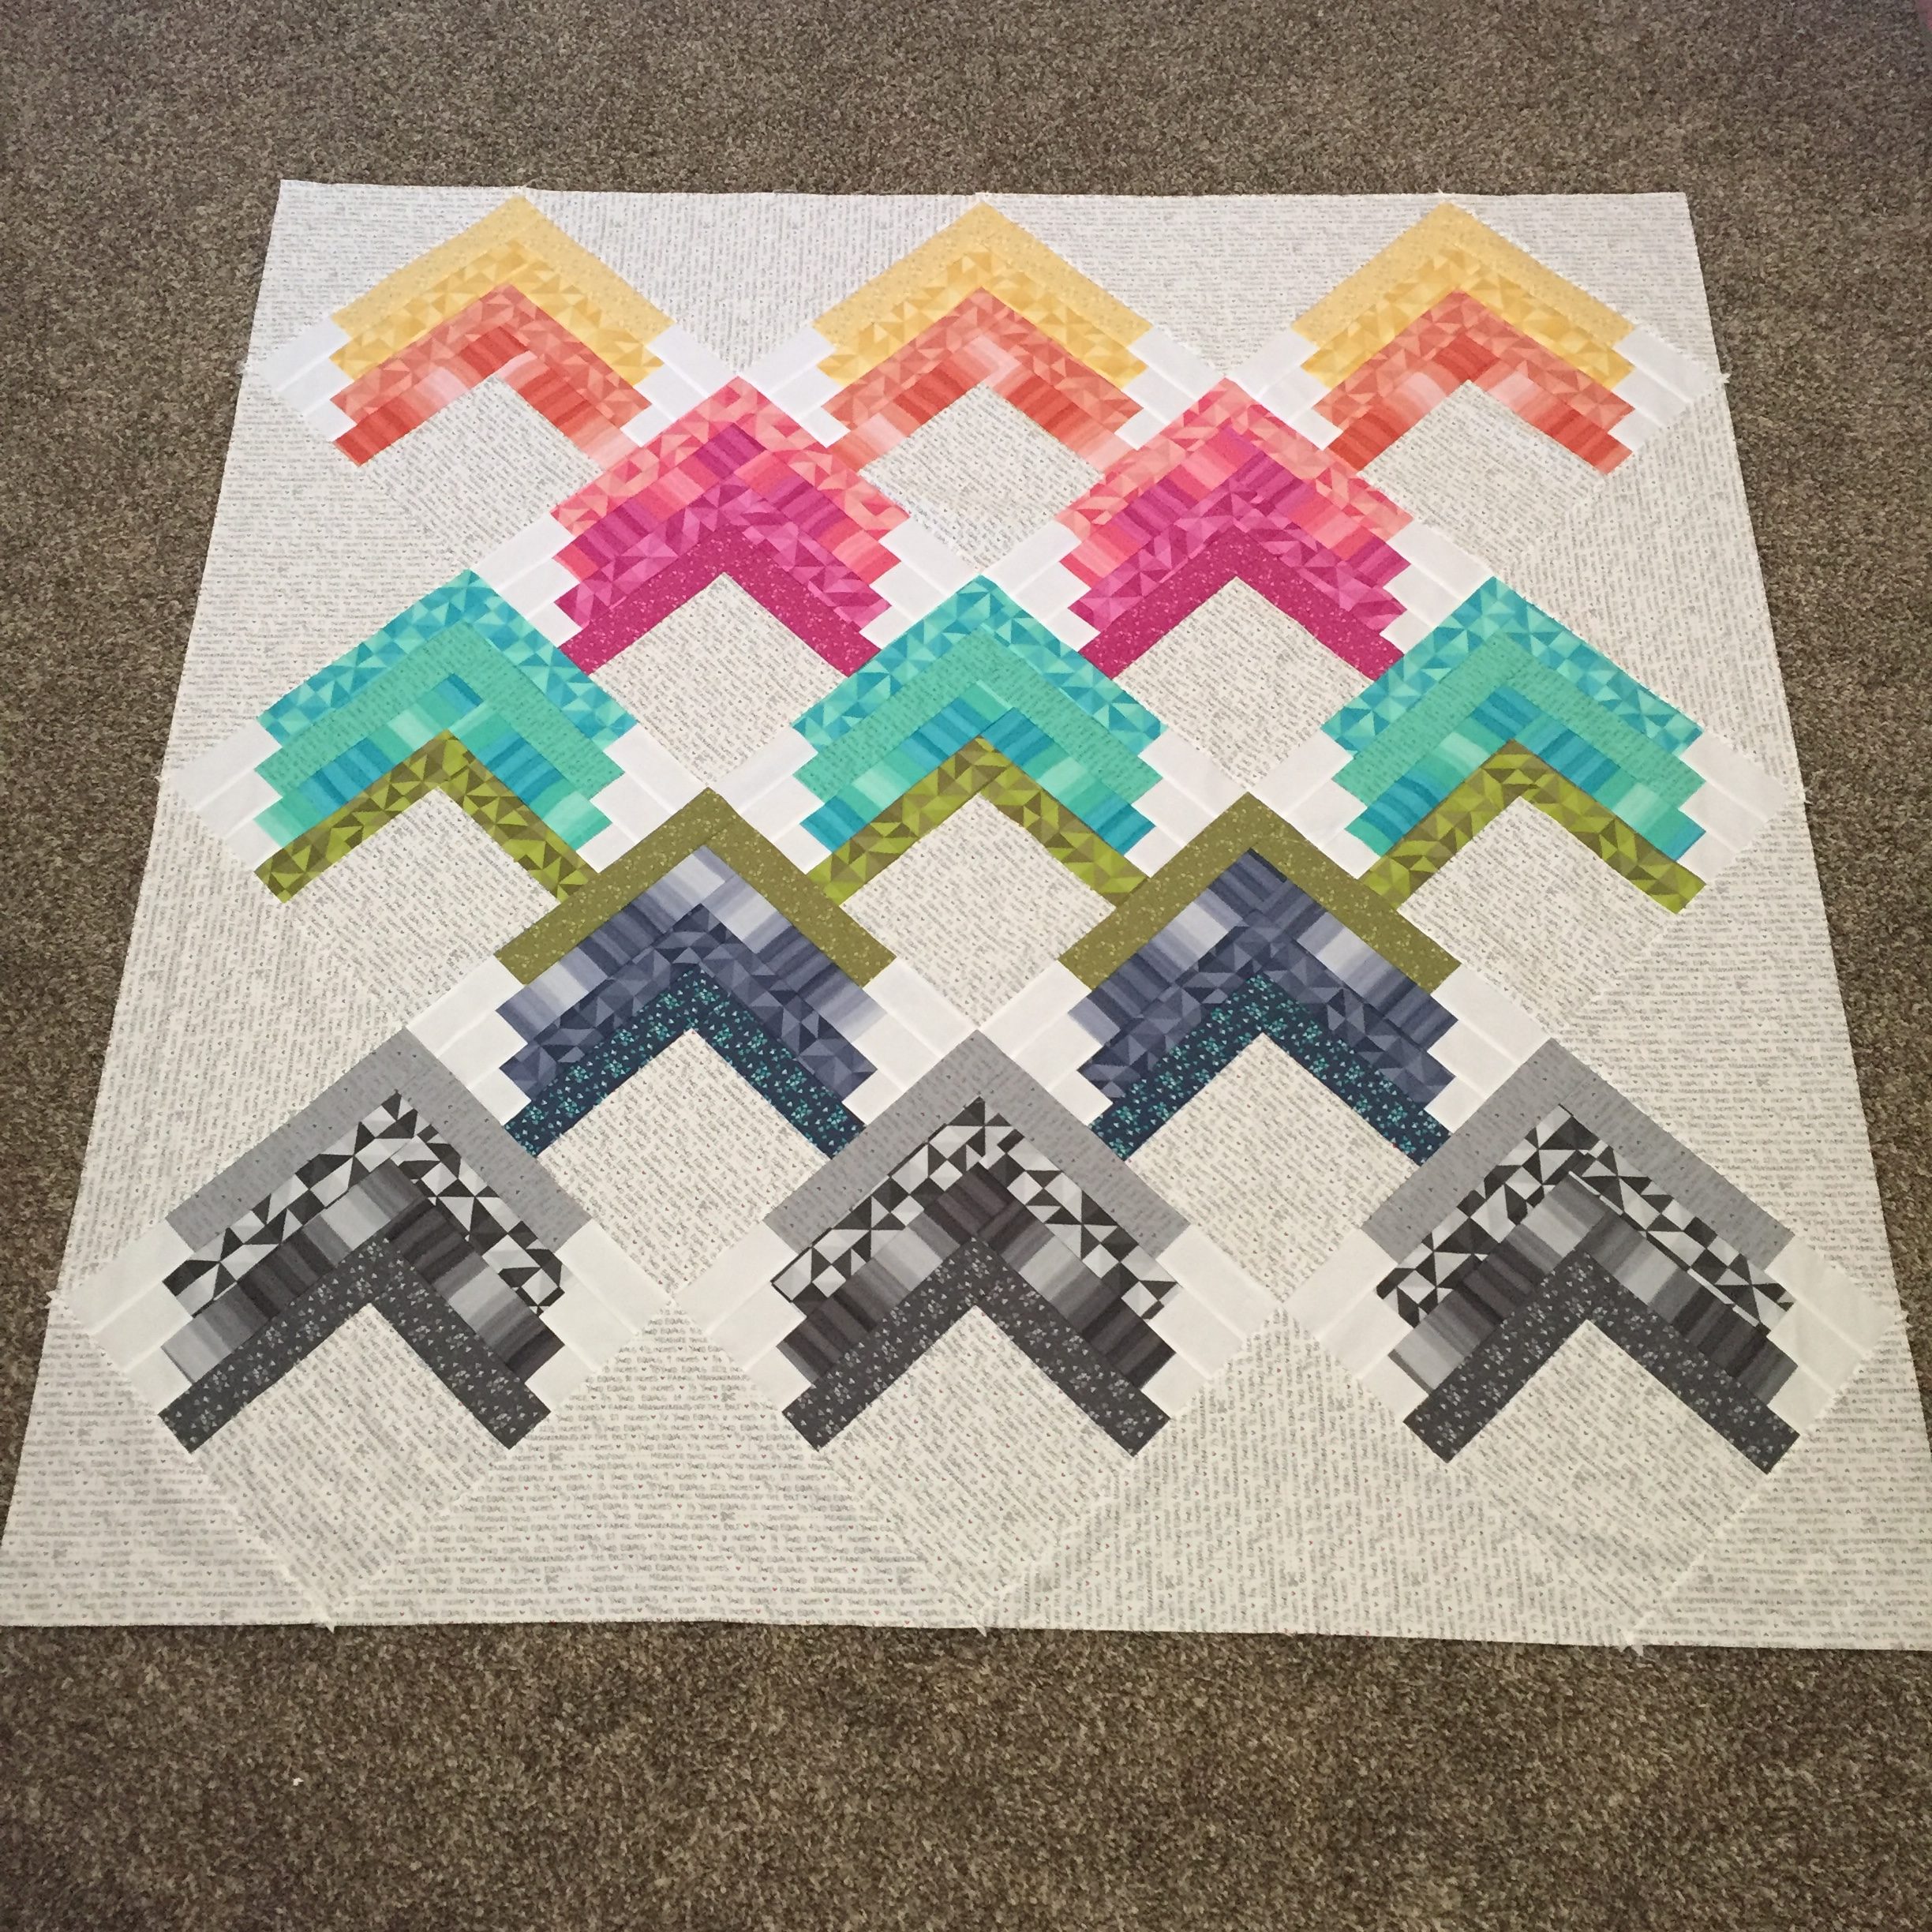
Hello everyone! My name is Amy Harward of Sew in Love Handmade and I am so excited to be able to share this beautiful quilt tutorial with you today! Immediately when I saw Spectrum from V and Co., I knew I needed to make this quilt! This quilt pattern is called Heads Up and it's color layout and theme are based on the concept that when we have hope and look for the good, we can rise out of the darkness into the light.
This quilt/project finishes at 68" x 68".
![]()

2 jelly rolls of Spectrum by Vanessa Christensen of V & Co. {10860 JR}
1 yard White Bella Solid for block background {9900 98}
3.25 yards Grey Scale Paper for center of blocks and corner/setting triangles {10863 23}
4 1/2 yards Sand Geometric Print for backing {10860 20}
1 yard Turquoise Stripe for binding {10861 17}
![]()
Choosing Fabrics
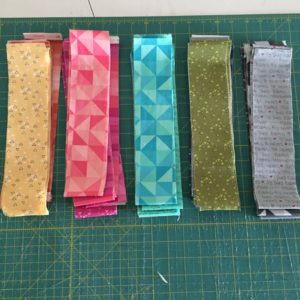
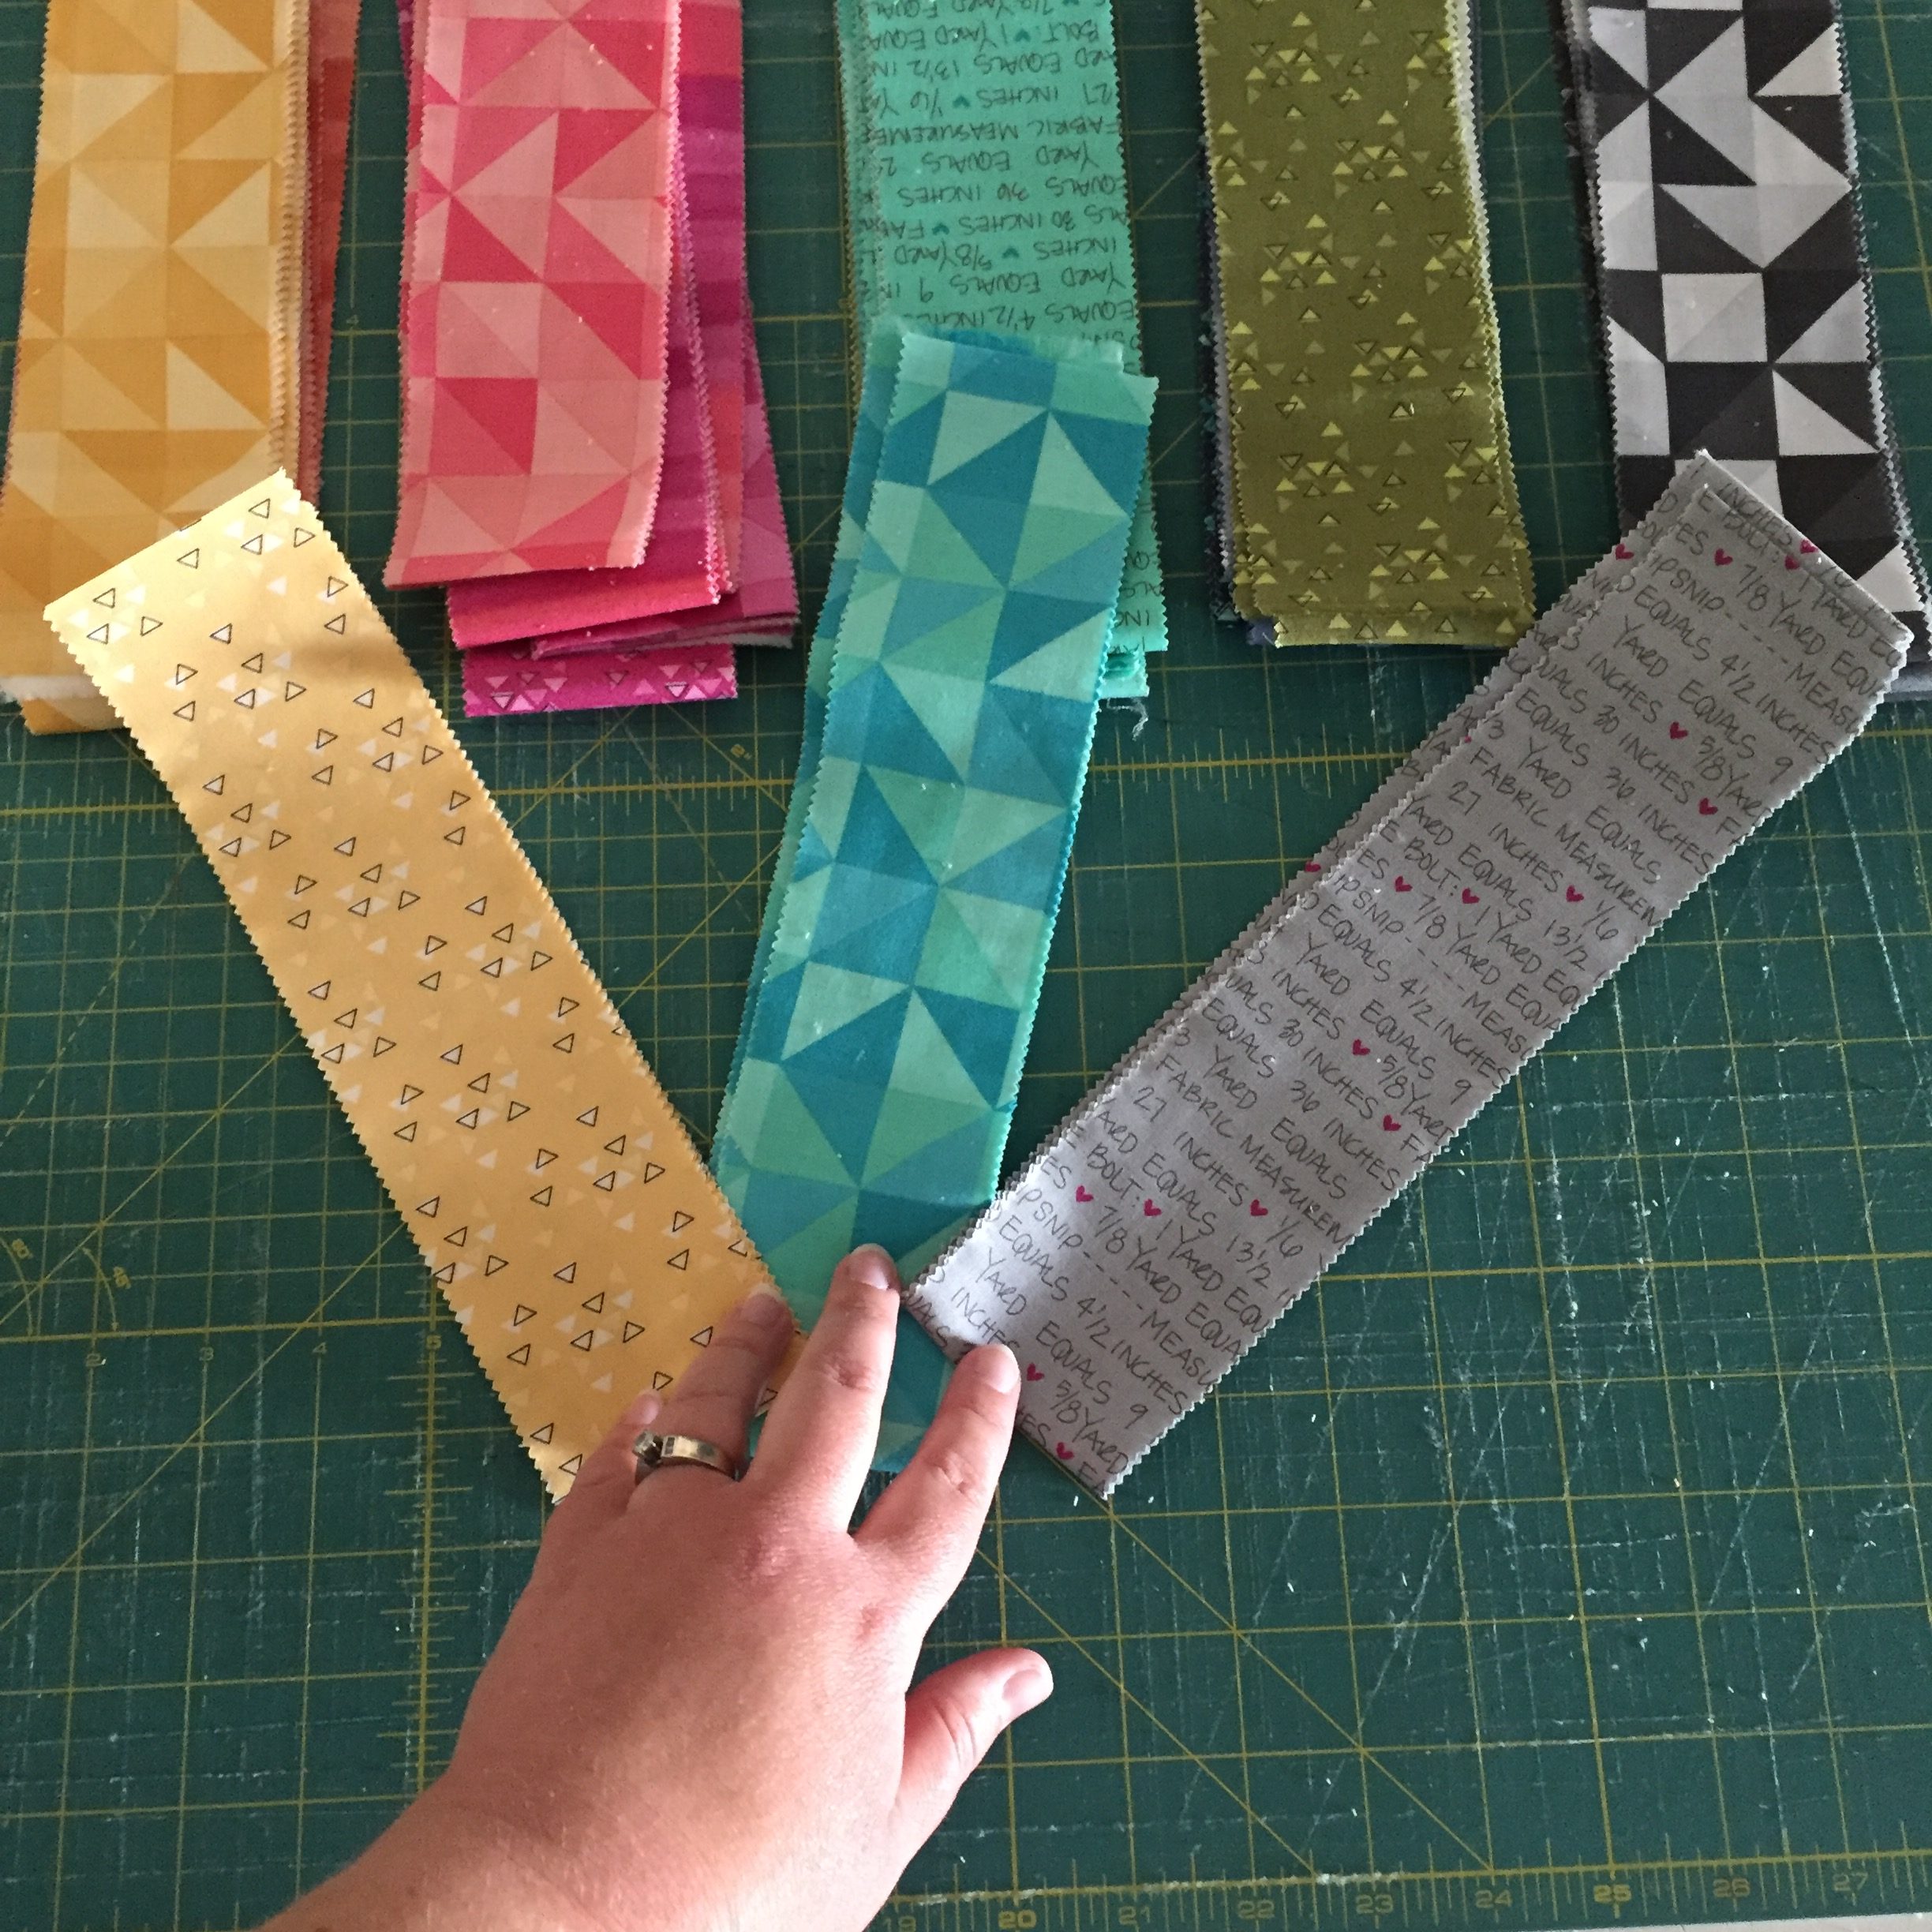
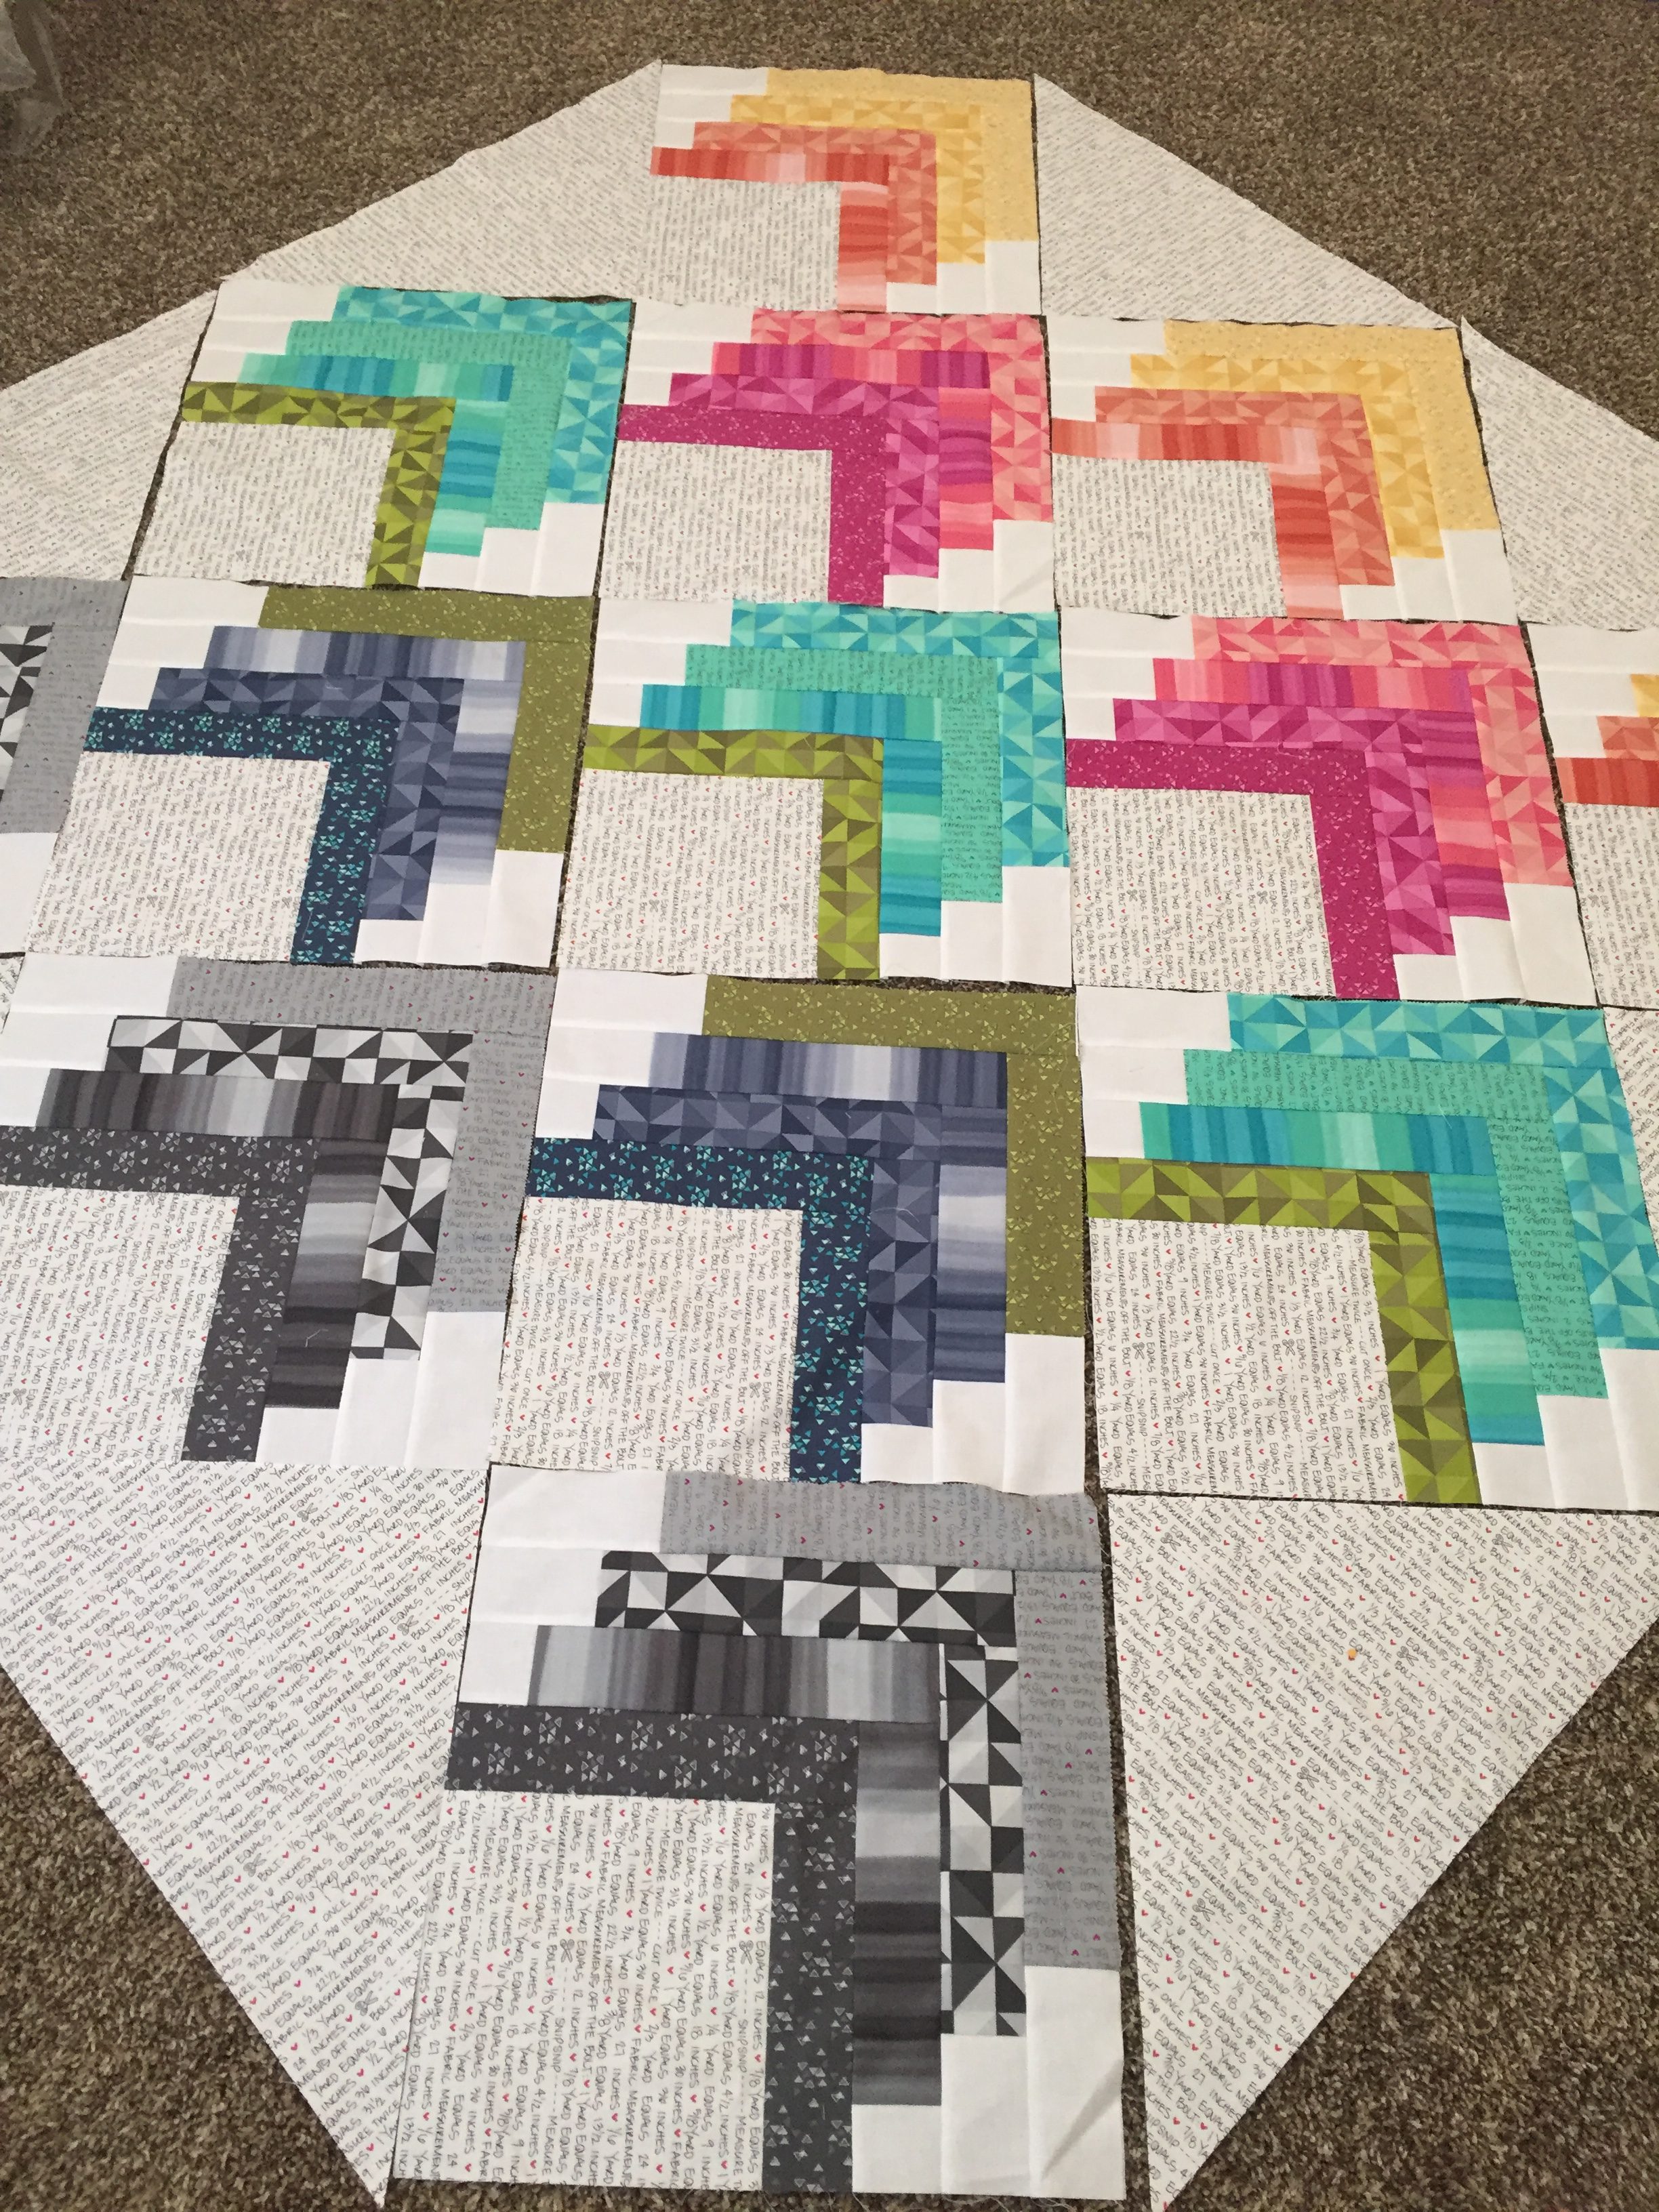
Before you cut into your jelly roll strips, you will need to pick your fabrics. You will need 2 strips from each of 20 prints that you would like to use for the blocks. Lay them out so that the strips are in a gradient from darkest at the bottom and lightest at the top, with like colors and tones by each other.

Once you have the strips sorted in this gradient, sort the 20 fabrics into 5 groups of 4. (I was still trying to figure out where to put the green strips in this photo, and I eventually put one with the turquoise group and one with the navy group, so 5 groups of 4.)

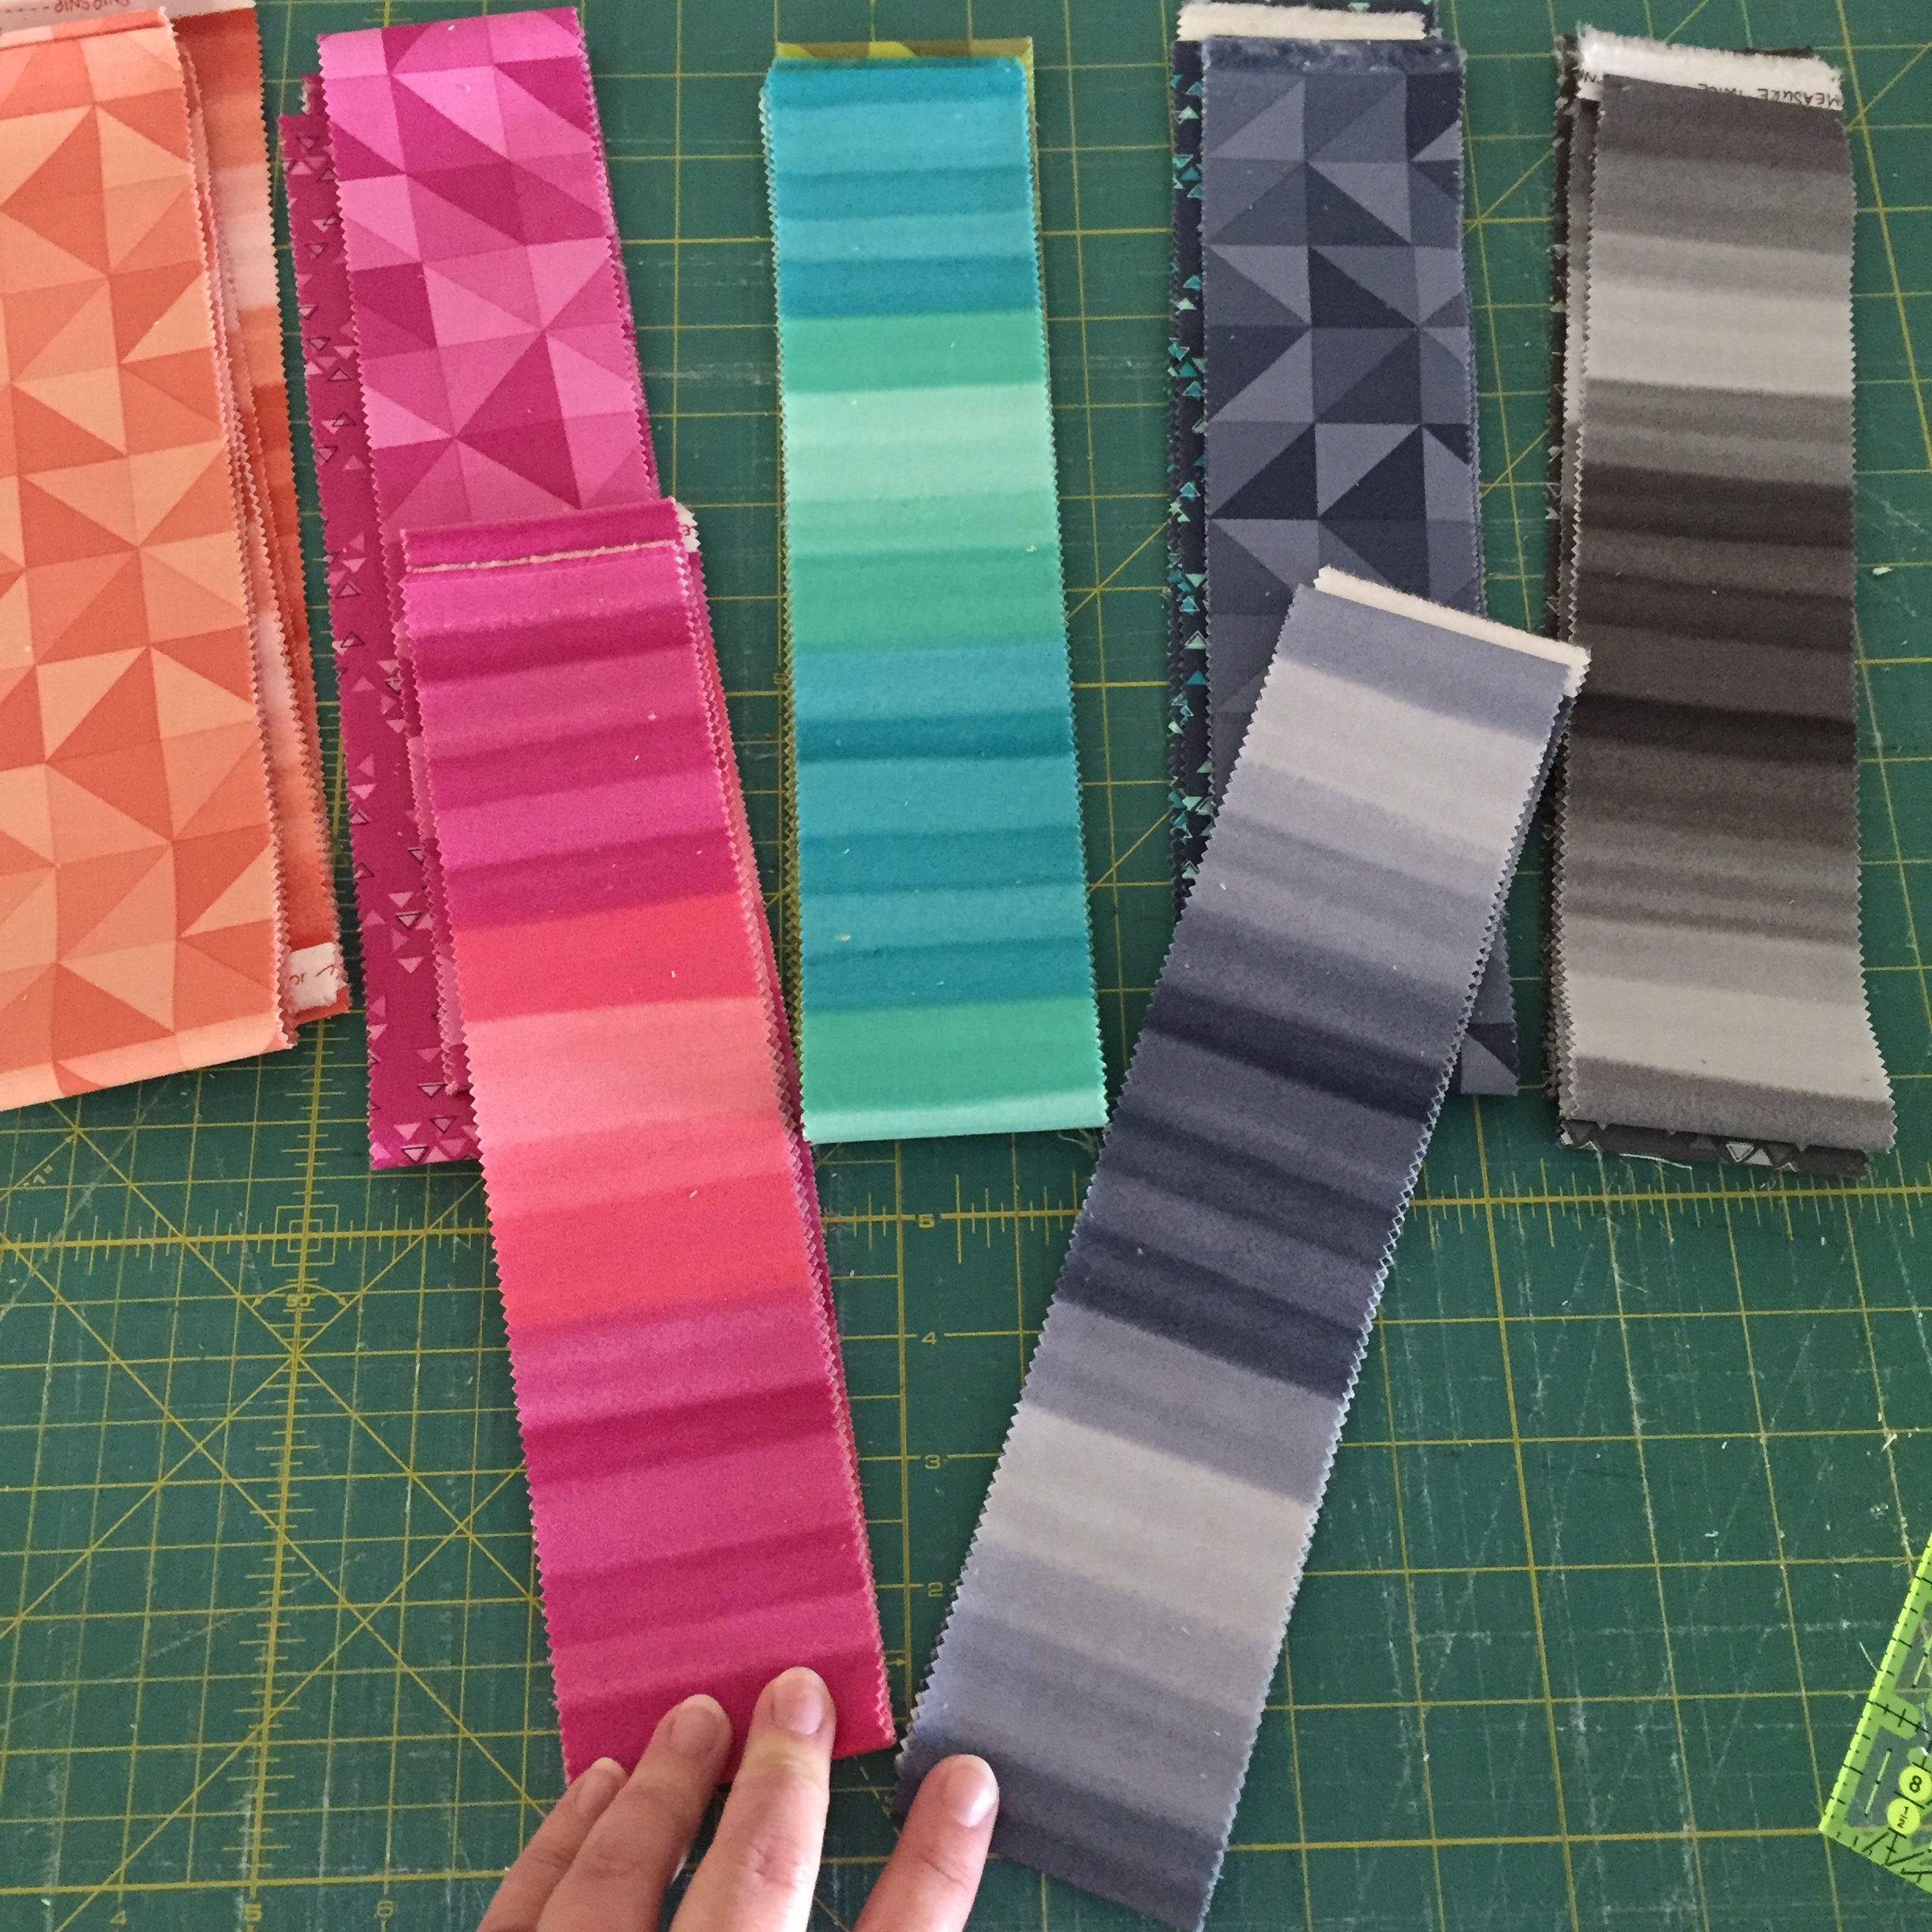
Now you need to put the strips in each group one on top of the other with the lightest on the top and the darkest on the bottom. You will have 5 piles, one for each color group.
Cutting
The 1st, 3rd, and 5th rows of the quilt have three blocks, while the 2nd and 4th rows have 2 blocks, so you need to cut them separately.
Cut the 1st, 3rd, and 5th row strips as follows:
Lightest strips - (3)2.5" x 10" and (3)2.5" x 12"
Second lightest strips - (3)2.5" x 9.5" and (3)2.5" x 11.5"
Second darkest strips - (3)2.5" x 9" and (3)2.5" x 11"
Darkest strips - (3)2.5" x 8.5" and (3)2.5" x 10.5"


Cut the 2nd and 4th row strips as follows:
Lightest strips - (2)2.5" x 10" and (2)2.5" x 12"
Second lightest strips - (2)2.5" x 9.5" and (2)2.5" x 11.5"
Second darkest strips - (2)2.5" x 9" and (2)2.5" x 11"
Darkest strips - (2)2.5" x 8.5" and (2)2.5" x 10.5"


Cut the neutral fabric for the block background as follows:
Cut 8 strips 2.5" x WOF
-Subcut strips until you have (26)2.5" x 2", (26)2.5" x 3.5", and (26)2.5" x 5" rectangles.


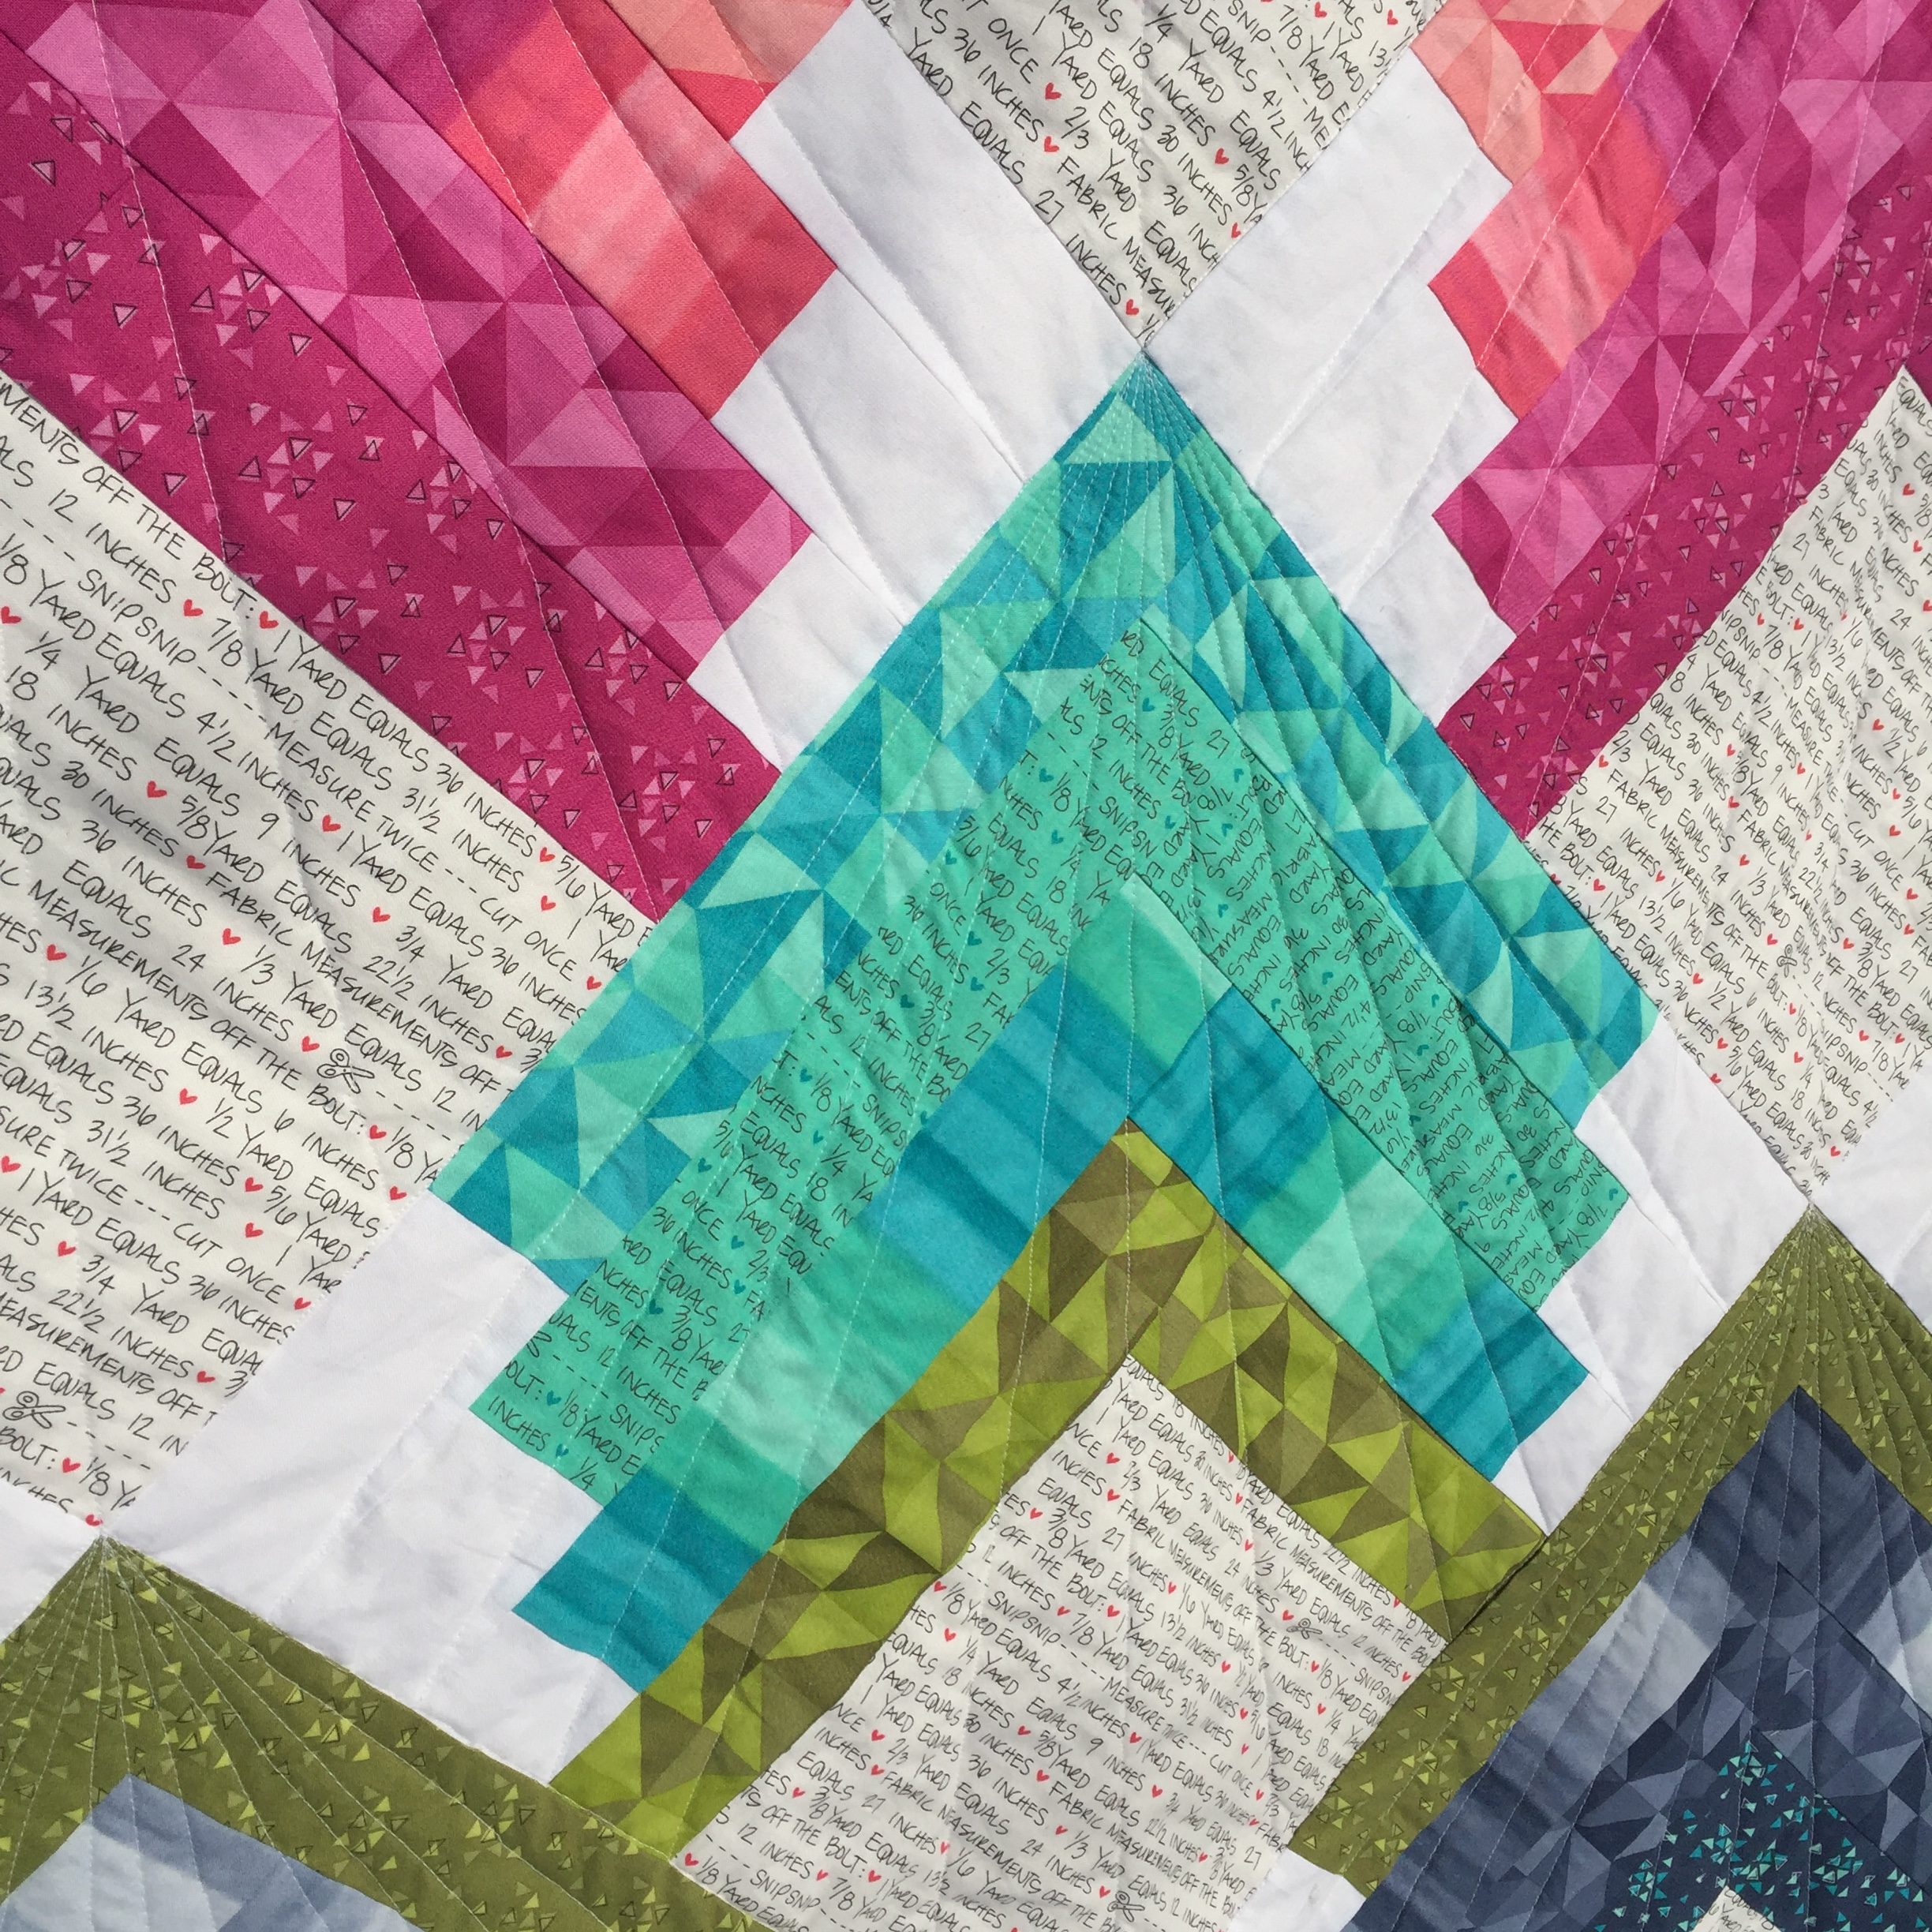
Cut the text fabric that will be the center of the blocks and the corner/setting triangles as follows:
DISCLAIMER BEFORE CUTTING TEXT FABRIC:
In the quilt that I made, the text fabric triangles are cut on the bias and the text runs left to right or top to bottom but on the center blocks the text was cut on the grain, so the text is bias since the blocks are set on point. I will include instructions for both so you have the option of the text print all running the same way if you like!
Cut 2 strips 24.5" x WOF
-Subcut strips so you have (2)23 7/8" x 23 7/8" and (2)12.25" x 12.25" squares.
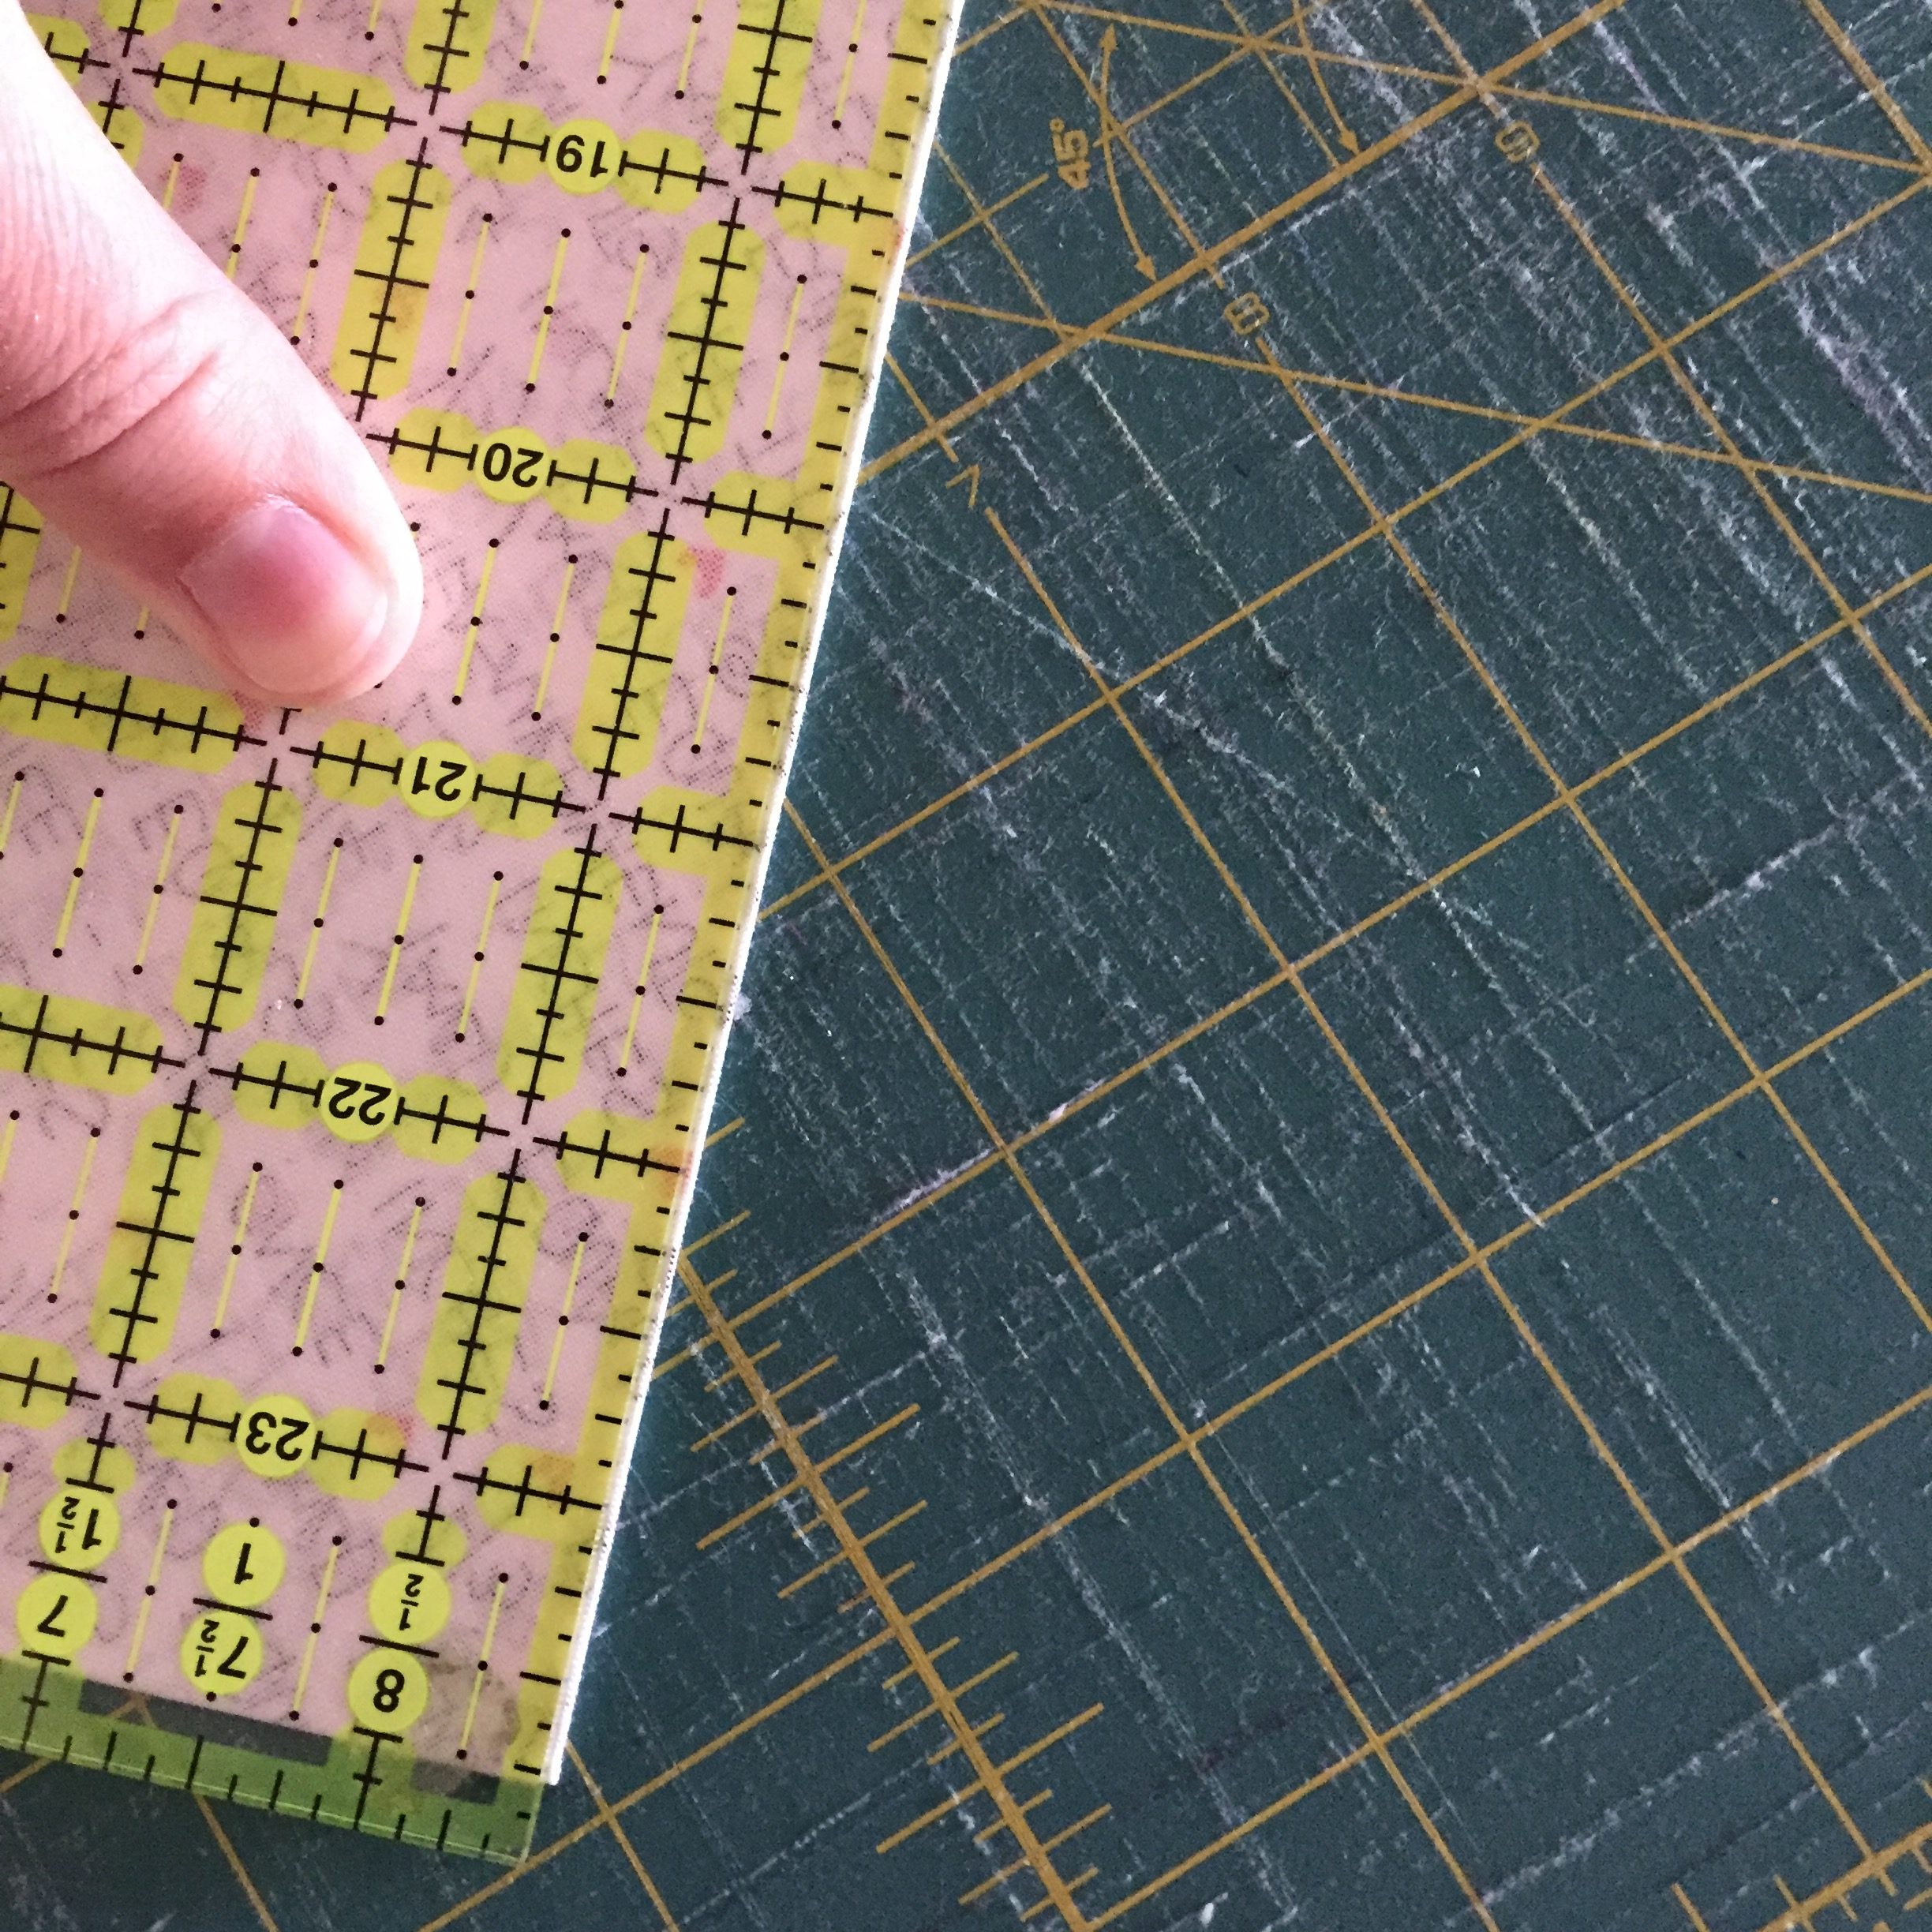
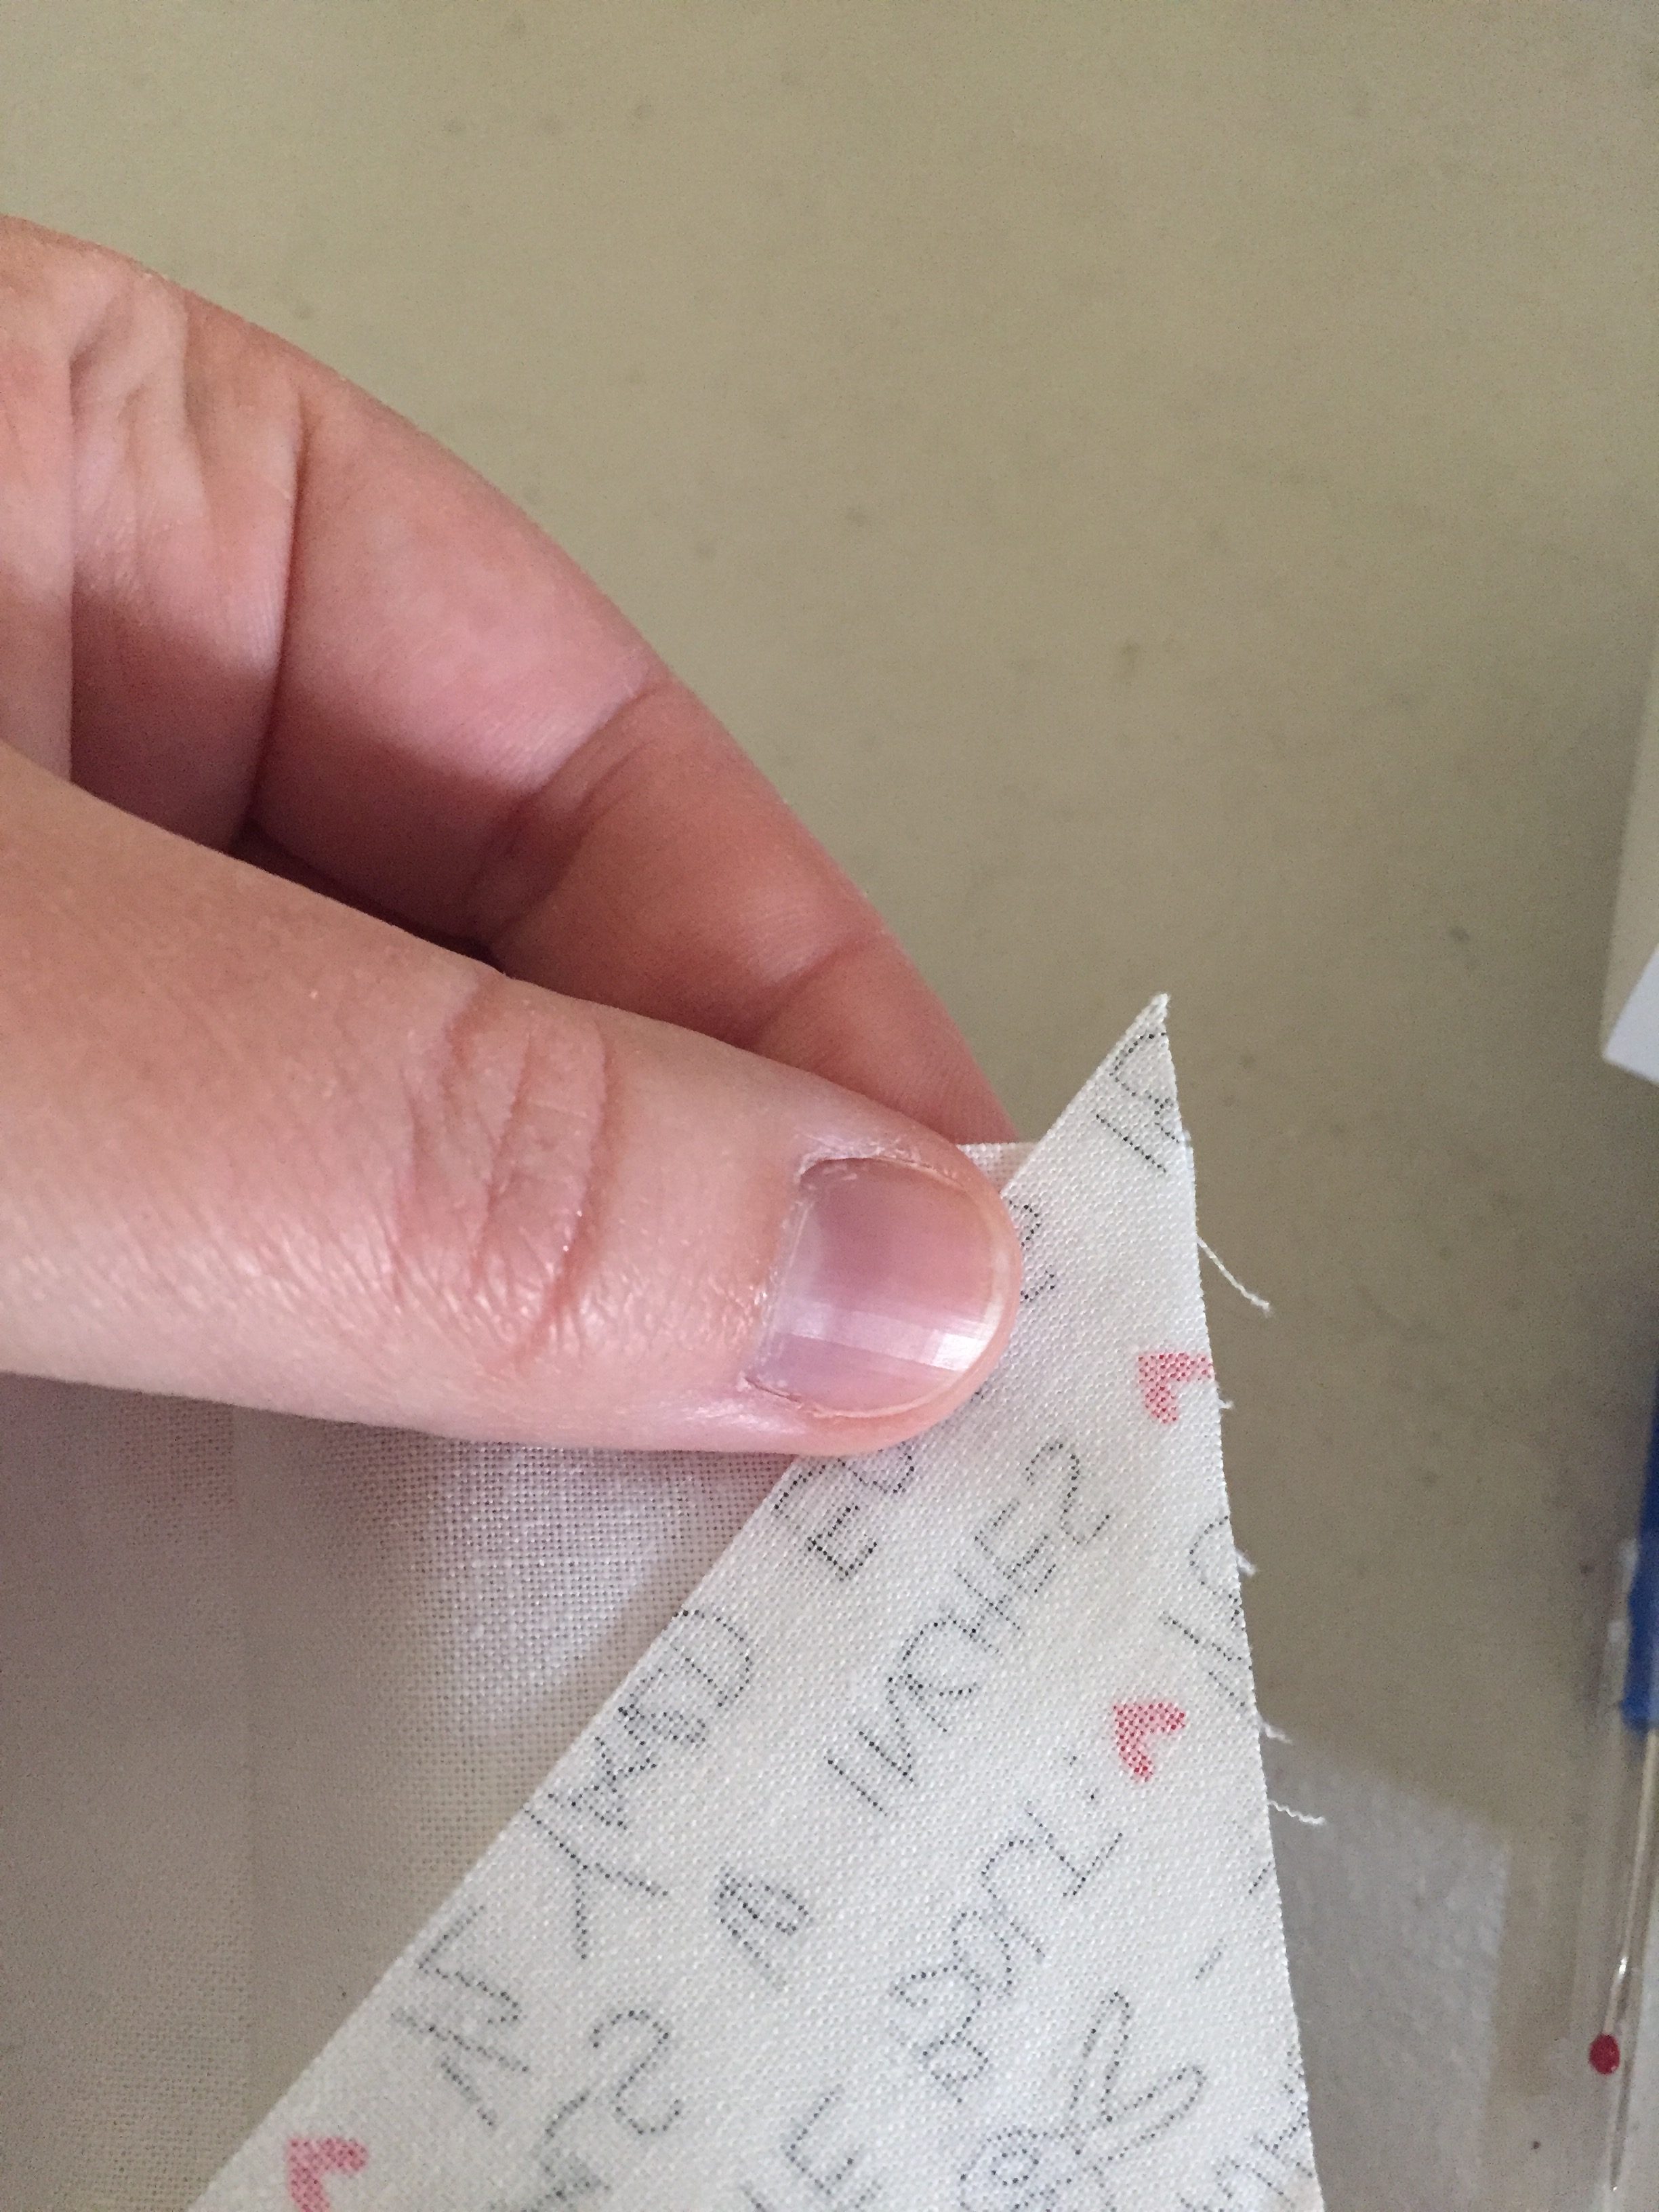
Cut the (2)12.25" x 12.25" squares diagonally. If you care about the direction of the text, cut 1 square on a left diagonal and 1 square on a right diagonal. These will be the corner triangles of the quilt.


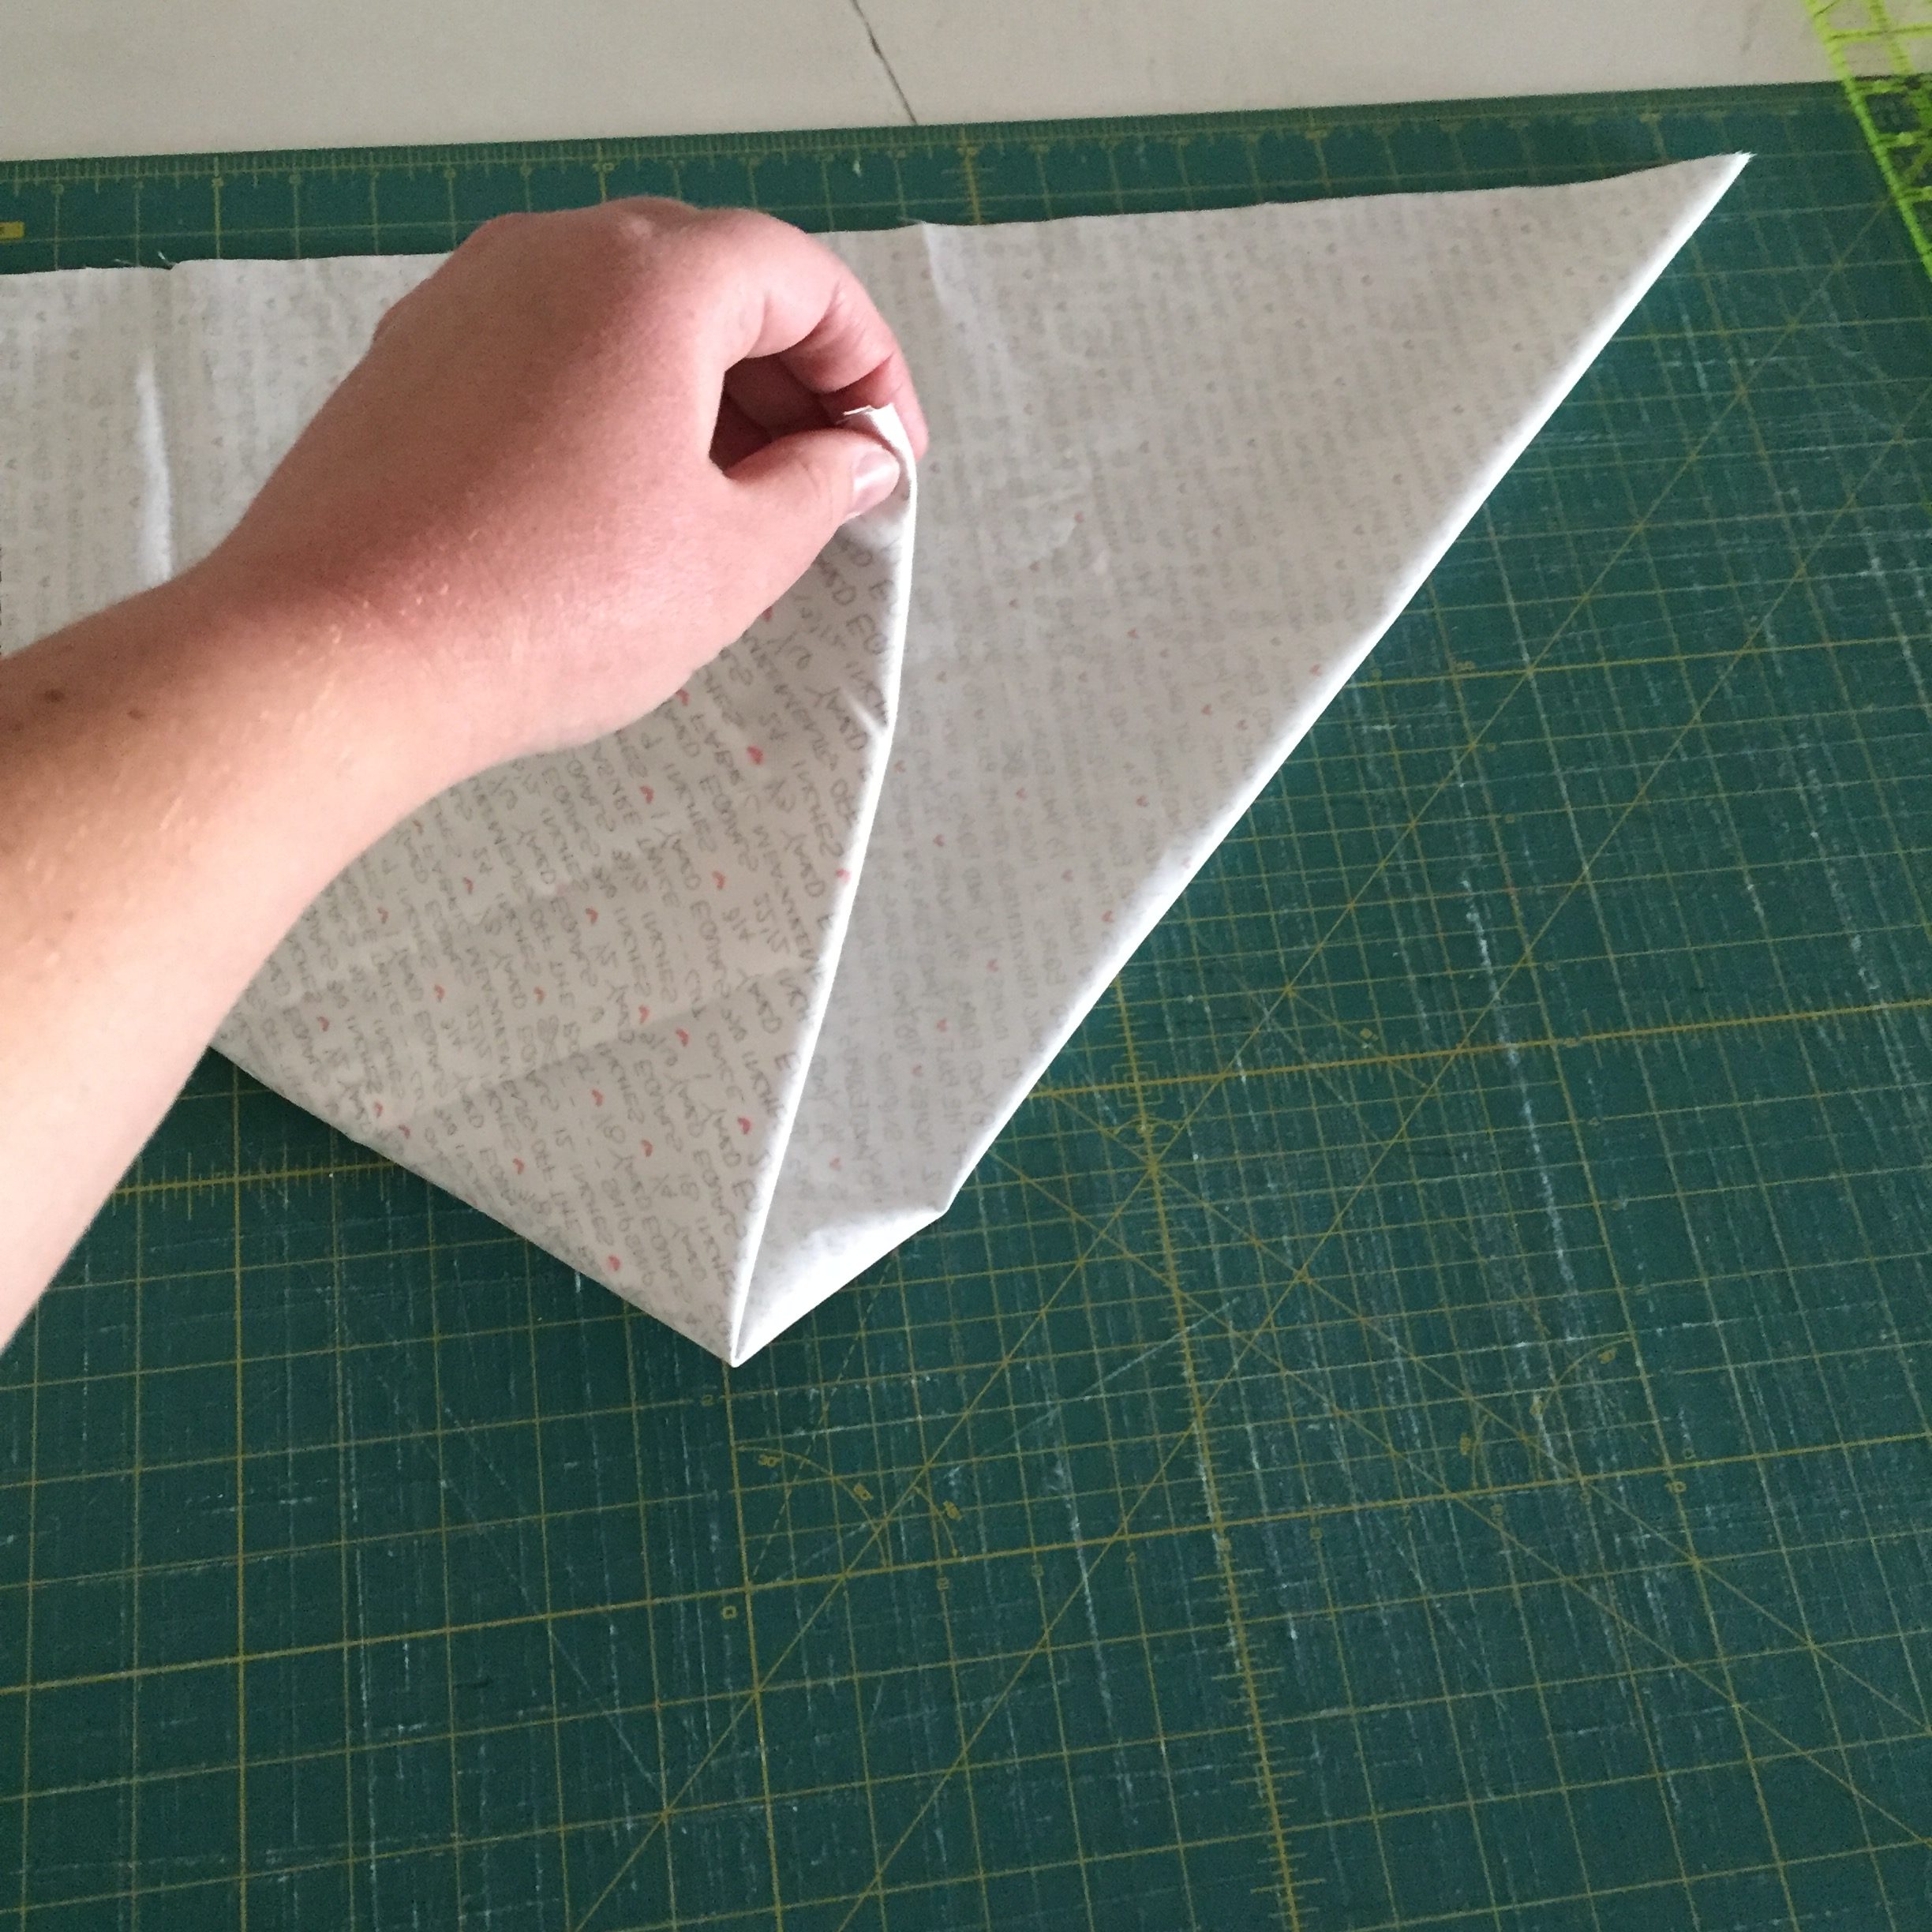
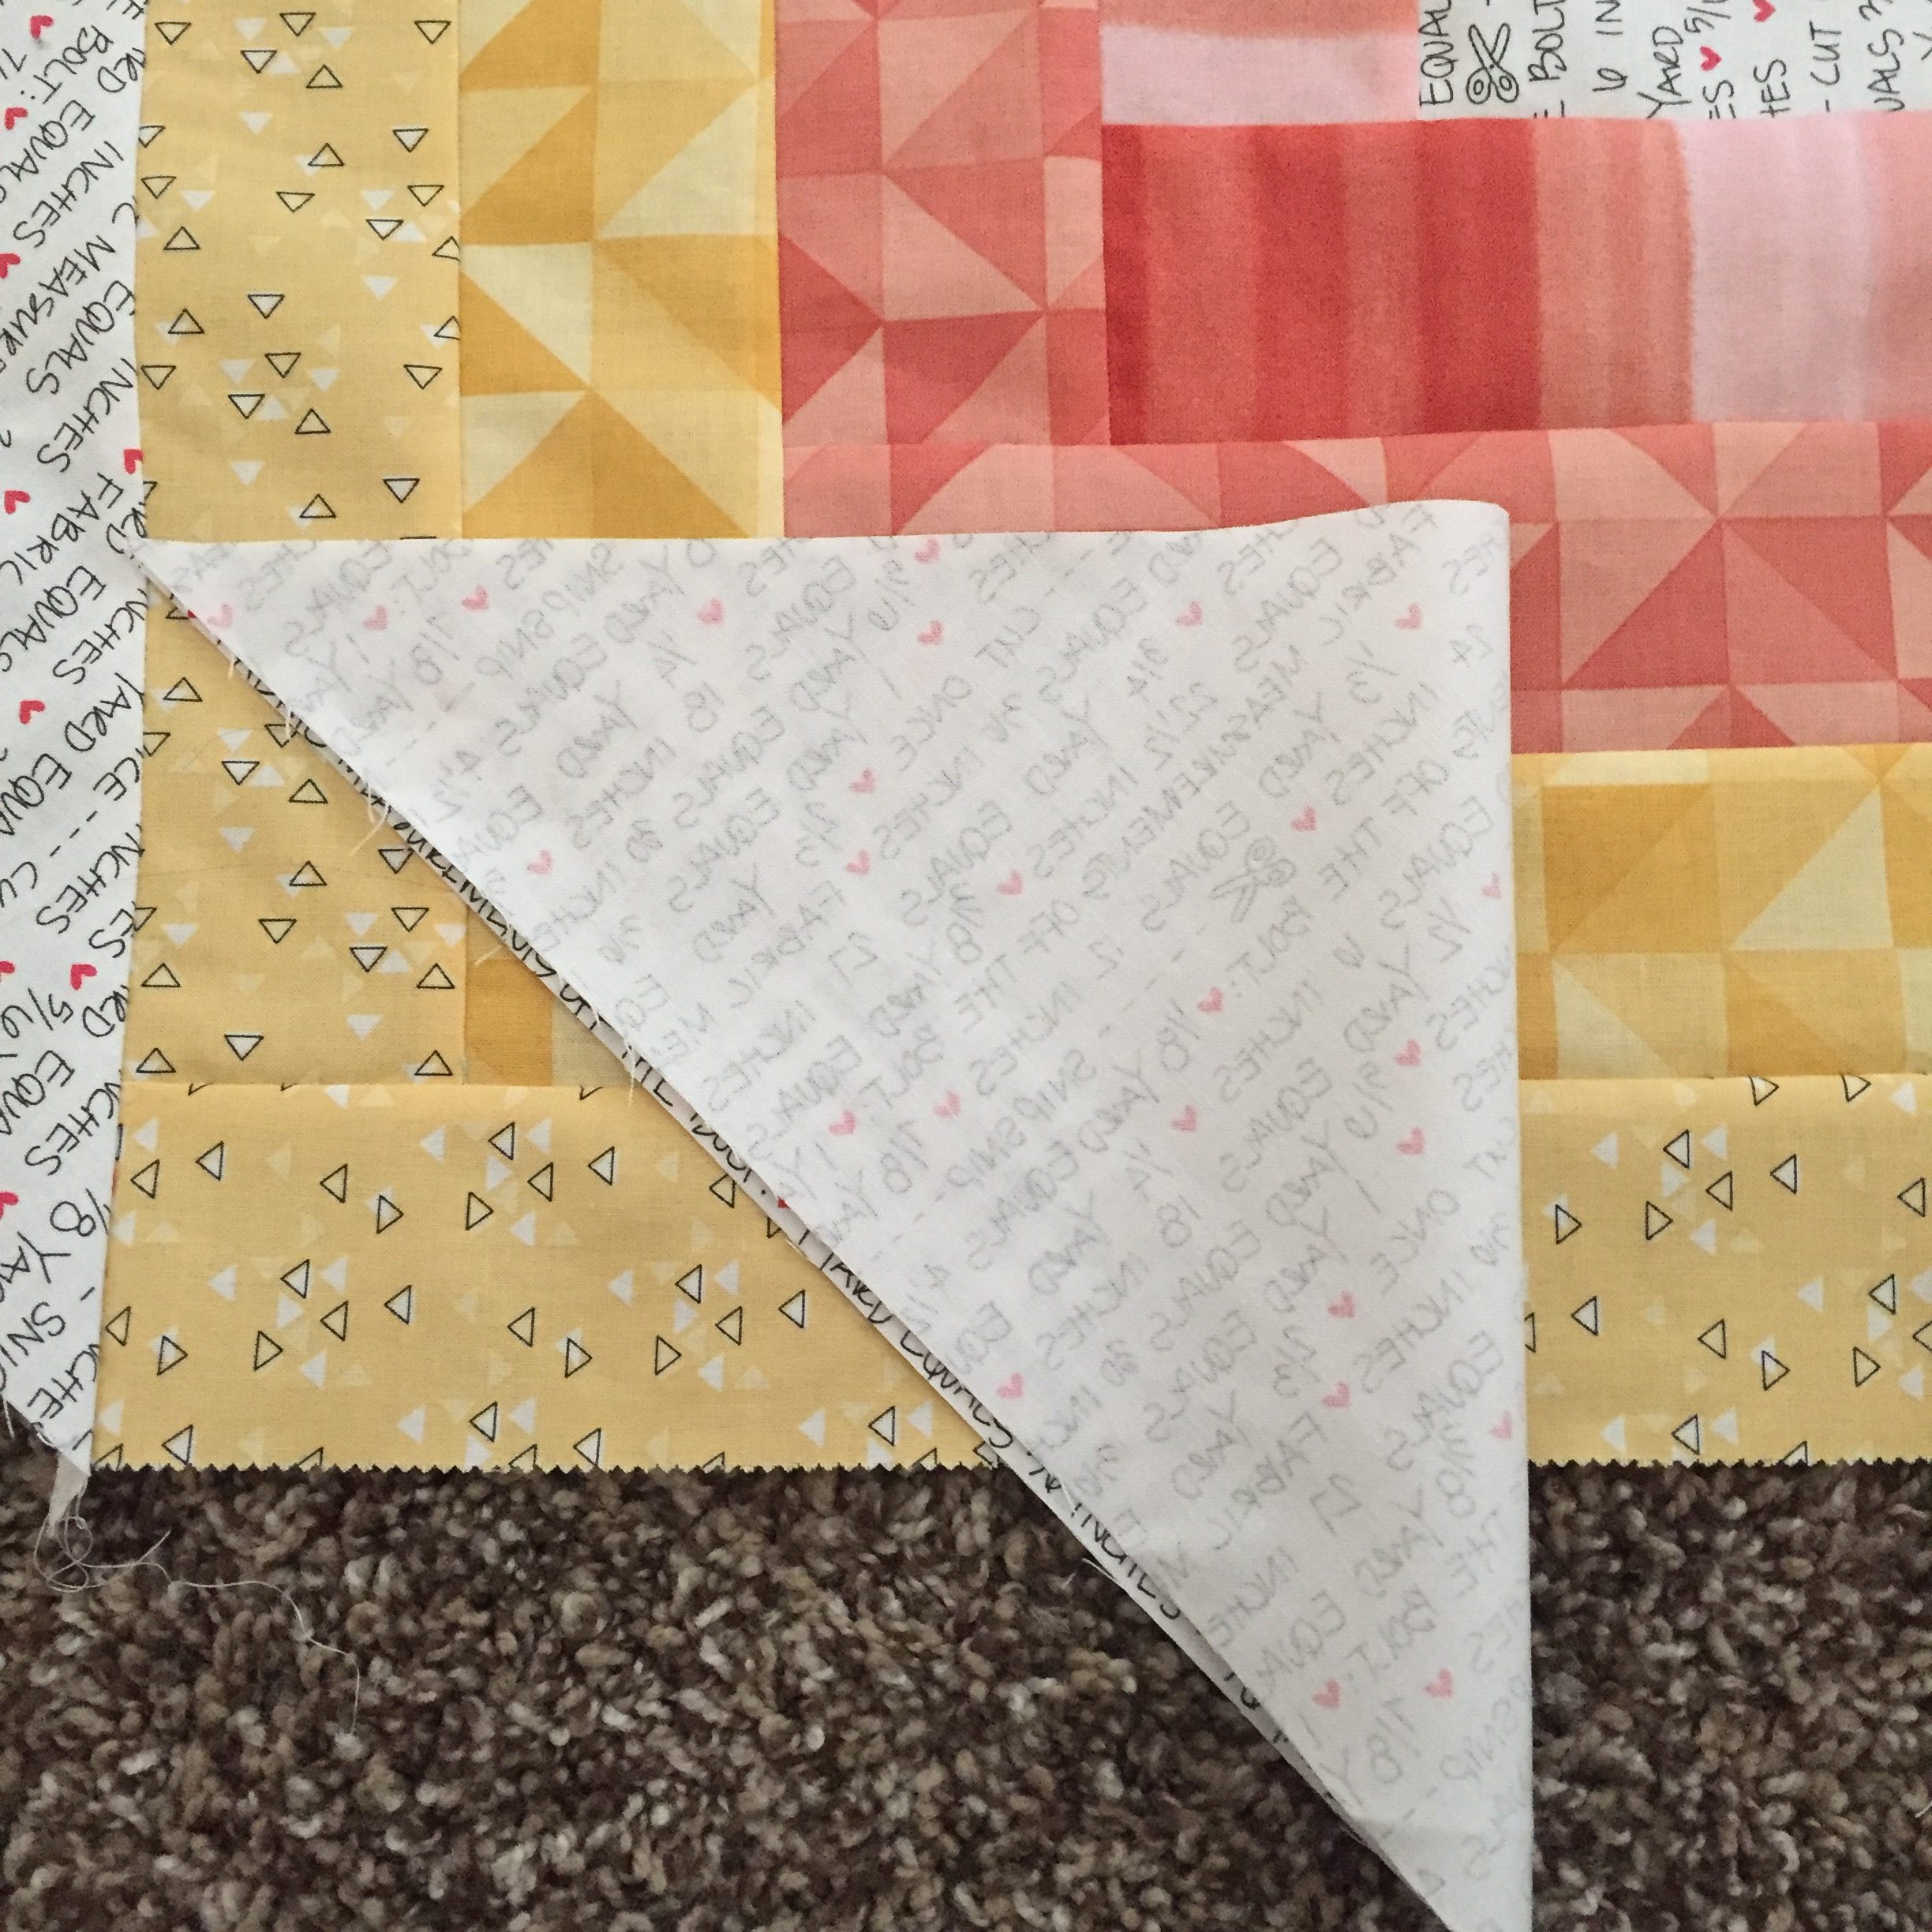
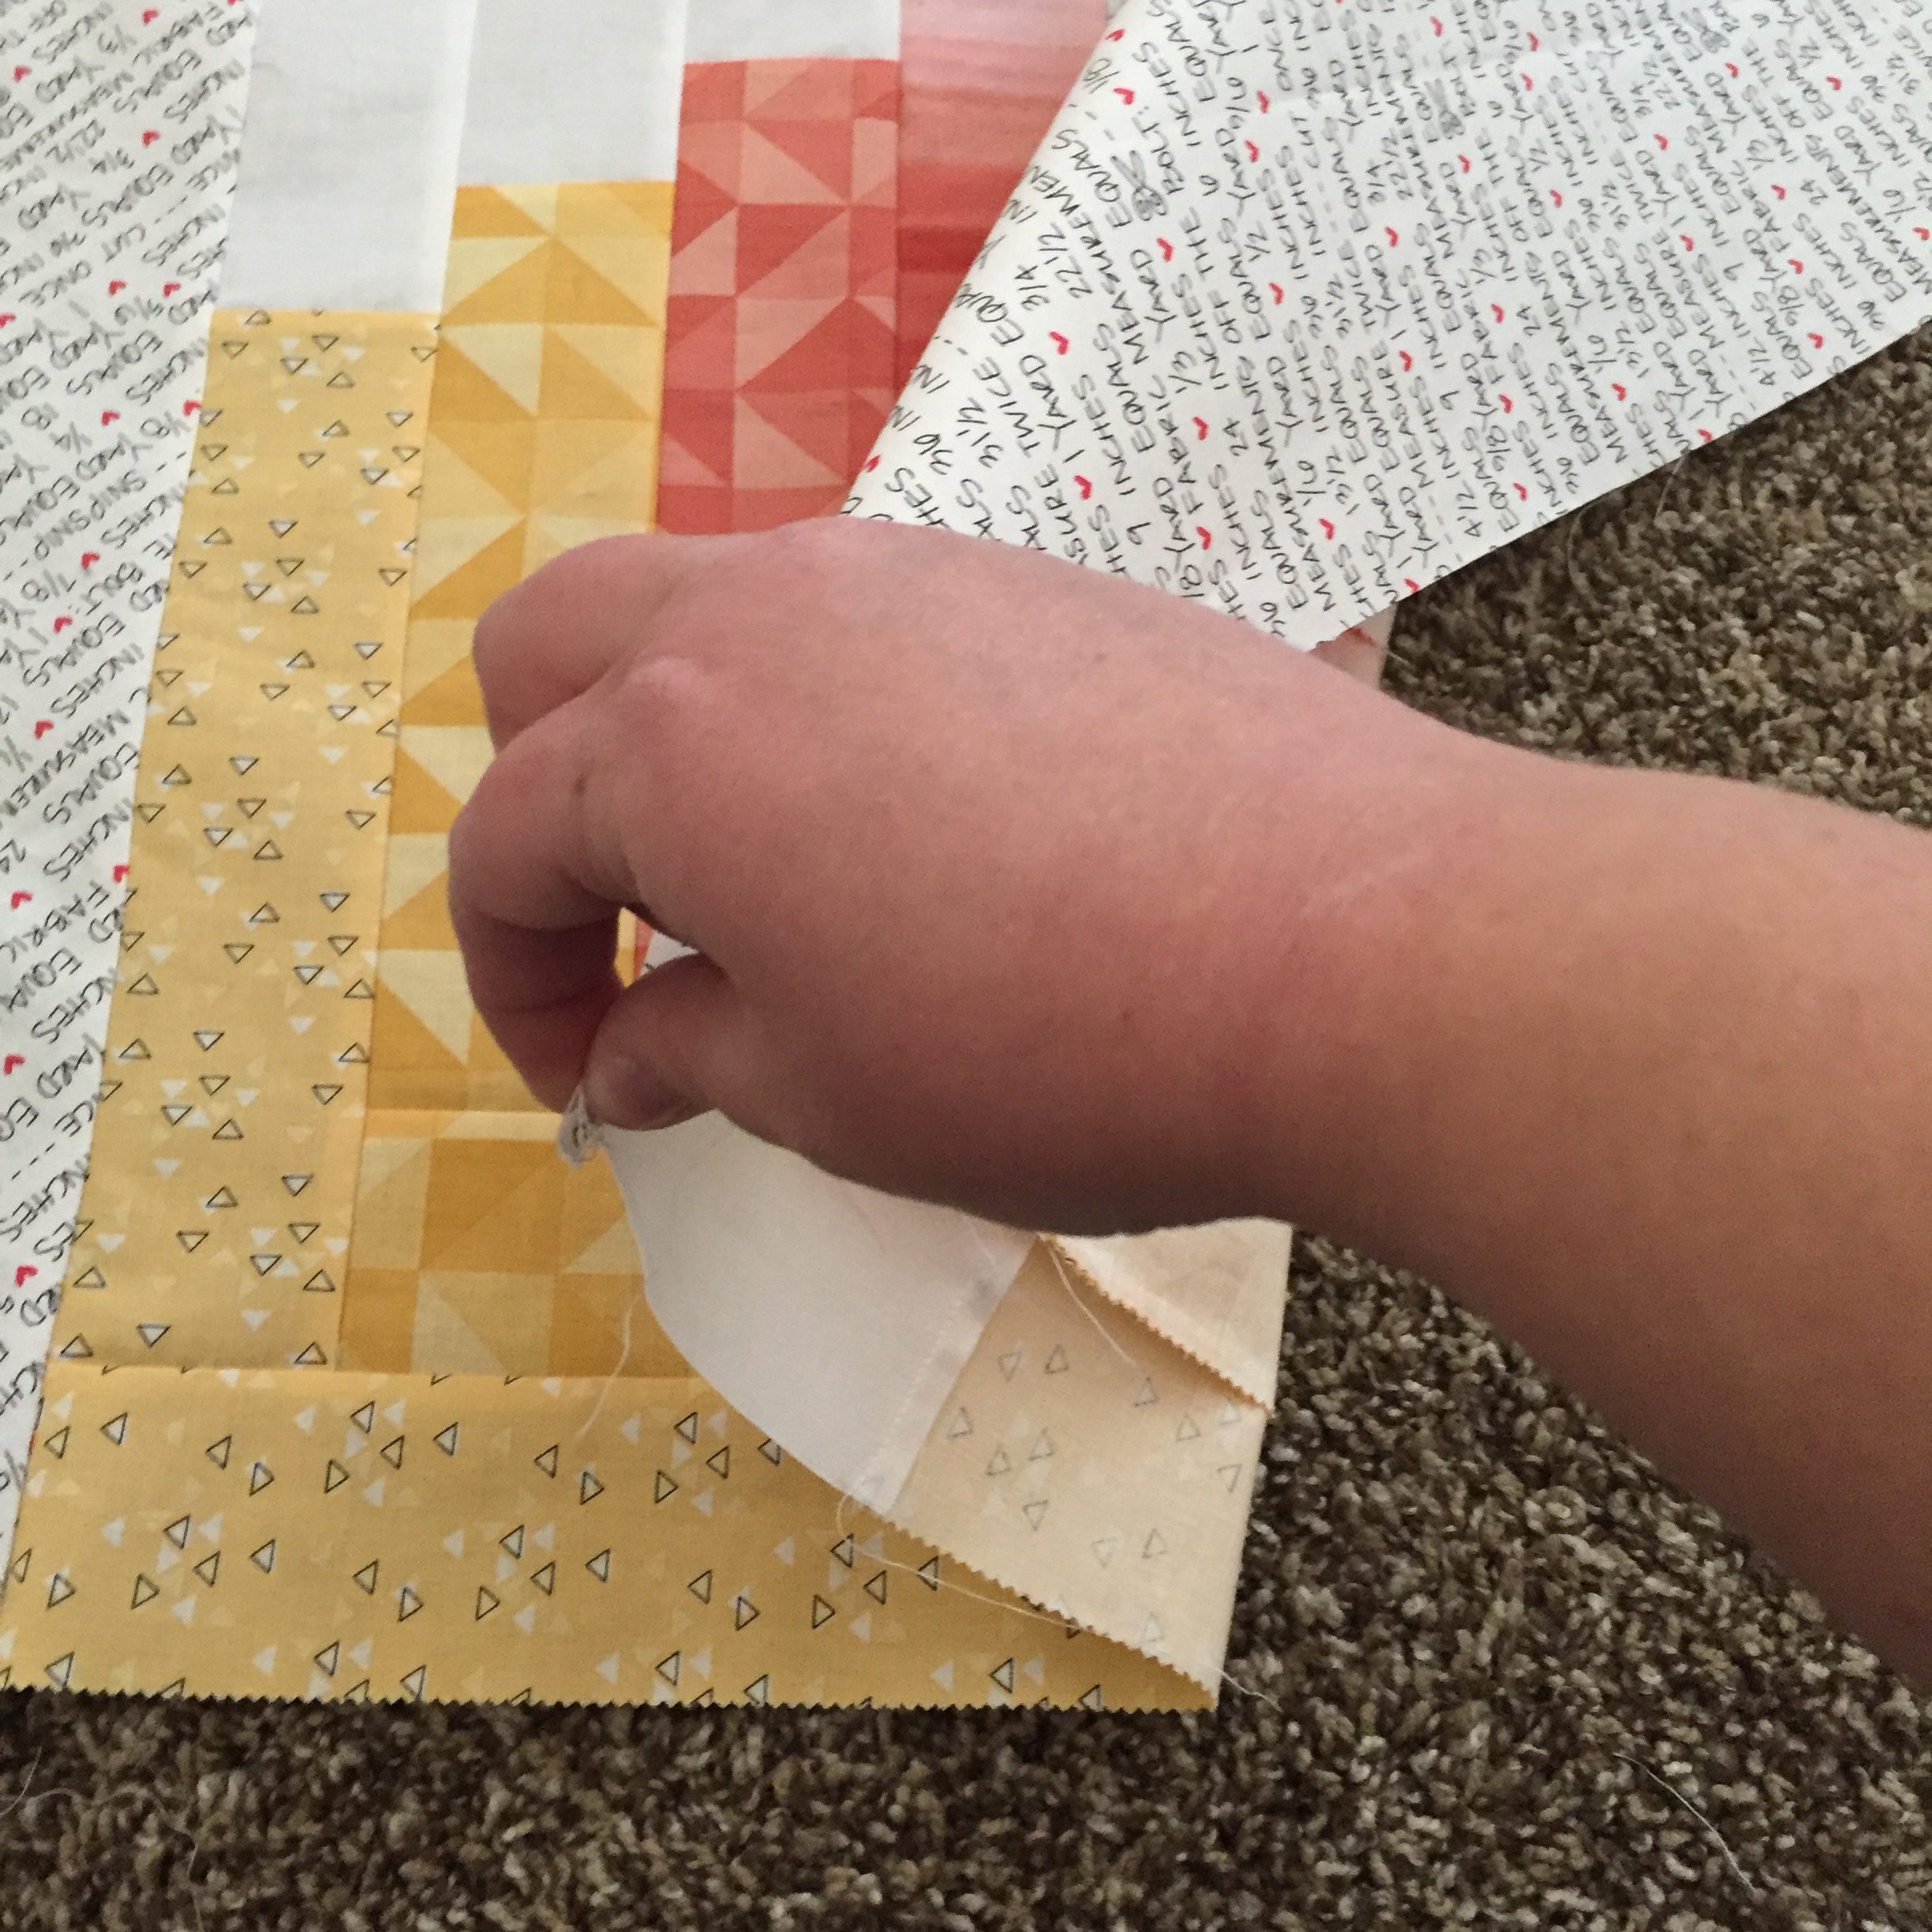
Fold each 23 7/8" square (one at a time) by picking up the bottom right corner and lining it up with the top left corner. Then fold again by picking up the bottom left folded edge and lining it up with the top right folded edge. Press the folds with your fingers, ruler, or an iron. Carefully cut the edge your just folded. You now have two folded triangles. Cut each in half along the center, lining your ruler up with the press mark. You will now have 4 triangles for each square for a total of 8 triangles. These will be used on the sides and top/bottom of the quilt and are called setting triangles.


If you don't care about the text fabric's direction:
Cut 4 strips 8.5" x WOF
-Subcut strips until you have (13)8.5" x 8.5" squares.
If you do care about the text fabric's direction:
Cut 5 strips 12.25" x WOF
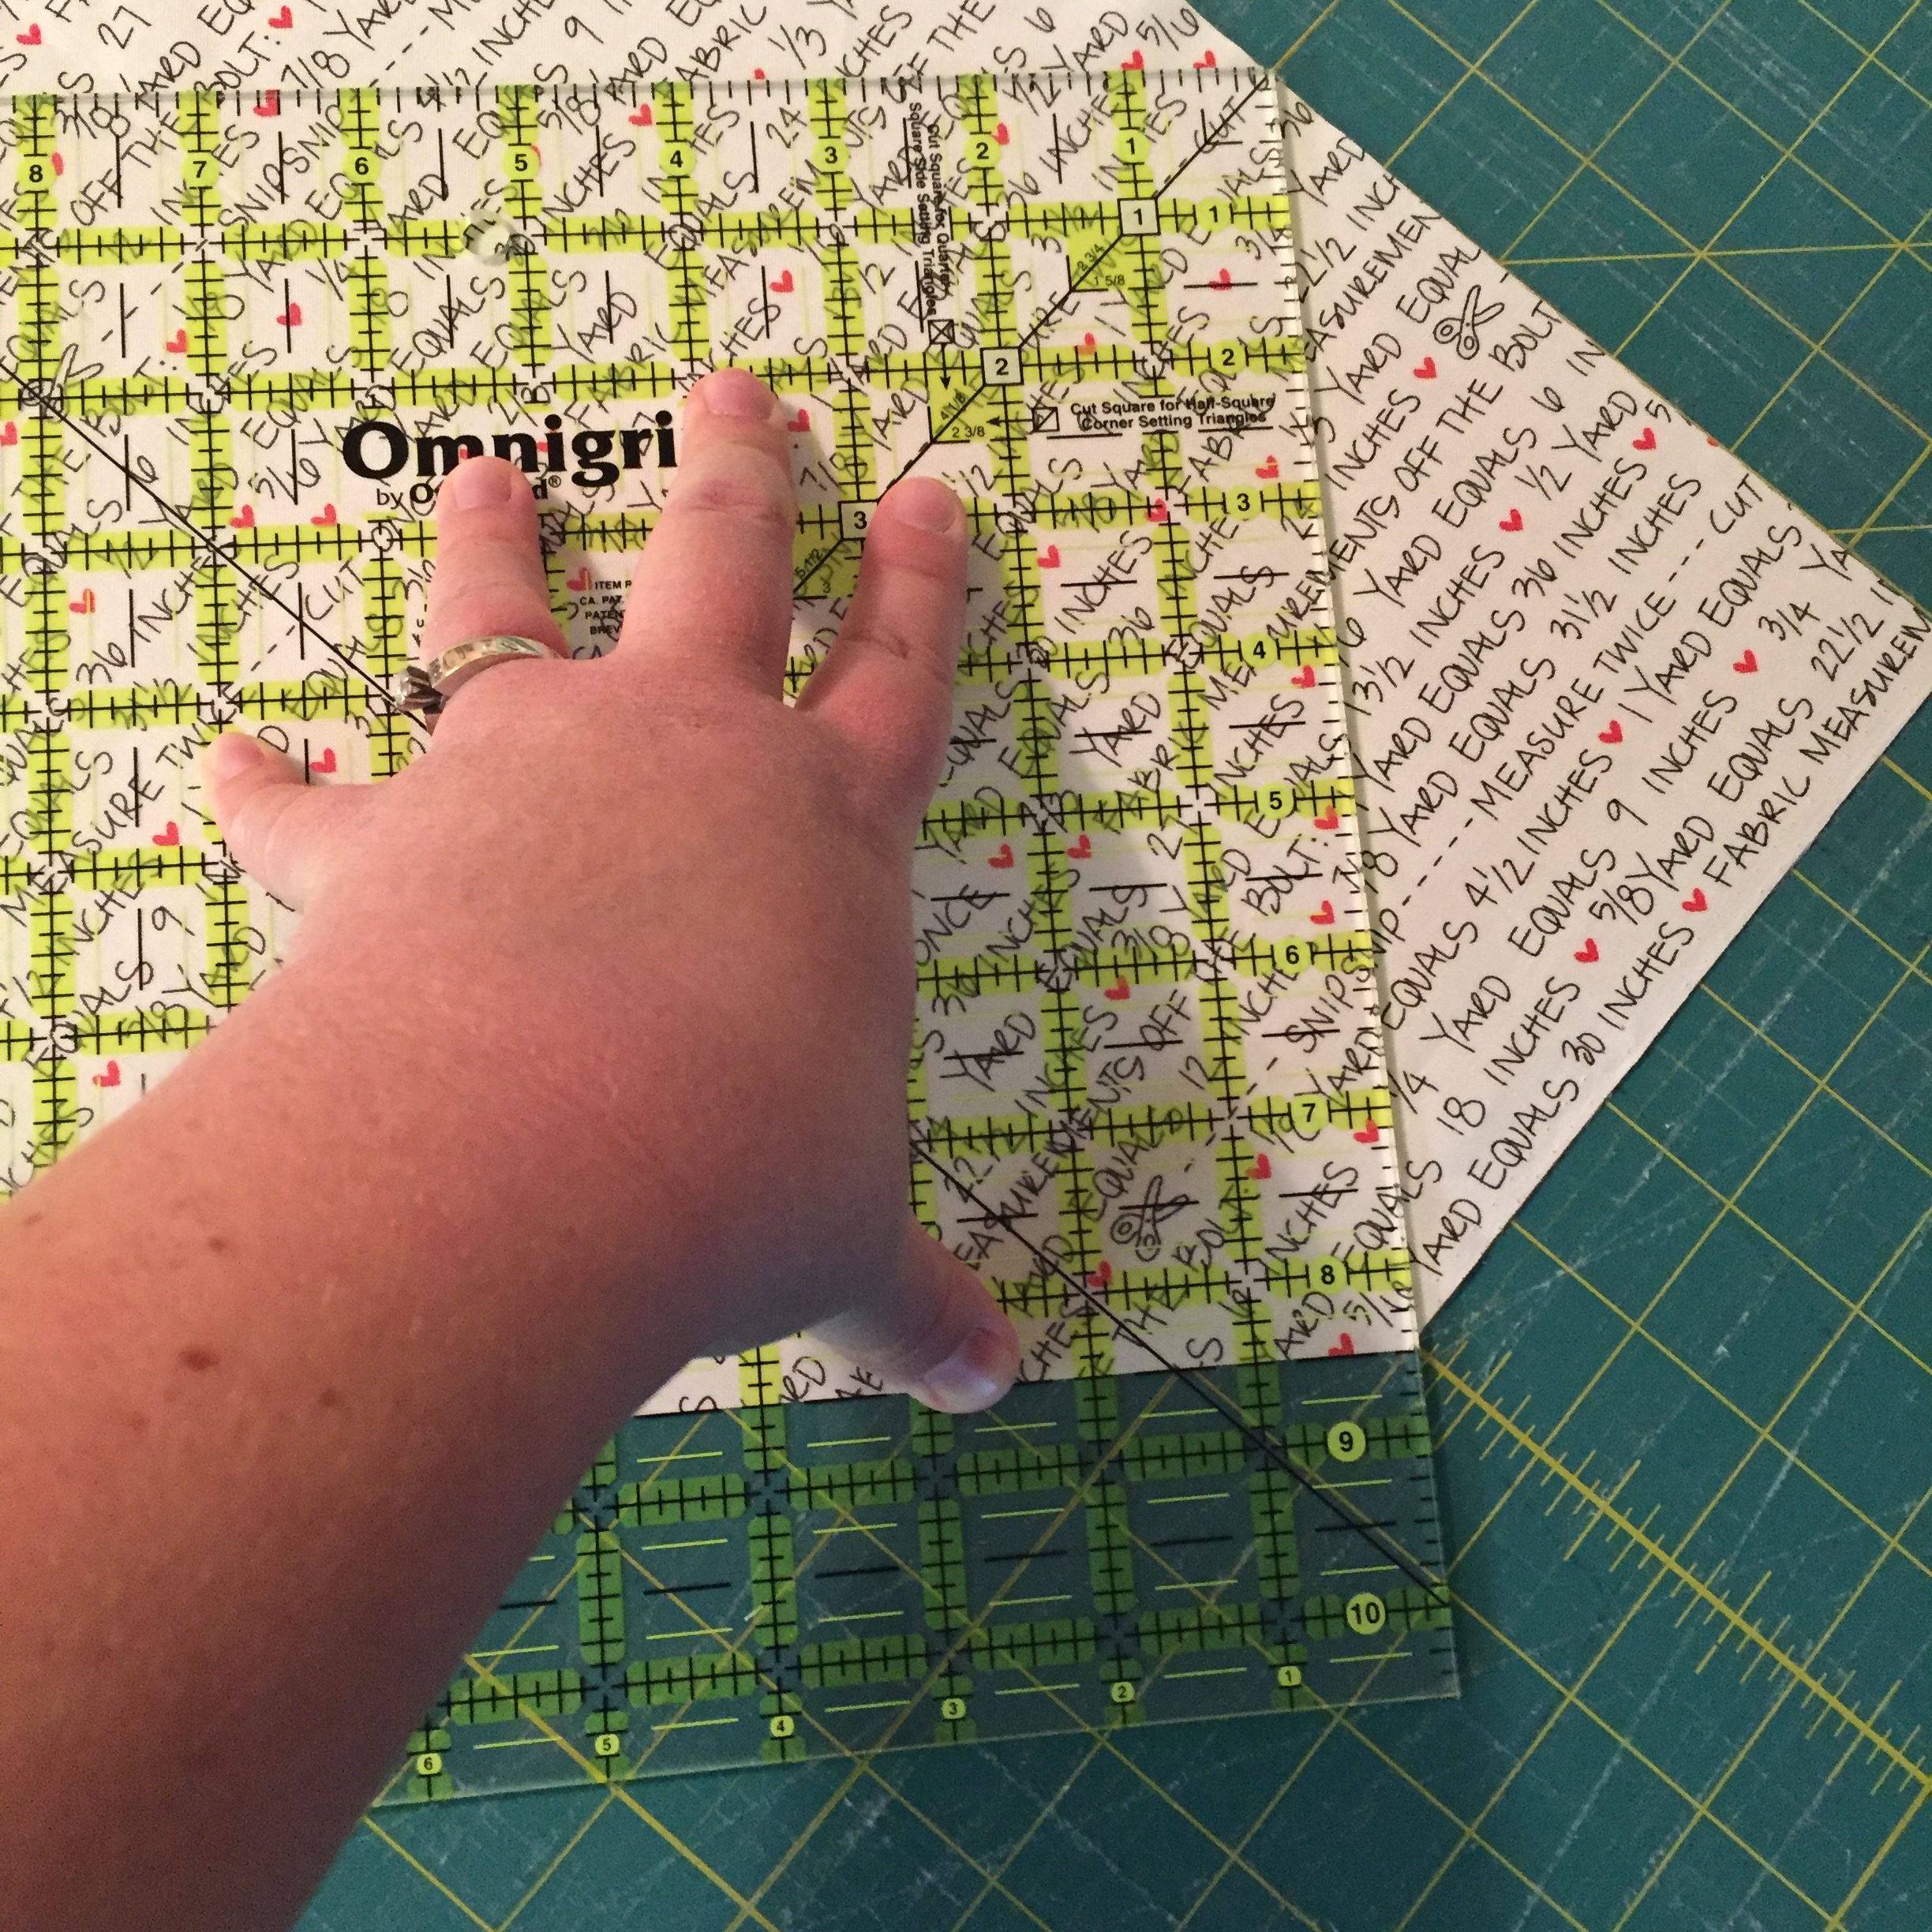
-Fold the strips in half at the short end (hot dog style) and crease so you have a mark at the center. Using a ruler or your mat, cut a 45 degree angle from the center mark on each side. Then use a ruler to cut a 8.5" x 8.5" square. Continue to cut squares from each strip until you have (13)12.25" x 12.25" squares.


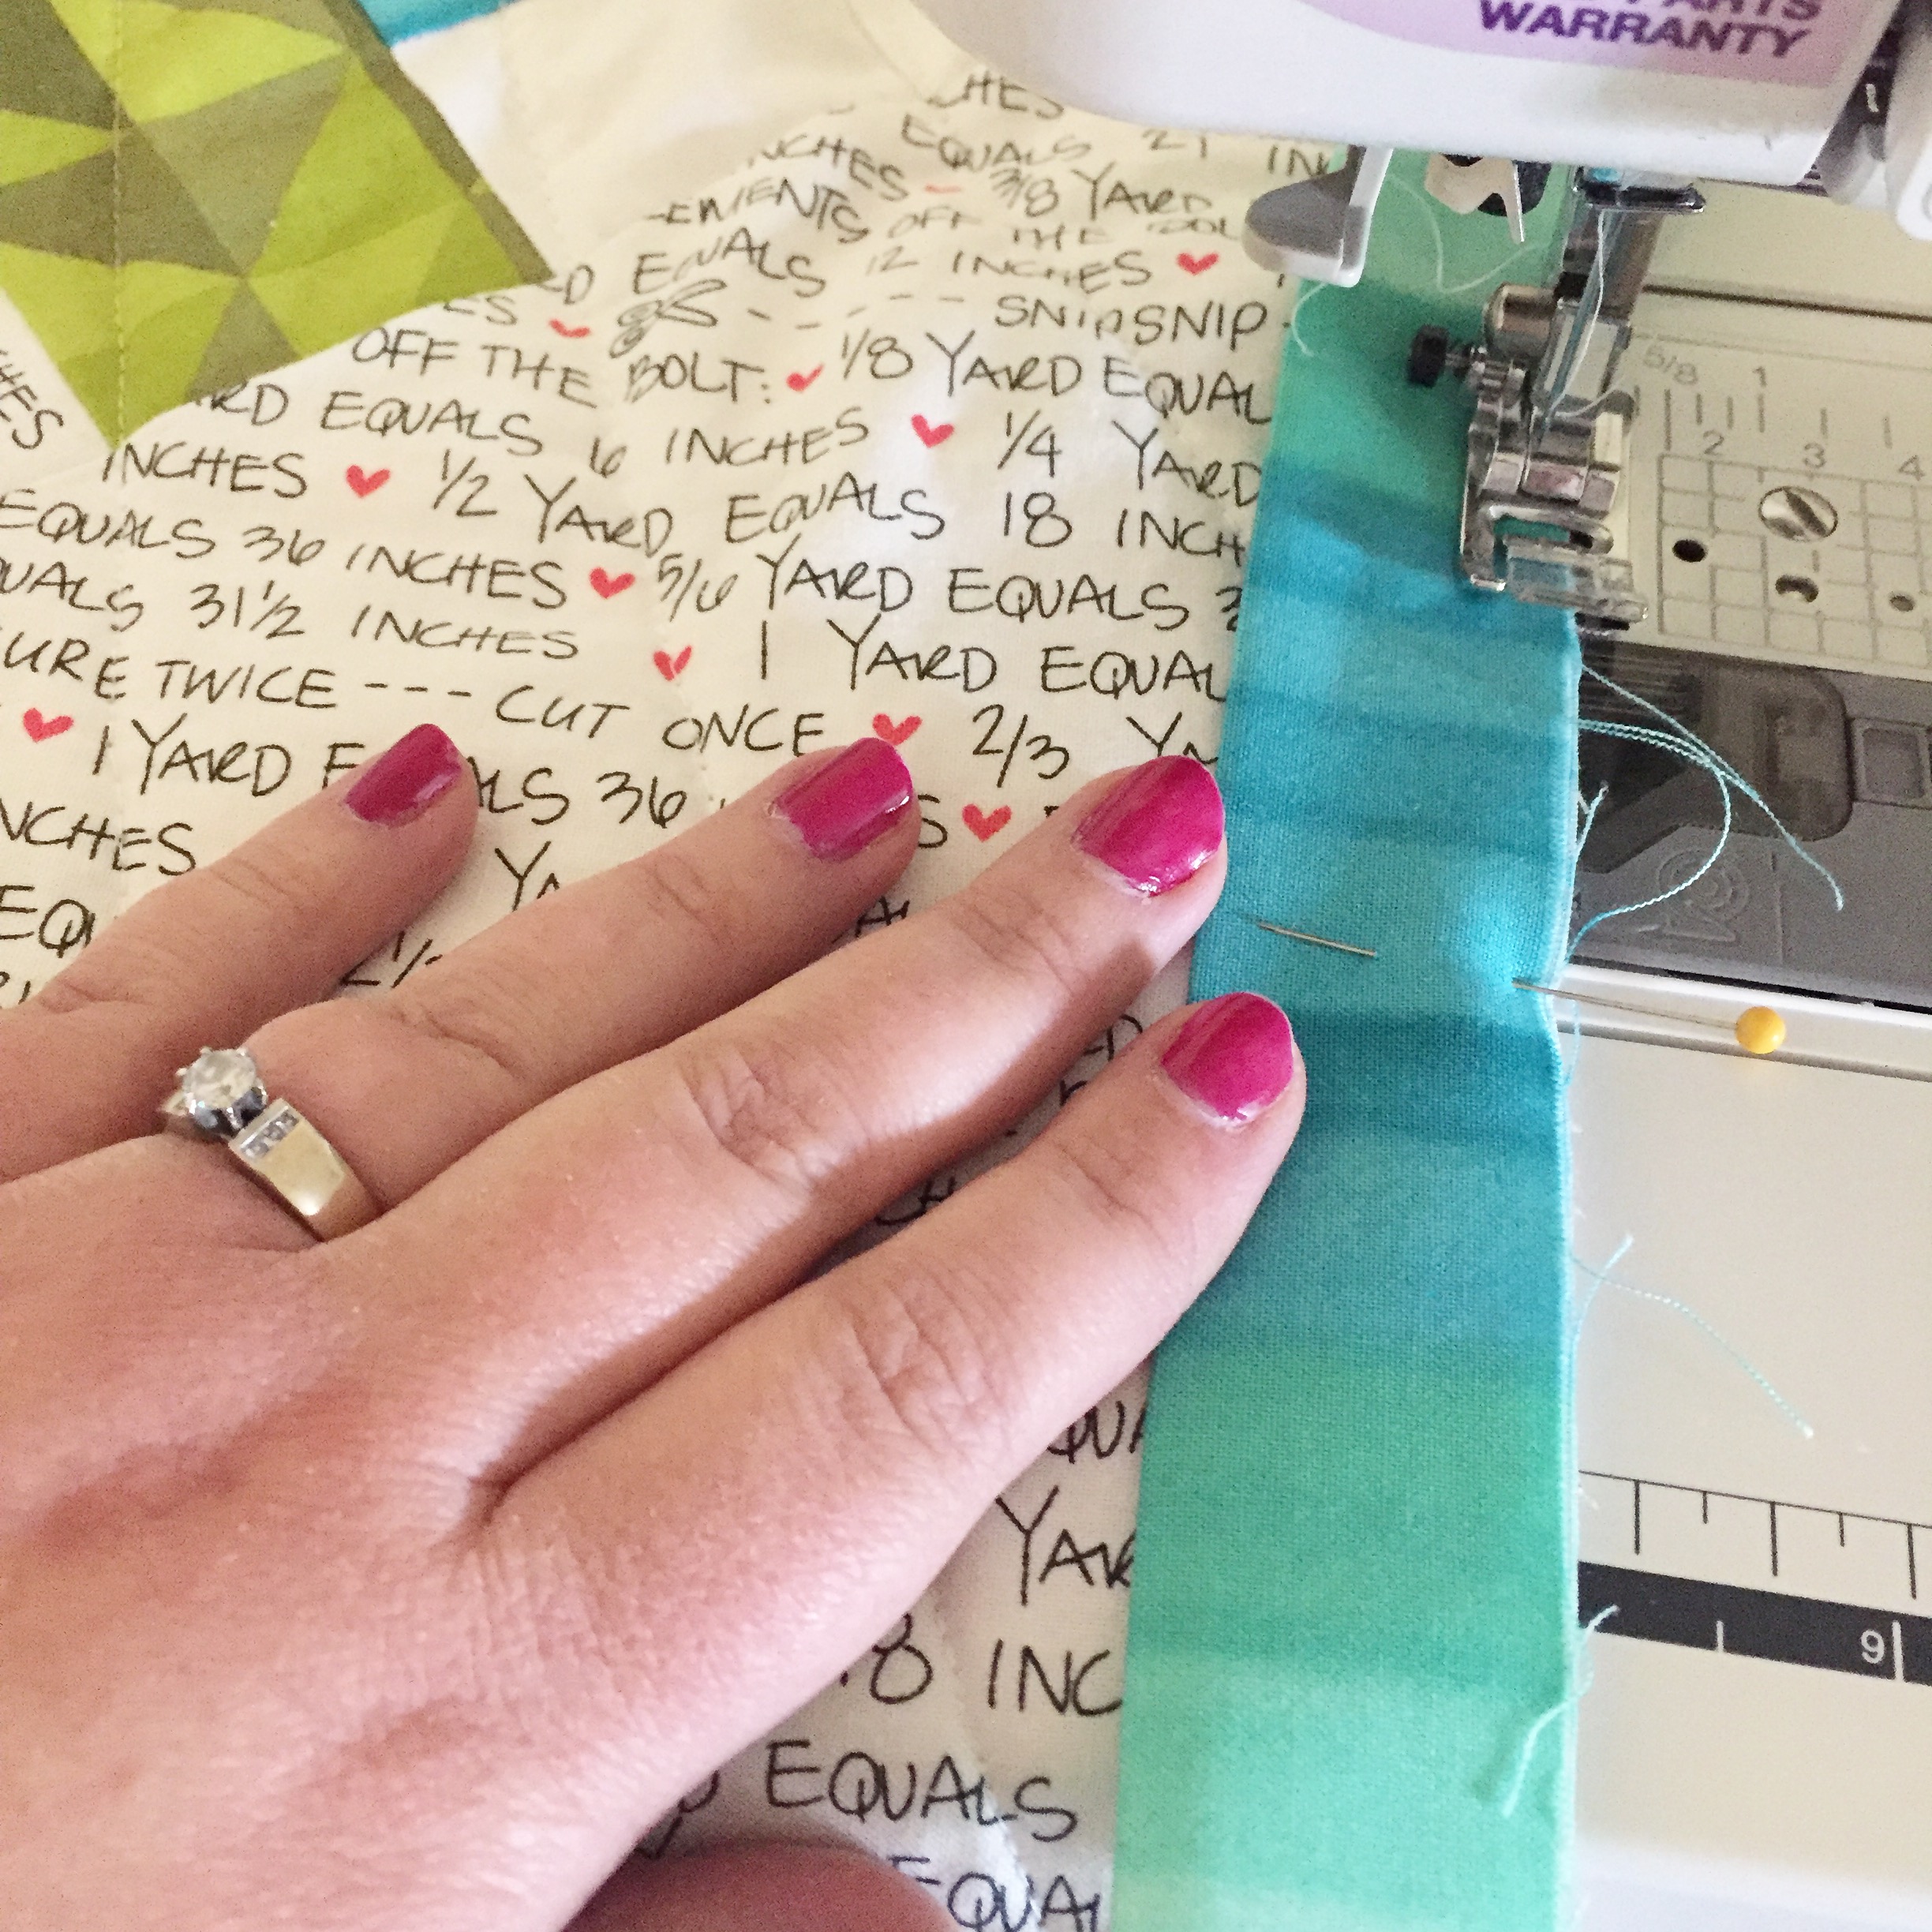
Block Assembly
Sew one 2.5" x 5" rectangle to each of the strips that are the lightest color in their group.
Sew one 2.5" x 3.5" rectangle to each of the strips that are the second lightest color in their group.
Sew one 2.5" x 2" rectangle to each of the strips that are the second darkest color in their group.
I loved chain piecing during this step! It makes it really fast!

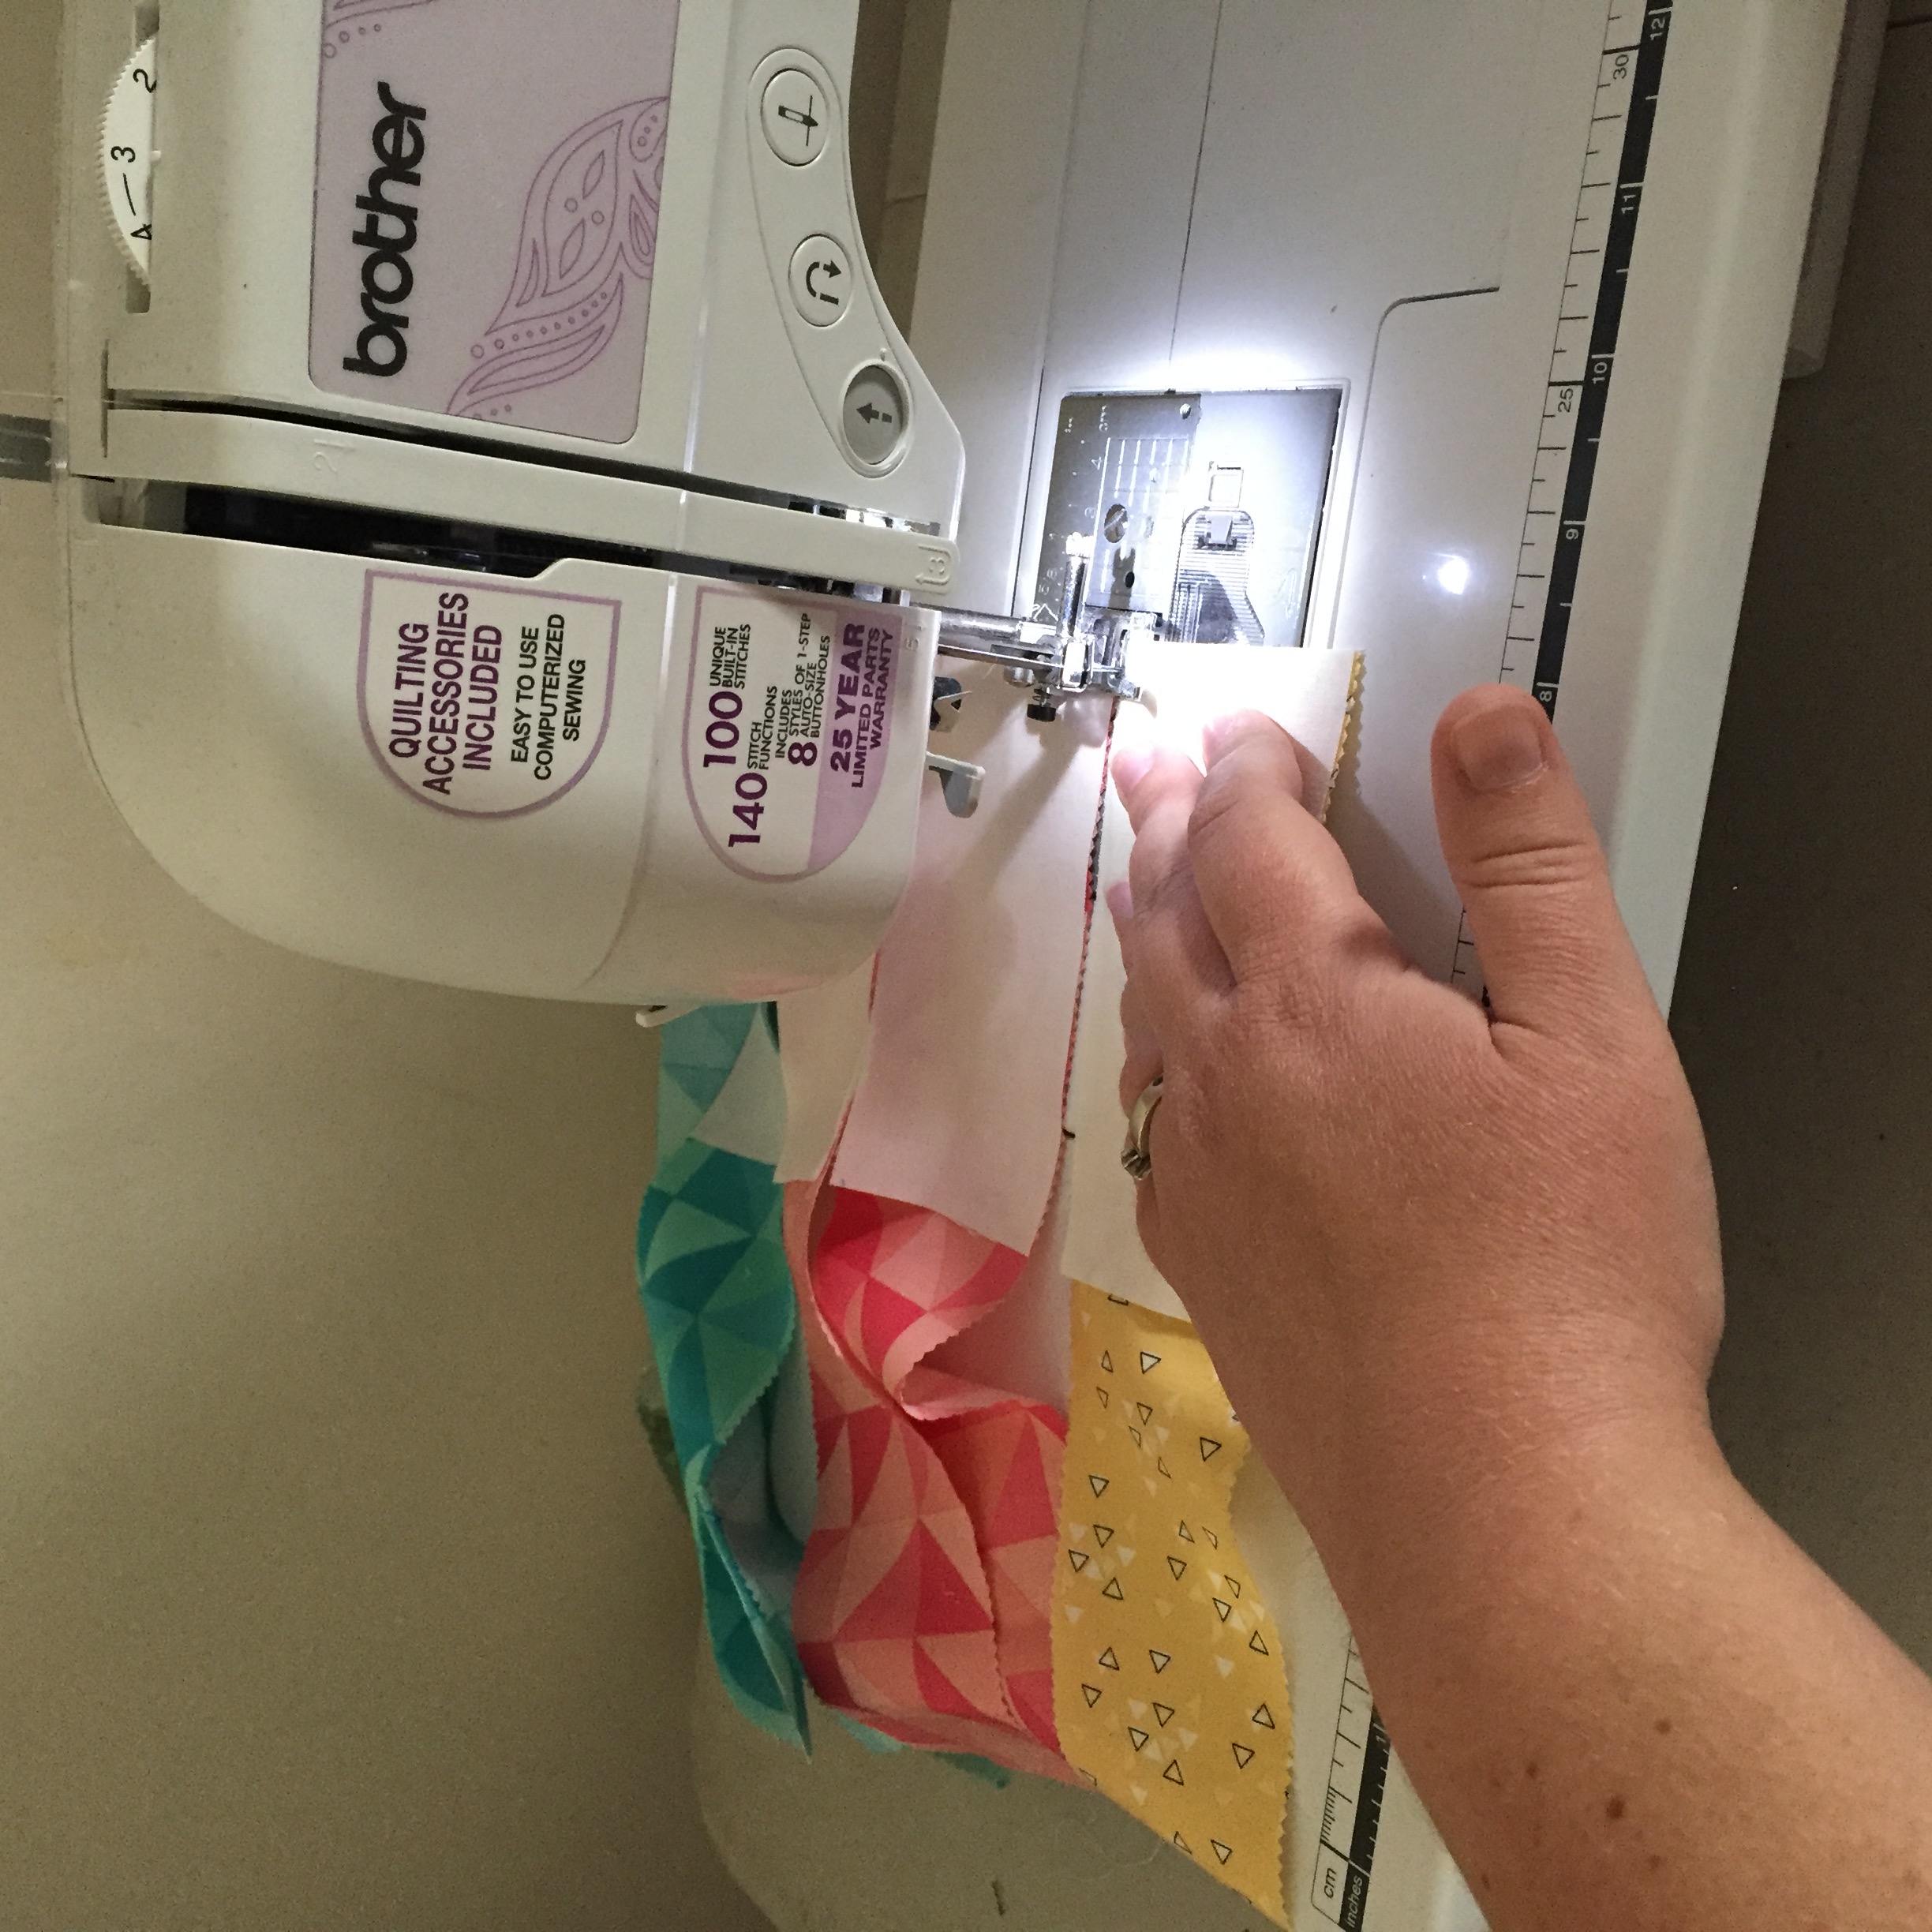
Press towards the dark fabric and your ready to assemble the blocks.

(After you piece each strip to the block, press the fabric towards the dark side or away from the center square.)
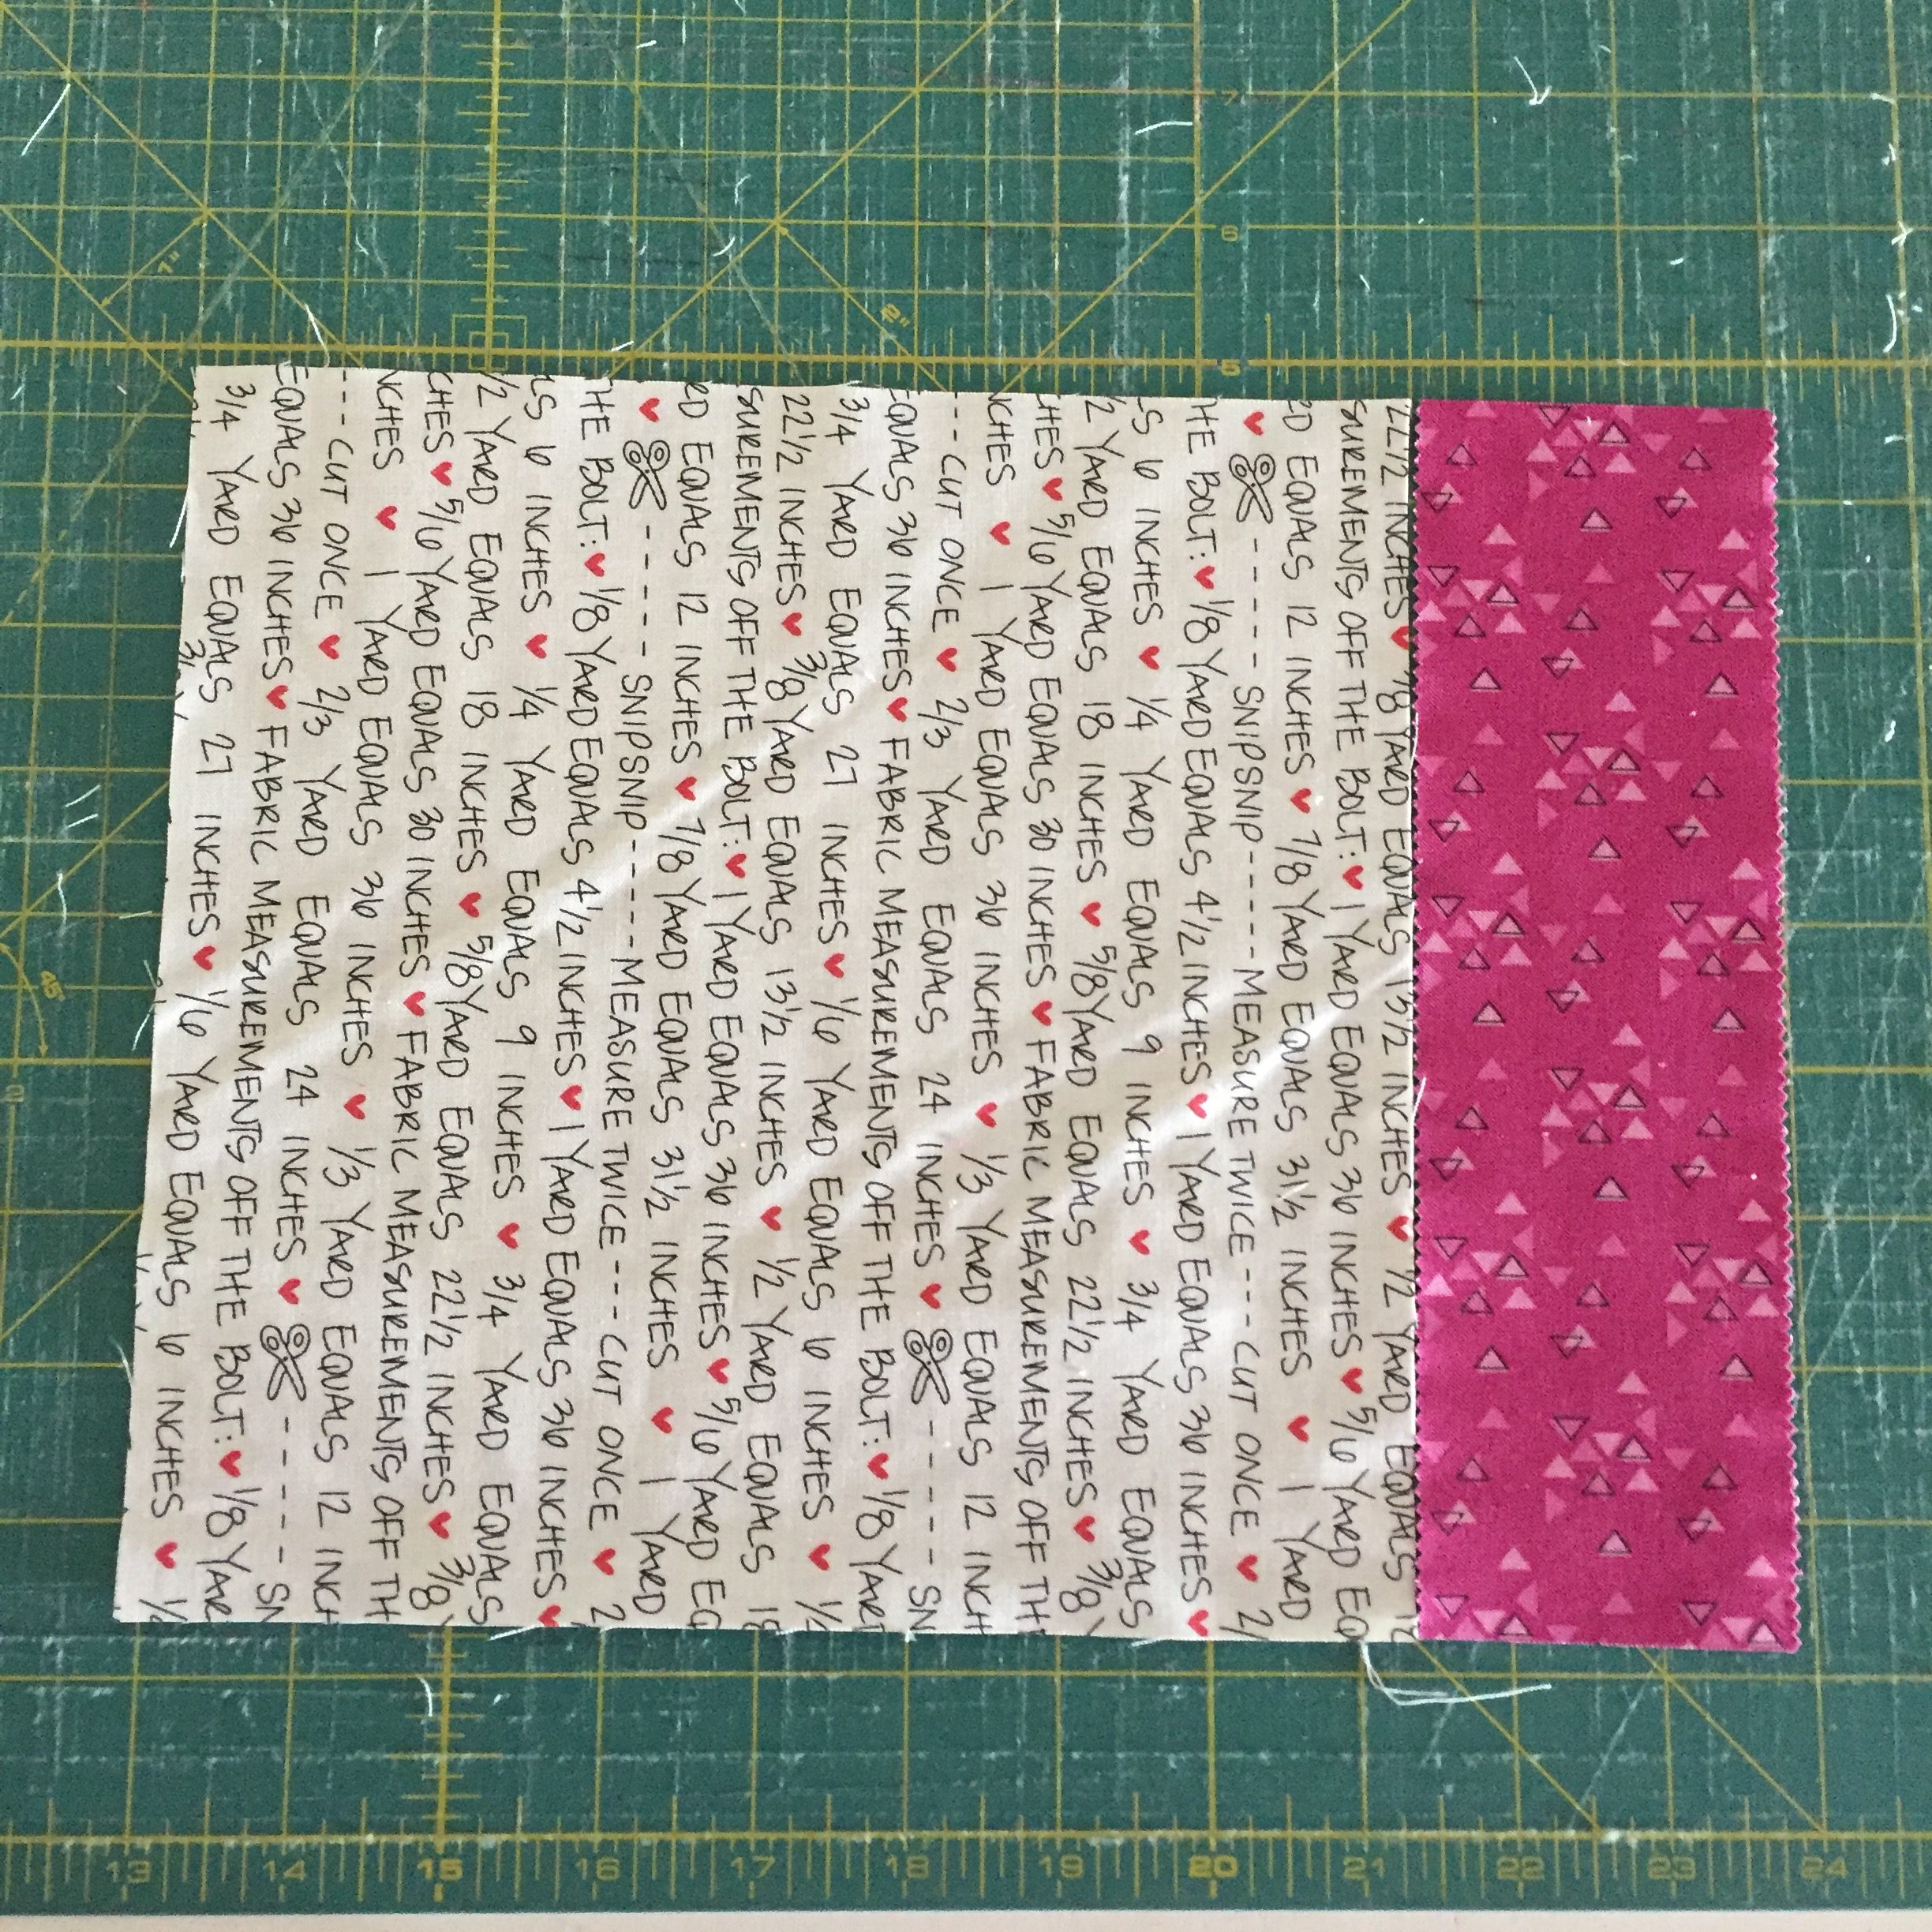
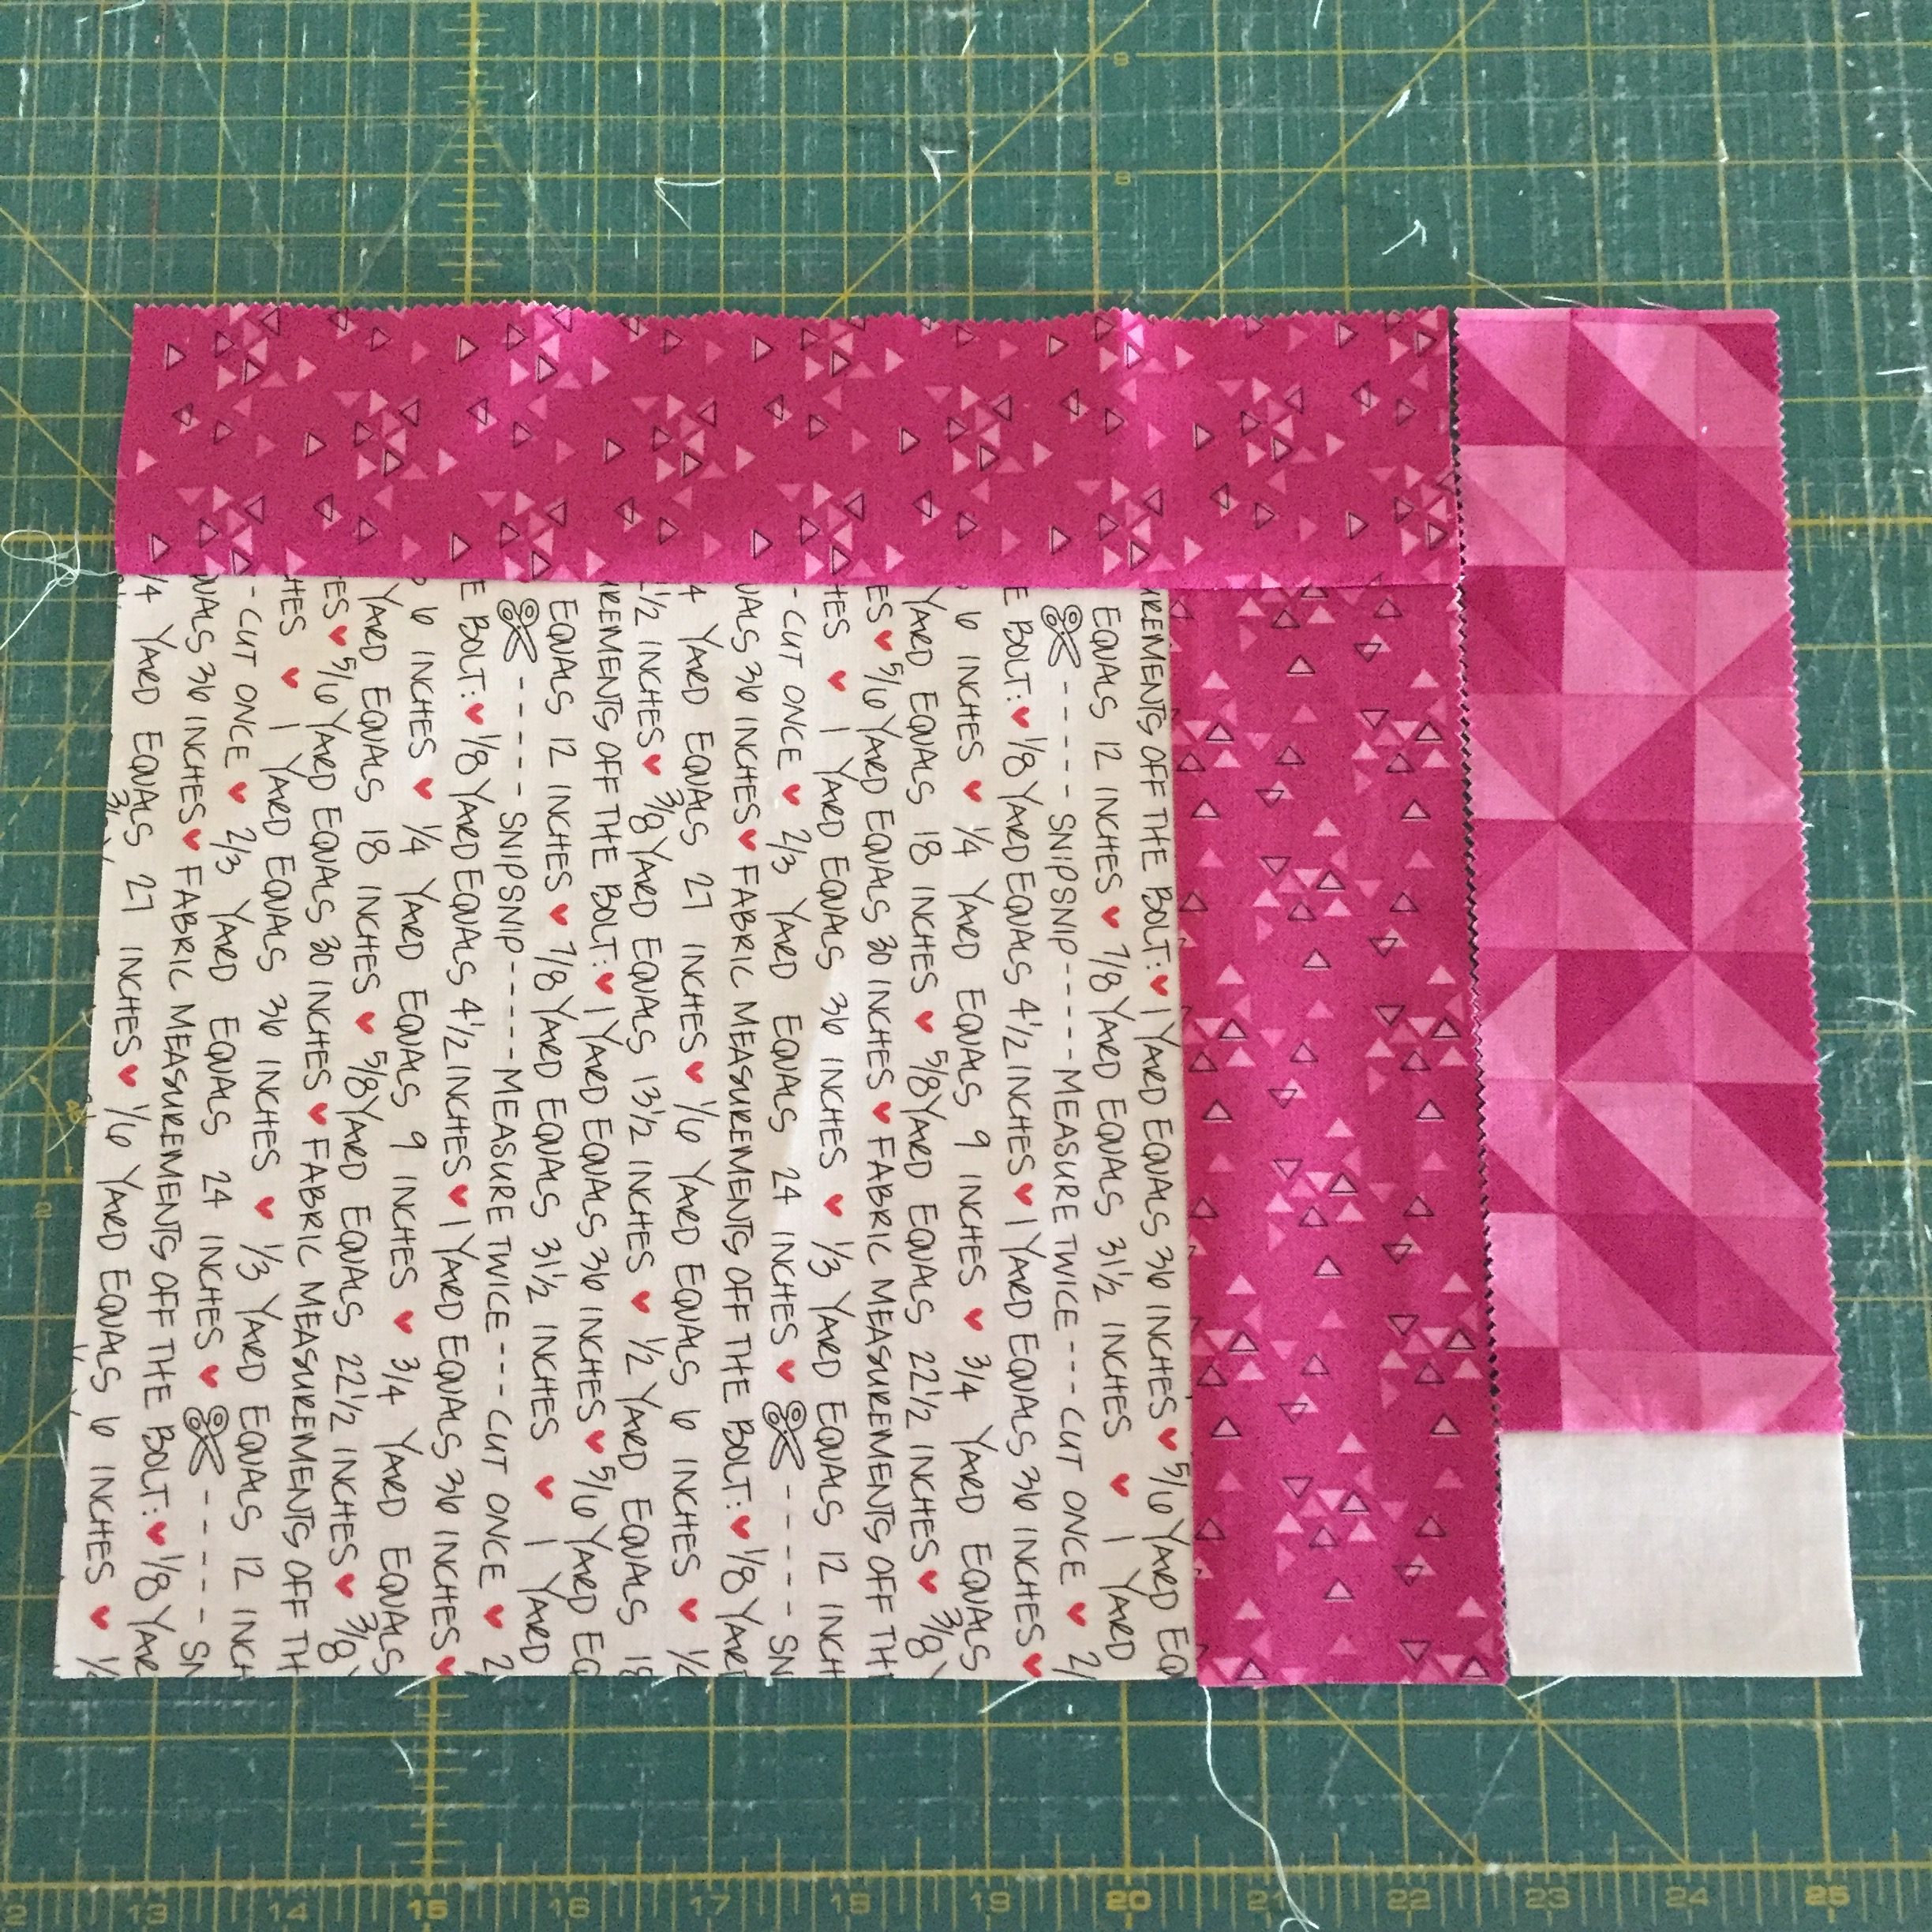
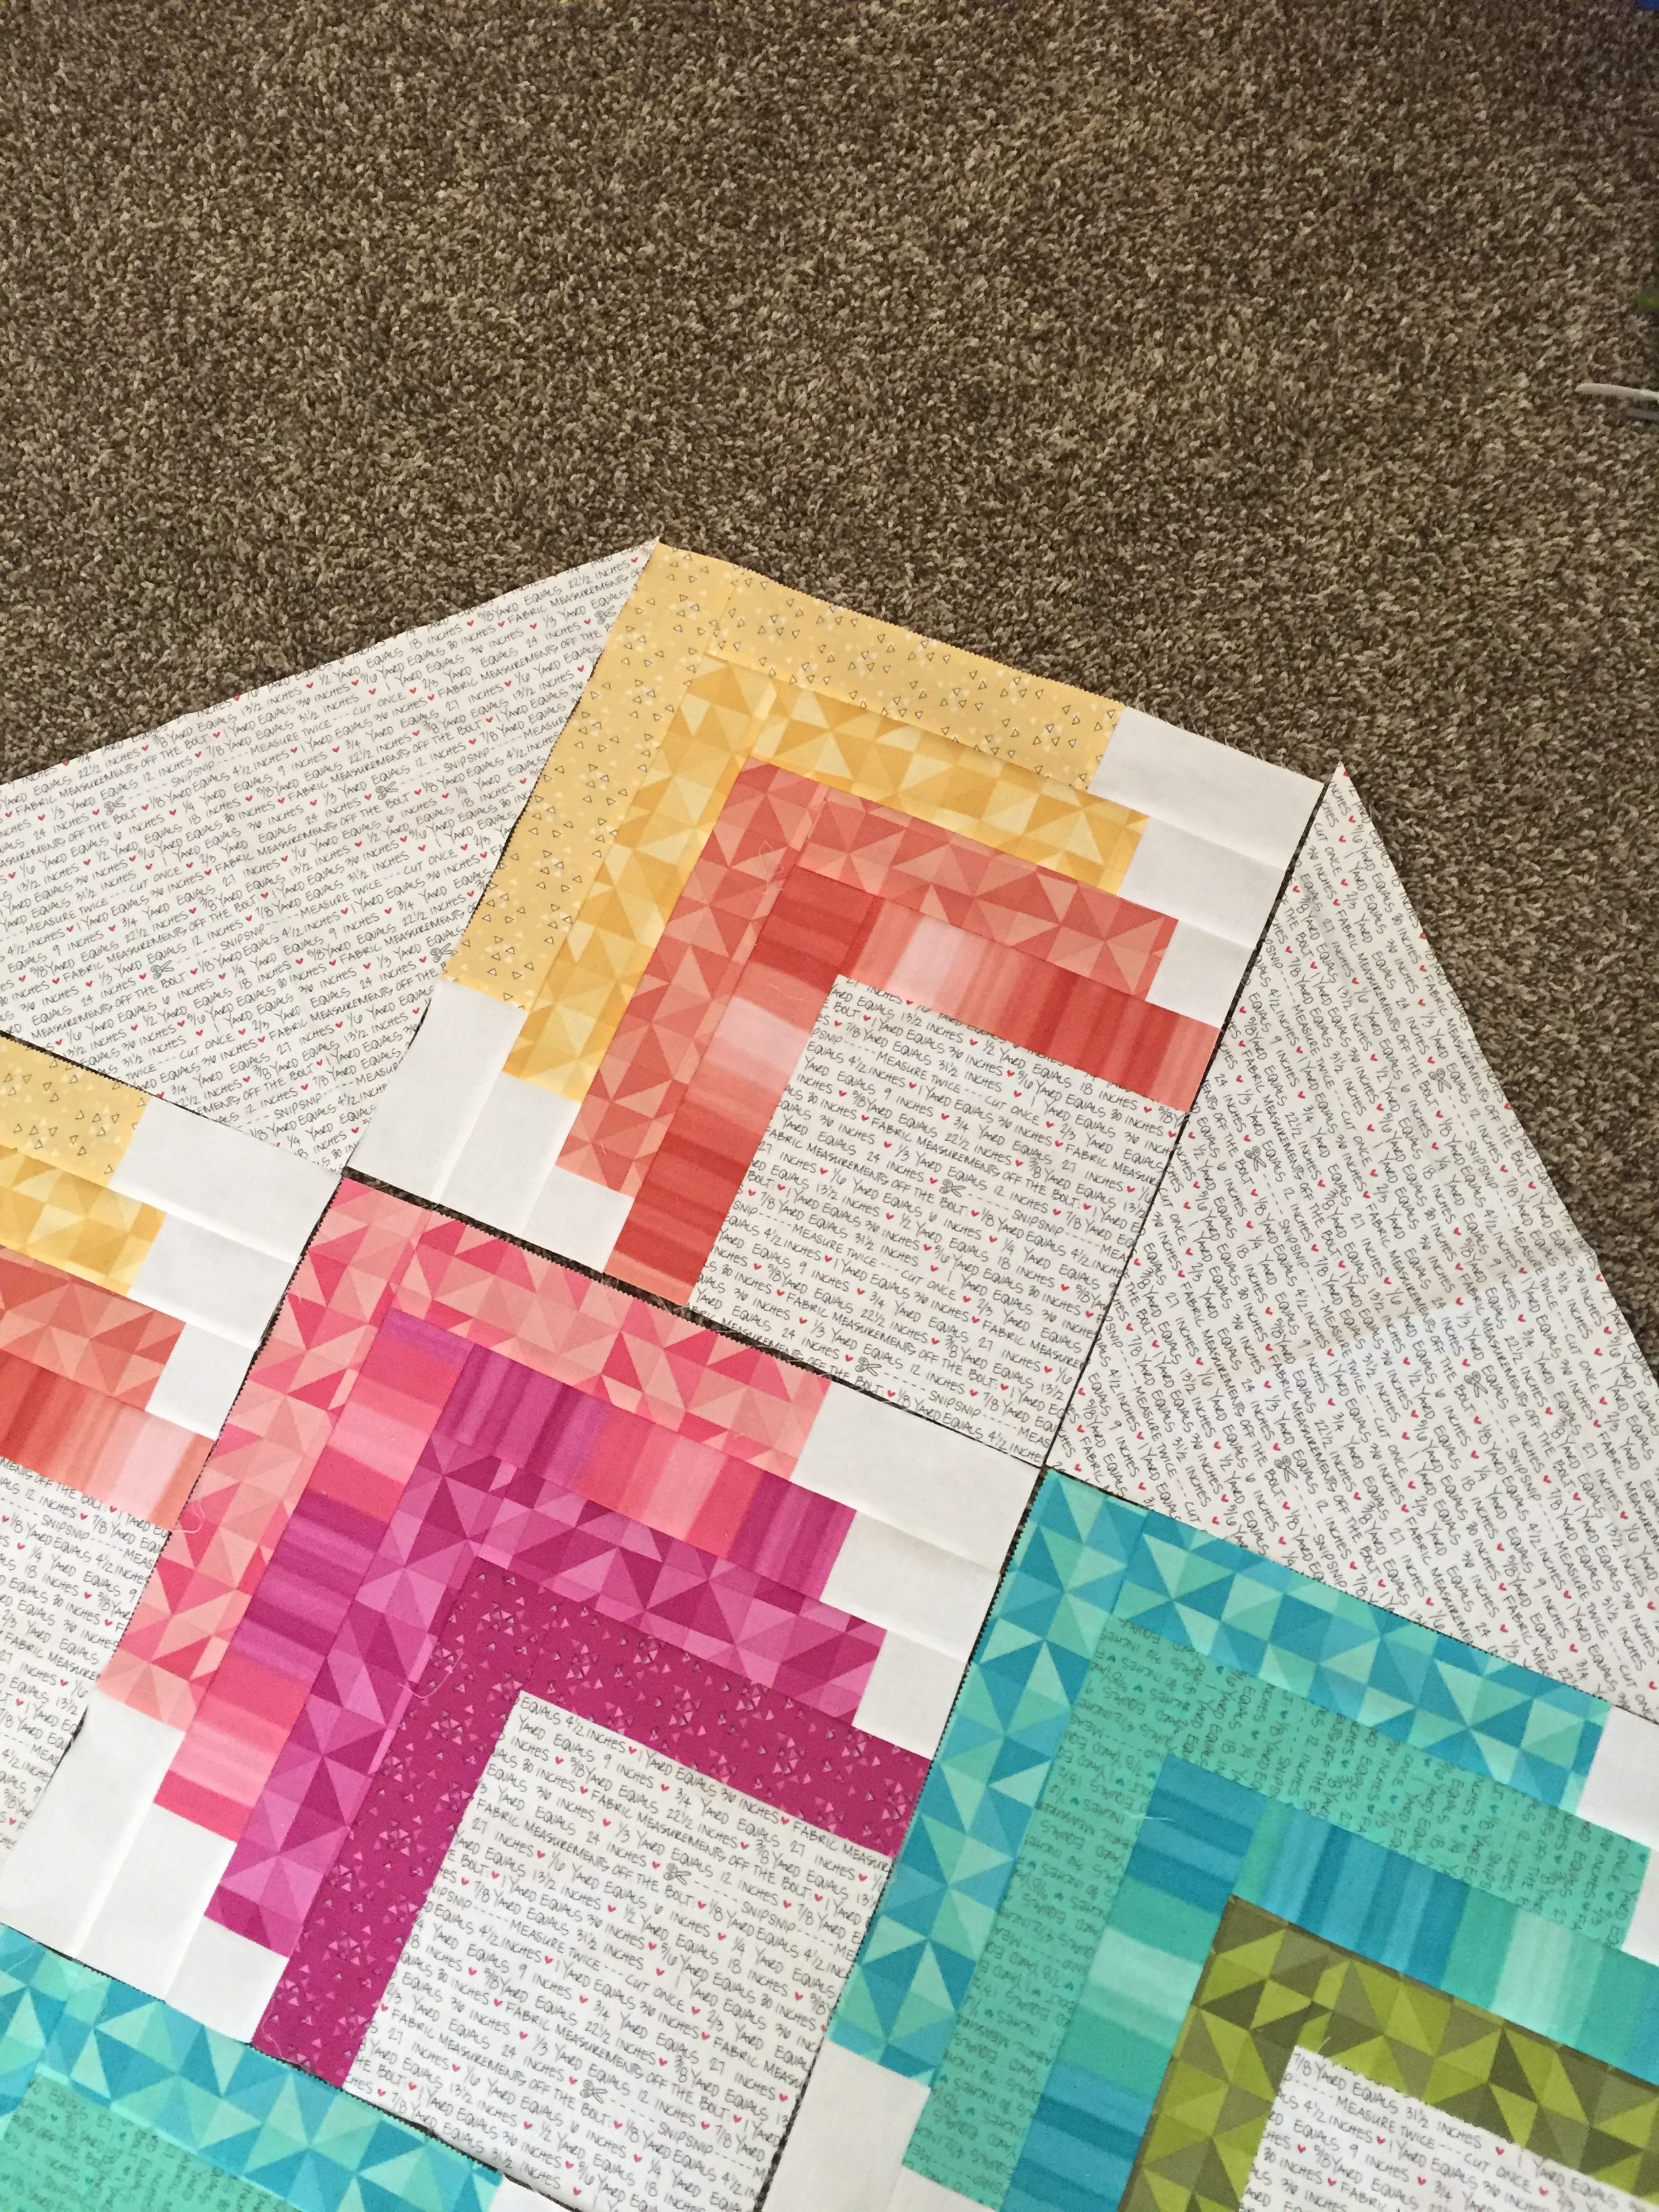
Piece the shorter darkest color strip without a white background fabric to the right side of an 8.5" x 8.5" text fabric square. If the text direction matters to you, make sure you arrange the square accordingly. Press and piece the longer darkest color strip to the top of the square. Press.

Piece the shorter second darkest color strip to the side of the block. Press and piece the longer second darkest color strip to the top of the block. Press.

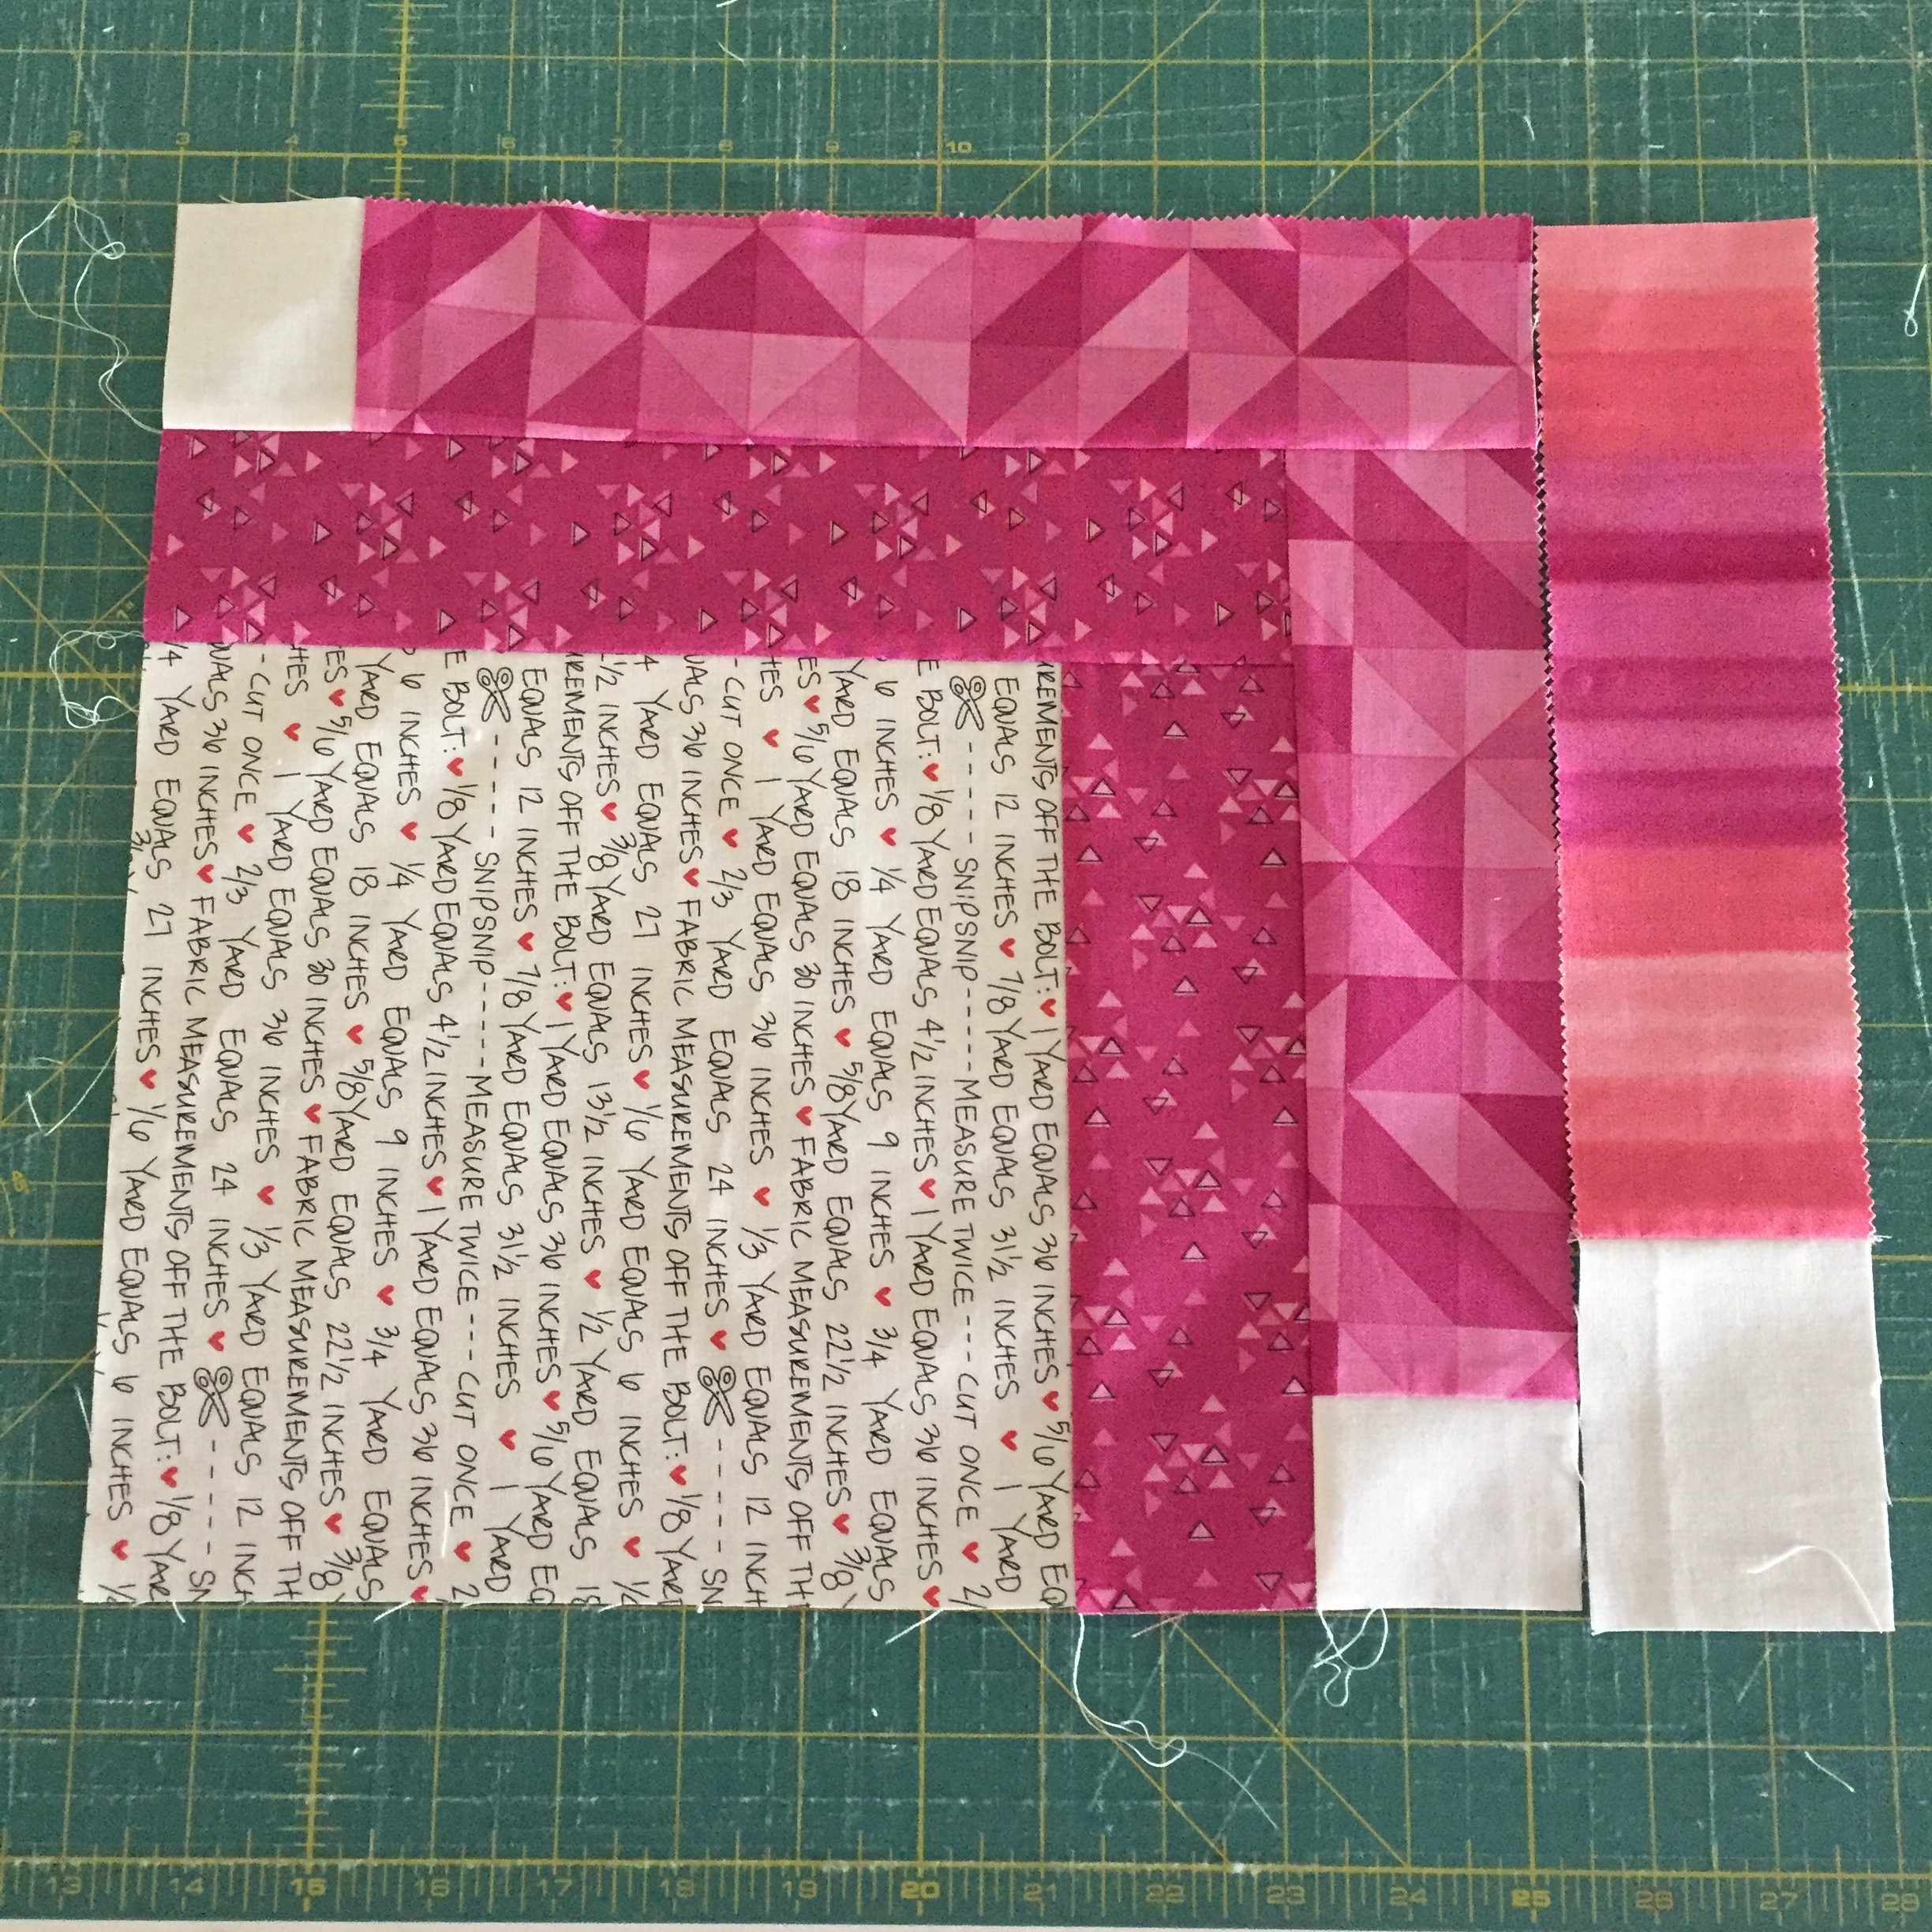
Piece the shorter second lightest color strip to the side of the block. Press and piece the longer second lightest color strip to the top of the block.
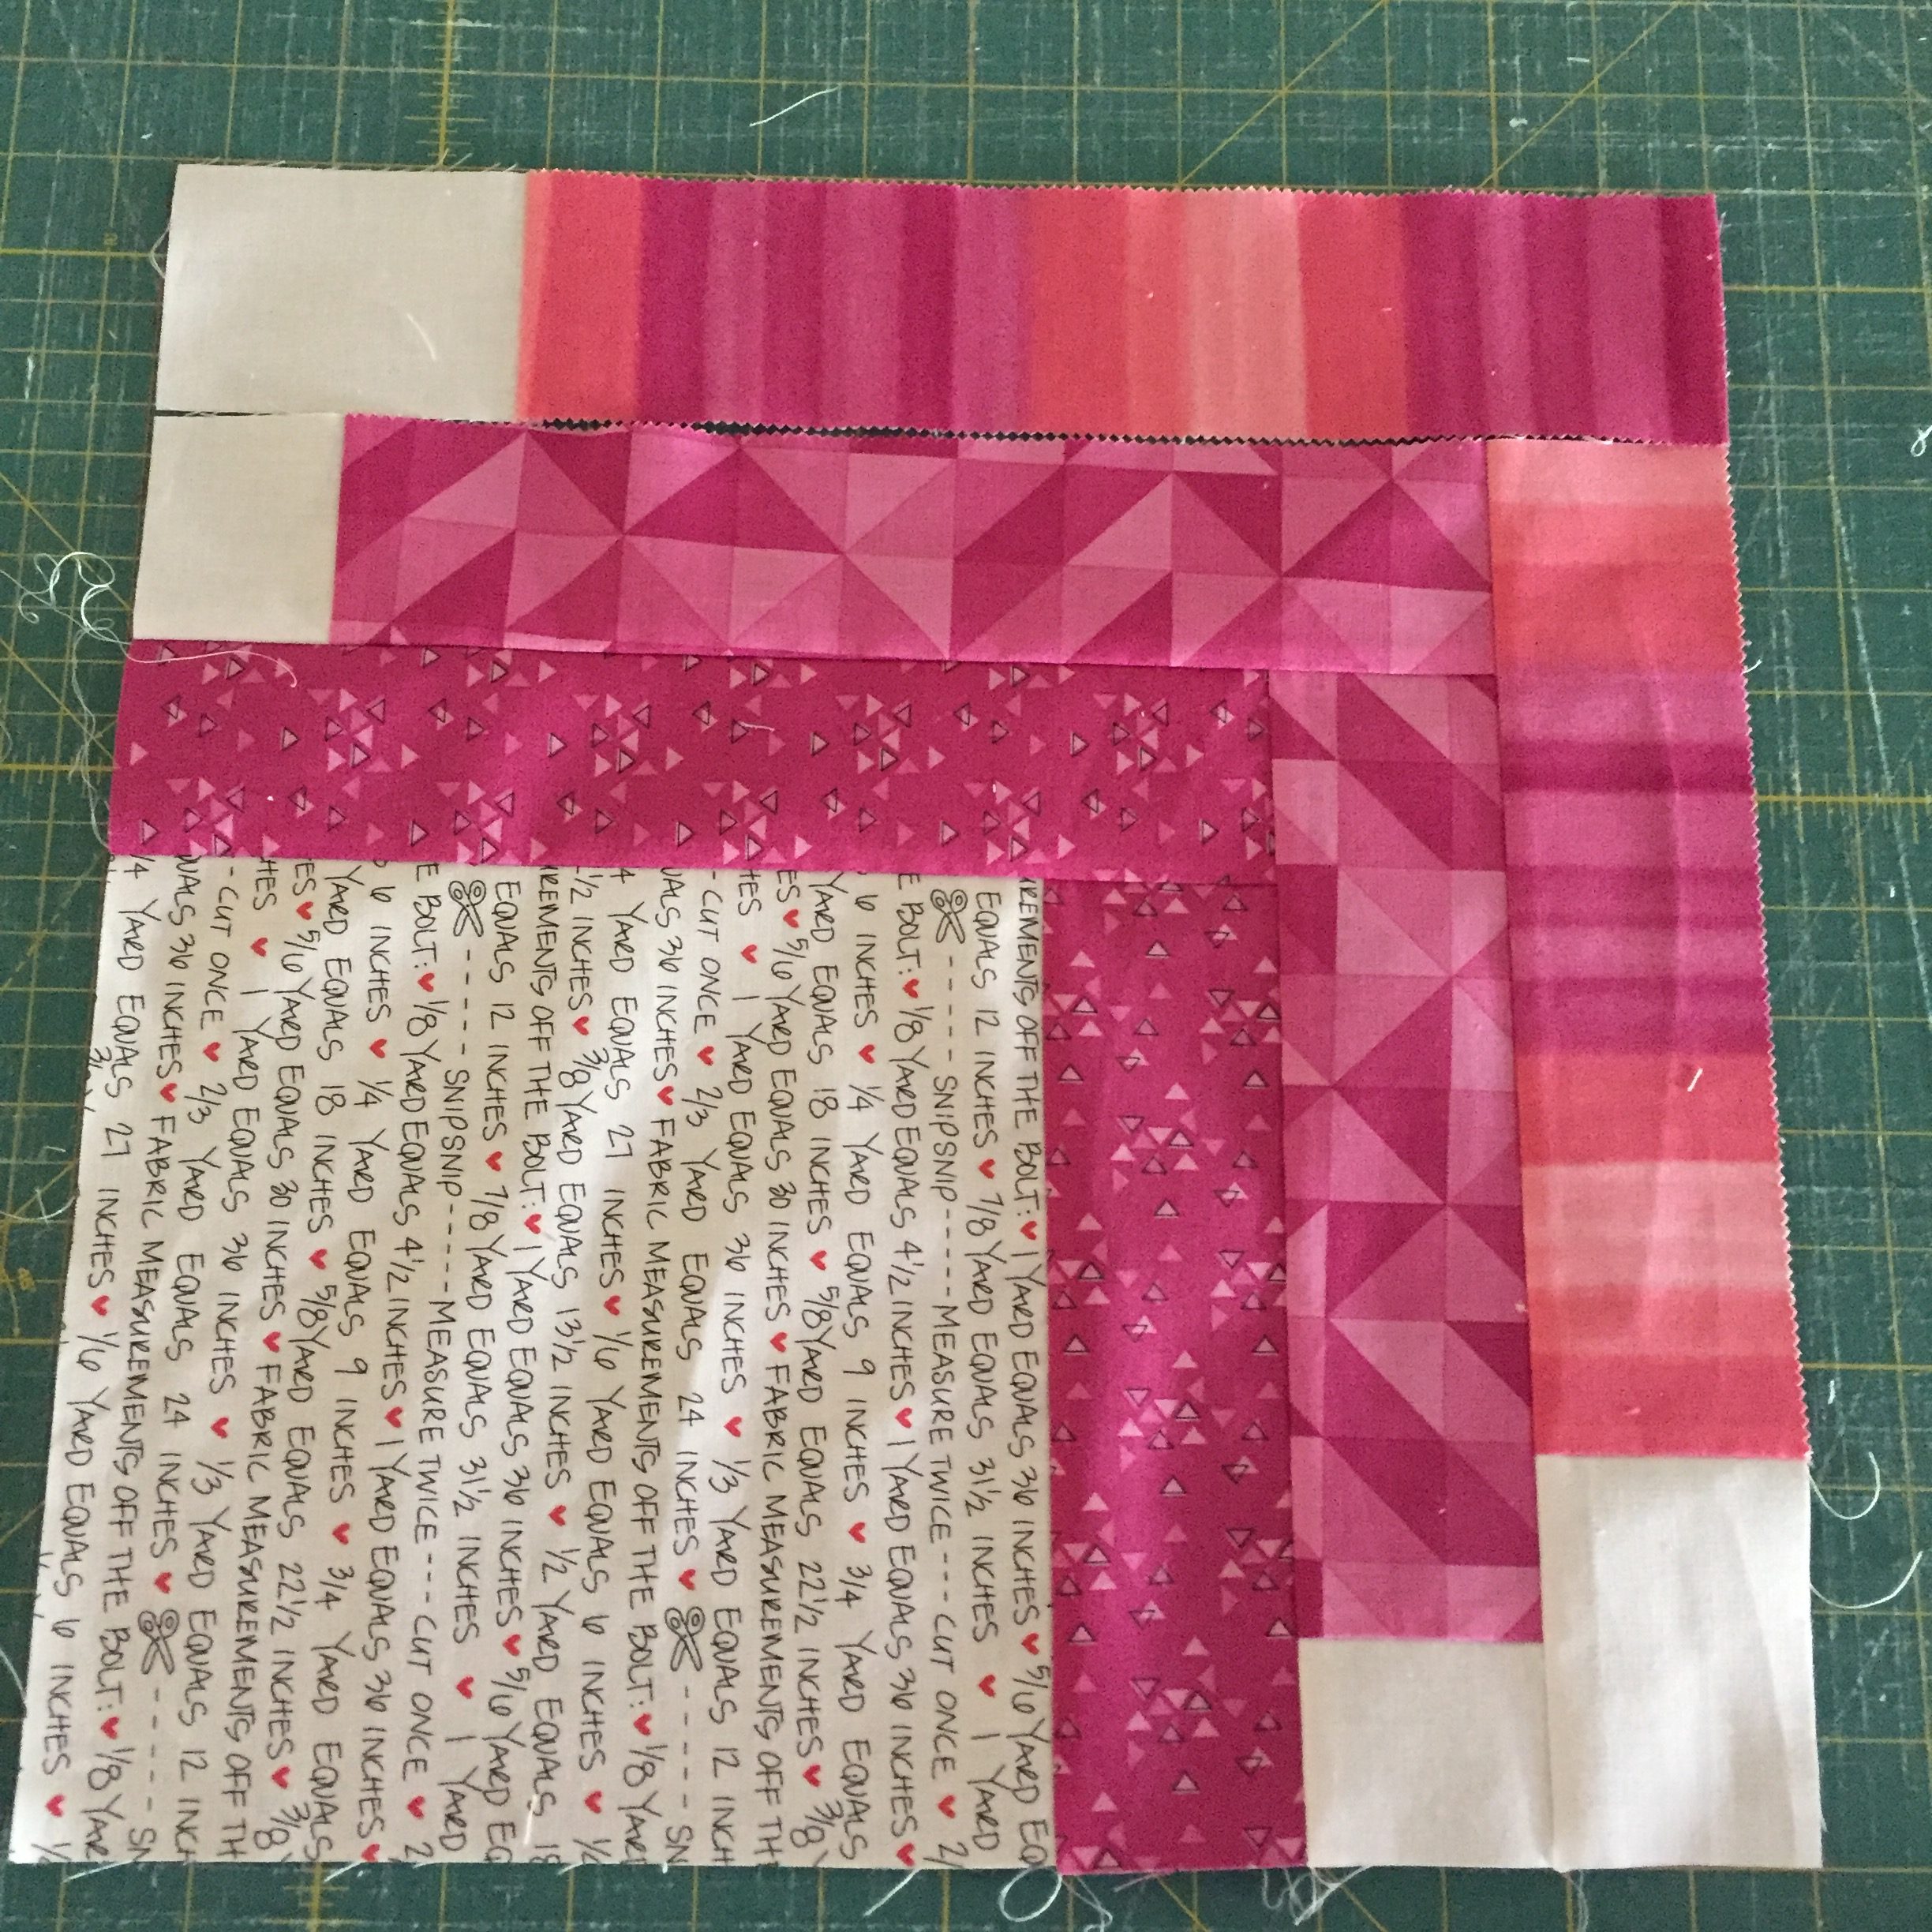
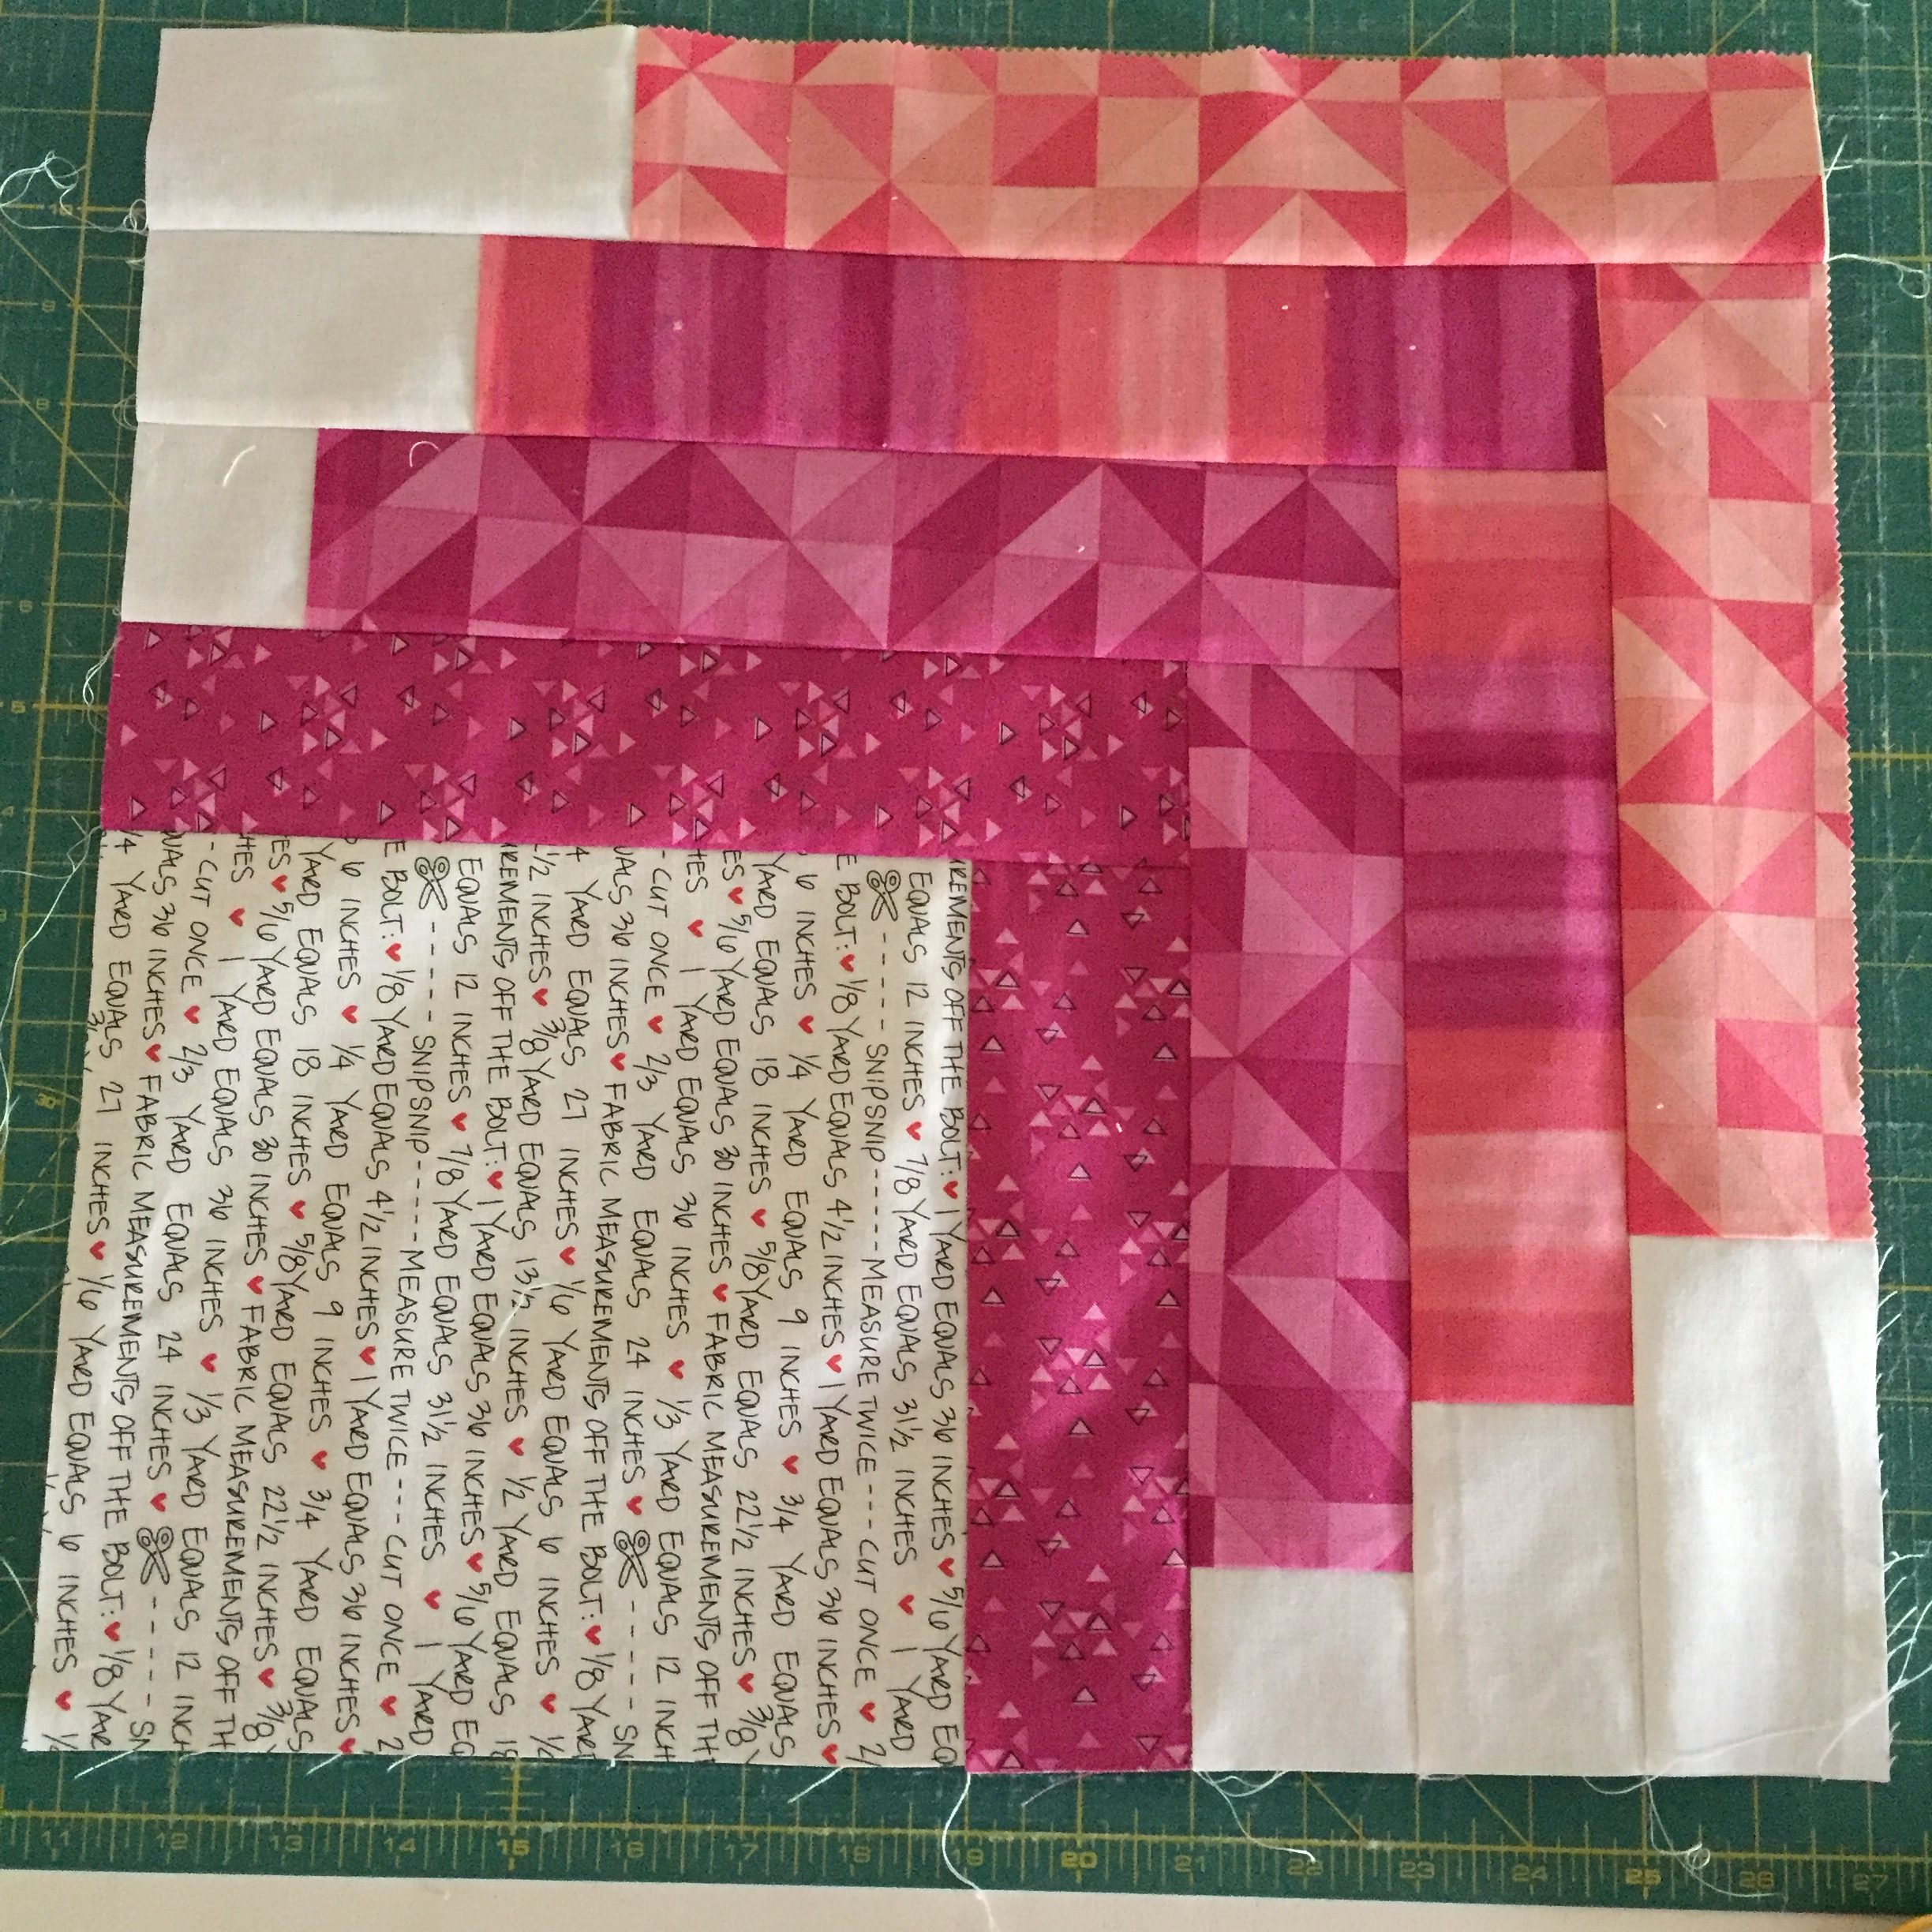
Piece the shorter lightest color strip to the side of the block. Press and piece the longer lightest color strip to the top of the block.

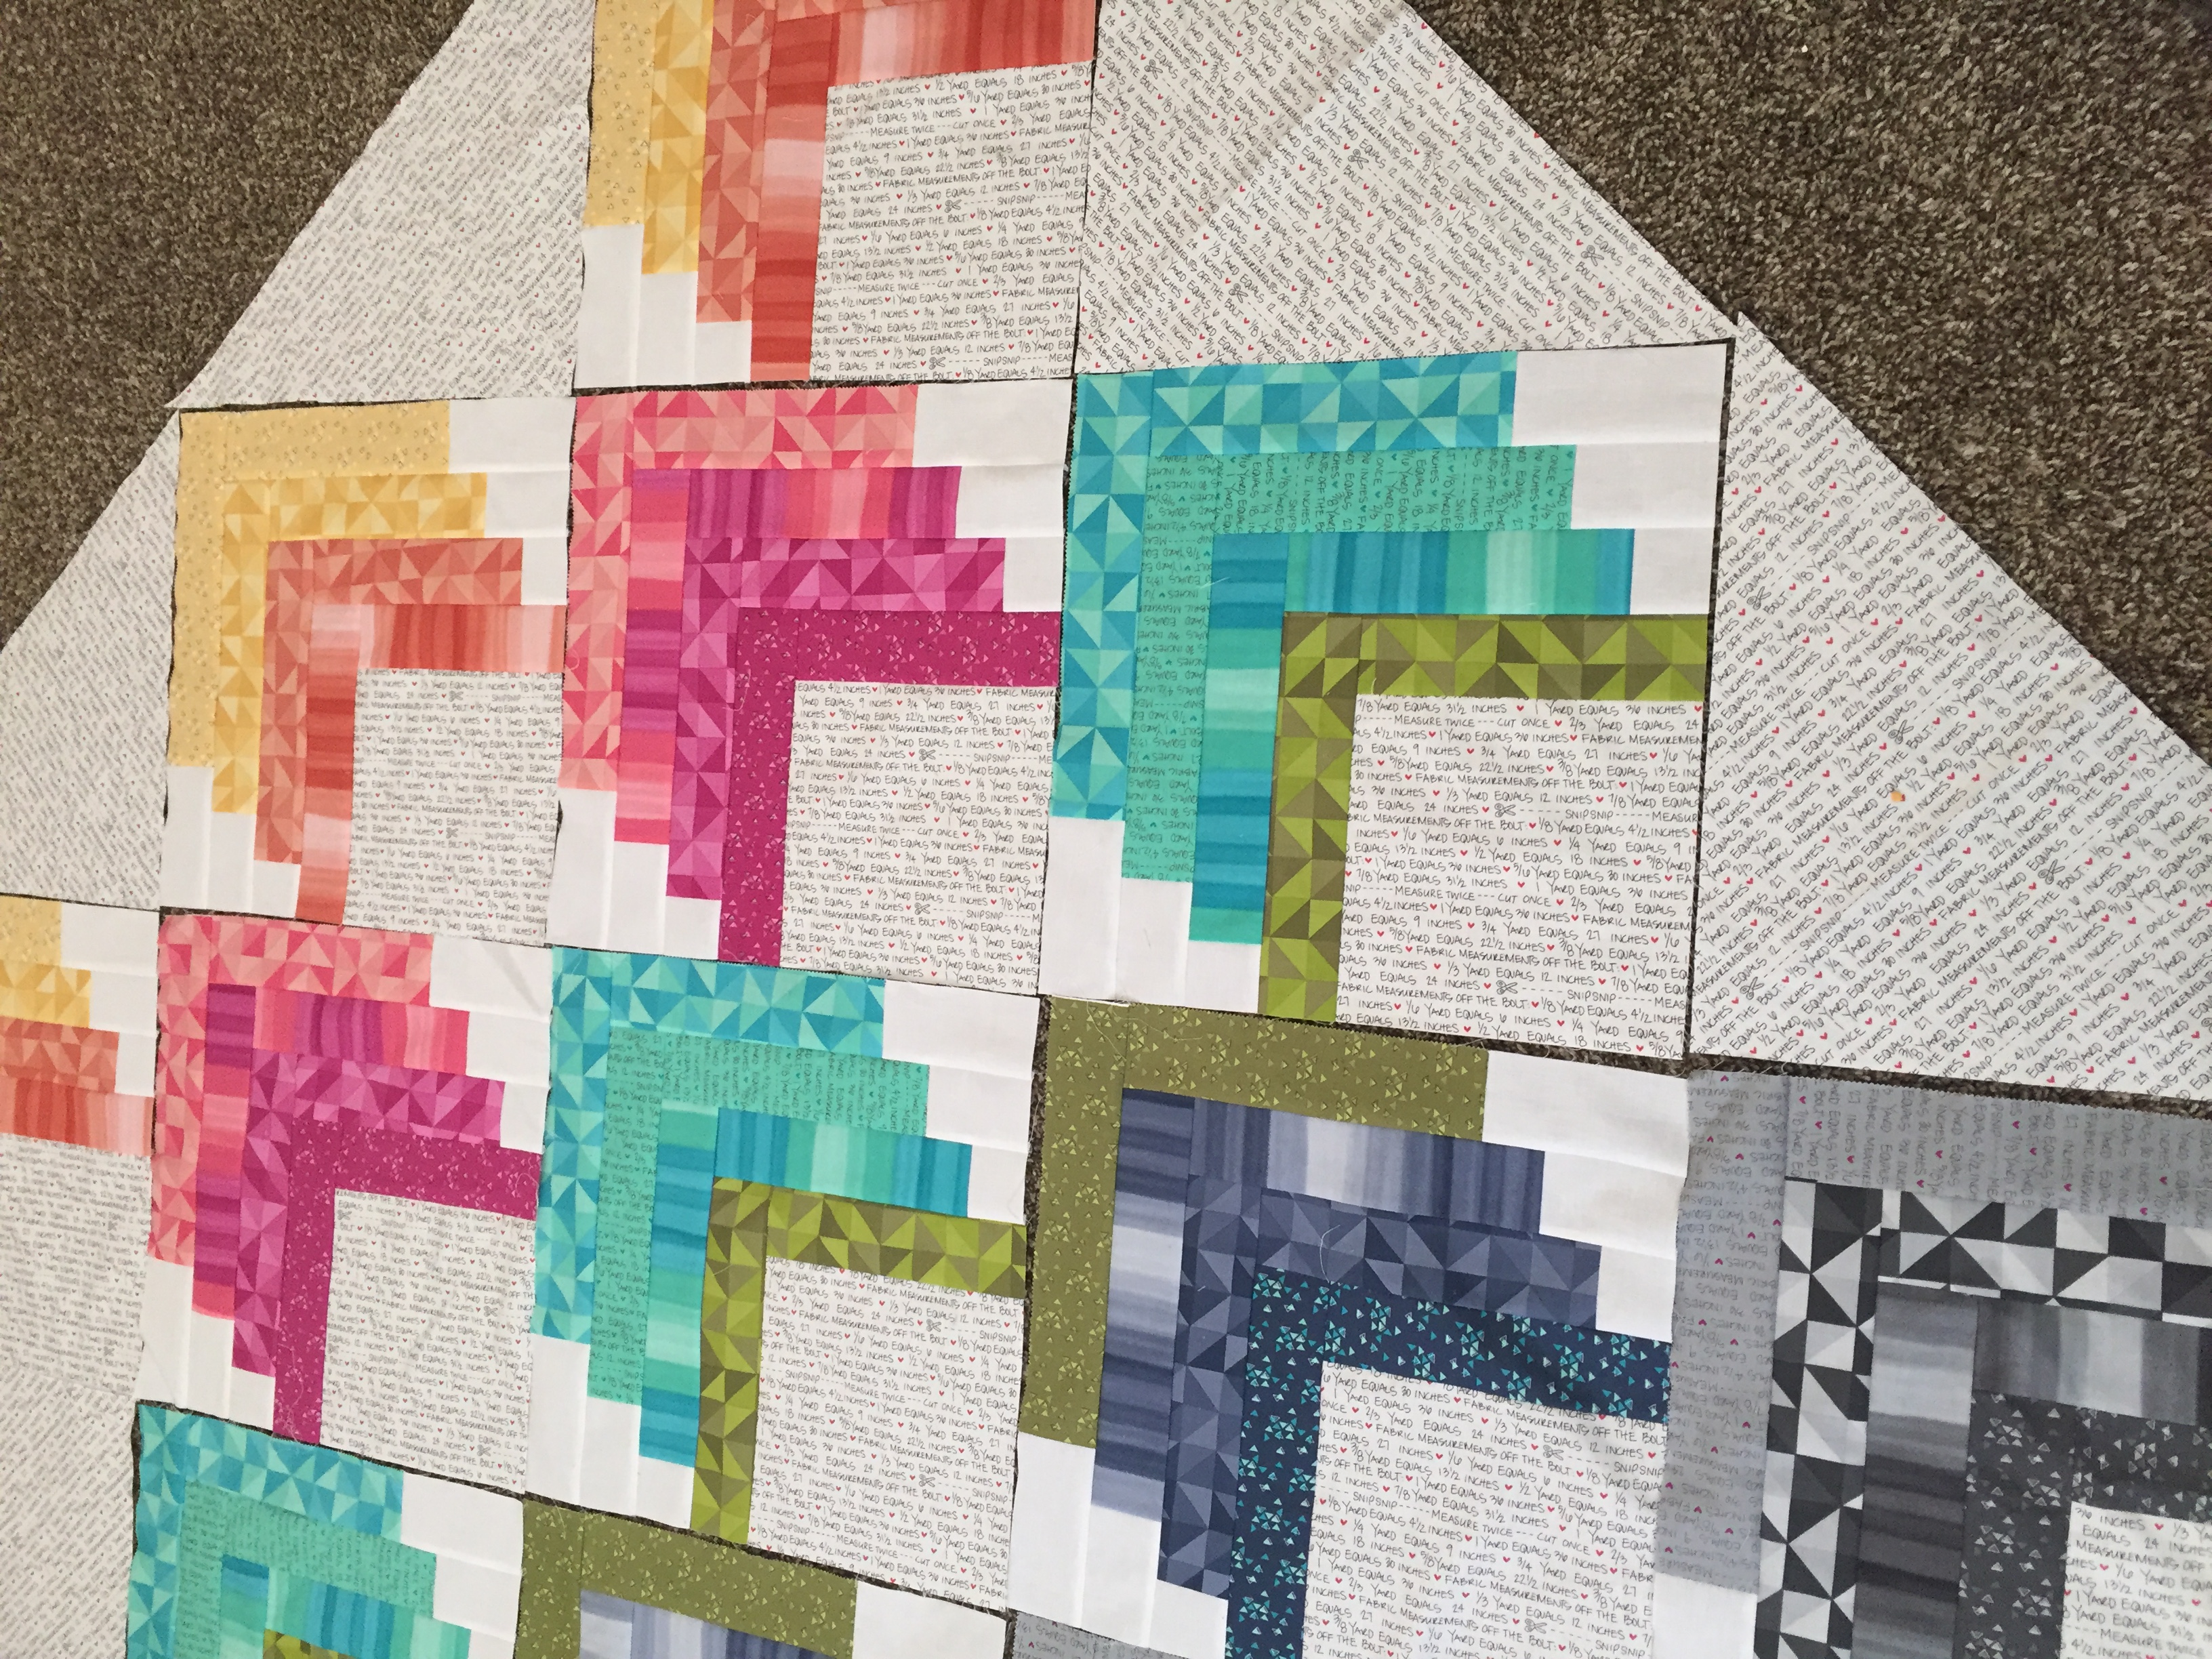
Quilt Assembly
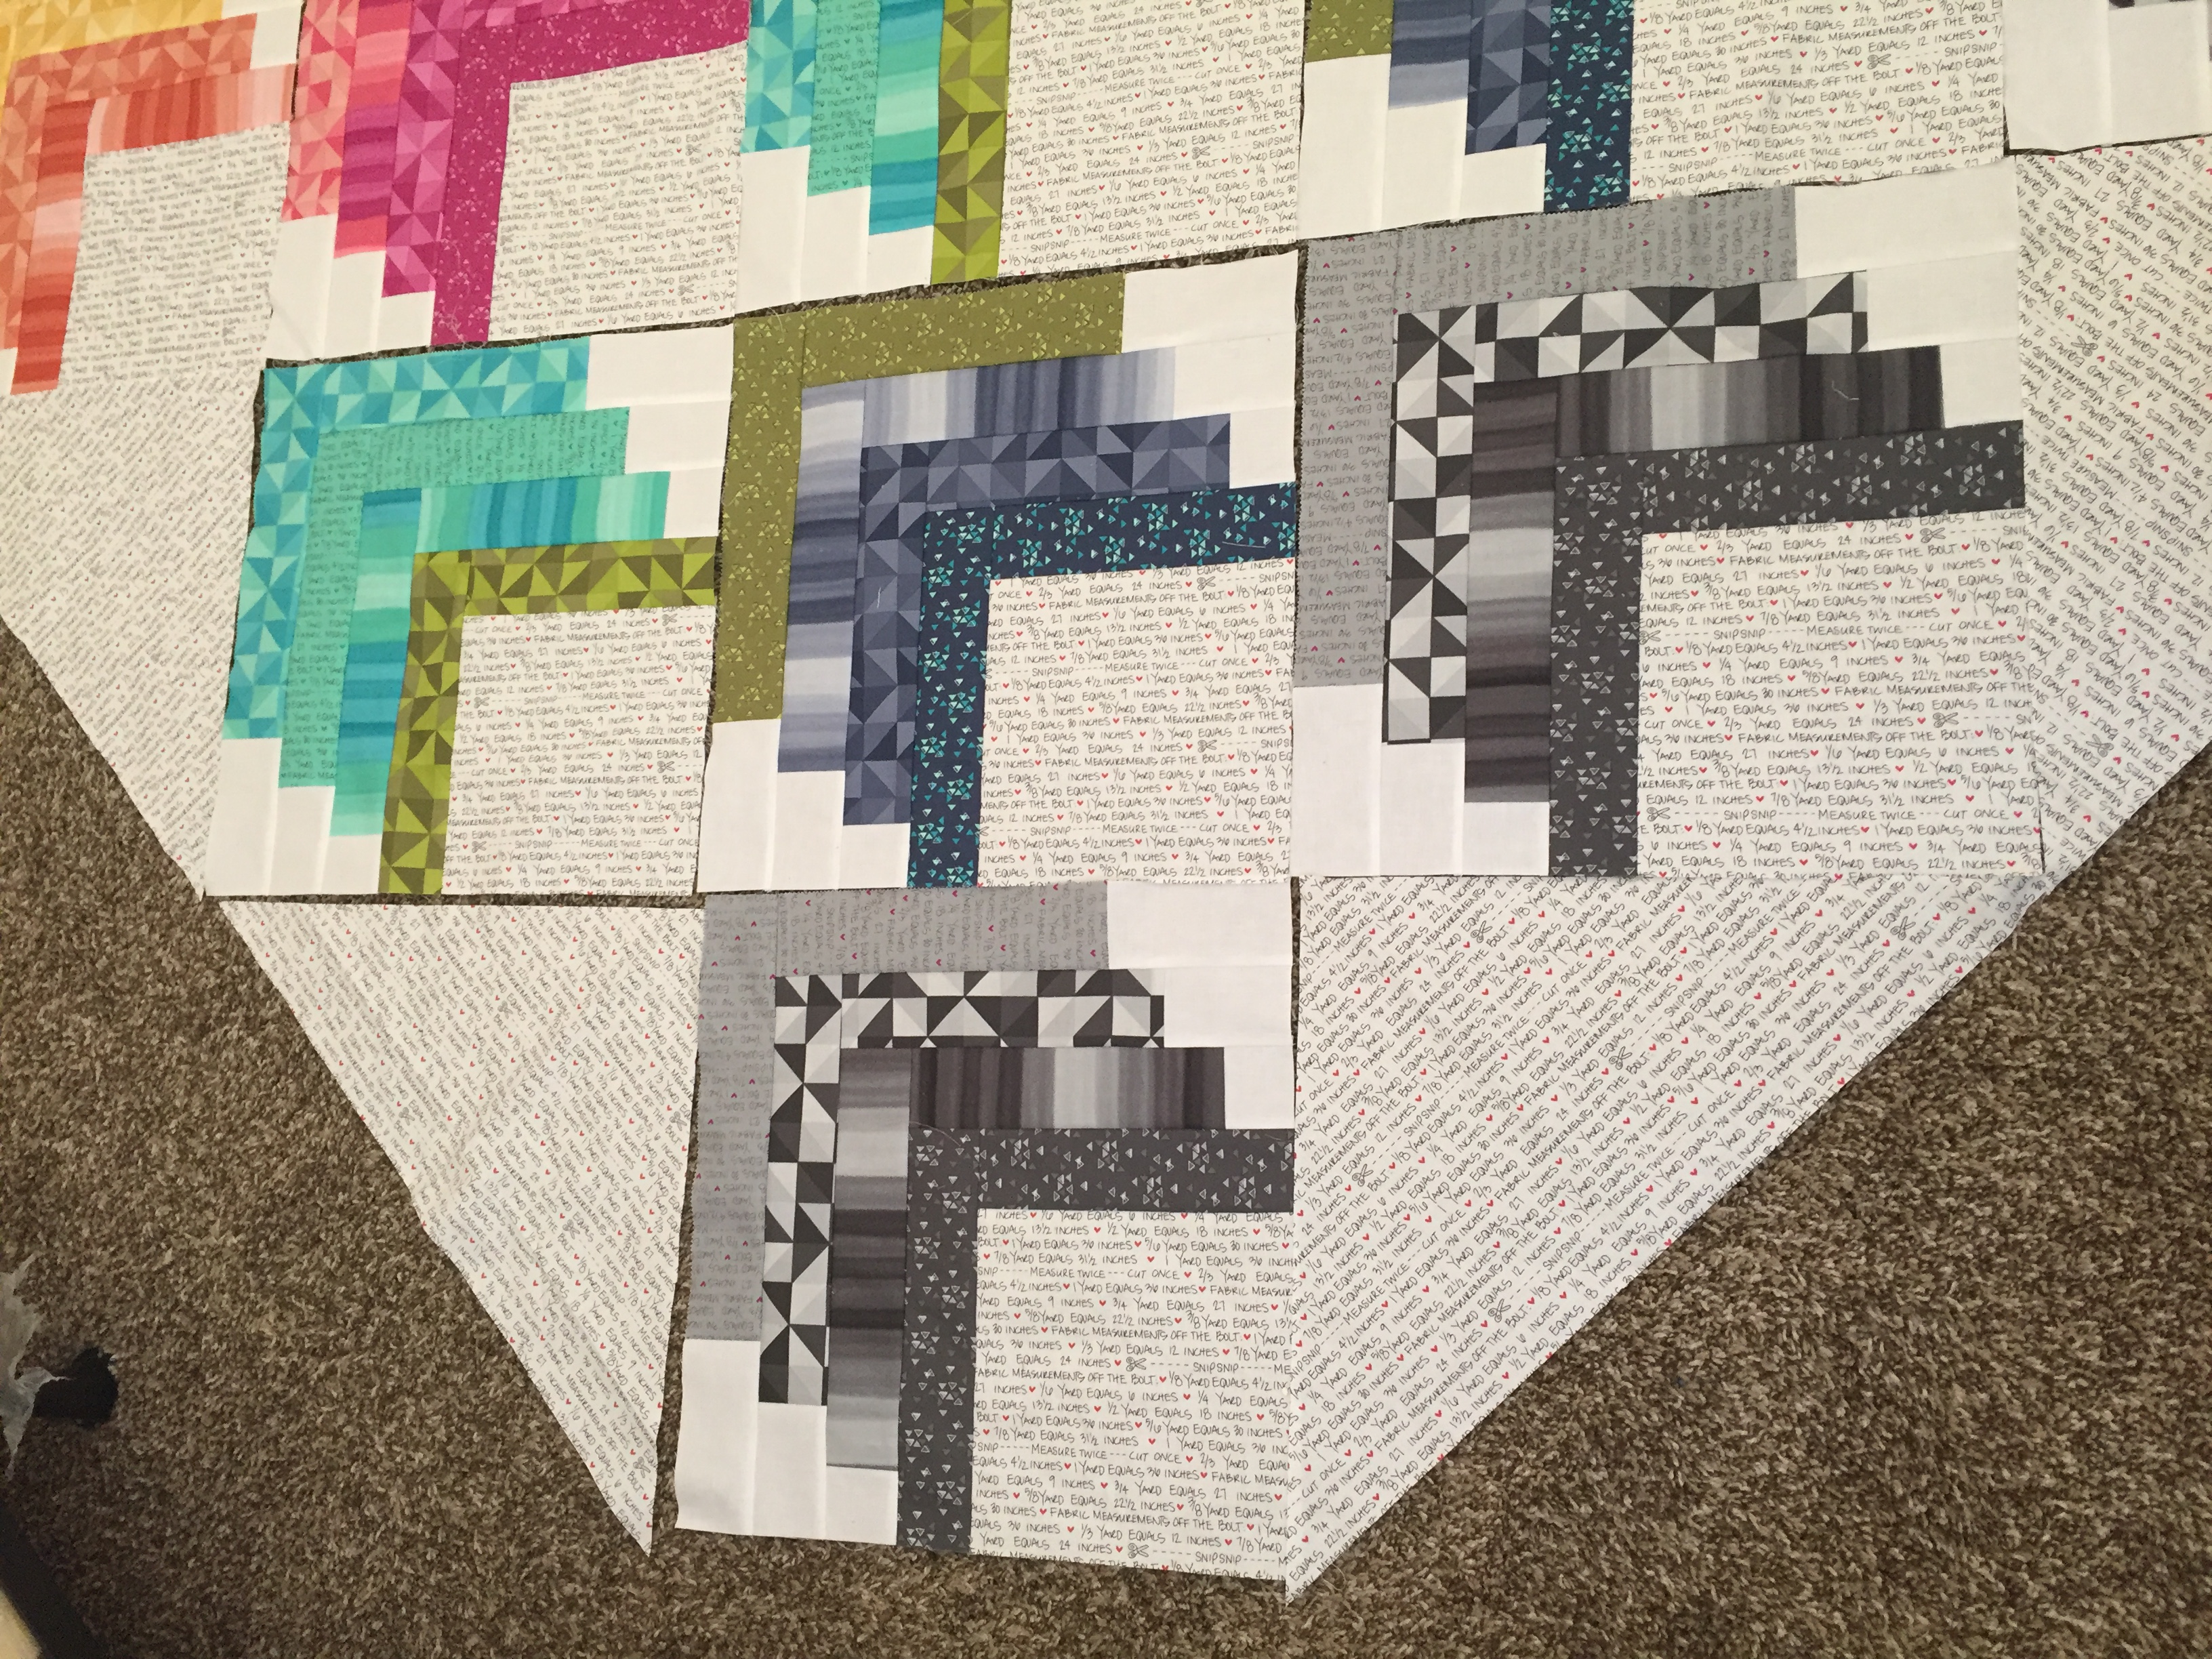
Lay out all your quilt blocks and setting triangles to make sure you are happy with the arrangement. If text direction matters to you, make sure you arrange your setting triangles accordingly.
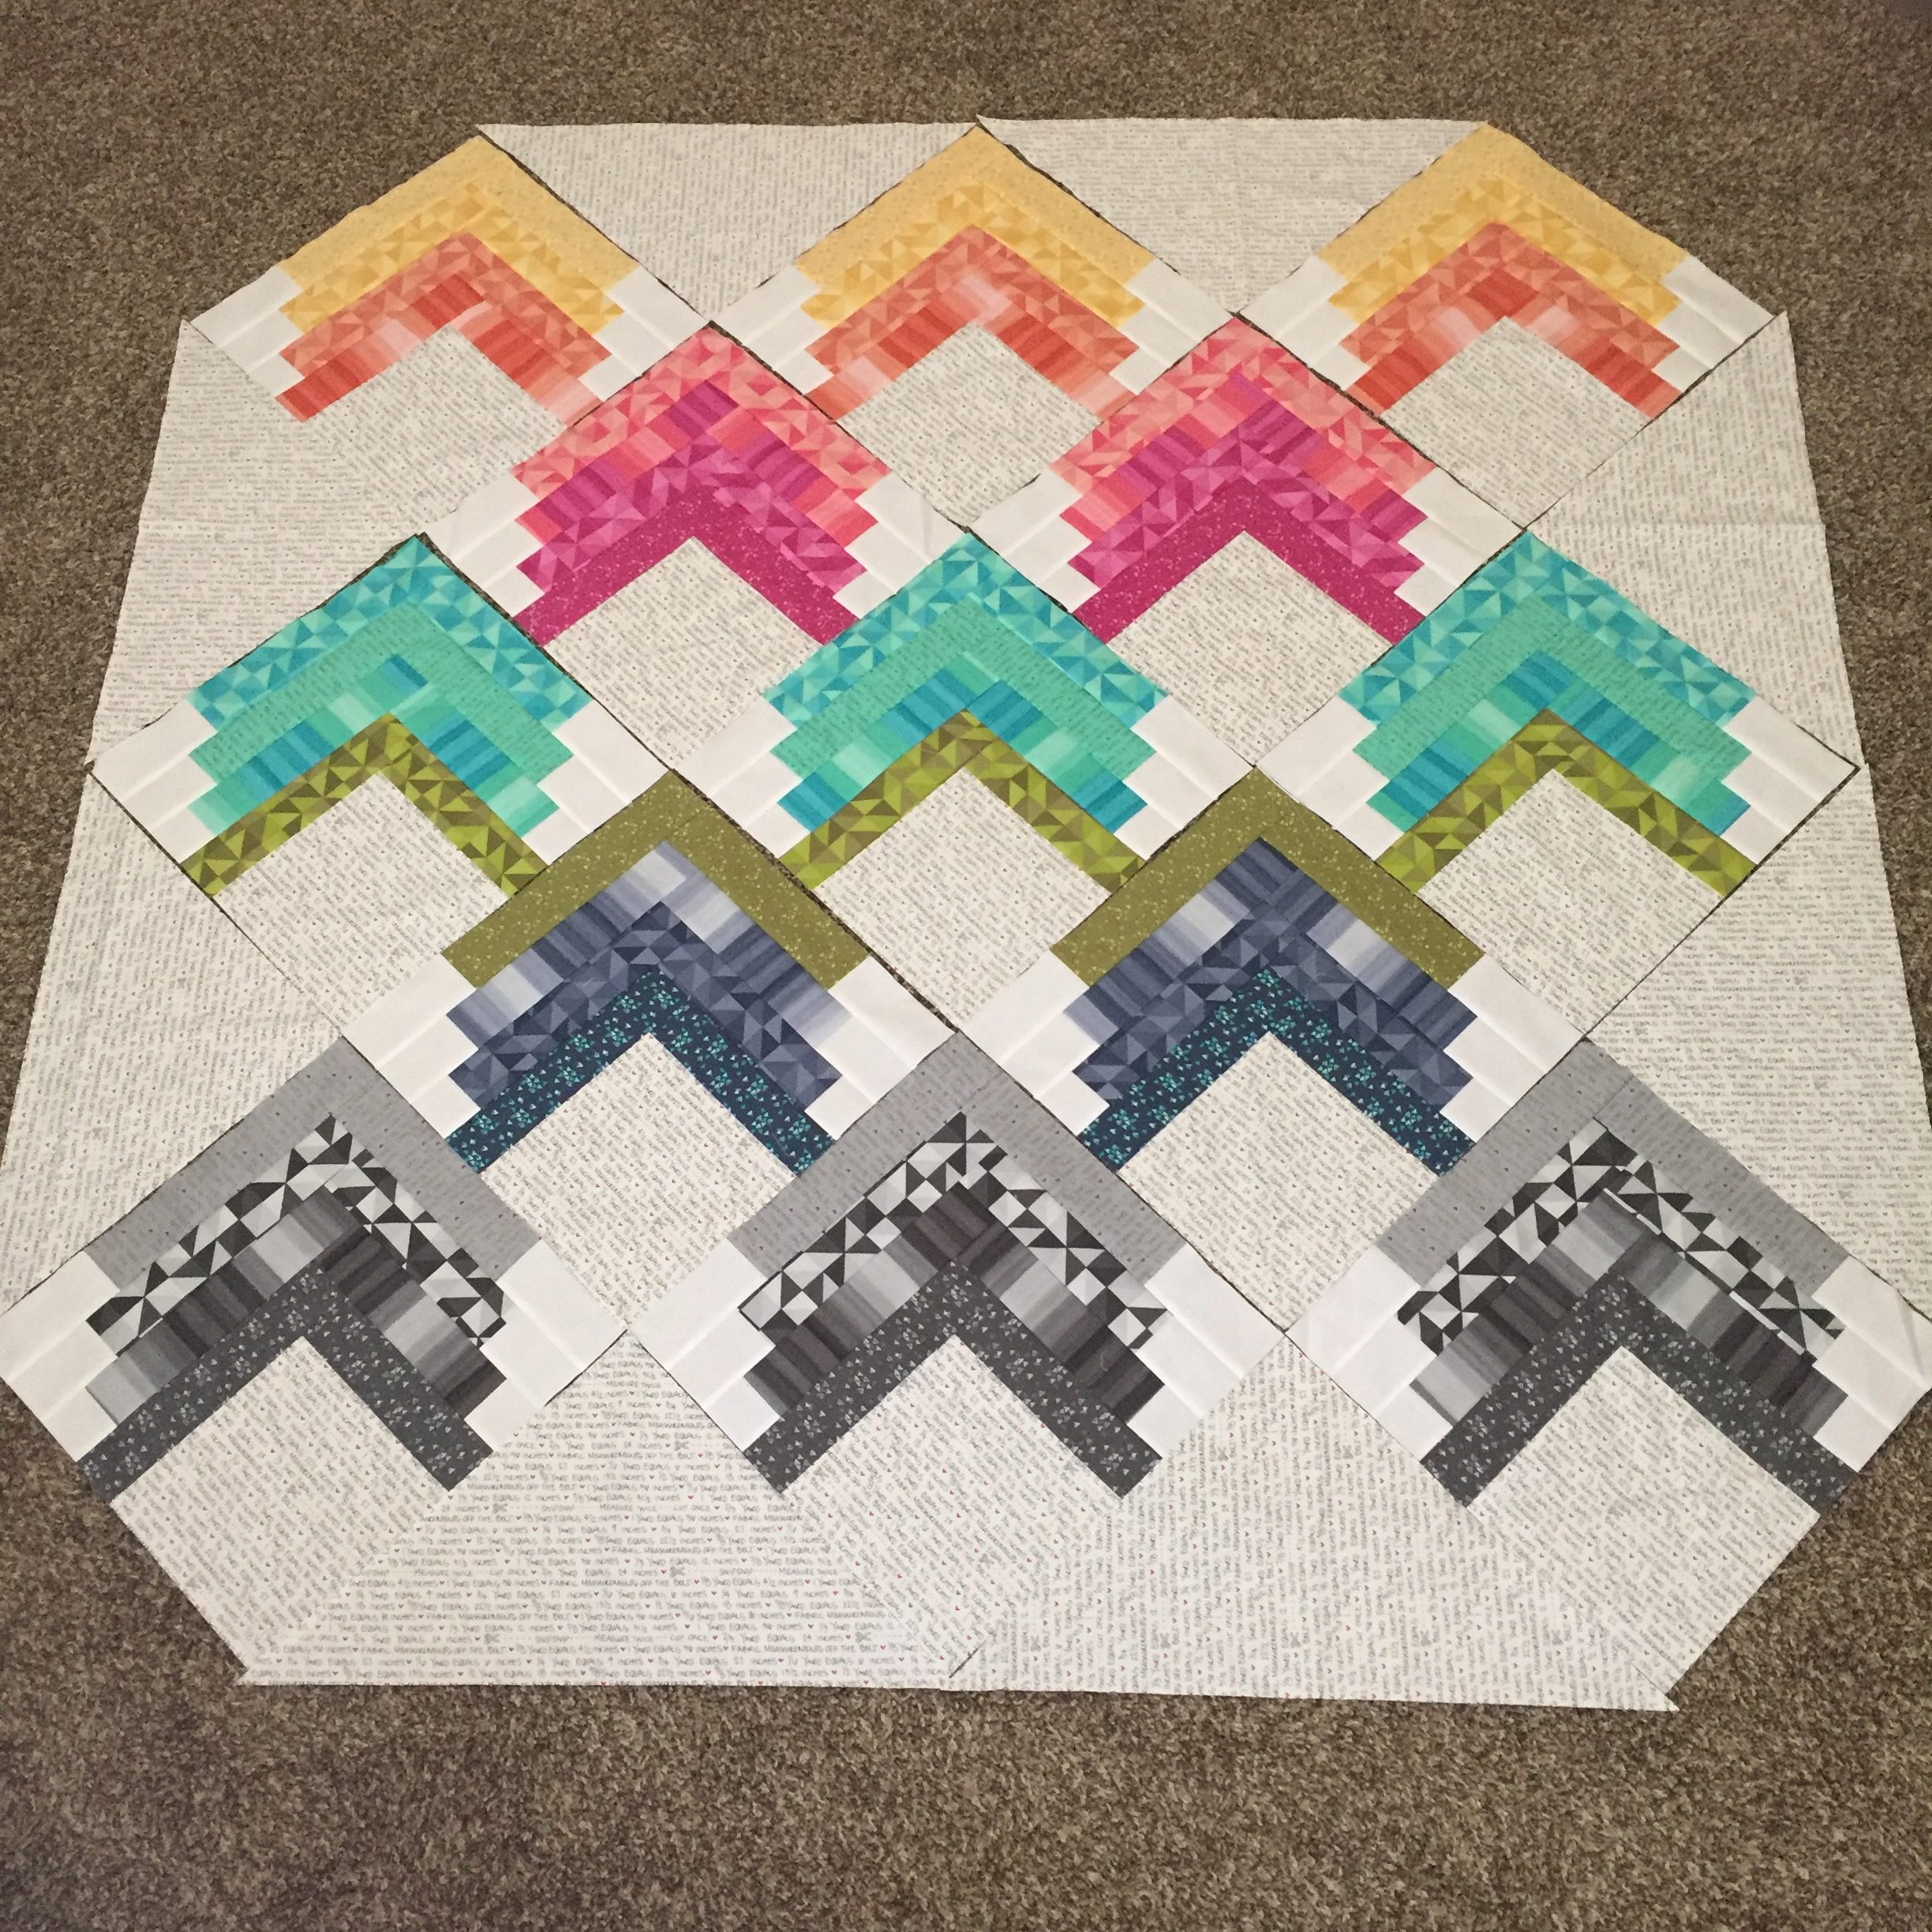
On-point quilts may seem intimidating, but they are actually quite easy to assemble. Instead of piecing rows top to bottom or left to right, all you have to do is turn to the side and you can see that the blocks and triangles form rows diagonally.
So the first row to be assembled, will be a setting triangle, a lightest color grouping block, and another setting triangle. Make sure that when you piece the triangles, that the fabric has a little tail that overhangs the block on both sides at least 1/4".
Piece the rest of the blocks and triangles together in rows.


Once your rows are pieced, you will piece the rows together. As with the triangles when you piece them to the blocks, you will need to make sure that they overhang the blocks by at least 1/4" at each end. Press into interlocking seams.
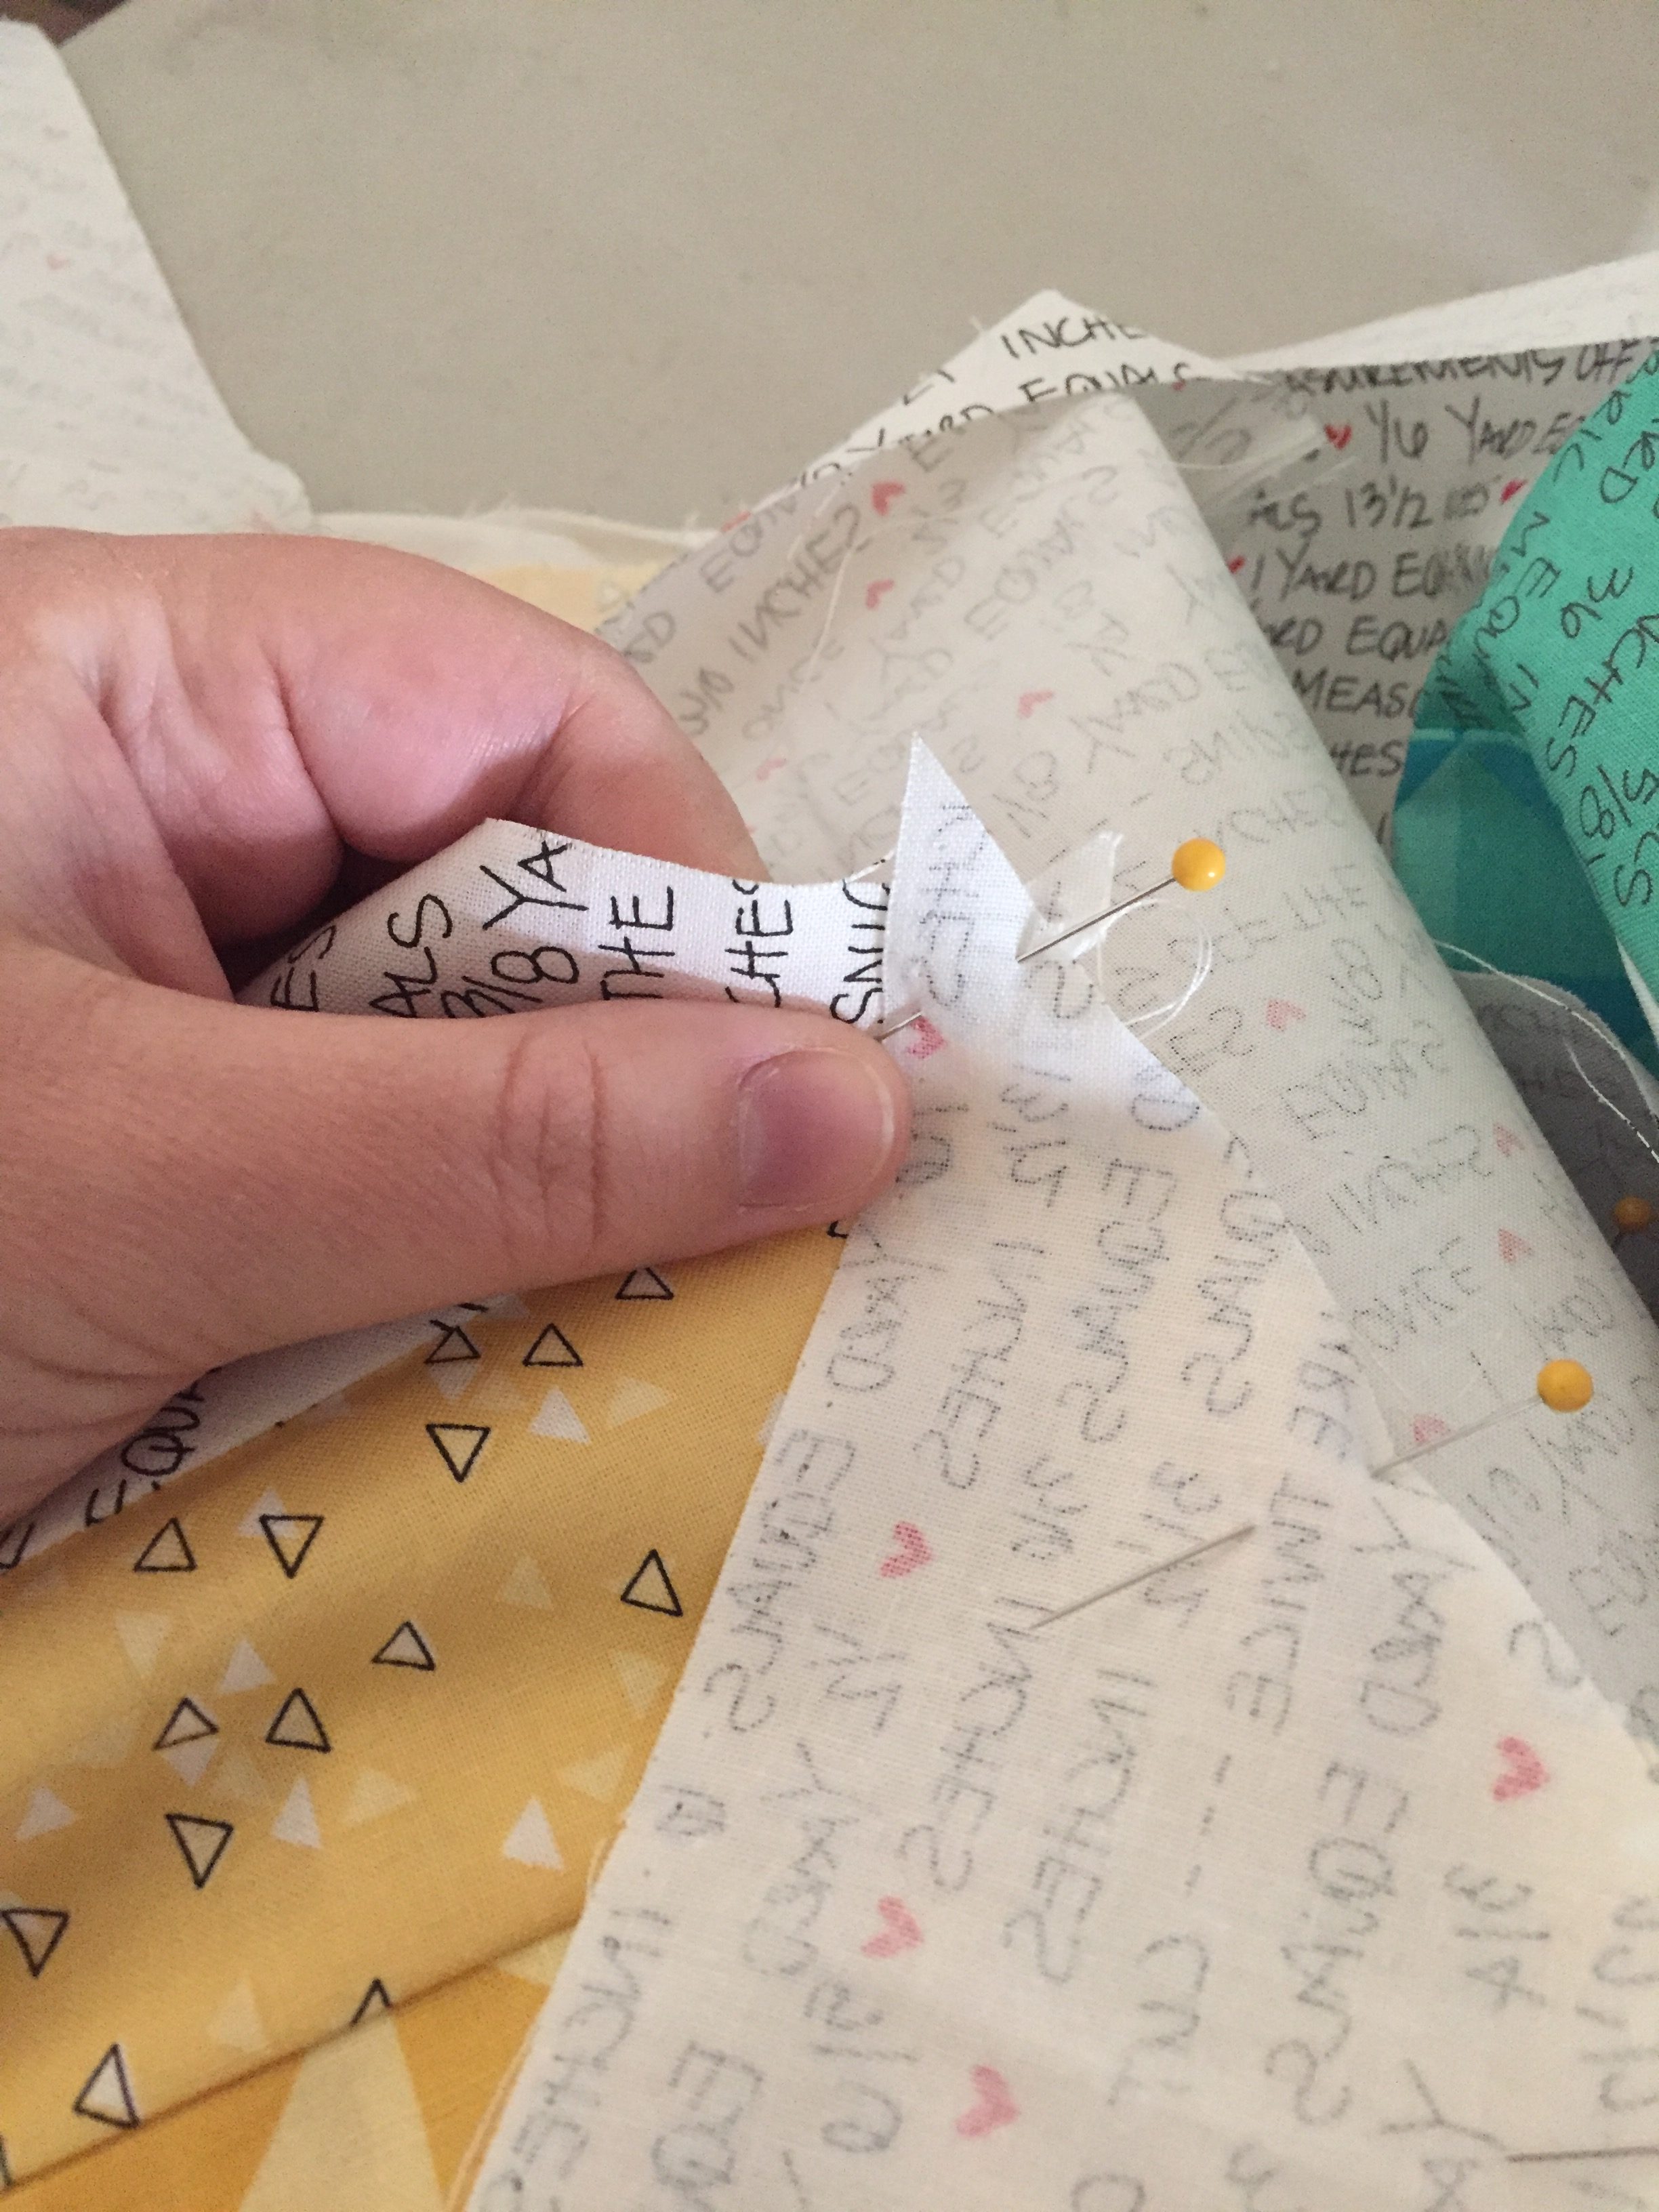
Now you will want to lay your corner triangles out and arrange them. If the direction of the text print matters to you, make sure you arrange your corner triangles accordingly.

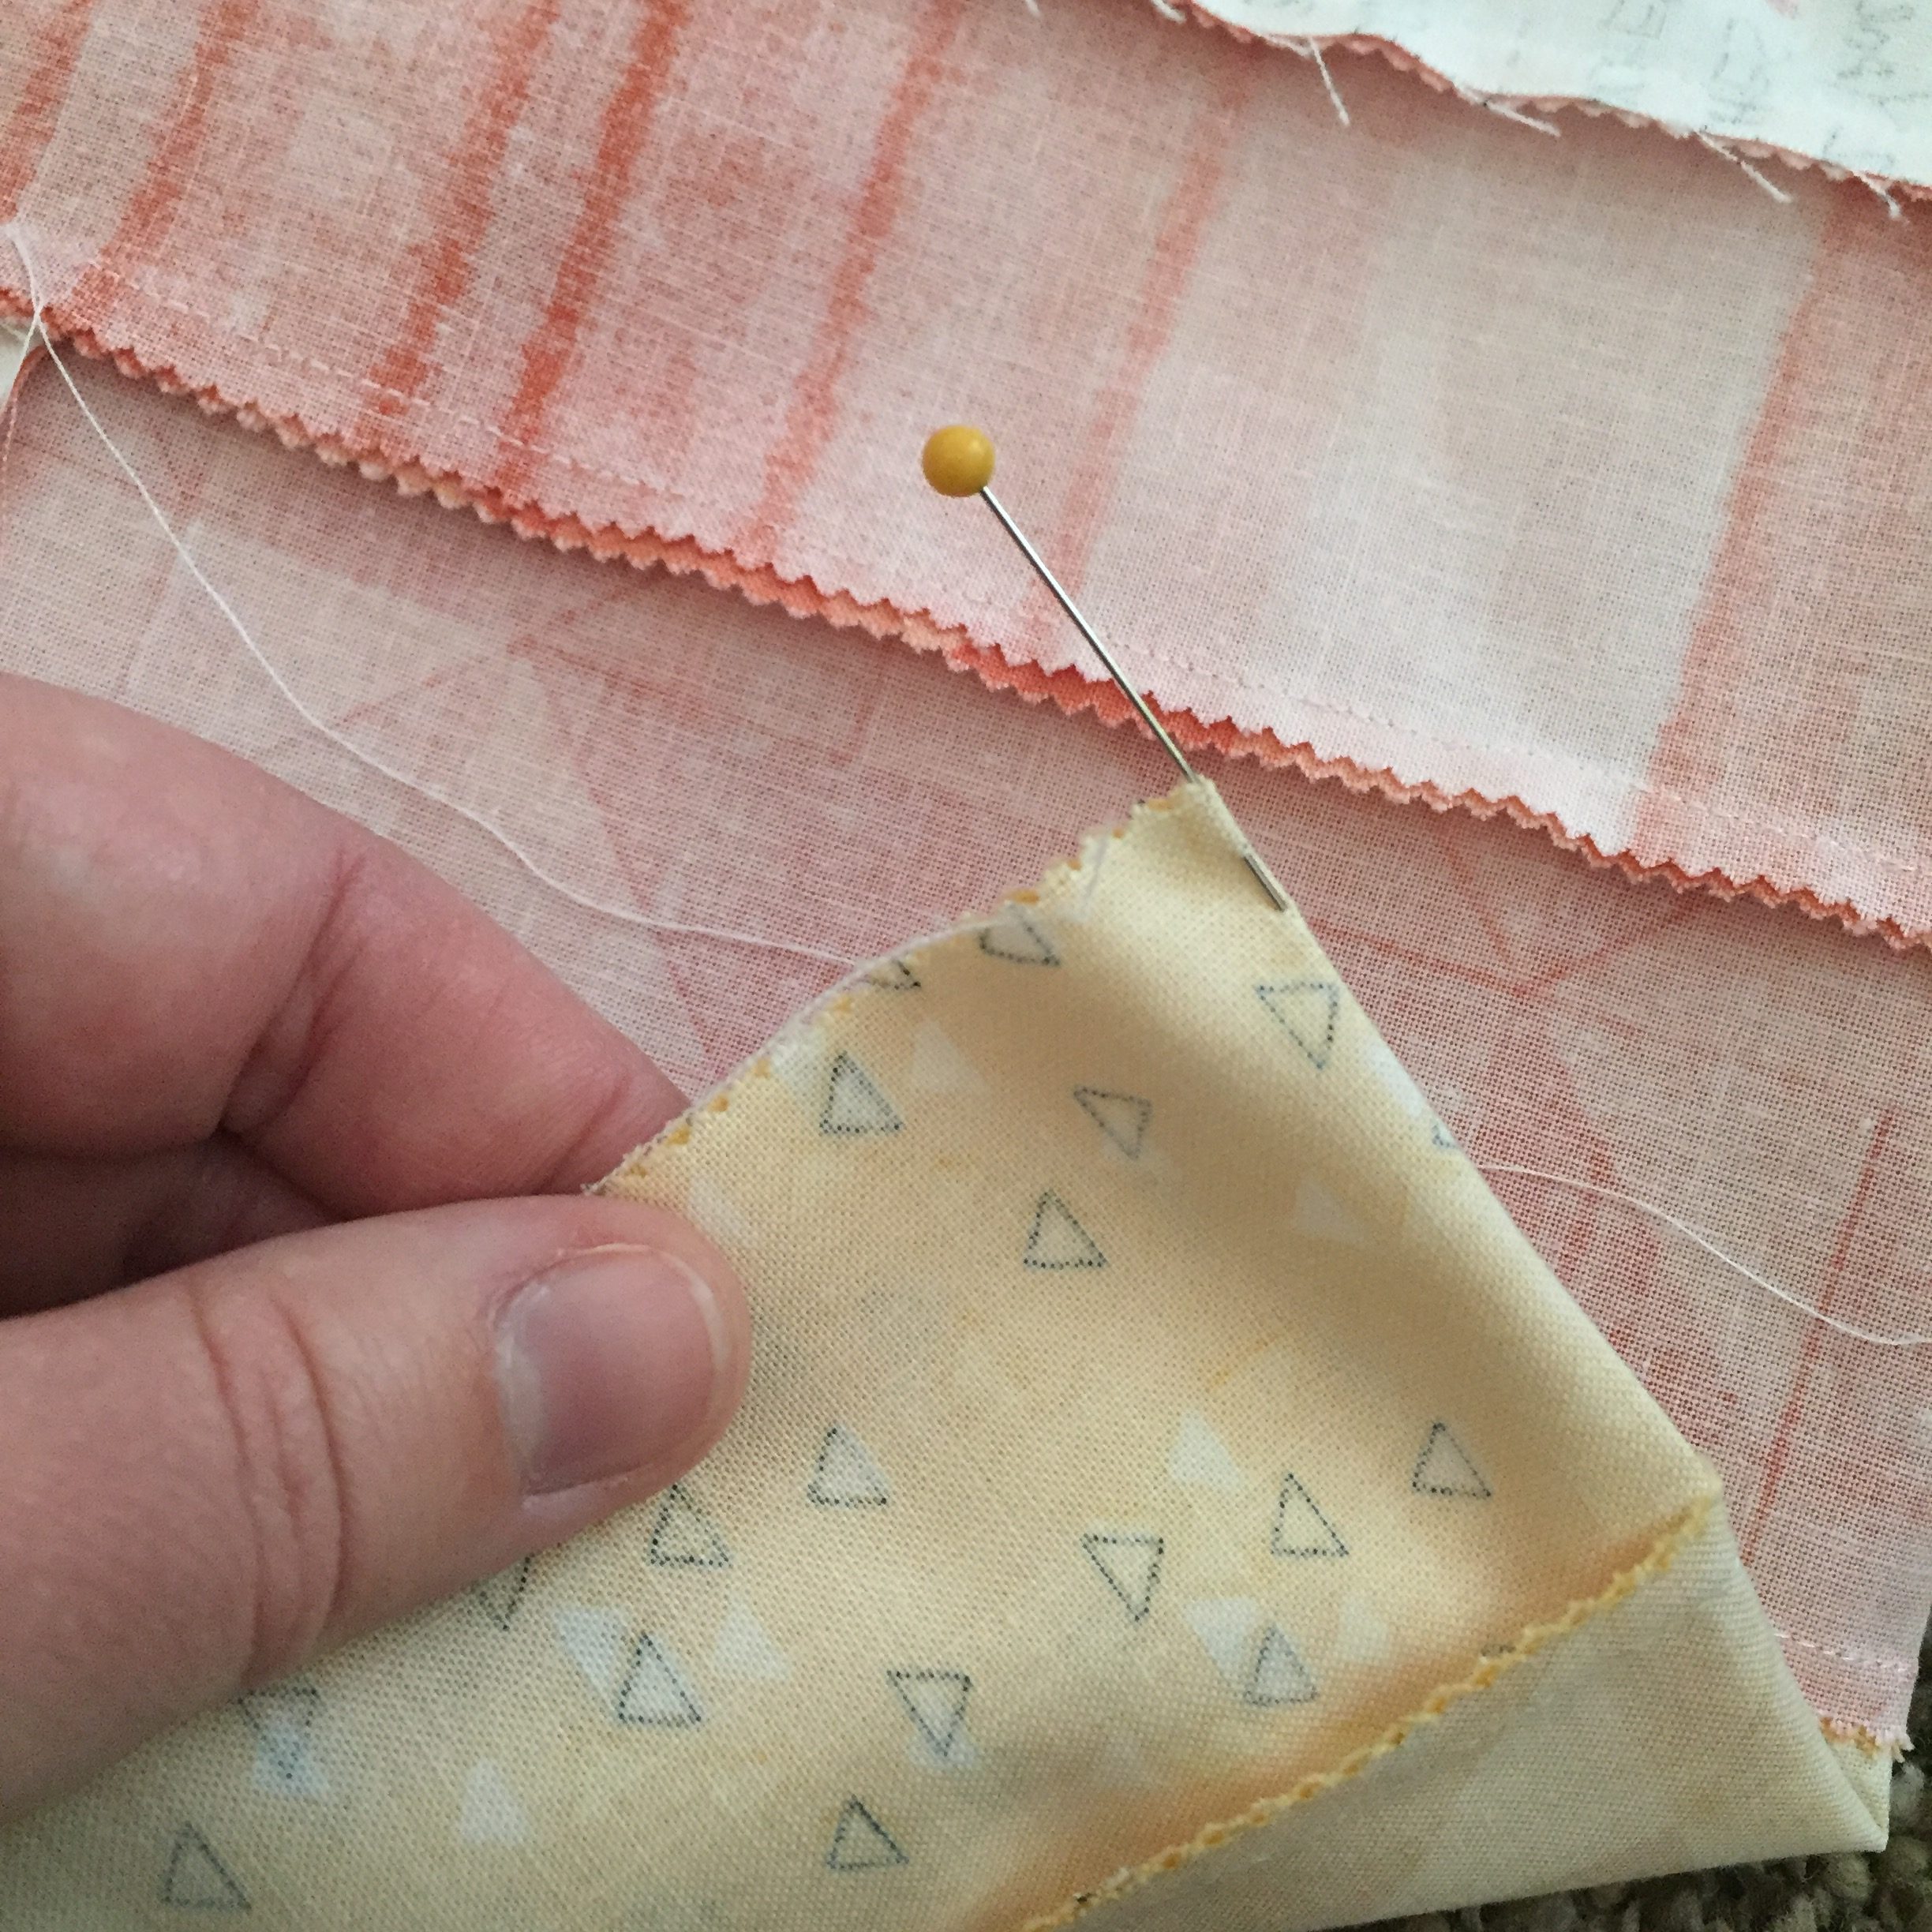
Before you piece the corner triangles to the quilt, you will need to find the center of the triangle and the block that it will be pieced to. To do this fold the triangle and the block in half and press with your finger to create a little crease. Then place a pin in each of these creases, line up the pins, and pin them together.
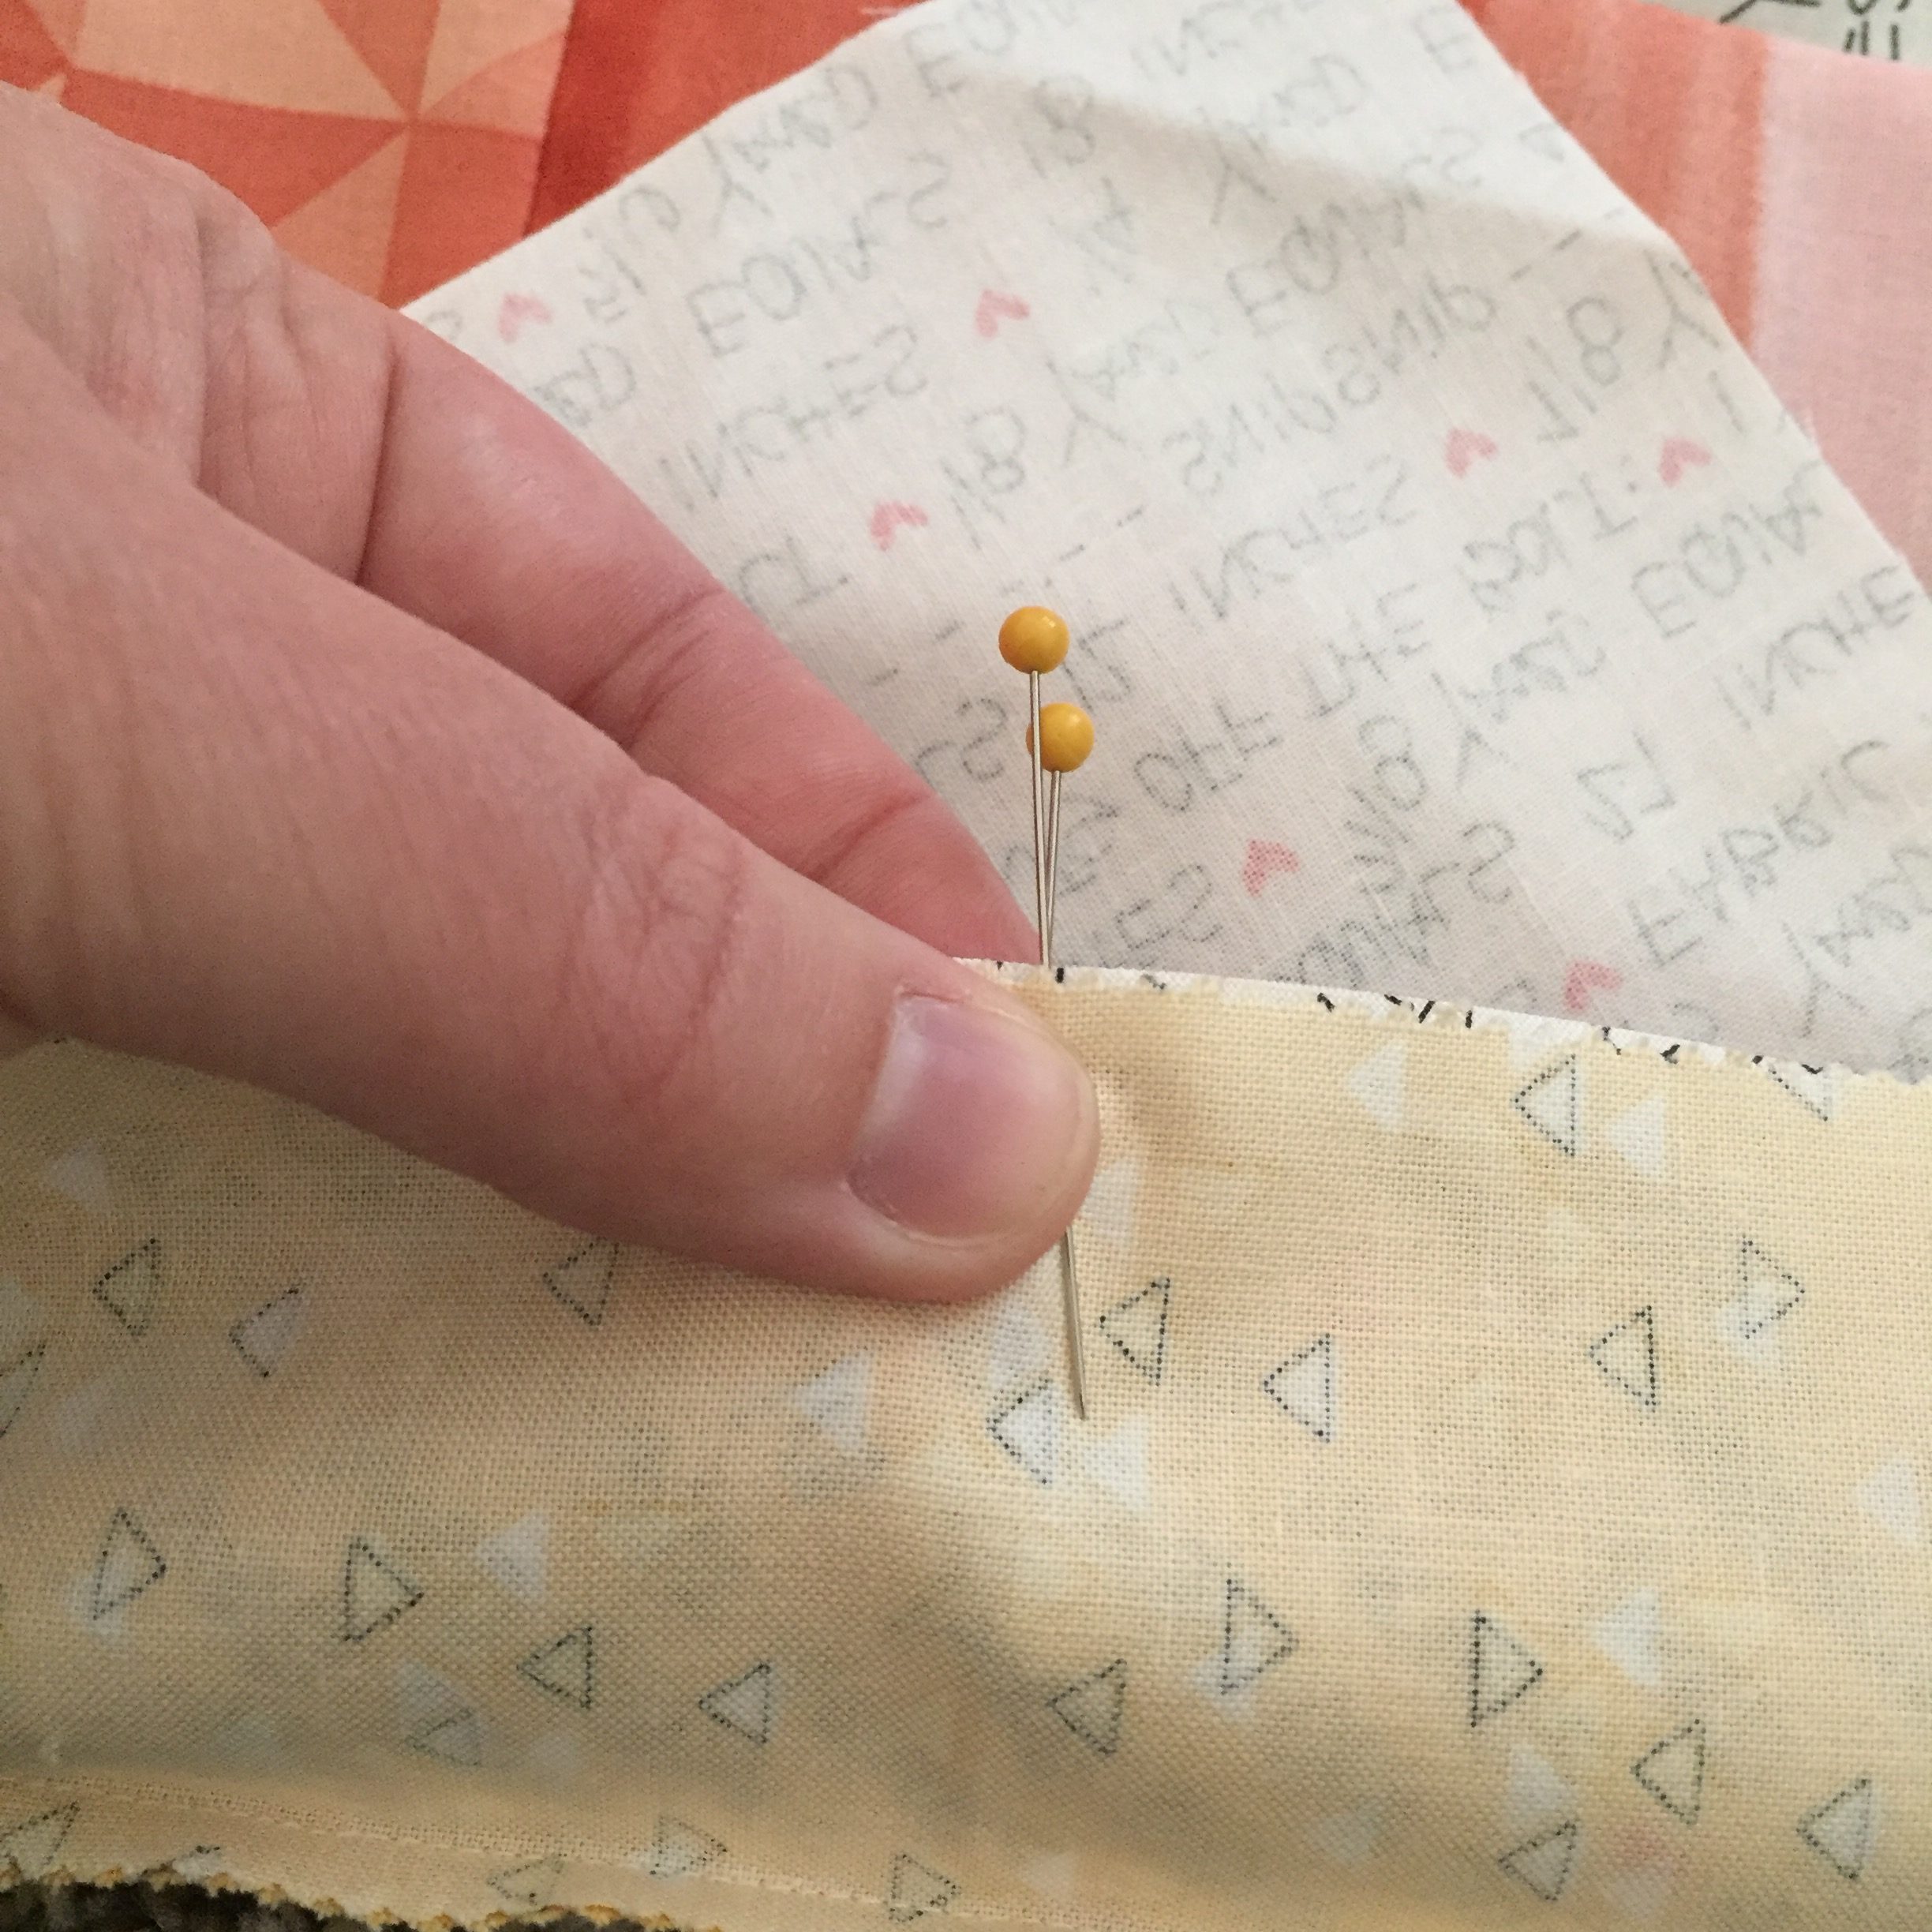
Make sure that both the setting triangles and the corner triangles overhang each other by at least 1/4". Piece and viola! You have a gorgeous quilt top!

Quilt and bind as desired and then you have an even more beautiful quilt!

![]()
This quilt finishes at 68" x 68".
I hope you've enjoyed this tutorial and maybe learned something new! If you would like to follow me and my quilting and creative adventures, you can visit me on my blog or my Etsy shop where I sell custom handmade dolls and gifts. Happy sewing everyone!
Amy Harward
{sewinlovehandmade.com}
![]()
Posted in:
Comments