Welcome to Moda!
Prairie Point Bunting Pillow
Prairie Point Bunting Pillow
Published:
Feb 25 2017 - 23:00
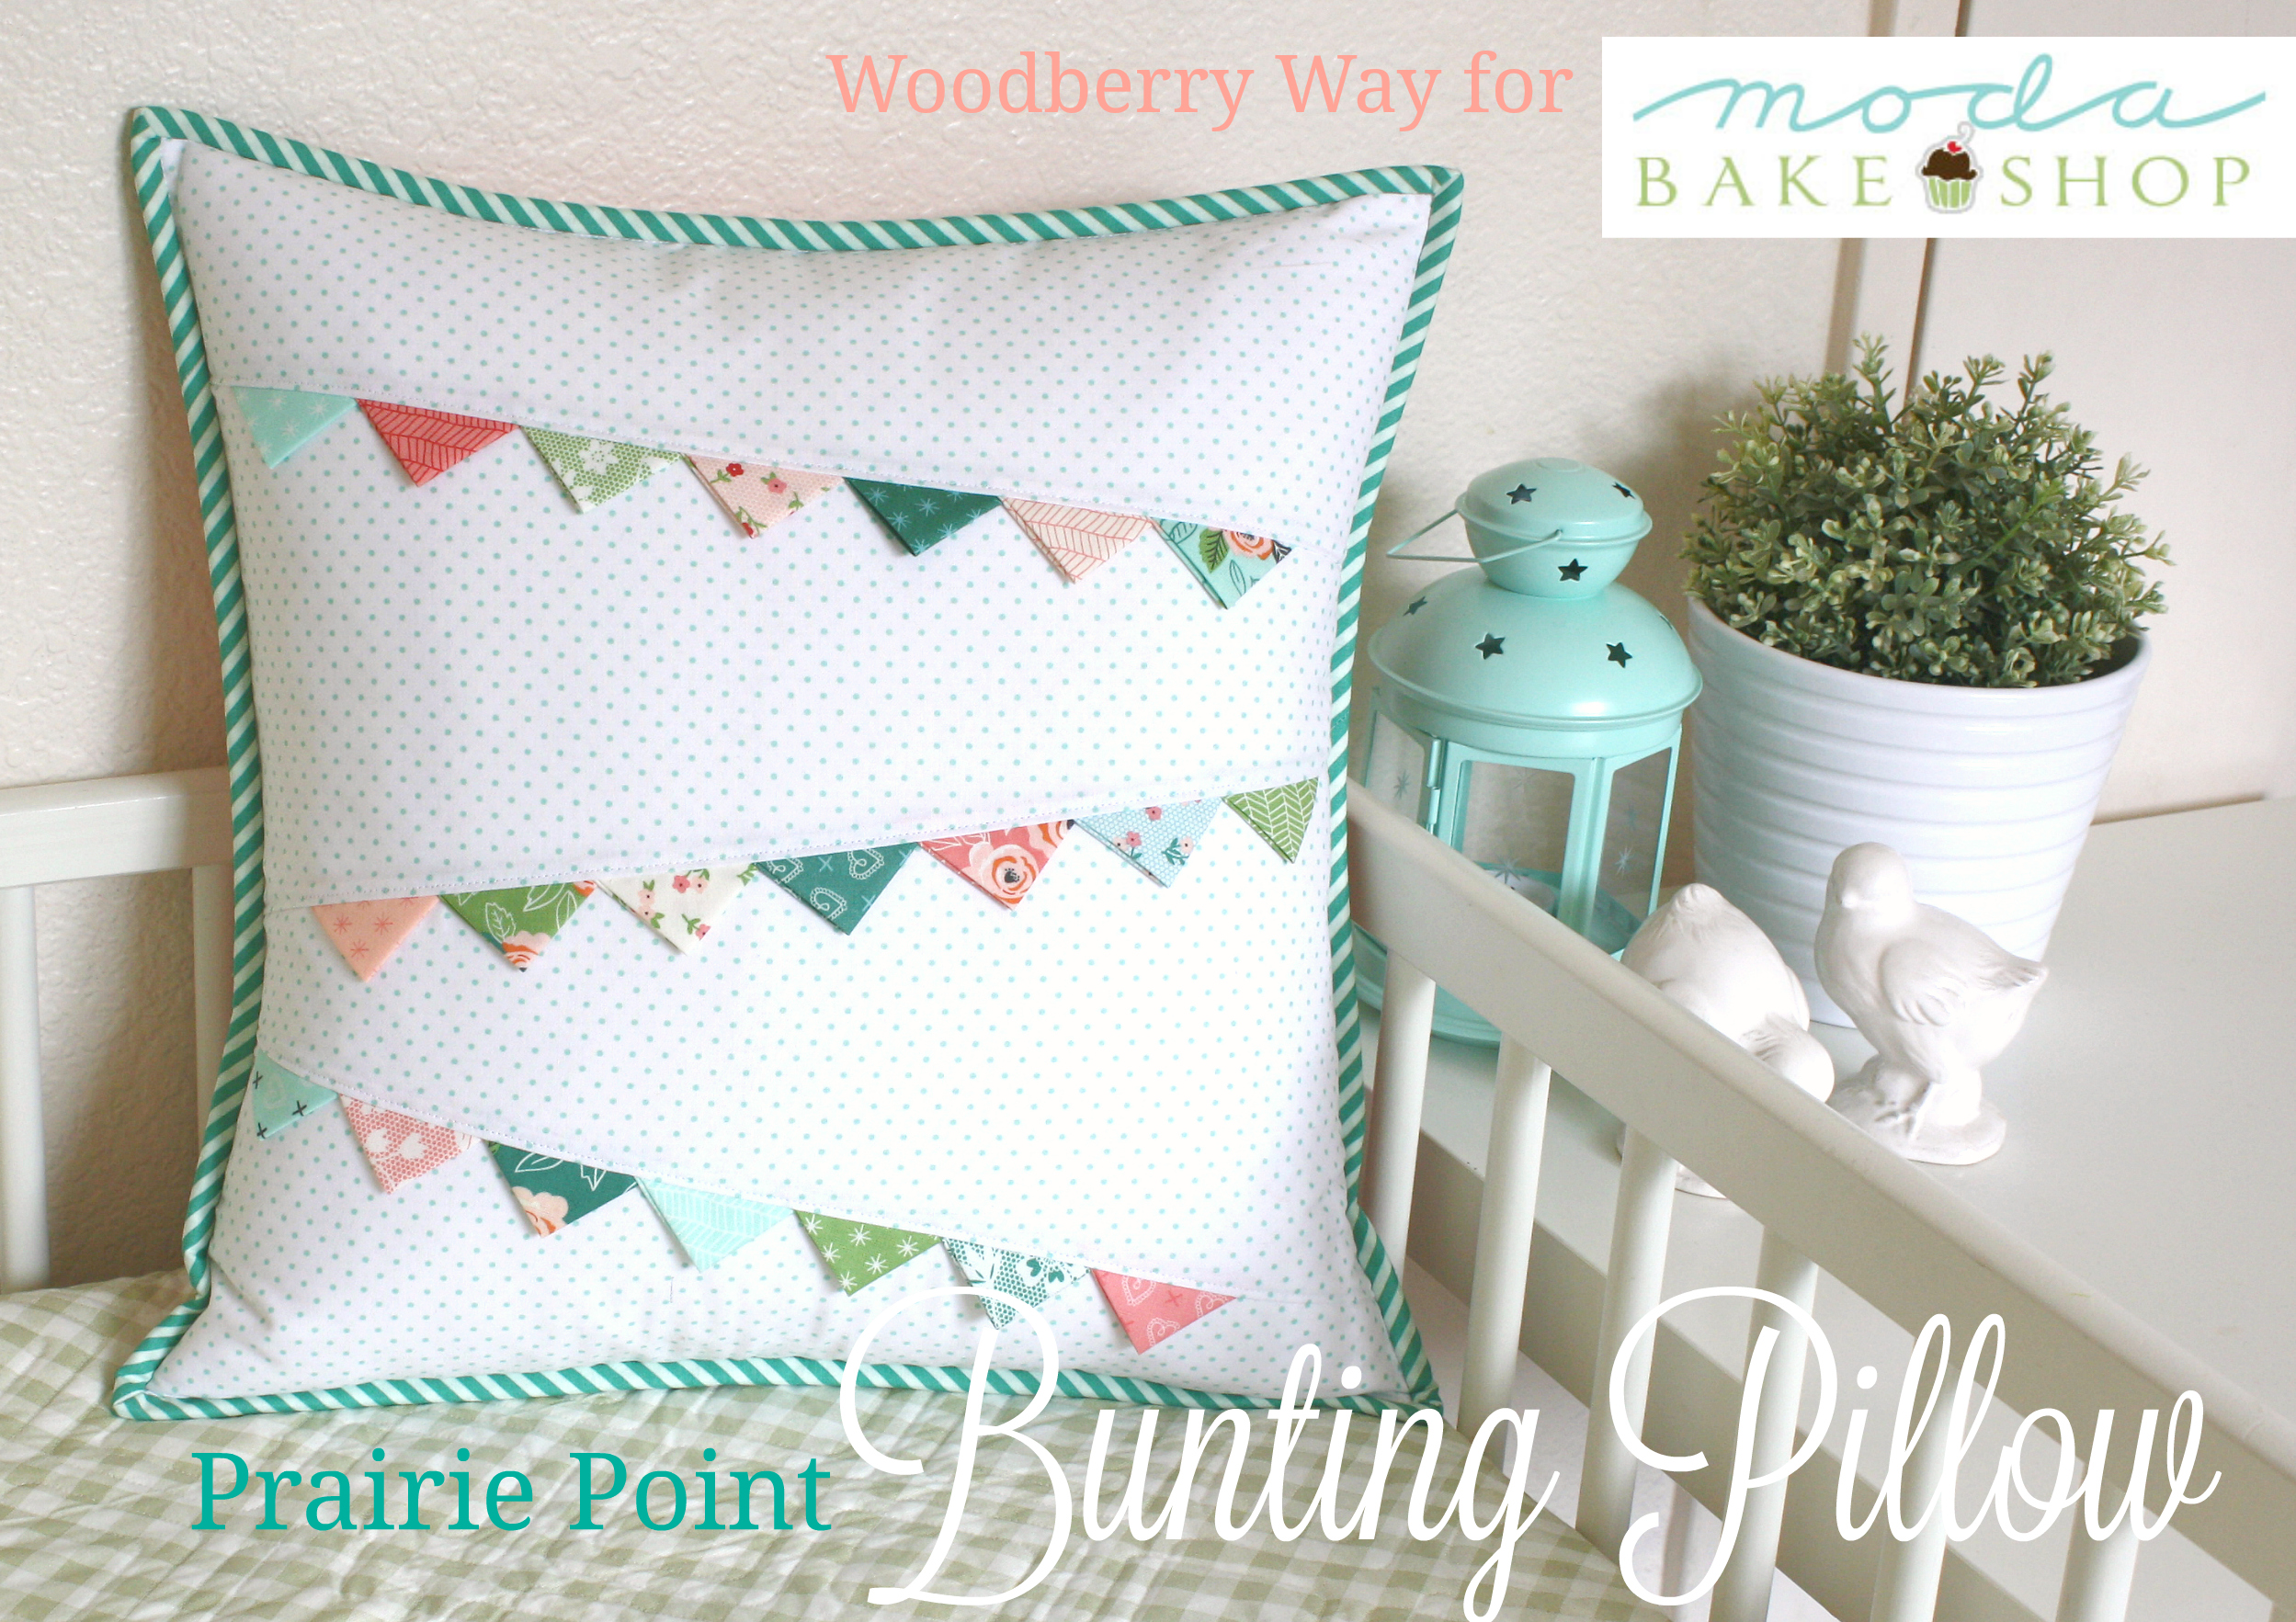

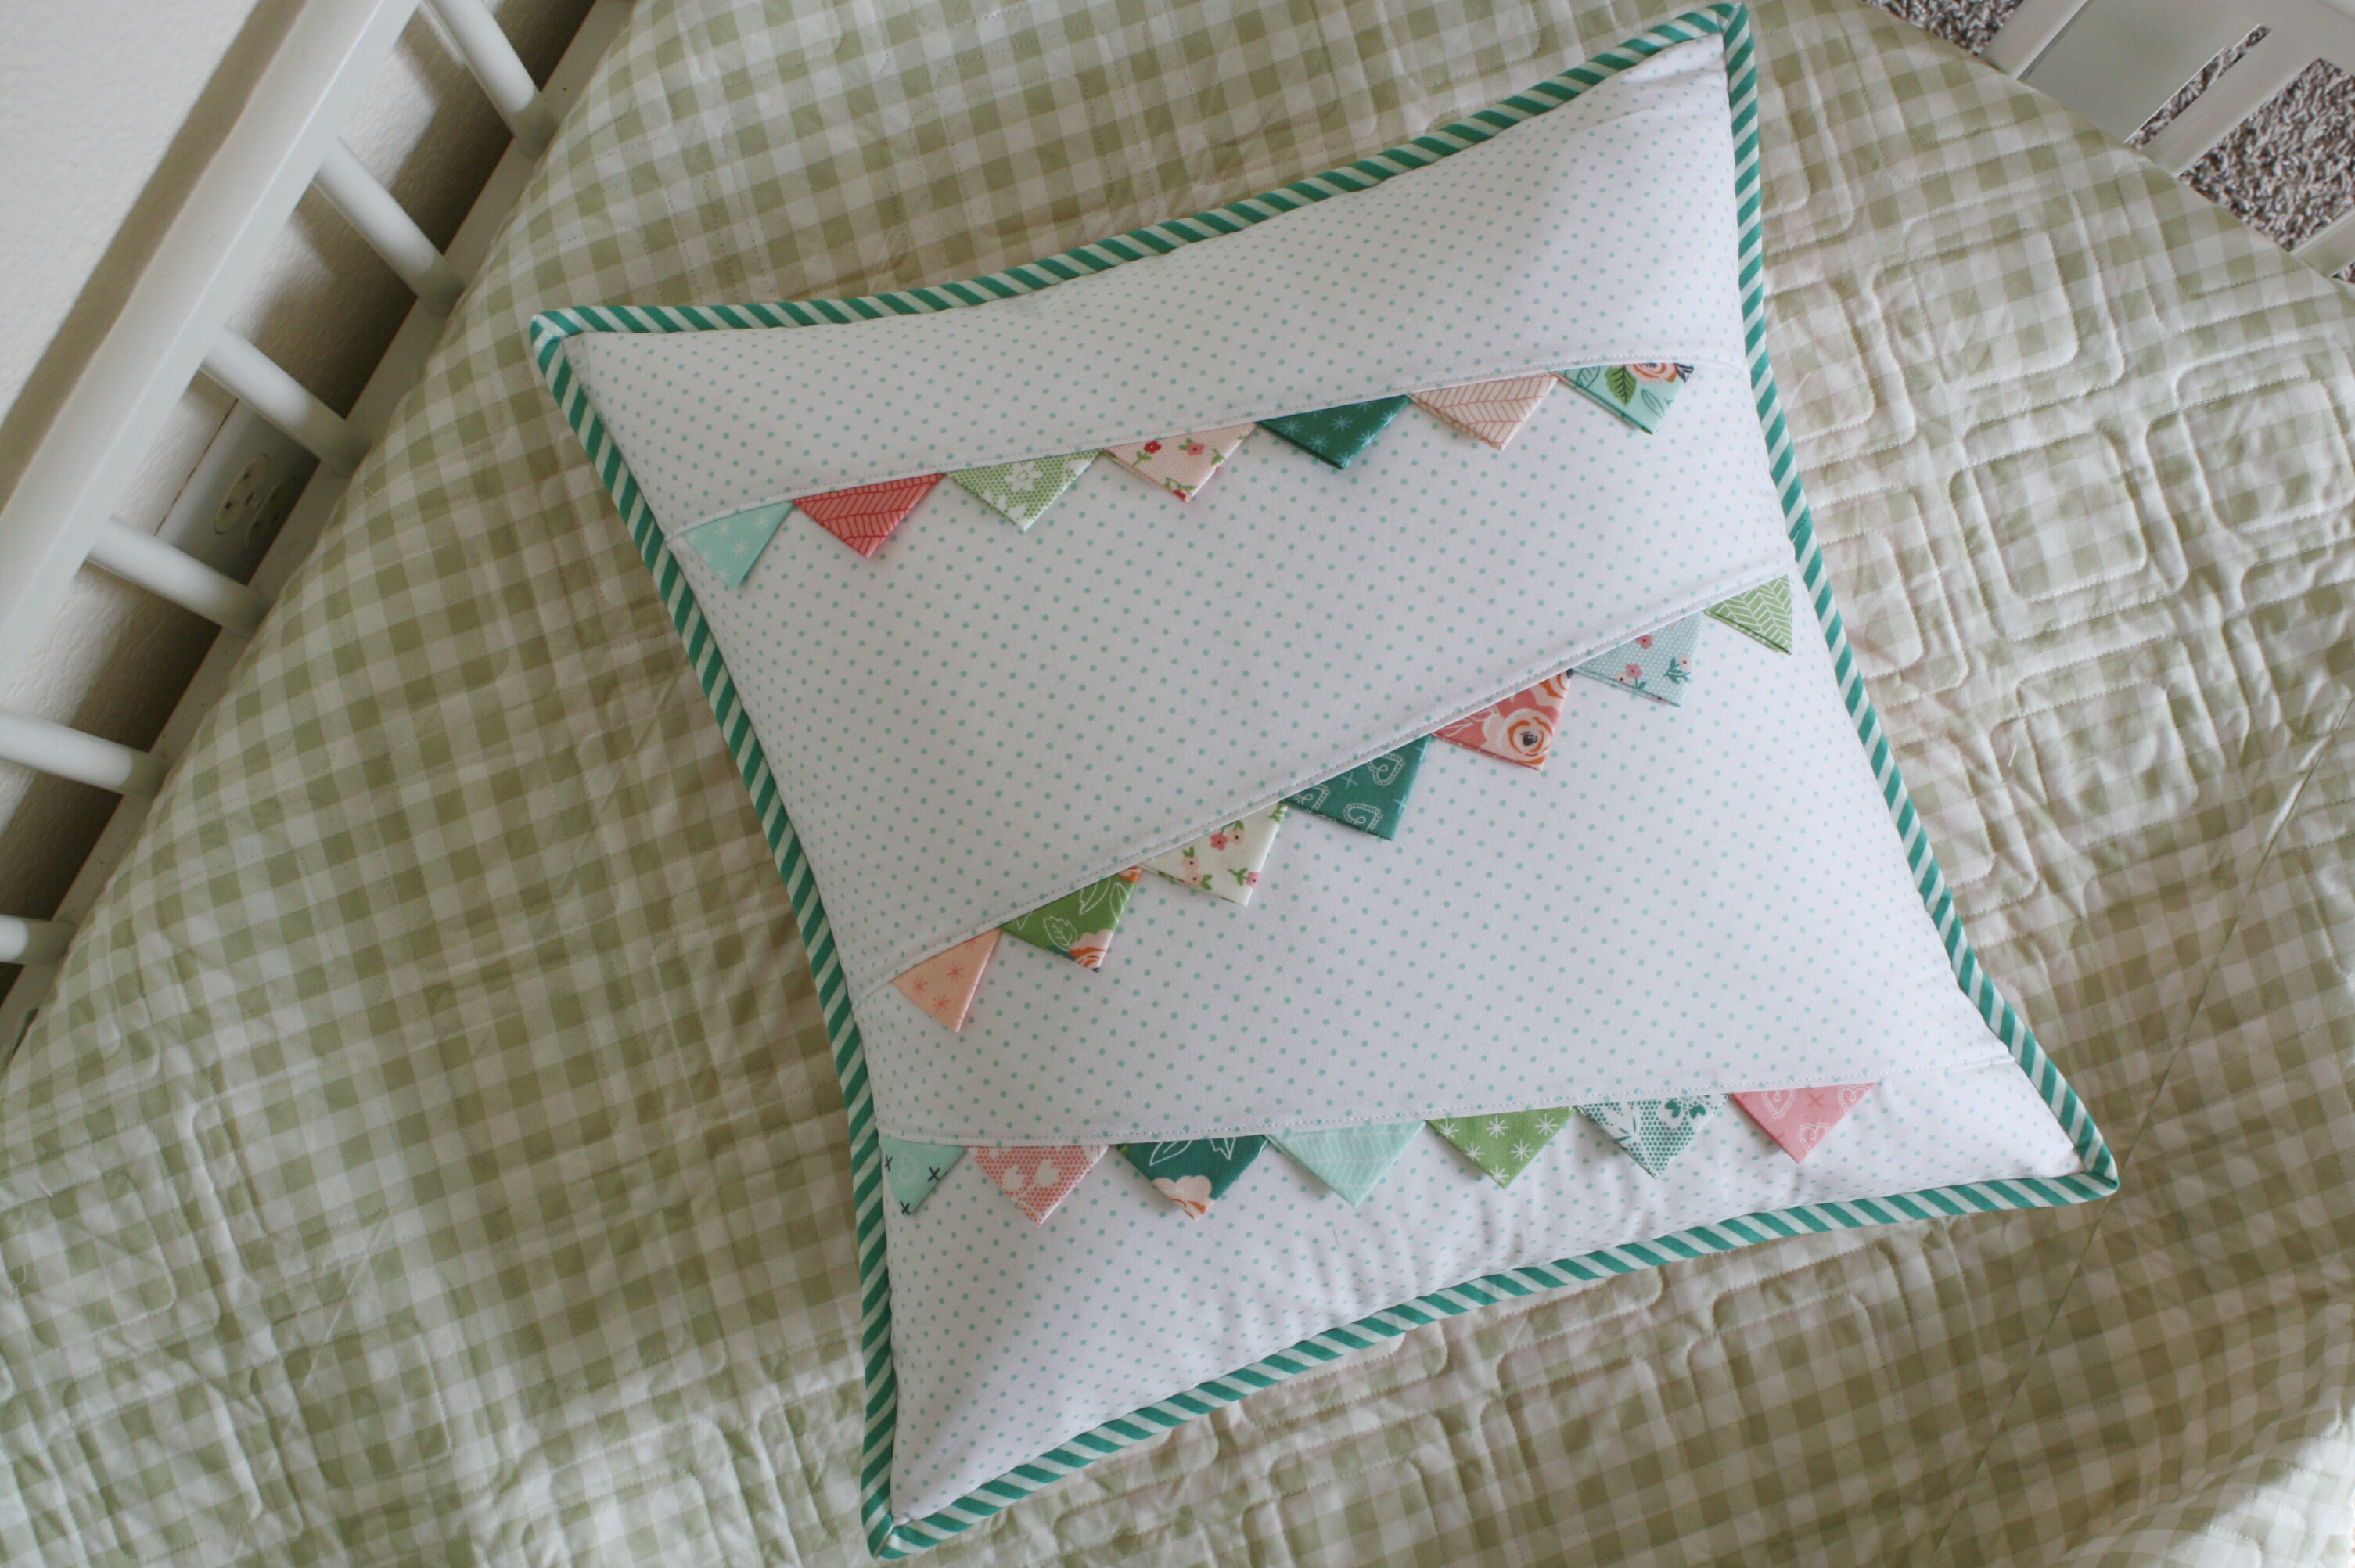
Hello! I'm Allison at Woodberry Way and I'm so excited to be back in the Moda Bake Shop today. I'm sharing a playful pillow cover tutorial with Mini Charms made into prairie points for bunting flags. If you've never made prairie points before, you're going to love it. They add a really fun tactile element to projects, and I'm kind of obsessed with them!
This pillow cover finishes at 17.5" square.
![]()
1 Mini Charm Pack {Sugar Pie by Lella Boutique}
2 Fat Quarters
5" x WOF binding fabric
2 20" squares of batting
18-22" zipper
![]()
Choose half of the prints from your Mini Charm Pack (21) that you want to use for this project. Or, use the whole pack and split them into two piles for two coordinating pillows! I took out the pink/blue/green colorway and omitted some of the other colors. Arrange them into 3 rows of 7 in the order you want your bunting "flags".
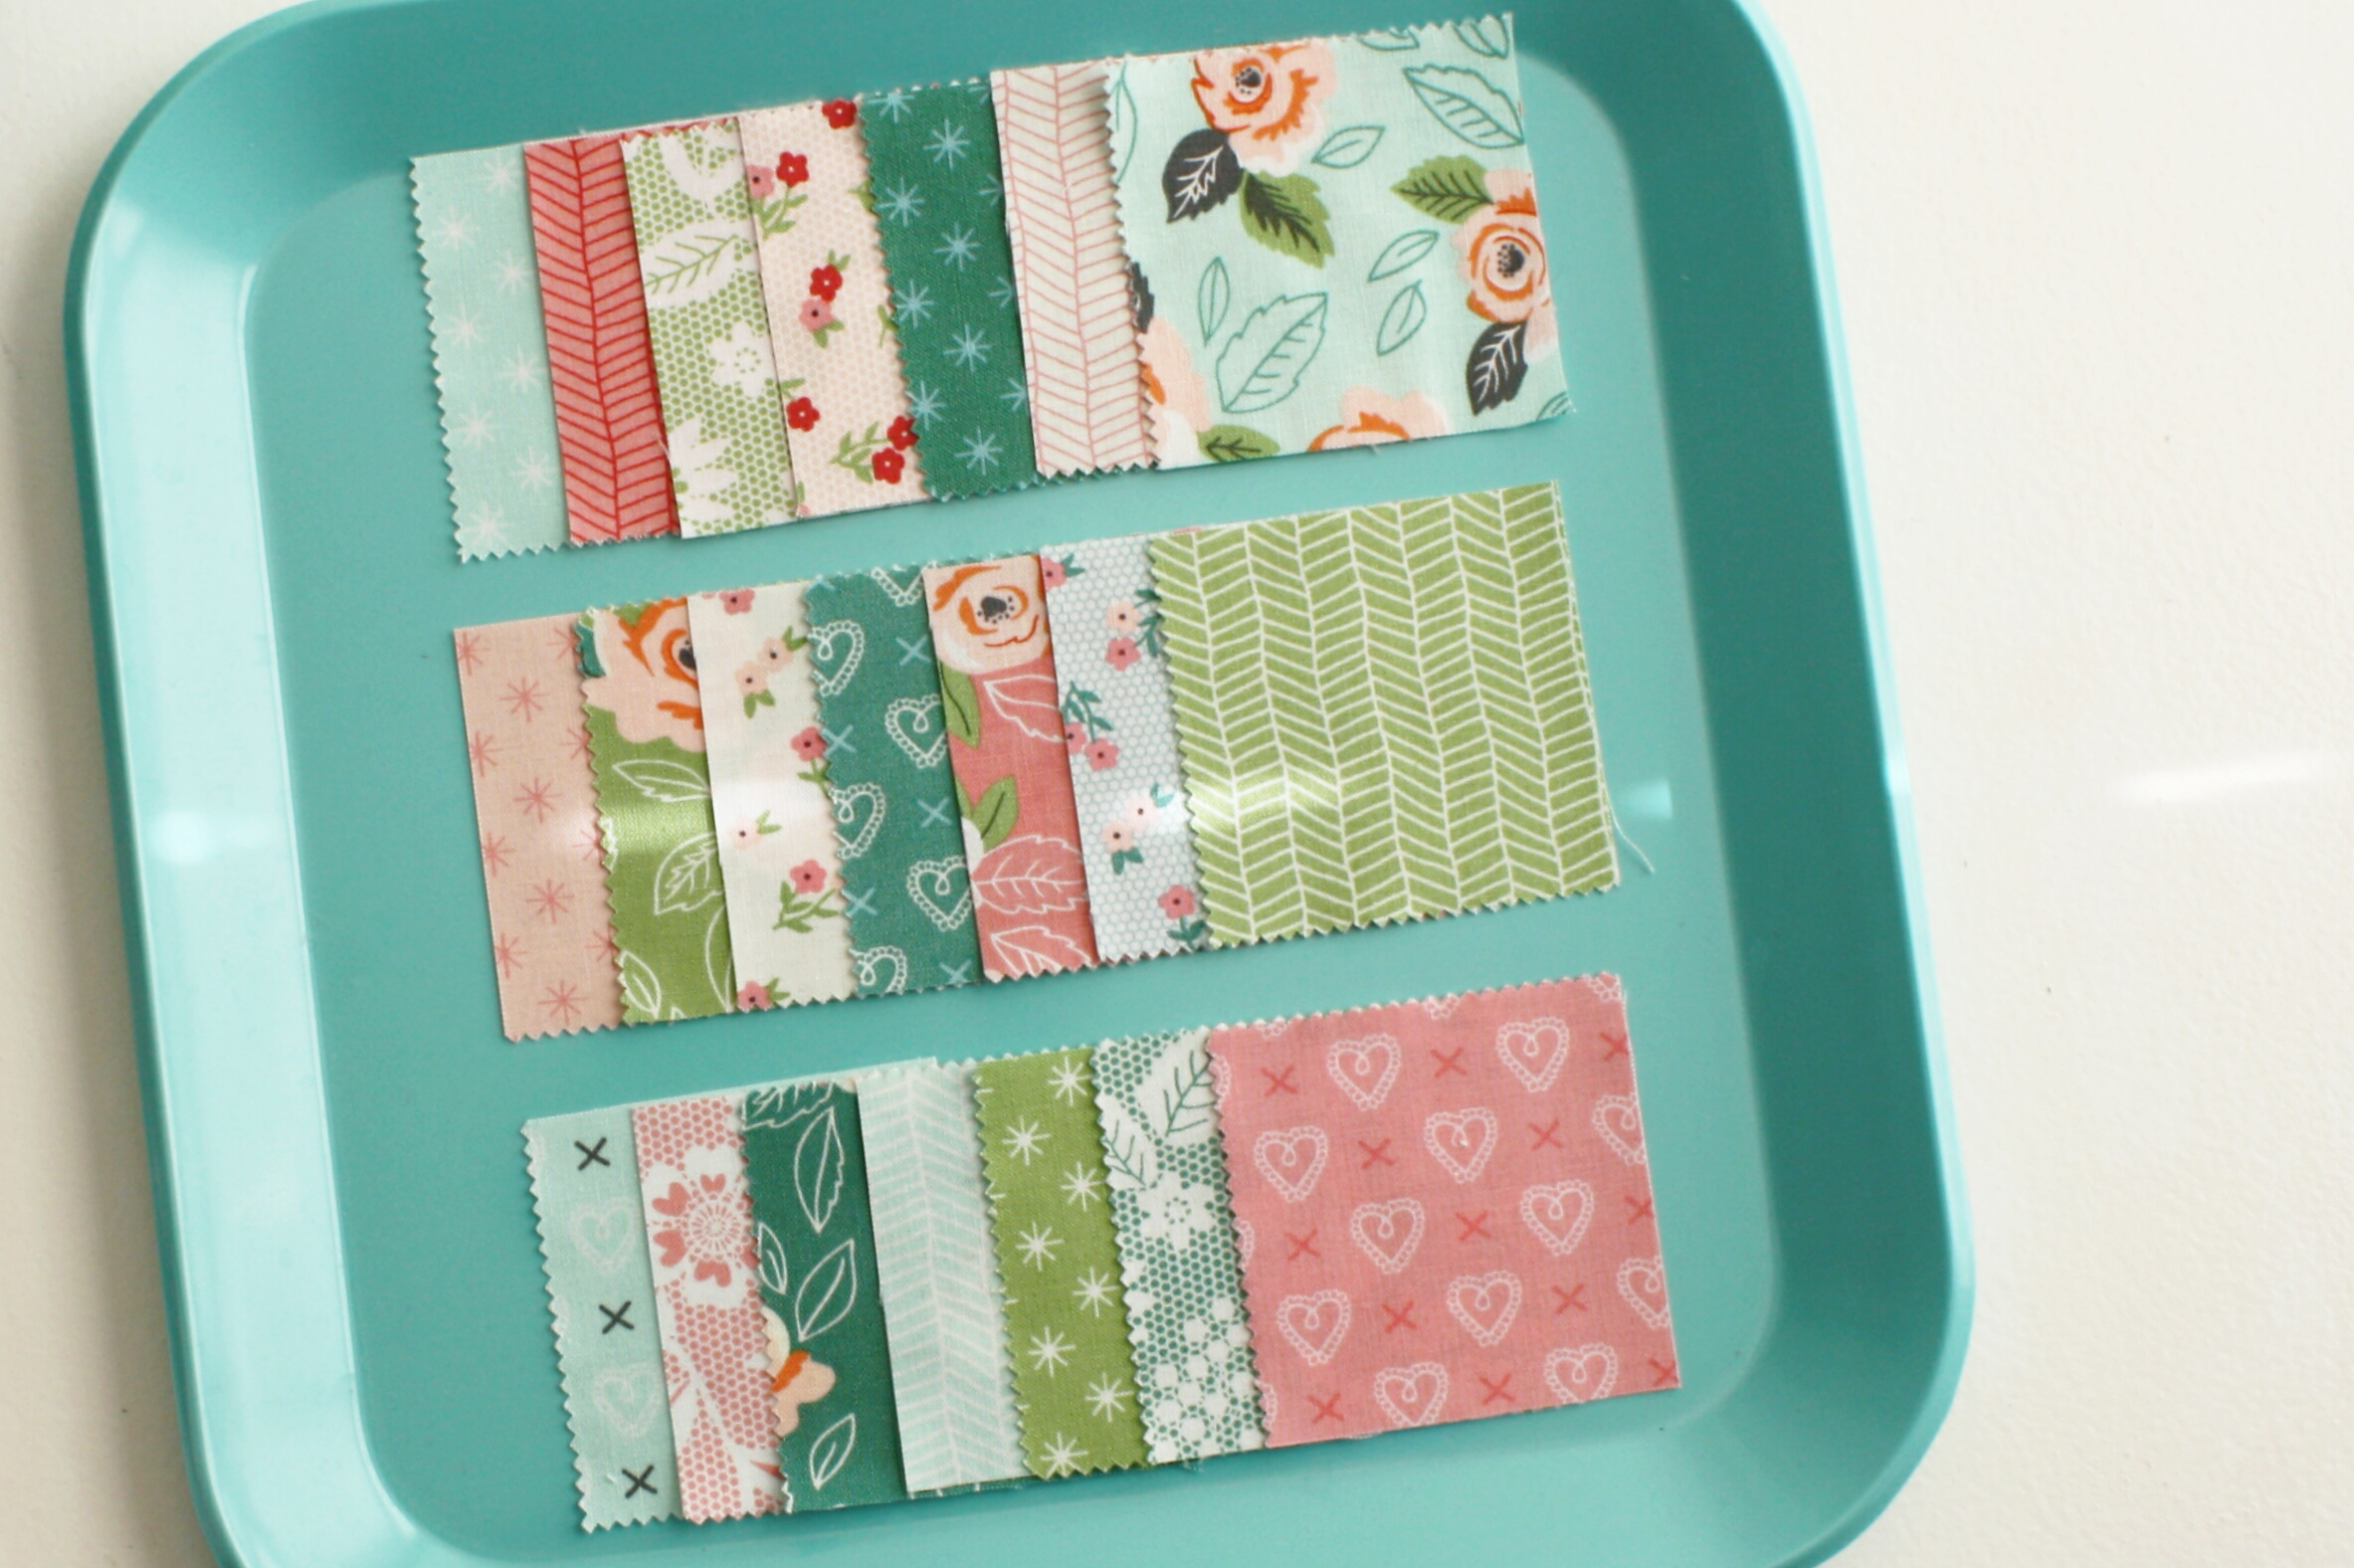
To make a prairie point, press in half diagonally (corner to corner), and then again. Do this for each print.

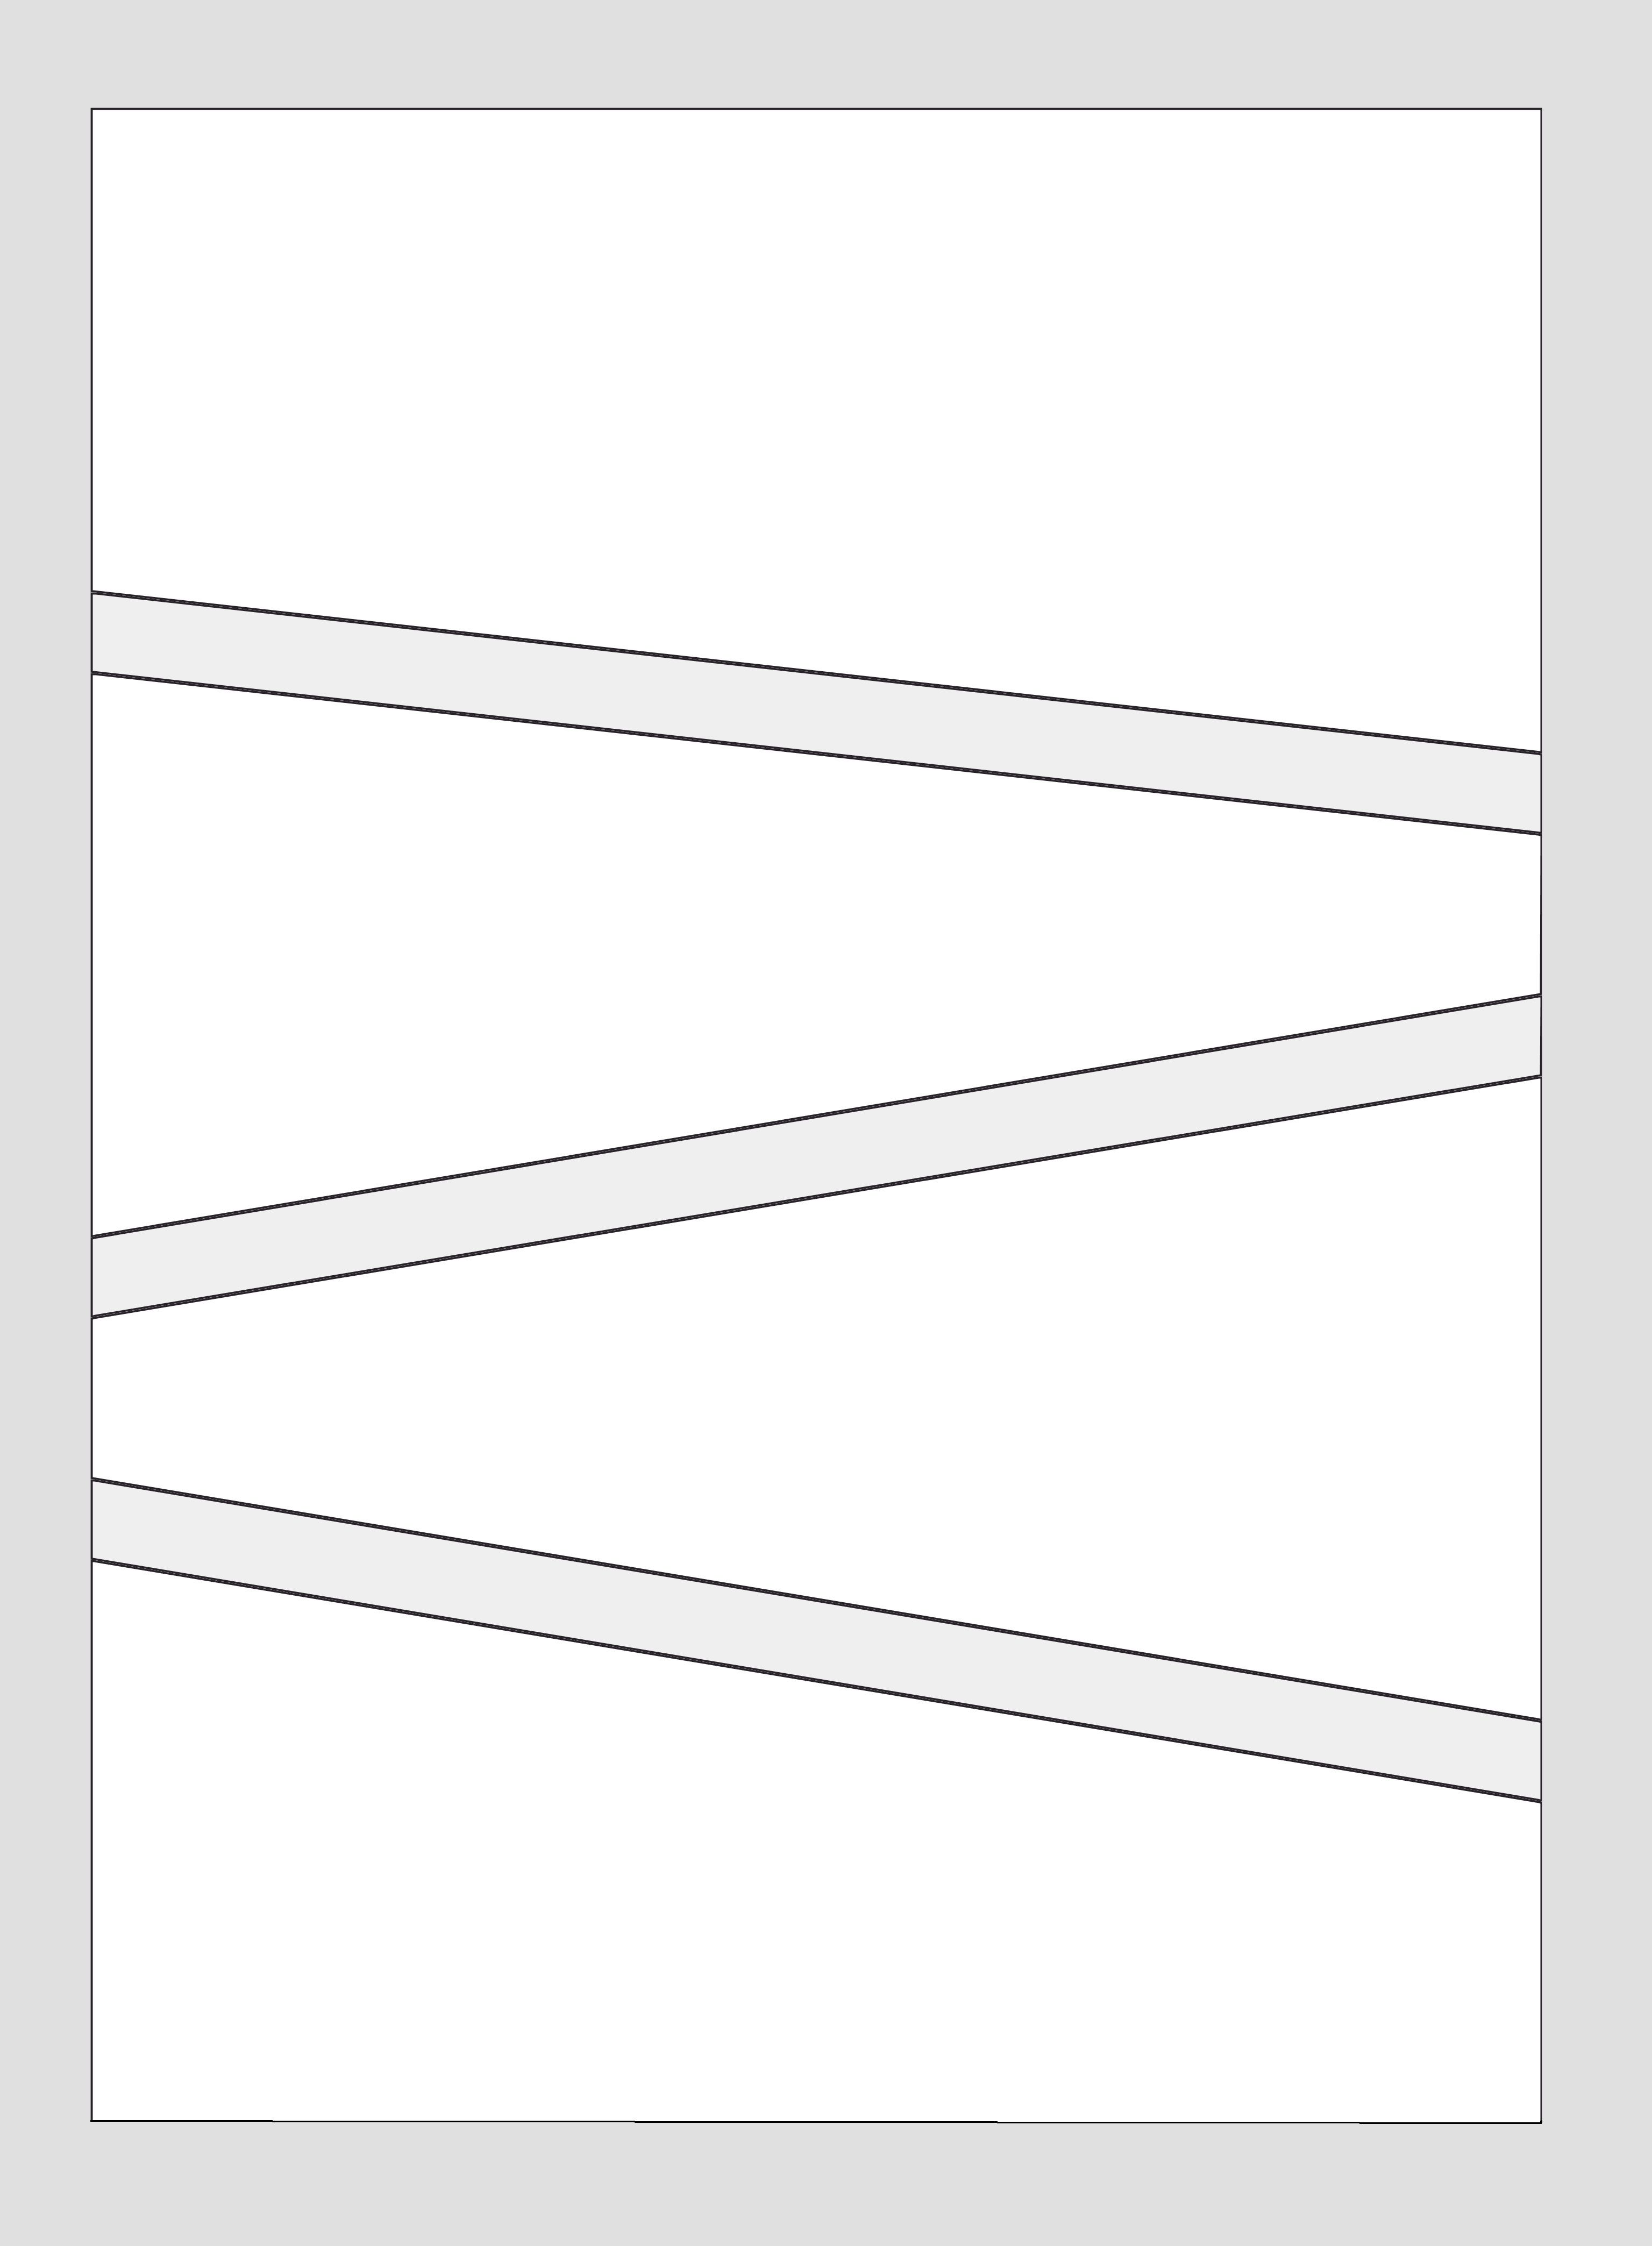
Using the fat quarter for the front, placed vertically, cut three diagonal lines at alternating angles. This isn't an exact science, you may use your own judgement and creativity. For mine, the cut marks for the left side were (from the top) at about 6", 13.5", and 15.5". The right side cut marks (from the top) were at about 8", 10.5", and 19".
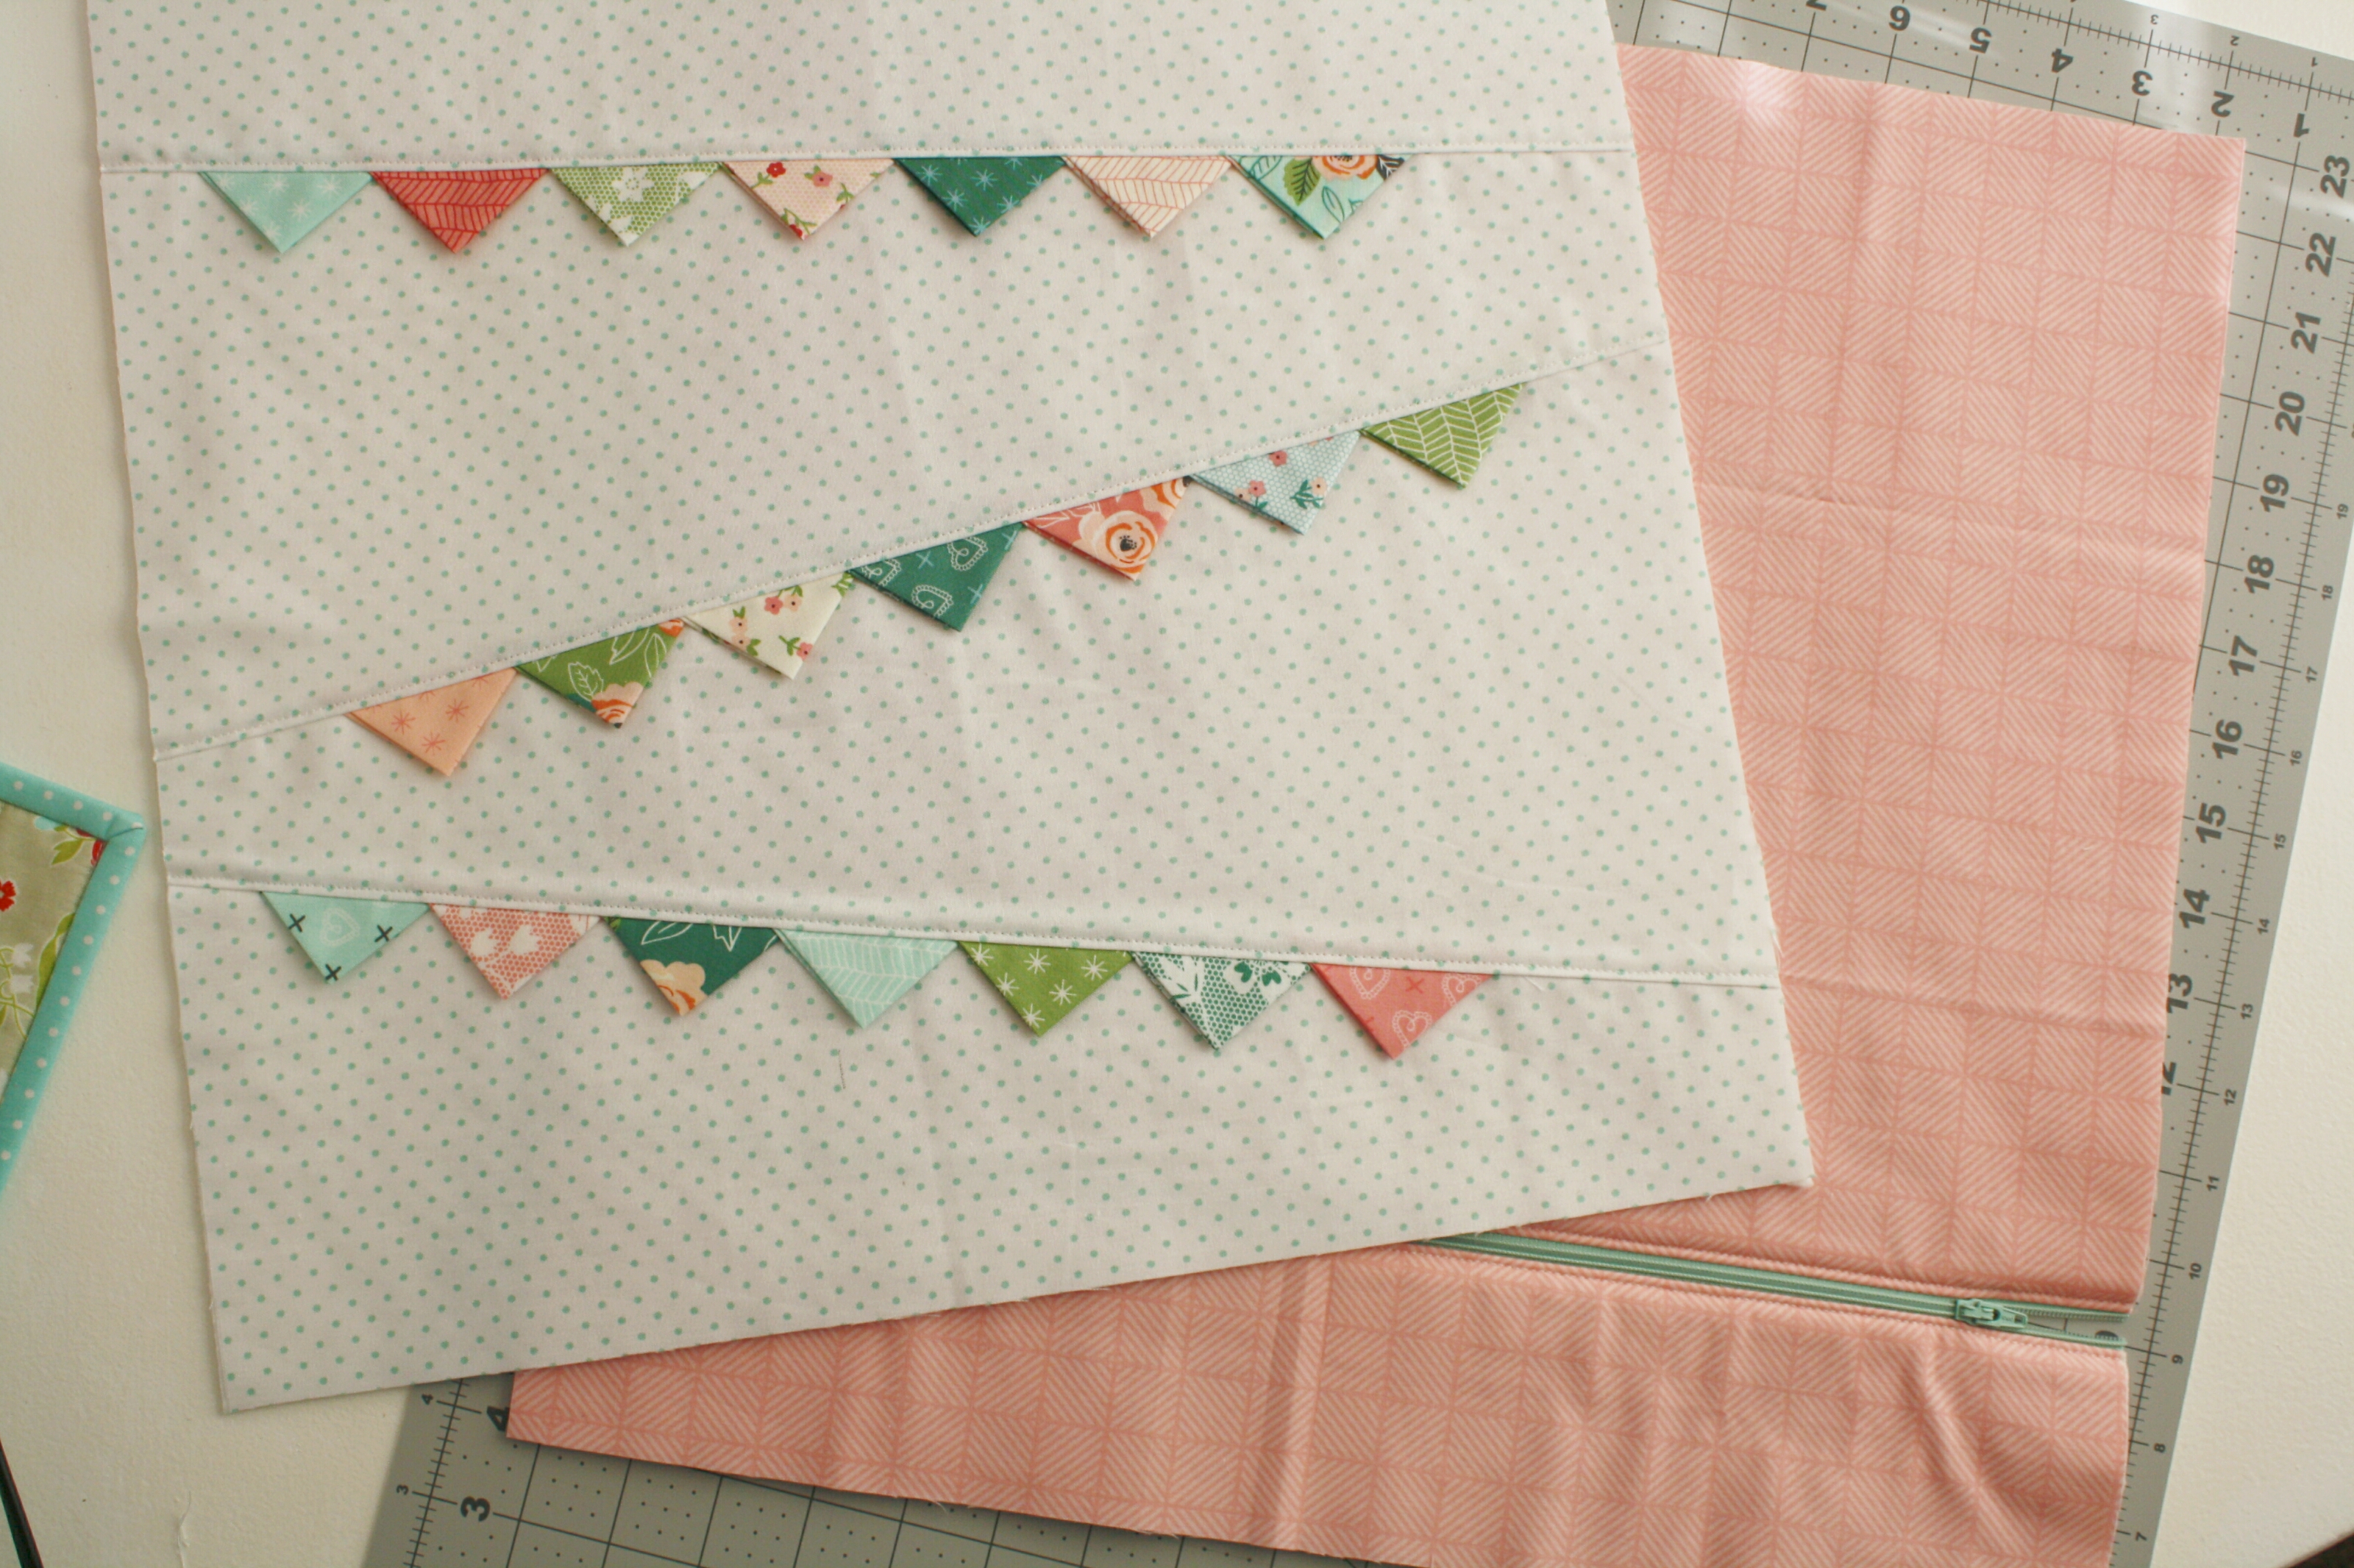
On the top edge of the 2nd, 3rd, and 4th background wedges, sew prairie points with the raw edges out, with a 1/8″ seam, at a very long stitch length or basting stitch (I used a 4.5). Overlap each one about 3/8”, lifting the presser foot in between to position each one. I sew them "open side" first, but you could do it either way.


Next, sew the 4 wedges together at a normal stitch length, and press with all seams toward the top of the pillow. Trim to 18" square, centering your bunting rows.

Baste to one of your batting squares, and quilt as desired. I kept it really simple with straight lines 1/8" above the seams for a few reasons. I like the simplicity, my free motion foot is currently busted, but I also do it to reinforce the prairie points. Let's say someone held the pillow by one little point and swung it around and flung it across the room. That would never happen at my house :) You could do some really fun custom quilting here! Trim again to 18".

Spray baste your backing FQ to the other piece of batting. Now it's time to insert the zipper. My friend Sterling just did a great zipper tutorial for the Bake Shop here that includes an awesome flap trick. I also have one on my blog if you want to put one in the bottom and omit binding.
If you want to do it just like this pillow, simply make a cut about 4" from the bottom, sew the zipper in between the two sides of the cut with a walking foot. Top stitch at 1/8" and trim to 18" square again, but don't cut off the zipper pull!

Using a walking foot, sew the front and back pillow pieces, wrong sides together, at a very scant seam allowance and normal stitch length, going slowly over the zippered bits. I back stitch (slowly!) a couple of times over those spots to give the zipper strong anchored sides. Trim up the edges one more time so that your binding has a super clean edge.

Cut binding fabric to 2 2.5" strips. Sew strips together and press in half lengthwise. Attach binding to the outside of the pillow as you would a quilt. I always machine bind pillows since, like I said, there is a lot of pillow abuse at my house, but I sure appreciate the beauty of a hand bind!

![]()
This pillow finishes at 17.5" square. It works well with a 20" down insert. I get mine for $6 at IKEA!
I really hope you have fun with this pillow. If you make one be sure to tag me on Instagram @woodberry_way, I would love to see. Thanks for stopping by the Bake Shop today!
Allison Jensen
{woodberryway.com}
![]()
Posted in:
Comments