Welcome to Moda Fabrics!
Charm Pack Yoga Bag
Charm Pack Yoga Bag
Published:
May 28 2017 - 23:00

Make this yoga bag with a charm pack for the outside and quilting cotton on the inside. Quilt the fabric to reinforce strength, in your desired pattern. This would be a fun way to practice free motion quilting. Catch more tutorials on my blog at hungryhippiesews.com
This project is approx 26" long x diameter of 5 1/2" perfect for a standard yoga mat
![]()
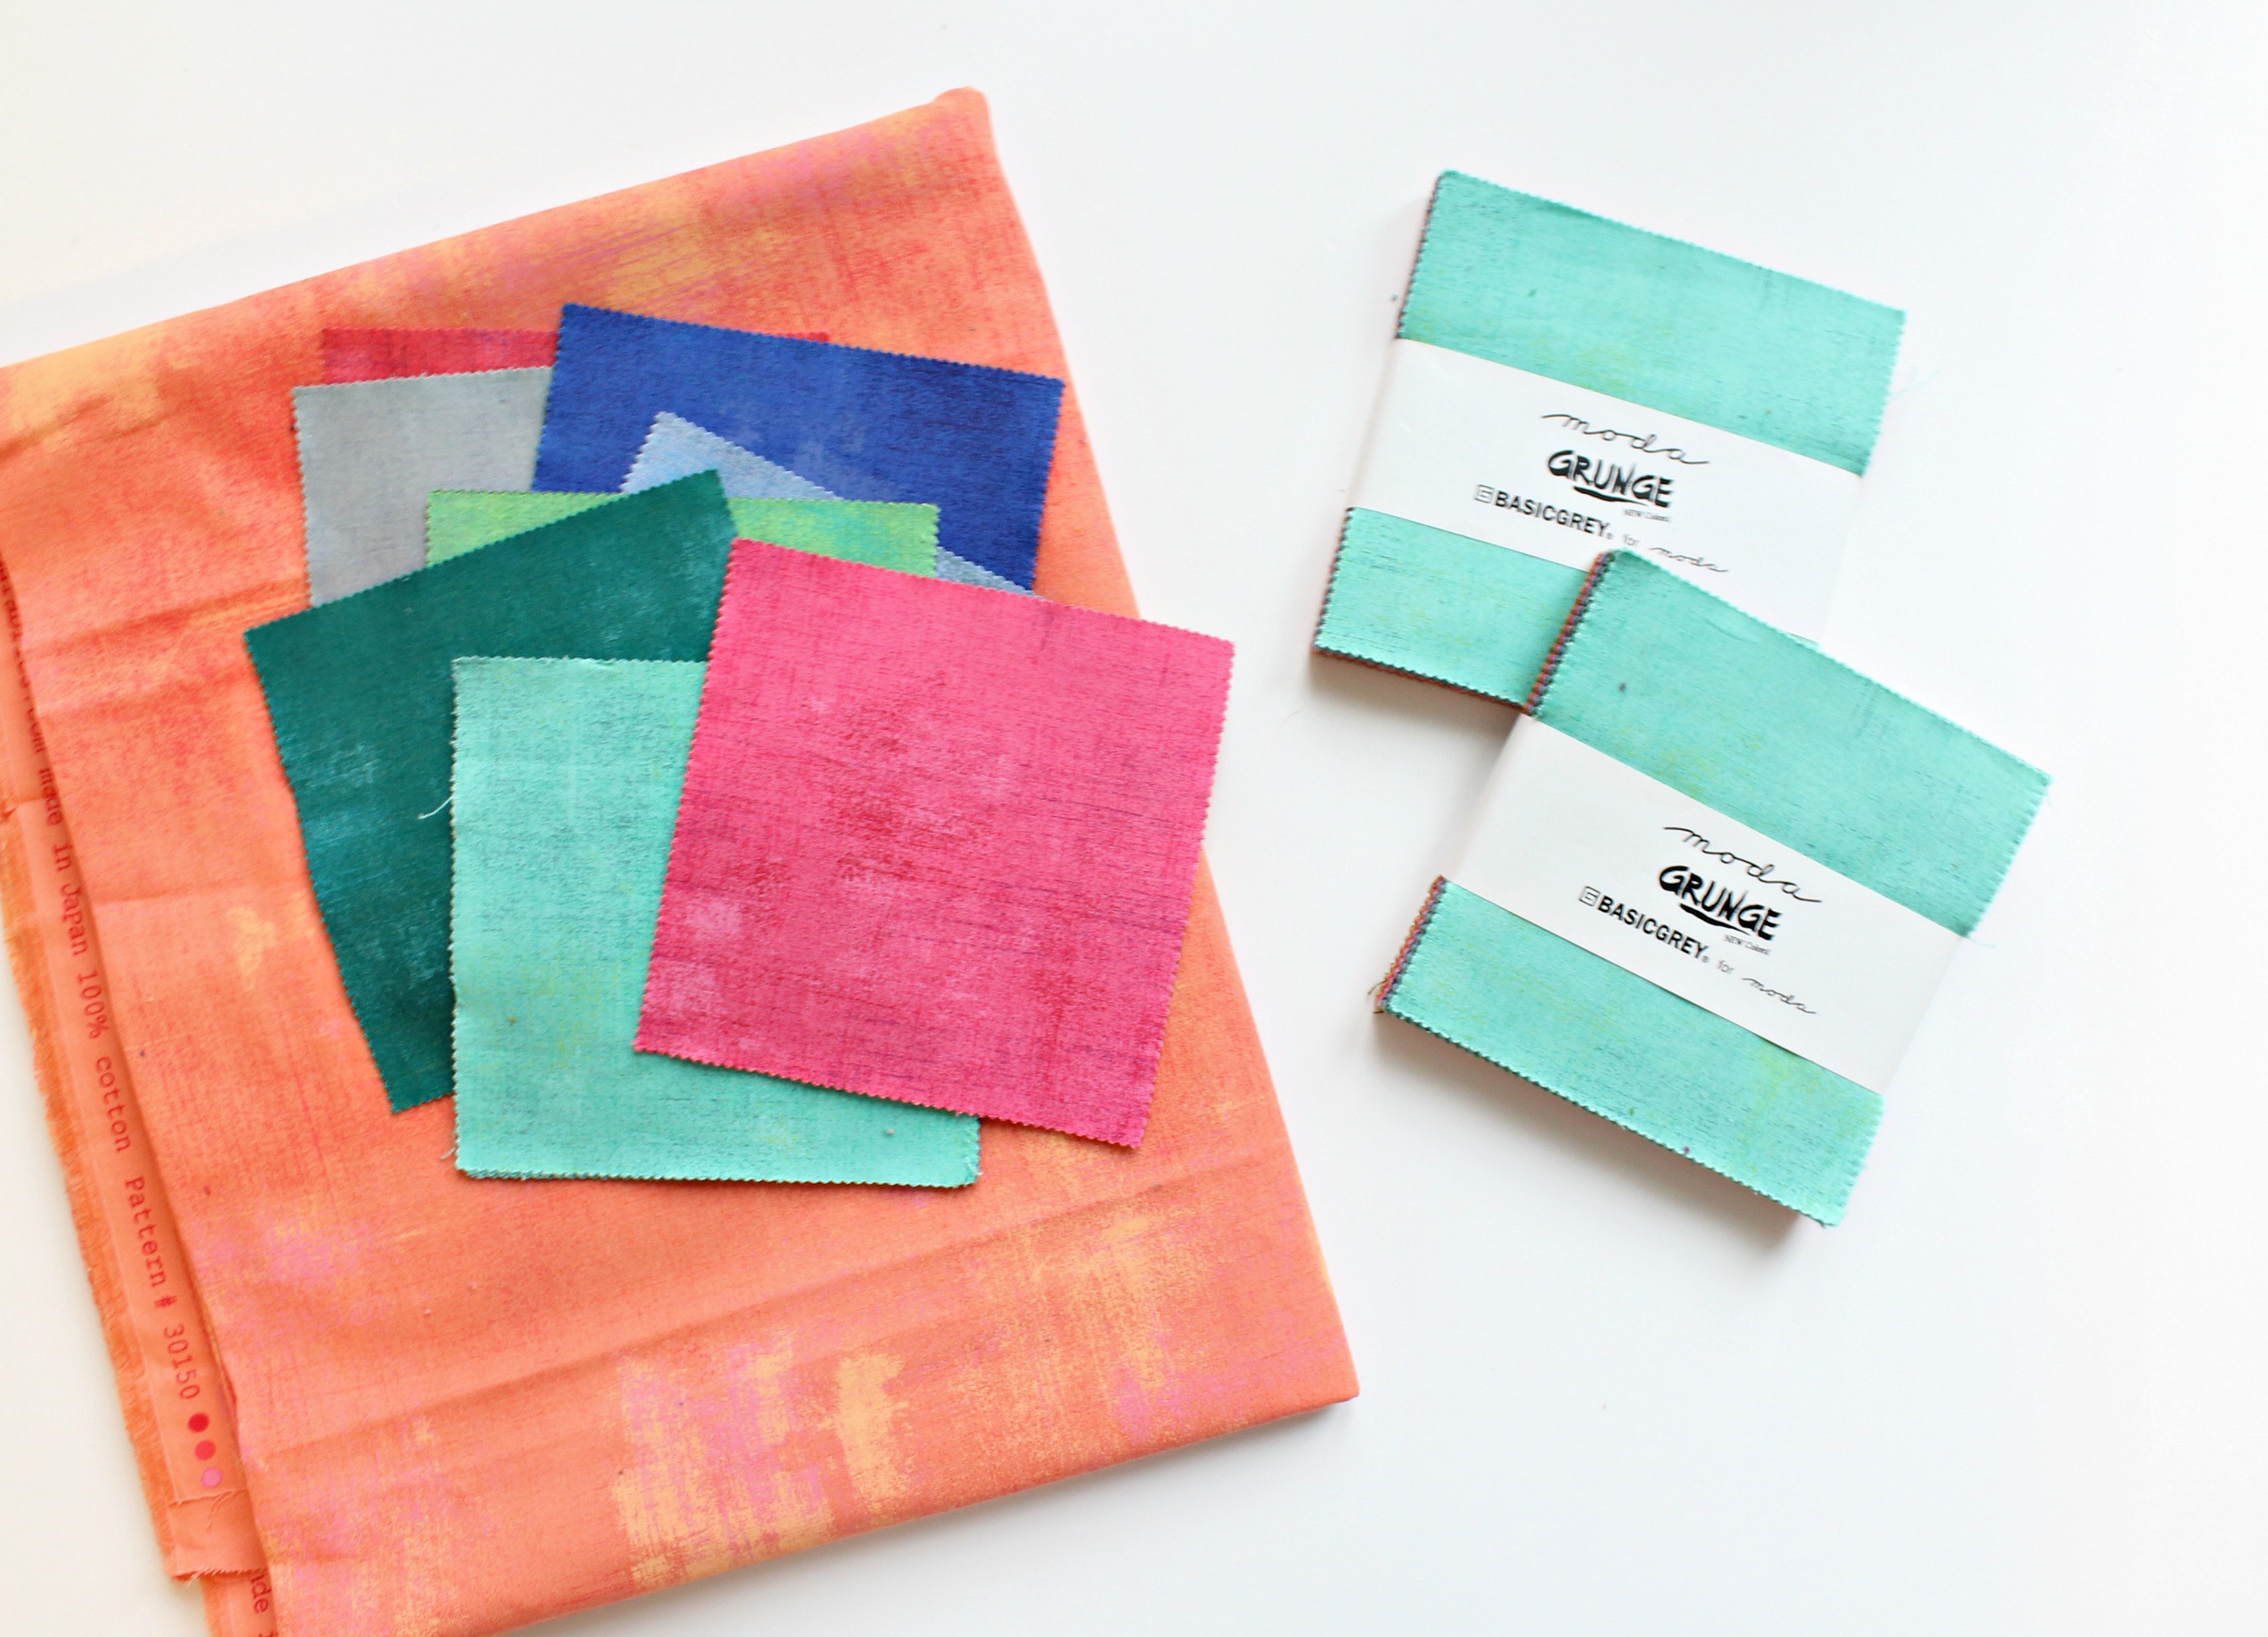
1 charm pack Moda Grunge (If making the lining from charm pack, you'll need two.)
1 yard orange grunge for lining, strap, bottoms, and pocket
2 1 1/4" D rings
SF101 interfacing 19" x 27" and enough for pocket & circle bottom
batting measuring 19" x 27" and enough for circle bottom piece
![]()
- Cut lining piece from Orange grunge at 19" x 27"
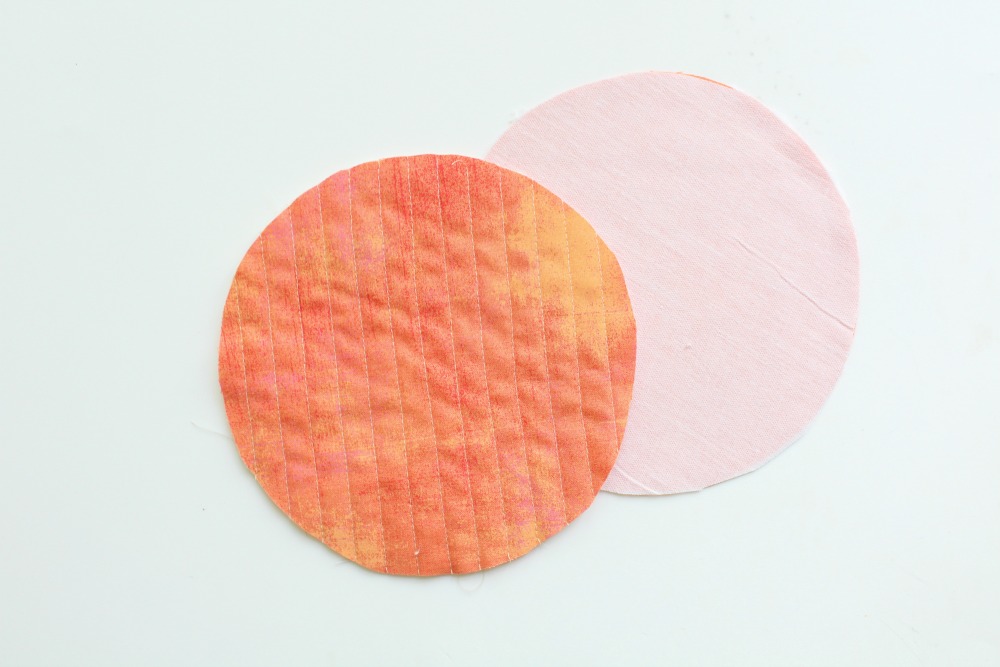
- Cut two circle bottom pieces using the template or draw a 6 1/2 circle template
- Cut strap at 6" x 26"
- Cut one D ring piece (we half it later) at 6" x 6"
- Sew charm squares together in rows of four, pressing seams open.
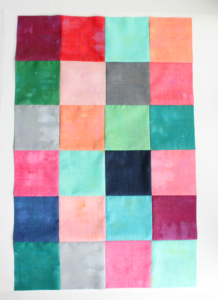
2. Sew six rows of four charms together to make one exterior piece.
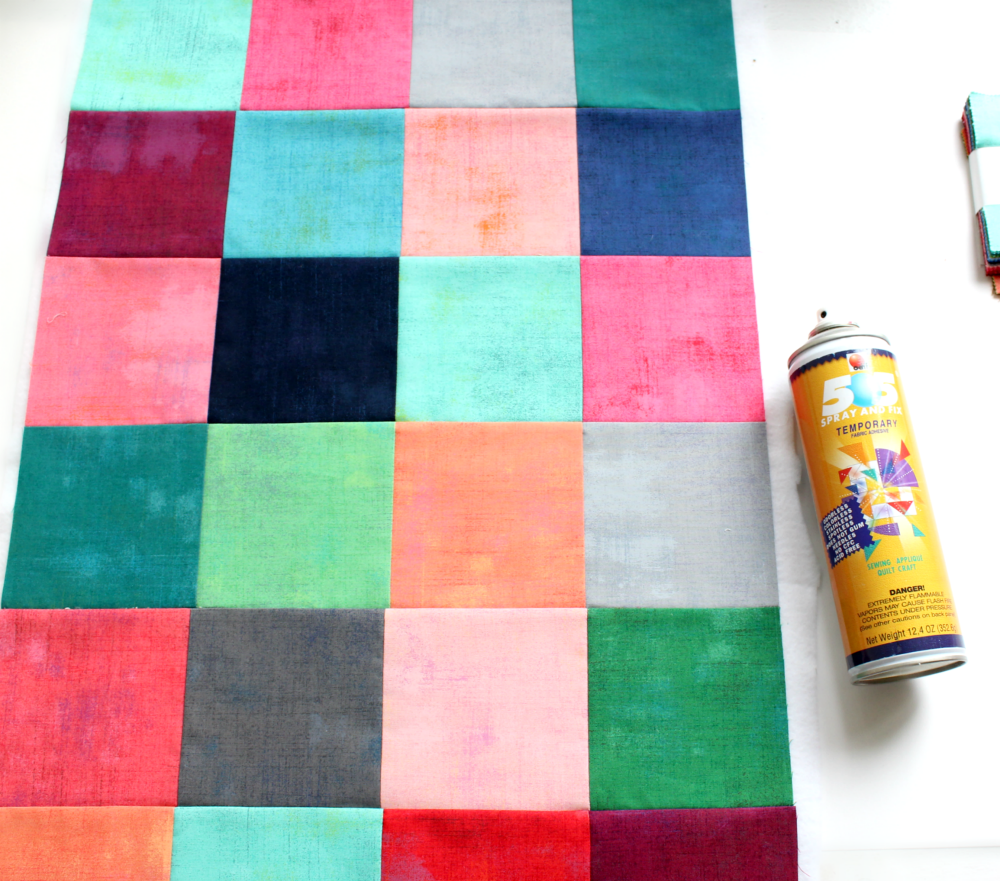
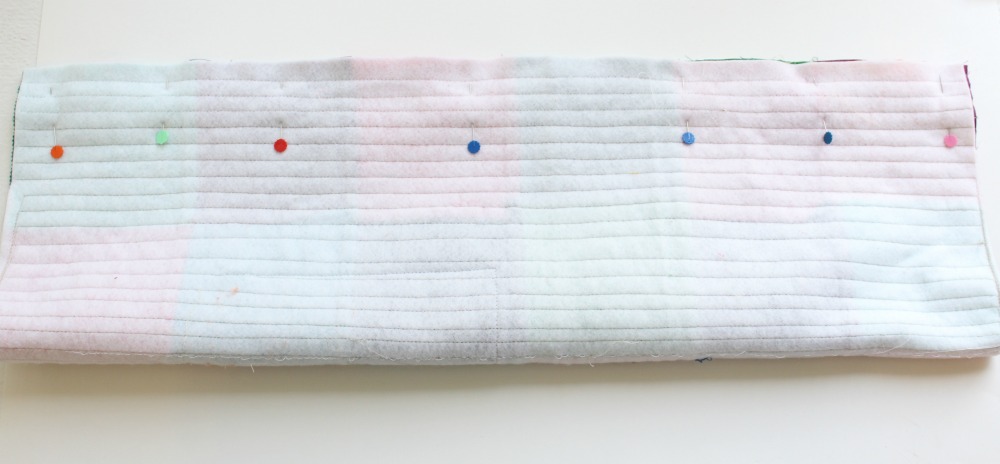
3. Spray baste to quilt batting and quilt as desired. I did straight lines using the sewing machine foot as my guide.

4. Trim 1/4" off each long side.
5. Prepare circle bottoms by fusing SF101 to the wrong side of lining bottom, and batting to wrong side of exterior bottom. Quilt exterior bottom if desired.
6. Make (optional) pocket. Cut two pieces lining fabric at 6" x 8". Place right sides together and sew around three sides, leaving one short side open for turning.
7. Turn right sides out and press well. Fold top raw edges of pocket in and press, then top stitch.

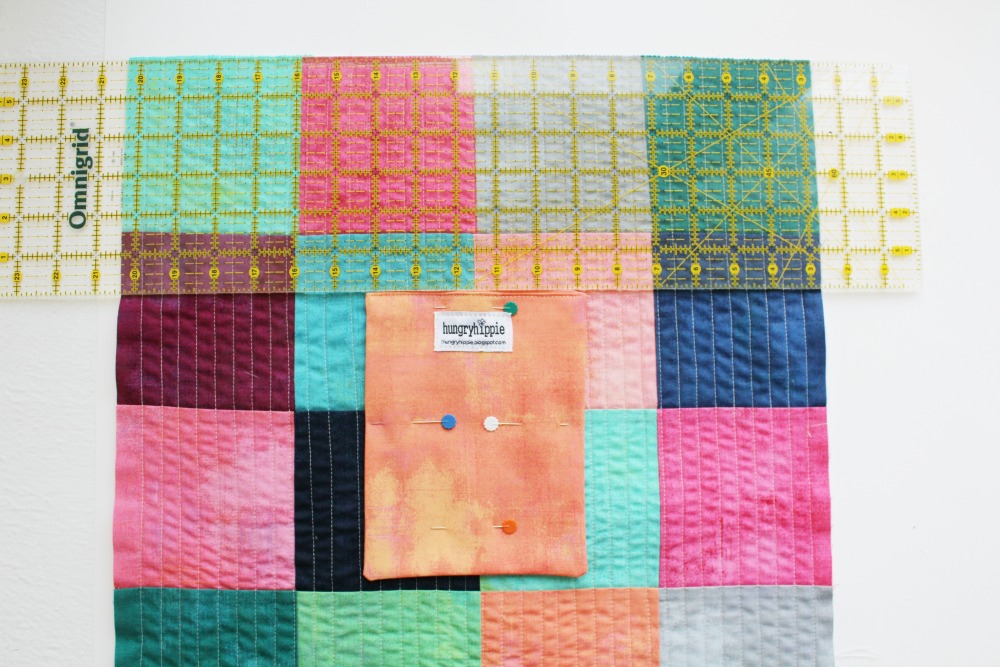
8. Fold bag piece in half to make a crease line at center, and repeat with pocket piece. This makes it easier to center when placing the pocket.
Place pocket 6" down from top raw edge of exterior bag piece and centered (matching crease lines). Stitch in place around sides and bottom, remembering to lock stitch at start and stop.
9. Prepare strap and D ring attachments by fusing SF101 to wrong sides.

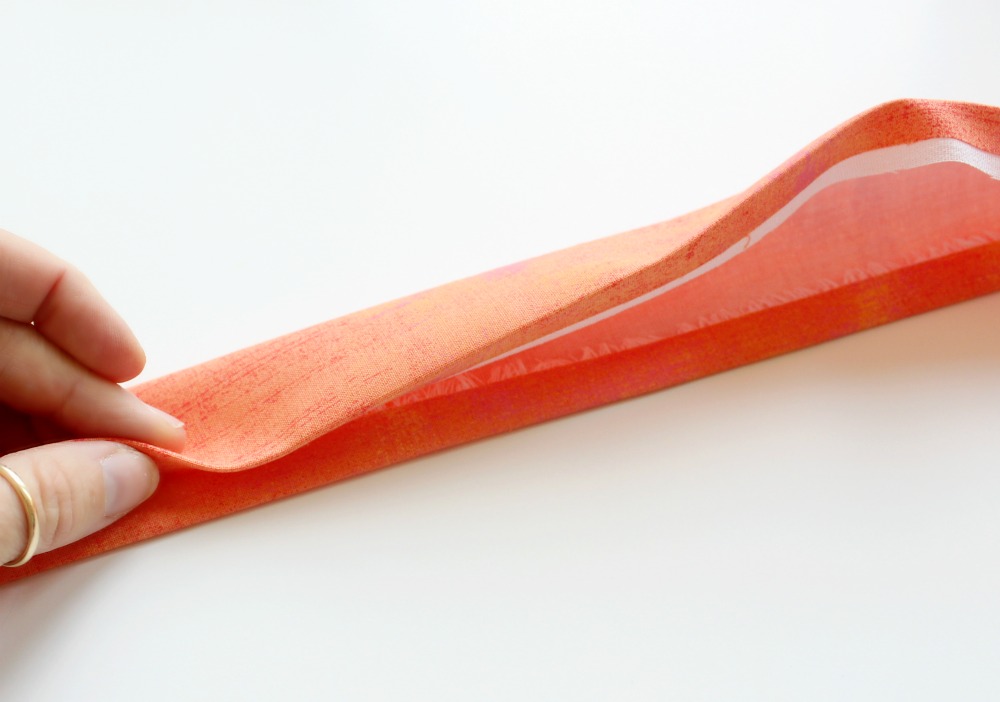
10. Bring long edges in to the middle to meet, and press. Fold again so all raw edges are tucked inside. This is like making double fold tape.
Stitch along each long edge closing the open side as it is stitched. Press well and trim threads. Repeat for D ring piece.
11. Cut D ring piece (6"x6") in half to make two pieces 3" long each.

12.Place D rings onto exterior bag 1.5" from top raw edge and 1.5" from bottom raw edge on the right side of the bag.
The D ring should be facing towards the left. Stitch or baste the fabric in place. Trim excess.
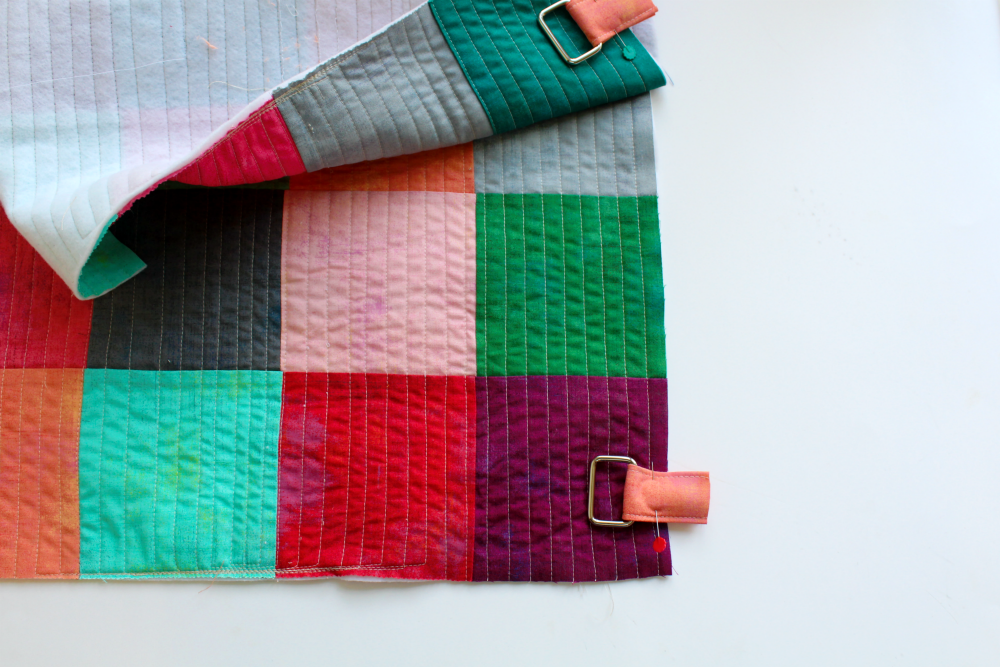
13. Fold exterior body piece right sides together, and pin or wonder clip in place. Stitch along this long edge at 1/2" seam allowance catching D ring fabric at the same time. Stitch again for extra strength.
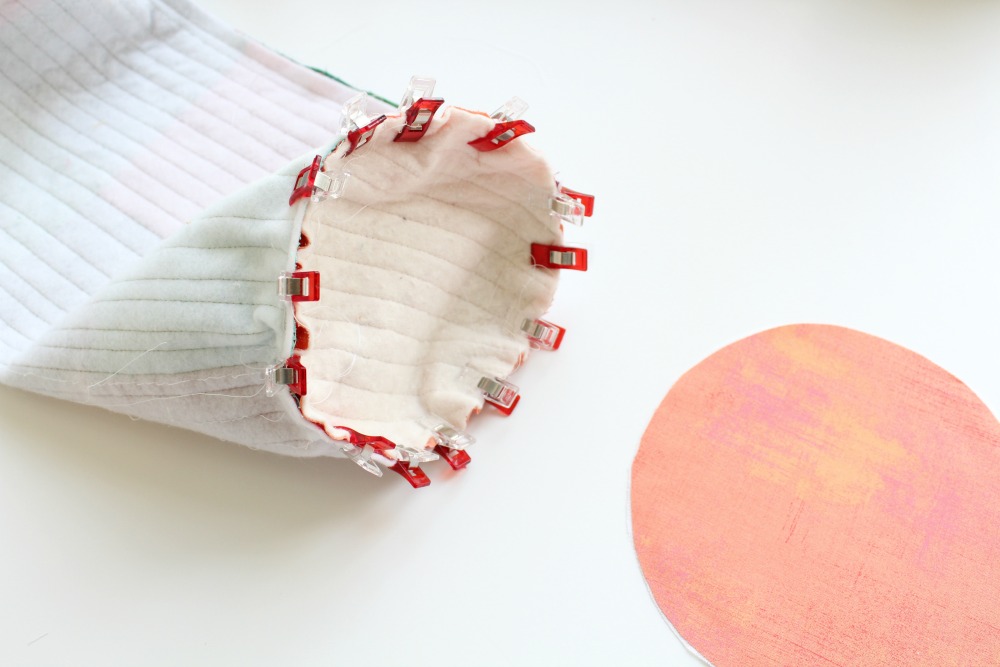
14. Sew lining RST the same as step 13, but leave an opening of 6" in the side for turning right side out later. Get the circle bottom pieces ready to attach, along with pins or wonder clips.

Ease the corresponding bottom piece into the bottom of the bag, starting with the seam and working around one side, then starting back at beginning and working around the other side.
You may have to move things around a couple times to get the best fit. Easing a circle shape into a rectangle does take a bit of practice. Stitch around perimeter with 1/2" seam allowance.
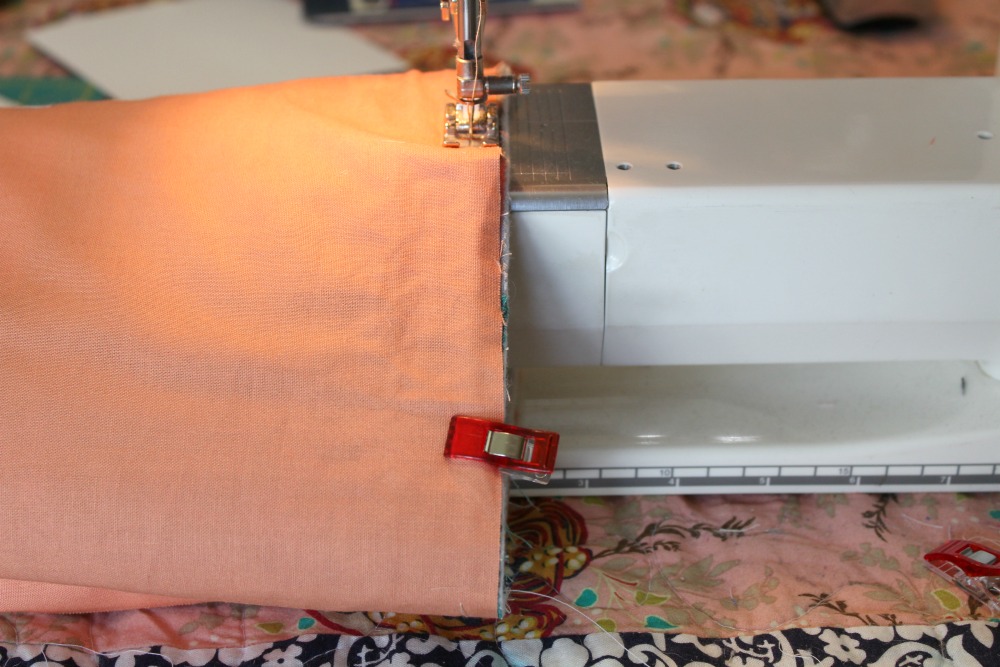
15. Now there are two bags- the lining and the exterior. Place the exterior bad inside the lining, RST. Match seams and pin around the top or use wonder clips. Sew around the top with a 1/2" seam allowance to secure bags together.

16. Pull bags right sides out through the opening in the lining, and slip stitch opening shut. Tuck lining inside bag and press around top well. Top stitch around top if desired.

17. Attach strap by threading through D ring and folding over to stitch in place. Try the bag on first to be sure strap length is correct.
Sew strap with several rows of stitching, remembering to lock stitch.


![]()
Finished Yoga Bag fits standard size mats.

If you have a "fat mat" there is an additional download on my website for making this bag bigger.
Natalie Santini
www.hungryhippiesews.com
![]()
Posted in:
Comments