Welcome to Moda Fabrics!
Easy Sunglasses Case
Easy Sunglasses Case
Published:
Jun 2 2017 - 23:00

Hi, my name is Becky Thompson and have a soft spot when it comes to machines that sew. On my blog, PowerToolsWithThread.com you never know what you'll find. My interests run from quilting, to machine embroidery, to garment sewing, and a little bit of whatever strikes my fancy. I work outside the home every day so my quilt studio is my sanctuary from the work-a-day world. Please stop by and visit!
![]()
2 - 10" Layer Cake Squares from Lily & Will Revisited
1 - 10" Batting Square
Pinking Shears or Rotary Cutter with Wavy or Pinking Blade
Sunglasses Case Pattern
Optional: Embroidery Machine for Personalizing
![]()
I love finding projects to use those leftover pieces from pre-cuts and I always have a couple of leftover pieces of 10″ squares that are perfect for this project. This can be done in less than 30 minutes (15 once you’re good at it) and it’s a great last-minute personalized gift. Mother's Day is just around the corner! I love this project because I get to keep a little bit of a quilt I made and it reminds me of happiness every time I reach for my sunglasses. I might recall the shop hop where I found the fabric or feel a kindred spirit to the person who received the quilt. This project is a win-win all the way around. Summer is on the way so this is the perfect time to sew some really cute sunglass cases.
If you wear sunglasses as much as I do, (wrinkle prevention of course!) you know not all of them come with cases. Or worse yet, they come with a hard sided case that is like digging around a brick in your bag. My sunglasses needed a quilt!
This precious line is Lily & Will Revisited by Bunny Hill Designs. I used two 10″ squares and a 10″ piece of batting. Lay them together with the outer fabric face down, batting in the middle and the inner fabric or case lining face up.

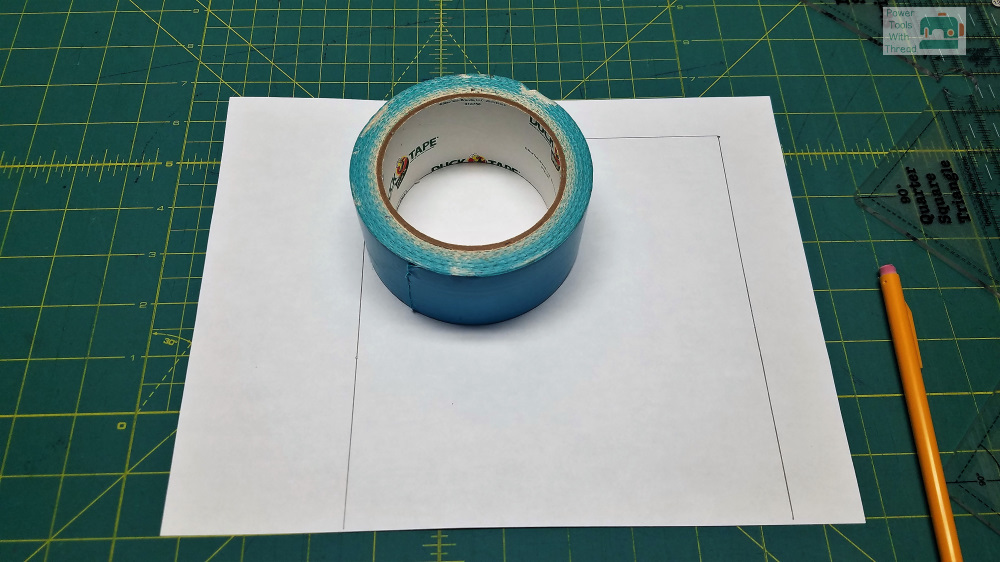
The pattern piece is the LargeSunglassesCase. However, if you need a custom fit, you will need to measure the widest part of the sunglasses, while closed, from one side to the other to get a measurement. Mine were 3.5″ (x 2 front and back circumference) for a total of 7″ width and I wanted a little extra on the length so I added 1/2″ for a length of 7.5″. If you are making your own pattern, do not add any ease in the circumference. You do not want the case to be so loose that the glasses will fall out. The case should fit snugly around the glasses.

I made the corner of the pattern using a roll of duct tape as a template. Very high-tech around here folks!
Once the pattern is cut, I folded it in half to see where the rounded end met the side. That’s 2 1/4″ down from the top so I marked the spot on the pattern on both sides with a little line using a Frixion pen. Mark this little dash on both sides of the lining and the outer fabric where the curve ends. It’s where you will begin and end stitching.


Note: If you don’t have time for the whole curve thing, just sew up the bottom and side of the case and be done with it. Easy-peasy. But I like the fancy look of the curve on the outer fabric.
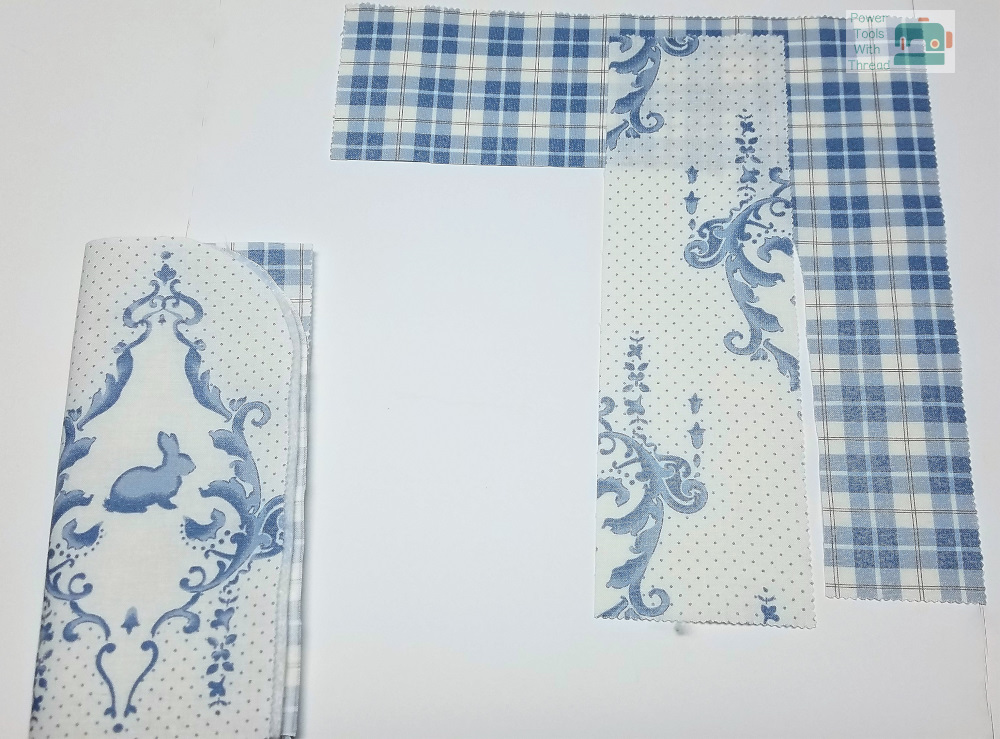
I cut all three pieces at once. Of course, once cut, they shift around and don’t line up perfectly but I turned mine to the right side and maneuvered the fabrics so everything lined up just right. Then I pinned to hold it all in place. This is not an exact science and I don’t get all bent out of shape about the edges meeting because they will be trimmed after sewing anyway.
This is a great time to try out those pretty decorative stitching patterns on your machine that you never use. If you don’t have any, a tight zig zag works nicely. Before sewing the real deal, I tested my stitch choice on the left over scraps. Another boost to this project is that when you’re finished, you still have a nice sized piece to add to your scrap bin!
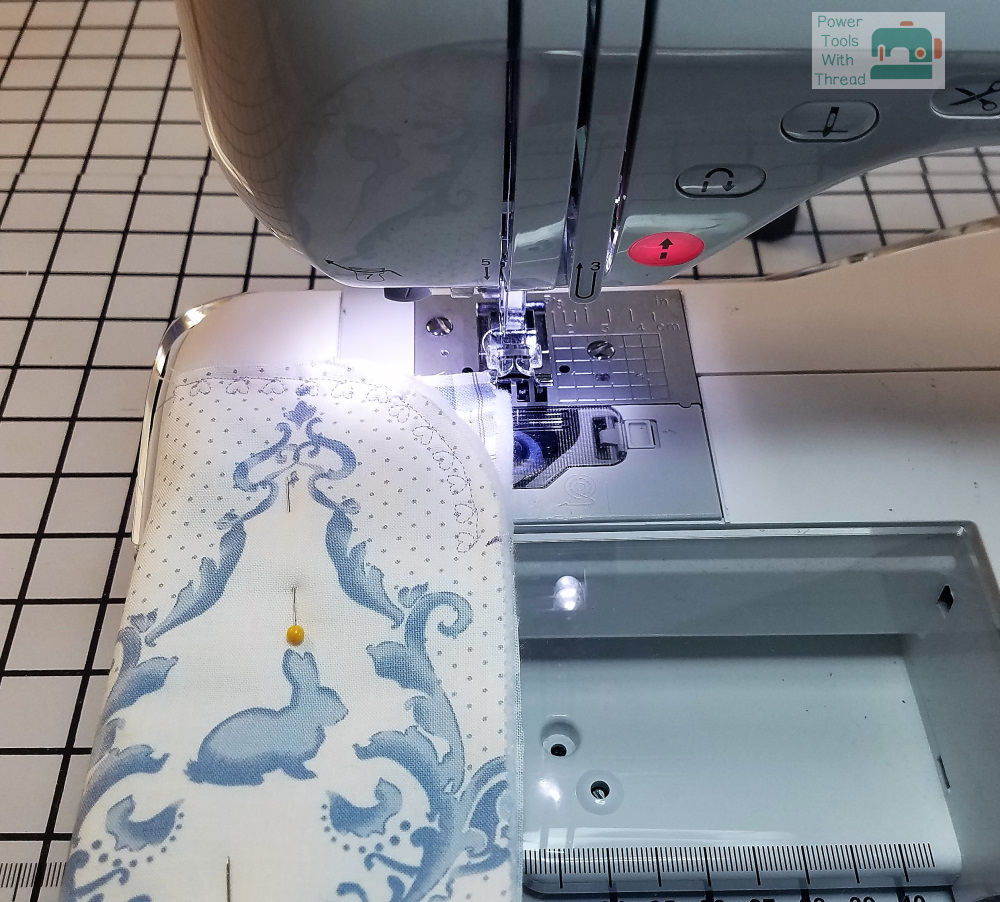
This next part, sewing the curve, is a little counter-intuitive and a bit tricky. Starting with the lining side up, flip the sandwich completely around (top at the bottom) and beginning at the dashed mark on your left, sew what is actually the top of the case. I kept the fabric lined up with the left edge of the presser foot.
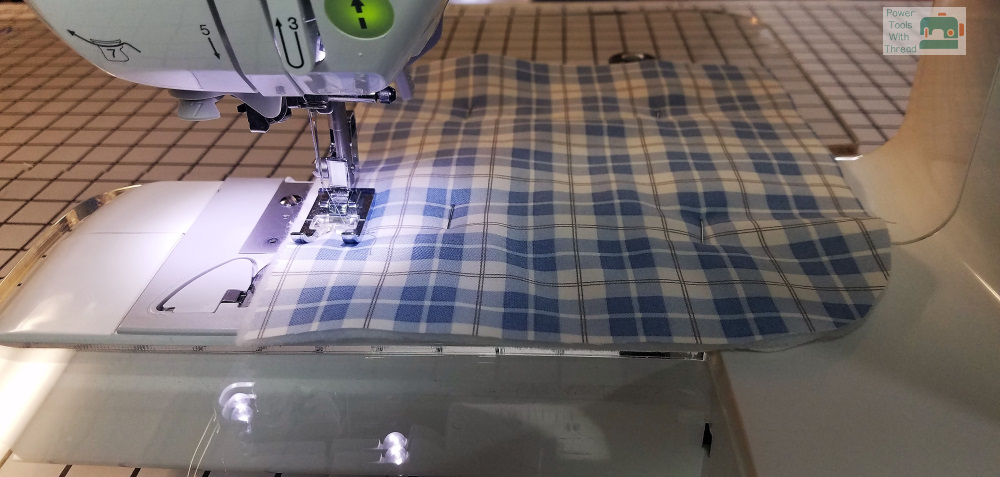
Sew down to the “top” edge, turn the fabric and continue to stitch around the curve and then stop as close as you can on the other dashed mark. If you are sewing a decorative stitch, try to stop at the end of the stitching sequence before it begins another. When you reach the end, do not backstitch but do cut the threads.
When you reach the dash on the other side, remove the case from the machine, fold it as it would look when finished, and begin sewing on the front at the stopping point where you left off. You may need to rearrange the pins to get them out of the stitching line. Now keep the fabric in line with the right edge of the presser foot. The idea is not to see a visible stop/start point in the stitching.
Sew down the front side and make a definite 90 degree turn to sew across the bottom of the case to end at the fold. Do a tie off stitch and remove it from the machine.
It looks a little rough now, but clip the loose threads and take a pair of pinking shears to the edges. I begin on the long side at the bottom and then continue up around the curve, opening the top edge as I go until I get down to where the back/front meet so I get one smooth cut. Then I cut off the bottom edge.

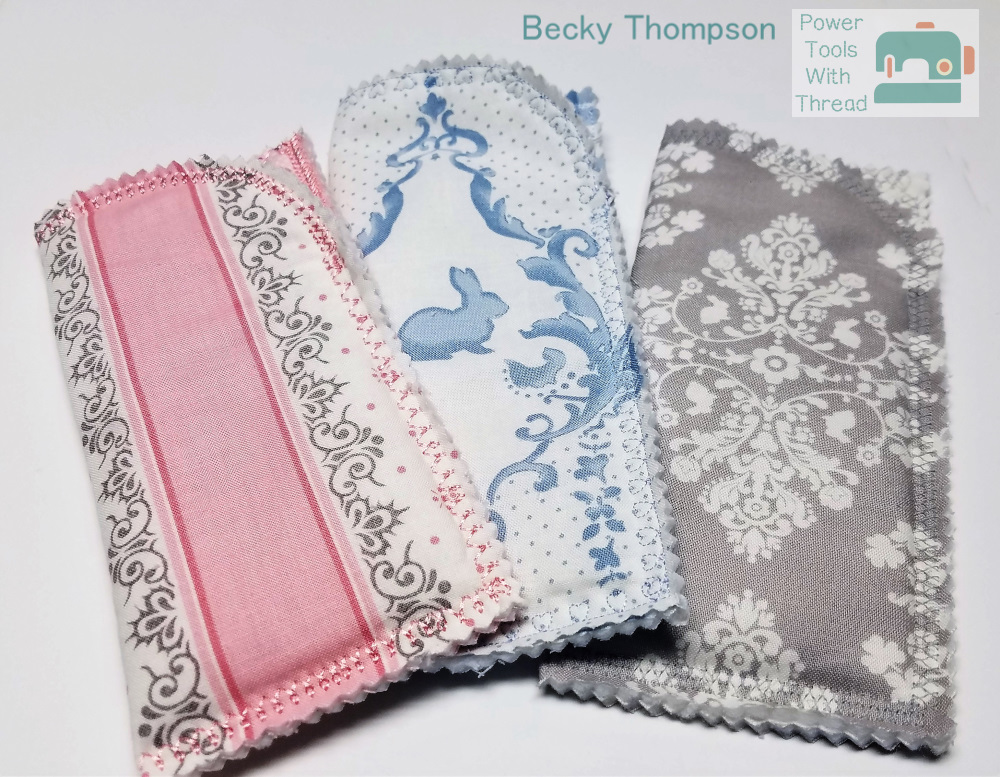
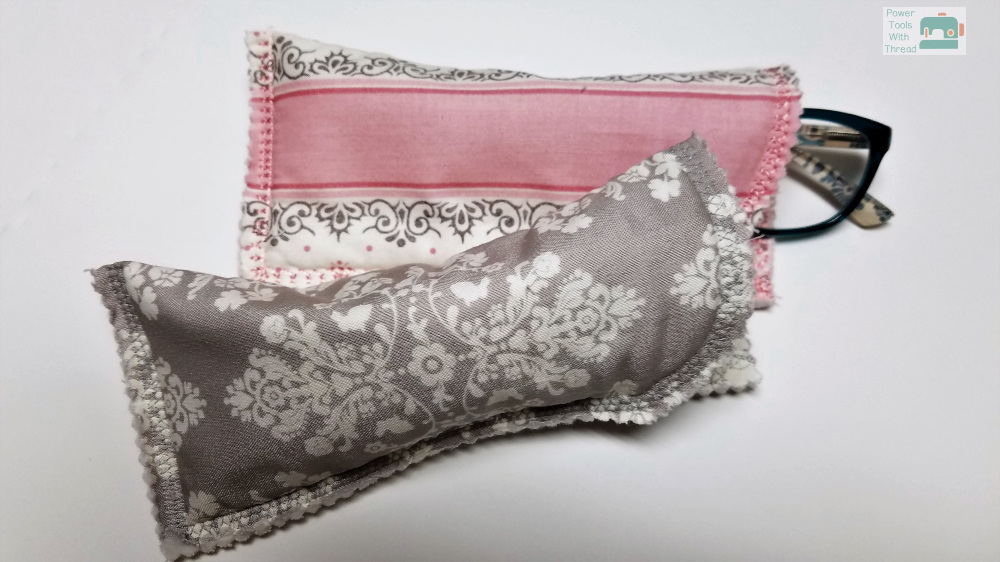
Now my sunglasses (and my readers) are showing some serious style!
![]()
One fabulous sunglasses case.
Please visit my blog and check out my new YouTube channel where I'm documenting my new longarm experiences. Hope to see you there!
Moda Bake Shop Becky Thompson
powertoolswiththread.com
![]()
Posted in:
Comments