Welcome to Moda Fabrics!
Hometown Christmas Jelly Roll Charm Chase Quilt
Hometown Christmas Jelly Roll Charm Chase Quilt
Published:
Jun 5 2017 - 23:00

Happy June Everyone! It seems that this year is going by quickly and it's going to be time to start thinking about the upcoming Winter holidays and the quilts to be made for family, friends and yourself. I'm happy to be sharing my Jelly Roll Charm Chase pattern which is my first Moda Bake Shop recipe and features Sweetwater's Hometown Christmas Edition fabrics. The Jelly Roll Charm Chase is another variation of a Jelly Roll Race which I am sure many of us quilters have already made. This pattern includes using a Charm Pack of the same fabric line as the Jelly Roll. I came up with the idea for this pattern when I happened to have these two pre-cuts in my stash and had just made a Jelly Roll Race Quilt. By including charm squares with the jelly roll strips, it gives this version of a Jelly Roll Race Quilt a more modern, improv look. This version is as easy and as fun to make as a Jelly Roll Race with the exception that the strips and squares need to be prep for the first two rows of strips and there's some pressing before the race can begin. I see this quilt as more of a Chase because it looks like the strips are chasing the Charms. I hope once you make a Jelly Roll Charm Chase, you'll find it easy and fun to make and you might want to do another Chase with all of the wonderful jelly rolls and charm packs available.

![]()
1 Jelly Roll of Sweetwater's Hometown Christmas Edition #5660JR
1 Charm Pack of Sweetwater's Hometown Christmas Edition #5660PP
3/4 yard binding fabric #5663 22
4 yds backing fabric #5660 11
Four 2-1/2" x wof strips*
Additional yardage is needed if a border is desired for a larger quilt
*these strips can be cut as follows: 2 strips from the binding fabric and 2 strips from the backing fabric
Optional: your favorite method for numbering your blocks/patches

![]()
The construction of this quilt is similar to a Jelly Roll Race (in which there are many tutorials available online) with the variation being the way the first two rows are started. These instructions are for the first two rows only; once they are constructed, then the rest of the quilt is sewn like a jelly roll race in which the strips are then sewn an additional four rounds (4 strips, 8 strips, 16 strips and 32 strips).
Please read these instructions carefully before starting the Chase; you don't want to take a wrong turn. All seams sewn are 1/4".
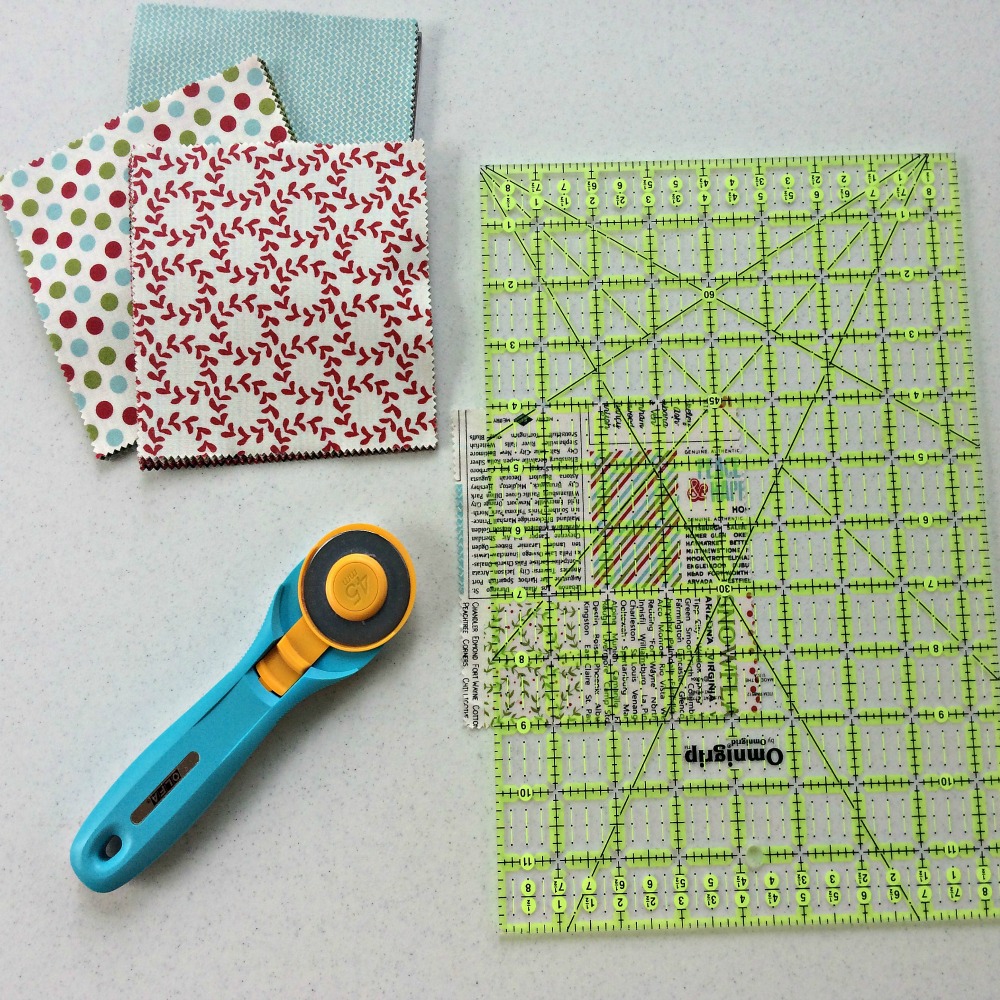
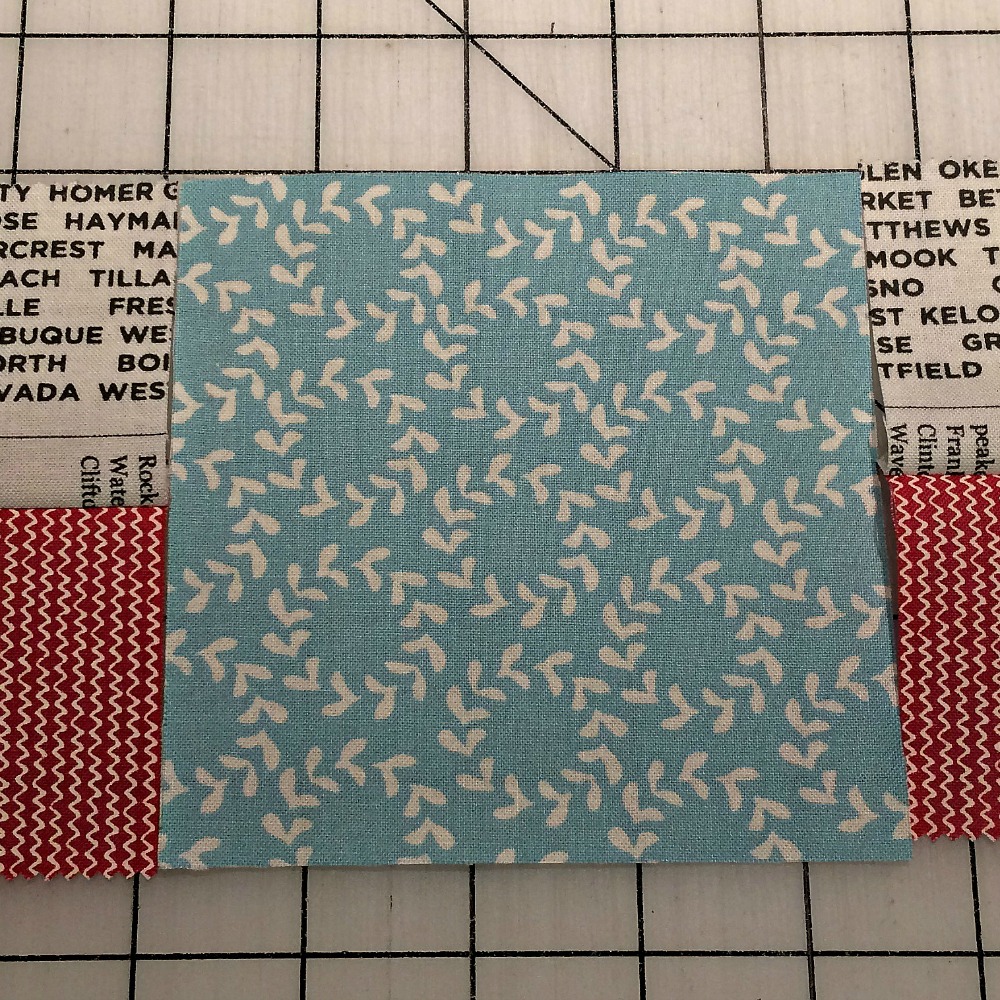
Step 1: trim all charm squares (42) to 4-1/2" square and set aside. (See what I made with the trimmings at the end of this tutorial)
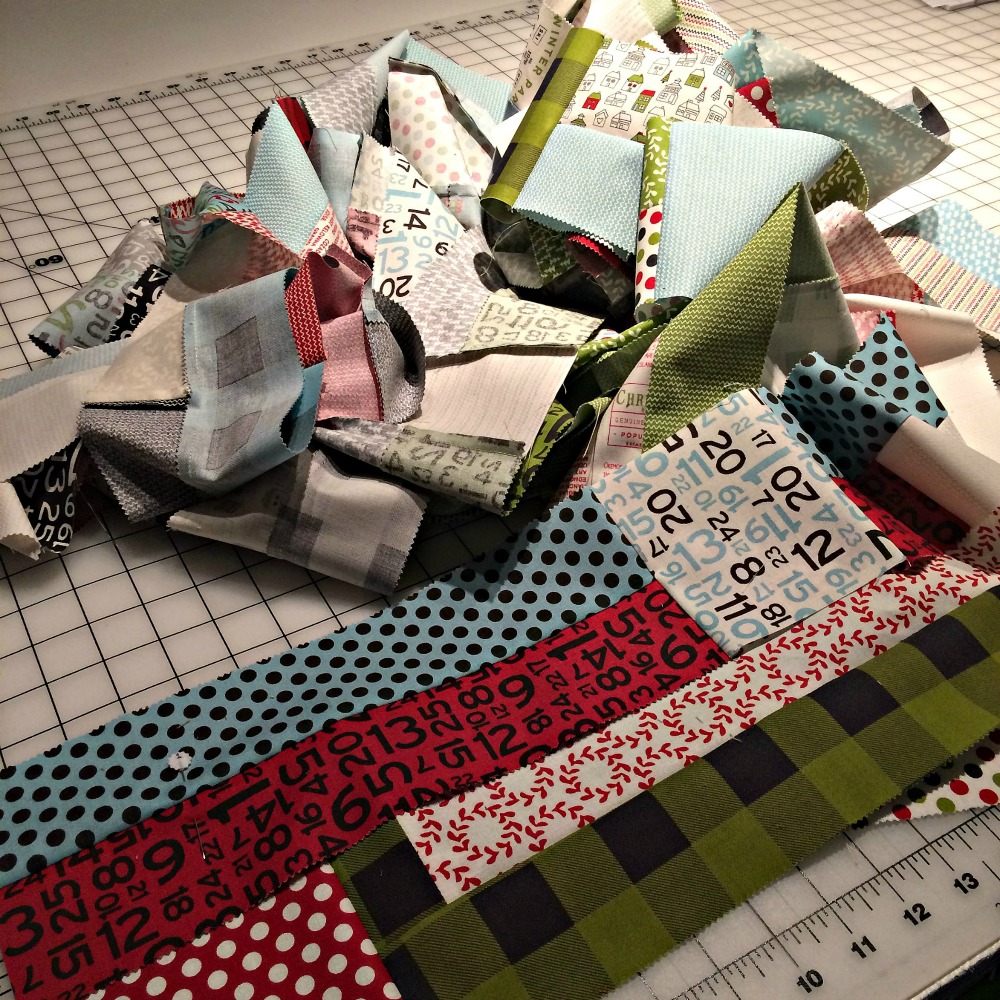
Step 2: trim all selvedges from jelly roll strips

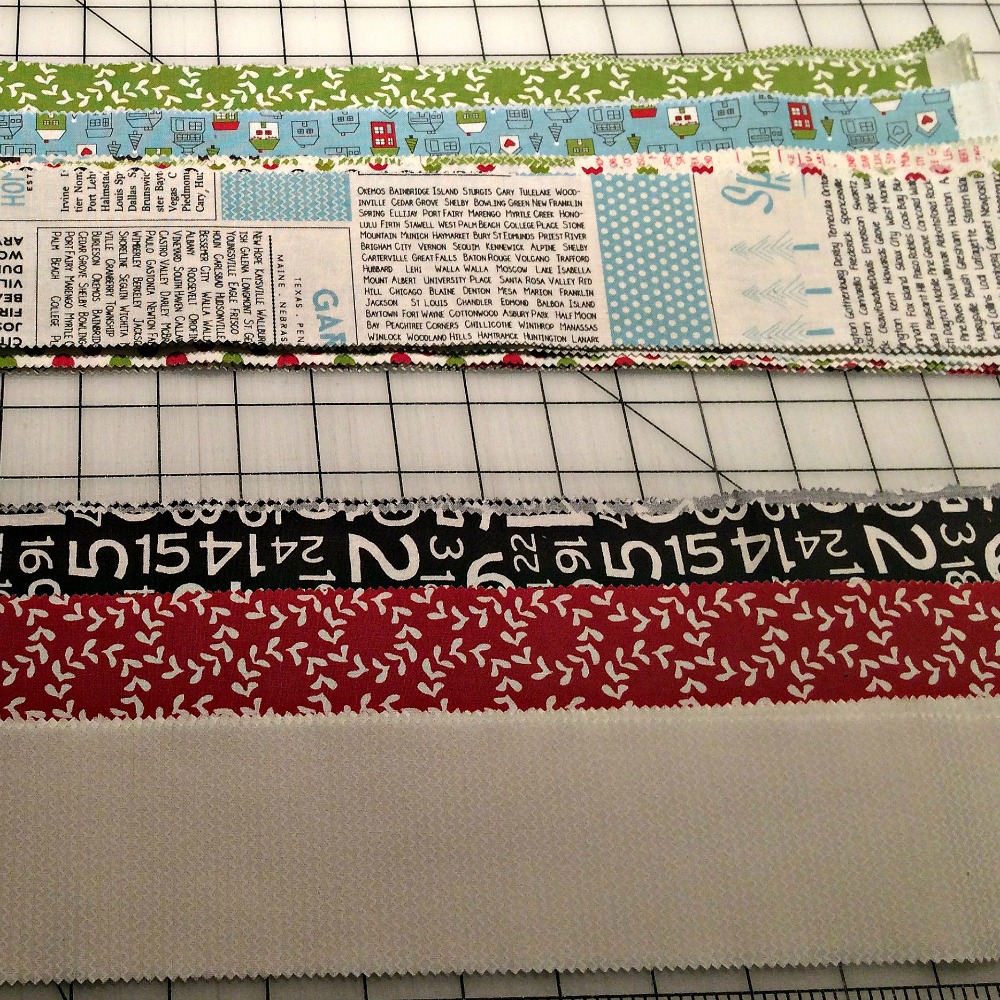
Step 3: For this quilt, I separated the strips into two sets of 20 strips each and were sub-cut as follows:
- one set consisting of the blue, green and light strips with patterns sub-cut in half (approximately 21")
- one set consisting of black, red and the two tone-on-tone strips sub-cut into thirds (approximately 14"--this measurement does not have to be exact)
IMPORTANT: Set aside 4 half strips (20") and 2 one-third strips (14") in different colors and prints. These will be used with the four strips cut from the binding and backing fabrics to make additional strips later.
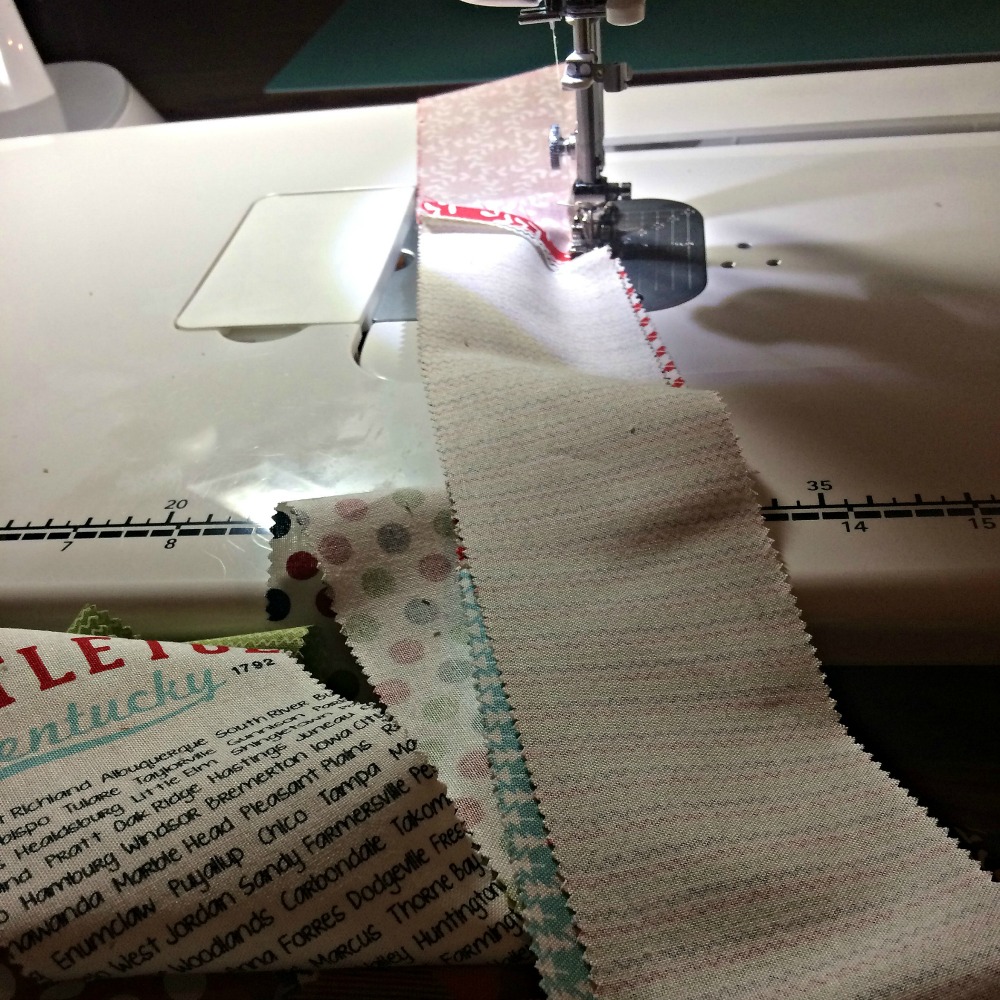
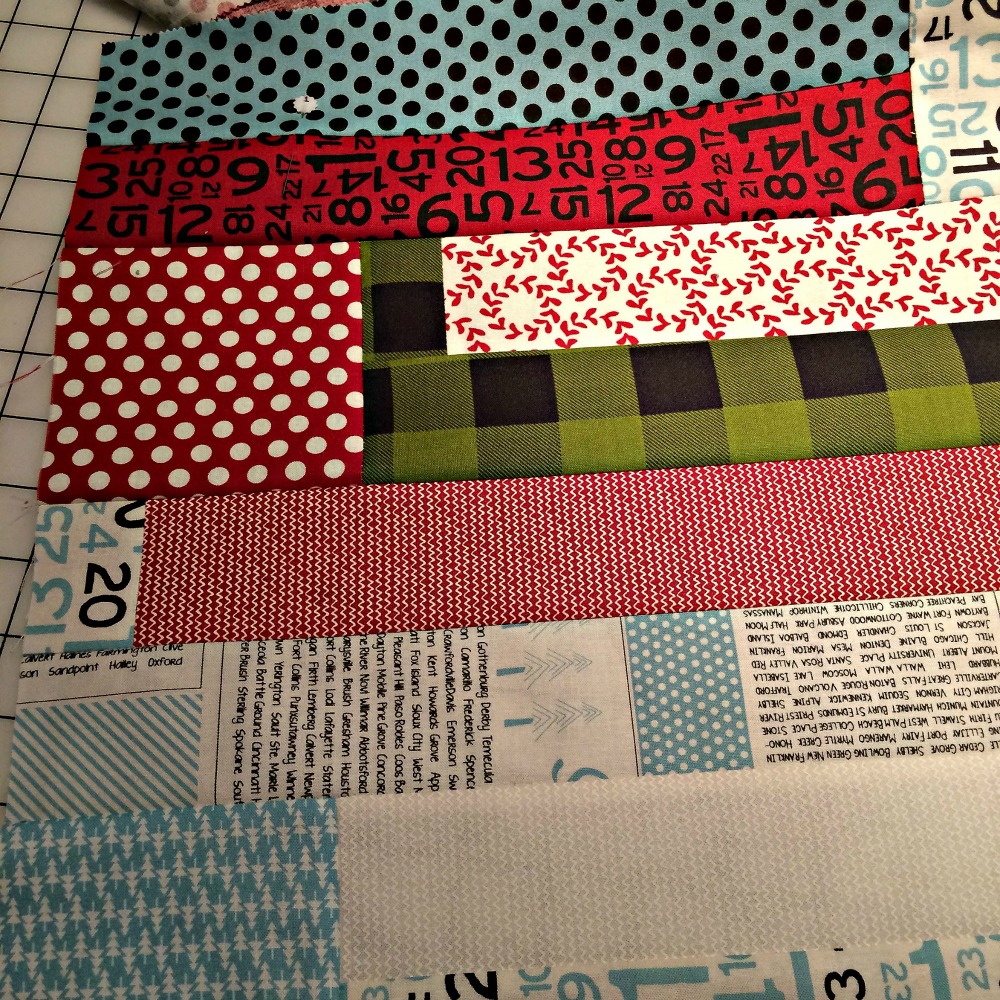
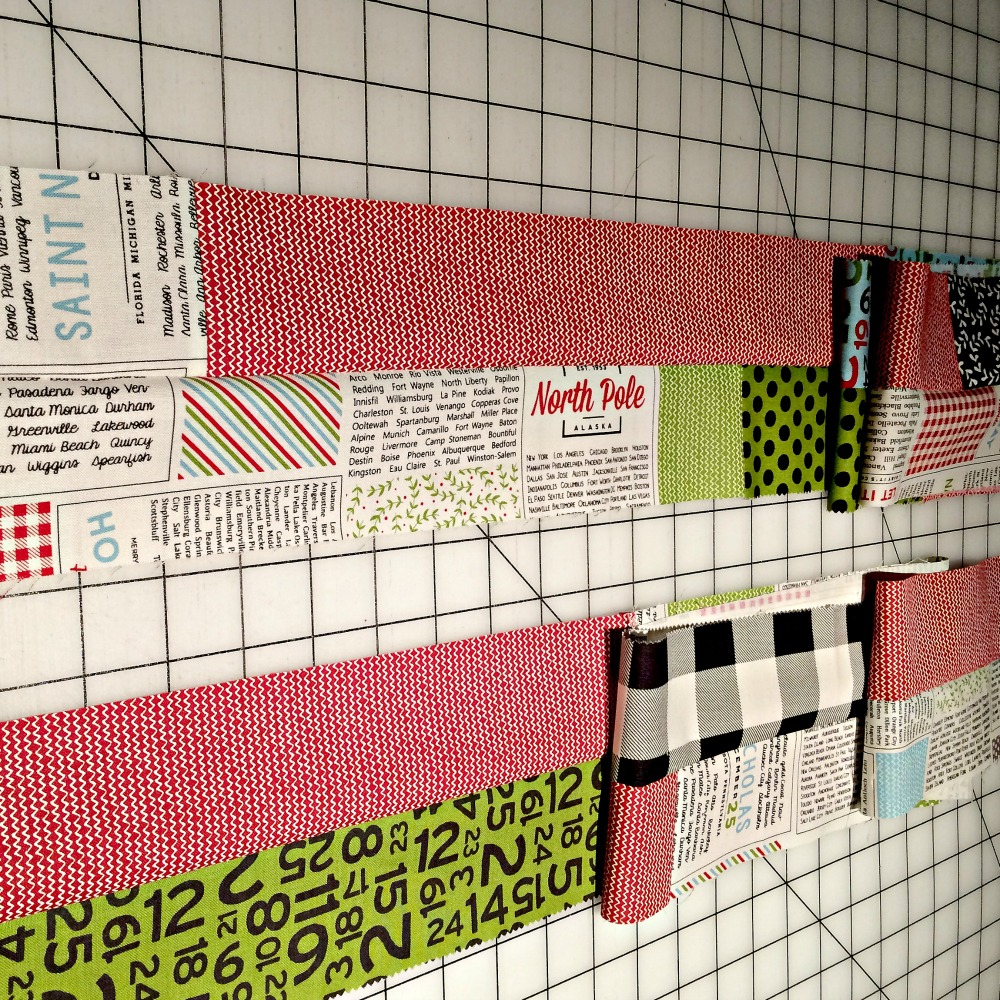
Step 4: Once the strips are cut, you are ready to start chain piecing the first row of strips. Note: to ensure the second row of strips are offset from the first row, the last strip sewn in the first row should be a strip different in size and color from the first strip sewn in the first row. Unlike the randomness in choosing and sewing the strips together like in a Jelly Roll Race, I prefer to already have my strips in sewing order before chain piecing to reduce the pile and chaos next to my sewing machine.

Step 5: Once all of the strips are sewn together and cut apart, bring this big lovely pile to your ironing board to press the seams open. Although this step may seem cumbersome and time consuming, I find this makes it easier to sew and cut the strips later.

Step 6: This step is similar to the Jelly Roll Race; find the beginning and the end, line it up (be sure the beginning is on the top) and start sewing together. When you are 6 to 8" away from the end, stop sewing to cut the strips apart, they will be twisted, and then resume sewing to the end. (I like to trim the end with a rotary cutter to ensure the edges stay straight.)
Step 7: Once the first two rows are sewn together, you are ready to cut the strip so the charm squares can be inserted. Since there are 42 squares in a charm pack, you will need to make 42 cuts to this strip which measures approximately 780" long. To create the improv look, the strip set is cut anywhere from 12-1/2" to 24" wide. For my quilt, I chose three sizes: 12-1/2" (12), 18-1/2" (18") and 24.5 " (12); the number cut are in parentheses. I kept track of my cuts by creating this log sheet to ensure that I cut the right number of each size and the cuts are varied. (Note: on the 42nd cut, it's whatever is left on the strip set). In case you cut too many strips, you can always cut additional squares from the backing fabric (but not too many or else the width of the quilt will change and may affect the number of strips which have been set aside earlier) or if you did not cut enough strips you can recut a 24.5" strip in half.

As you are cutting the strip sets while one strip is on top of the other, please do the following:
- keep the strip sets in the order they are cut
- before cutting, check the strip on the bottom to make sure you are not cutting too close to a seam line (at least 1" away). You can adjust your cut, plus or minus, to avoid cutting on a seam line.

Step 8: Once the strip sets are cut and have been kept in order, take this pile to your ironing board to press the seam either all going up or down, still keeping them in order (at this time I placed a numbered pin on each strip set after it was pressed to ensure they are sewn in order). Also, after I press each strip set, I placed a charm square (reminder: these should be trimmed to 4-1/2" square) on the right side so that they are ready to be sew together once the pressing is done. Note: When the strip set and the square are first sewn together (RST), the square is always sewn on the right side of the strip set.

As mentioned before, it is important to keep the strips in order to create the Charm Chase effect which is when the square looks like it's intersecting or weaving in and out of the strips.
After each square is sewn to a strip set, you will do several rounds of sewing (this is why numbering the strip sets is suggested) until all the strips sets and squares are sewn into one large strip. At this time, you can remove all your numbering for your blocks, if they were used, except for the first one which should remain to ensure that this strip always stays on top. Then, once again, you will take this pile to press the seams from the squares, either open or to the side. Again, this is cumbersome and time consuming but it does make the sewing and cutting much easier. After this is done, the Chase can be sewn like the Jelly Roll Race for the next four rounds. After each round is sewn, I like to trim the end with the rotary cutter to keep the edges straight and even and then press the row seams, either up or down.
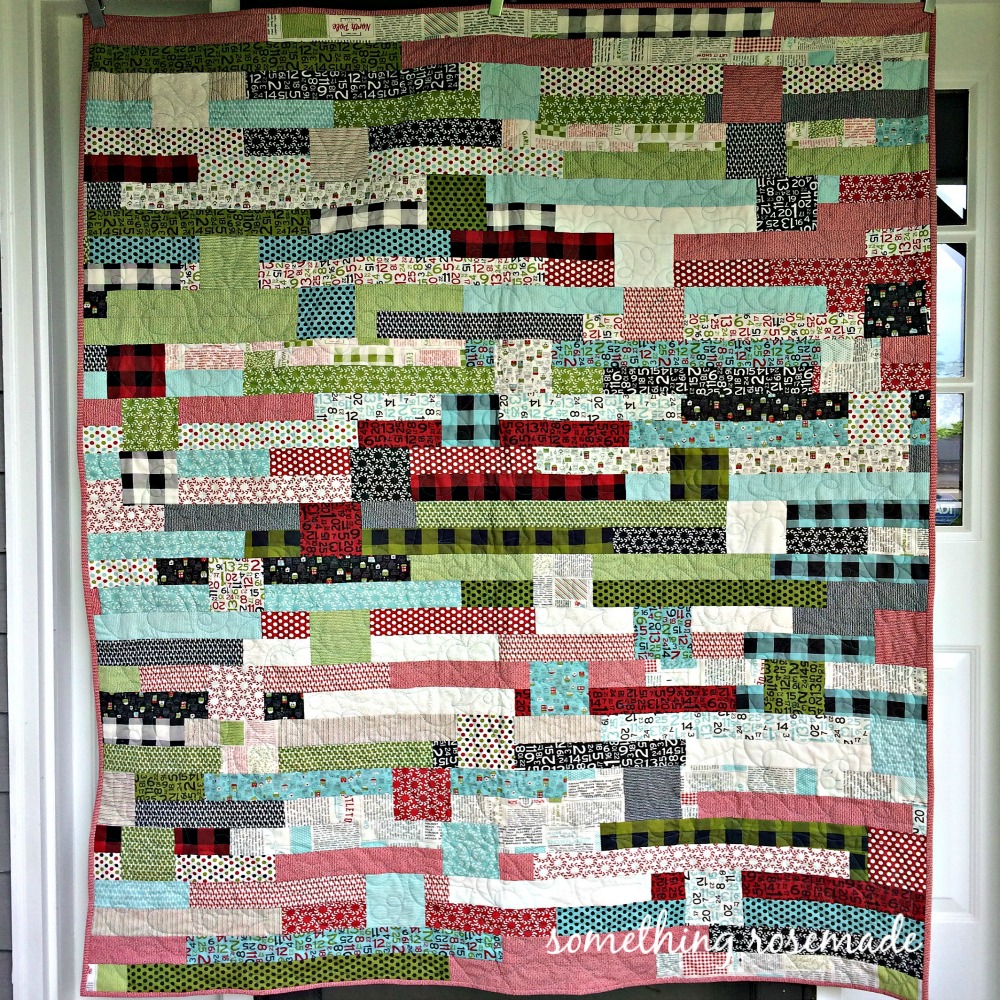
After all the rounds are sewn, the top will measures approximately 58" wide and 64" long.

To make this quilt longer, additional strips are sewn to the top and the bottom with the strips which were set aside in the beginning. Make two additional strip sets, varying the colors, prints and strip size, by sewing two strips measuring approximately 120"+ wide and then folding them in half to sew together to make a strip set 60"+ wide. Again, to ensure the strips are offset, the last strip sewn in each row should be a different size than the first strip sewn. Sew one strip set to the top and the other strip set to the bottom, trimming it to the width of the quilt, which will give the quilt a 72" length which is a nice size for a lap quilt.
This quilt finishes at 58" x 72" and is made without borders. Borders can be added if you would like a larger quilt (additional backing fabric may be needed).
Once the top is completed and ready to be quilted, the backing should be made 66" x 80" (the width should be adjusted if your width is more than 58"). This quilt can be quilted with just horizontal straight-line quilting. (if you would like to see how this looks, please visit my blog {somethingrosemade14.blogspot.com} to see the other Jelly Roll Charm Chase quilts I've made). This quilt was machine quilted by my long arm quilter, Jan Bryant, who quilted a beautiful heart design pattern which makes me think this quilt can stay out until Valentine's Day. Also, I like to mention how much I love the backing I chose for this quilt which is just perfect and it's one of my favorite prints in the collection.

Once the top is quilted, cut (8) strips 2-1/2" x WOF for the binding.
I hope you enjoy and have fun making this quilt and find that this pattern is a great way to use up your jelly rolls and charm packs you have in your stash or it inspires you to purchase Sweetwater's Hometown Christmas Edition precuts which is so perfect for this pattern. Come Winter, I will be cuddling up with this quilt next to a roaring fire in the fireplace with a cup of hot cocoa. Once you make a Jelly Roll Charm Chase, you may find you can make your own variation for the next one. For example, you can change the measurements of the cut strips, don't group the strips by color, etc. The next Jelly Roll Charm Chase quilt I make, I plan on not keeping my strip sets in order and go que sera', sera'--whatever will be, will be. You can visit my blog to see how this Chase will end. If you have any questions, please do not hesitate to contact me.
Enjoy your Summer!
Rose Moy Mikulski
{somethingrosemade14.blogspot.com}
P.S. As mentioned earlier in this tutorial, I saved all of the 1/2" trimming from the charm squares. I remembered I have these clear Christmas ornaments which were perfect to put some of the trimmings into one of them. I have it hanging on an ornament hanger which sits on a shelf in my studio which is now a wonderful memento of my first Moda Bake Shop pattern.

![]()
Save
Save
Posted in:
Comments