Welcome to Moda Fabrics!
Christmas Candy Mini Quilt
Christmas Candy Mini Quilt
Published:
Jul 13 2017 - 23:00


Merry Christmas, quilting friends!
I know July may be a bit too early for season's greetings, but it's definitely not too early to begin your Christmas stitching! And in the spirit of the season, here's a fast and fun mini charm pack pattern that's perfect for holiday decorating or gifting. I made my version of Christmas Candy with "Petites Maisons de Noël" by French General for Moda and the colors and prints couldn't be prettier!
This quilt finishes at 14" x 14". Be sure to check out my blog JenDalyQuilts.com to find a Halloween version of this quilt finished as a pillow.
Now let's get started!
![]()
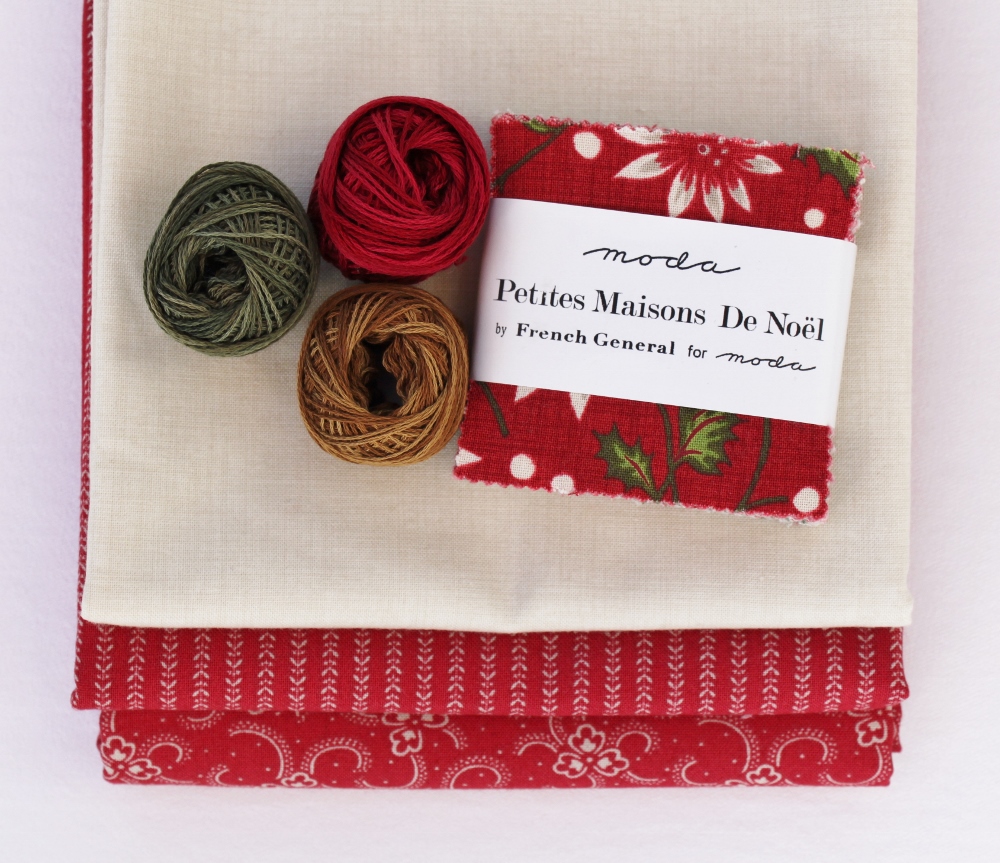
1 Moda Candy (shown in Petites Maisons de Noël by French General for Moda)
1/8 yard (or one Fat Sixteenth) background fabric (shown in French General Favorites Pearl Linen)
1/2 yards backing fabric (shown in Petites Maisons de Noël Rouge Celeste)
1/4 yards binding fabric (shown in Petites Maisons de Noël Rouge Clara)
batting measuring 18" x 18"
embroidery floss (shown in Valdani Three-Strand Floss: 775 - Turkey Red, 575 - Crisp Leaf, 154 - Deep Antique Gold)
![]()
Cutting:
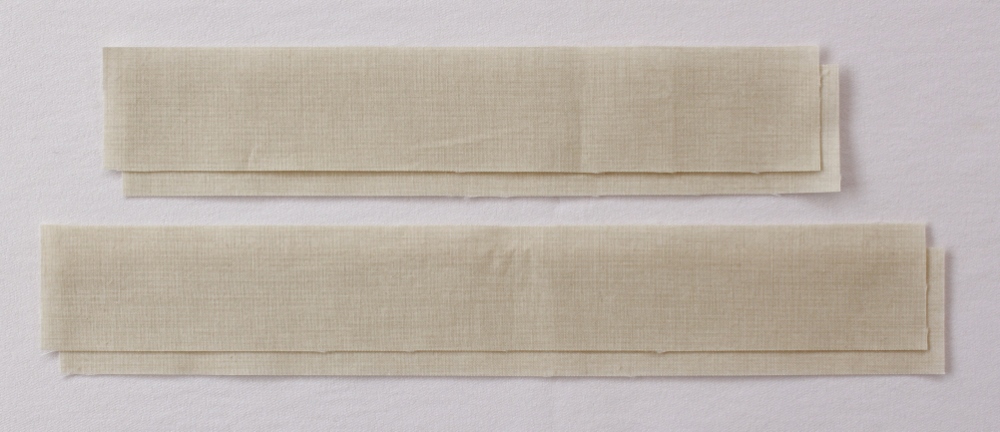
From your background fabric, cut:
- 2 strips 1 1/2" x 8 1/2" (inner border)
- 2 strips 1 1/2" x 10 1/2" (inner border)
From your backing fabric, cut:
- 1 panel 18" x 18"
From your binding fabric, cut:
- 2 strips 2 1/4" x WOF (width of fabric)
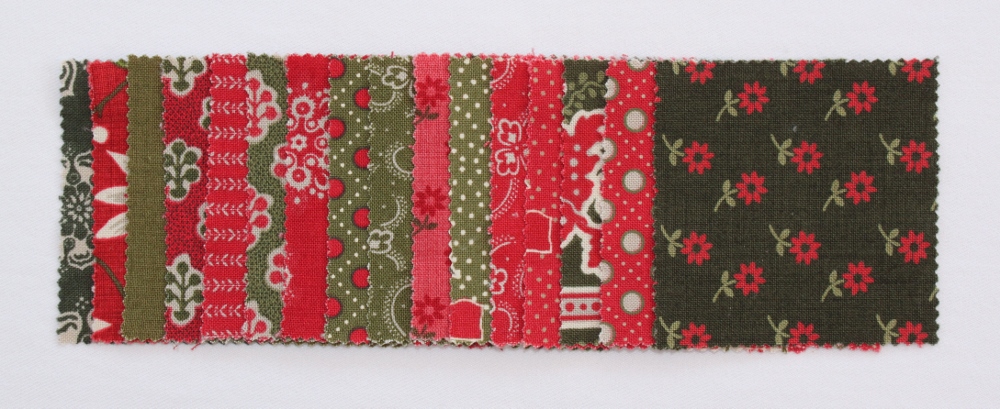
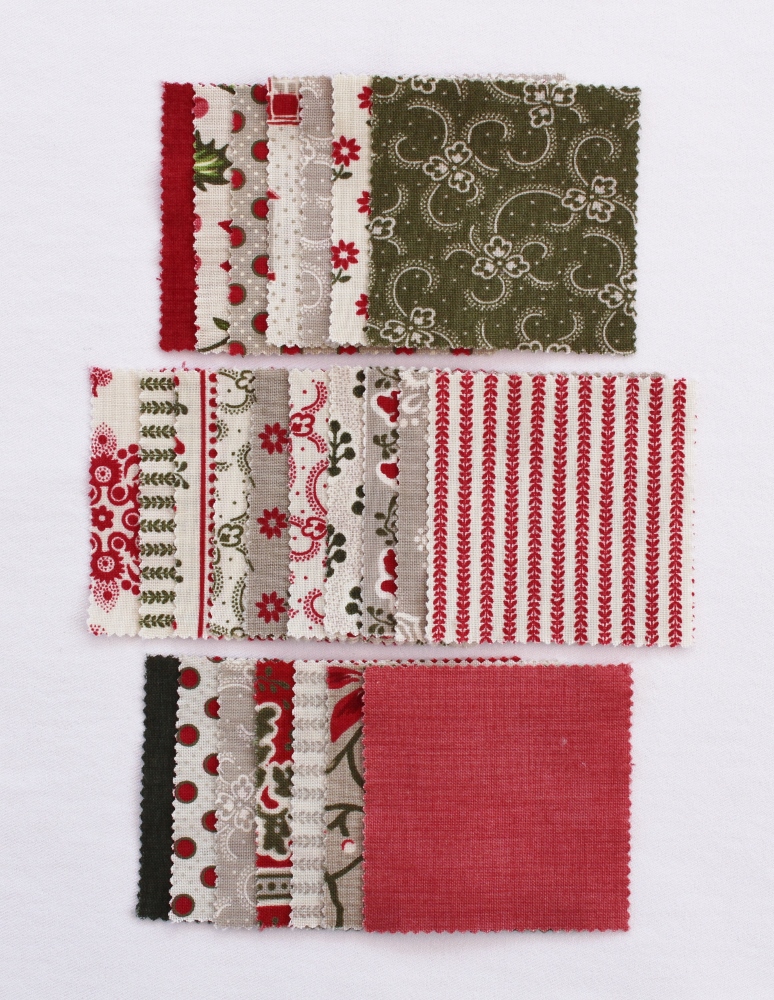
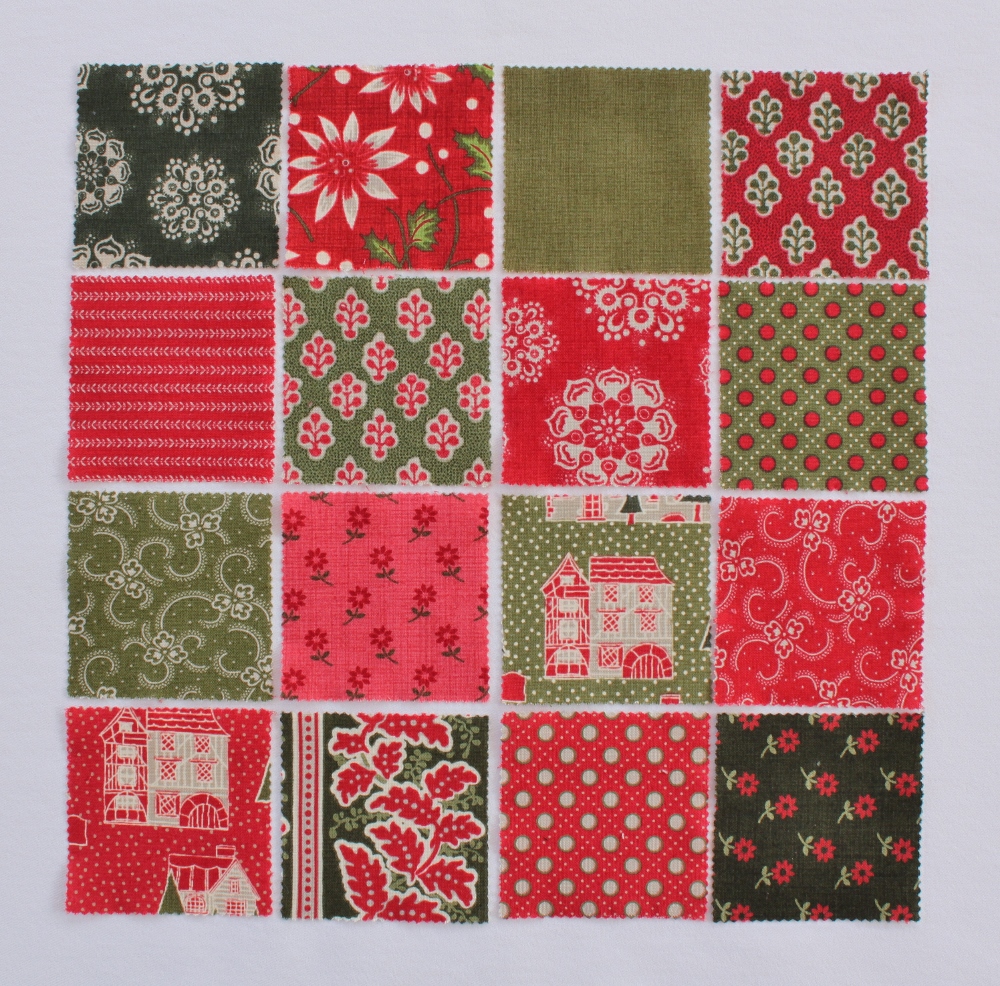
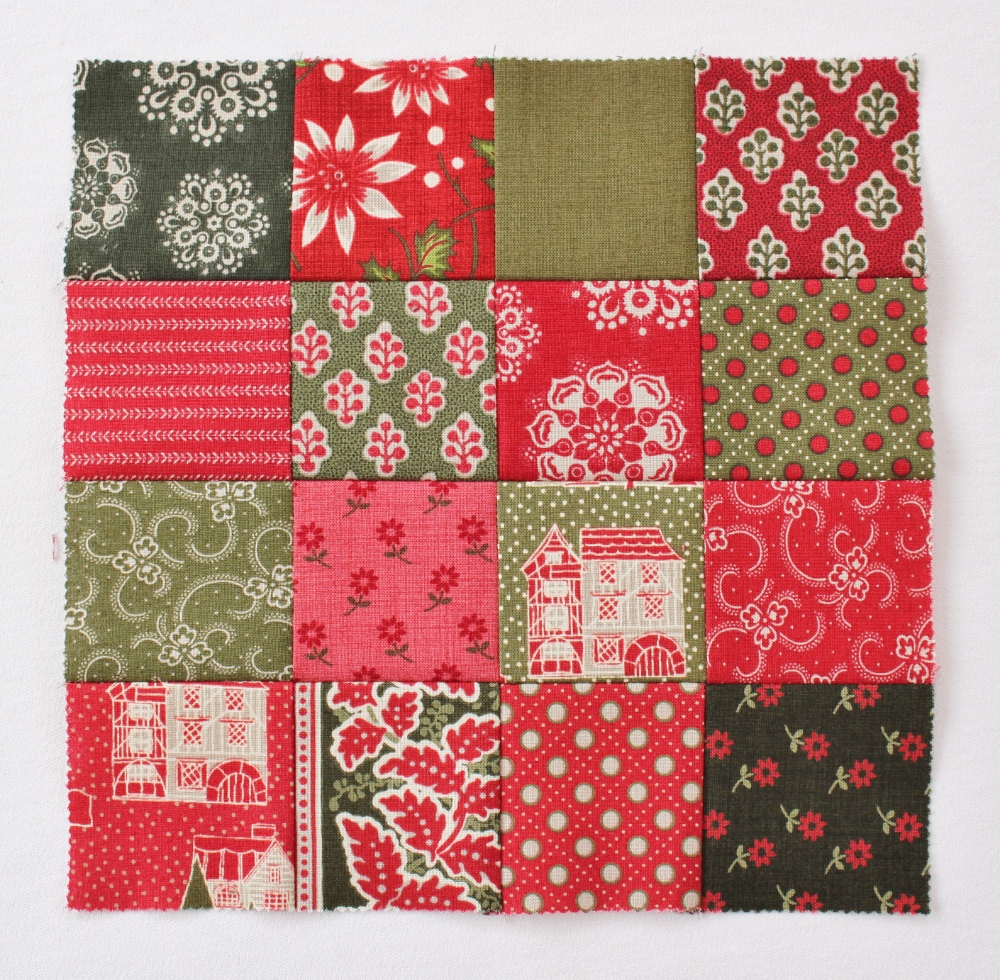
Before you begin, take a few minutes to sort your mini charm squares. You'll need 16 for the center of the quilt and 24 for the pieced border.
Here are the charm squares I chose for the center of my little quilt:
And the squares I chose for the pieced border:
Assembling the Quilt Top:
1. Lay out the 16 mini charm squares that you chose for your quilt center in 4 rows of 4 squares each.
2. Sew the squares in each row together. Press seam allowances in one direction, alternating direction in each row.
![]()
3. Sew the rows together. Press seam allowances open. At this point, your quilt center should measure 8 1/2" x 8 1/2".
4. Sew a background fabric 1 1/2" x 8 1/2" strip to the left and right sides of the quilt center. Press the seam allowances toward the center of the quilt.

5. Sew a background fabric 1 1/2" x 10 1/2" strip to the top and bottom of the quilt center. Press the seam allowances toward the center of the quilt.
![]()
6. Using the 24 mini charm squares that you reserved for the pieced border, lay out 2 borders of 7 squares each and 2 borders of 5 squares each.

7. Sew the squares in each border together. Press seam allowances in one direction.

8. Sew a short pieced border to the left and right side of the quilt center. Press seam allowances toward the pieced border.

9. Sew a long pieced border to the top and bottom of the quilt center. Press seam allowances toward the pieced border.

Embroidering the Quilt Top:
- Mark the embroidery pattern on the inner border of the quilt top as shown using a water-soluble marking pen. You can find the pattern for the embroidery here.

2. Layer the marked quilt top with batting ONLY and baste. Because this is a small piece, I used spray basting adhesive to baste my quilt.
3. Use two strands of red floss and a backstitch to stitch the poinsettias through both layers.
4. Use two strands of green floss and a backstitch to stitch the vines and leaves.
5. Use two strands of gold floss to stitch three French Knots in the center of each poinsettia.
6. Use two strands of red floss to stitch French Knot "berries" as marked on the embroidery pattern.

Finishing the Quilt:
After you've finished embroidering your quilt top, carefully wash out the marking. Once you are sure that all of your marking is removed, gently press your embroidered quilt top/batting. Layer the embroidered quilt top/batting with backing fabric and baste—once again, I used spray basting adhesive. Quilt as desired. I machine quilted my little quilt by stitching in the ditch in the patchwork center and along both sides of the embroidered inner border. Then trim your quilt through all layers and bind.
![]()
One charming 14" square mini quilt!

Thank you so much for following along! And don't forget to check out my blog to see my Halloween Candy pillow made with "Hocus Pocus" fabric by Sandy Gervais. I'll also be posting photos of the pillow alternative on Facebook and Instagram @jendalyquilts.
Happy Quilting!
Jen Daly
![]()
Posted in:
Comments