Welcome to Moda Fabrics!
Arrows Quilt {plus a bonus!}
Arrows Quilt {plus a bonus!}
Published:
Aug 22 2017 - 23:00


Arrows! Do you see them? My name is Vicki Holloway of My Creative Corner3. I live in Northern Michigan. I have been quilting since I was a little girl with my Mom. We made baby quilts for our family members. I have had a lifelong love of quilting, so much that I spend much of my time writing, chatting , designing and making quilts! I really like the arrow as a design element and I wanted mine to be on a diagonal when I made this block. I rotated the blocks around on my design wall and liked this layout the best. It is a design that is at home in either a contemporary setting, as in the second photo in front of the brick wall, or a more traditional one, as in the cover photo. I decided to make this block oversized so I had lots of room to quilt my favorite stitches! Read all the way to the end of the post and you will see a bonus!
This quilt/project finishes at 62 " x 62".
![]()

1 Layer Cake {Shibori II }
1 Jelly Roll {Shibori II}
3.5 yards background fabric {Moda Grunge Basic Grey}- if you want to have extra" just in case" of an error go ahead and buy 4 yards
4 yards backing fabric {I used Shibori II}
1/2 yards binding fabric
![]()

Tip: This block deals with several bias edges and I recommend cutting and sewing one block at a time to minimize any stretching due to handling the bias.
1. Cut a 15 inch square from the background fabric
2. Cut the background square in half on the diagonal corner to corner leaving two half square triangles (HST).

3. Iron the jelly roll strip of your choice in half the entire length of strip
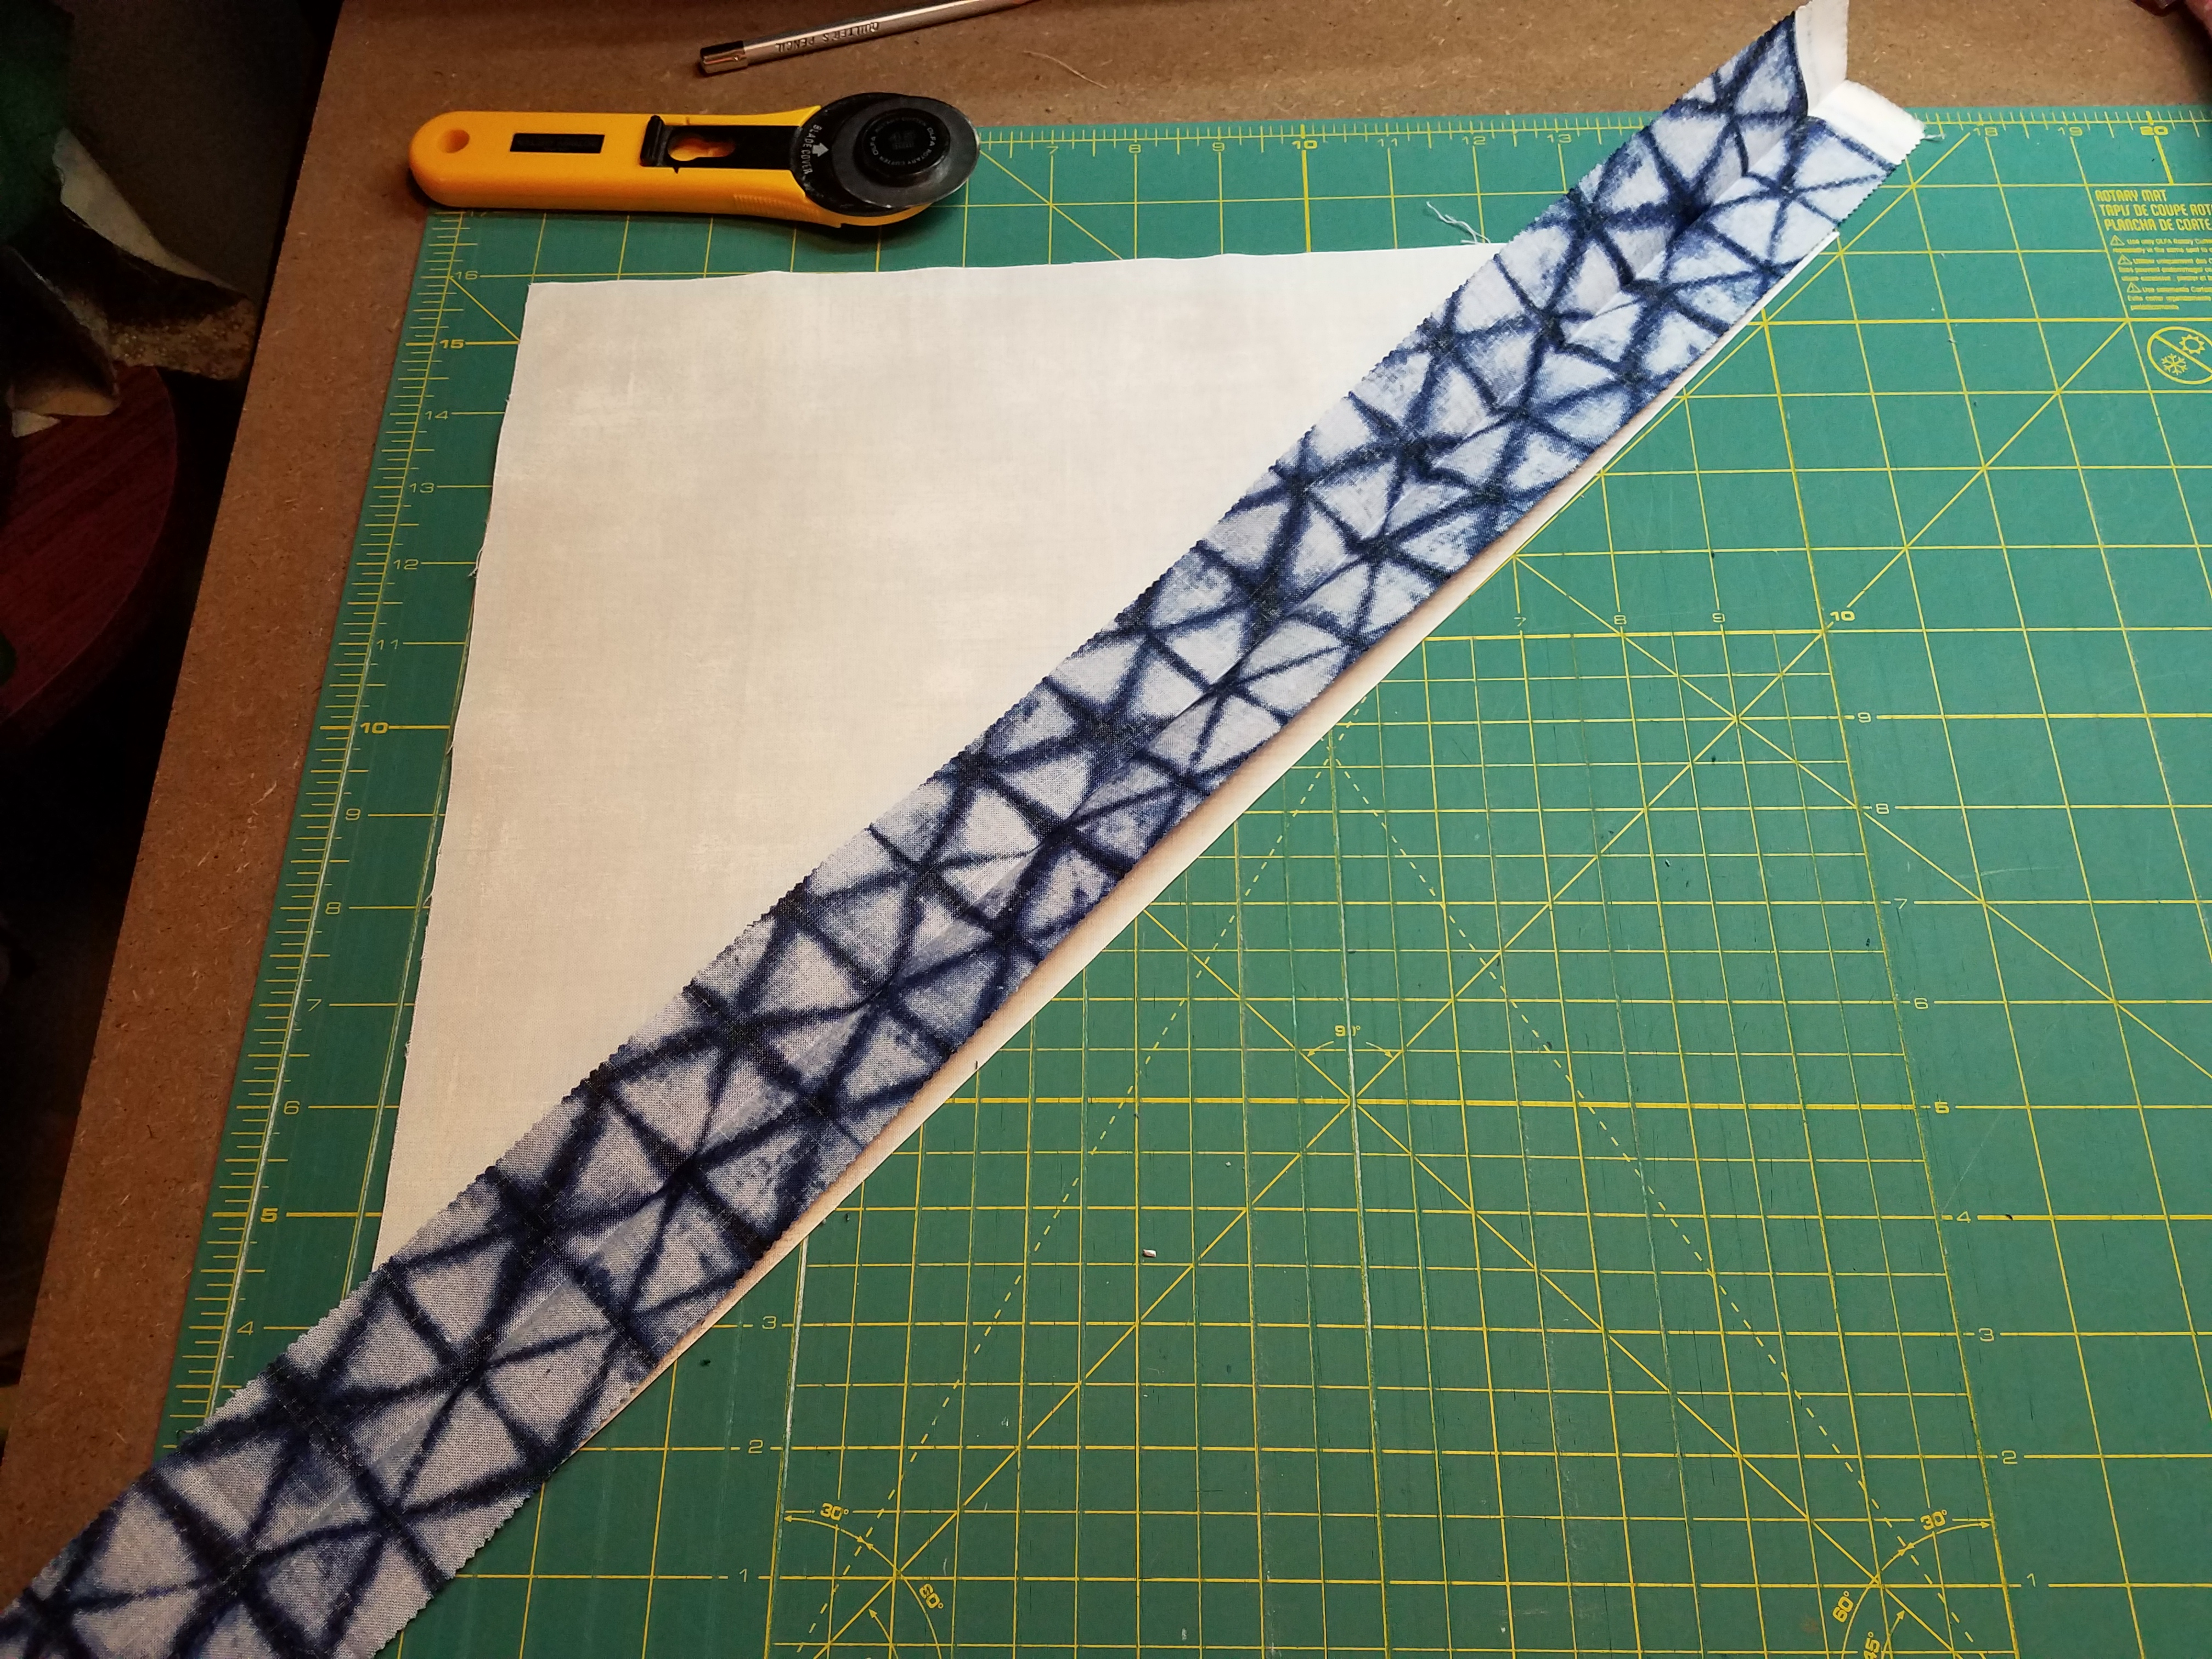
4. Right sides together, lay the jelly roll strip on your half square triangle, making sure the jelly roll strip is at least 2 inches beyond the edge of the HST corners. Sew strip to HST
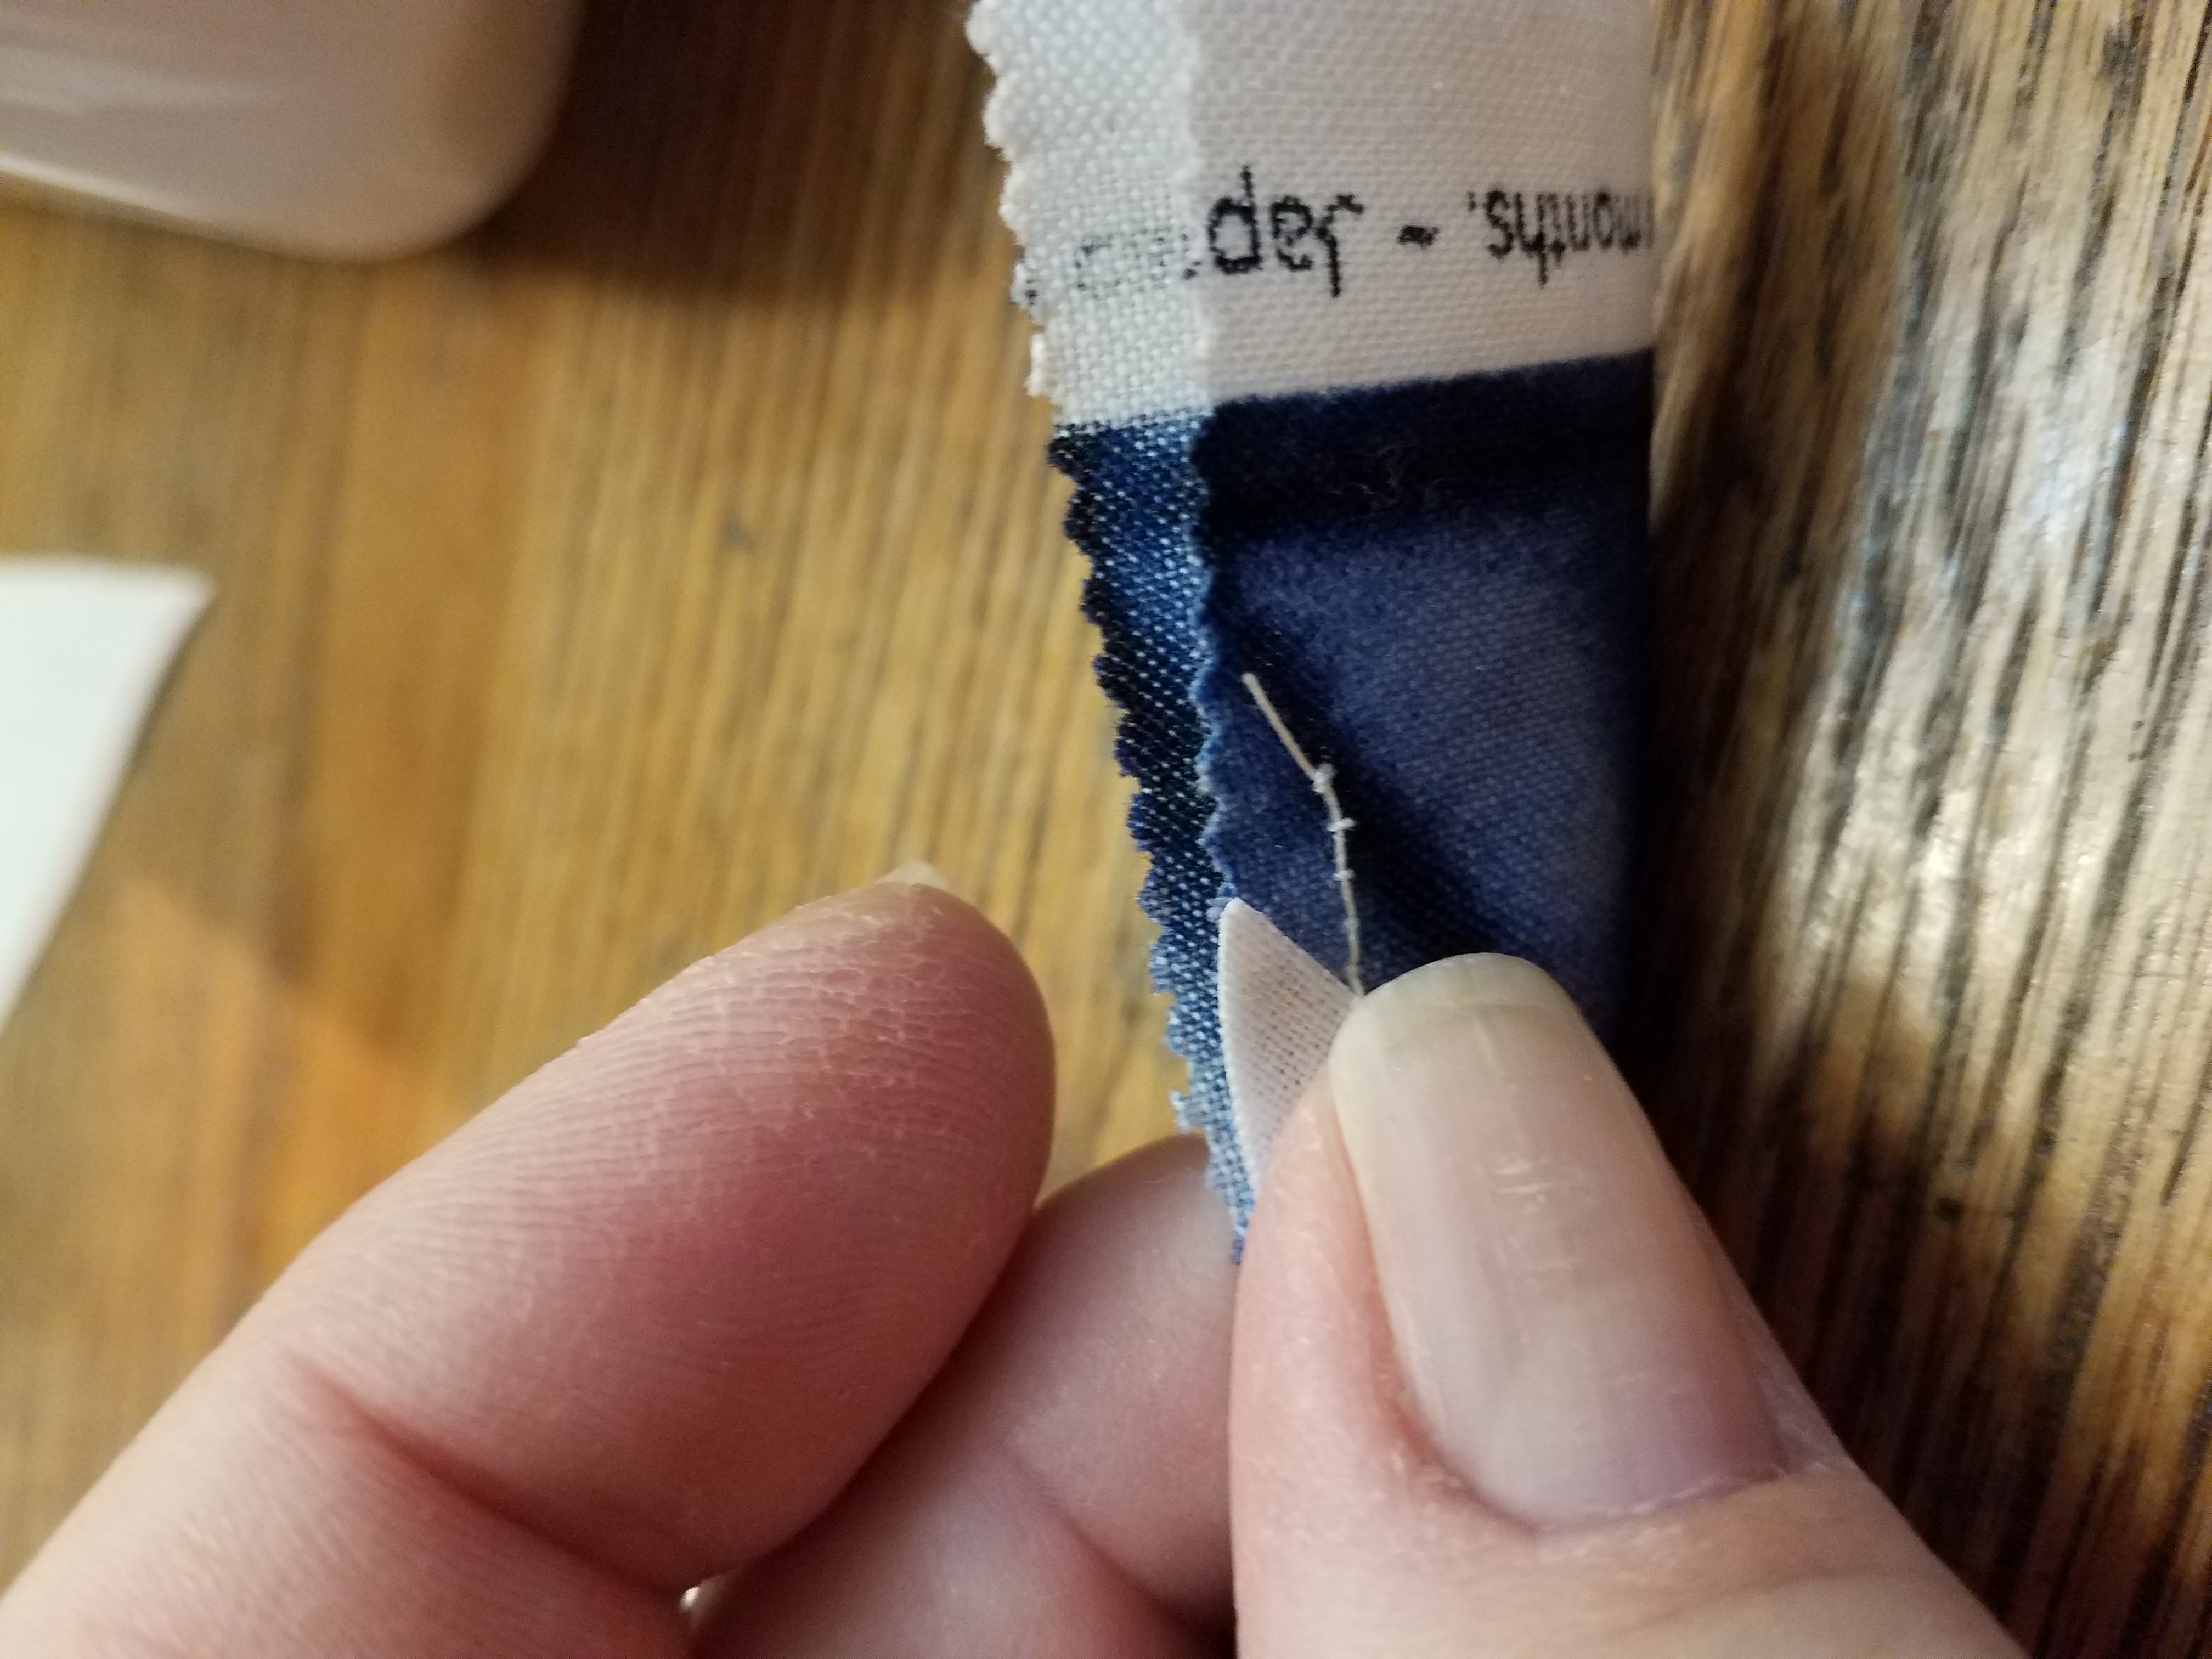

5. Using the pre-ironed fold find the exact spot on the opposite side of the jelly roll to place the remaining HST , sew in place. You may want to mark this with a pencil or a tiny snip.

6. Iron to the dark side.
Tip: I pressed from the back of the block. Be careful not to stretch!

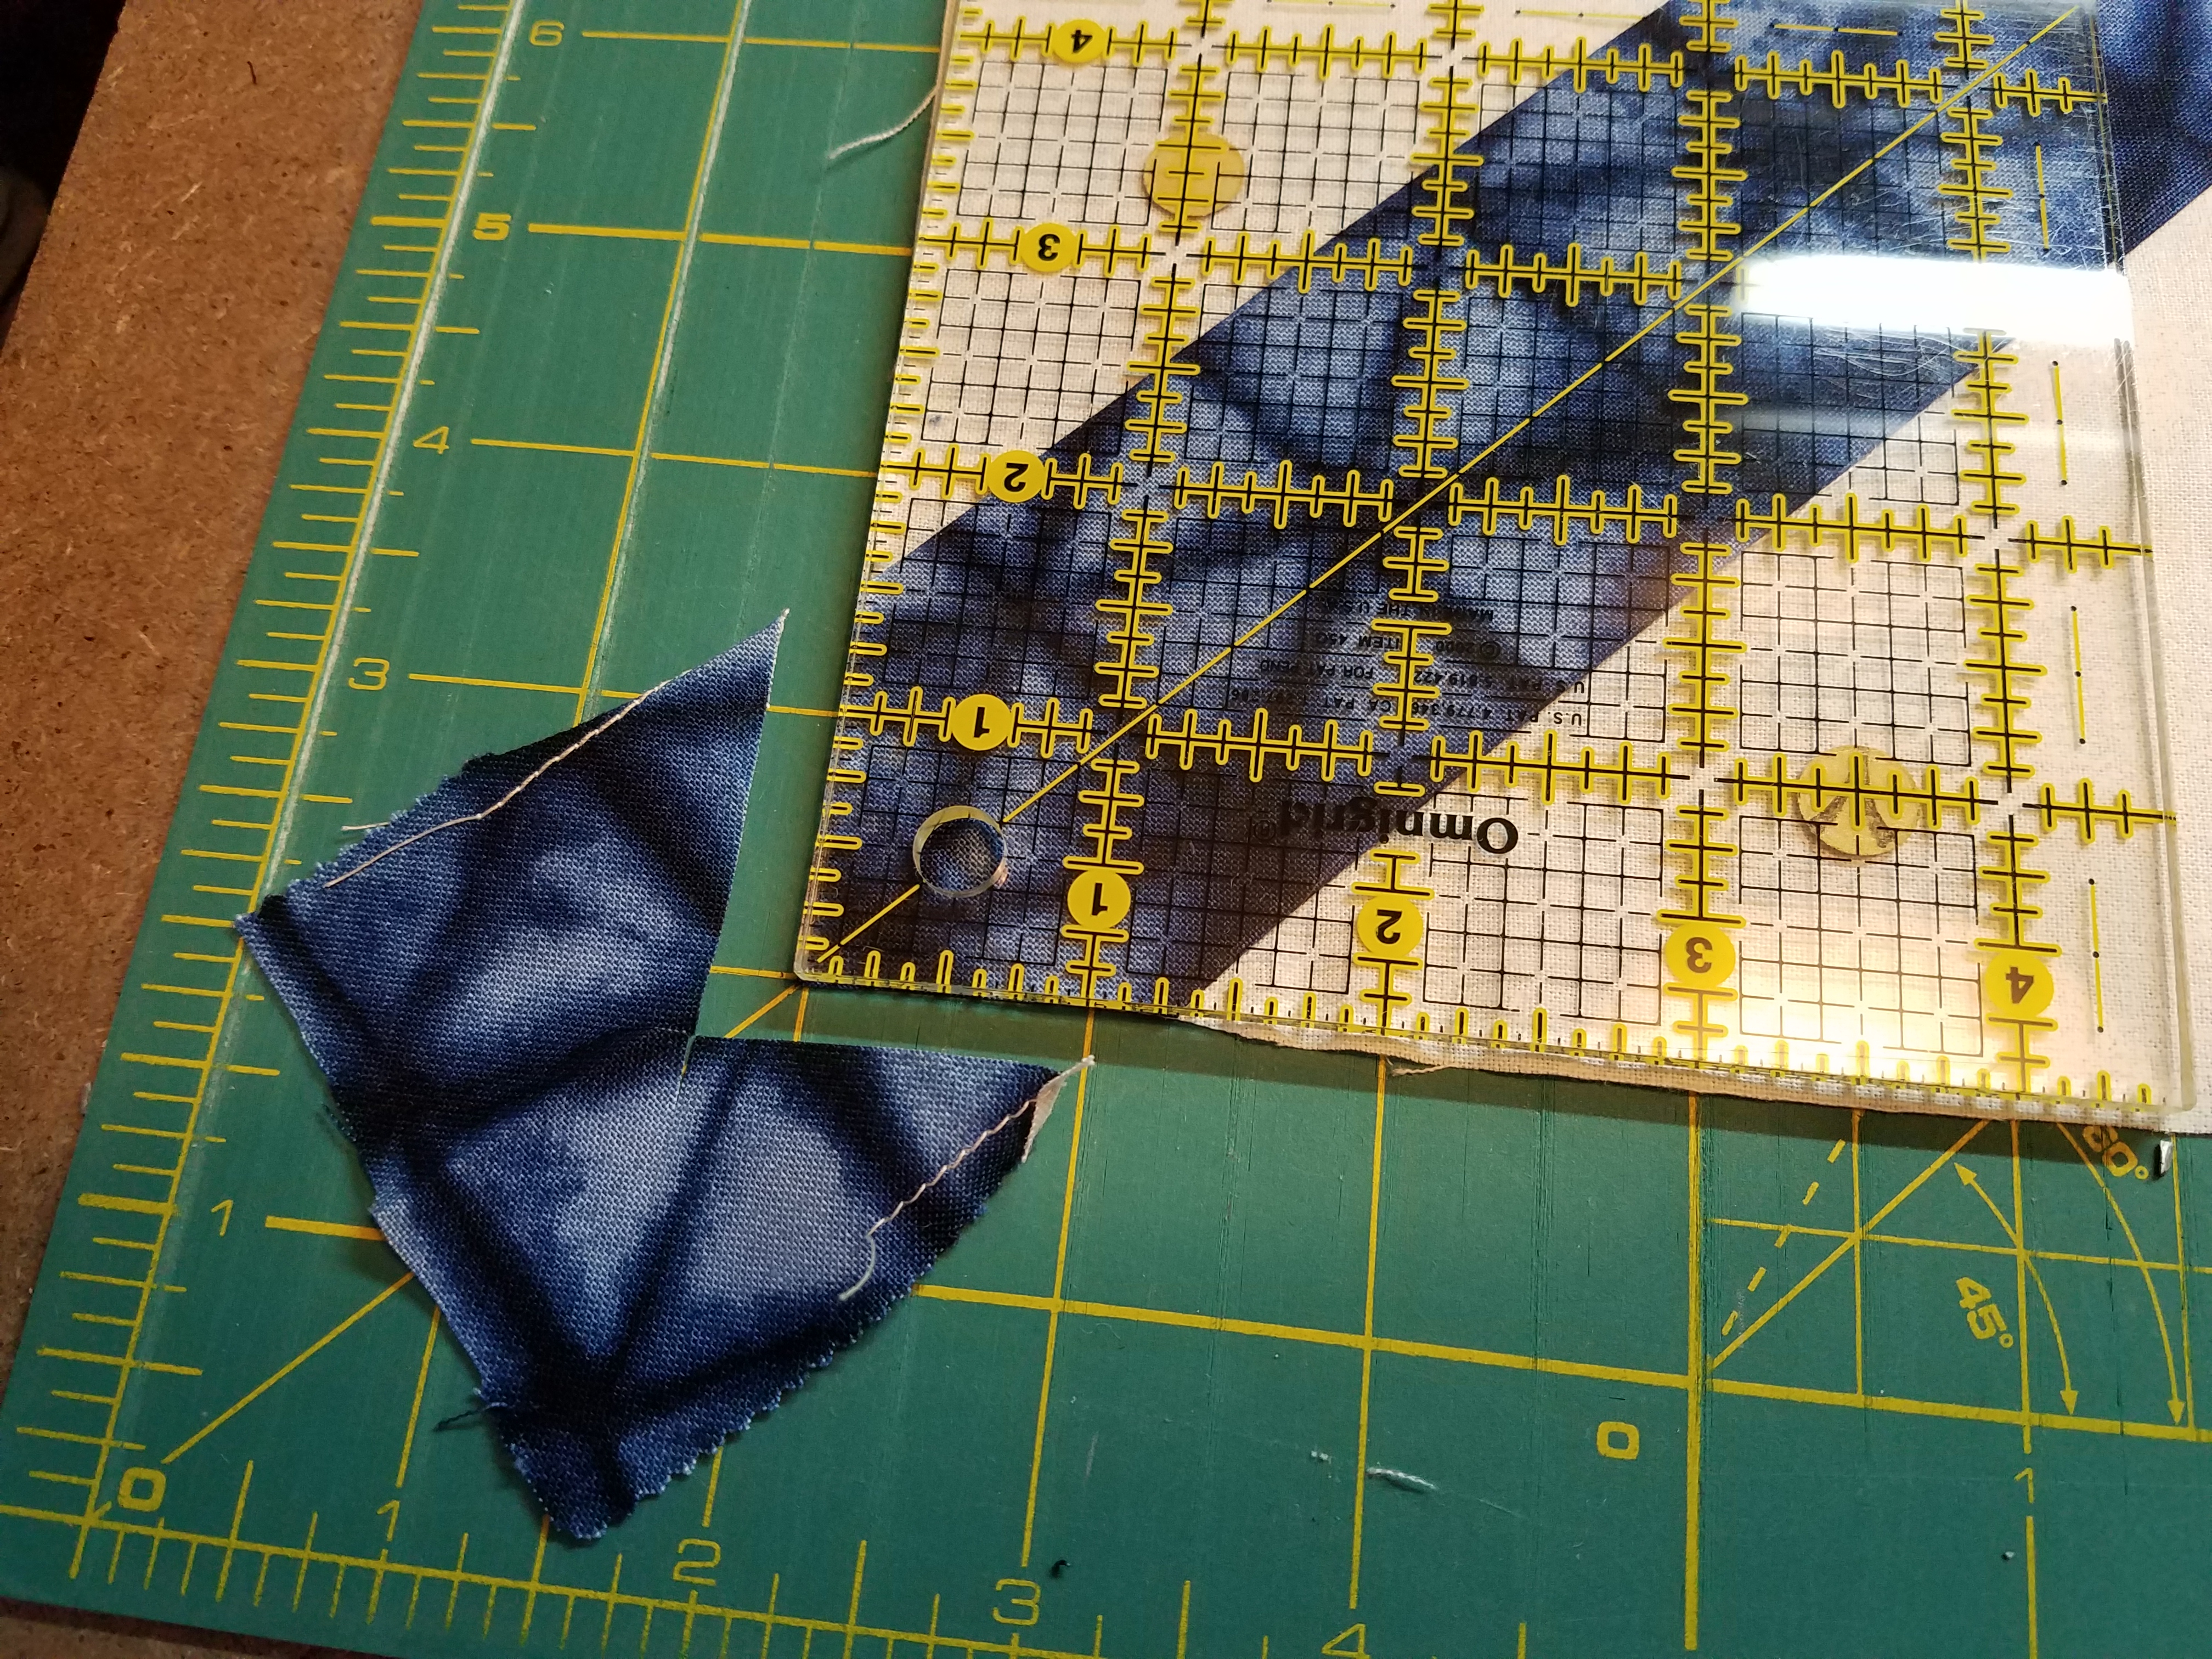
7. Using a square up ruler, place the diagonal line on the ironed line - the center of the jelly roll. Square up the corner and repeat on the other corner.
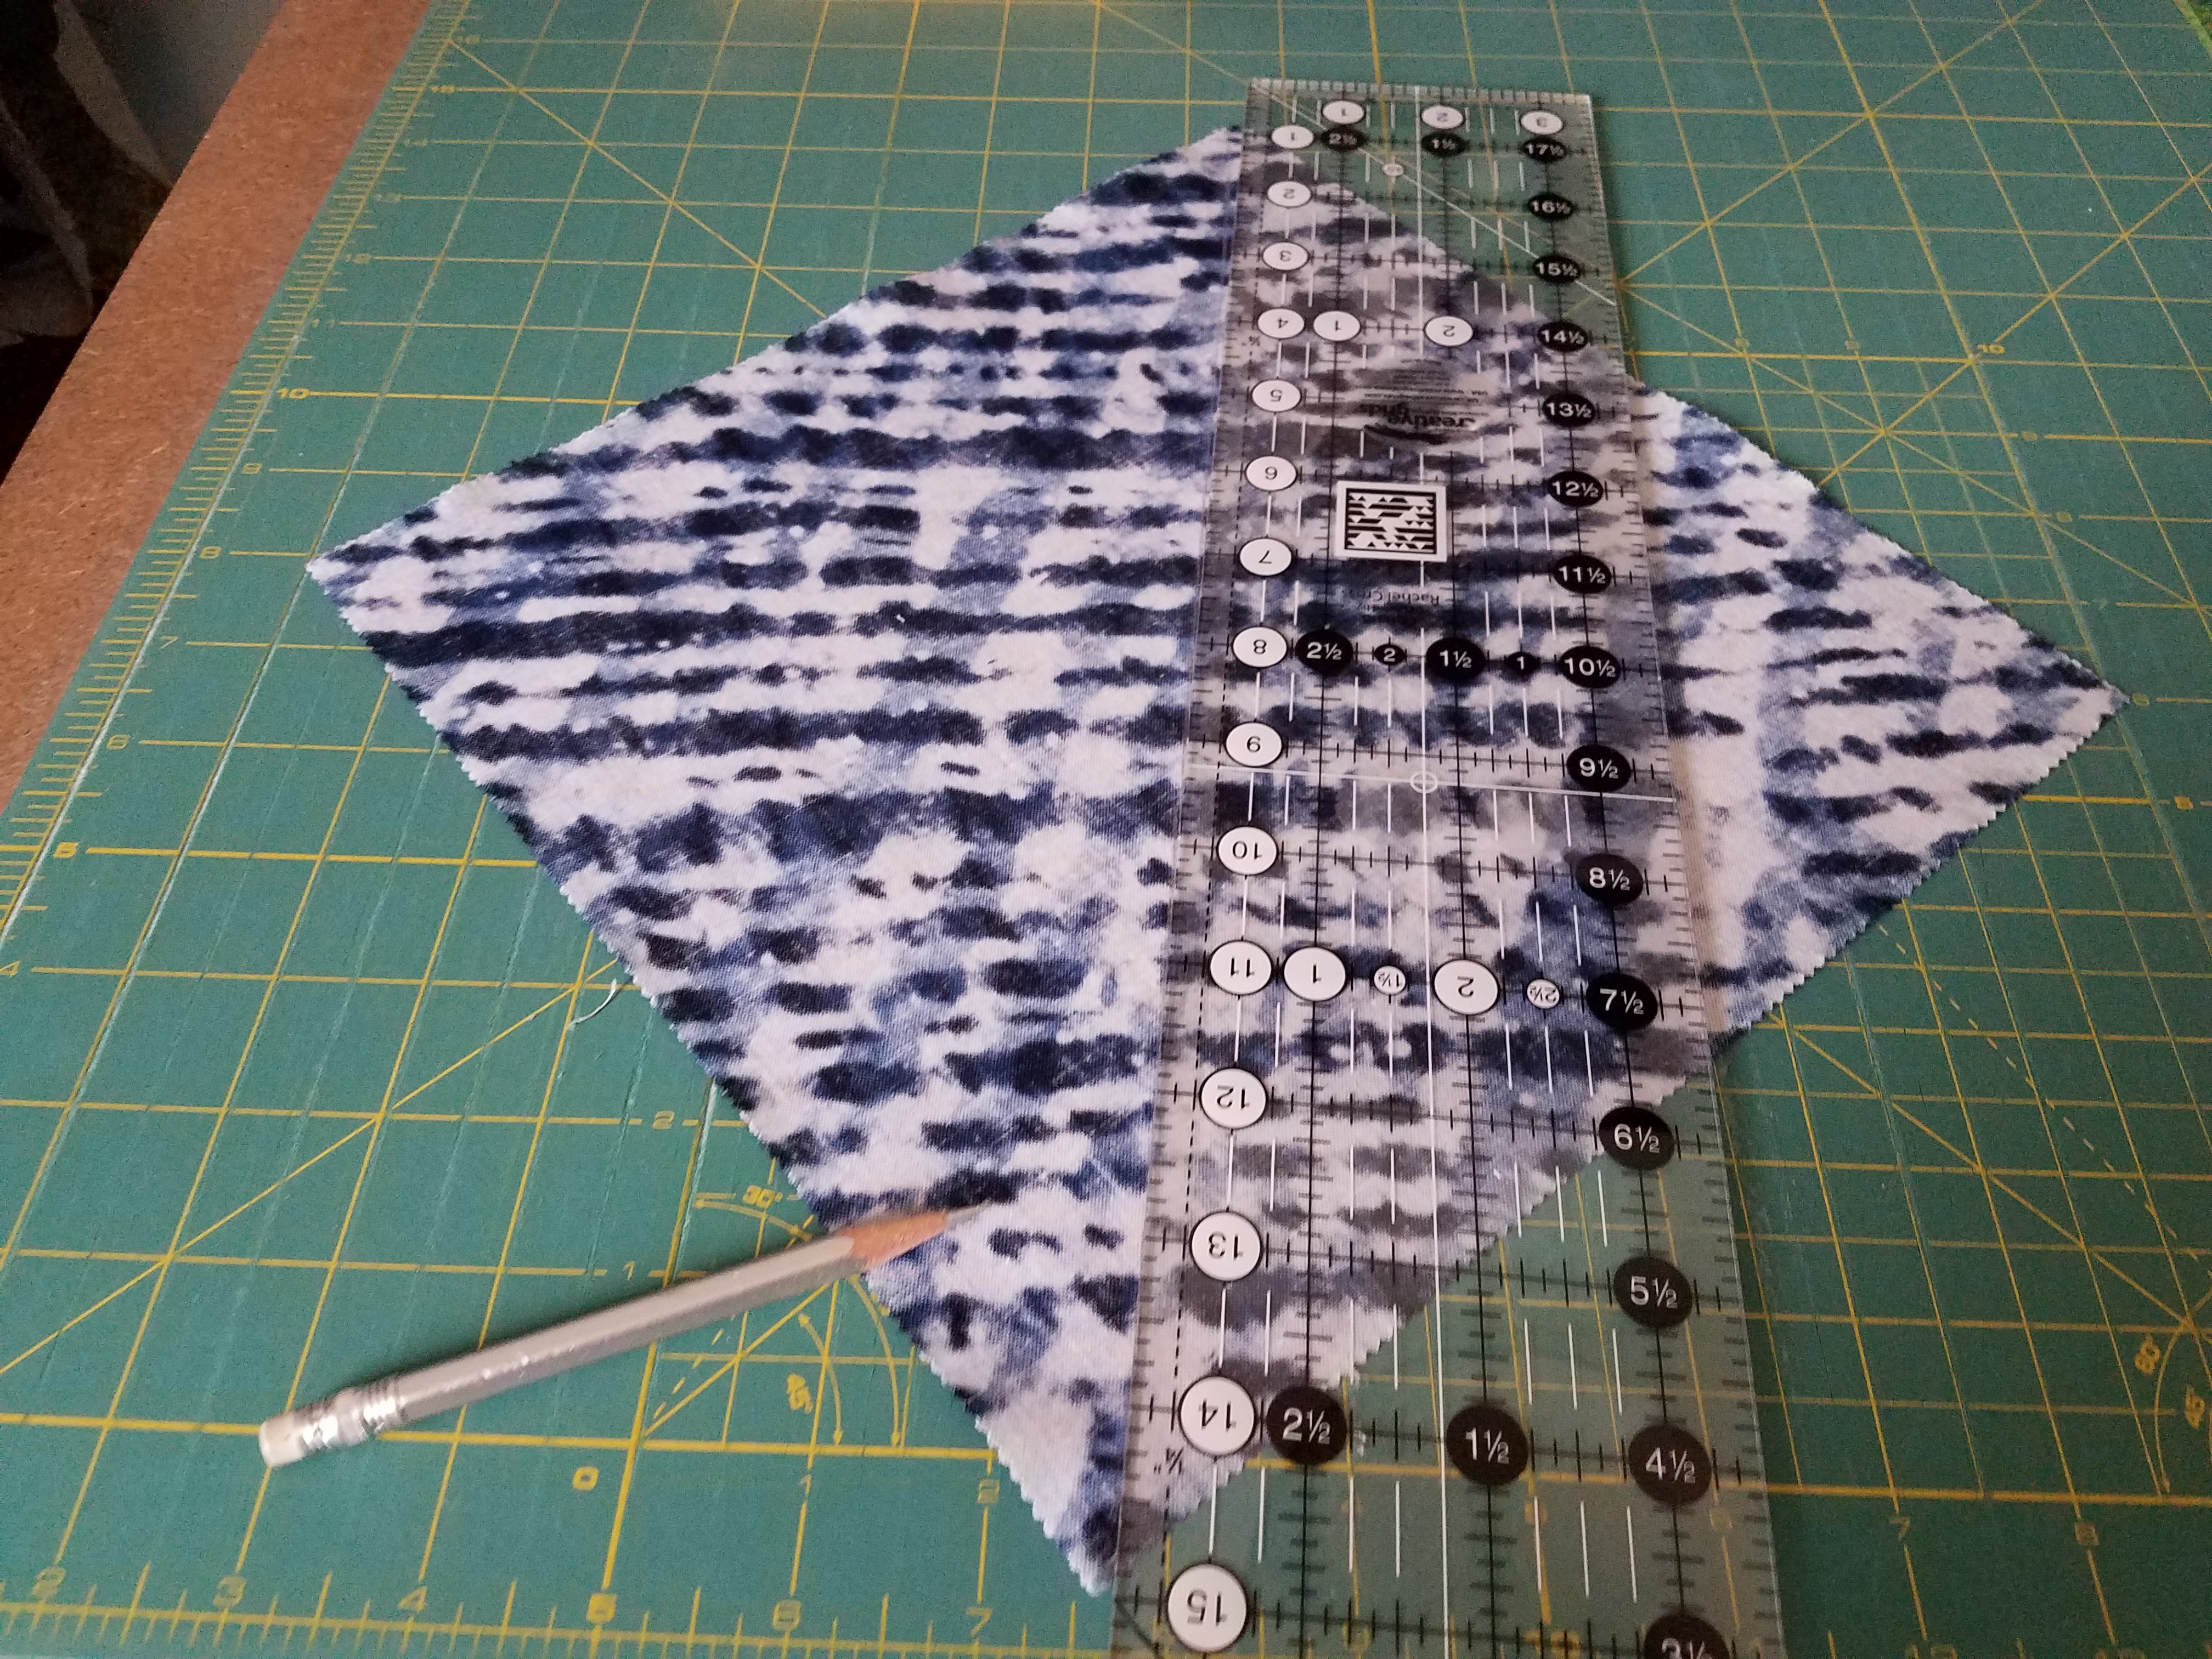
8. Choose the layer cake square that matches your jelly roll chosen and draw a diagonal line

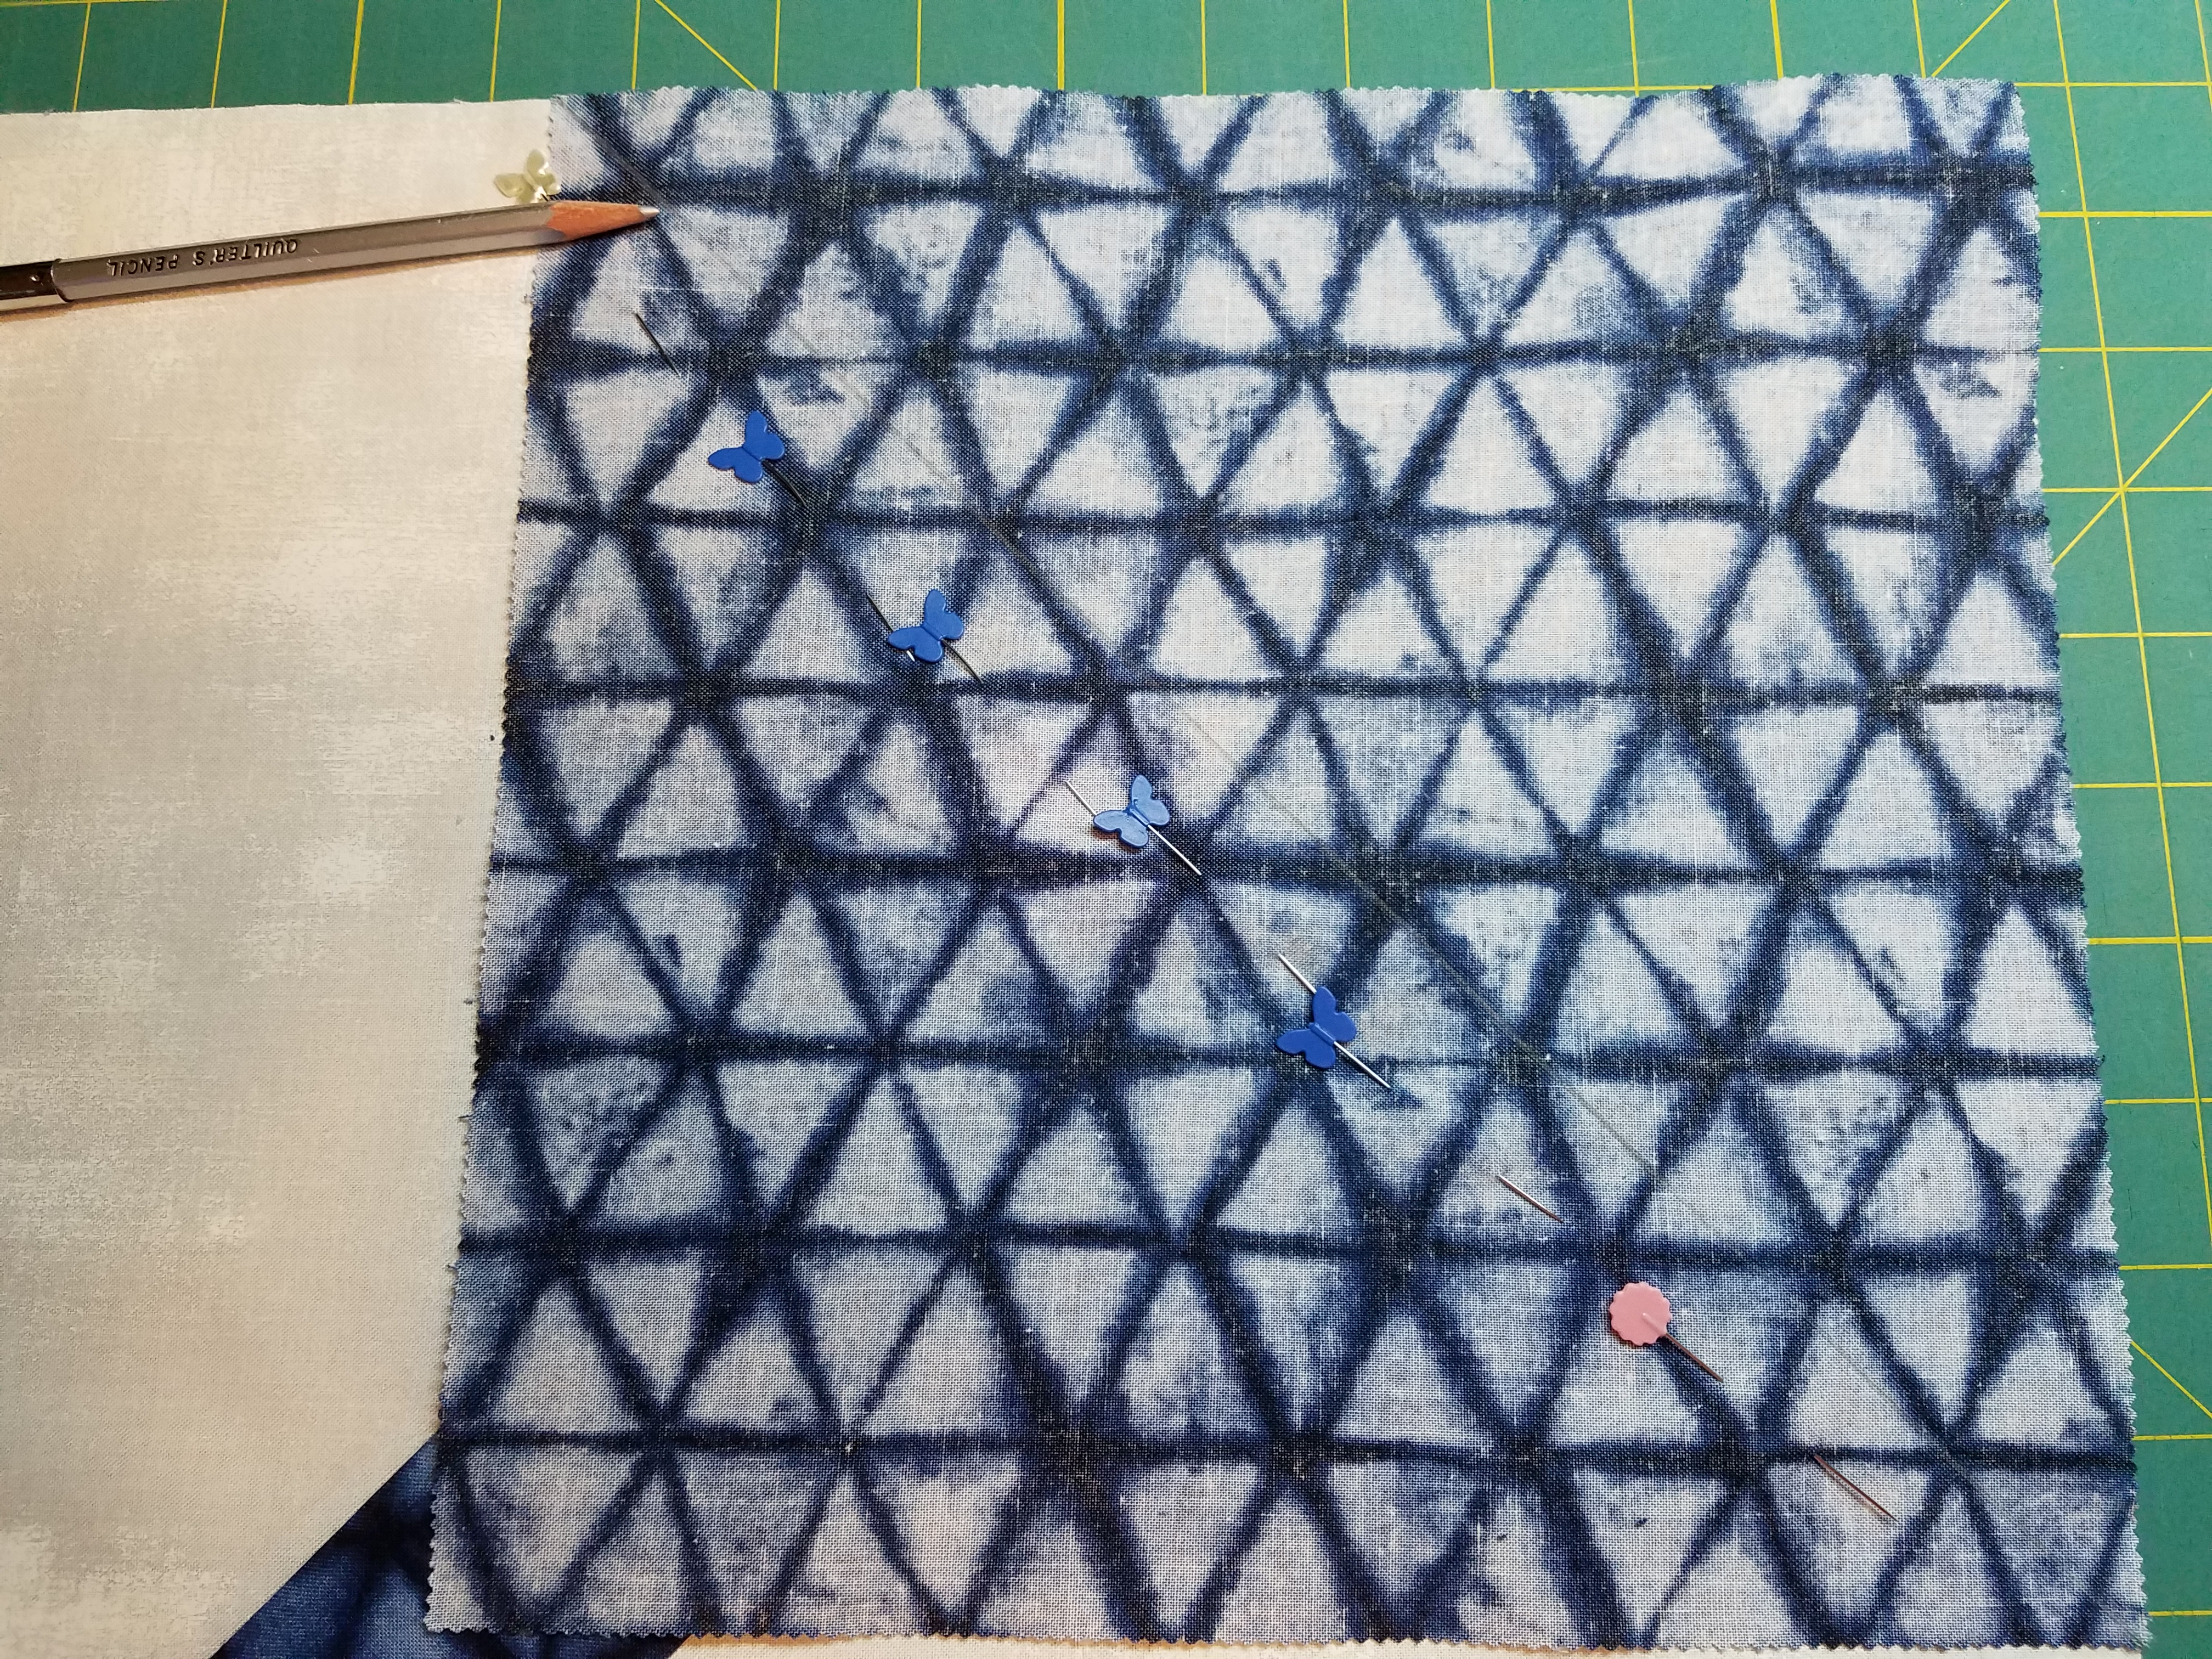
9. Line up the layer cake with the diagonal line going from left to right in your upper right corner of the block. Pin in place with the pins on bottom of the drawn line. My line is where the pencil is in the photo
Tip: Choose the corner that didn't square up perfectly that will be in the upper right of the block
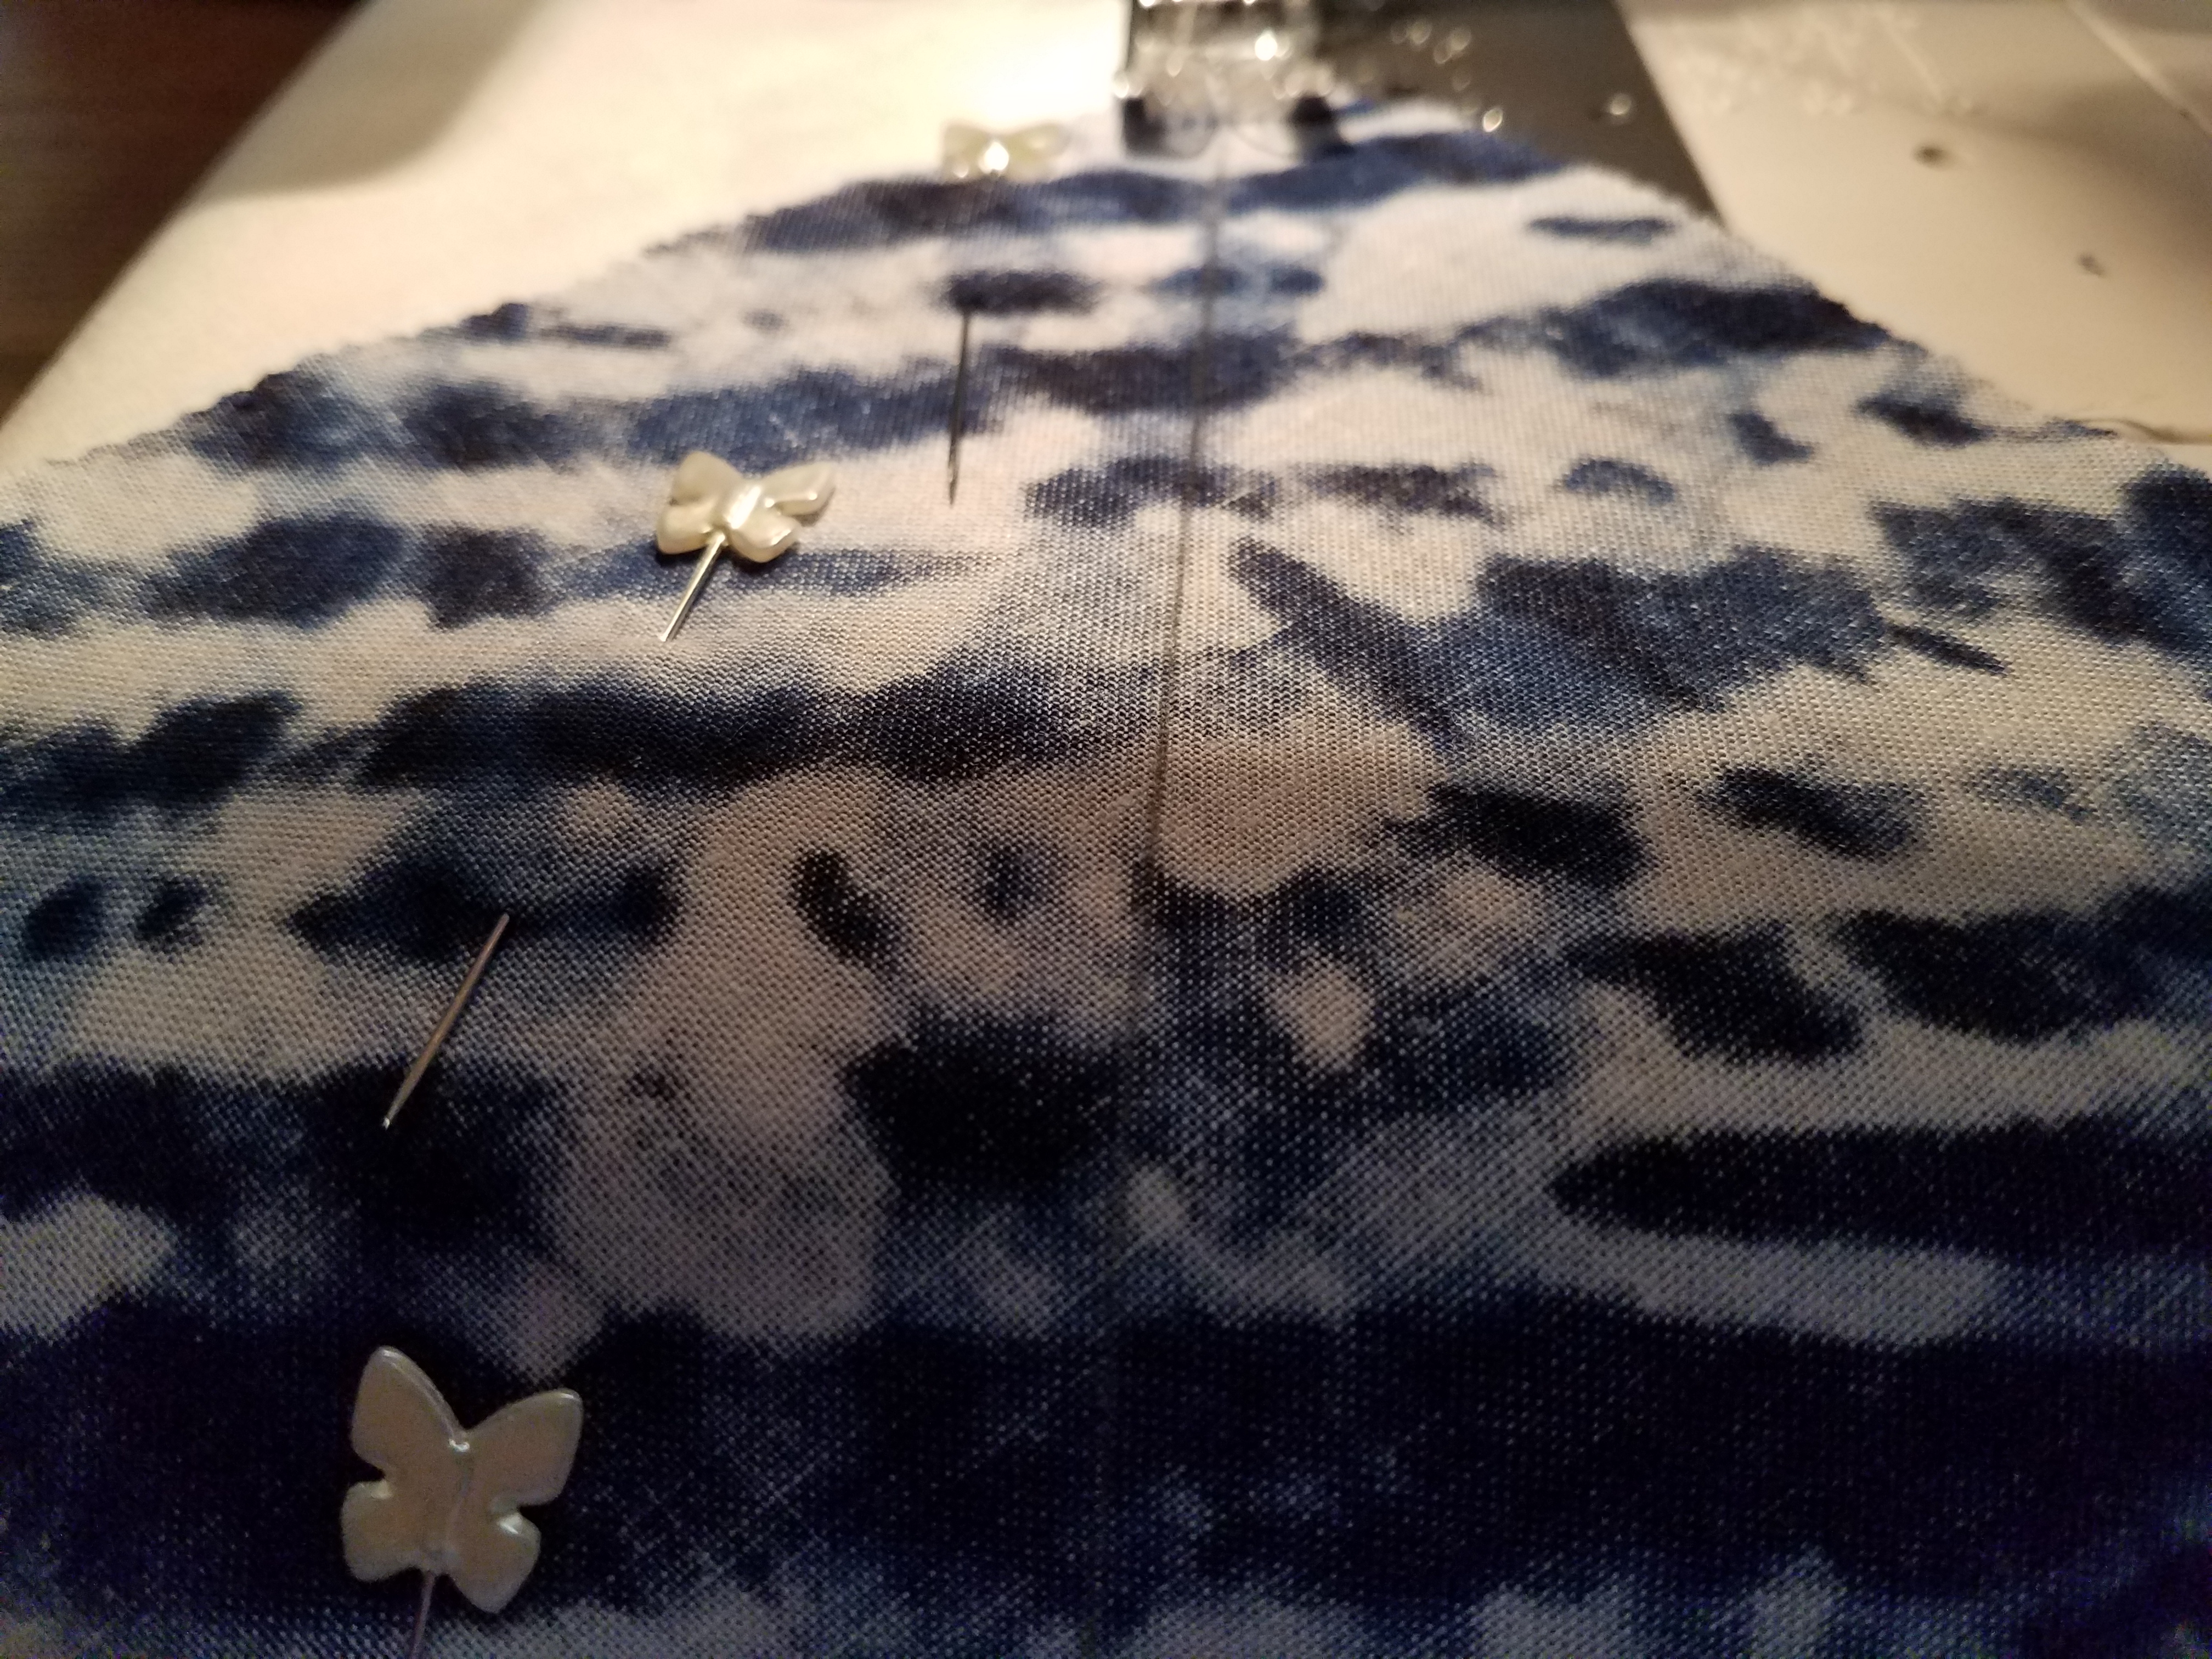
10. Sew the layer cake in place on the drawn diagonal line.

11. Remove pins then cut the corner off 1/4 inch from your seam.

12. Press to the dark side

Repeat this process until you have 16 blocks.
Save your corner triangles in pairs as you cut the corner. In fact, you could sew them now on the diagonal, if you would like, for a bonus block!

Lay out the top as in the above photo and quilt as desired. I have a tutorial on my blog about how I free motion quilted this Arrows quilt and you can read more about it on www.mycreativecorner3.wordpress.com under the tutorial tab on the sidebar.
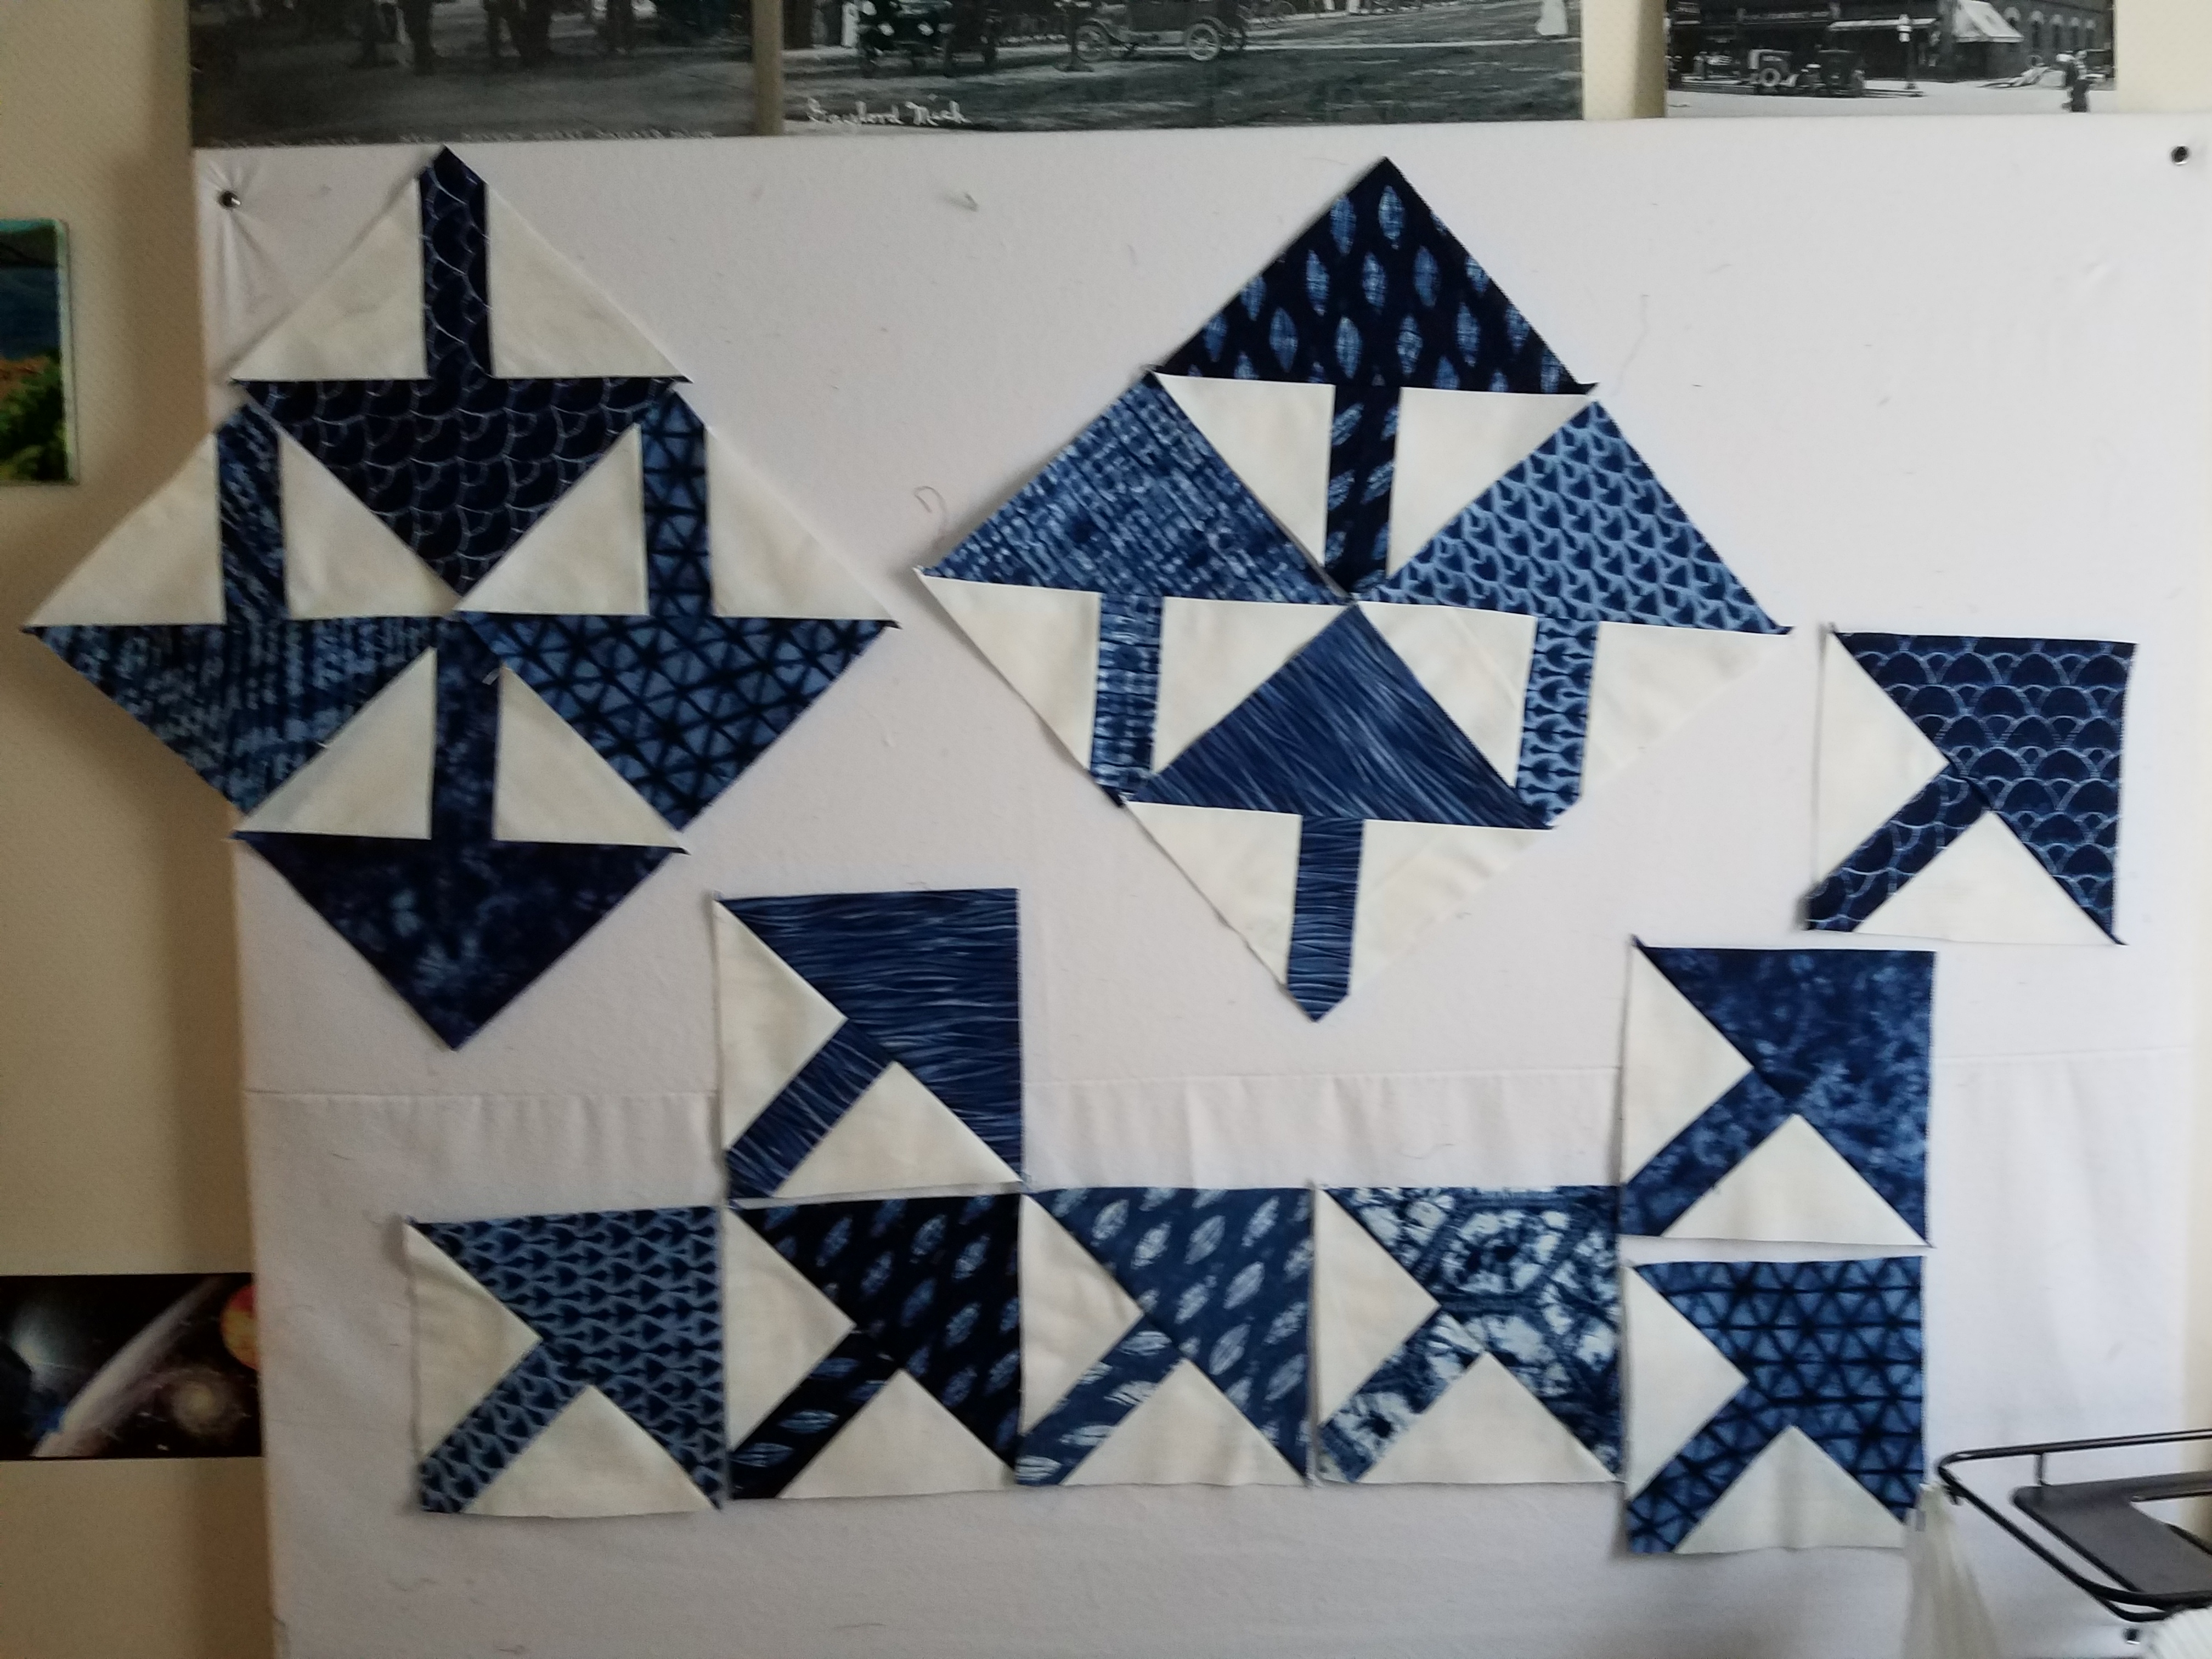
BONUS BLOCKS!!!
Here are a few ideas of potential layouts for your bonus blocks.


![]()
This quilt finishes at 62" x 62".
I had so much fun making this quilt and I hope you do too! The bonus block are a fun little surprise that would make a nice doll quilt or matching quilt for a child. I look forward to seeing your quilt!
Thanks!
I can be found on the following social media:
Instagram: @vickilholloway
YouTube: Vicki Holloway
Podbean Podcast: My Creative Corner3
Facebook: Vicki Holloway Quilting
Vicki Holloway
{www.mycreativecorner3.wordpress.com}
![]()
Save
Save
Posted in:
Comments