Warehouses Closed June 6-13 For Exclusive Event
In Good Company Quilt
In Good Company Quilt
Published:
Aug 14 2017 - 23:00


Hi, I'm Sarah from QuiltModerne. Today I am excited to share my very first Moda Bake Shop tutorial, In Good Company. IGC is a modern twist on a traditional Friendship Star quilt featuring alternate grid work.
This quilt finishes at approximately 60" x 60".
![]()
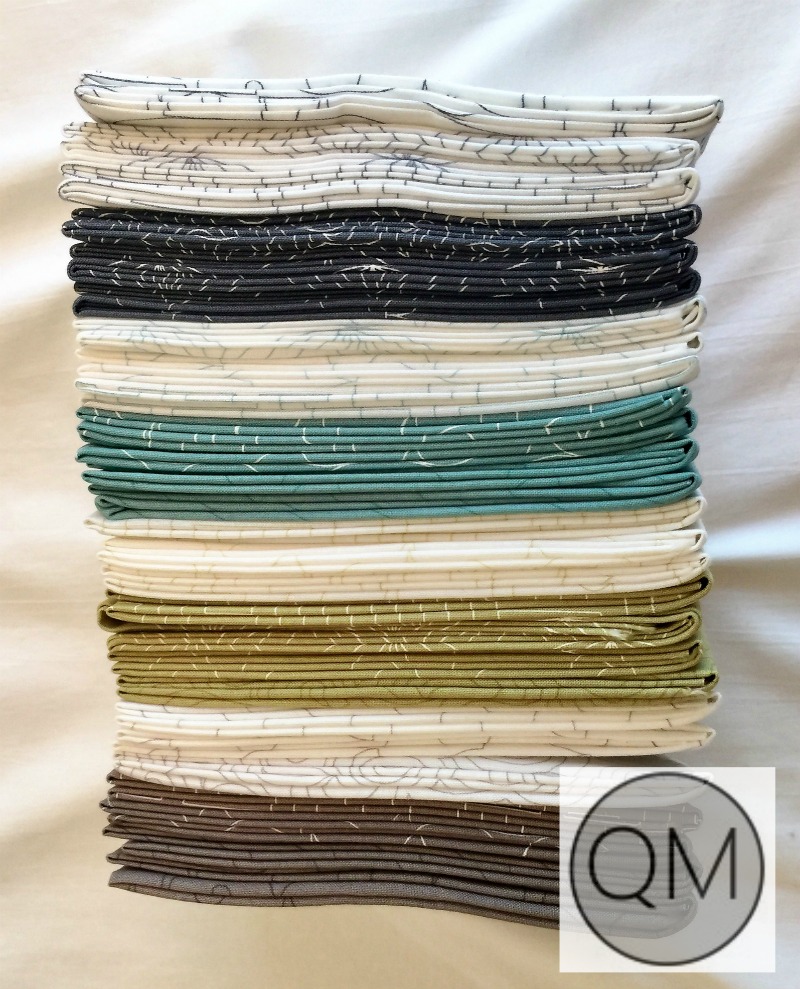
I am thrilled to be using Natalia & Kathleen's new collection Thrive for this quilt! The colors and prints in this collection are beautiful, modern, crisp, and simple. To make your In Good Company quilt you will need the following:
1 Fat Quarter Bundle of Thrive by Natalia & Kathleen [10900AB] (I’ve opted to use only the colored prints in this collection and have set the white low-volume prints aside for a future project.)
3 yards background fabric, I used Off-White Composed [10903 11]
4 yards for the back (this will give you ample fabric to piece your back with a horizontal or vertical seam), I used Off-White Outer Space [10901 21]
5/8 yard for binding, I used Outer Space [10907 17]
Before we get to the instructions, I have a few comments about fabric selection:
I opted to use yardage of one of the white low-volume prints for my quilt. If you prefer a more scrappy look, you could mix up the low-volume prints included in your Thrive fat quarter bundle.
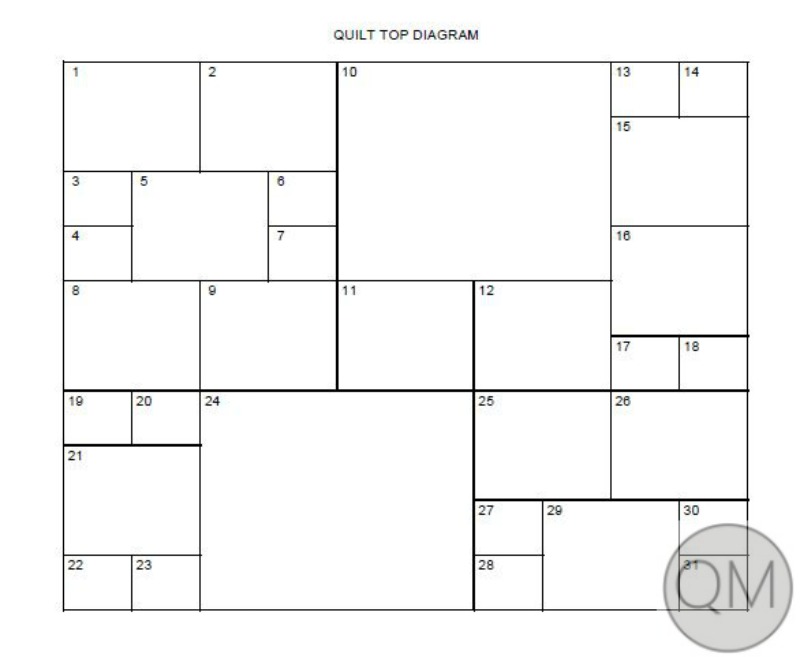
The 24” blocks in this quilt are a great opportunity to showcase large-scale prints. I used the number prints, [10901 15] and [10901 16] in this quilt. Conversely, I opted to use the smaller scale prints for the sixteen 6” blocks. I used the diagram below to map out which prints I planned to use for each block. If you would like to print your own copy, you may do so by clicking the link below.
![]()
Once you’ve pressed and starched (if you starch) your fabric, get ready to hunker down with your favorite audiobook or binge-worthy show. We’ve got some cutting to do!
For the sake of easy math, I’m adding a full inch to the squares we’ll be using for the half-square triangles (HSTs). This will also give you ample room to trim down to size. If you’re comfortable working with less wiggle room, go for it as it will reduce waste. Just make certain your post-trimmed half-square triangles are 2.5”, 4.5”, and 8.5”.
As we will be working with three sizes of Friendship Stars, I am providing both the amount and size of squares needed to complete one block of each size, along with the total number of squares needed for all the stars of each size. We will start with the cutting instructions for the background fabric needed for all three sizes.
BACKGROUND FABRIC
6” BLOCKS
For each 6" block you will need:
(2) 3.5” squares
(4) 2.5” squares
Total Number of background squares for 6” blocks:
(32) 3.5” squares
(64) 2.5” squares
12” BLOCKS
For each 12” block you will need:
(2) 5.5” squares
(4) 4.5” squares
Total number of background squares for 12” blocks:
(26) 5.5” squares
(52) 4.5” squares
24” BLOCKS:
For each 24” block you will need:
(2) 9.5” squares
(4) 8.5” squares
Total # of background squares for 24” blocks:
(4) 9.5” squares
(8) 8.5’ squares
STAR FABRIC
6” BLOCKS:
For each 6” block you will need:
(2) 3.5” squares
(1) 2.5” squares
Total number of Squares for 6” blocks:
(32) 3.5” squares
(16) 2.5” squares
12” BLOCKS:
For each 12” block you will need:
(2) 5.5” squares
(1) 4.5” square
Total number of squares for 12” blocks:
(26) 5.5” squares
(13) 4.5” squares
24” BLOCKS:
For each 24” block you will need:
(2) 9.5” squares
(1) 8.5” square
Total number of squares needed for 24” blocks:
(4) 9.5” squares
(2) 8.5” squares
PIECING THE FRIENDSHIP STAR BLOCKS
All seams are 1/4” and pressed open.
Once you’ve finished cutting your squares, get ready for some HST prep. I am including brief instructions on how I make mine, but feel free to use your favorite method. Once again, just be certain that your post-trimmed HSTs are 2.5”, 4.5”, and 8.5”.
We will be using the 3.5”, 5.5”, and 9.5” background and print squares to make our HSTs.
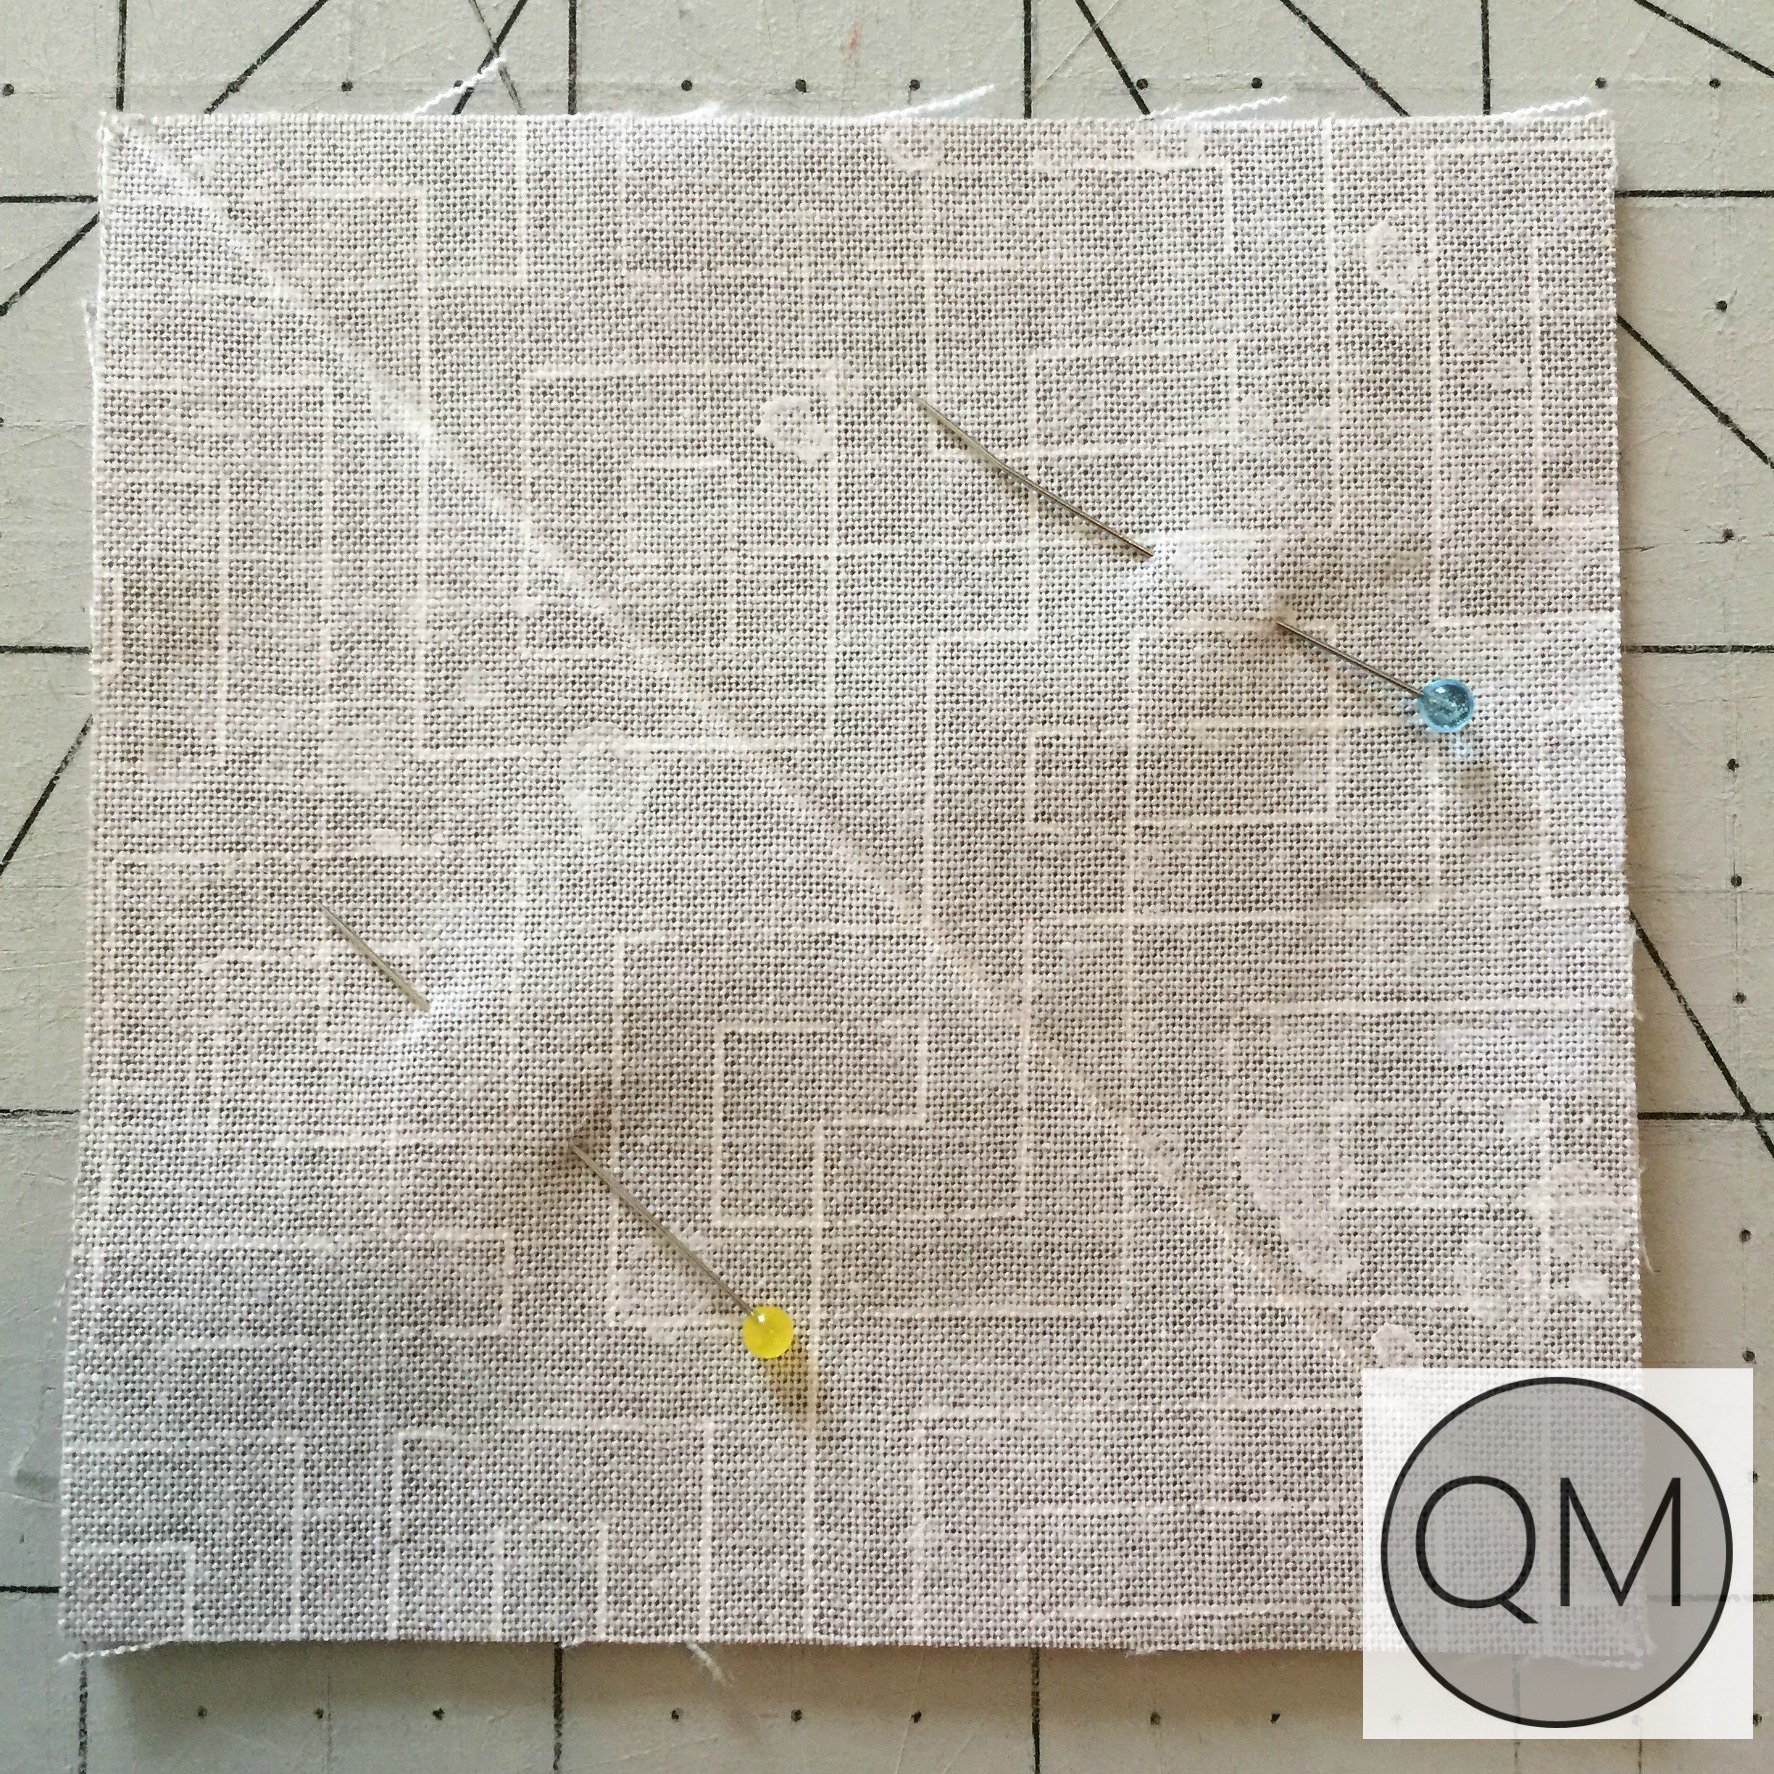
First you will need to match up one background square with one print square of equal size, right sides together. Use your favorite marking tool to draw a diagonal line from corner to corner. If you’re a pinner like me, go ahead and pin now. Repeat this process for all pairs of background and print squares.
 Obviously, I got a little carried away starching my fabric...OOPS!
Once your pairs are pinned, move on over to your sewing machine and get ready for some serious chain piecing. If you’re new to chain piecing, this simply means that you will sew all of these pieces with one continuous length of thread. It will save you both time and thread as you do not stop and snip in between pieces.
Simply sew a line ¼” away from the line you drew on each pair. Once you’ve sewn a line on one side of the pairs, turn them around and repeat.
After your epic chain piecing session, it’s time to do some more cutting. Cut each pair from corner to corner on the line you drew. Each pair of squares will provide you with two HST units.
Once you’ve finished cutting your HSTs, give them a good pressing. As stated above, I pressed all of my seams open. I opted to do this for two reasons. First, it reduces bulk. Second, since this quilt uses alternate grid work (a non-traditional layout) pressing open will save you some time. If you choose to press to one side, you will need to determine ahead of time which seams will nest together; otherwise, you will find yourself re-pressing seams that don’t nest properly.
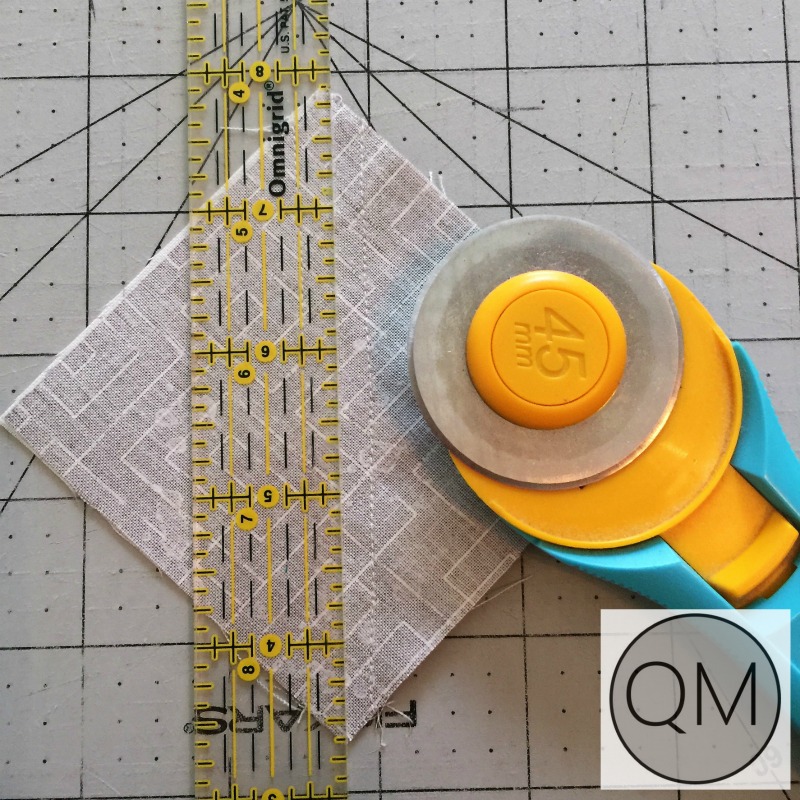
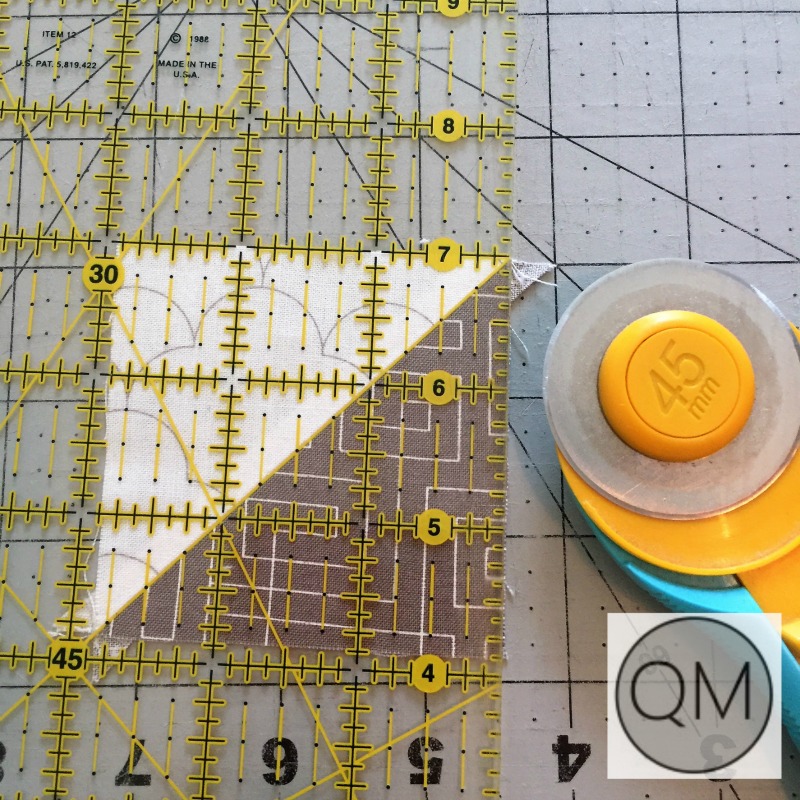
After you've finished pressing, it’s time to trim all those HSTs. Here’s another good opportunity to binge a show. One thing that will speed along the process is using a rotating cutting mat so you don’t have to stop and readjust your HST with each cut. You can just spin the mat instead.
If you’re new to trimming HSTs, I find the easiest way is using a ruler with 45-degree lines. Lay the ruler over your HST, matching up the 45-degree line over your seam and trimming each side. Make sure the small HSTs are trimmed to 2.5”, the medium to 4.5”, and the large to 8.5”.
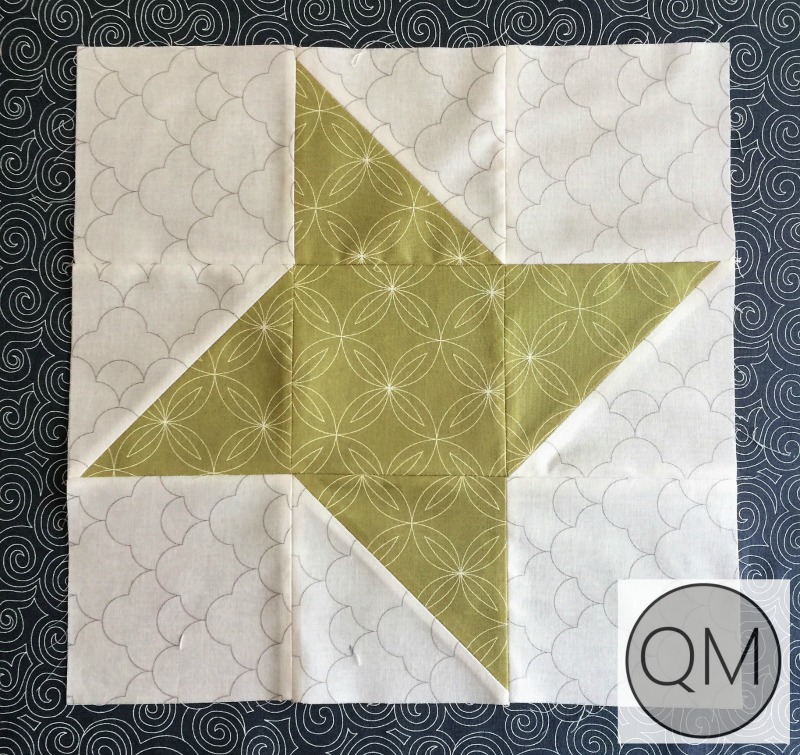
Now that the HSTs are trimmed to size, it’s time to piece the Friendship Star blocks. Once again, I will utilize chain piecing. I keep a little table next to my sewing machine that I use to lay out all of the pieces needed for each block. Since we’re working with a 3x3 layout, this means I will have nine stacks of block units like this:

For me, it’s easiest to chain piece the block sections in this order:


Once you've pieced all thirty-one blocks it's time to put your quilt top together. If you utilized the diagram to map out your top, now is the time to refer back to it. After you’ve confirmed your layout and laid out your blocks, you will want to refer to the IGC Piecing Diagram for piecing your top.
Once you’ve completed your quilt top, go ahead and piece your backing as desired.
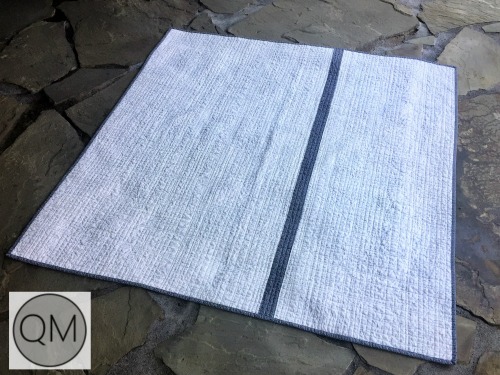
I included a contrasting strip in my backing for two reasons. The contrast of the white on grey swirls adds interest to all of the white space on my backing. More importantly, it prevented me from feeling guilty for not matching up my seams. I am always so envious of those who take the time to match up their seams…but then whenever I decide I want to do that too, I end up pulling my hair out. This way, I get a great looking quilt back without the stress.
Next you’ll want to baste using your preferred method. I spray baste on a long, folding table because I really don’t like basting quilts while kneeling on the floor. I prefer spray basting as I don’t have the patience for pin or thread basting. Just make sure to do it outside or at the very least, open a window and turn on a fan.
Quilt as desired.
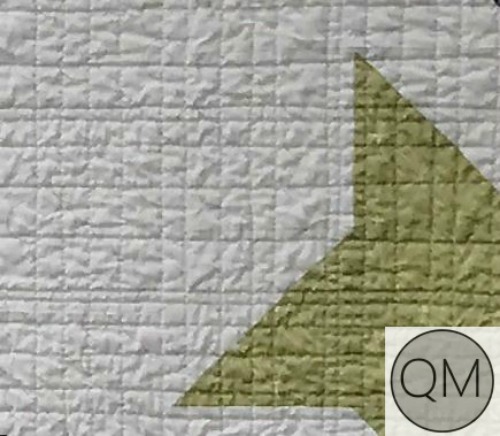
I used a walking foot on my domestic machine and quilted mine with an organic crosshatch. If free-motion quilting is more your thing, a great idea would be to utilize the designs Natalia and Kathleen have used in the Thrive collection. There are several to choose from!
Once you’ve quilted and trimmed your quilt, go ahead and prep your binding.
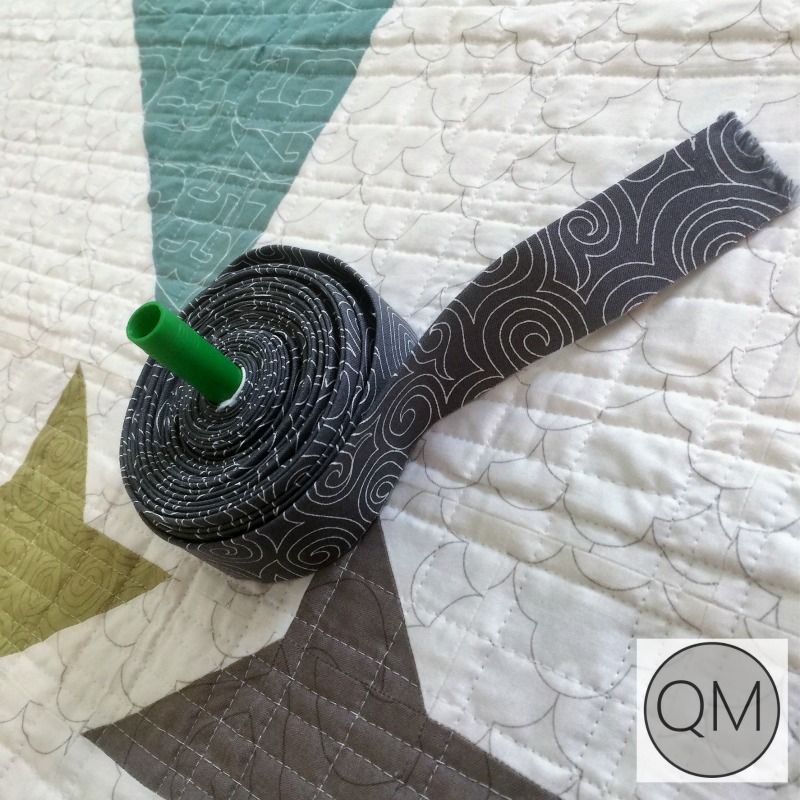
I cut my strips to 2.25”. Once my binding strips are sewn together; I bind using one of two methods.
If I’m looking for a quick finish, making a wall hanging, or I know the quilt will be washed frequently, I sew the strips down to the front of the quilt. After I join the ends and attach them, I clip or pin the binding to the edge of the quilt and then, still on the front side of the quilt, stitch in the ditch, catching the binding on the back. If you’re new to this method, you may want to try it with 2.5” strips until you get the hang of it.
The other method differs in that I hand sew the binding down to the back of the quilt after attaching it to the front and then clipping it down.
![]()
This quilt finishes at approximately 60" x 60".
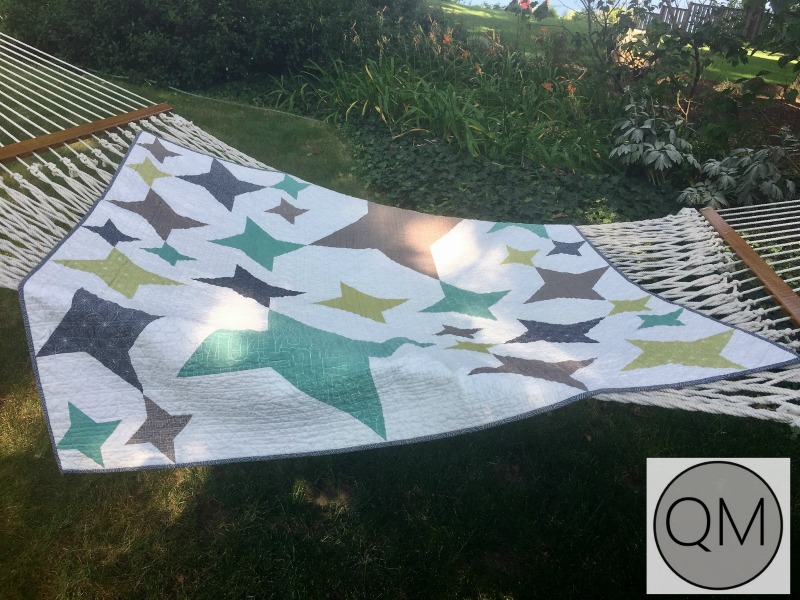
Thanks for following along with my In Good Company quilt tutorial! The alternate grid work layout featuring three sizes of Friendship Stars is an unexpected twist on a traditional favorite.
Got questions? Don’t hesitate to ask in the comments or ask me directly. If you’re on social media, I’d love to see your quilts! Please tag me @QuiltModerne on Instagram or Twitter and use the hashtag #IGCquilt.
Sarah Elliott
QuiltModerne
![]()
Save
Posted in:
Comments