Welcome to Moda Fabrics!
Wild Windows Quilt
Wild Windows Quilt
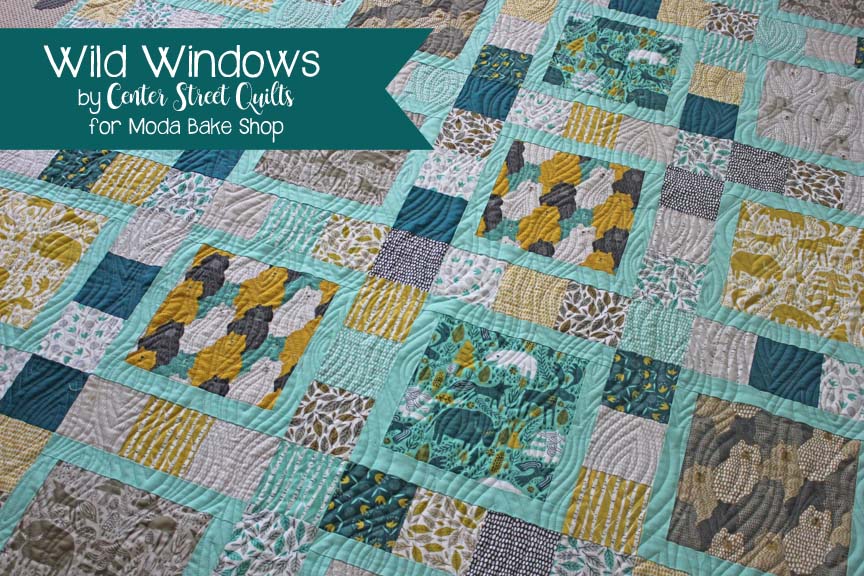
Hi! This is Kristina from Center Street Quilts and I'm excited to be joining you today with my Wild Windows tutorial.
Anyone who has spent time in a quilt shop knows it can sometimes be difficult to find prints that are more masculine. Don't get me wrong—I love a good floral print! But the boys in our lives? Probably not as much. So when I first saw the Big Sky fabric collection by Annie Brady, I knew I had to use those cute bear and moose prints in a quilt for my little guy!
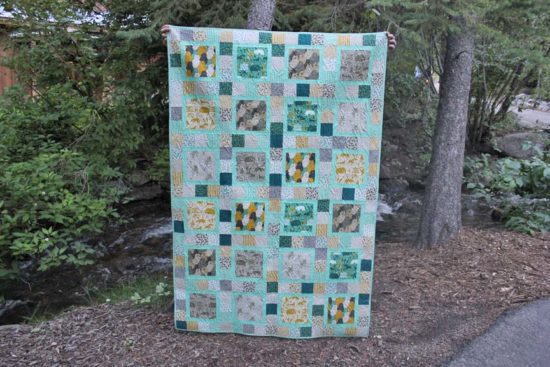
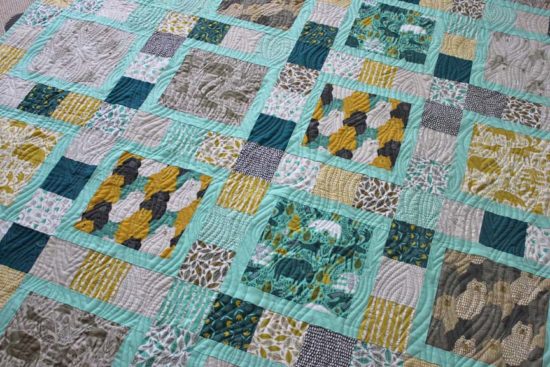
I designed the Wild Windows quilt specifically with large scale, focal prints in mind (like those darling Big Sky bears!!). I wanted a simple pattern that would let your favorite prints shine in a big way. The “windows” are framed by a small strip of solid fabric to highlight and separate the focal prints from the fun patchwork sashing.
This quilt finishes at 51" x 75".
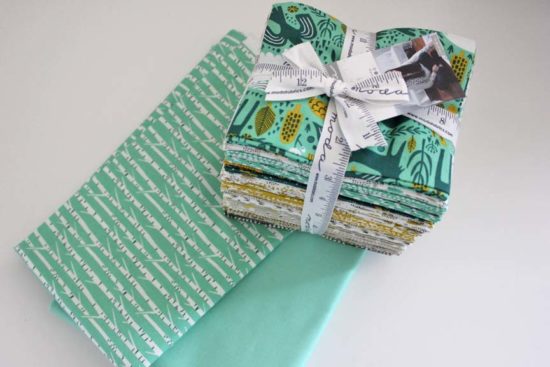
1 Fat Quarter Bundle {Big Sky by Annie Brady}
1 yard coordinating solid {Moda Bella Solids Green 9900 65}
3 1/2 yards backing fabric
1/2 yard binding fabric
Cutting Instructions:
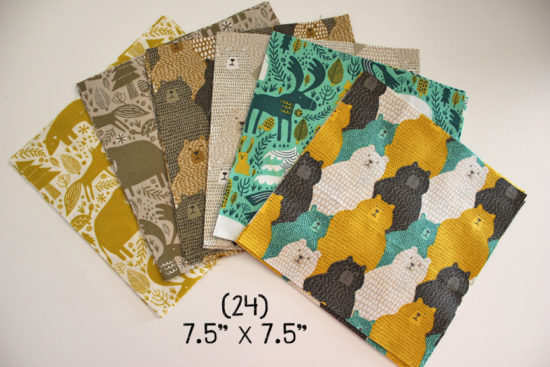
From your fat quarter bundle, select (6) fat quarters that you want to highlight. These will be made into the “windows” on the quilt. Cut (4) 7.5” x 7.5” squares from each fat quarter for a total of (24) 7.5” squares.
From the coordinating solid yardage, cut (20) 1.5” x Width of Fabric (WOF) strips.
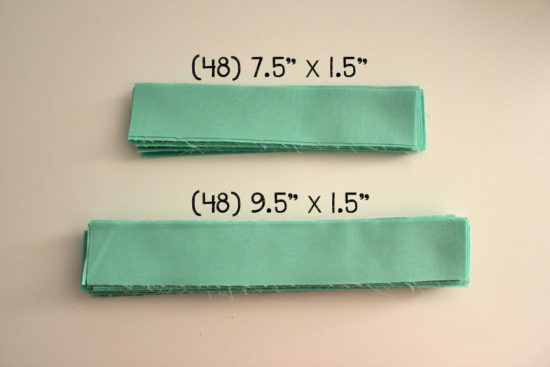
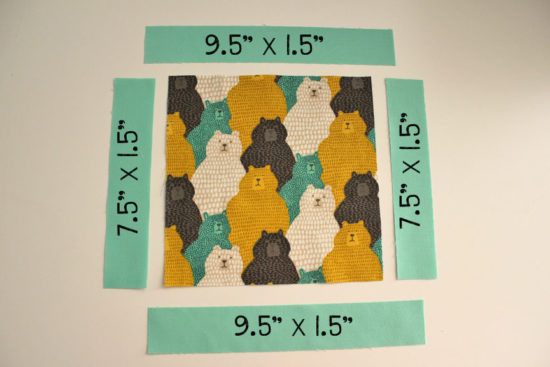
- Sub-cut (16) of the strips into (2) 9.5” x 1.5” rectangles and (3) 7.5” x 1.5” rectangles each.
- Sub-cut the remaining (4) strips into (4) 9.5” x 1.5” rectangles each.
You should now have (48) 9.5” x 1.5” and (48) 7.5” x 1.5” rectangles.
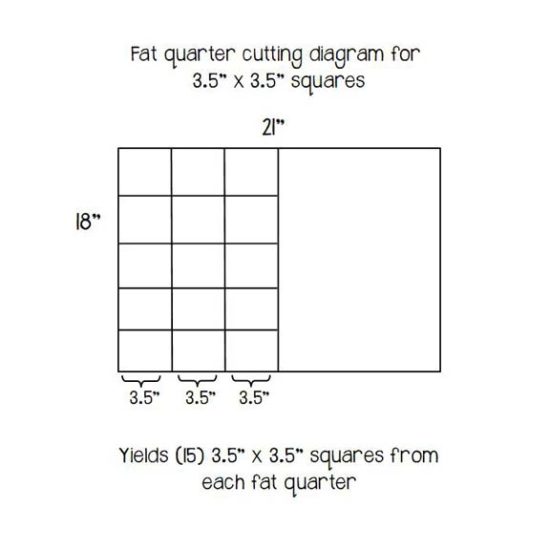
Select (14) fat quarters from the Big Sky fat quarter bundle. Follow the diagram below to cut (15) 3.5” x 3.5” squares from each fat quarter. This will only use half of the fat quarter and you will have the remaining half for another project.
Side note: Alternatively, you can choose to select only (7) fat quarters to be made into the patchwork sashing around the windows. This will obviously require less overall fat quarters, but will also result in less variety of prints for your sashing. To use only (7) fat quarters for the sashing, follow the diagram above to get (15) 3.5” x 3.5” squares from the left side of the fat quarter, then repeat for the right side to yield a total of (30) 3.5” x 3.5” squares per fat quarter. From all (7) fat quarters, you should have a total of (210) 3.5” x 3.5” squares.
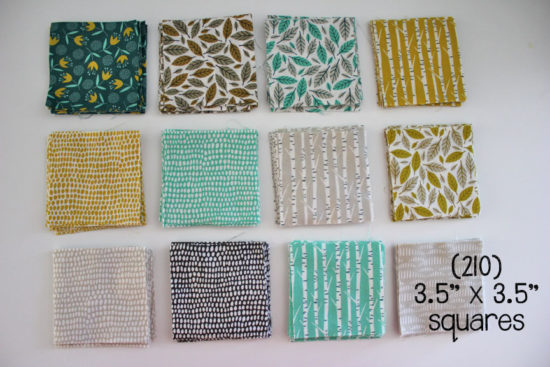
Whether you choose to use the method with (14) or (7) fat quarters, you will yield (210) 3.5” x 3.5” squares for the patchwork sashing.
Assembling the blocks:
Gather the (24) large 7.5” x 7.5” squares and the 1.5” coordinating solid strips.
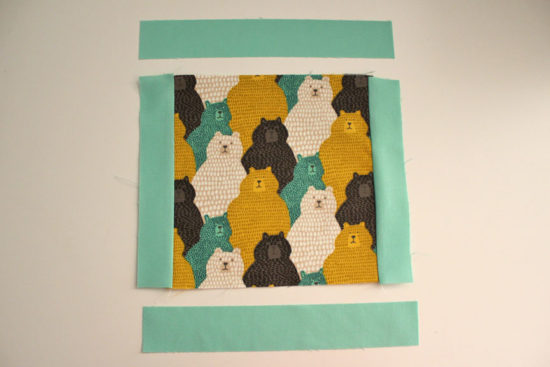
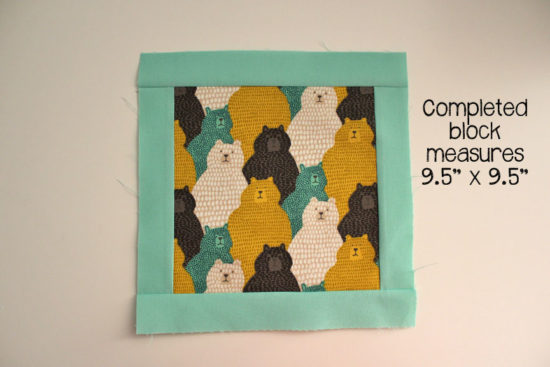
Sew the 7.5” x 1.5” solid strips on the left and right sides of the large squares. Press seams toward the solid fabric.
Sew the 9.5” x 1.5” solid strips on the top and bottom of the large squares. Press seams toward the solid fabric. The completed block should measure 9.5" x 9.5".
Assembling the sashing:
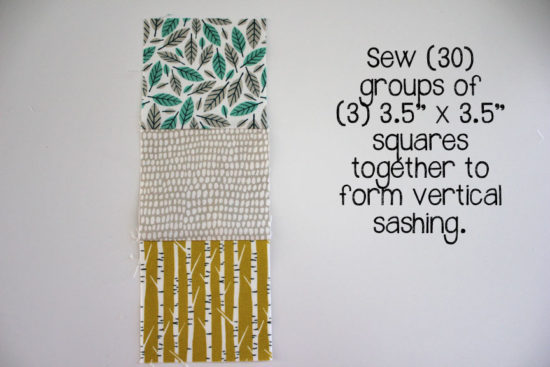
Sew (30) groups of (3) 3.5” x 3.5” squares together for the vertical sashing. If you have directional fabric, take notice of the direction of the print before sewing together. All (30) of these strips will be placed vertically in the quilt top.
Press seams to one side (up or down--it doesn't matter which). Each unit should measure 3.5” x 9.5”.
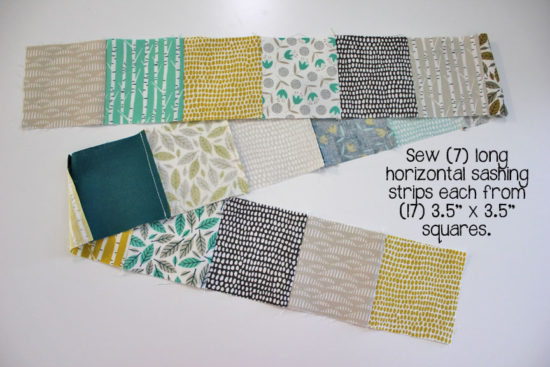
Sew (7) long sashing rows, each consisting of (17) 3.5” x 3.5” squares for the horizontal sashing. Again, take notice of any directional prints as these sashing strips will be placed horizontally. Press all seams so they are facing the left side of the quilt top.
After all of the patchwork sashing is sewn together, you will have one extra 3.5" x 3.5" square left over--so don't worry that it should be sewn on somewhere. :)
Assembling the quilt:
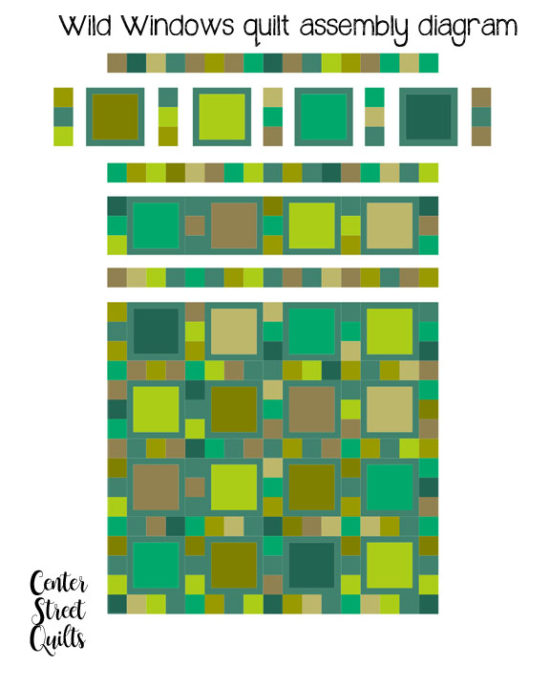
Lay out the quilt according to the quilt diagram below with four window blocks across and six window blocks down. Each row will have a 3-square verticle patchwork sashing unit in between the window blocks and at the beginning and ending of each row. Sew each row together. Press the seams to the right of the quilt top.
Sew the rows together, with a long horizontal sashing strip in between each row and at the top and bottom of the quilt. Press seams up or down (you pick!). :)
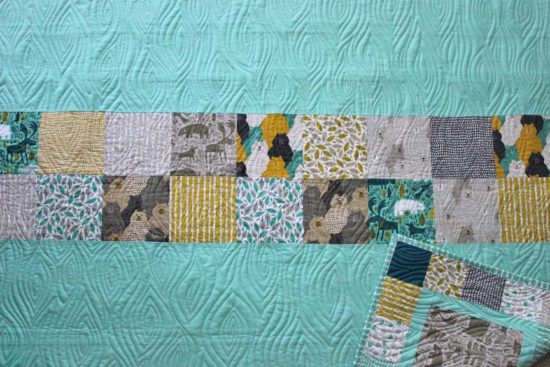
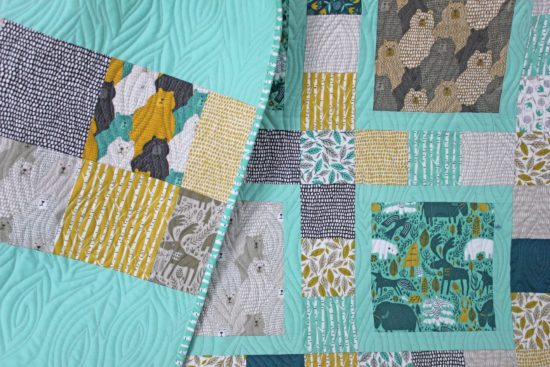
The 3.5 yard backing yardage will need to be cut in half and pieced along the selvage end. I decided to take advantage of some of the remaining fat quarter pieces to do a fun patchwork stripe across the backing of my Wild Windows quilt. I cut (22) 5.5" x 5.5" squares and made two rows of (11) squares each. The patchwork rows were then inserted right where I needed to piece the two backing pieces together. It's a fun way to add more interest and color to the back while using more of those great fat quarter prints.
Quilt and bind as desired.
This quilt finishes at 51" x 75".
Thank you for following along with my Wild Windows quilt! If you make your own, please share it with me on instagram by tagging me (@centerstreetquilts) or using the hashtag #wildwindowsquilt, as I'd love to see your creation! You can follow along with more of my quilting adventures on my blog, Center Street Quilts. Thank you and happy sewing!
Kristina Brinkerhoff
Center Street Quilts
Save


Comments