Welcome to Moda Fabrics!
Jelly Roll Magic Quilt
Jelly Roll Magic Quilt
Published:
Sep 29 2017 - 23:00

![]()
Hello fellow bakers! I am so glad to be back on the Moda Bake Shop to share another easy pattern with you. As I mentioned in my previous post, I am fairly new to the quilting world and I am looking for something that is quick and easy. This quilt definitely fits the bill. The Jelly Roll Magic quilt is my 6th finished quilt and I love the way it turned out. I hope you do, too!
Please check out my instagram page (@mona.phelps) for the most recent updates on what I'm working on.
This quilt/project finishes at 53" x 67".
![]()
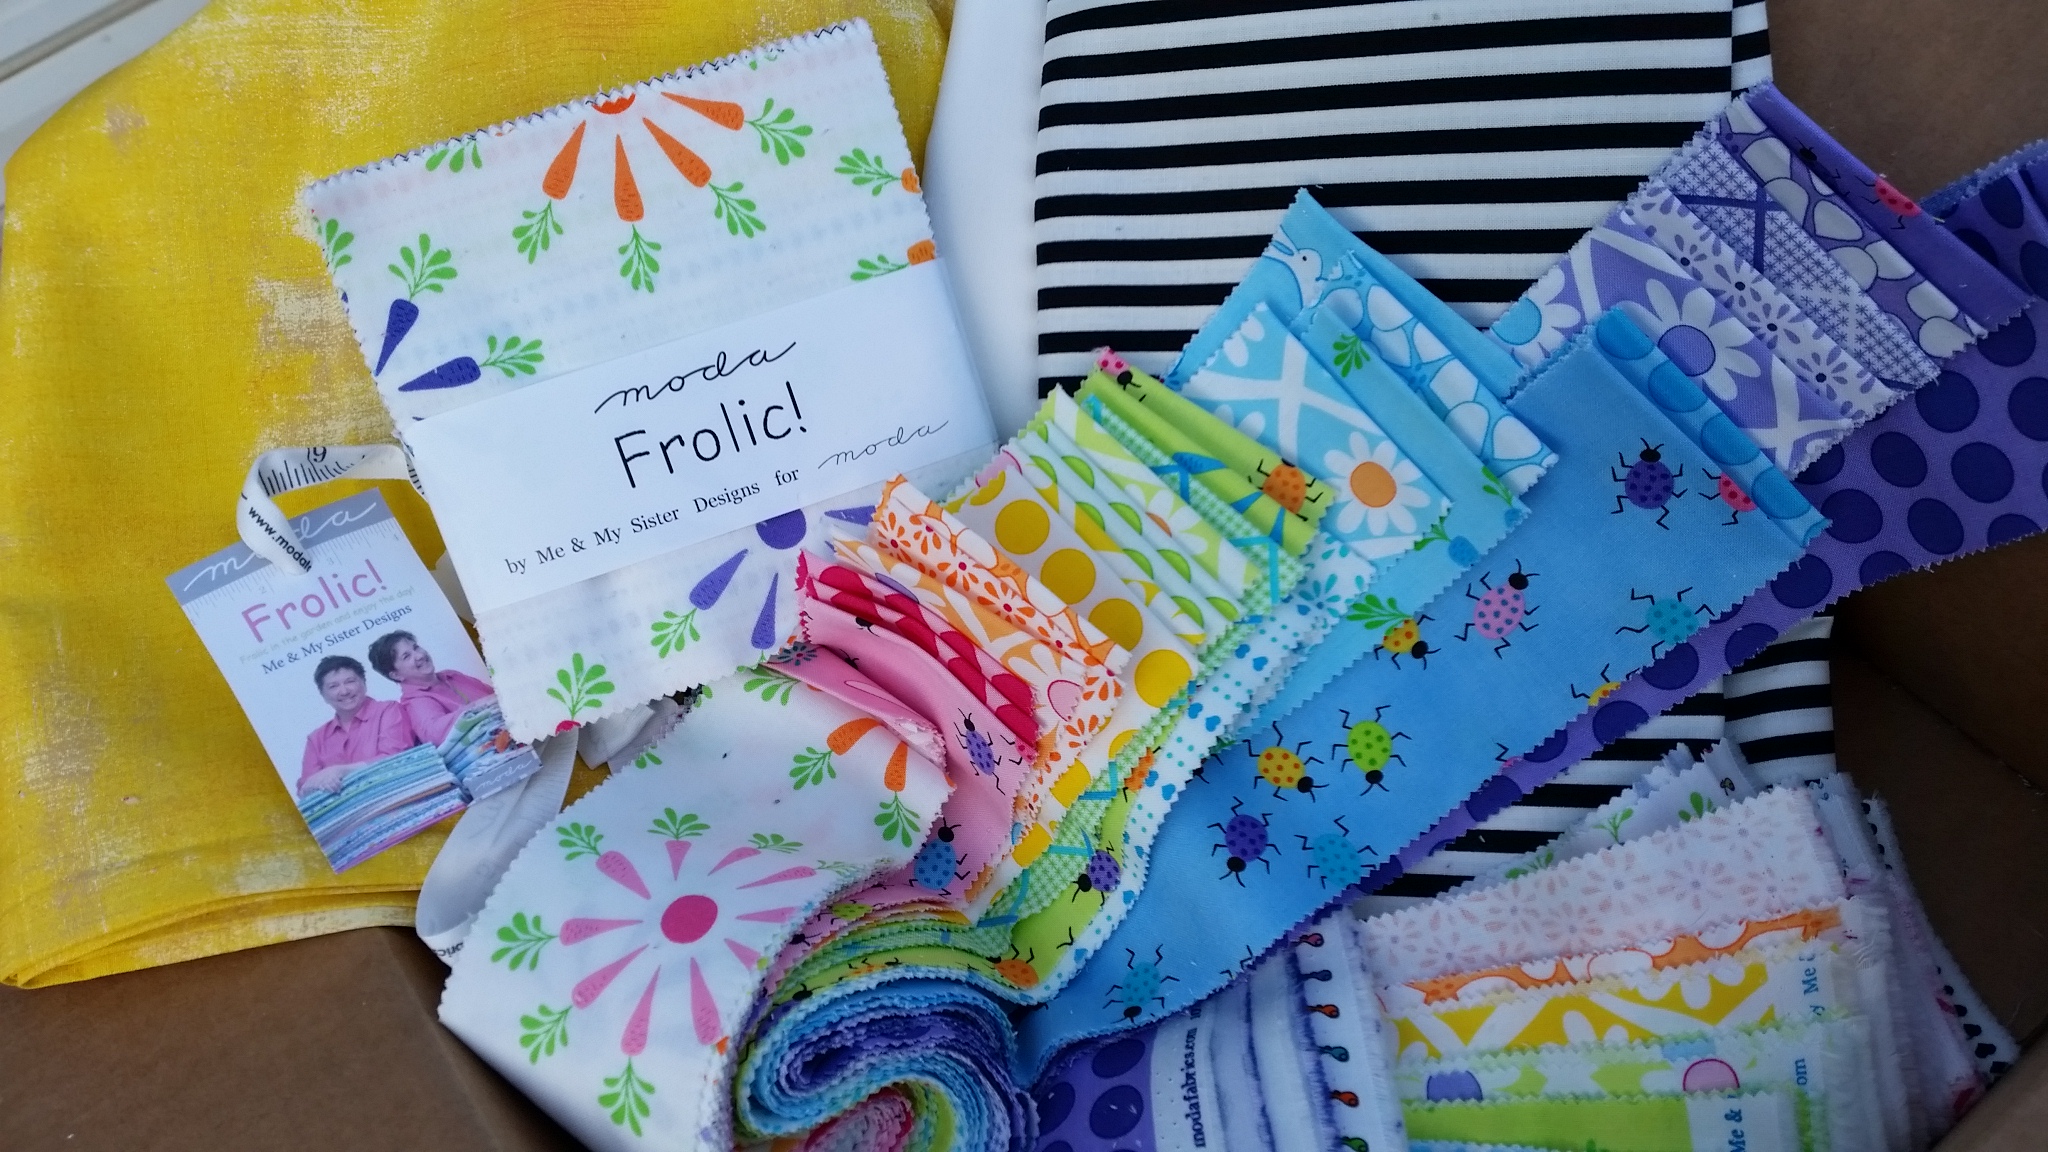
1 Jelly Roll® Frolic by Me and My Sister Designs
1 charm pack Frolic by Me and My Sister Designs
2 yards background fabric Bella Solids Bleached White PFD 9900 97 Moda
1.5 yards binding fabric Essentially Yours Black 8652 79 Moda Stripe #1
4 yards backing fabric Grunge Basics Sunflower 30150 281 Moda Basic #1
![]()
I love jelly rolls, but I sometimes don't know what to do with them. I wanted to come up with something that was more than sewing strips together. For Jelly Roll Magic, you are going to sew jelly roll strips together, cut them apart, mix together with some charms and other blocks and end up with an adorable quilt. Here is a sketch of what the finished product will look like.

Note - all seams are 1/4" unless noted otherwise.
I have found that the quilting process is so much more enjoyable when you have your mise en place (French term for having all your ingredients measured, cut, peeled, sliced, grated, etc. before you start cooking). So - for this quilt top, you will need the following:
-
- 25 - strips from the Jelly Roll
- 12 - 5" charms
- 31 - 5"x 10" rectangle blocks of the background fabric (Bella Solids Bleached White)

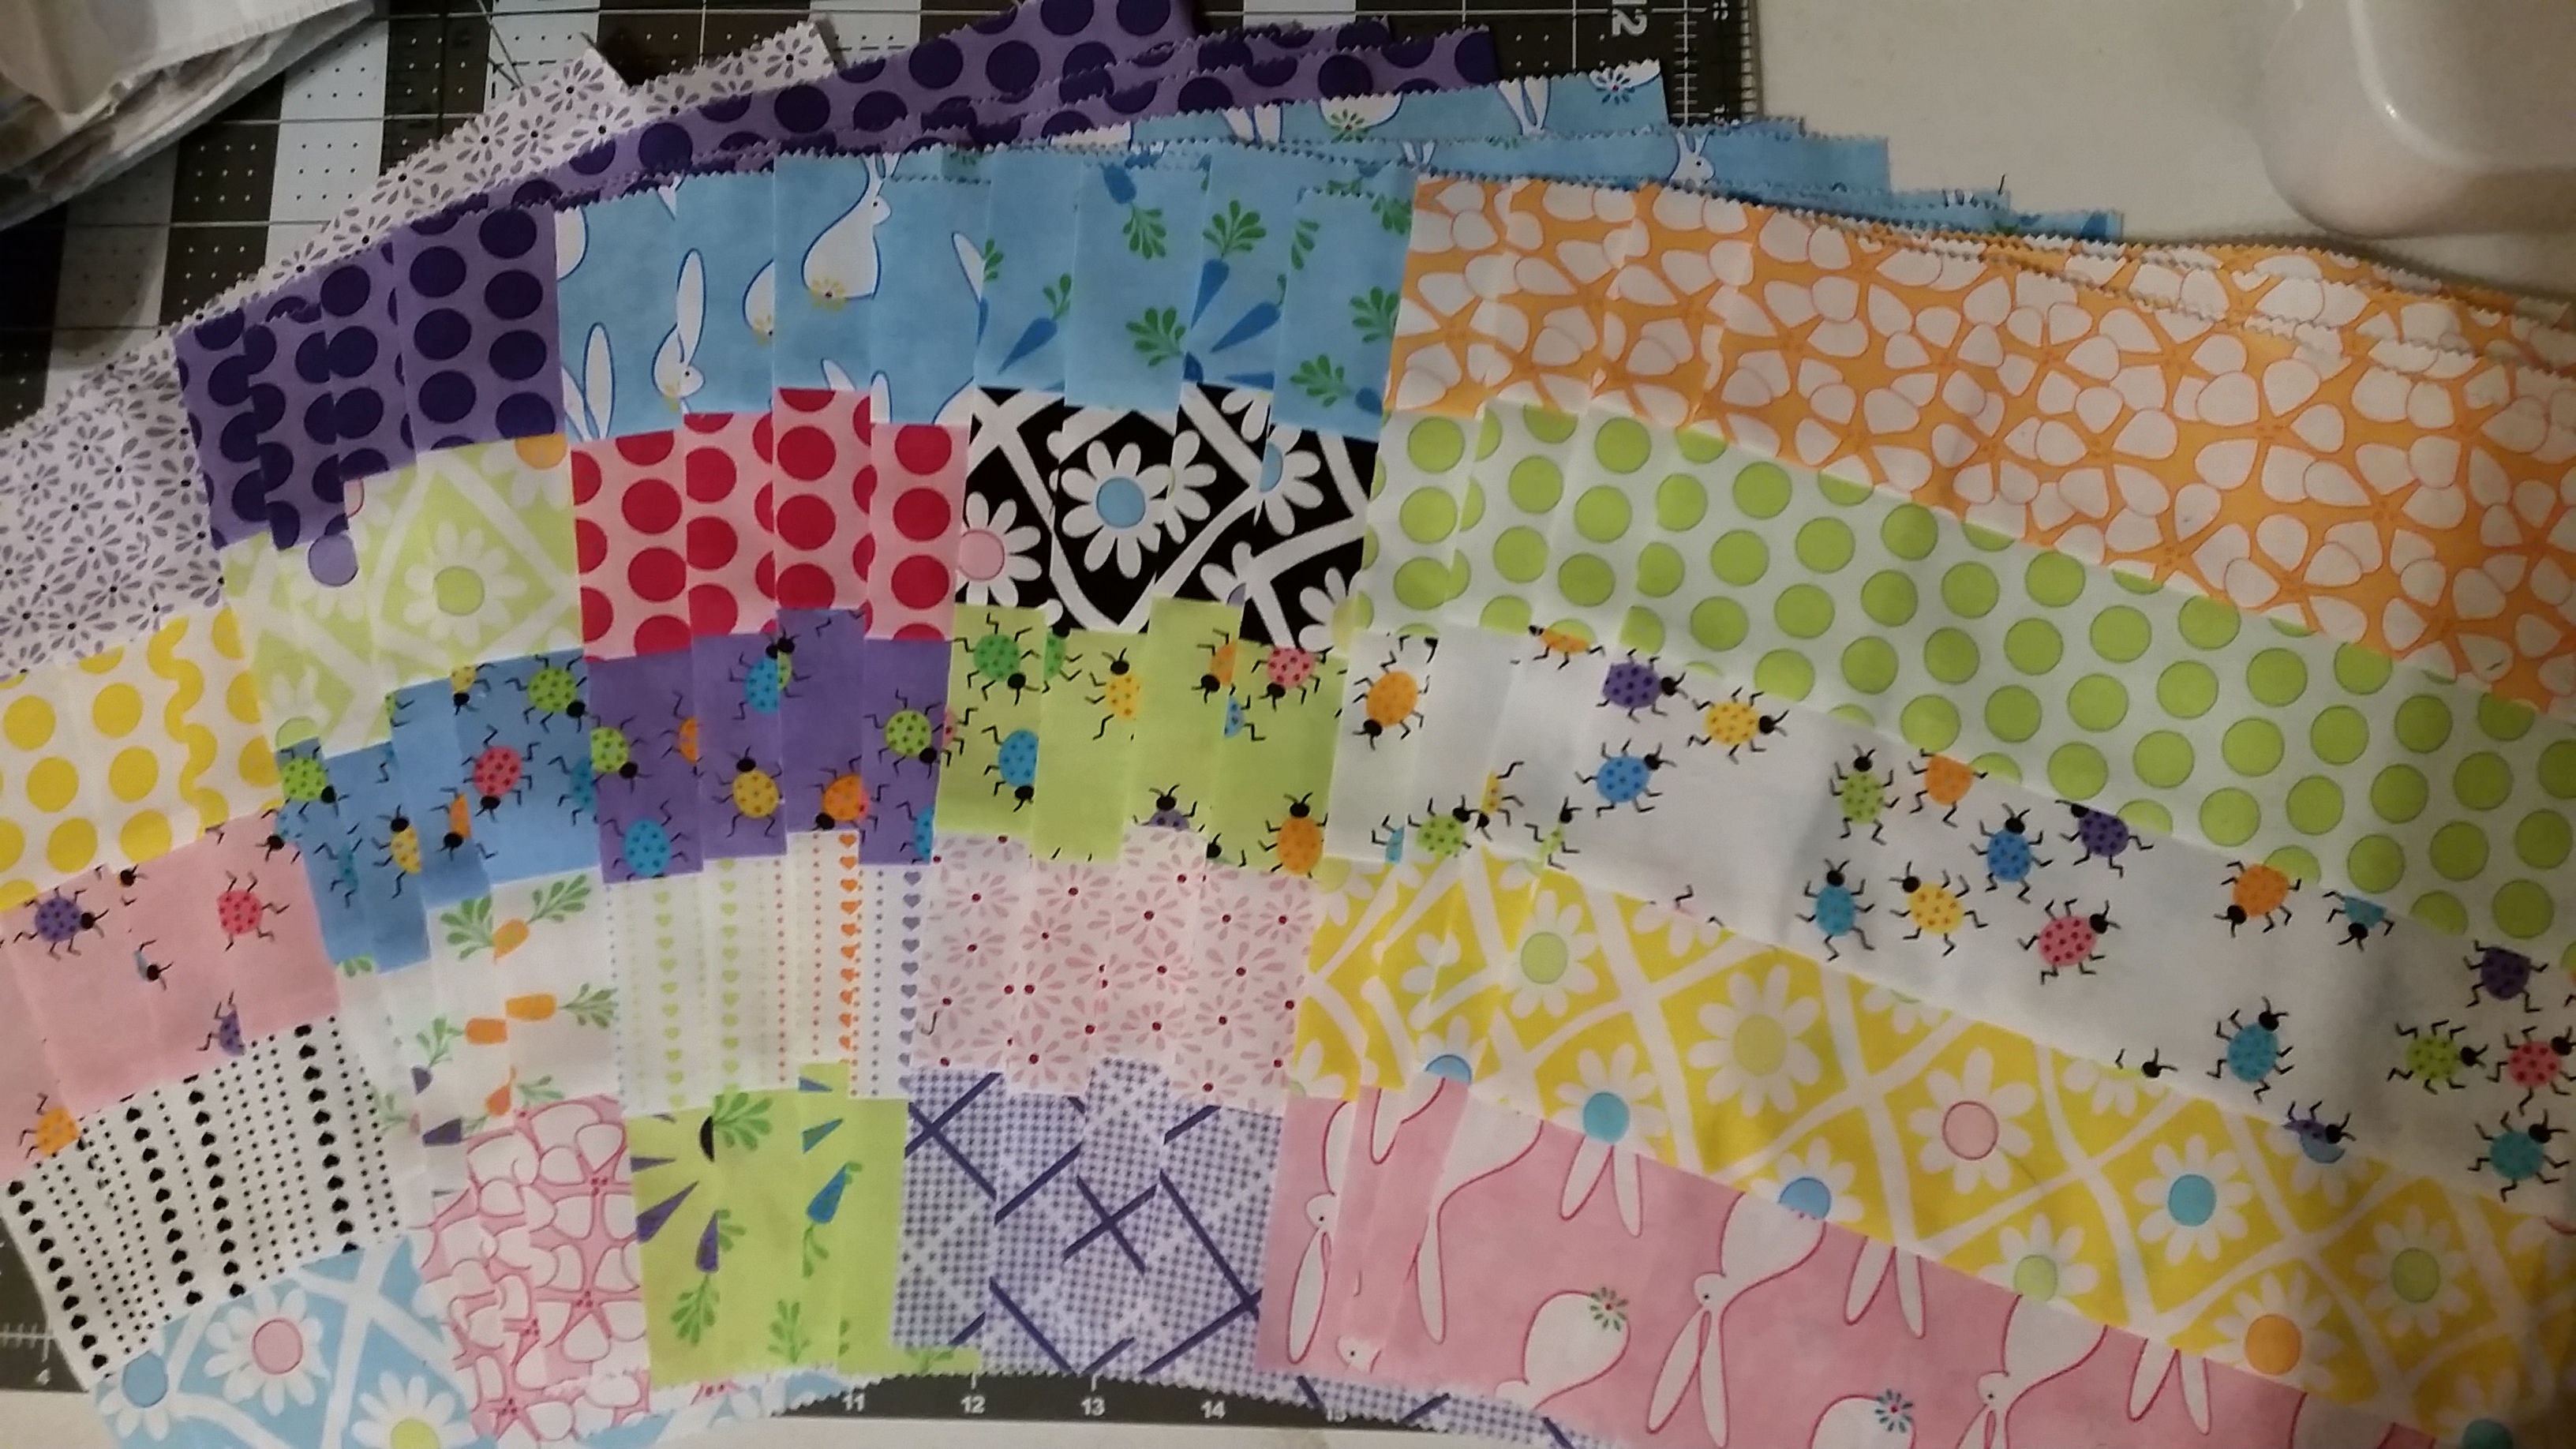
Sort your jelly roll strips into 5 sets of 5. When choosing the strips, you'll want to decide if you want them to be different patterns/colors (this all depends on the color scheme of your jelly roll). You can see above how I sorted my strips.
Sew each set of five together so that you have 5 rows of strips, each measuring approximately 10 1/2" x width of fabric. (see below - note, these have been folded)

Next, cut each row into 4 blocks that measure 10" x 10". (see below)
Now comes the fun part - the assembly!!
Narrow strips: You will assemble 3 strips that include 5 pieces of the background strips and 4 of the charms. Beginning and ending with the background fabric, you will alternate these and the charms. (See picture below to show one of the strips assembled.)

Wide Strips: Assemble 4 strips that will alternate the 10" jelly roll blocks and the rectangle background fabric. For each strip, you will need 5 blocks and 4 background rectangles. Start with one of the square blocks and attach one of the background rectangles. Before attaching the next square block, rotate the block 90 degrees so that the stripes go a different direction. Continue with the background rectangles and square blocks until you have a full strip, making sure to rotate each square block (see below for pattern and completed strip).

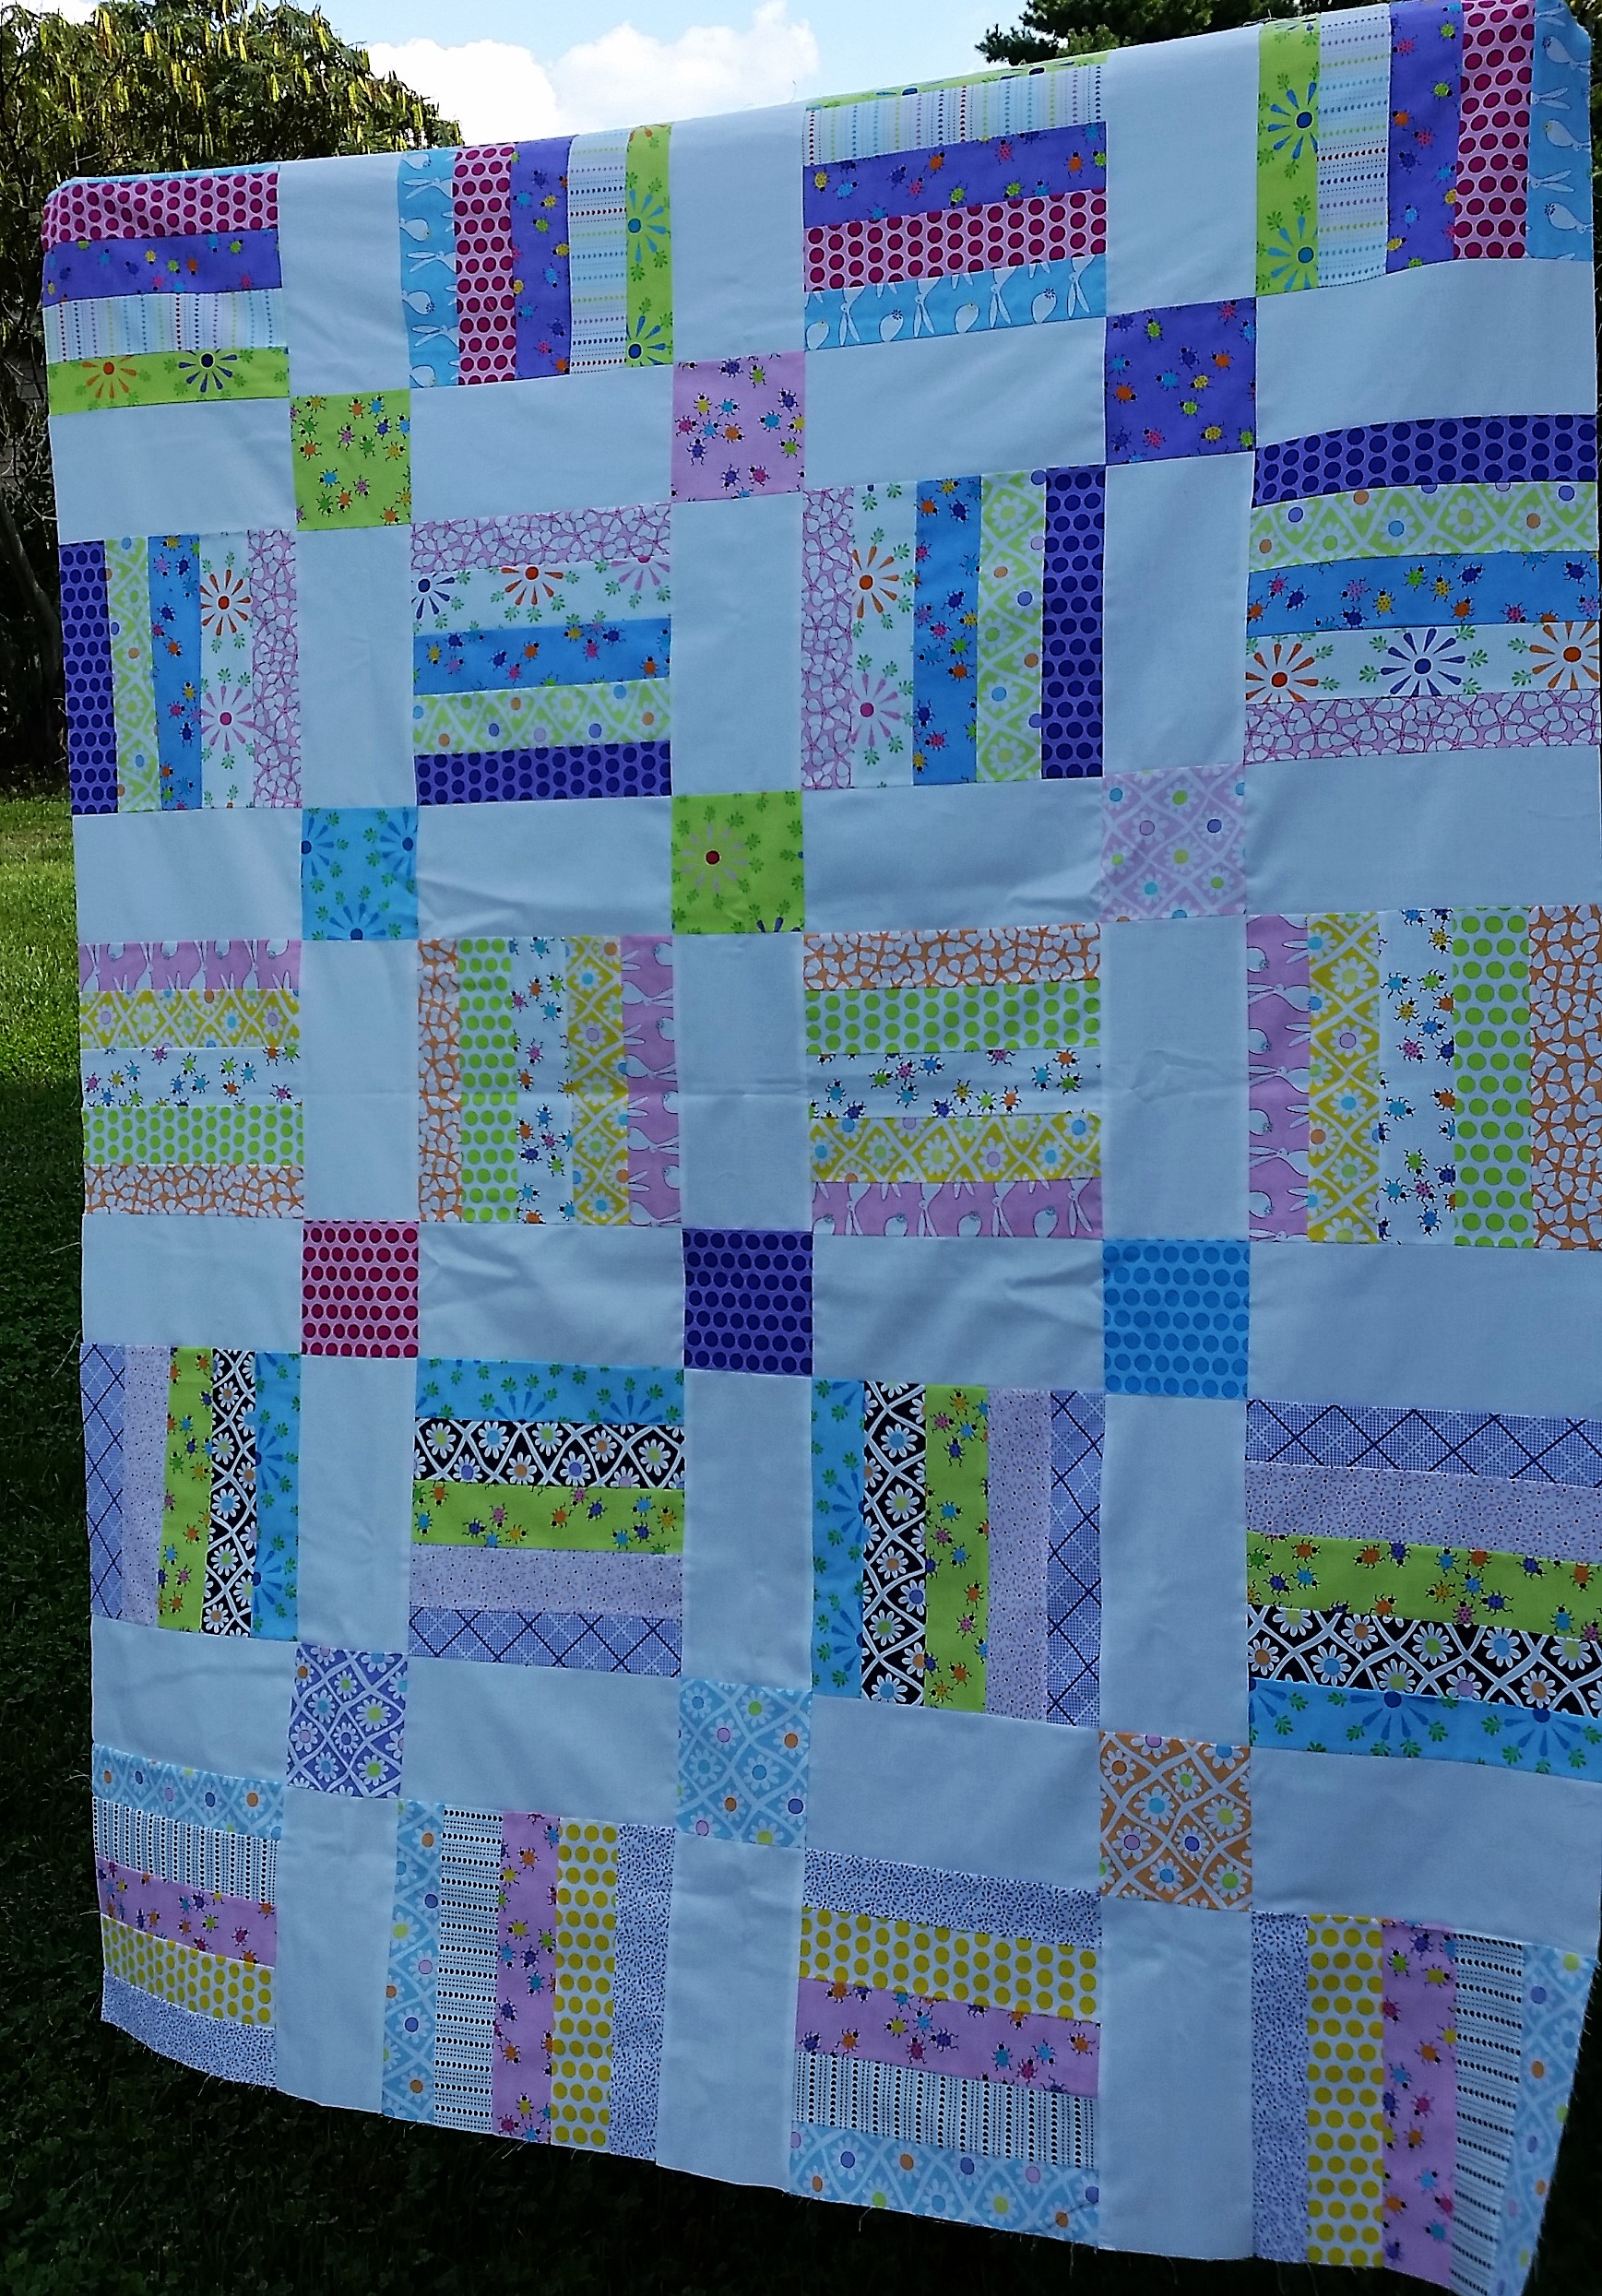
To finish the quilt top, beginning and ending with the wide strips, sew the wide and narrow strips together. (Below is my completed quilt top.)
Next, you will quilt and bind.
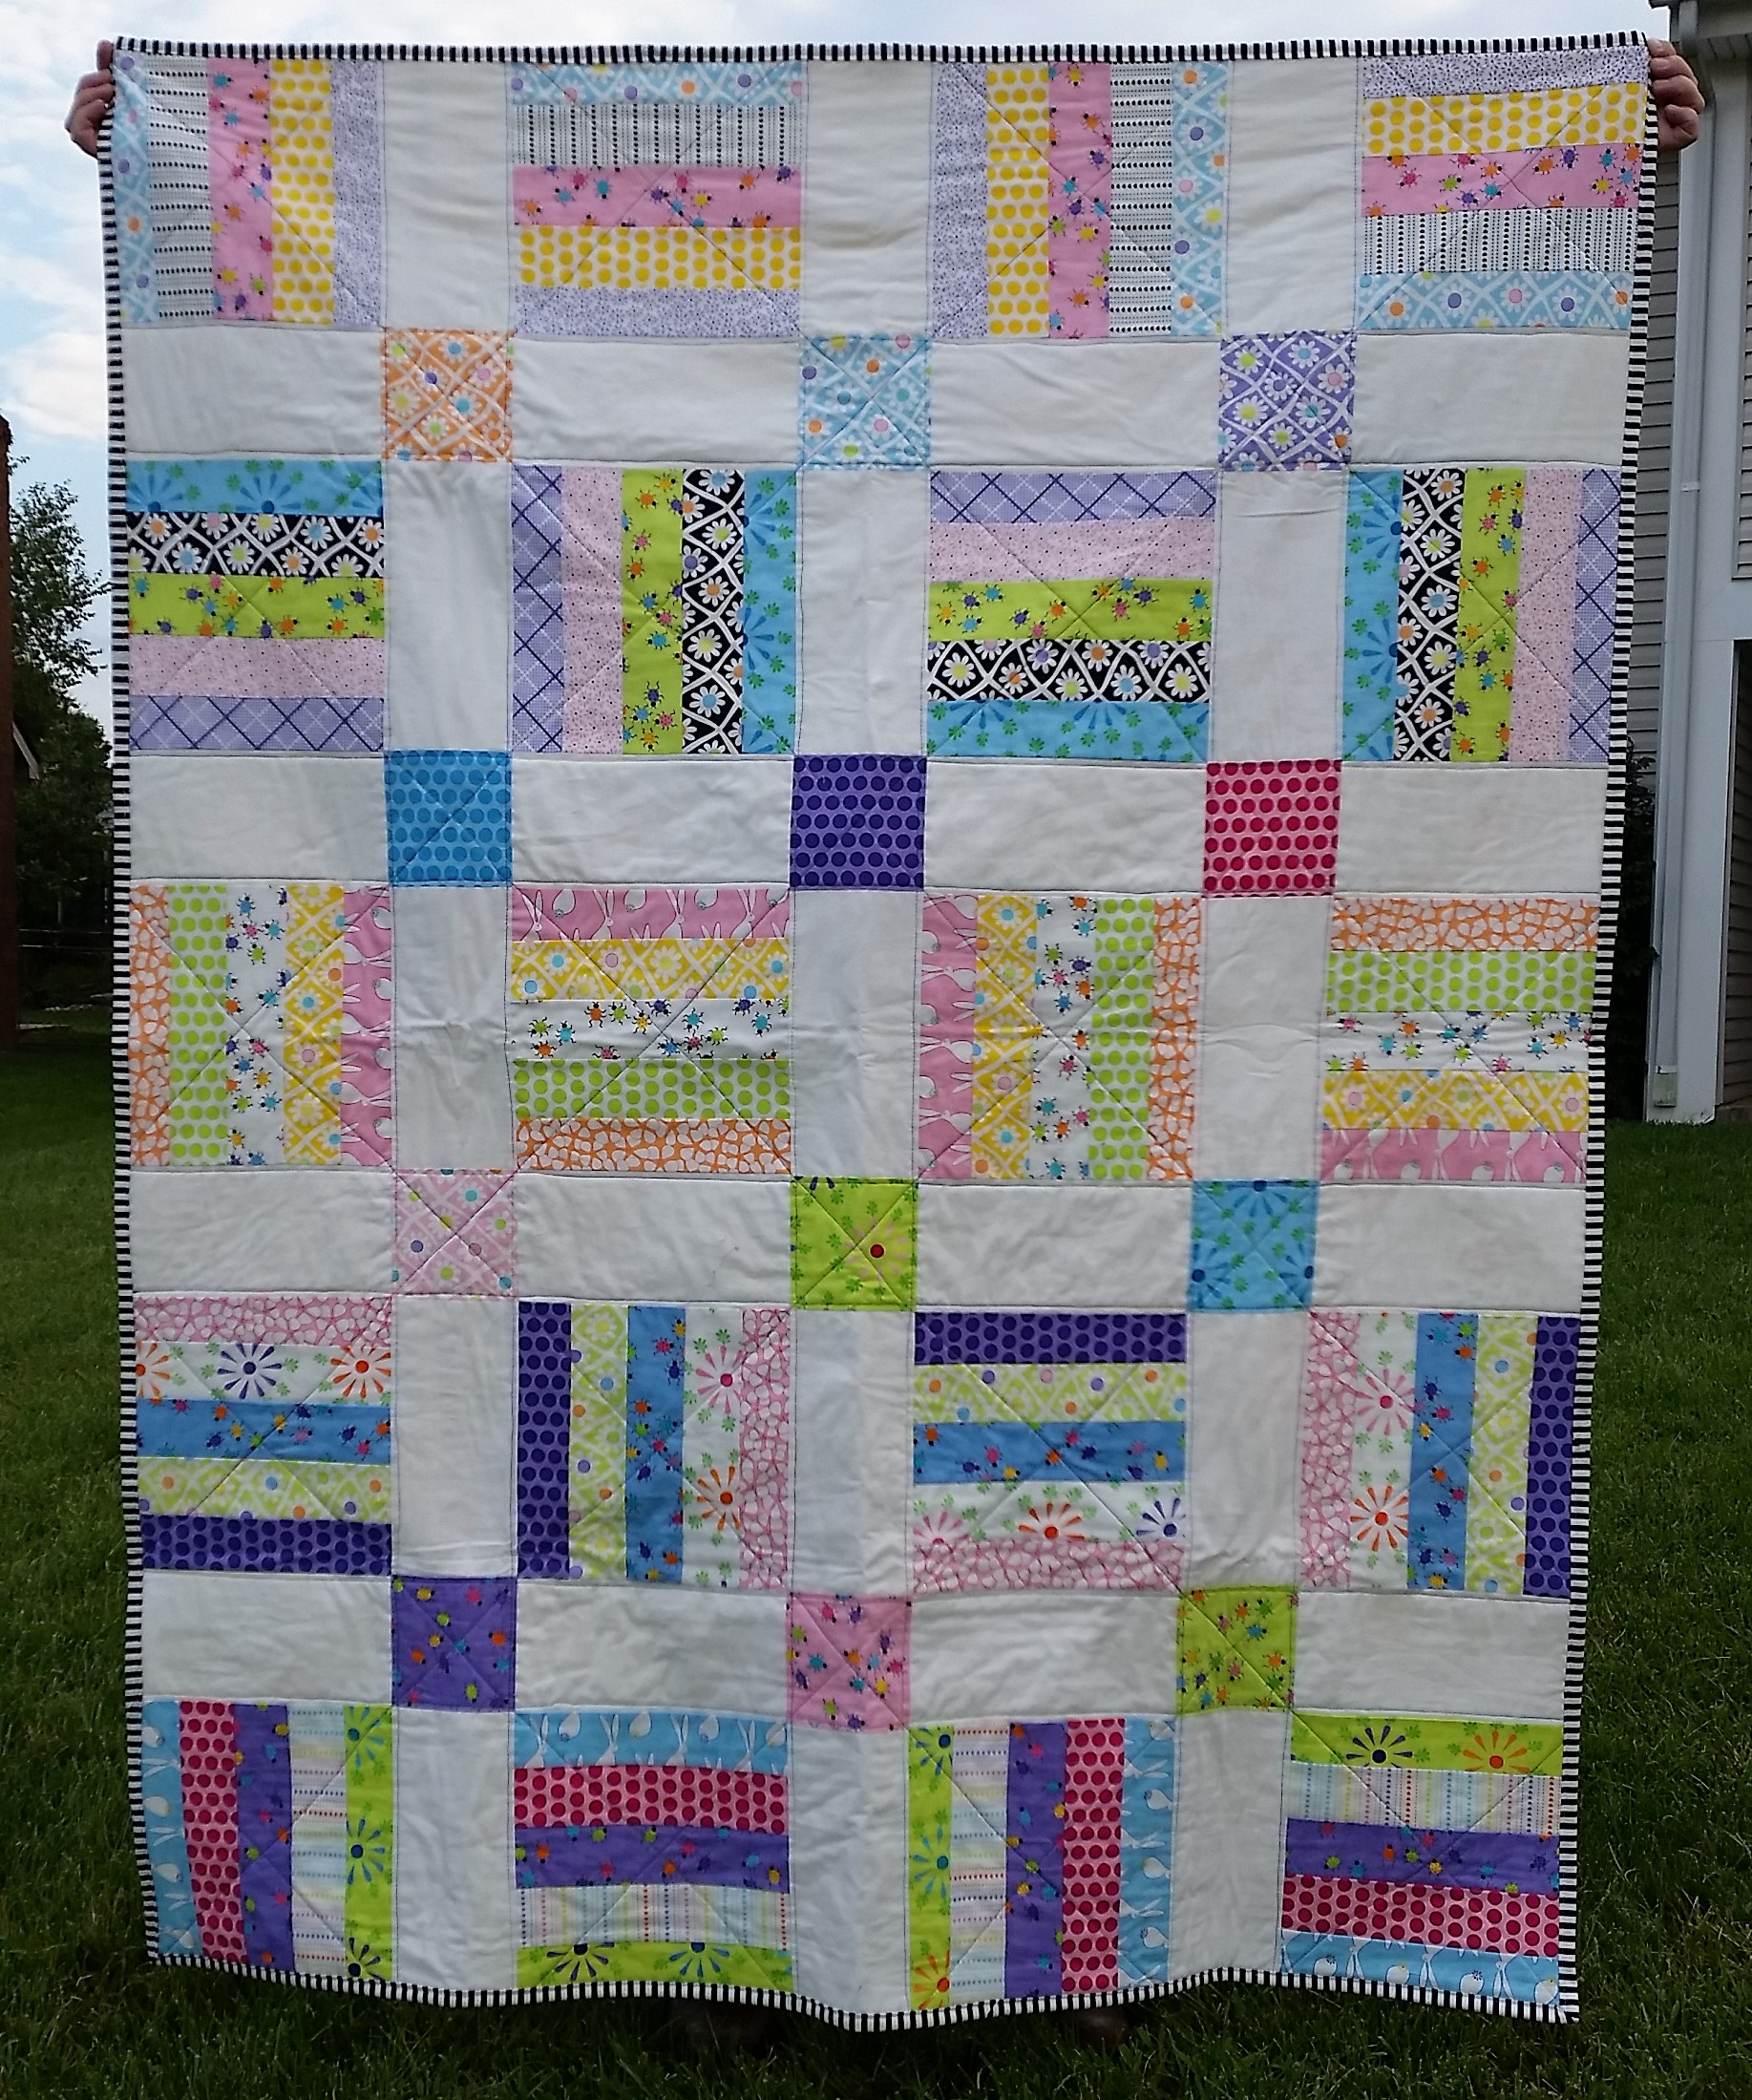
Here is the finished quilt:
Notes:
- When organizing my 10" square blocks, I keep all of the similar blocks on the same row. You can alternate these instead throughout the quilt for a scrappier design.
- Because I used a white background fabric, I used a white batting.
- For quilting, I used a variegated thread of primary colors.
![]()
This quilt finishes at 53" x 67".
I hope that you give this quilt a try. Leave a comment and let me know what Jelly Roll you will use!
Enjoy - and happy baking!
Mona Phelps
Instagram
Facebook
Kentucky Whittaker Creations
![]()
Posted in:
Comments