Welcome to Moda!
Thrive Placemats
Thrive Placemats
Published:
Sep 9 2017 - 23:00
![]()
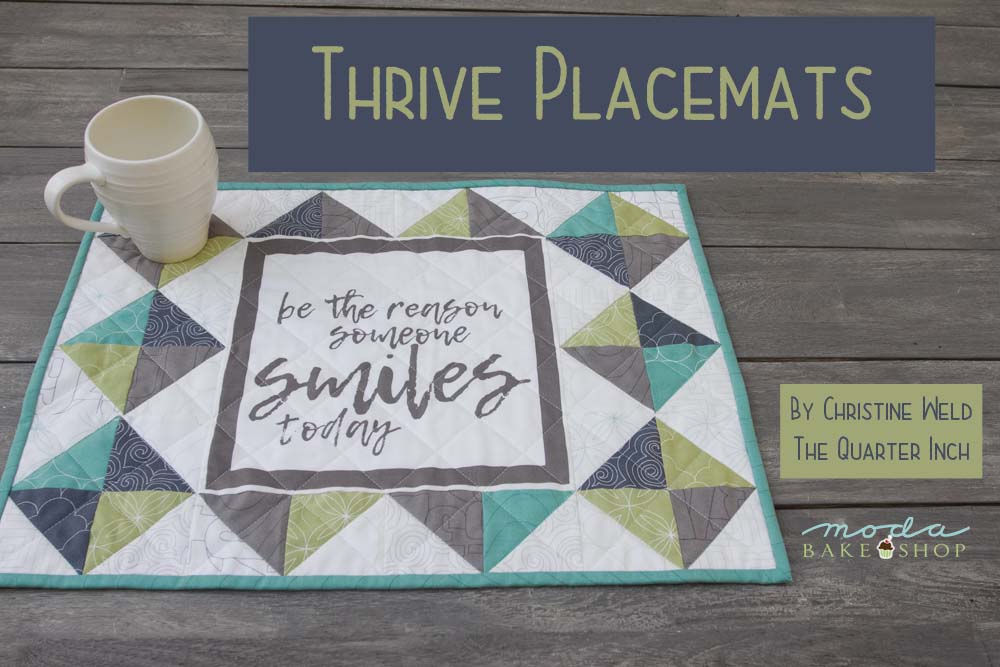
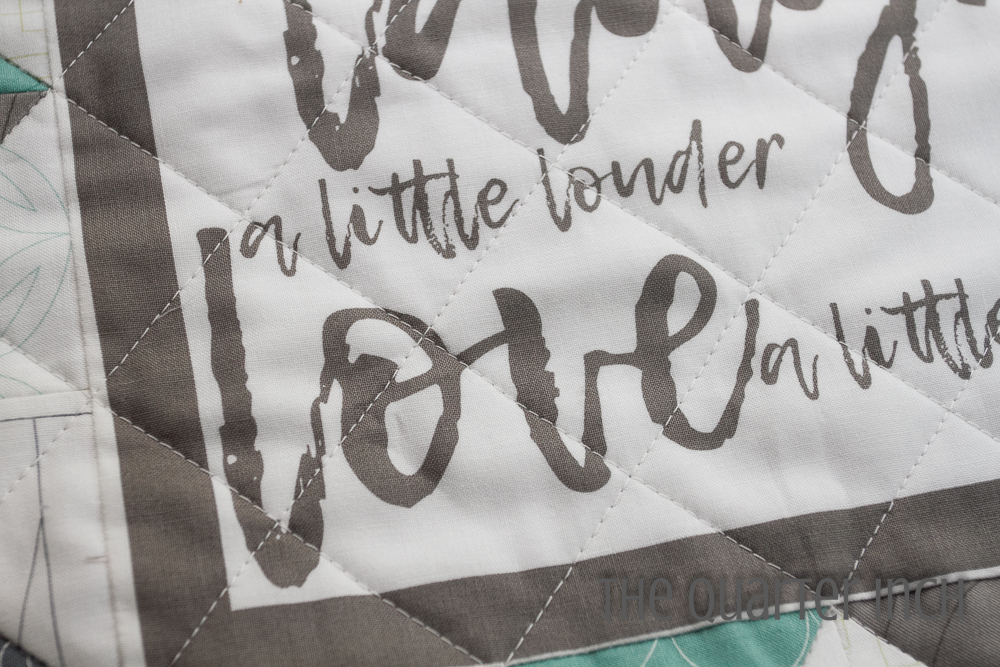
I am not a morning person. Anything that gives me a little added motivation first thing in the morning is welcome! I saw the panels included in Thrive, the new line from Natalia and Kathleen of Piece N Quilt, and thought they would make for some nice inspirational placemats to wake up to!
A fat quarter bundle provides all you need for this project, including the panel print.
![]()
One Fat Quarter Bundle {Thrive by Piece N Quilt}

![]()
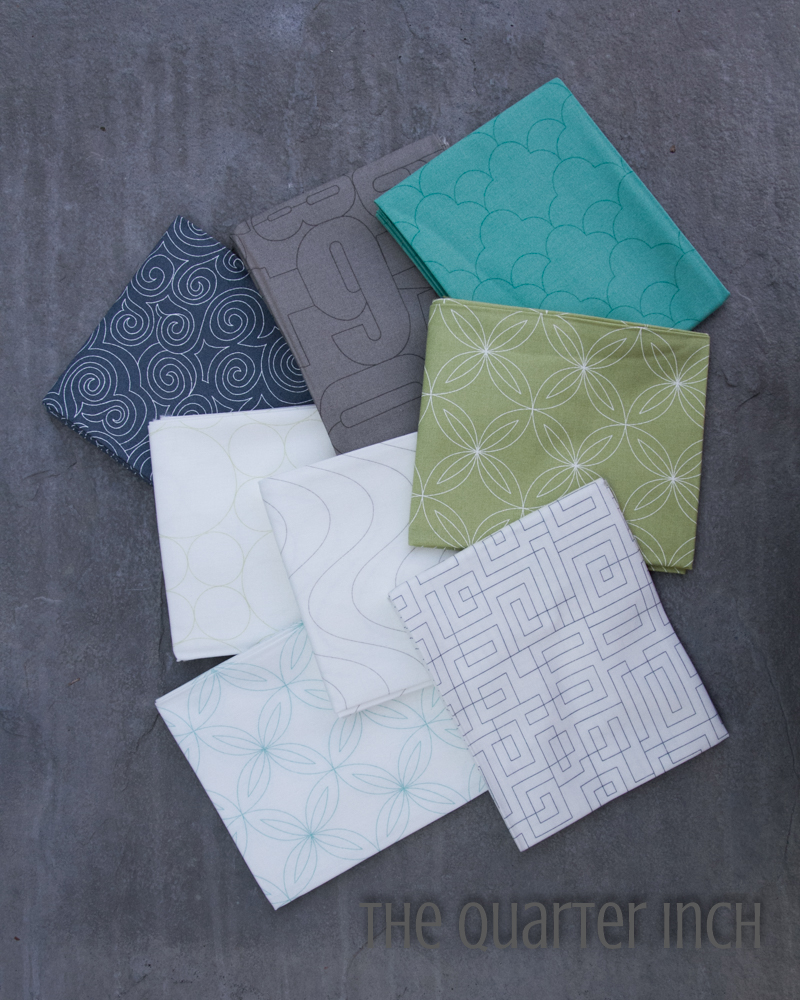
24 fat quarters and one panel print are needed for this project. The fat quarters required are divided as follows:
Placemat top: 1 panel and 12 fat quarters (6 light and 6 dark)
Binding: 6 fat quarters
Backing: 6 fat quarters
Cutting:
Choose 12 fat quarters for the placemat tops. Make sure you choose six light and six dark prints. The prints in Thrive have very distinct light and darks, making for excellent contrast in this project.
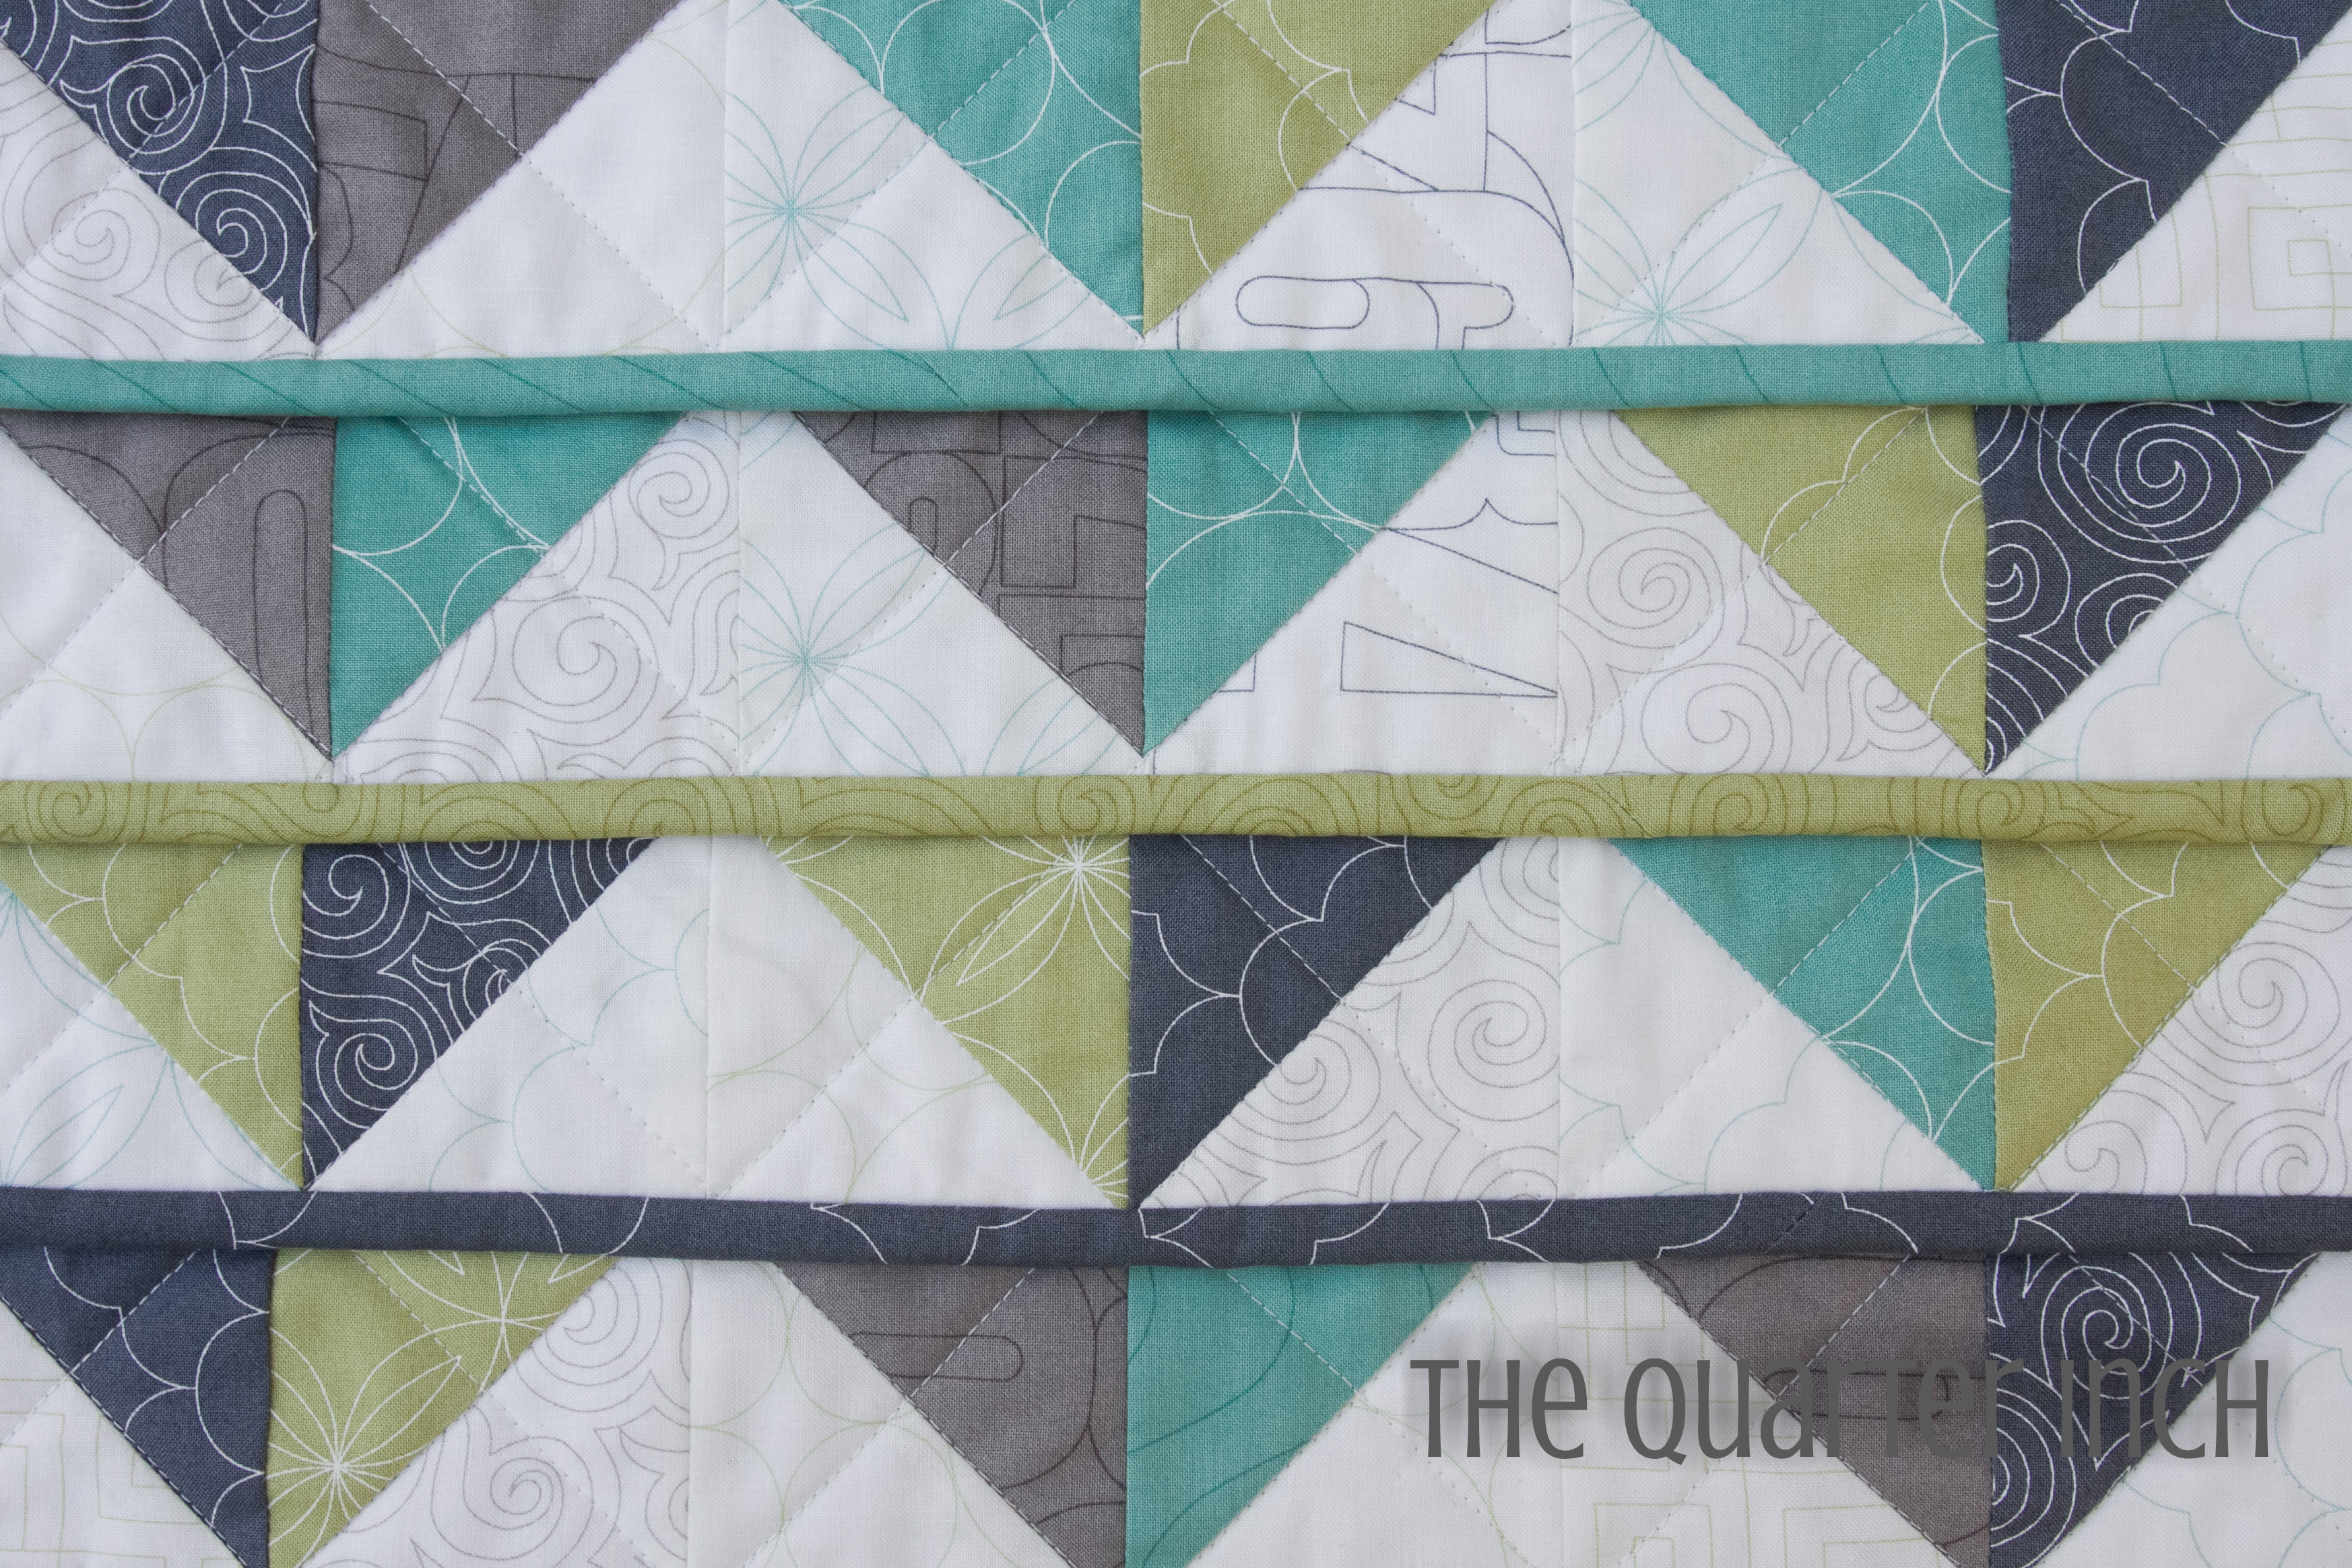
From each fat quarter you are using for the placemat top, cut 16 squares, each measuring 3 3/4". You will need 32 squares (16 light and 16 dark) for each placemat. I also cut a few squares from some of the leftover binding fabric to add a bit of variety, though this is not necessary.
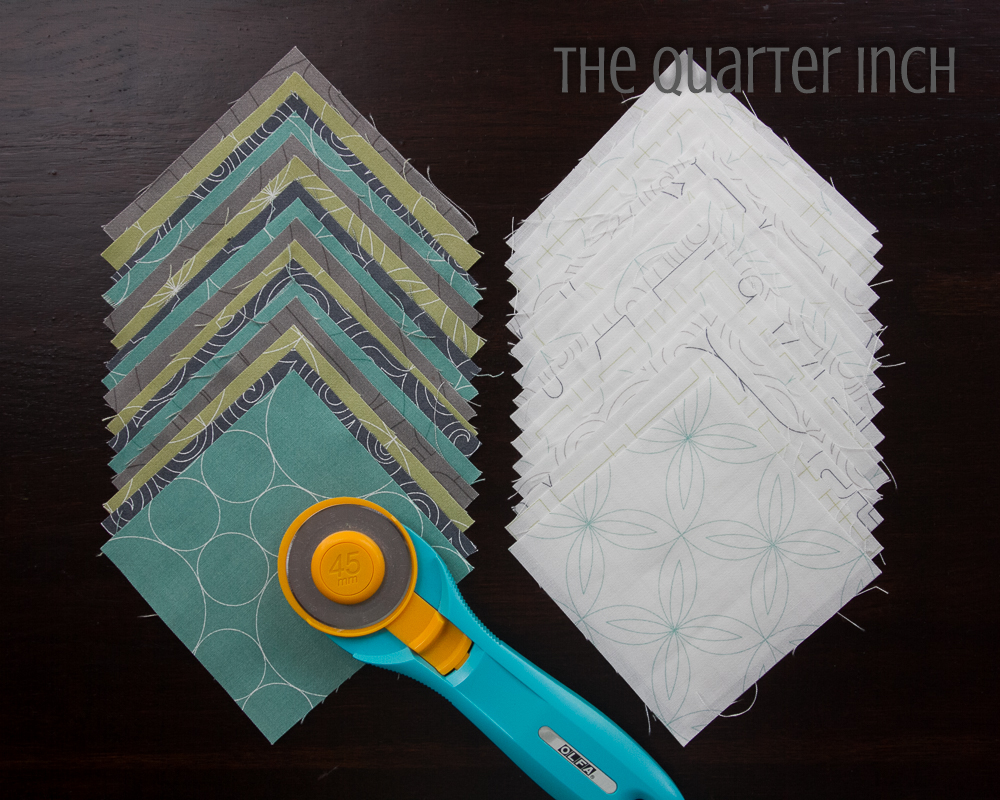
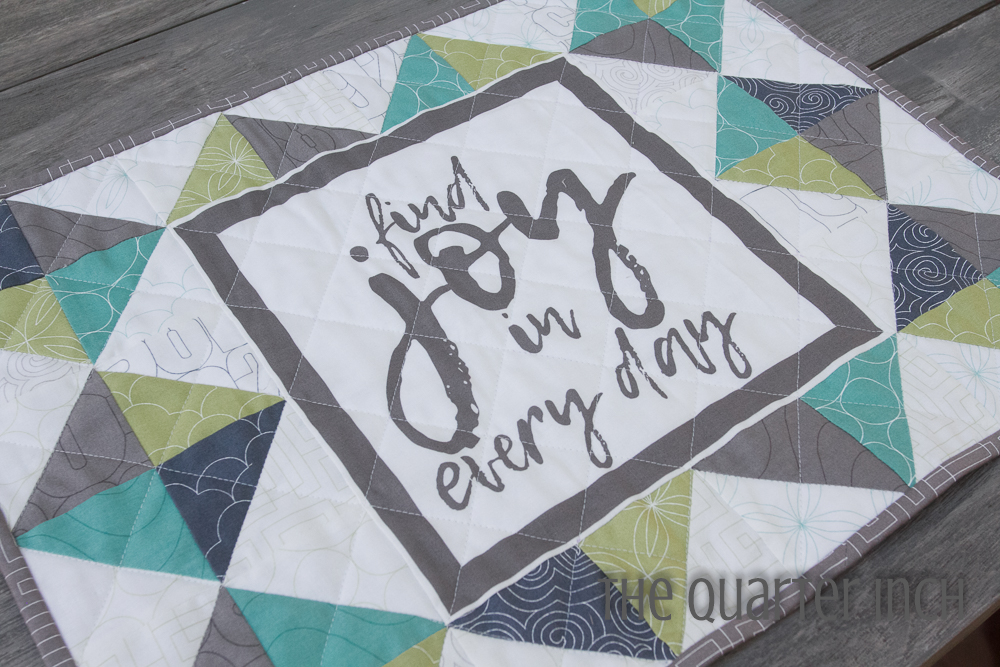
Trim the large squares in the panel to 10 1/2". Each placemat will use one panel.
Cut binding strips from six fat quarters. I cut four strips (2 1/4" by 22")--enough for one placemat--from each fat quarter. Set aside.
Assembly:
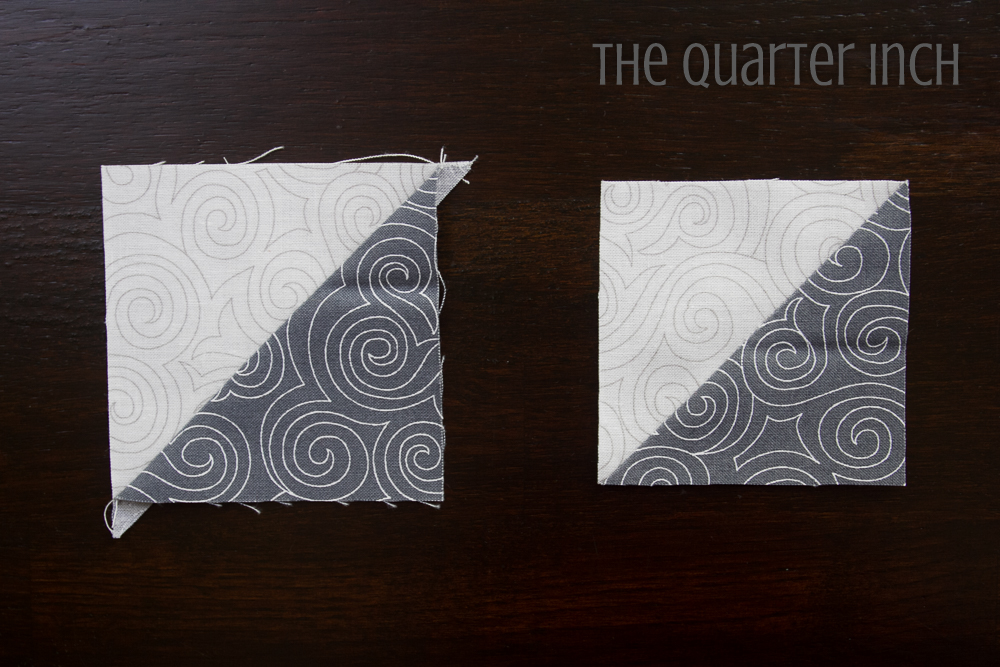
Pair each light square with a dark square, varying the patterns. Place the squares right sides together and draw a diagonal line from corner to corner. Stich 1/4" away from both sides of the line. Cut apart on the drawn line and press open to make two half-square triangles.
I like to trim half square triangles so you are working with nice clean edges. Trim each half-square triangle to 3".
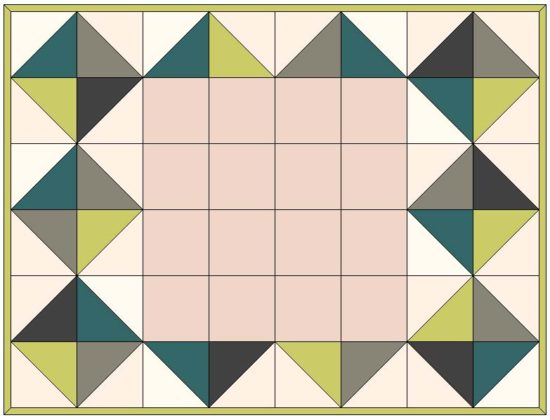
Using the following diagram, lay out the half-square triangles around the panel square. Sew together.
Quilting:
Using one fat quarter for the backing and scrap batting, make a quilt sandwich for each placemat. There are so many fun possibilities for quilting a small project like this! You could quilt each placemat using a different free-motion design. You could even use the designs of the Thrive prints as inspiration for your quilting designs. I chose to keep it simple and quilted my placemats using a crosshatch design.
Once your placemats are quilted, attach the binding.
![]()
The finished project gives you six placemats, each measuring 15" by 20", ready for your table! Enjoy brightening your table with these inspirational placemats!
Christine Weld
{The Quarter Inch}
![]()
Posted in:
Comments