Welcome to Moda Fabrics!
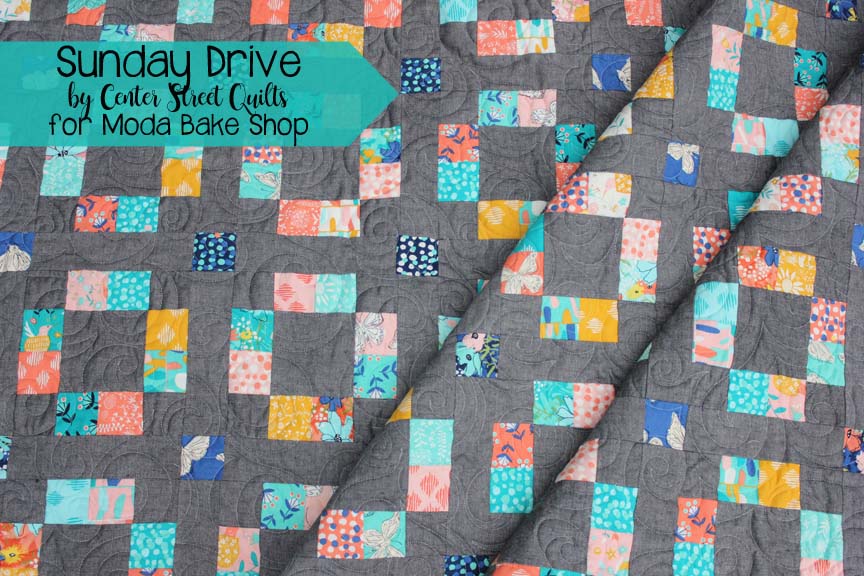
Sunday Drive Quilt
Sunday Drive Quilt
Published:
Oct 17 2017 - 23:00
![]()
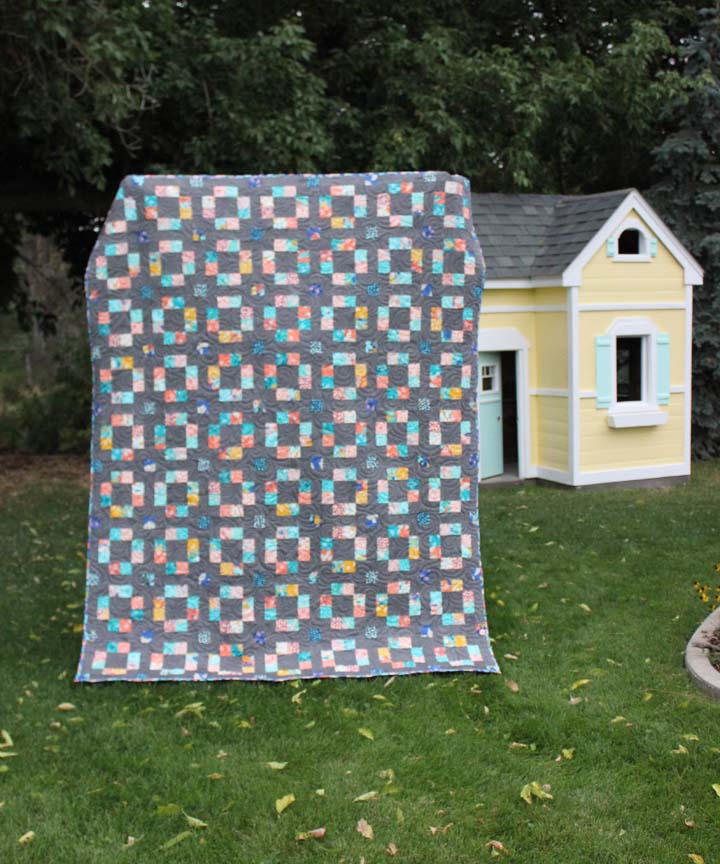
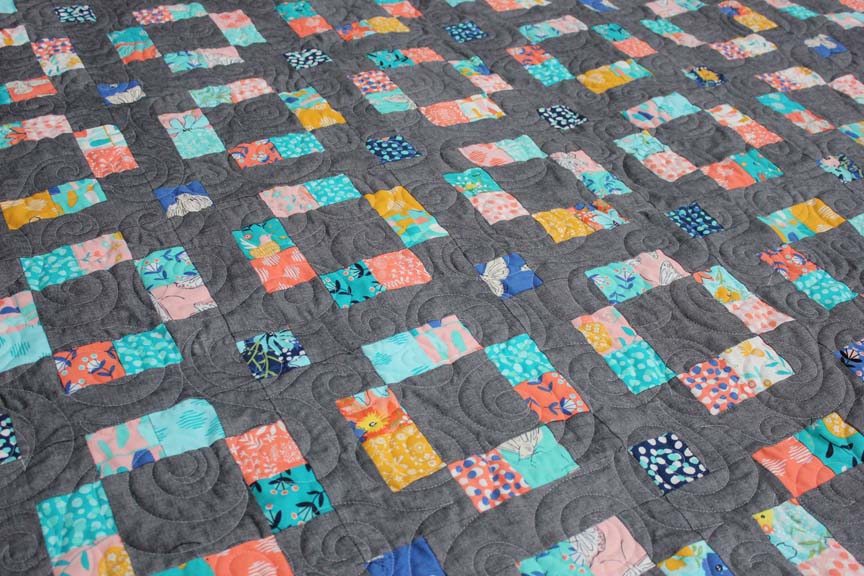
Hi! I'm Kristina from Center Street Quilts and I am so excited to be back at the Moda Bake Shop today sharing my latest tutorial, a Jelly Roll friendly quilt named Sunday Drive. With a pre-cut Jelly Roll and strip-piecing, this quilt goes together surprisingly fast for a twin-sized quilt! It's an easy, relaxing sew--hence the name Sunday Drive. :)
This quilt finishes at 72" x 92".
![]()
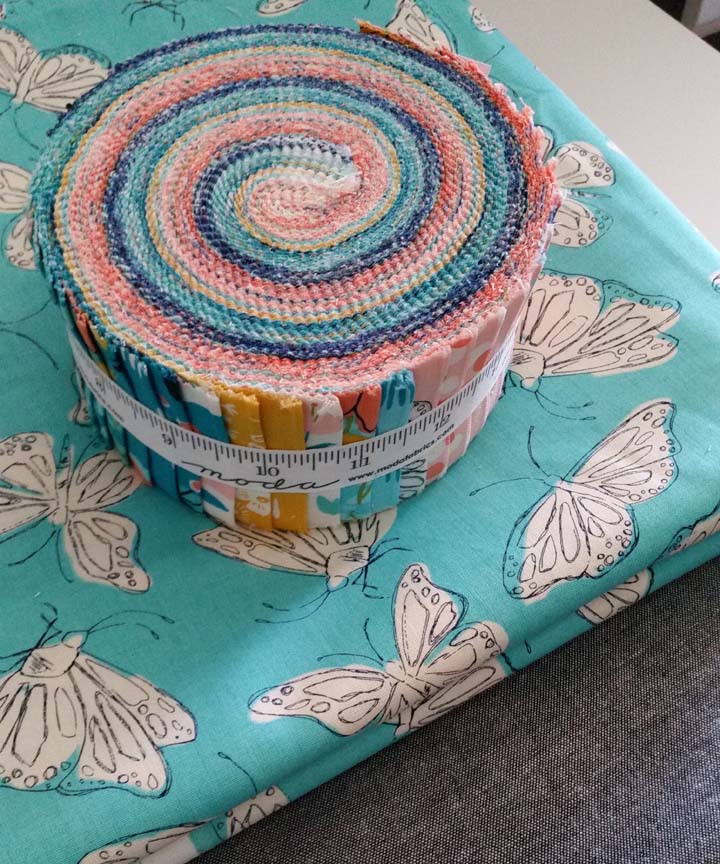
1 Jelly Roll® {Wild Nectar by Crystal Manning}
4.5 yards background fabric {Moda Crossweave}
5.5 yards backing fabric {11802 21}
2/3 yard binding fabric {11803 18}
![]()
Before beginning please note:
- All seams are 1/4”
- Width of fabric is abbreviated to WOF
- WOF is assumed to be 42"
Cutting Instructions:
From the background fabric:
- For the sashing, cut (9) 8.5” x WOF strips. Sub-cut into (142) 8.5” x 2.5” strips
- For Unit A pieces cut (16) 2.5” x WOF strips
- For Unit B pieces cut (7) 4.5” x WOF strips. Sub-cut into (63) 4.5” x 4.5” squares.
From the Jelly Roll strips:
- Choose (5) Jelly Roll strips that will be the cornerstones of the sashing. Cut each of the jelly roll strips into (16) 2.5” x 2.5” squares to yield (80) total squares.
Assembly:
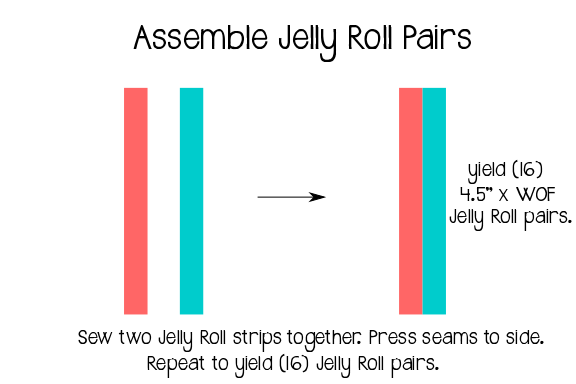
Choose (32) of the remaining Jelly Roll strips and sew them right sides together in groups of two along the long edge to make (16) 4.5” x WOF Jelly Roll pair strips. Press seams to one side. Cut off the selvage ends of each Jelly Roll pair. (8) of these Jelly Roll pair strips will be used for the Unit A pieces and (8) will be used for the Unit B pieces.
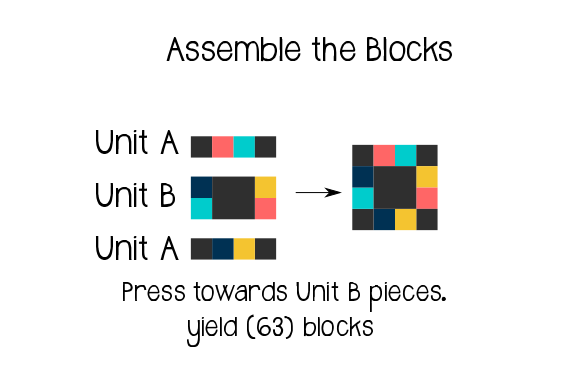
Assemble Unit A pieces:
1. Choose (8) of the Jelly Roll pair strips just sewn. Sew a 2.5” x WOF background fabric strip on each long side of the Jelly Roll pair strips, right sides together, to make (8) 8.5” x WOF strips. Press the seams towards the background fabric.
2. Cut each 8.5” x WOF strip into 2.5” strips to yield (128) 8.5” x 2.5” Unit A pieces. Set the Unit A pieces to the side.

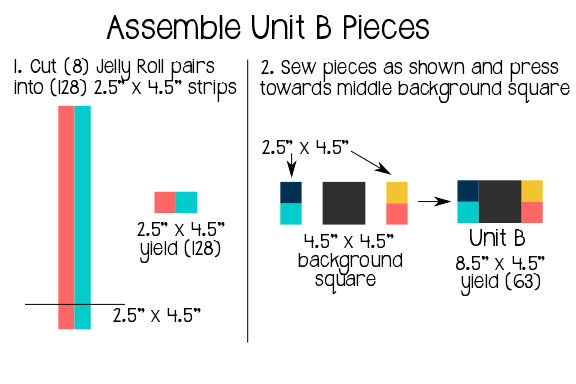
Assemble Unit B pieces:
1. Gather the other (8) 4.5” x WOF Jelly Roll pair strips that are sewn together. Cut each strip into 2.5” x 4.5” strips to yield a total of (128) 2.5” x 4.5” pieces.
2. Gather the (63) 4.5” x 4.5” background fabric squares and sew one 2.5” x 4.5” piece (from step 1 above) onto both the left and right sides of the 4.5” x 4.5” background fabric squares (right sides together) to make (63) Unit B pieces. There will be a few extra 2.5” x 4.5” pieces remaining. Press the seams on the Unit B pieces toward the background square.
Gather all of the Unit A and Unit B pieces. Assemble the blocks by sewing one Unit B piece in between two Unit A pieces to yield (63) blocks. There will be some Unit A pieces remaining. Press seams toward Unit B (toward the middle).
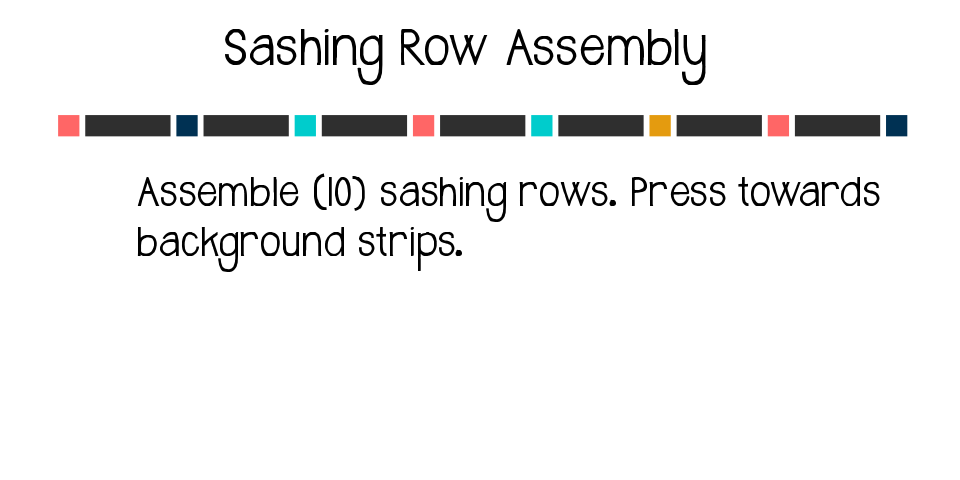
Assemble the sashing:
Sew a horizontal sashing row together as shown in the diagram below, using (8) of the 2.5” x 2.5” squares cut from the Jelly Roll strips as the cornerstones and (7) 8.5” x 2.5” background strips. Press seams toward the 8.5” x 2.5” background sashing strips. Repeat for a total of (10) long horizontal sashing rows.
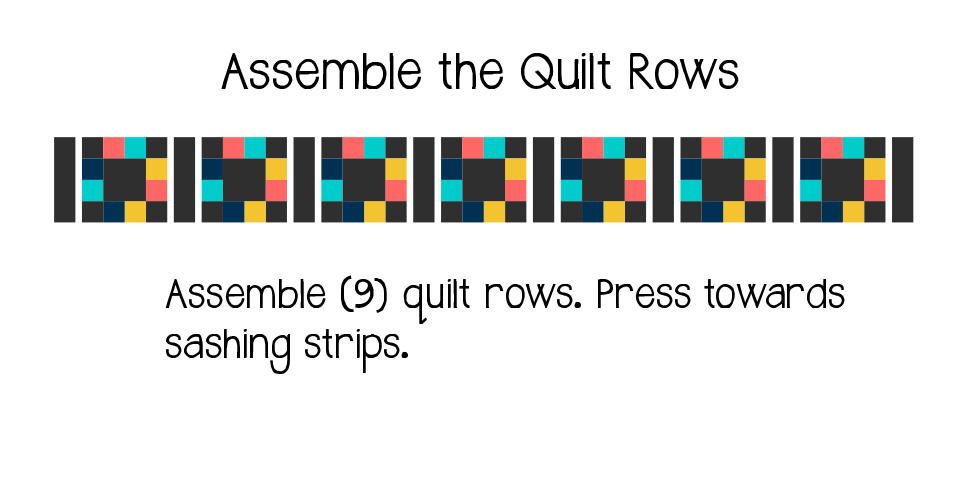
Assemble the quilt:
Assemble (9) quilt rows as shown in the diagram below, using (7) blocks for each row. Sew a 2.5” x 8.5” background sashing strip in between each block and at the beginning and end of each row. Press the seams toward the sashing strips.
Assemble the quilt top as shown in the diagram below, keeping a long sashing row in between each block row and at the top and bottom of the quilt. Press seams toward the long horizontal sashing strips.
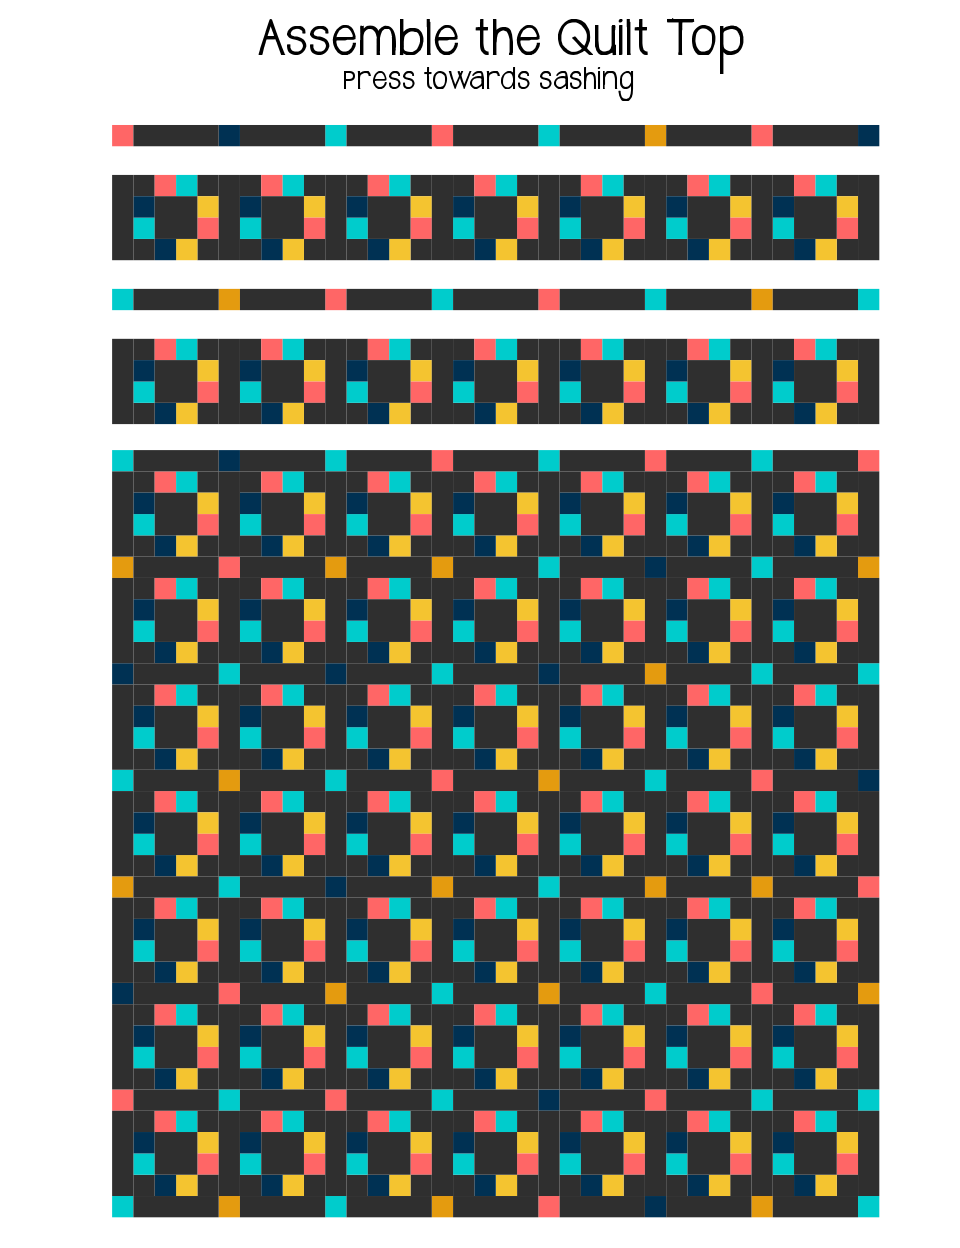
Quilt and bind as desired.
![]()
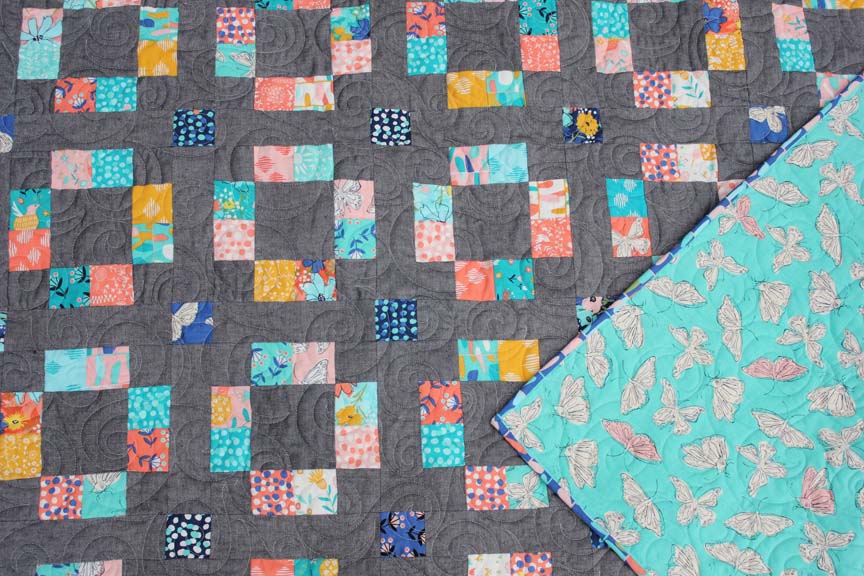
Sunday Drive finishes at 72" x 92".
Thanks for following along with my Sunday Drive quilt! If you'd like to see more of my quilting adventures, you can follow my blog, Center Street Quilts, or check me out on instagram @centerstreetquilts. I'd love to see your version of Sunday Drive, so please share your quilt by tagging me and using the hashtag #sundaydrivequilt on instagram. Thanks and happy sewing!
Kristina Brinkerhoff
Center Street Quilts
![]()
Posted in:
Comments