Warehouse Closed On July 4th
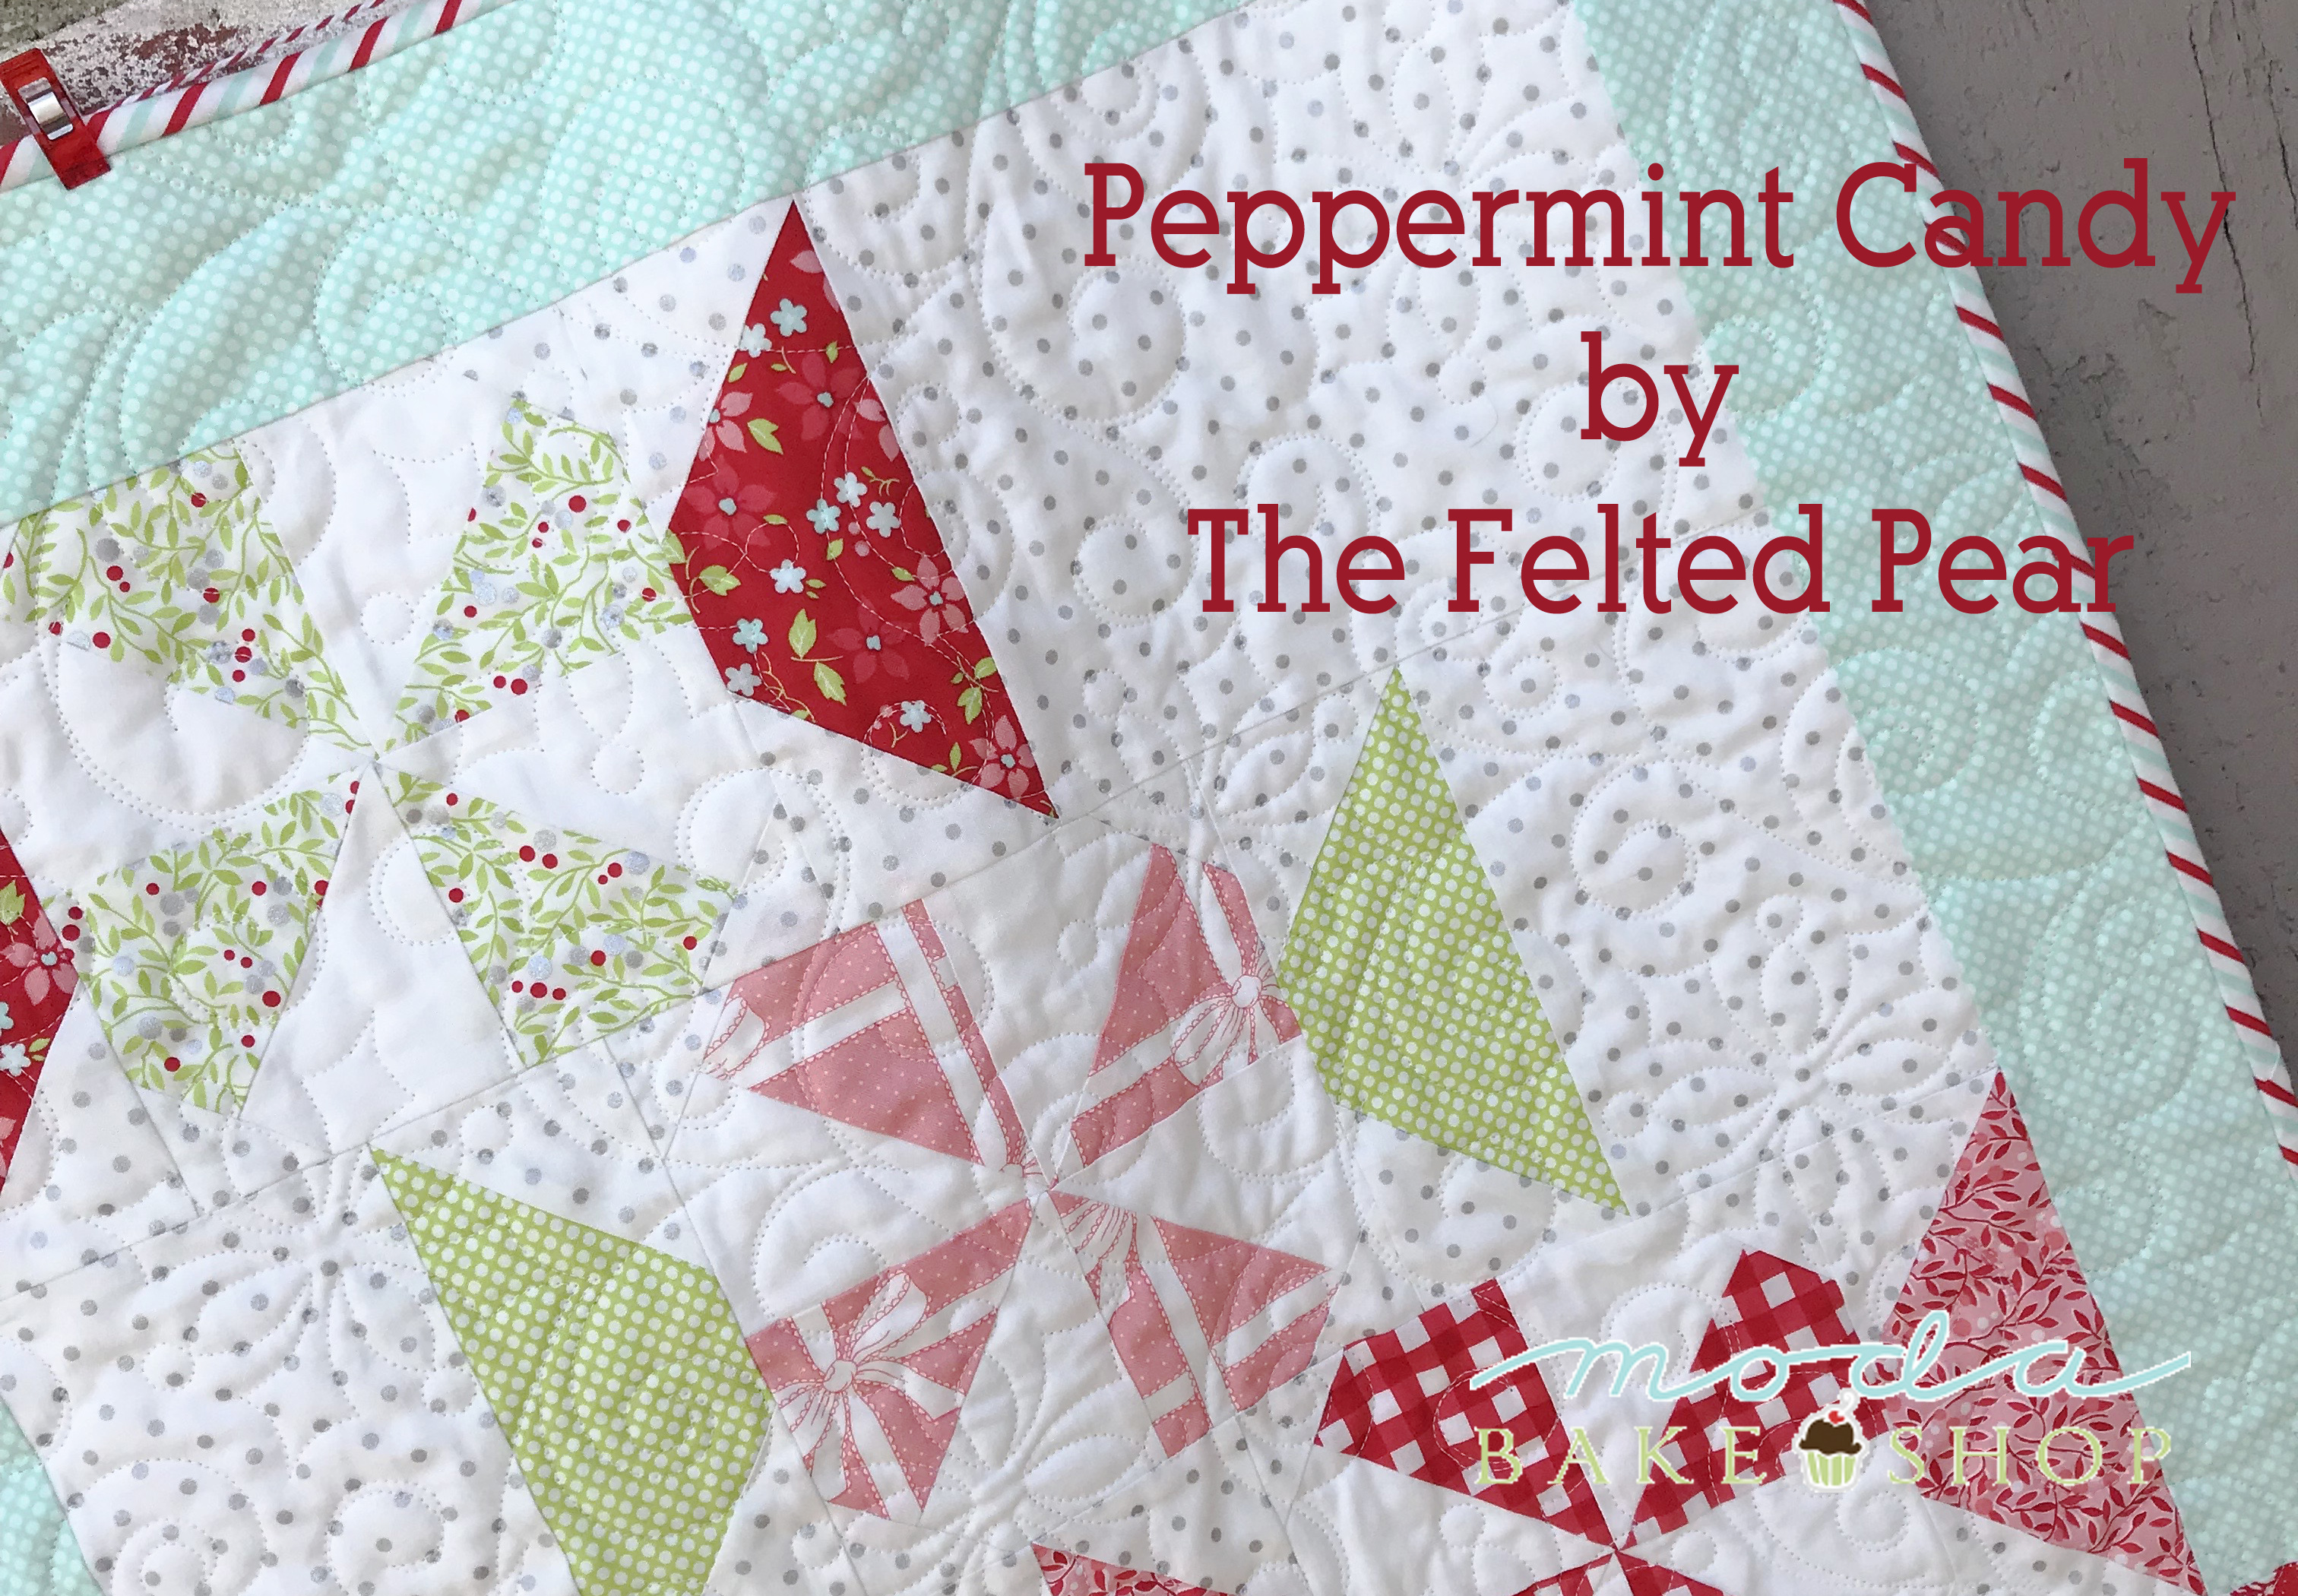
Peppermint Candy Quilt
Peppermint Candy Quilt
Published:
Apr 27 2018 - 23:00
![]()
Hi! I am Susan Vaughan of The Felted Pear. I am so excited to be on the Moda Bakeshop today sharing with you my Peppermint Candy Quilt. It is no secret to my family that my favorite holiday is Christmas. I love the feeling of warmth and cheer as well as celebrating all of our families annual traditions--including dunking peppermint candies into mugs of hot chocolate! When I saw Bonnie and Camille's upcoming Christmas line, Vintage Holiday, I knew I wanted to make a Christmas quilt for my home. I love to decorate for the holidays, and this fabric is perfect for Christmas, but not too Christmasy that you can't keep it out all winter long!
I chose to make this 44" x 44" size quilt because it is so versatile. It is the perfect size to hang on the wall, on the back of an armchair or to use as a topper on the kitchen table or buffet. The blocks are large, so one block can be used for a fun throw pillow size or you could opt to make nine blocks and have a larger sized throw quilt.
This quilt finishes 44" x 44".
![]()
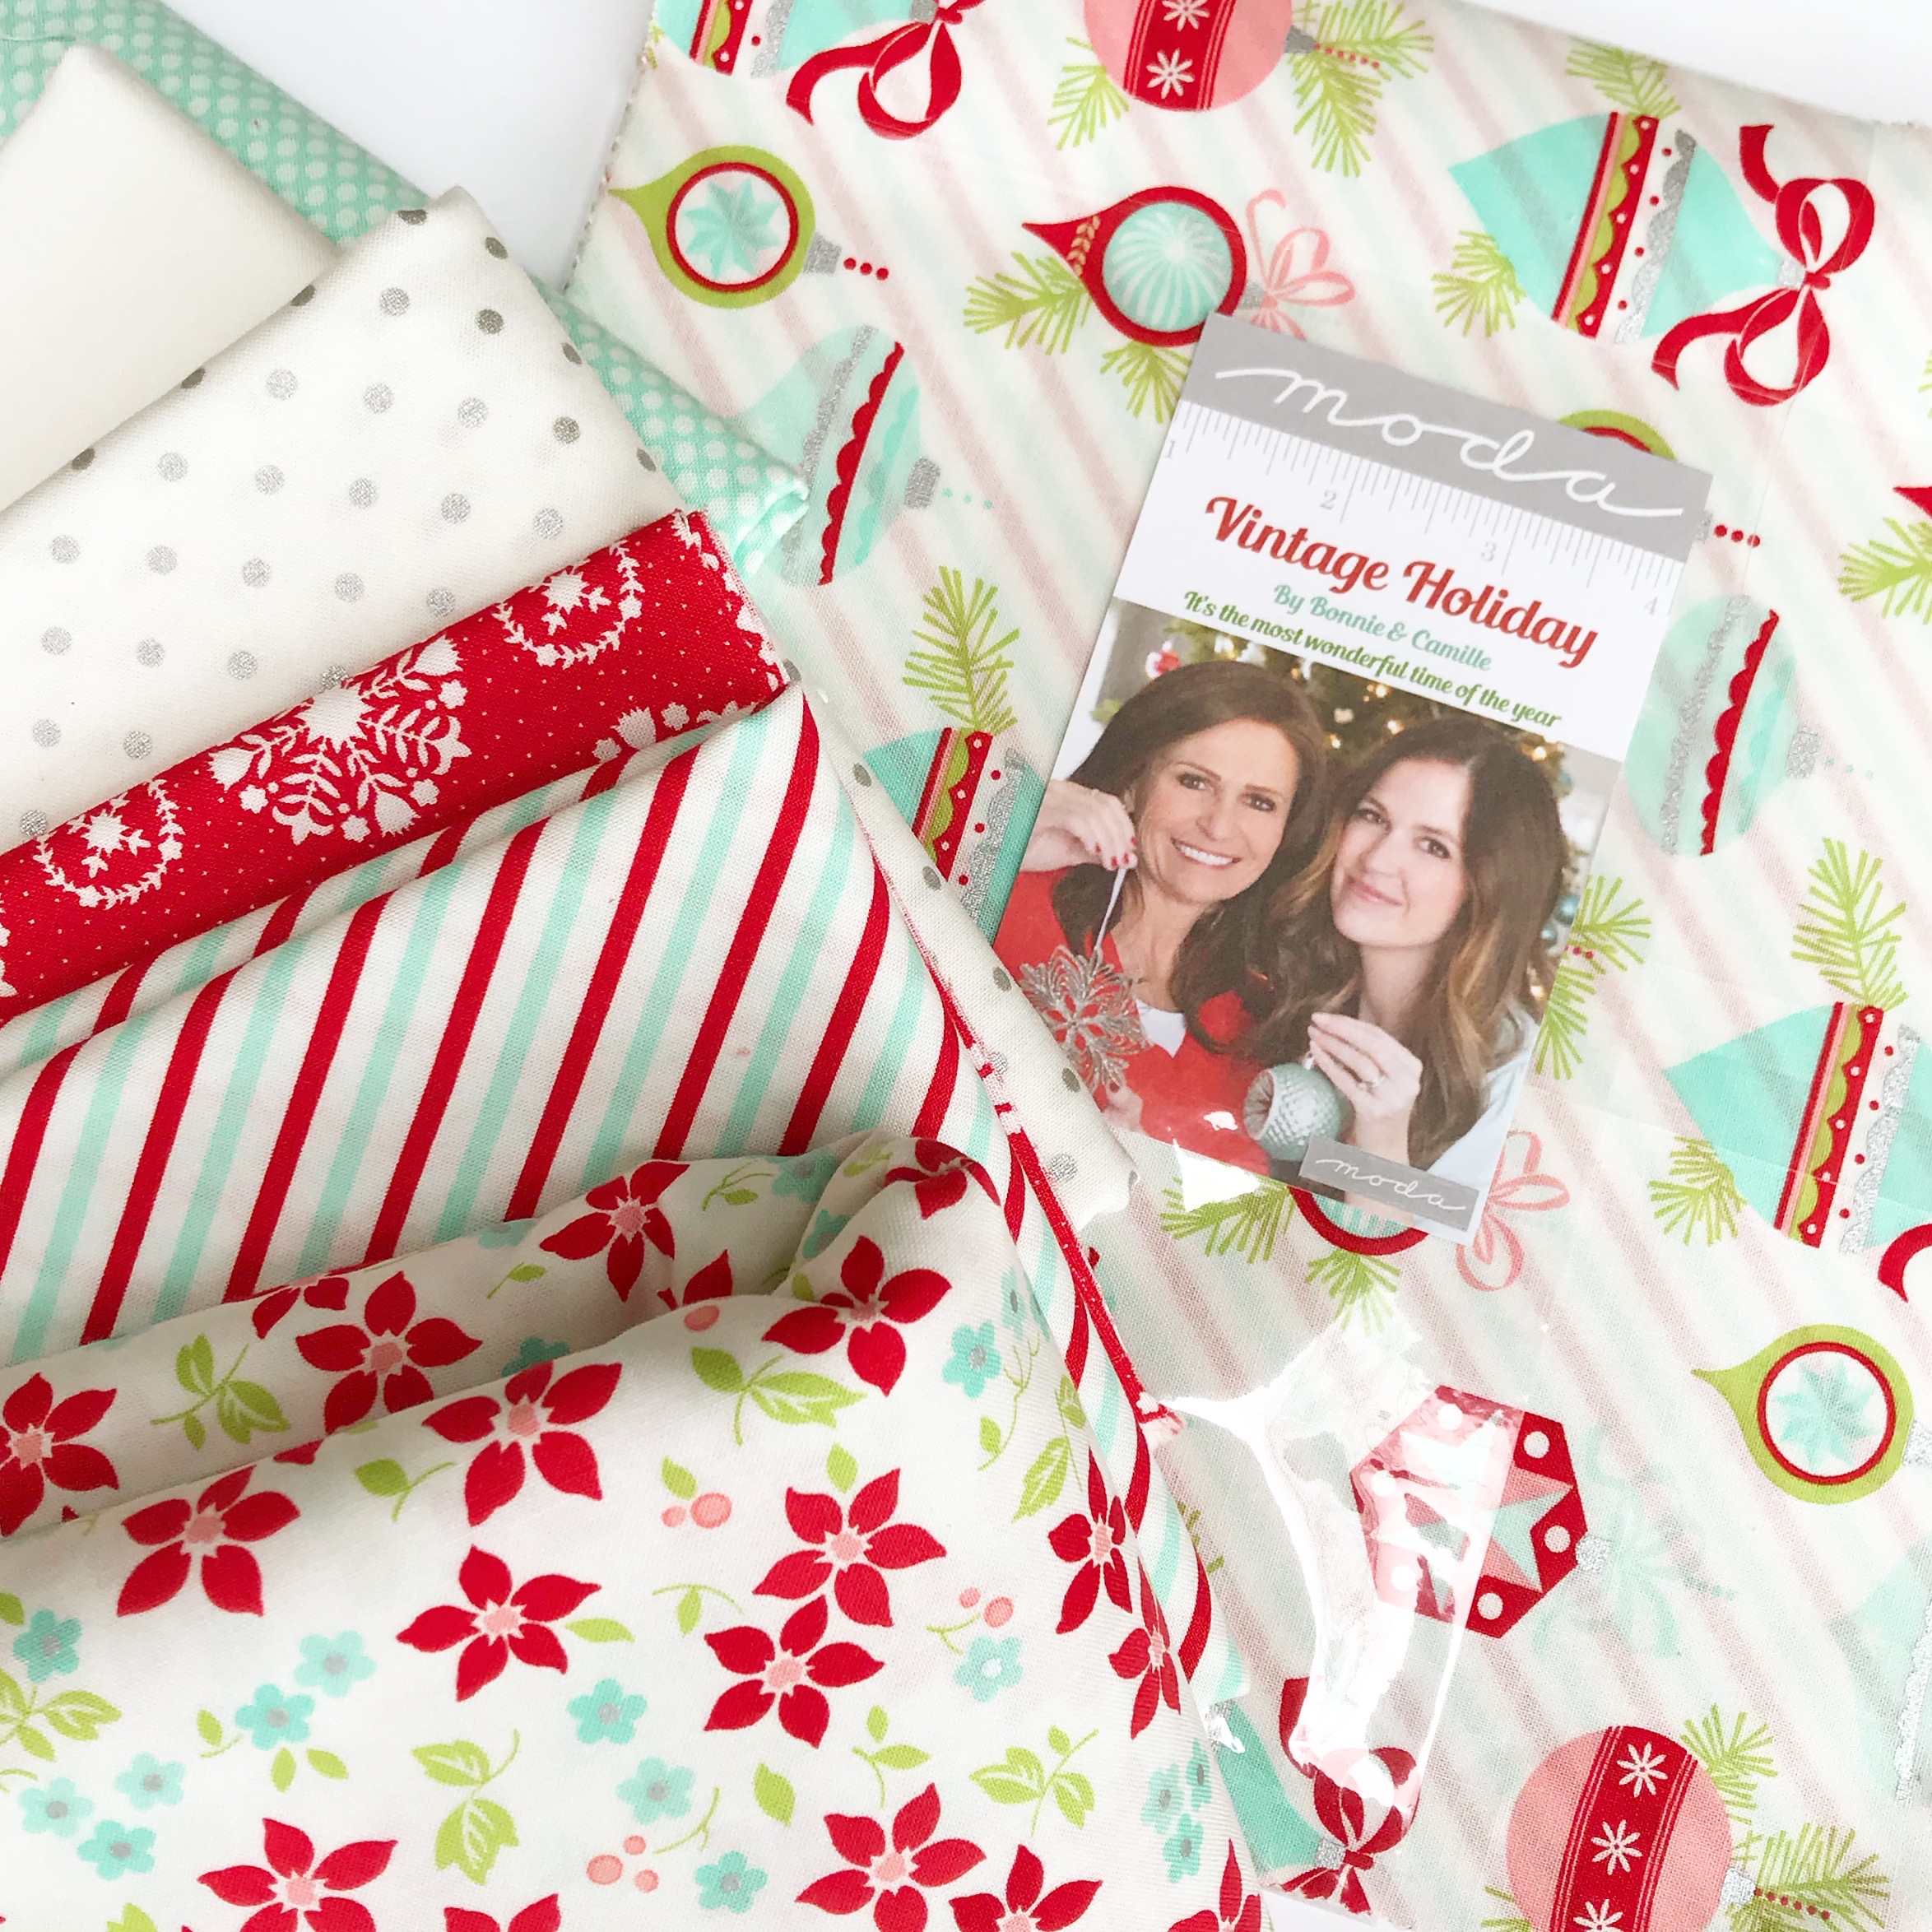
1 Layer Cake® Vintage Holiday by Bonnie and Camille {55160LC}
1/2 yards Bella Solids Off White {9900 200}
1.25 yards background fabric: Vintage Holiday Metallic Silver {55162 18M}
3/4 yards border/sashing fabric: Vintage Holiday Aqua {55162 12}
1/4 yards cornerstone fabric: Vintage Holiday Red {55166 11 }
3 yards backing fabric: Vintage Holiday Ivory {55167 18}
1/2 yards binding fabric Vintage Holiday Red Aqua {55168 12}
![]()
Pick 12 Layer Cake® Squares for wrappers. From each, cut (2) 2.75" x 6.5" rectangles for a total of 24 rectangles (12 pairs)
Pick 12 Layer Cake® Squares for the candies. From each, cut (2) 4" squares for a total of 24 squares (12 pairs)
From the Off White Bella Solid cut: (3) 4" x Width of Fabric (WOF) Strips. Subcut into (24) 4" squares. Draw a line diagonally on the back of each square.
From the Metallic Silver Dot background fabric cut:
-(3) 1.75" x WOF. Subcut into (48) 1.75" squares. Draw a line diagonally on the back of each square.
-(4) 2.75" x WOF. Subcut into (48) 2.75" squares. Draw a line diagonally on the back of each square.
-(2) 8" x WOF. Subcut into (8) 6.5" x 8" rectangles.
-(1) 6.5" x WOF. Subcut into (8) 6.5" x 4.25" rectangles.
From Aqua border/sashing fabric cut:
-(6) 3" x WOF strips. Subcut into (12) 3" x 18.5" rectangles.
From the Red Snowflake cornerstone fabric: fussy cut (9) 3" squares with the snowflake medallion in the center.
Assembly:
Piece all seams with 1/4" seam allowance.
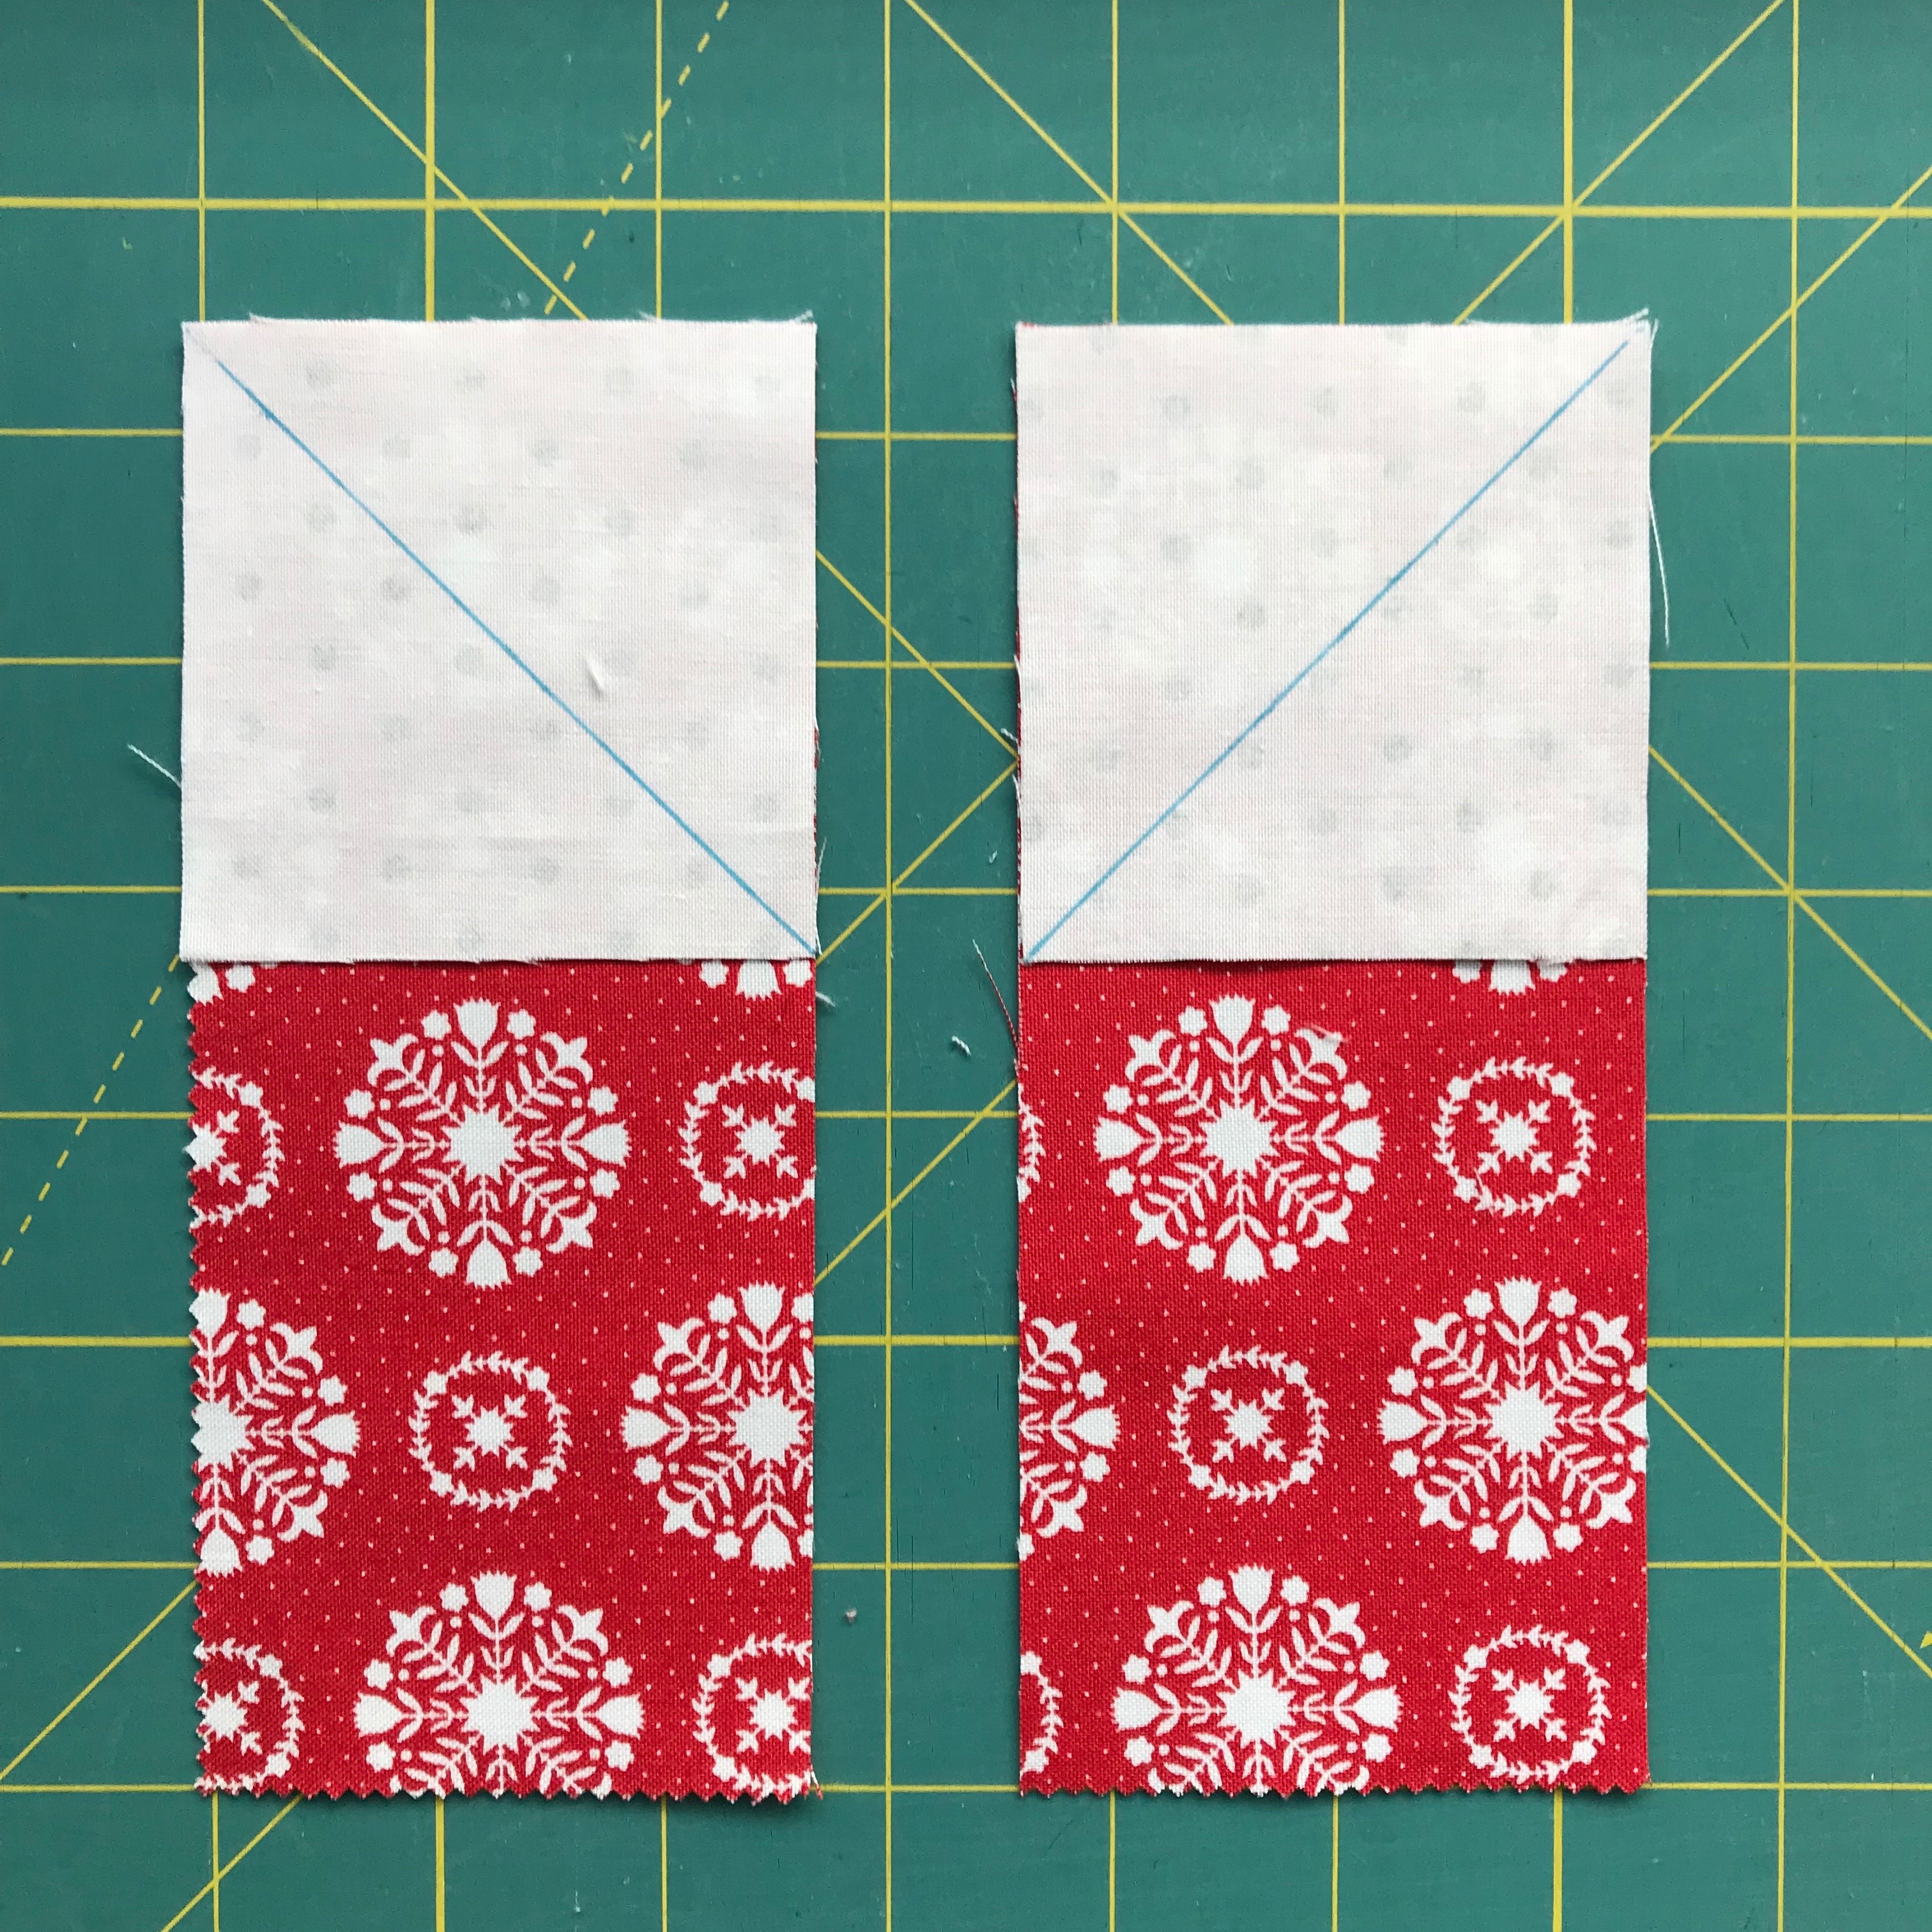
To make the candies, gather (2) matching 4" candy squares and (2) Bella Off White Solid squares.
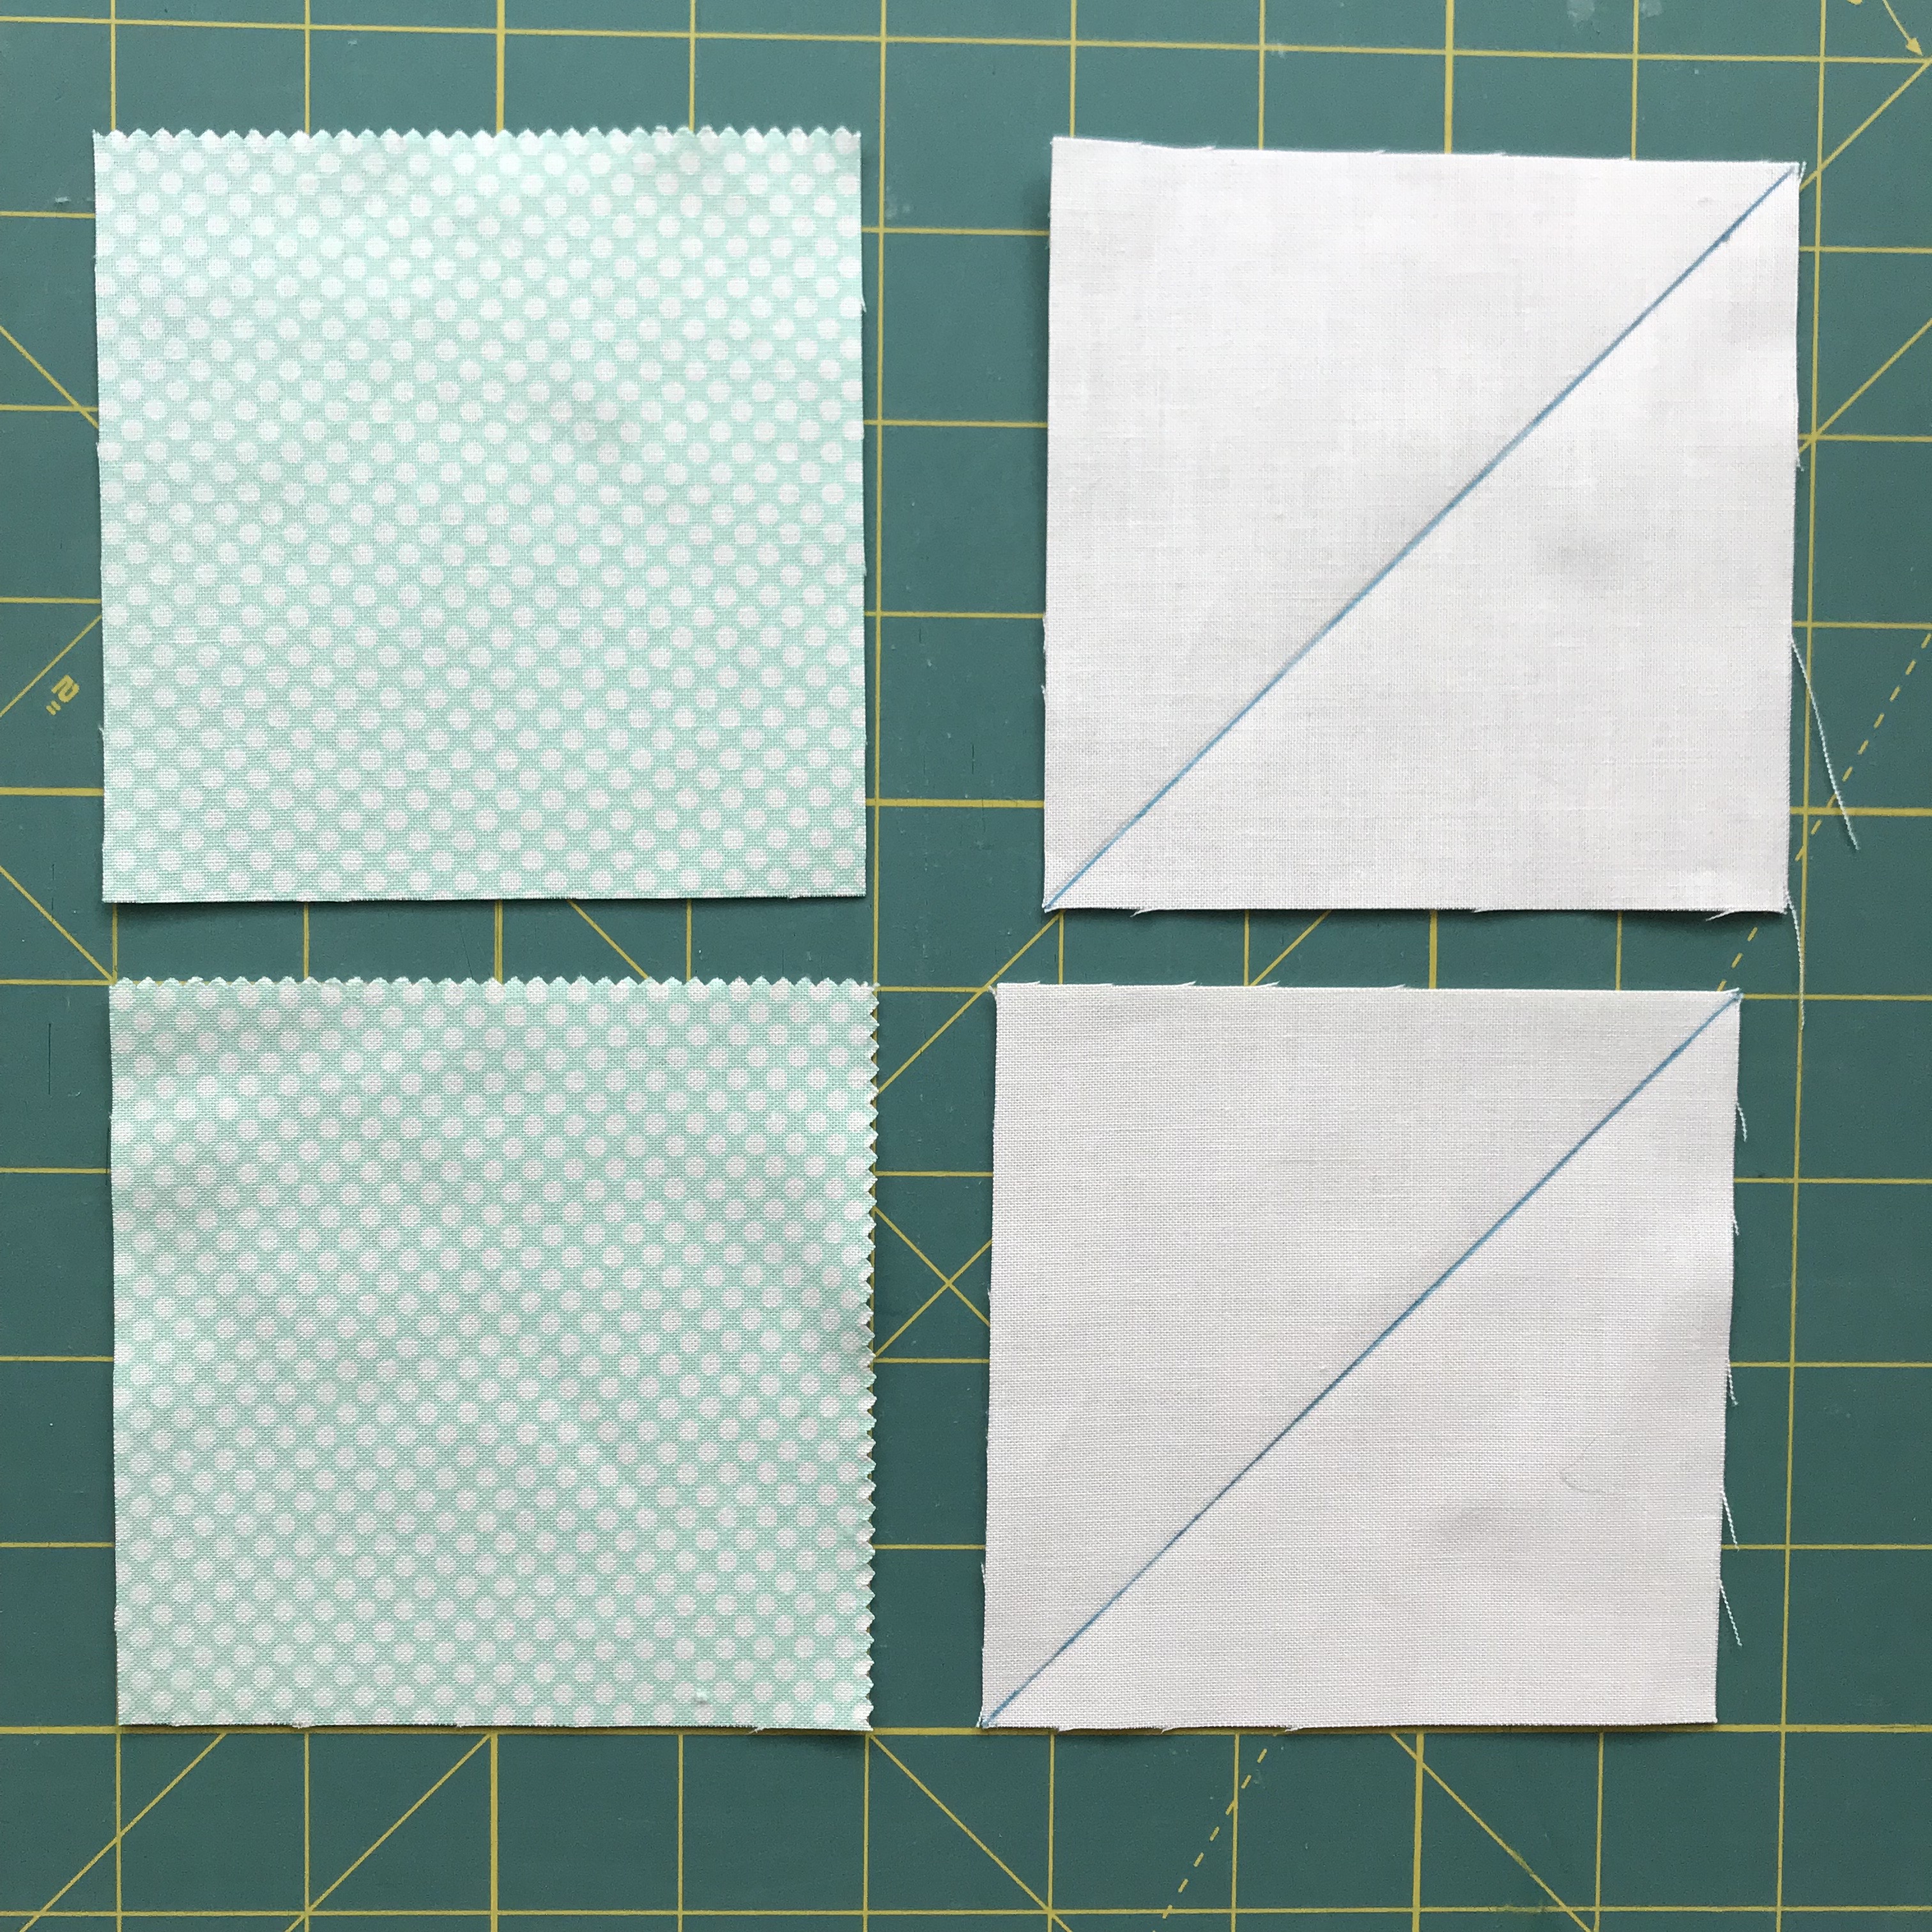
Layer candy fabric right sides together with the Bella Off White Solid square on top.

Sew 1/4" on each side of the drawn line and cut along the drawn line.
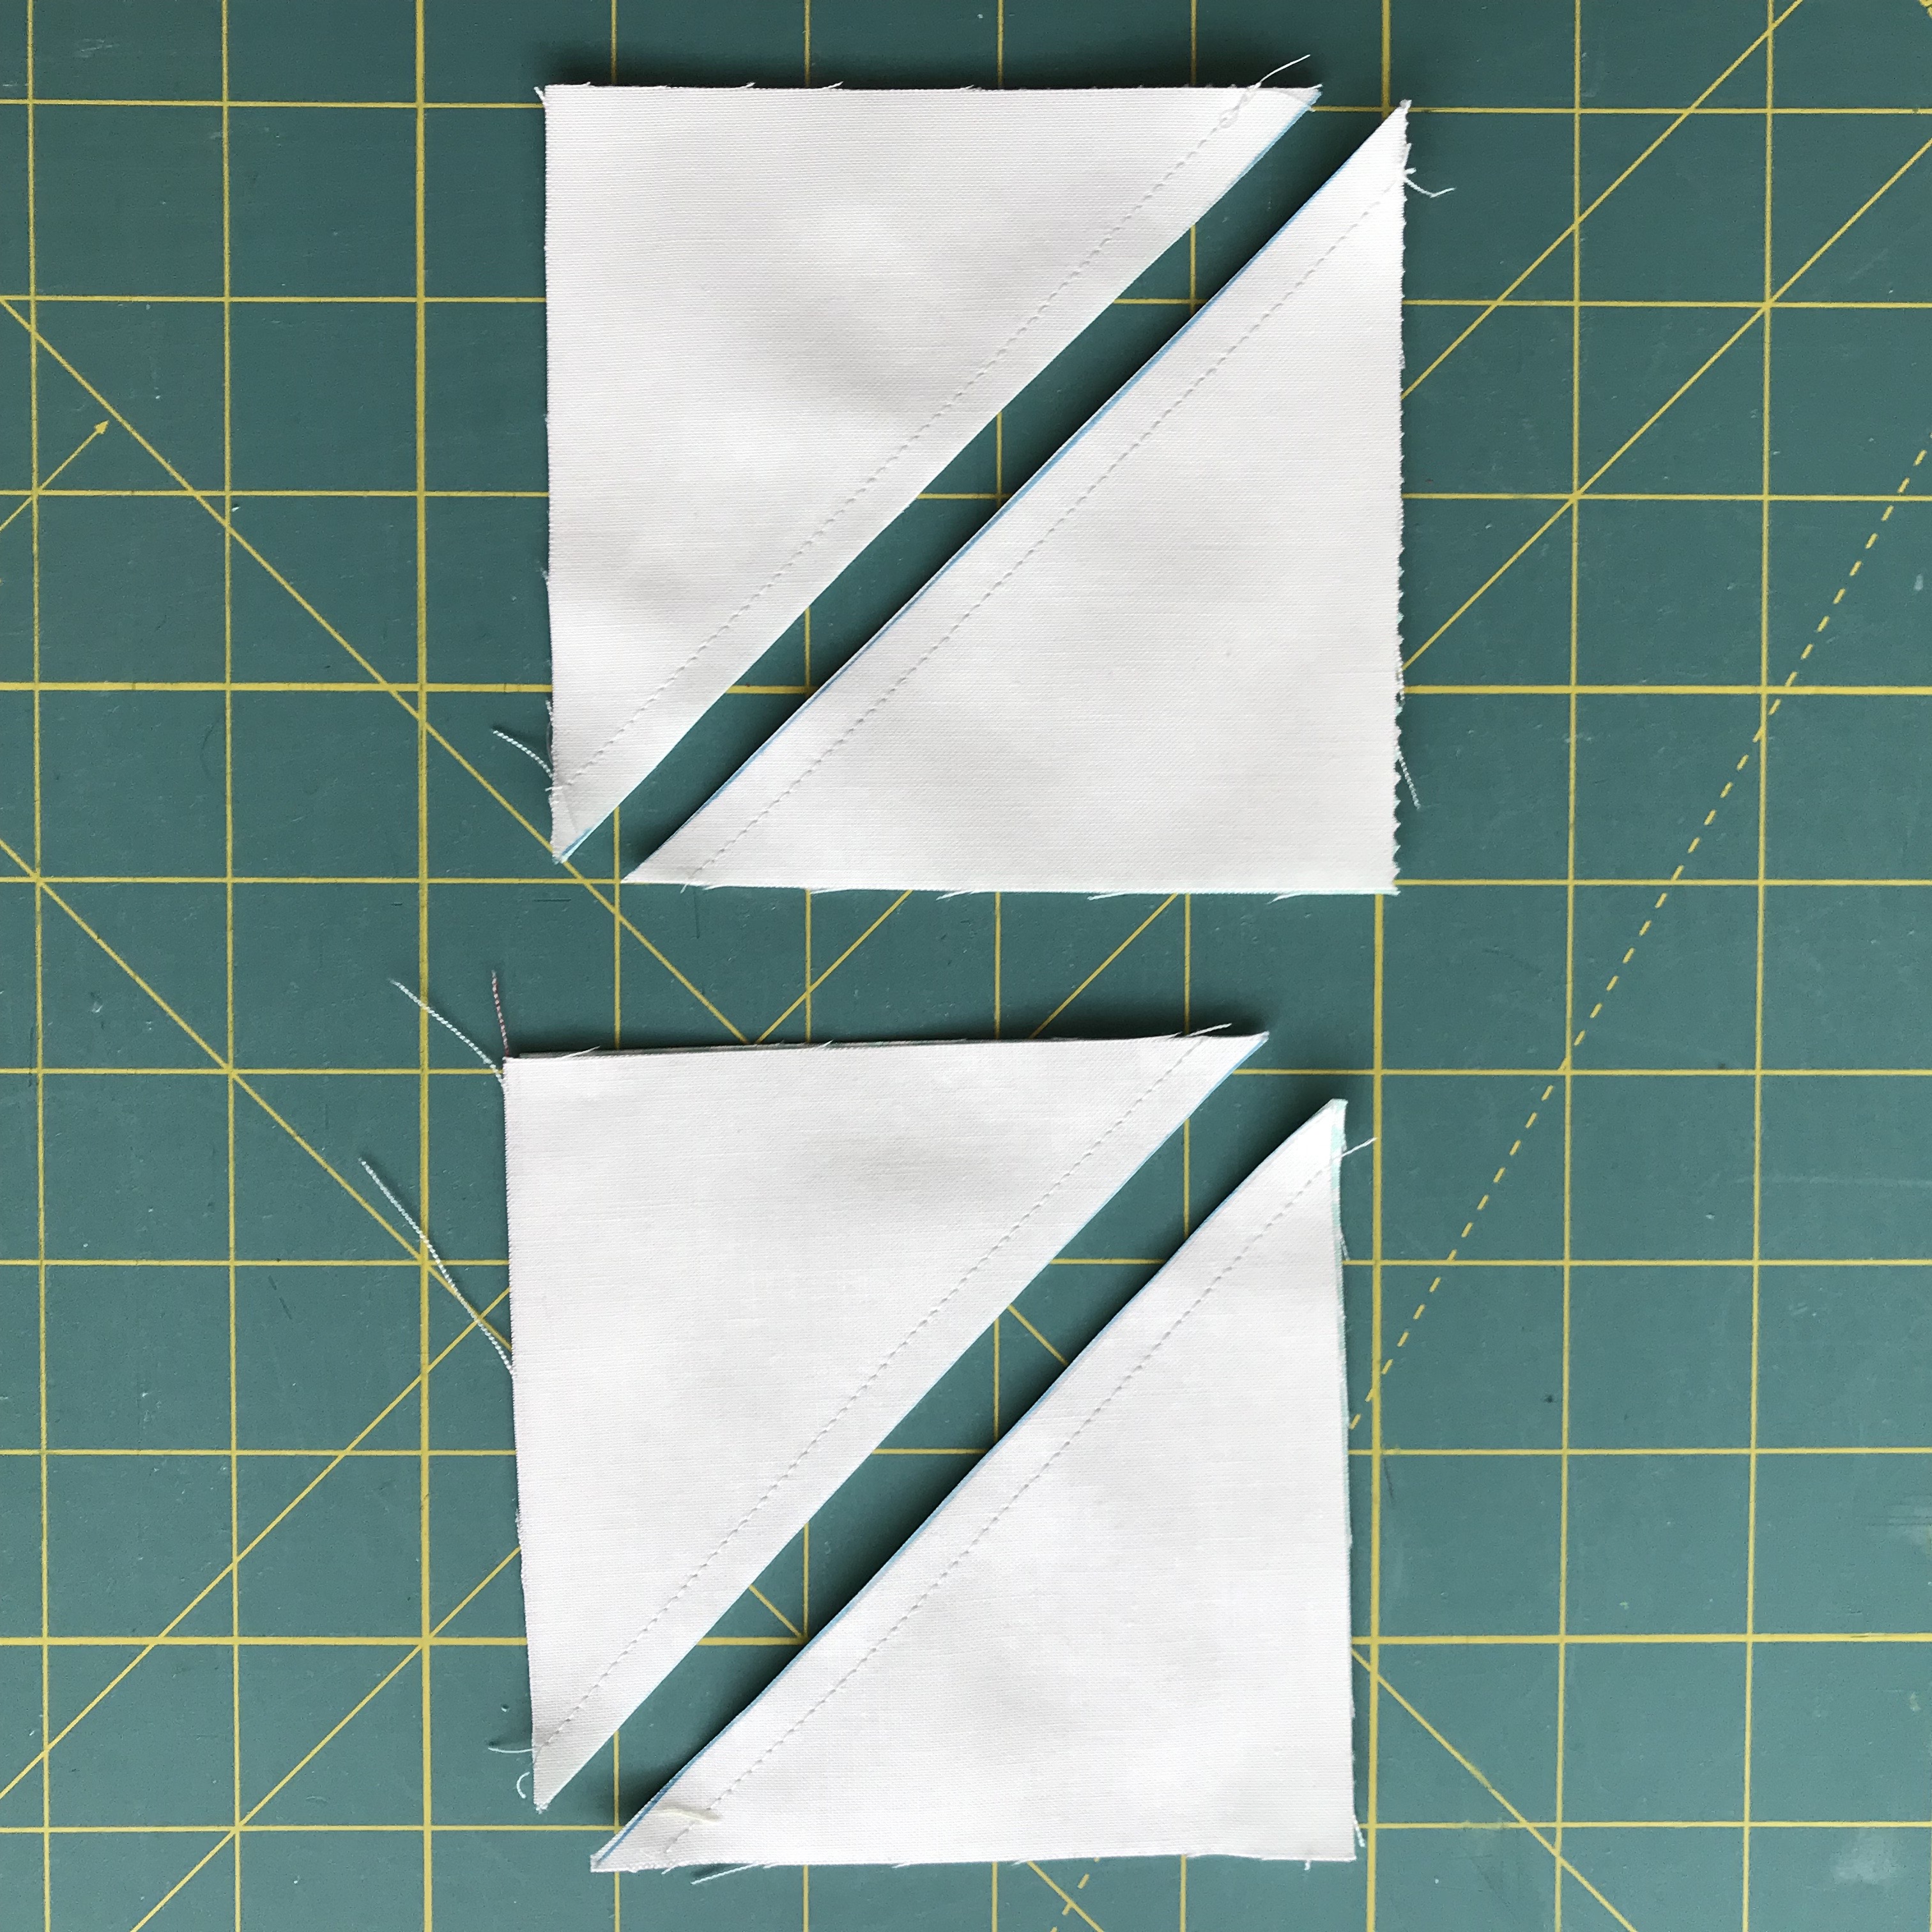
Open and press to the dark side. Trim half square triangle units to 3.5" square.

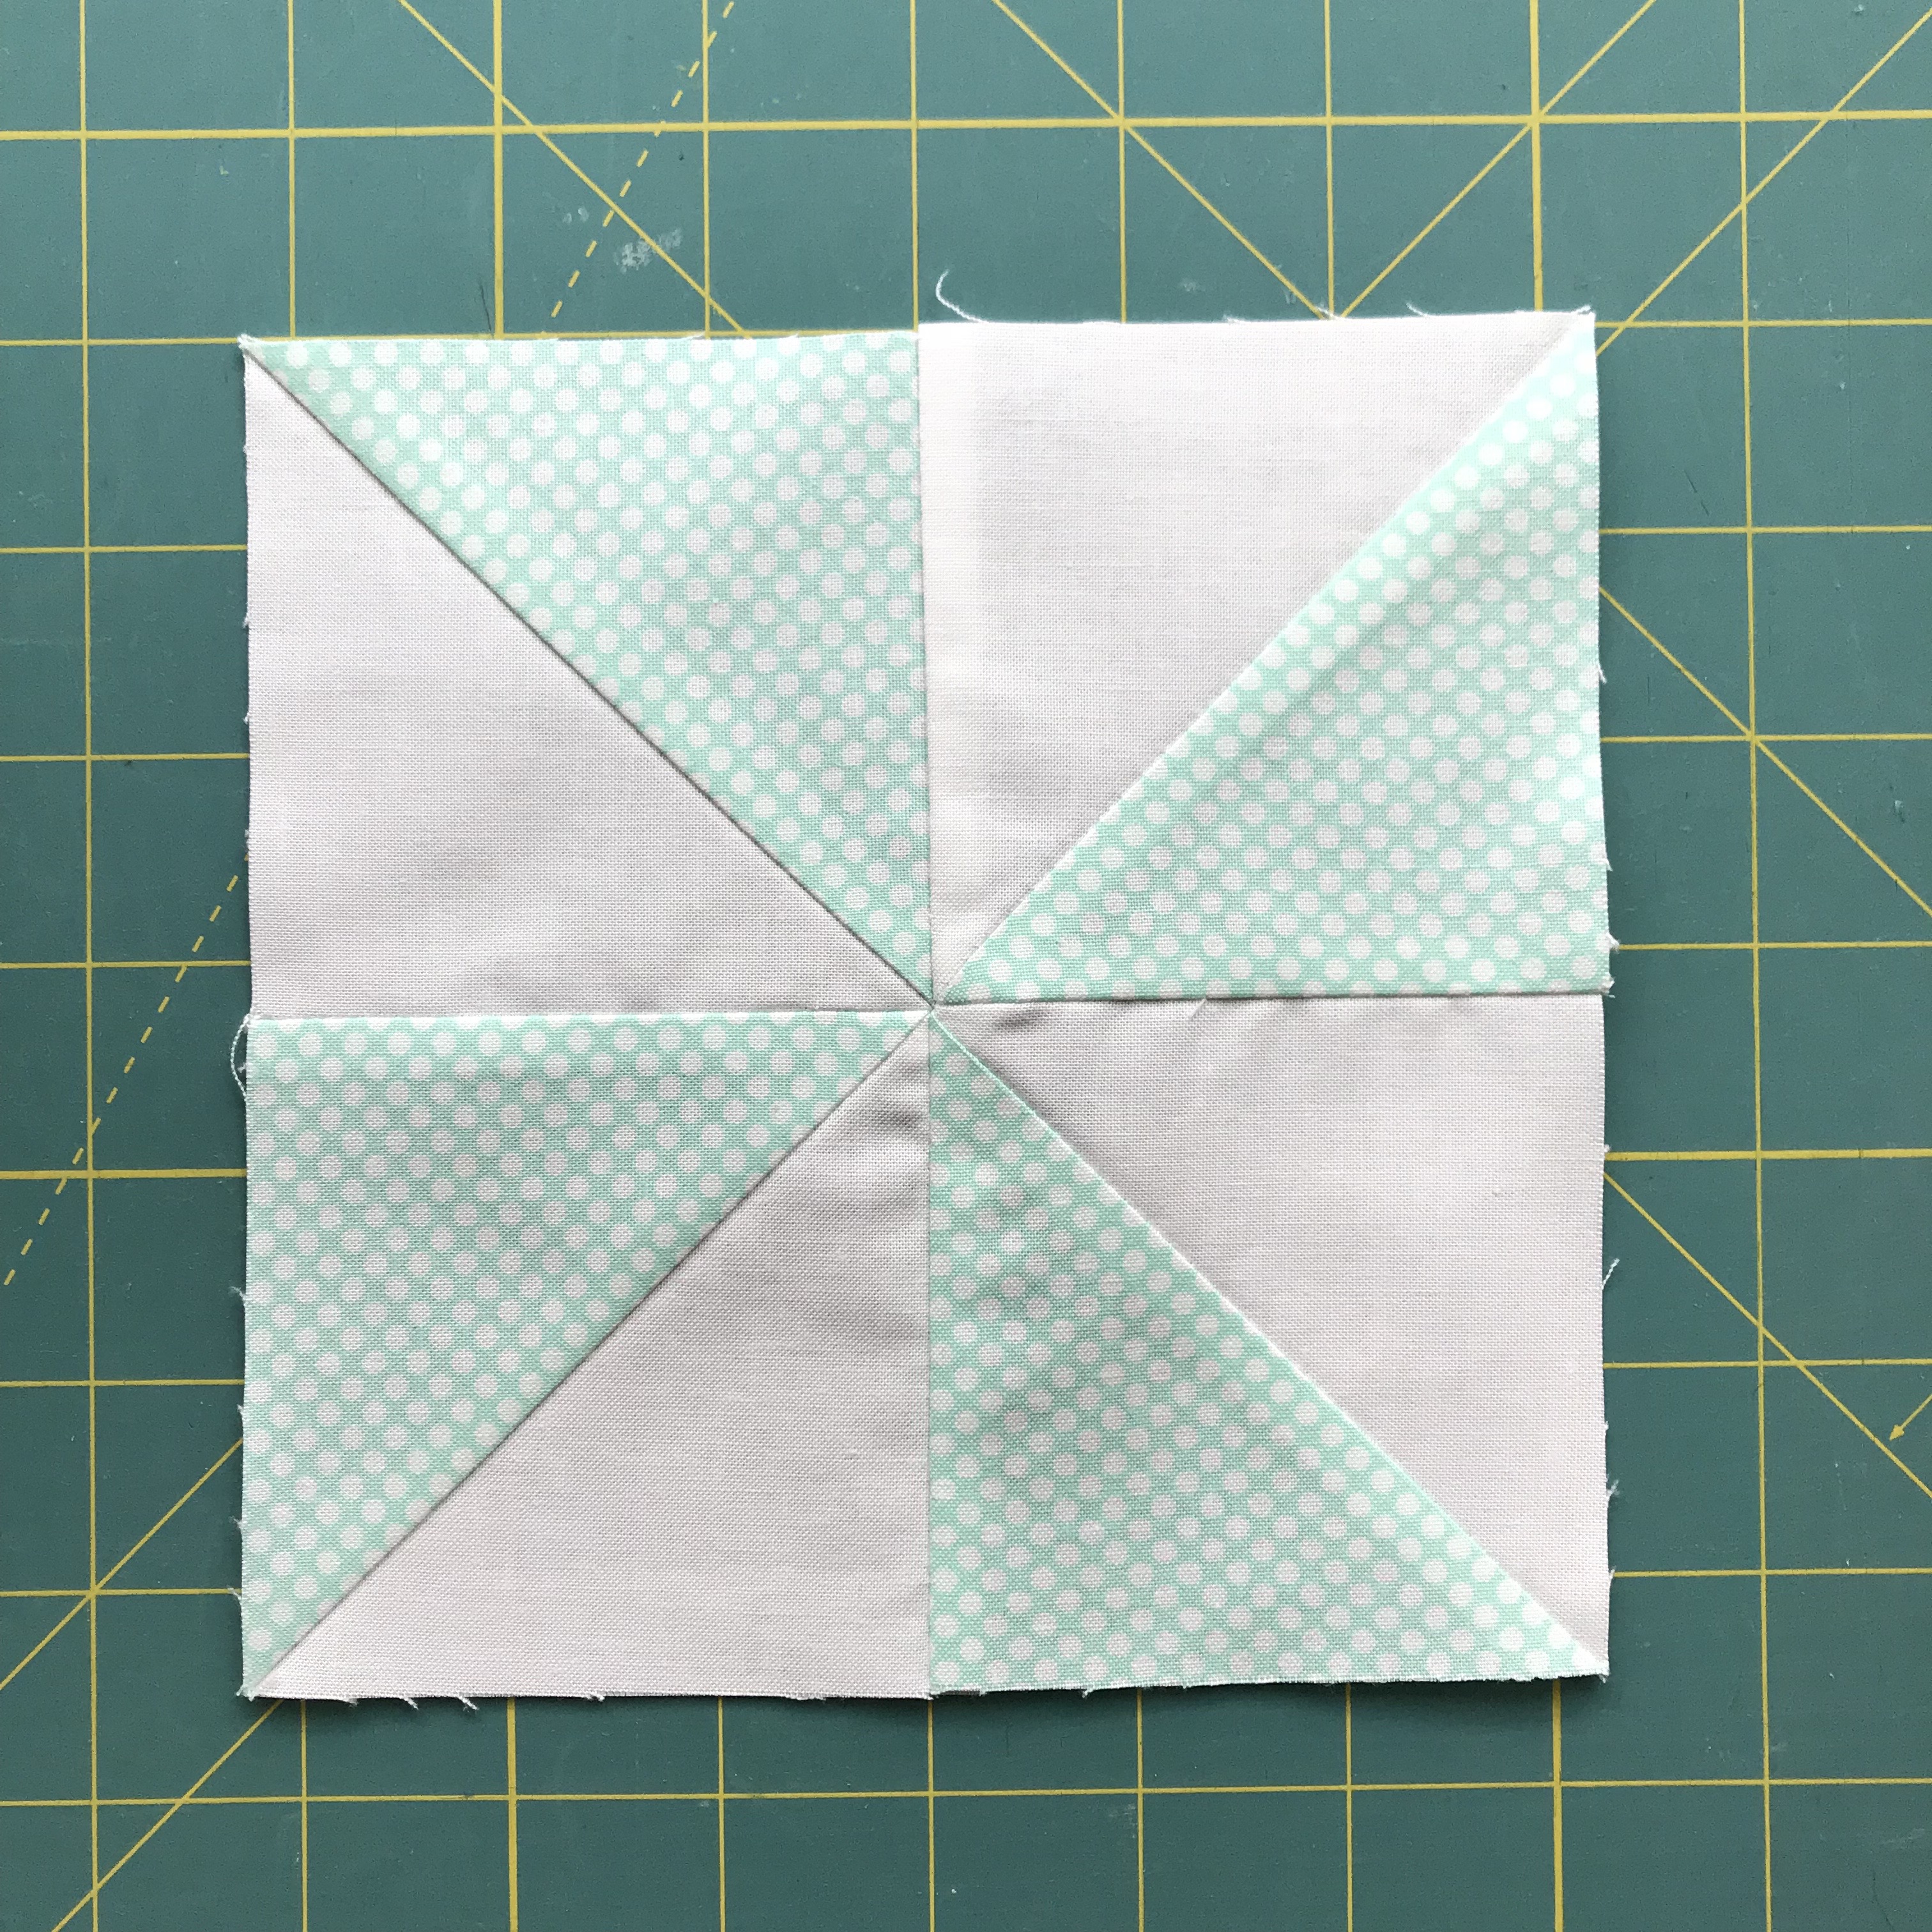
Arrange as shown, and sew a four patch "pinwheel" together. Be sure to check the direction of your spin!

Block should measure 6.5" square.
Gather (4) 1.75" Metallic Silver Dot background squares with diagonal lines drawn on the back.

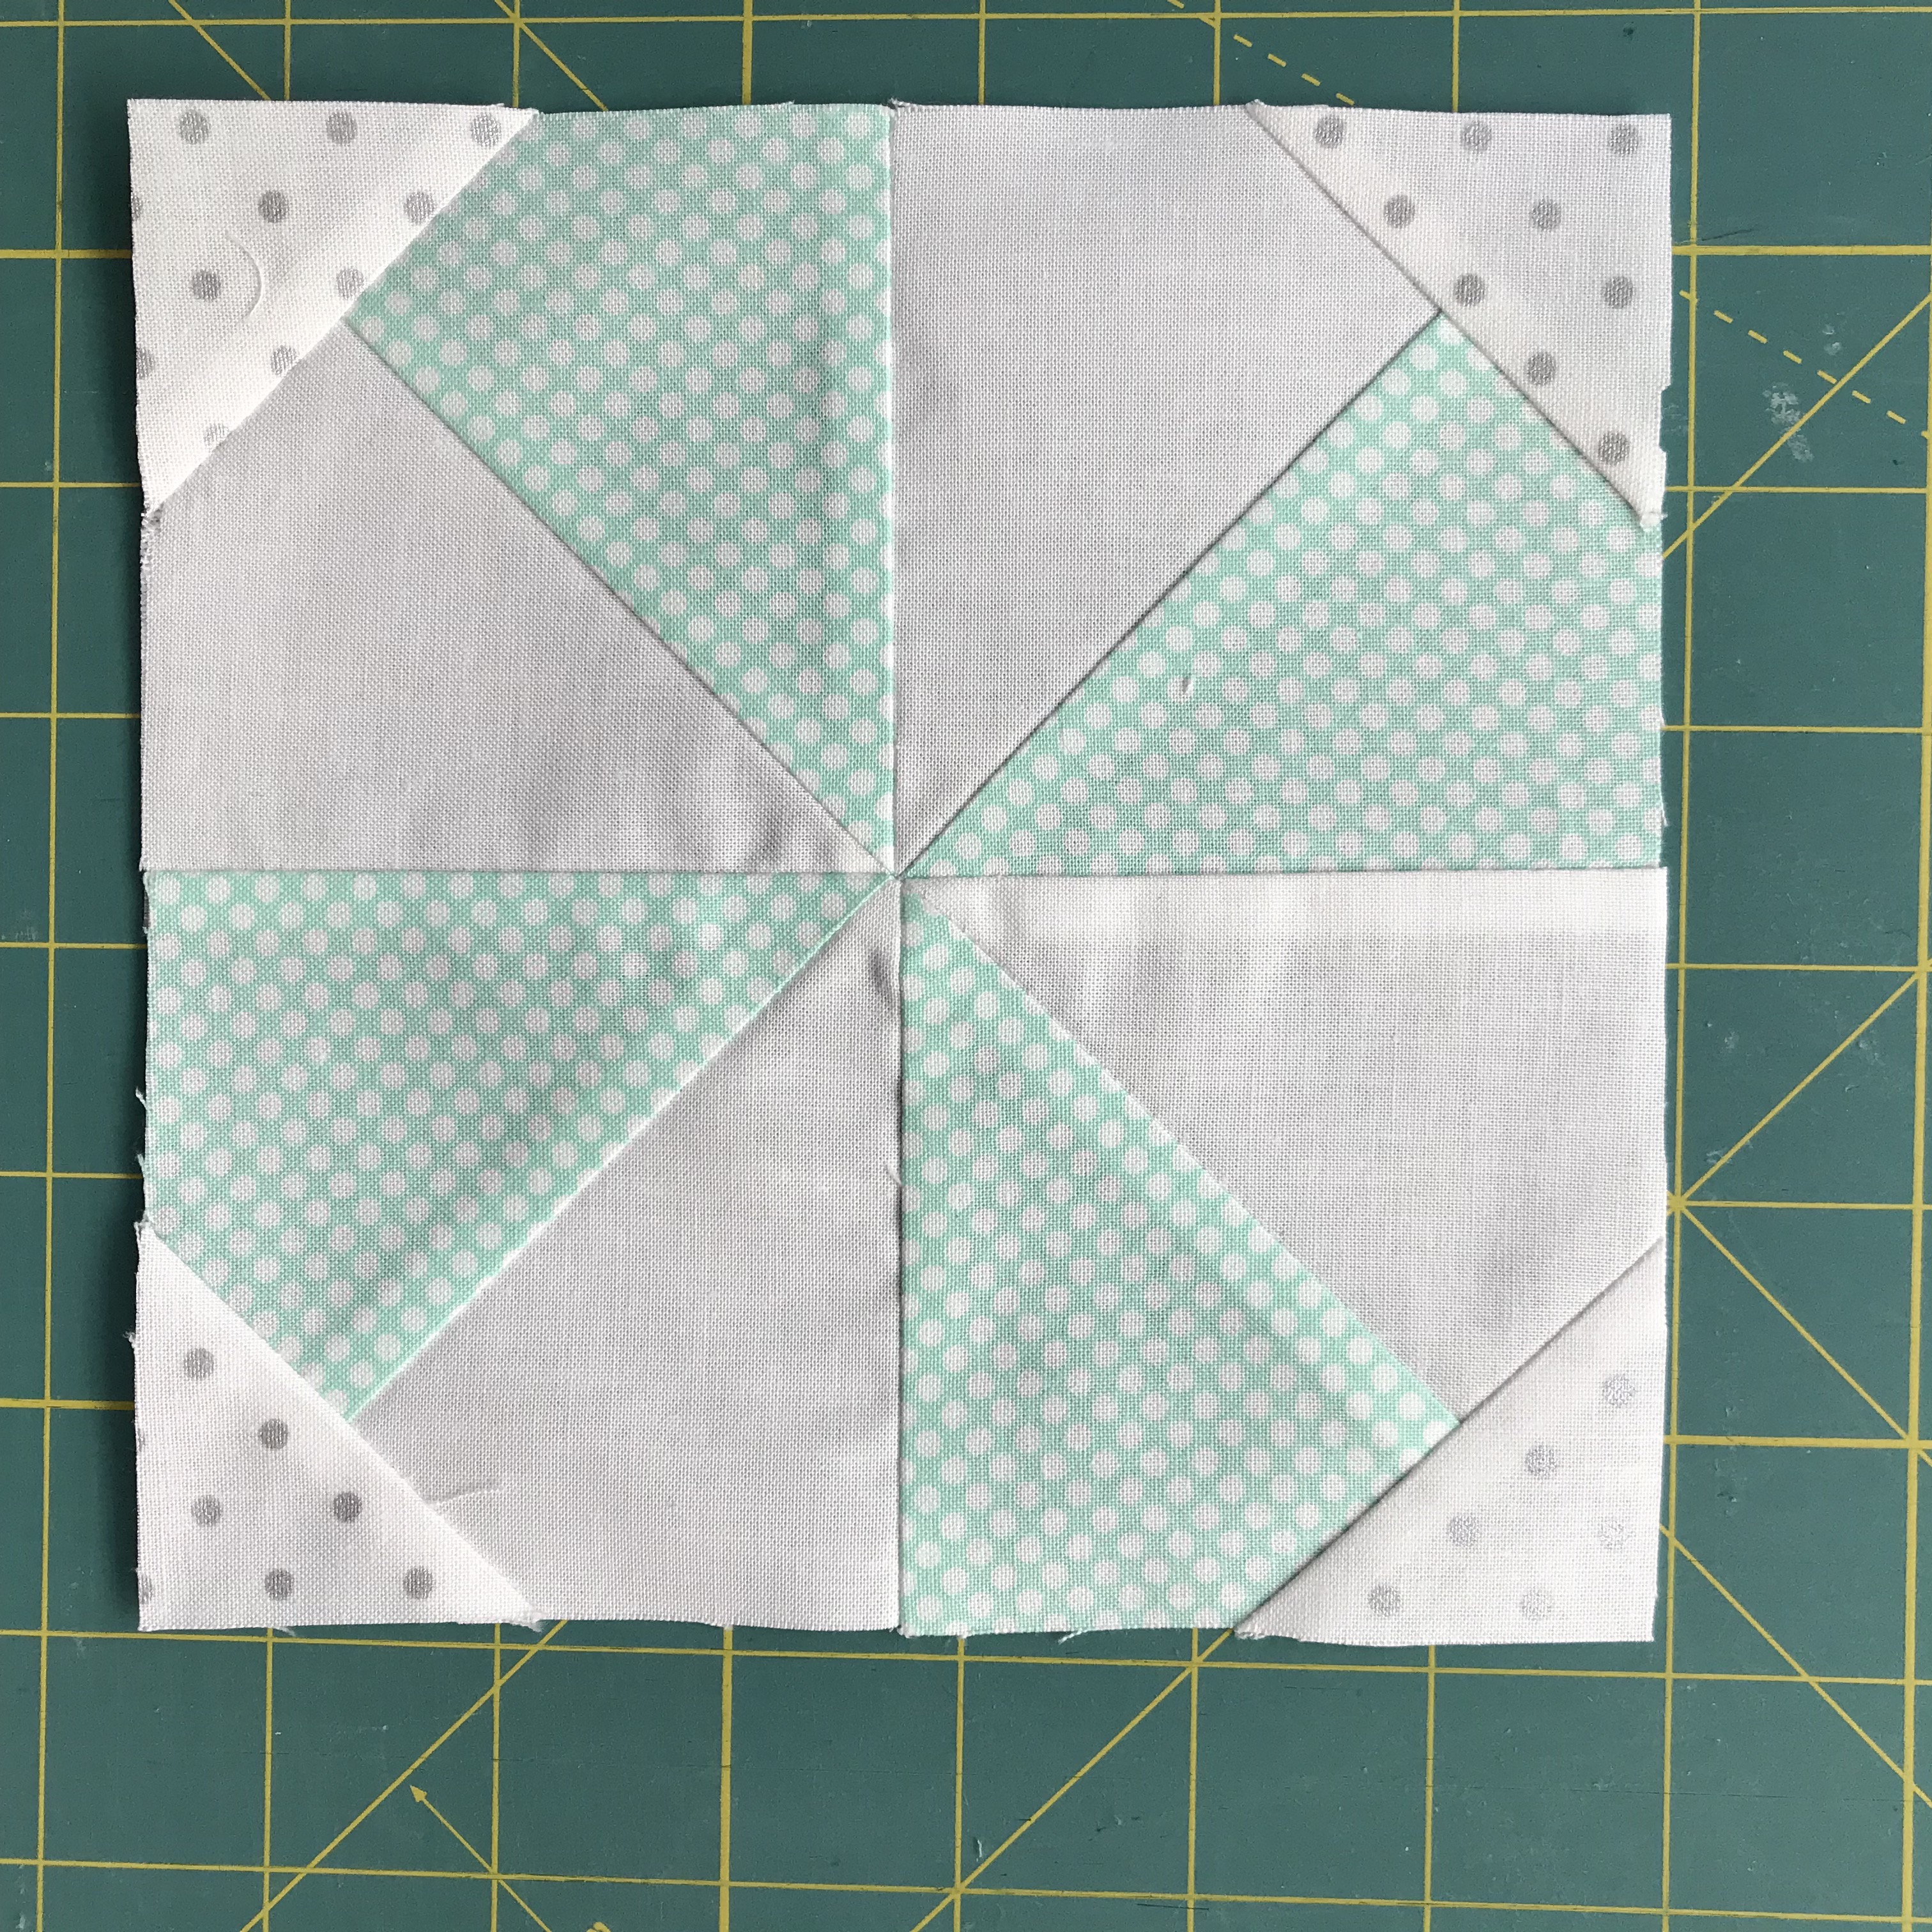
Layer the 1.75" squares on the four corners of the block as shown and sew along the drawn diagonal line.
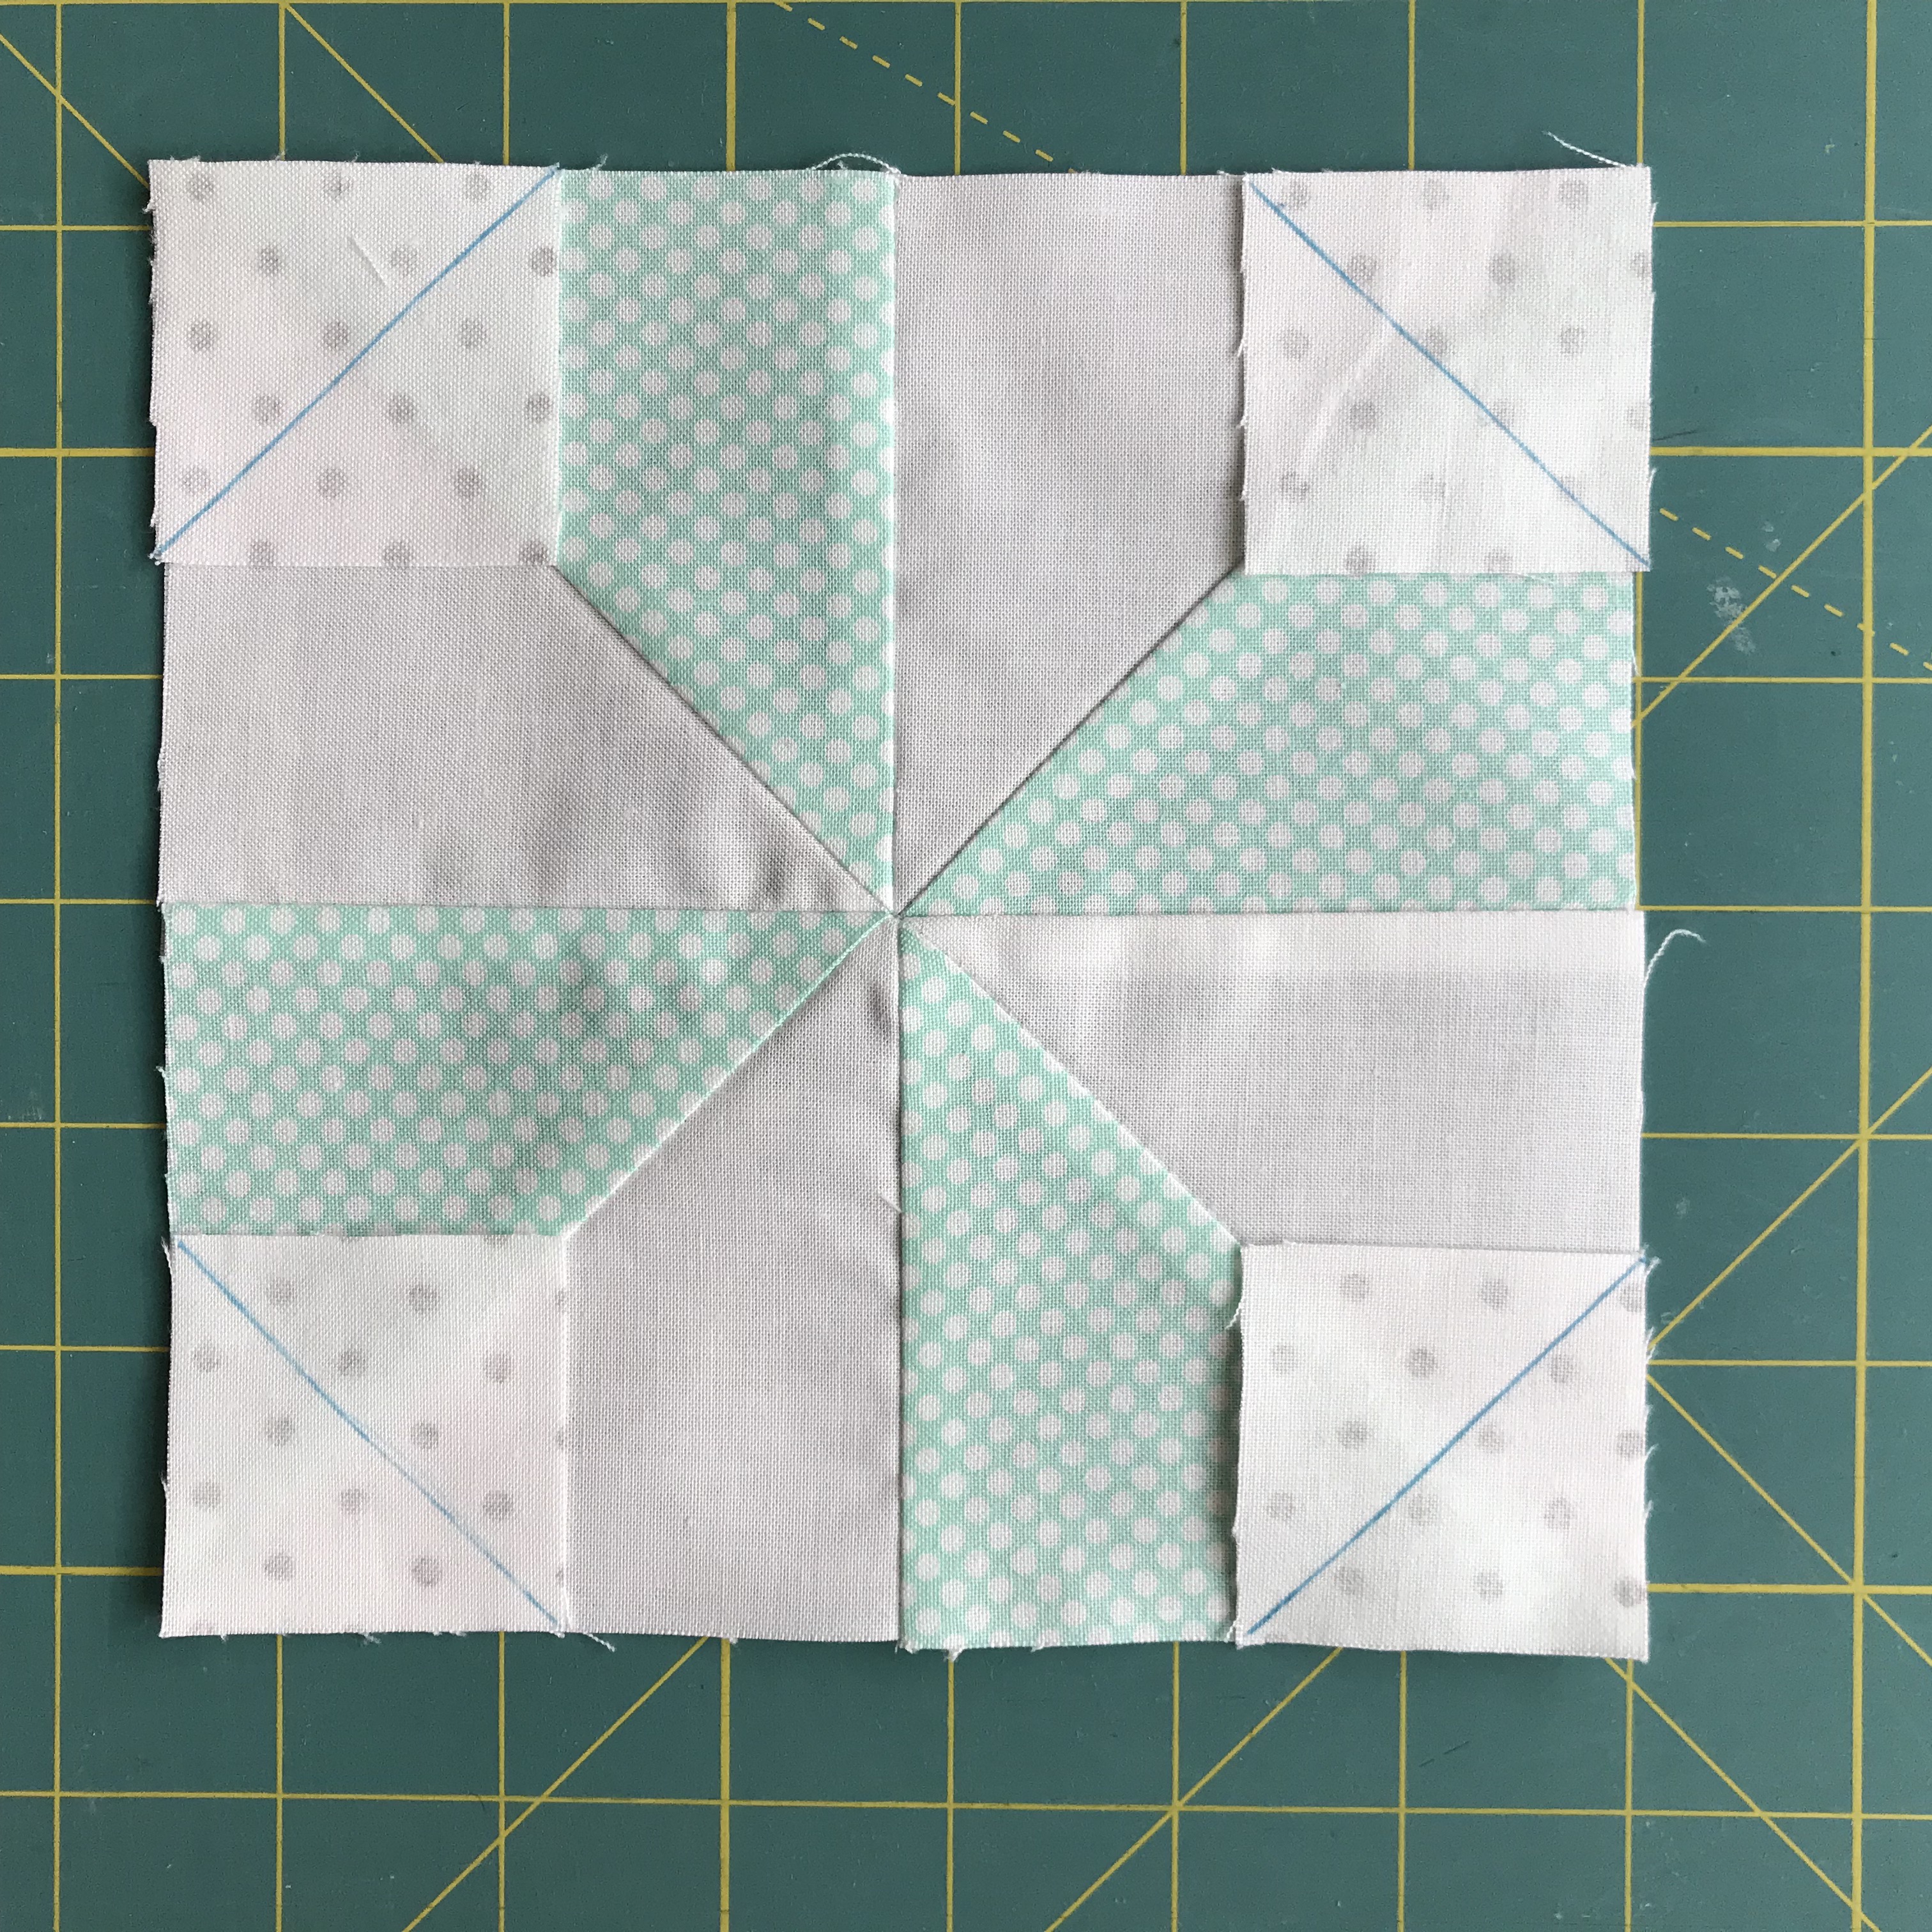
Trim squares 1/4" from the sewn line as shown. Discard the triangles that are cut away.

Press triangles out. Block should measure 6.5" square. Repeat for a total of (12) candy squares.
To make the wrappers, gather (2) matching 2.75" x 6.5" rectangles and (4) 2.75" Metallic Silver Dot background squares.

Lay (2) 2.75" Silver Metallic Dot background squares on top of the wrapper fabric as shown. Pay careful attention to the direction that you have placed the background fabrics as they are mirror images of each other.
Sew on the drawn lines and trim 1/4" past drawn line as shown. Discard the triangles that are cut away.
.
Press Metallic Silver Dot background squares out. Repete the process, layering the two remaining background squares on the lower part of the rectangle as shown. Again, pay careful attention to how the diagonal lines are placed. Blocks will be a mirror image of each other.

Sew along the diagonal line. Trim 1/4" away from the line, and press out. Discard cut away triangles.
Repeat this process with the remaining pairs of rectangles. You should have (12) pairs of mirror-image rectangles that measure 2.75" x 6.5".

Pair up 1 pair of wrapper rectangles with (1) candy block for a total of (12) different combinations.
Arrange as shown and sew the wrapper rectangles to opposite sides of the candy block.
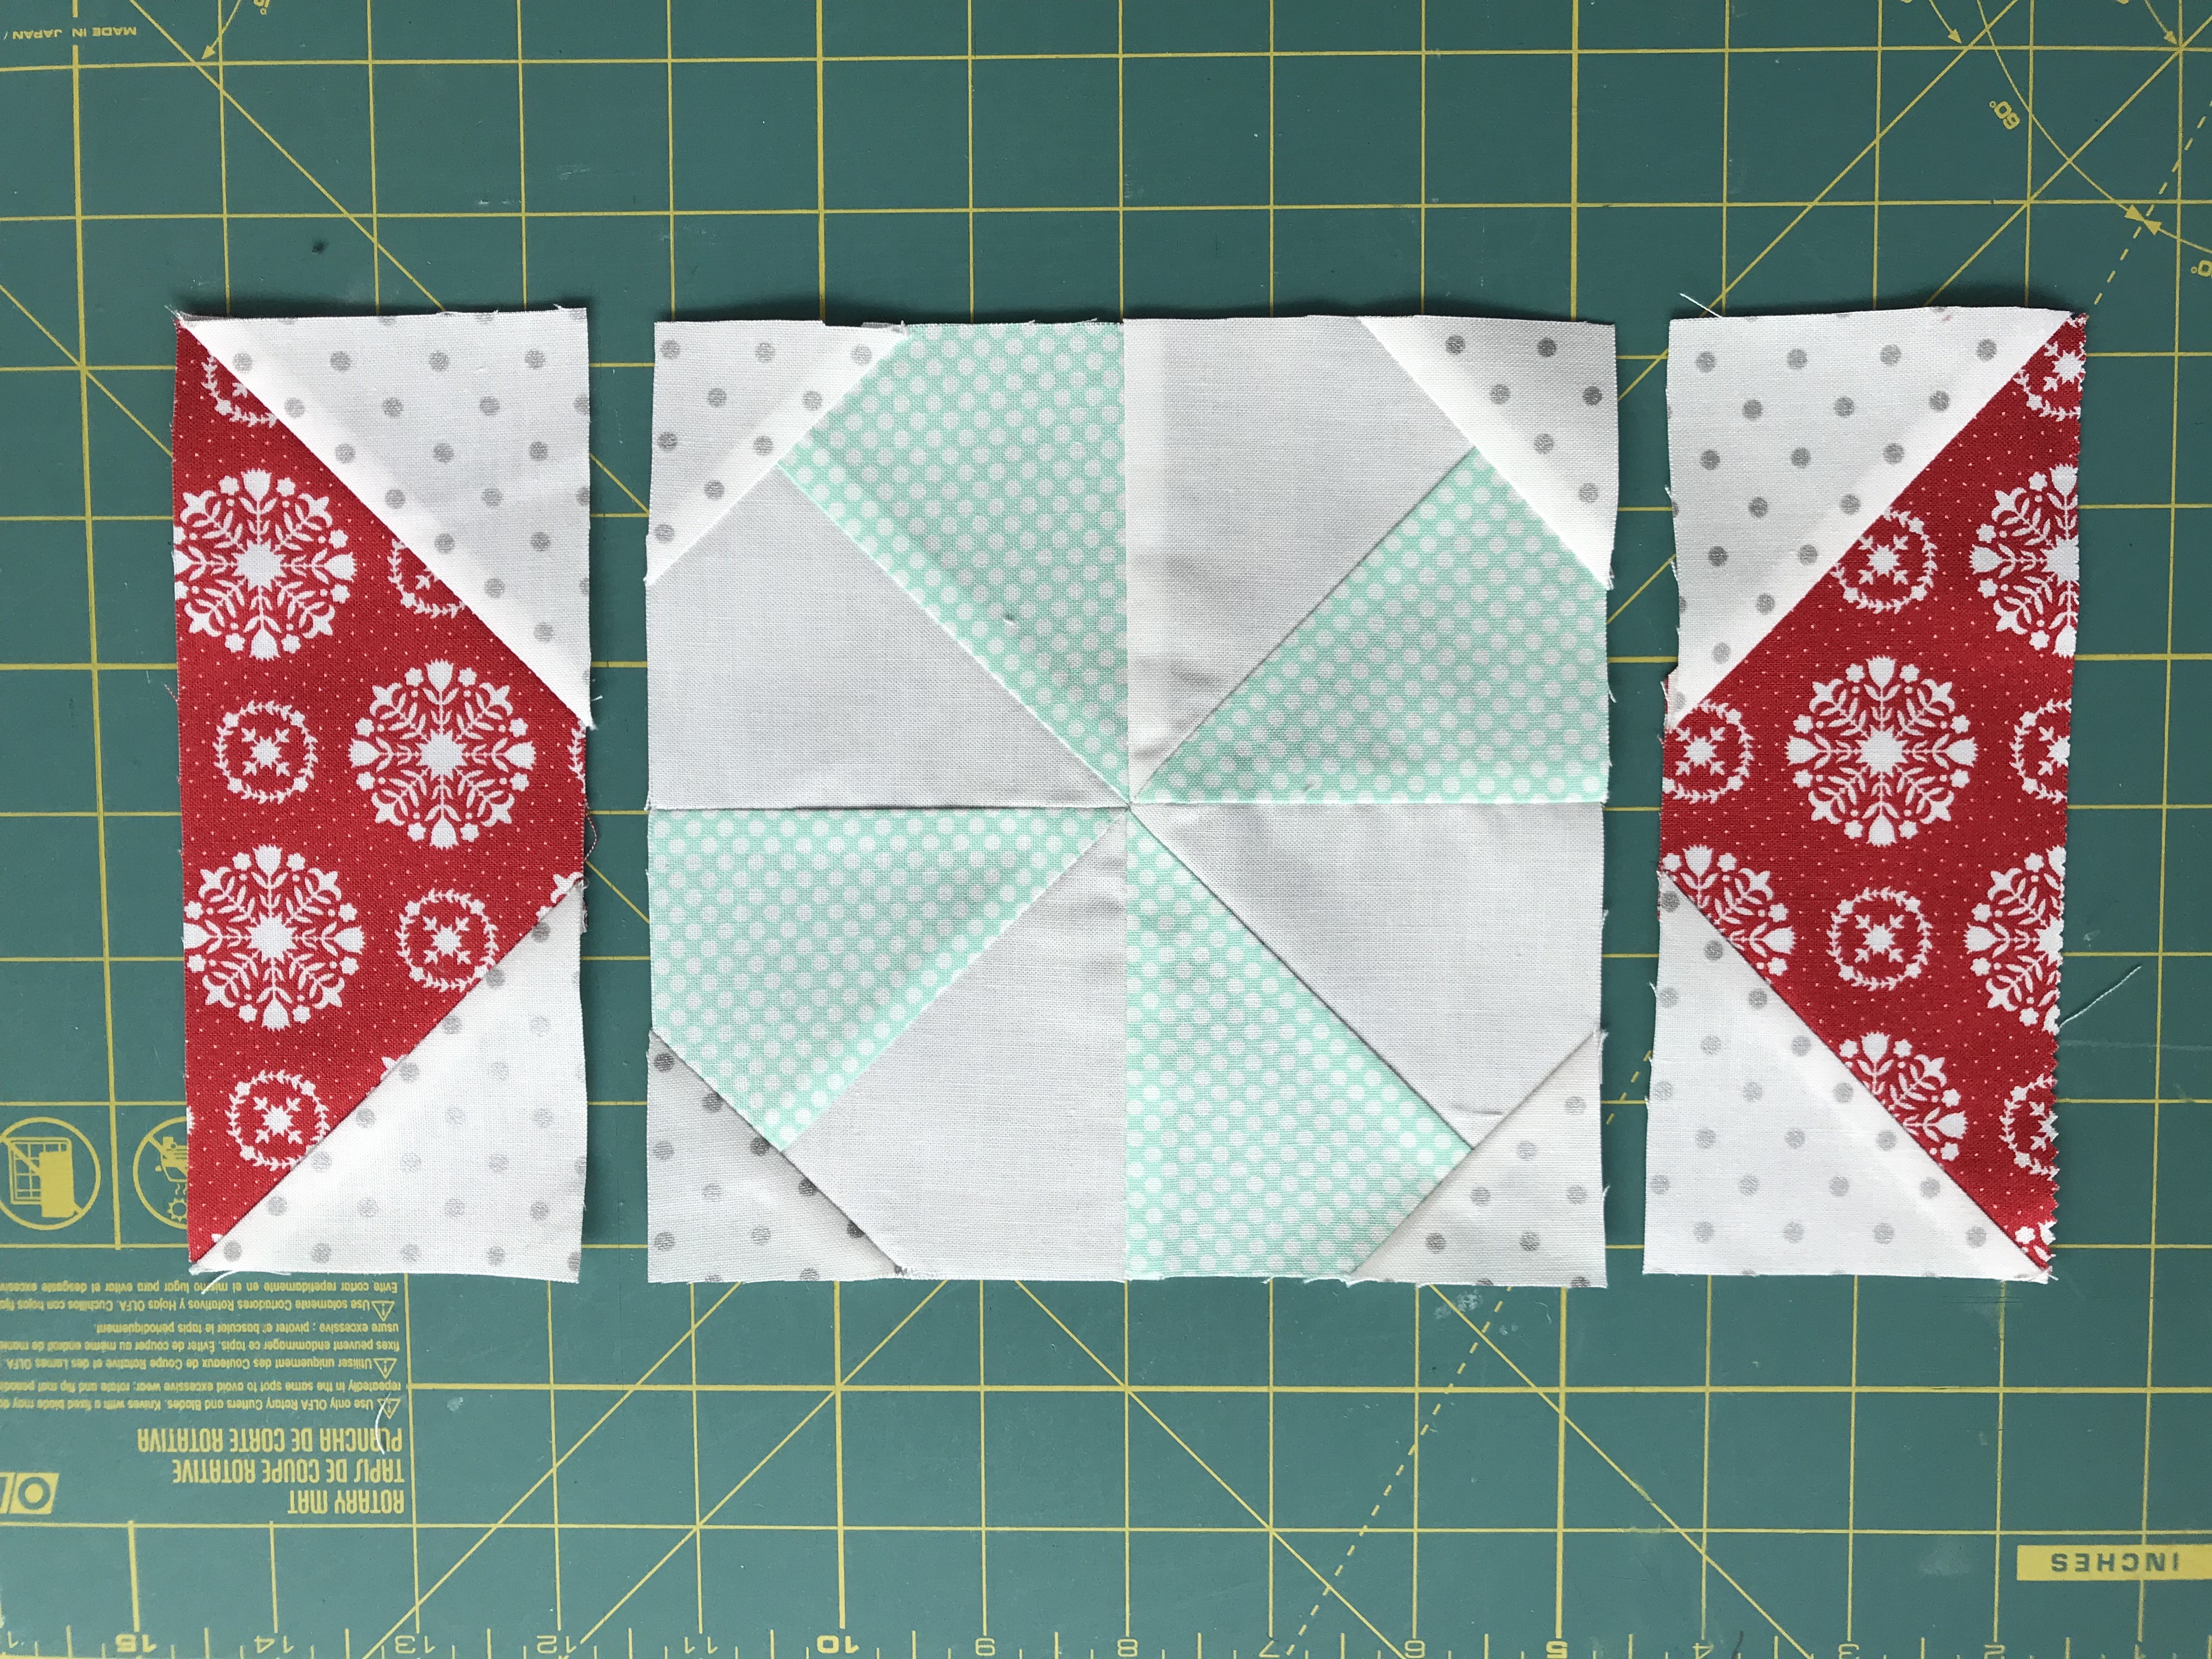
Sew all twelve pairs together to form a full candy. Unit should measure 6.5" x 11" unfinished.

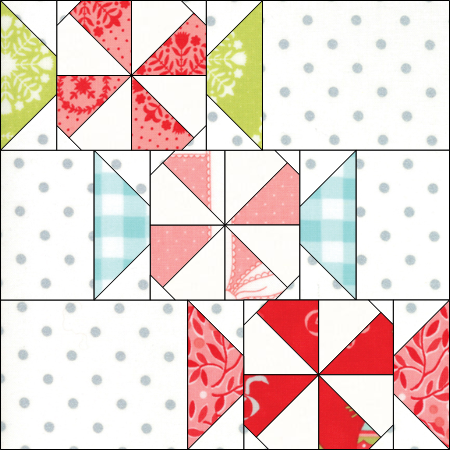
Gather (3) Candy Units as well as (2) 6.5" x 8" rectangles and (2) 6.5" x 4.25" rectangles from the Metallic Silver Background dots. Arrange as shown and sew together into three rows measuring 6.5" x 18.5". 
Combine 3 rows to form an 18.5" unfinished block. Make 4 blocks.
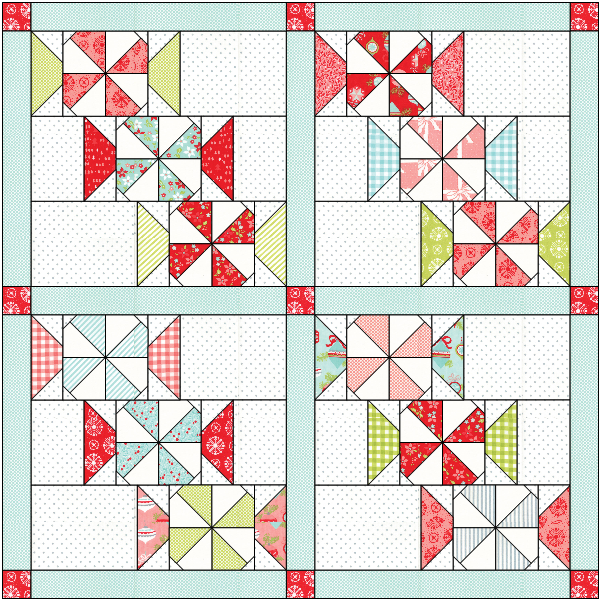
Gather aqua sashing and red cornerstones. Arrange as shown, sewing red cornerstones between sashing strips. Make three strips of Cornerstone/Sashing/Cornerstone/Sashing/Cornerstone. Press to the sashing.
Sew aqua sashing strips to the left and right sides of the Peppermint Candy Blocks and assemble into (2) rows of Sashing/Block/Sashing/Block/Sashing.
Combine rows as shown to form Peppermint Candy Quilt. Top should measure 44" x 44".
Layer quilt top, batting, and backing and quilt as desired. My long arm quilter, Sally Corona of Corona Quilt Works, quilted Peppermint Candy in an all over snowflake print with a thread matching the background fabric.
Bind using (5) 2.25" strips.
![]()
This quilt finishes at 44" x 44".


I just love the fussy cut cornerstones!


I enjoyed making this quilt so much, I made an extra block and turned it into a throw pillow for my front entryway. I just might have to decorate for Christmas in July to display it sooner!

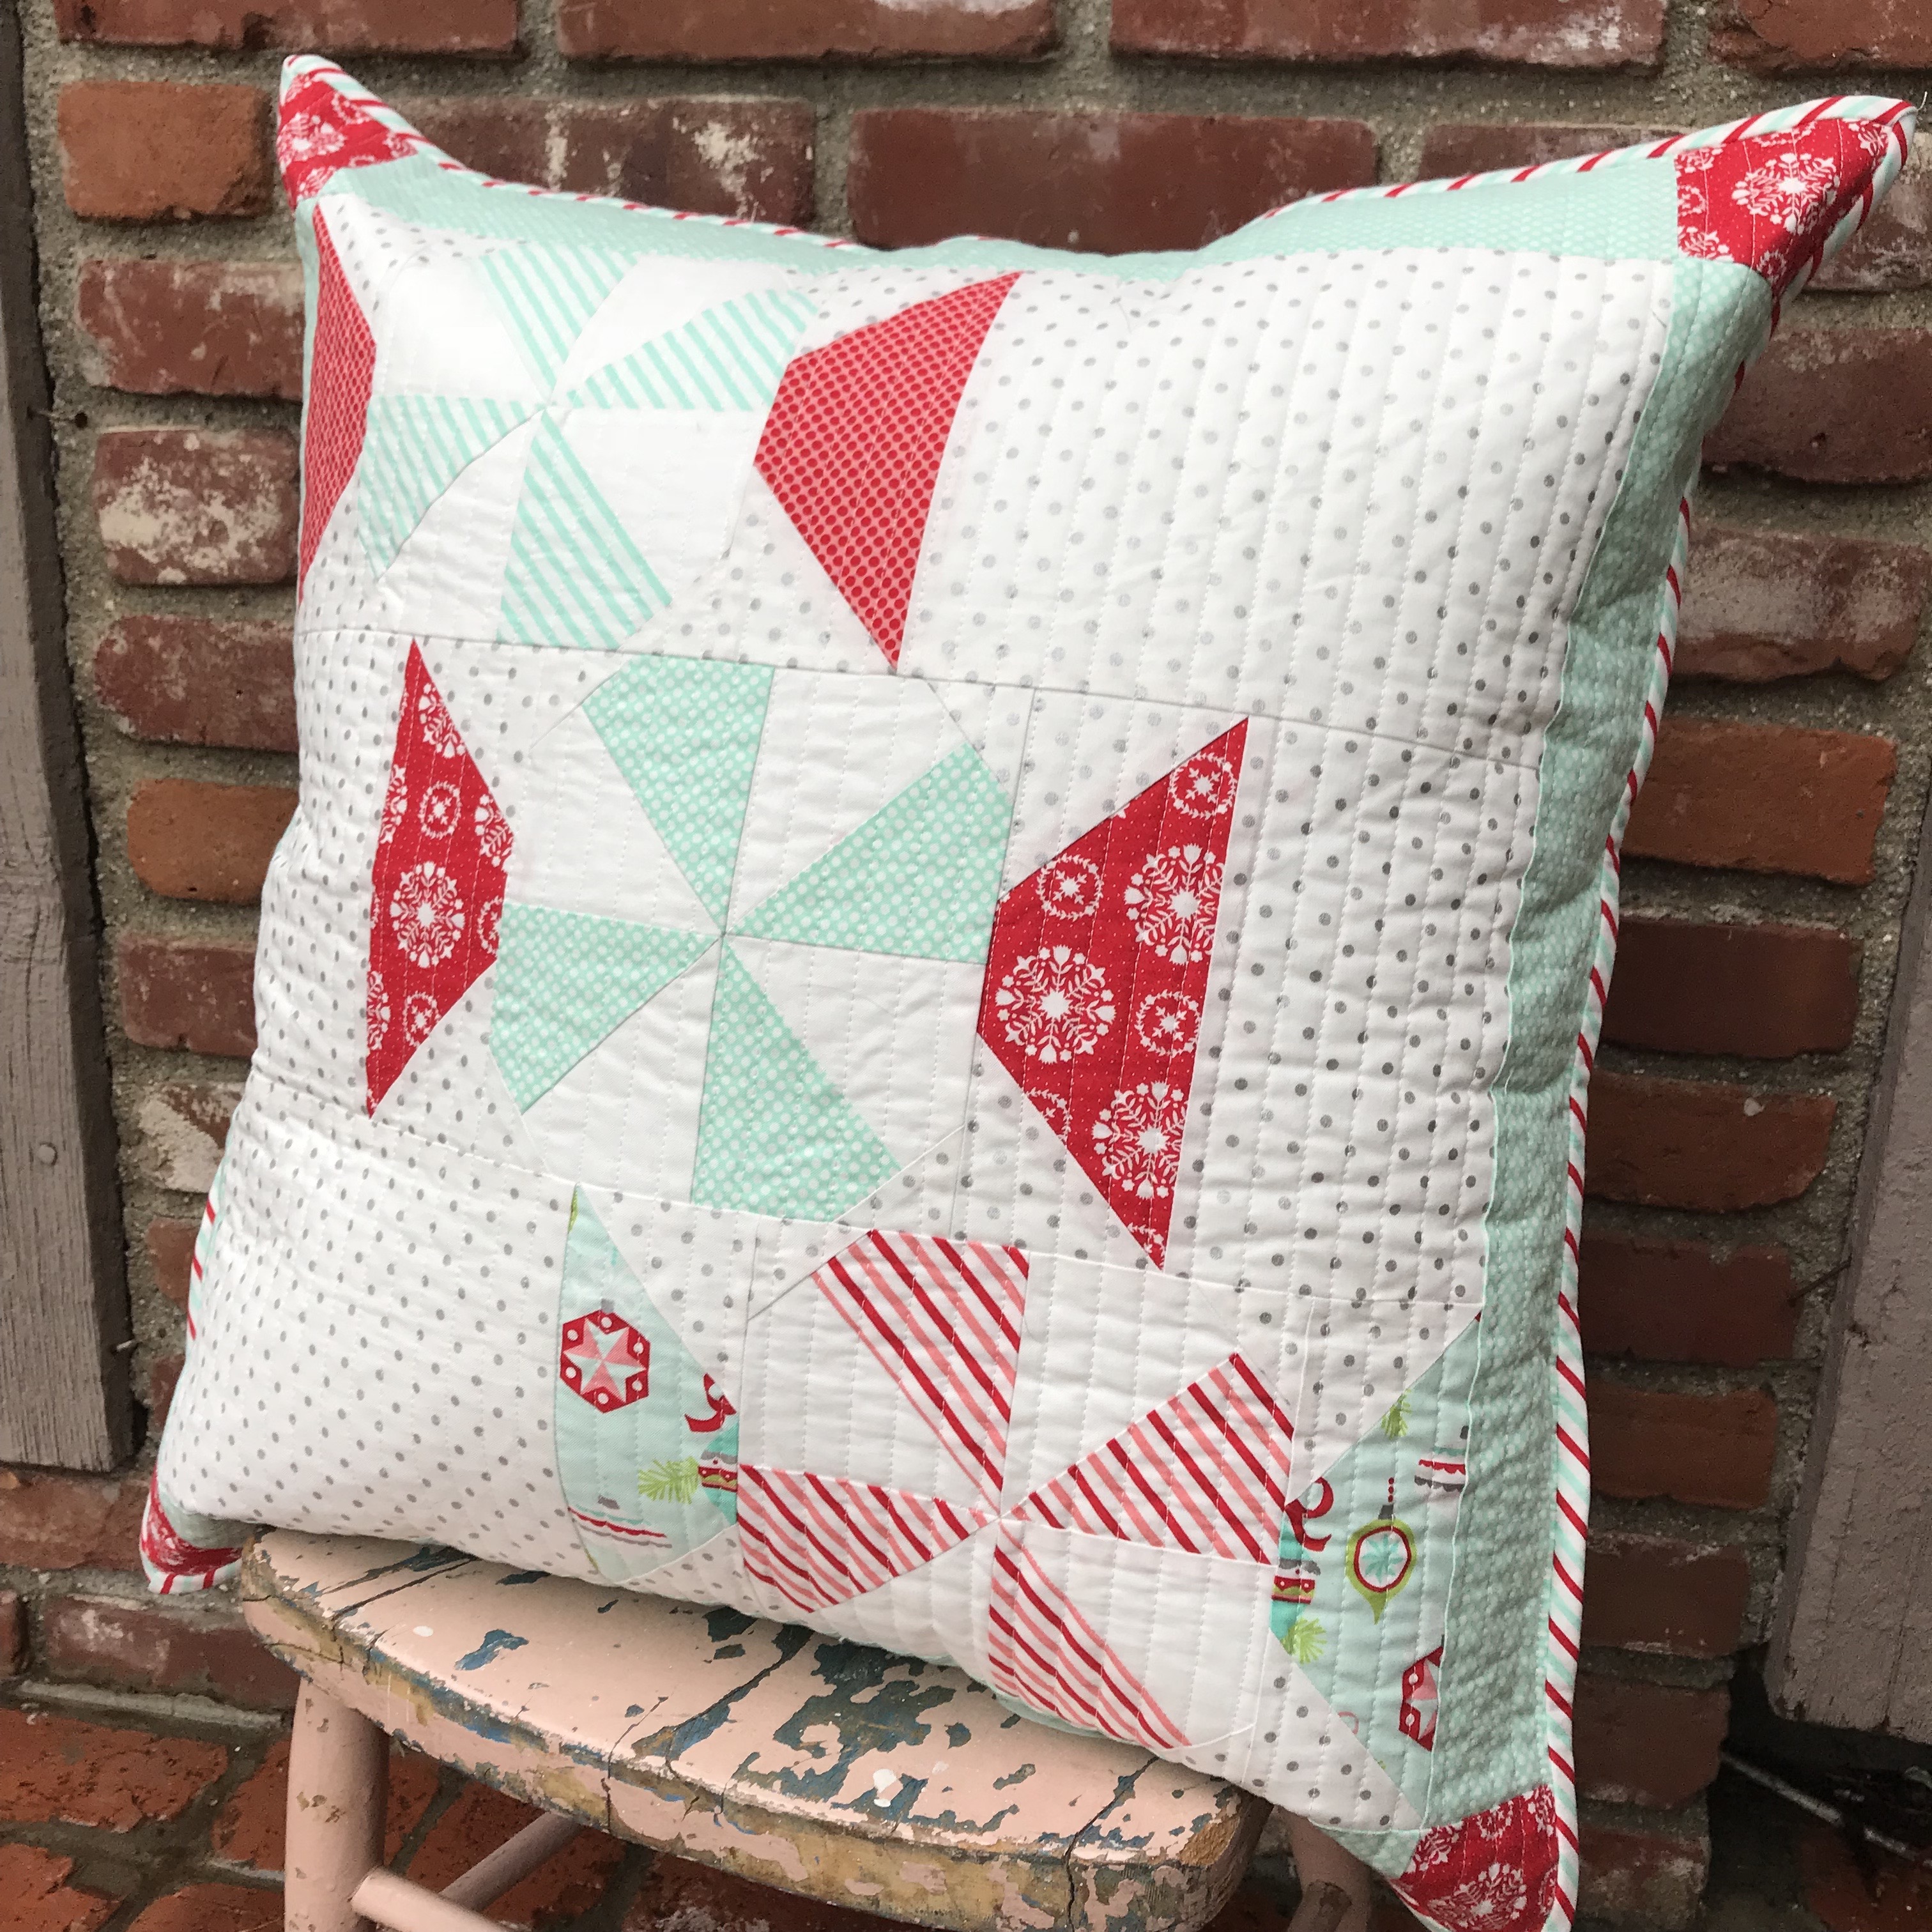
If you make a Peppermint Candy Quilt, (or a pillow!) be sure to tag me so I can see! You can find me on Instagram @thefeltedpear and I'd love to have you follow along with all my sewing adventures!
Susan Vaughan
![]()
Posted in:
Comments