Welcome to Moda Fabrics!
Picnic Fireworks Quilt
Picnic Fireworks Quilt
Published:
Apr 8 2018 - 23:00

![]()
Hi, it's Jessica Dayon (@jessicadayon) here. I'm happy to be back at Moda Bake Shop today sharing this tutorial with you. When I saw Picnic Basket Wovens by Moda, I was so excited and immediately started thinking of fireworks at the park, summer picnics on hot, lazy days, the americana decor that fills my house in the summer months... I came up with this quilt to celebrate those things and showcase this beautiful fabric! Let's get started-- this is going to be fun!
This quilt finishes at 72" x 72".
![]()

1 Fat Quarter Bundle of Picnic Basket Wovens by Moda {SKU 12134AB} (you'll have enough in this bundle to make the binding as well)
3.75 yards Bella Solids White Bleached (background fabric) {SKU 9900 98}
1/2 yard Picnic Basket Check Red {SKU 12134 13}
4.5 yards Picnic Basket Check Navy {SKU 12134 21}
![]()
{optional}
Mary Ellen's Best Press
![]()
To start, I pressed all of my fabric in the fat quarter bundle using Best Press. I recommend this step since the fabrics are woven they can be a little stretchy. Using a starch helps counteract the stretchiness.
From the 10 navy fat quarters, cut 3- 2.5" x 21" strips. Take one strip from each fabric and subcut each strip into 2.5" squares. Set aside the other 20 strips, these will be used to make your binding.
From the 10 red fat quarters, cut 2- 5" x 21" strips and 2- 3.5" x 21" strips. Subcut the 5" x 21" strips into 2.5" x 5" pieces (7 per strip). You will get 140- 2.5" x 5" pieces. Subcut the 3.5" x 21" strips into 2.5" x 3.5" pieces (7 per strip). You will get 140- 2.5" 3.5" pieces.
From the red 1/2 yard, cut 2- 5" x width of fabric strips and 2- 3.5" x width of fabric strips. Subcut the 5" x strips into 2.5" x 5" pieces (14 per strip). You will get 28- 2.5" x 5" pieces. Subcut the 3.5" strips into 2.5" x 3.5" pieces (14 per strip). You will get 28- 2.5" 3.5" pieces.
From the white background fabric, cut the following:
*14- 3.5" strips subcut into 3.5" squares (12 per strip; 168 total); subcut those squares again in half once along the diagonal
*3- 2.5" strips subcut into 2.5" squares (16 per strip; 48 total)
*5- 3.5" strips subcut into 2.5" rectangles (16 per strip; 80 total)
*7- 8.5" strips subcut into 3.5" rectangles (12 per strip; 84 total)
To make the navy and white blocks, get the navy 2.5" squares and white 2.5" x 3.5" rectangles ready.
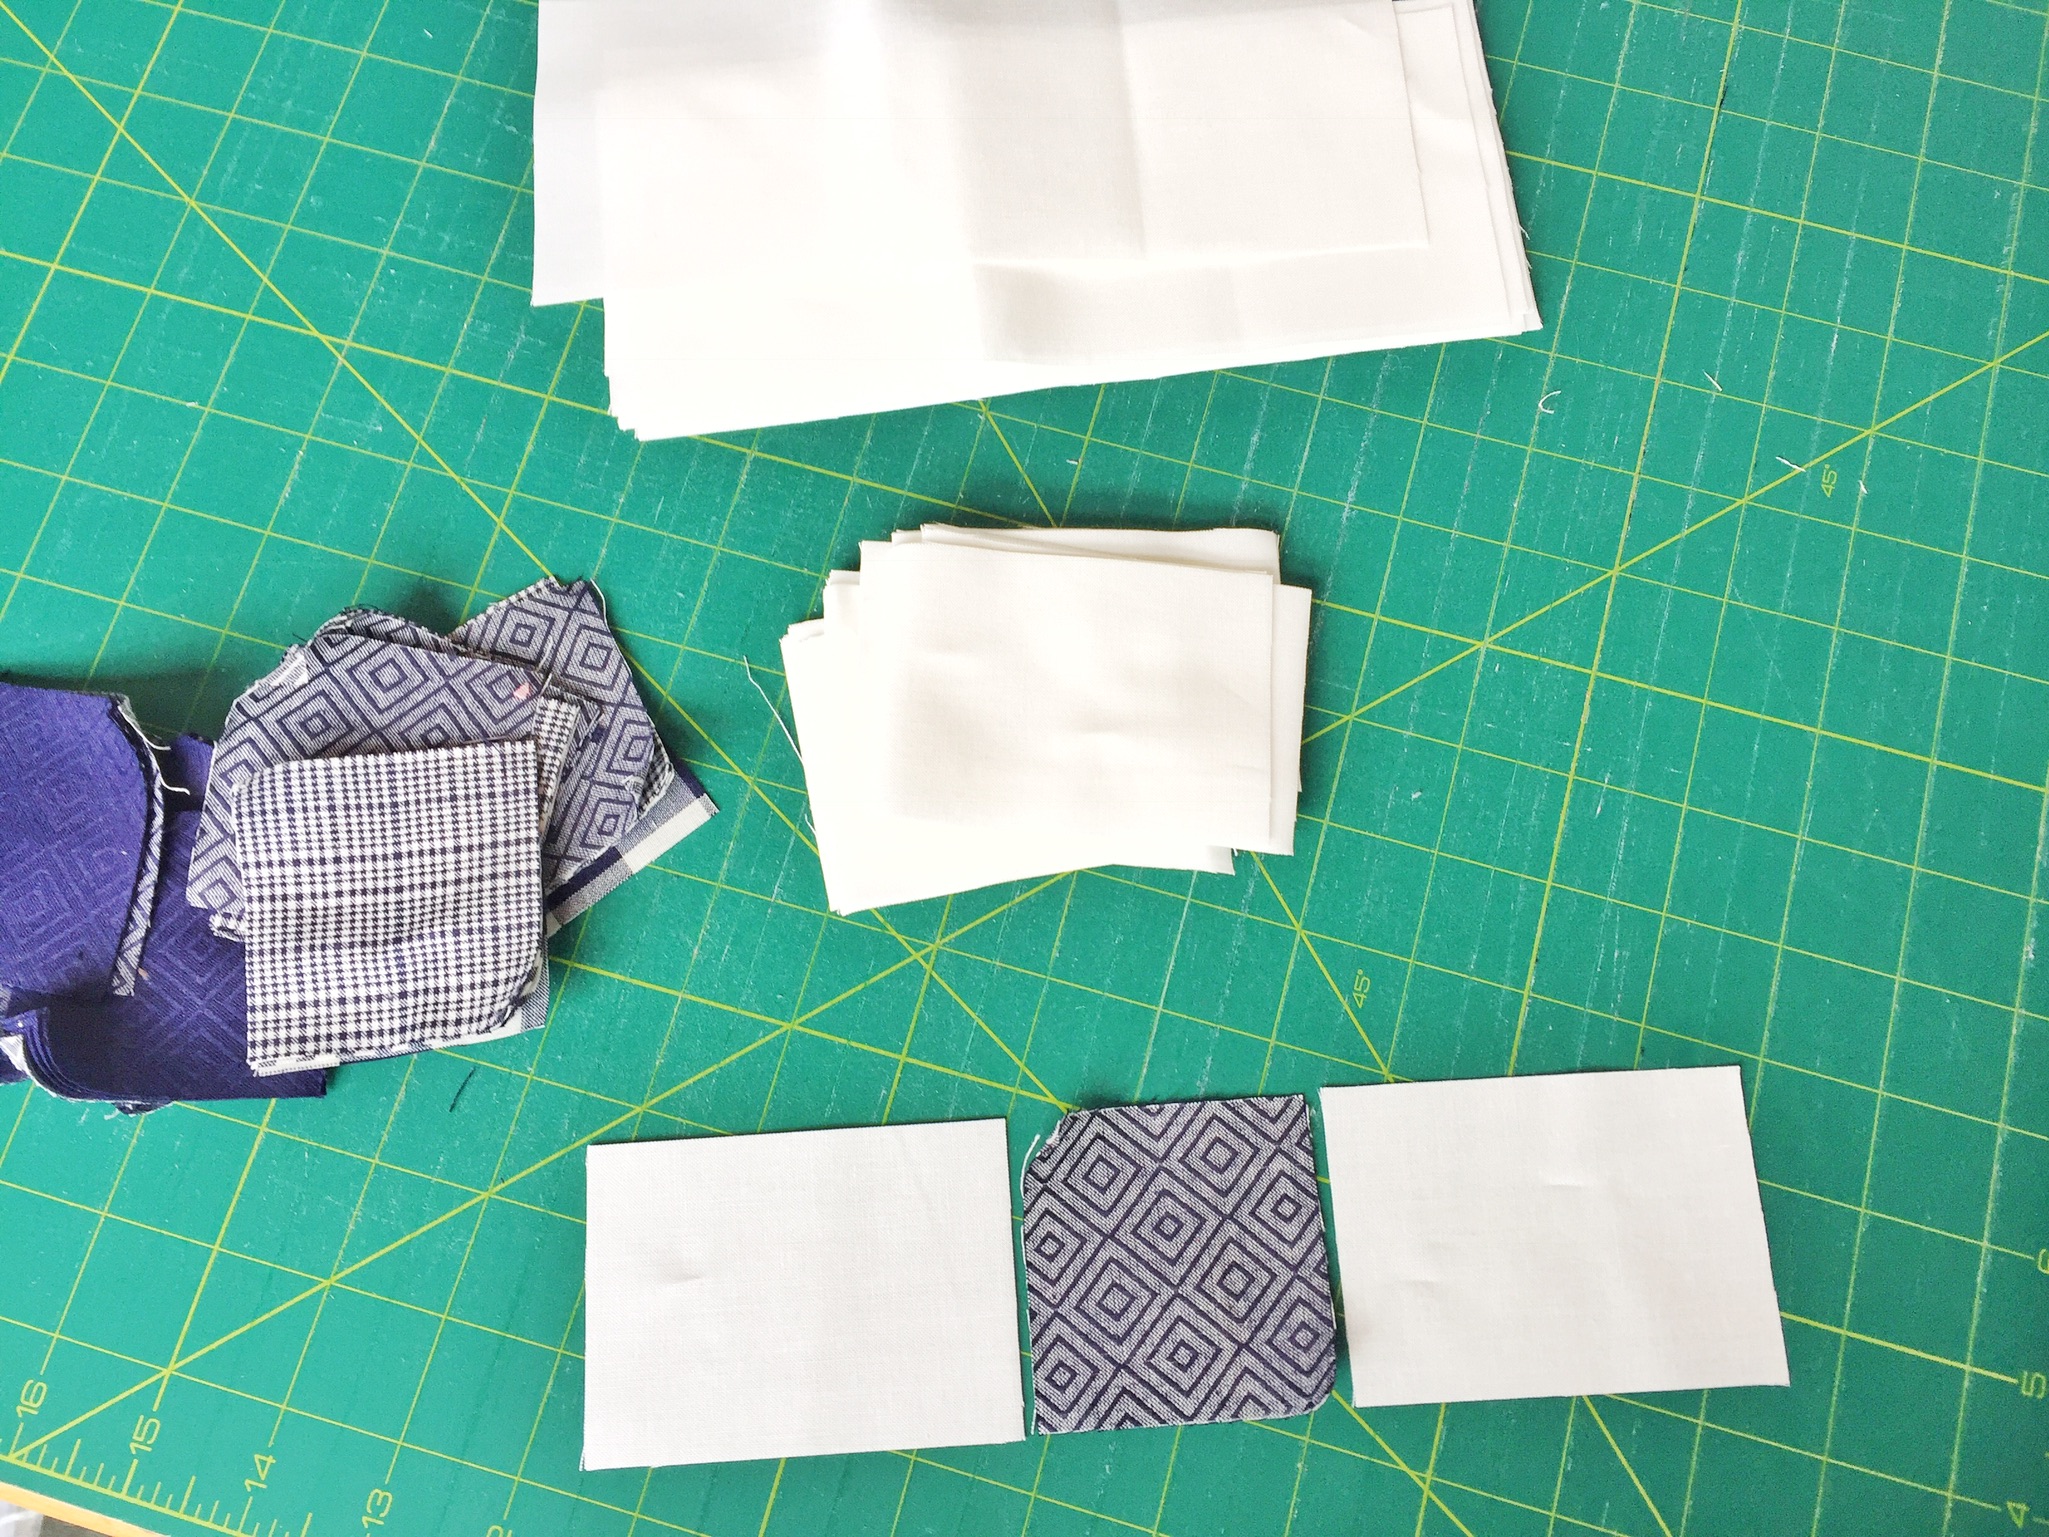
Sew a navy square to a white rectangle on the 2.5" side. Chain piece 40 of these.

Next, sew another white rectangle to the other side of the navy square. Chain piece 40 of them.
Press, making sure the seam goes toward the navy.

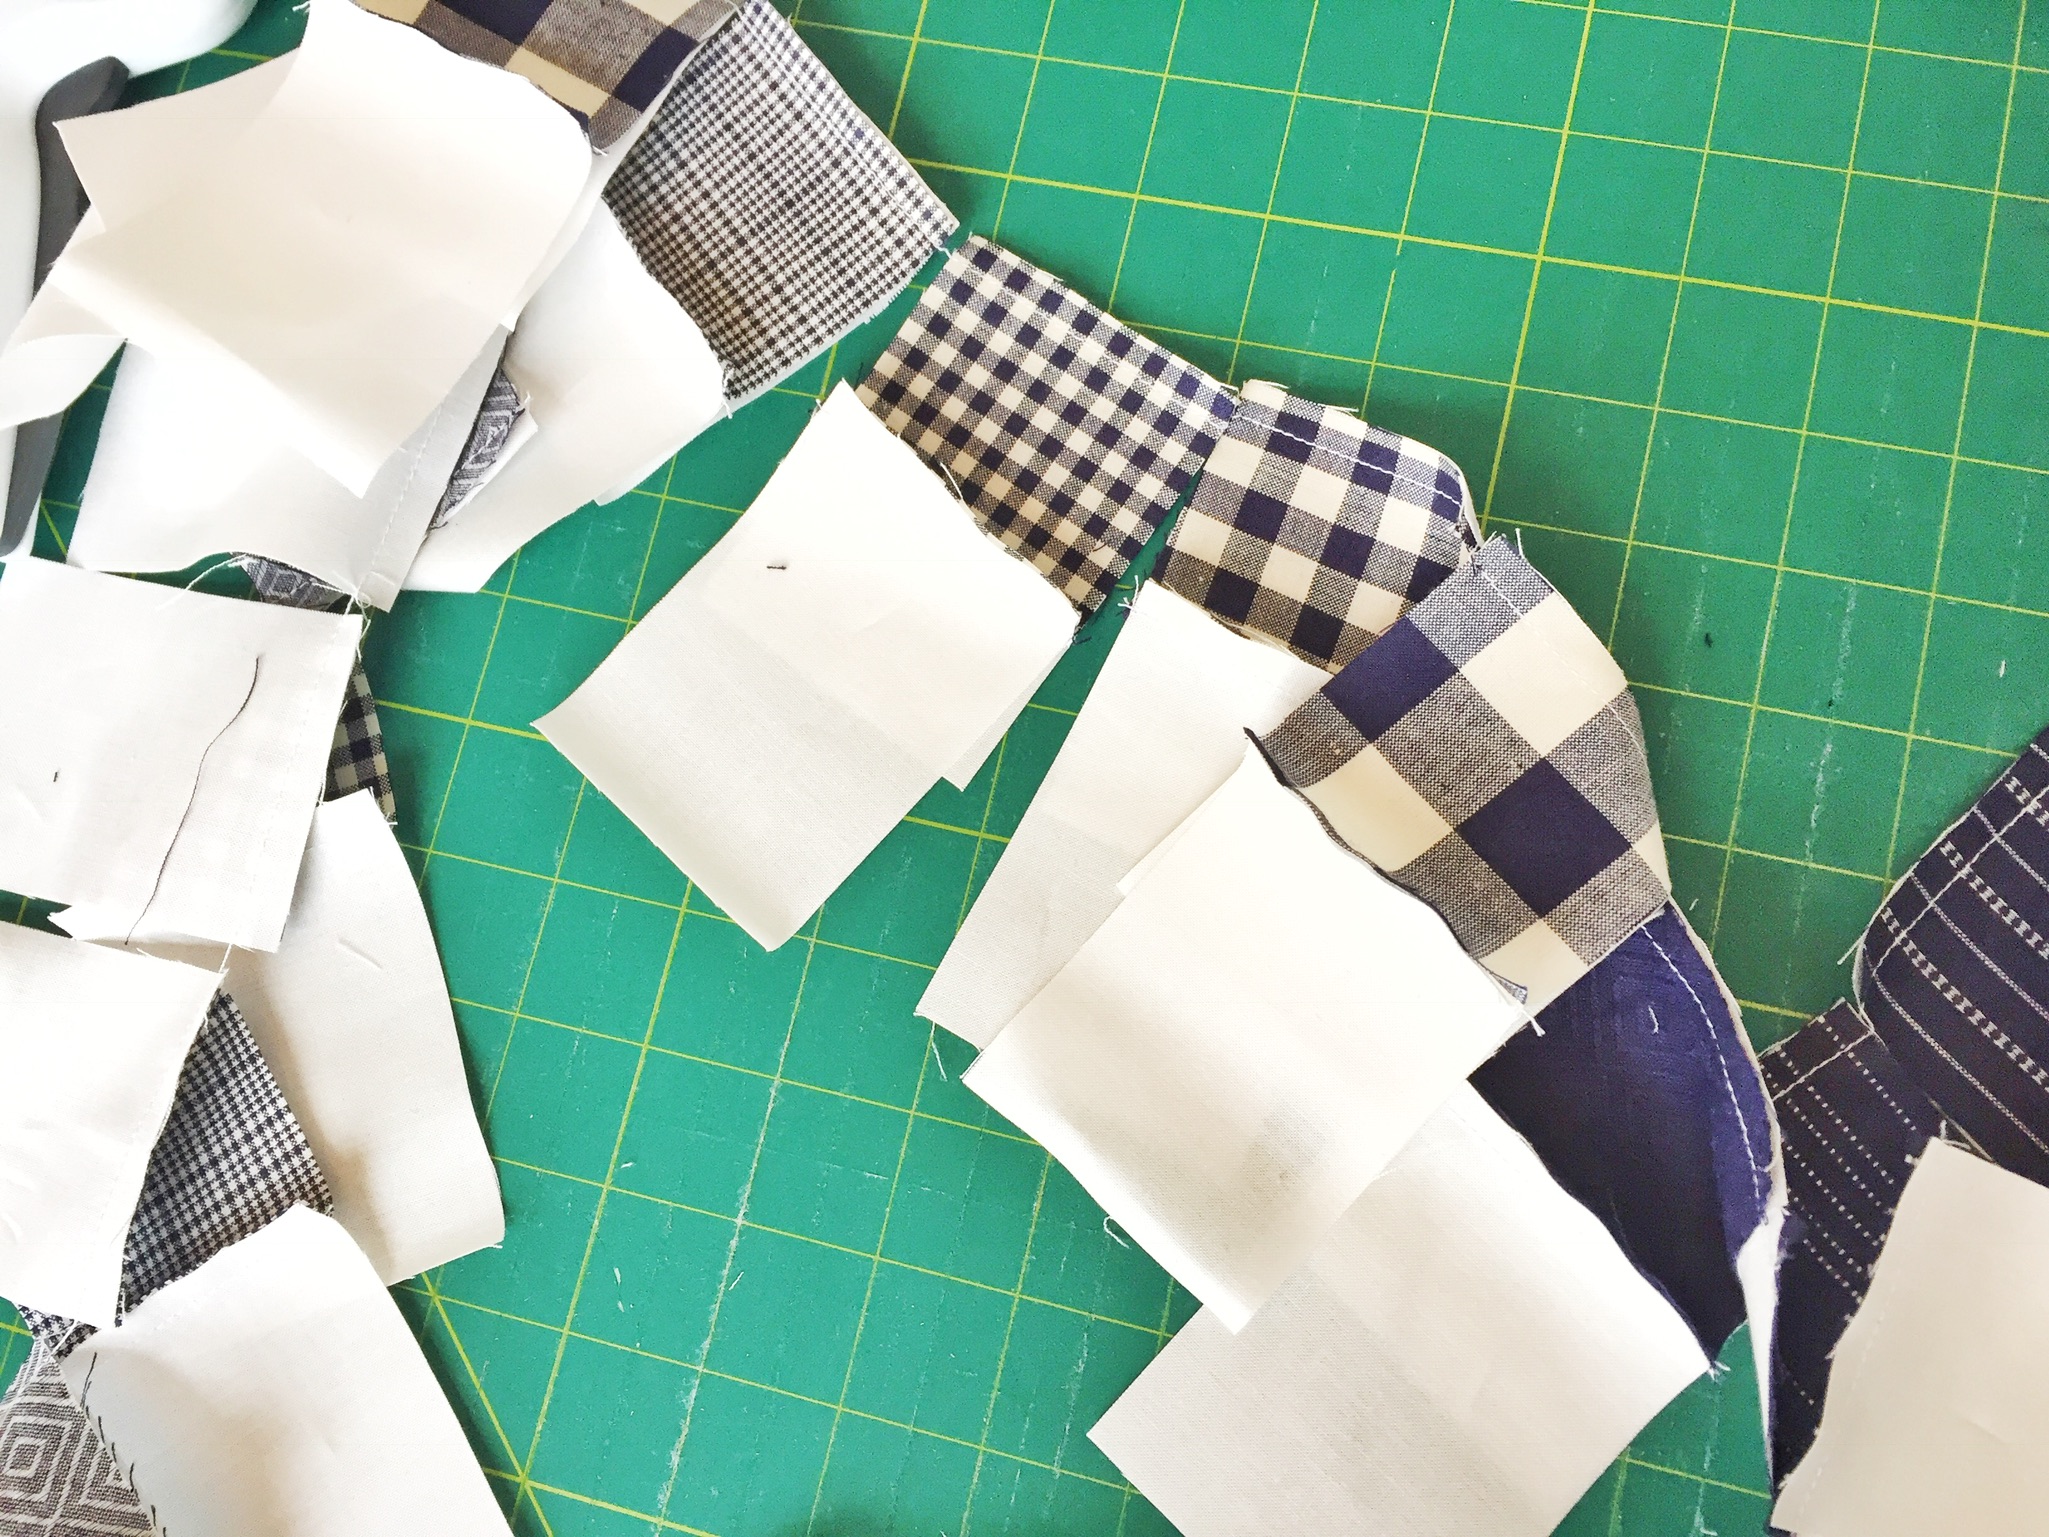
Now bring over the large white rectangles that measure 3.5" x 8.5". Lay a center strip along the top edge of a large white rectangle, right sides together. Sew across the top.

Chain piece 40 of them. Press, seams to the center strip.
Lay out another white rectangle, lay the piece you just made with the 8.5" edges lining up. Sew across the top.

Chain piece 40 of them. Press, seams to the center strip.

Your navy blocks are completed. Set aside.

To make the red and white blocks, begin by getting the red 2.5" x 5" rectangles and white triangles ready.

Line the long edge of the triangle up along the red rectangle.

Sew across. Chain piece 164 of these.
Line another white triangle up along other side of the red rectangle. Sew across. Chain piece 164 of these.
Press with the seams going toward the red middle.

Trim these pieces as follows. Lay the square on your cutting board. Use a square ruler that's at least 4.5".

Line your ruler up so that the lower triangle is set right on the 4" lines.

Trim away the excess. Turn your piece around. Line you ruler up so that the lower triangle is set right on the 3.5" lines.

Trim away the excess.

Repeat for all of the squares. Set aside.
To make the middle portion of the red blocks, get the red 2.5" x 3.5" rectangles and the white 2.5" pieces ready. Sew a red rectangle and a white square together, right sides together, along the 2.5" side.
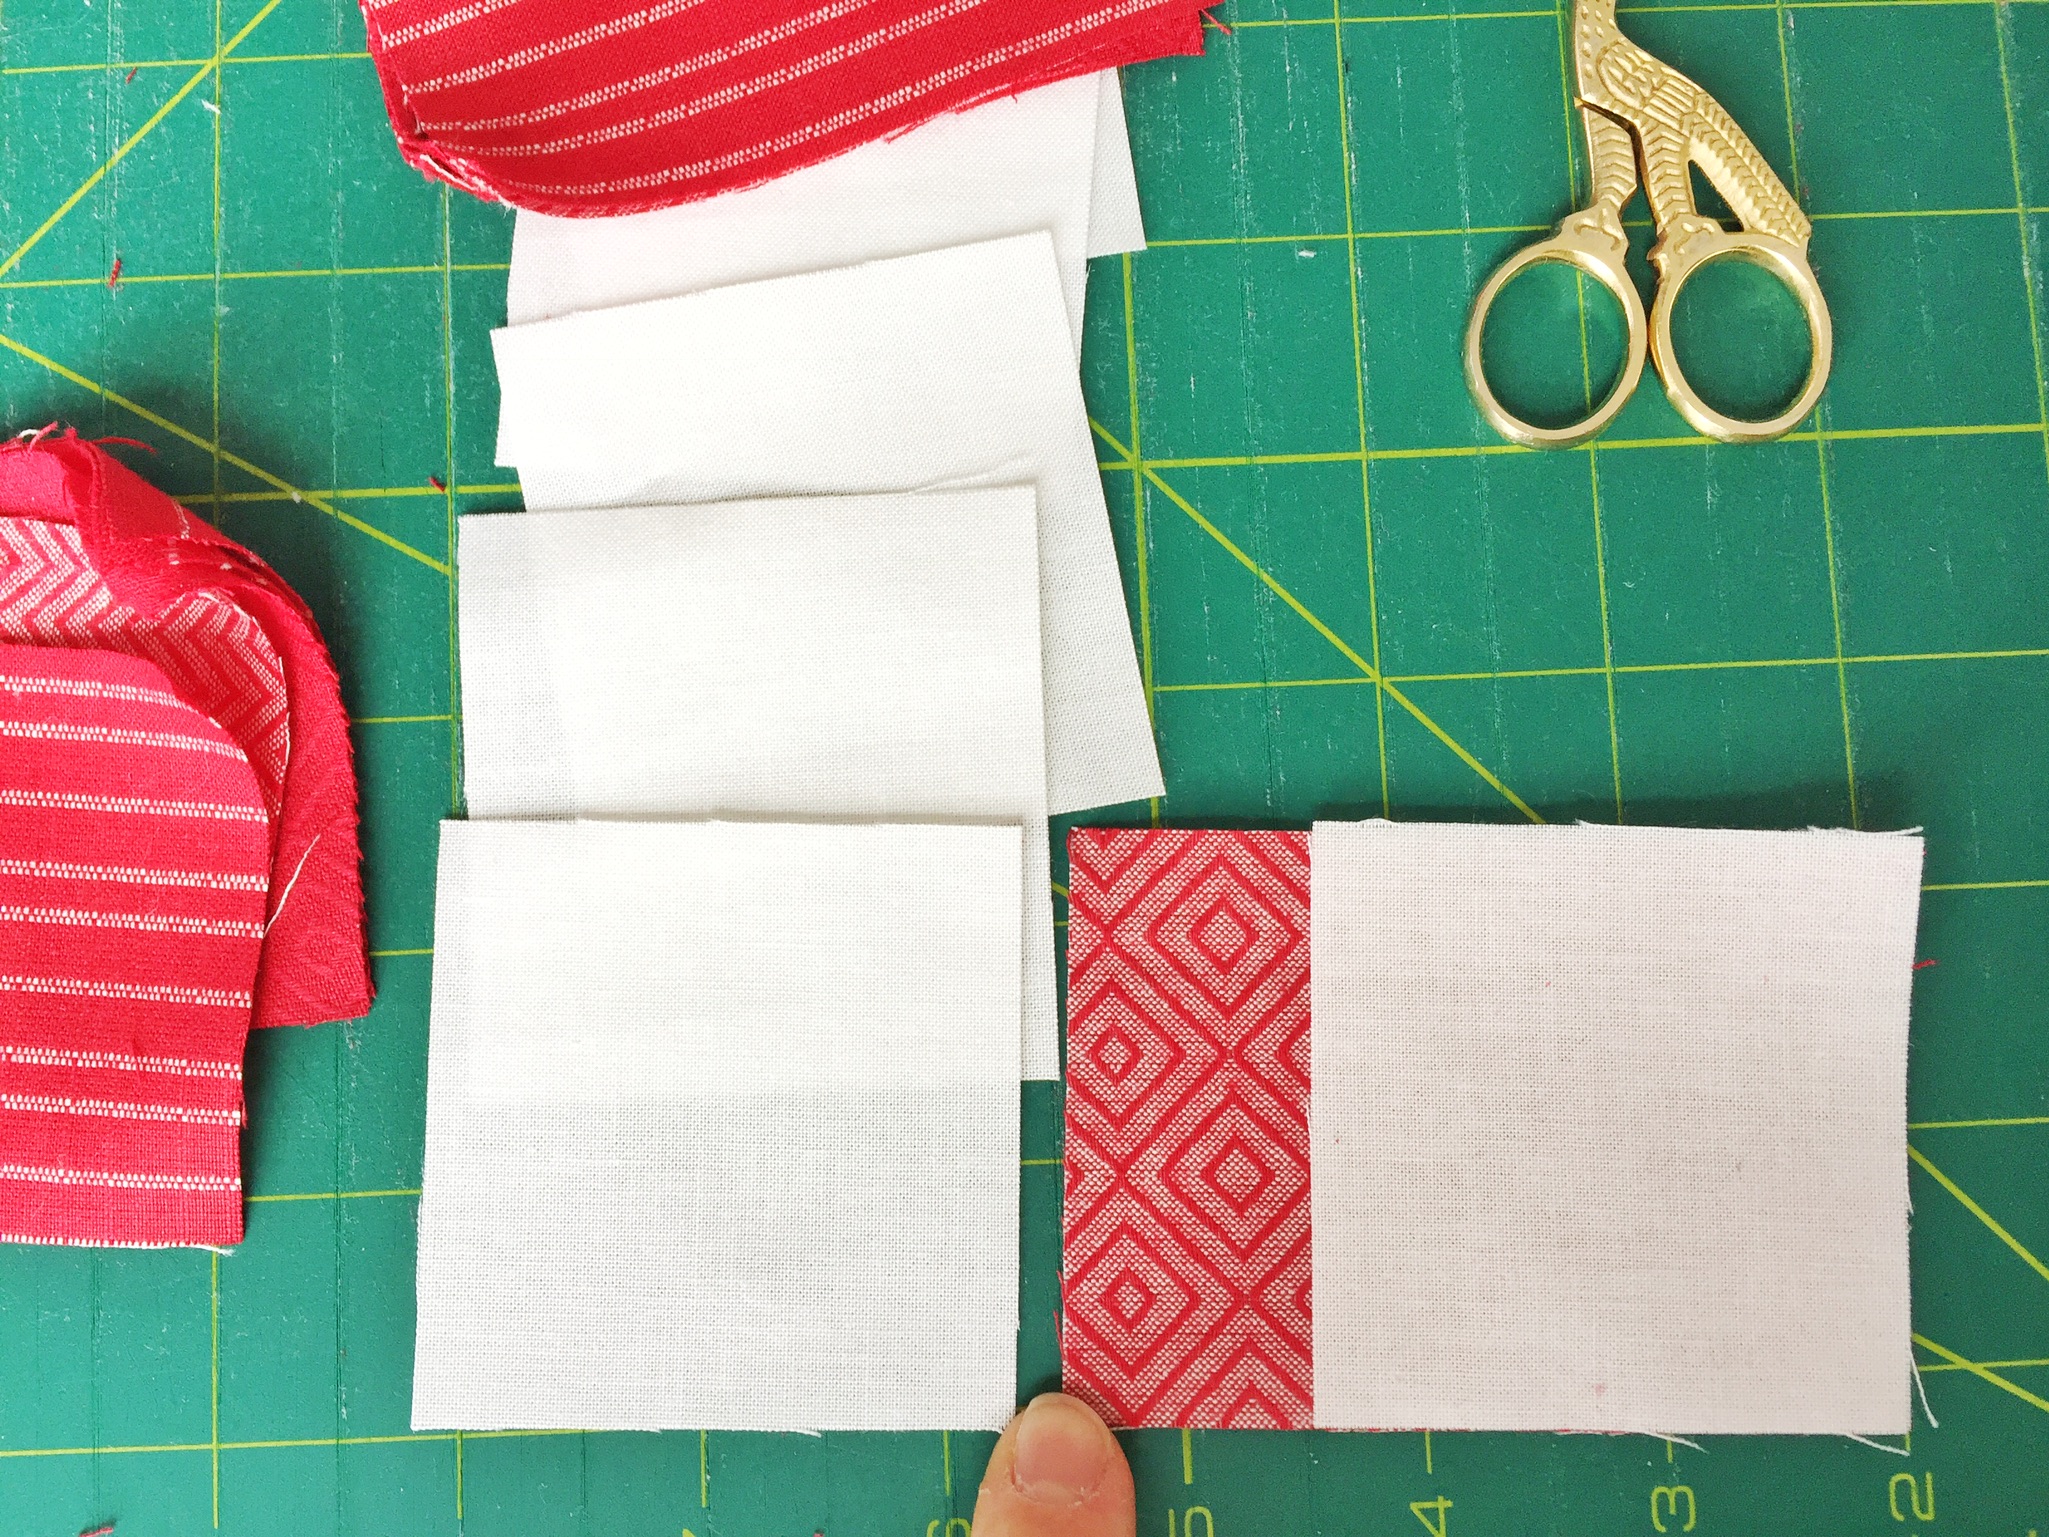
Chain piece 41.
Next, sew another red rectangle to the other side of the white square. Chain piece 41.
Press, making sure the seam goes toward the red.

To assemble the red block, lay out the red diagonal blocks and the red 2.5" x 3.5" rectangles.
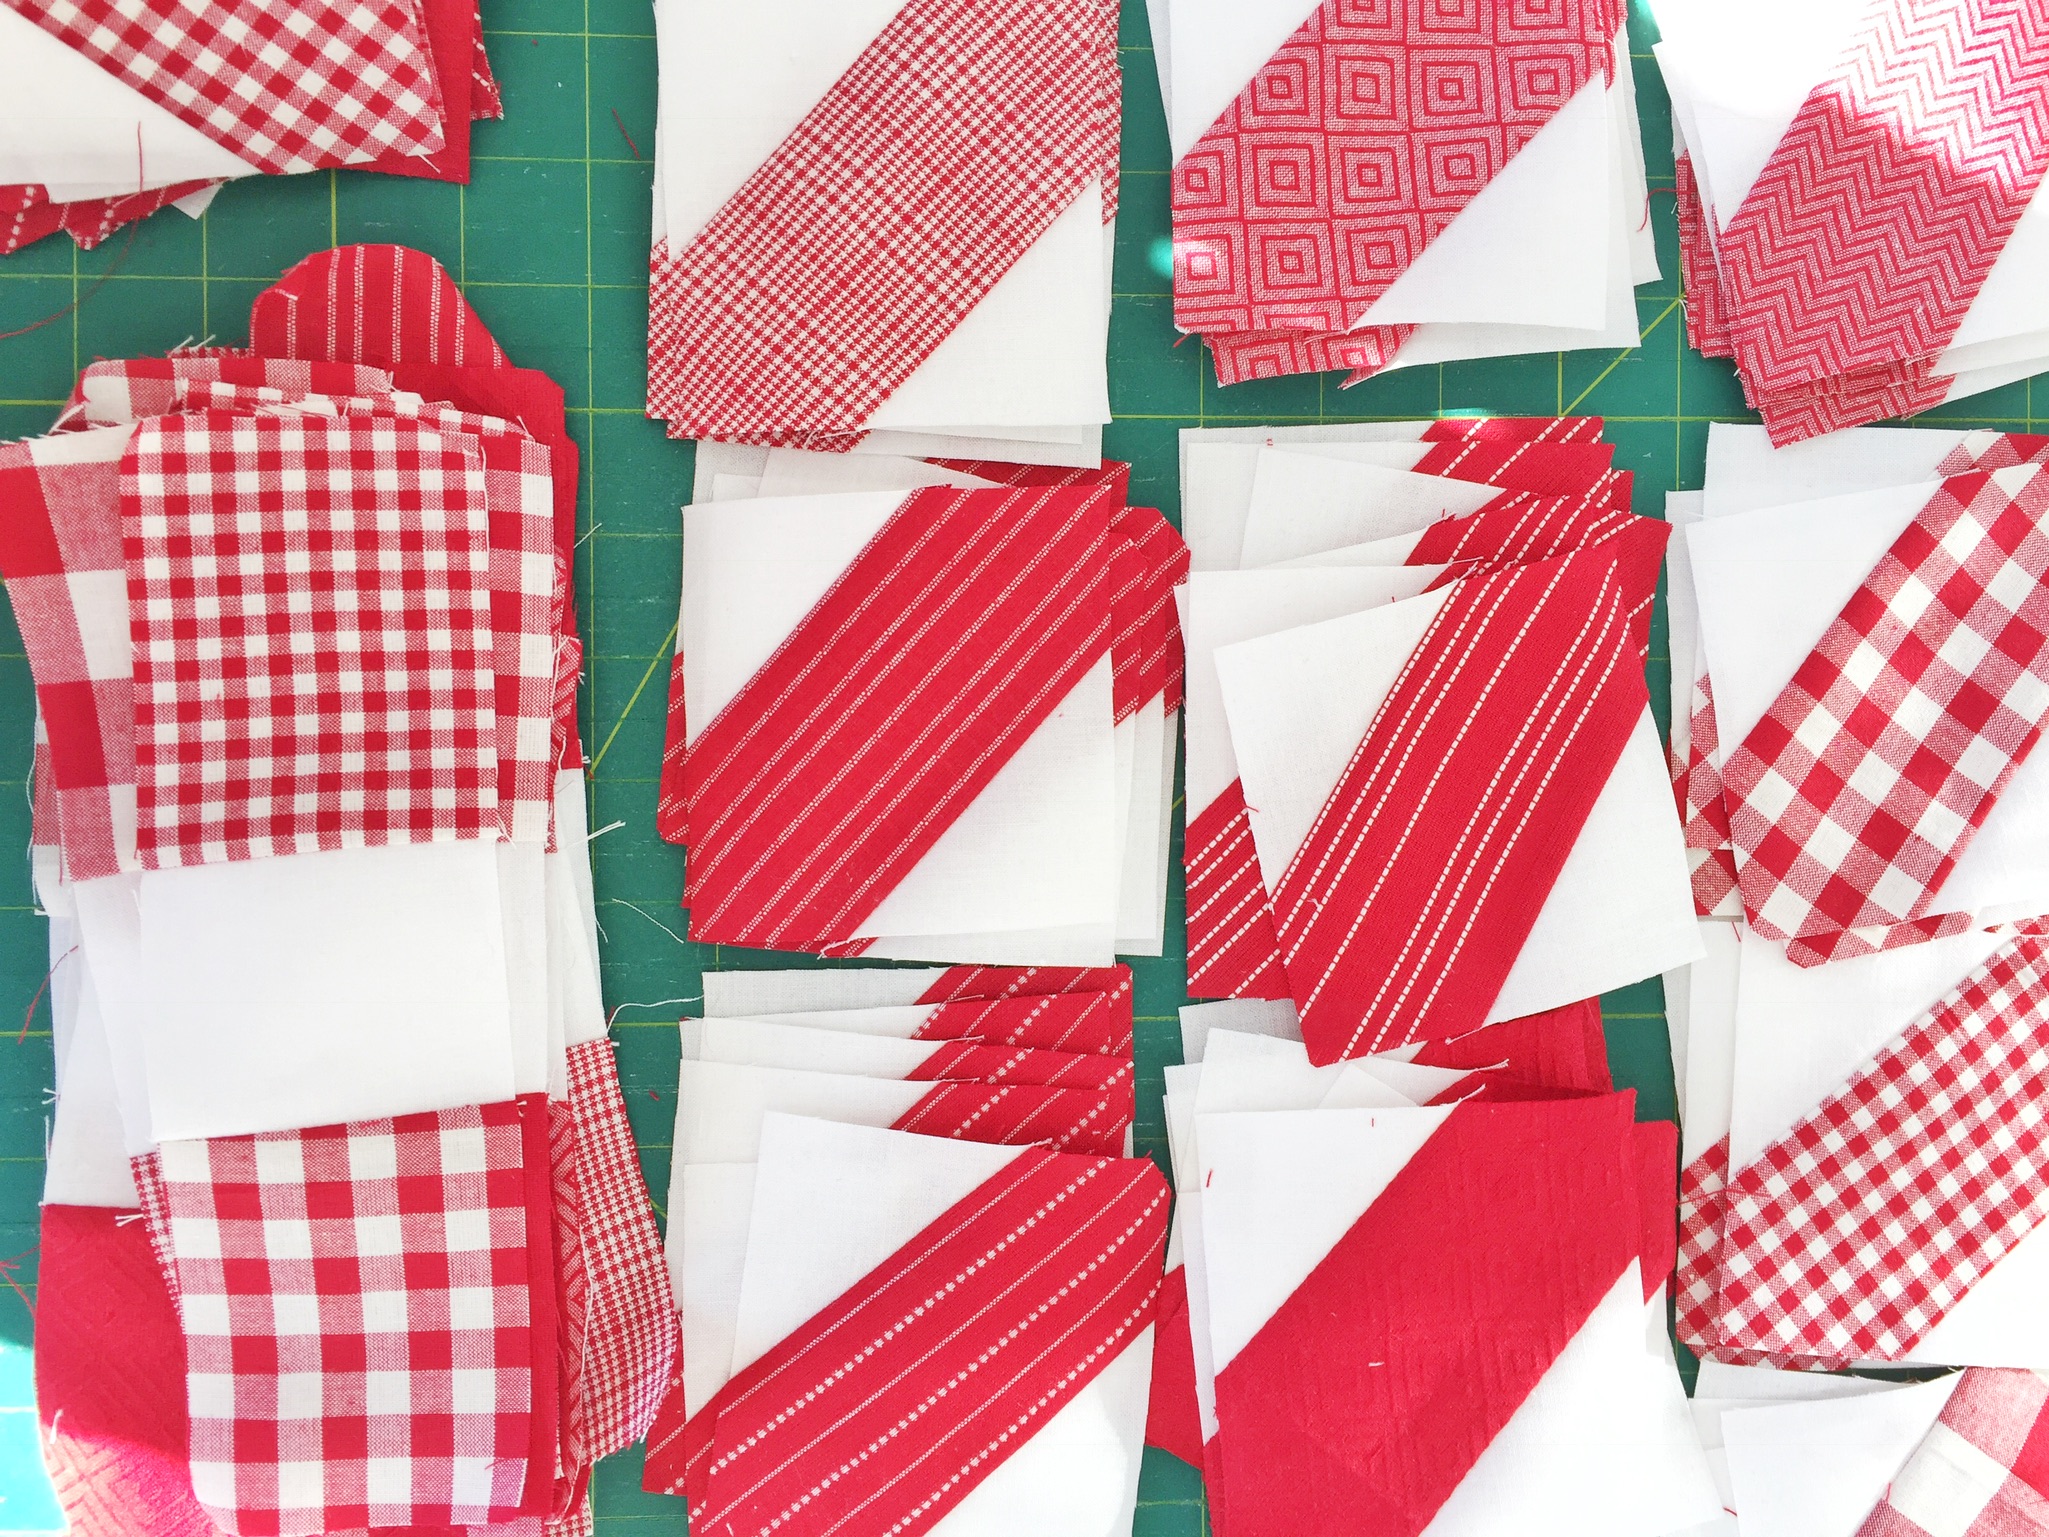
Make sure the diagonal is oriented as shown below.

Place a rectangle on top, right sides together, sew along the 3.5 inch sides.
Repeat with another red diagonal on the other side of the red rectangle. Press with the seams going to the red rectangle. Make 82 of these.

To complete the red block, sew a red middle strip to a red diagonal strip. Repeat on the other side of the red middle. Make 41.

Assemble the quilt into rows and then sew the rows together.
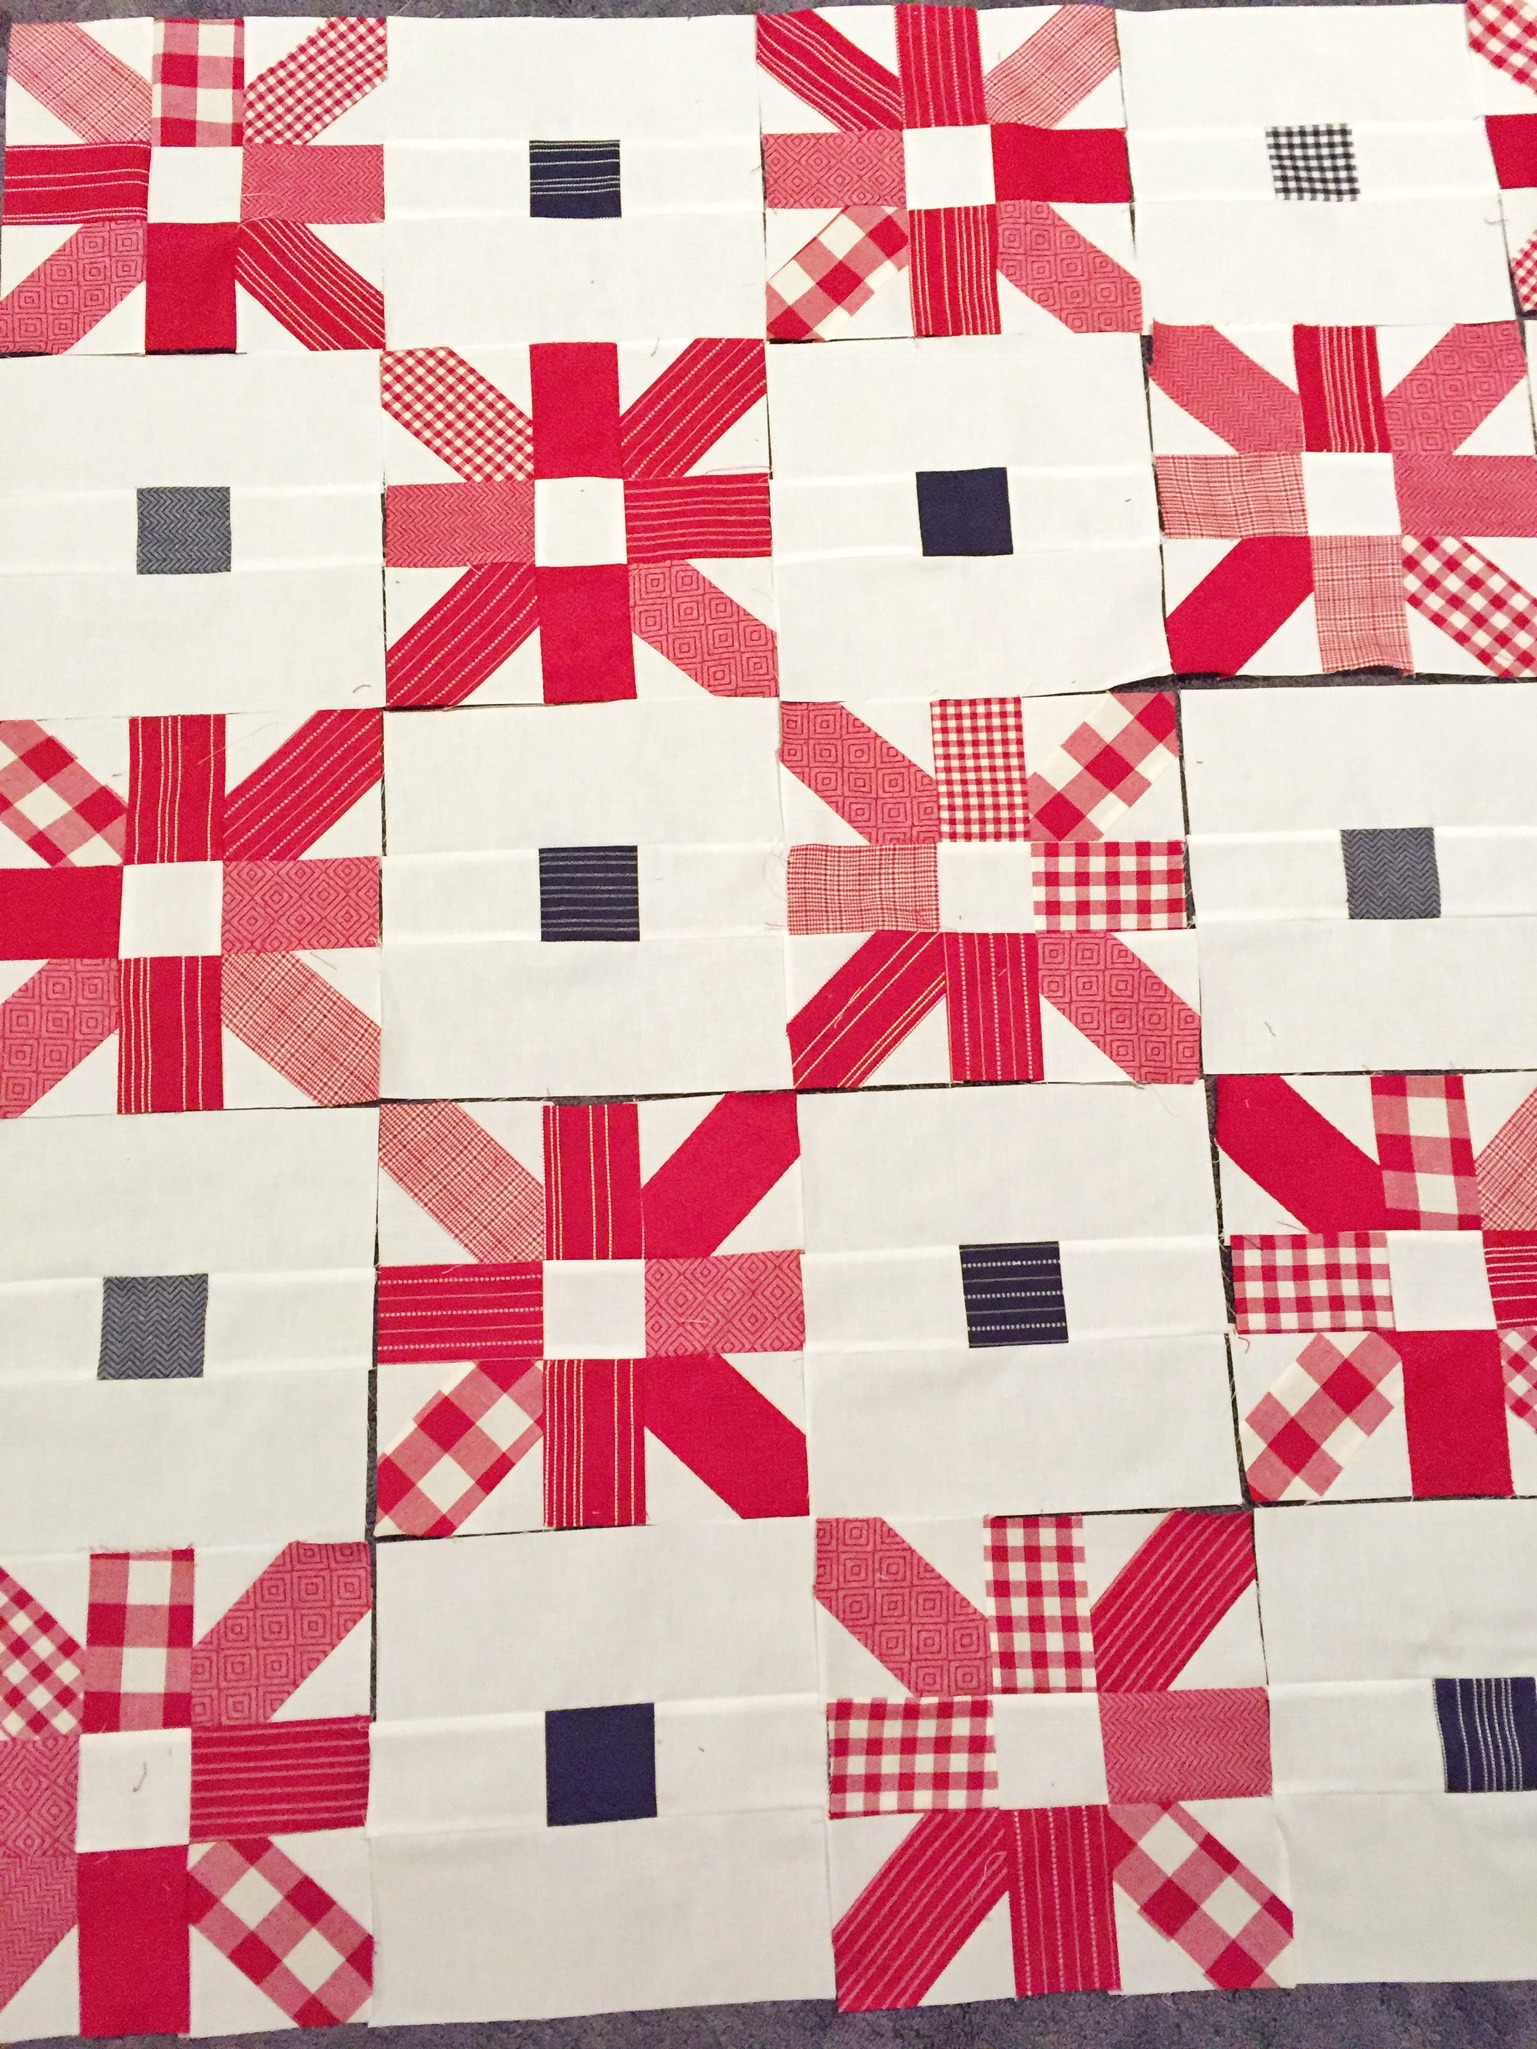
To finish your quilt, make your backing, baste your quilt, and quilt your quilt. To bind your quilt, use 16 of the 2.5" strips that we set aside before from the navy fat quarters to make scrappy binding. I love how they offset the mostly red quilt and I really love scrappy binding!!

![]()
Picnic Fireworks finishes at 72" x 72".
I hope you have enjoyed this tutorial and find it easy to follow! Follow me on Instagram @skeinandhook to see what I'm working on next. I'd love to see your Picnic Firework quilts! Tag me on Instagram in your post and use the hashtag #picnicfireworksquilt.
Jessica Dayon
{@jessicadayon}
{Skein and Hook}
![]()
Posted in:
Comments