Welcome to Moda!
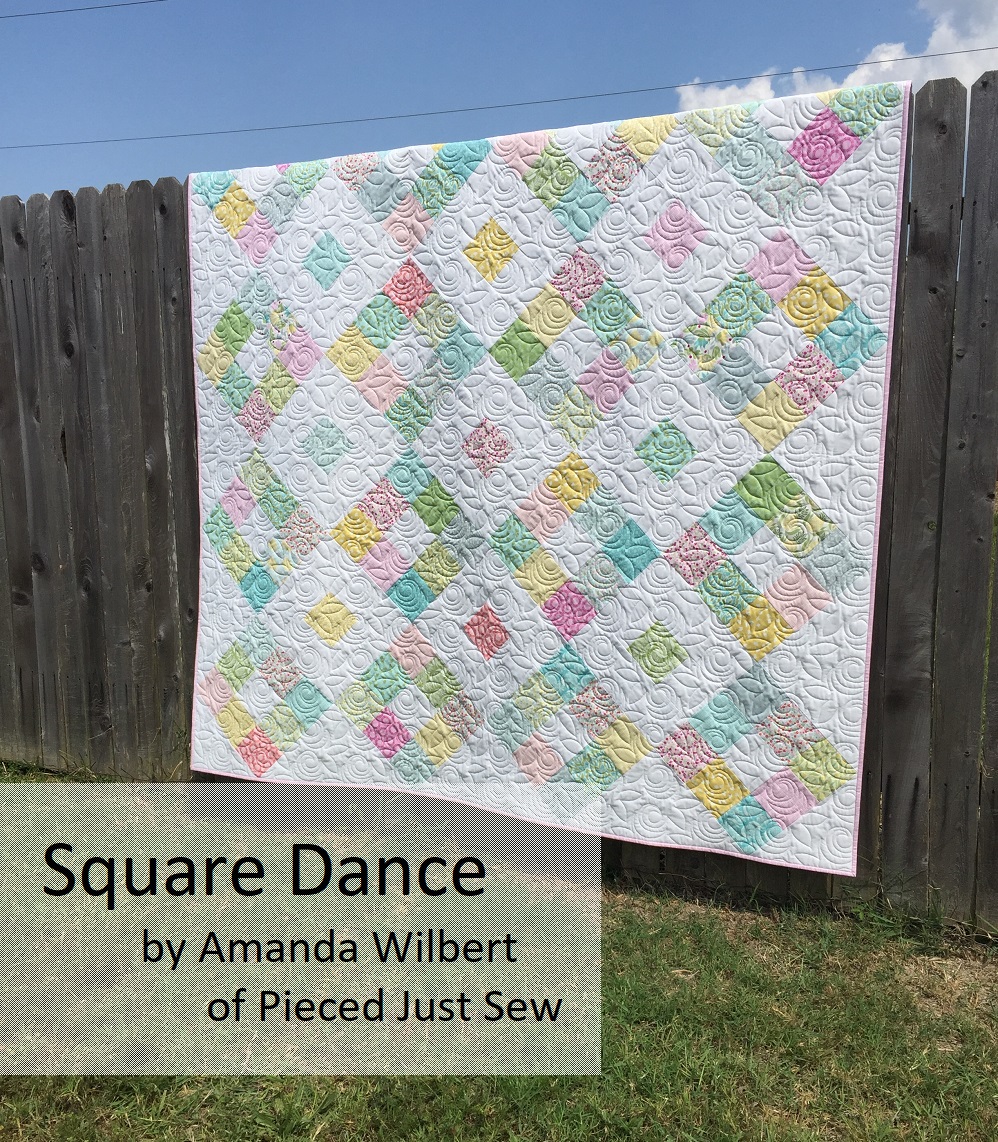
Square Dance Quilt
Square Dance Quilt
Published:
Jun 11 2018 - 23:00
![]()
Hello! I’m Amanda of Pieced Just Sew and I am so excited to be sharing my very first recipe here on the Moda Bake Shop. Square Dance is a great beginner project. The blocks are big and the piecing is simple, so it goes together quickly. Let’s get started!
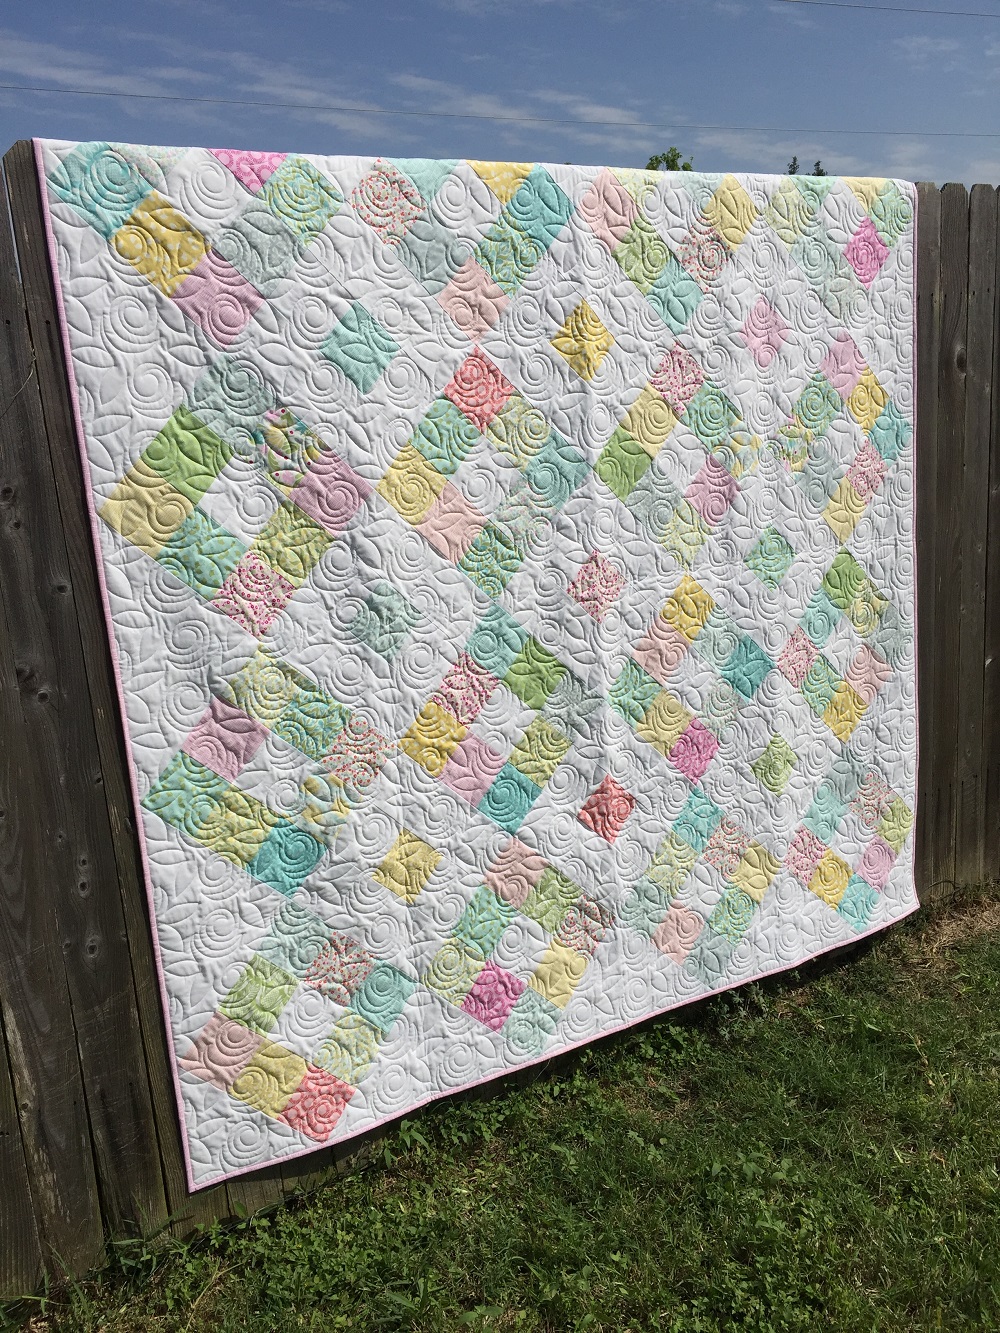
This quilt finishes at 77" x 77".
![]()

4 charm packs or 1 layer cake (Bungalow by Kate Spain)
- Tip: if your charm packs or layer cake have a lot of pieces that will not contrast well with your background fabric, you may want to add an additional charm pack.
3 yards background fabric (Bella Solid 9900-98)
3/4 yard binding fabric (SKU 27298-34)
5 yards backing fabric (SKU 27290-32)
![]()
If you are using a layer cake, choose 35 pieces and cut each into four 5-inch squares. You can cut the remaining 10-inch squares as well, if you want to have more variety. If using charm packs, leave the squares as they are.
Cutting:
From the background fabric:
- 11 strips, 5” wide
- Subcut 2 strips into 5” squares (8 per strip) until you have 16 squares.
- Subcut each of the remaining 9 strips into two 5”x14” rectangles and two 5” squares
- Tip: keep your strip folded and cut one of each from each half
- 2 strips, 20-1/2” wide; cut one strip in half
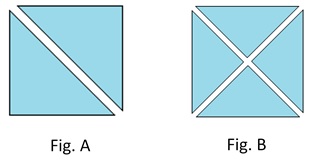
- Subcut one half strip into two 10-1/2” squares. Cut these two squares once on the diagonal for corner setting triangles (see Fig. A below).
- Subcut the remaining strips into three 20-1/2” squares. Cut each square twice on the diagonal for side setting triangles (see Fig. B below).
- Tip: If your ruler isn't long enough to reach corner to corner, fold the squares on the diagonal, and use the fold as a guide to make the cuts.
From the binding fabric, cut 8 strips, 2-1/2” wide.
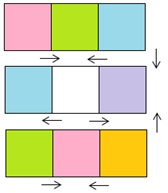
Making block A:
Choose eight (8) 5-inch print squares in a variety of prints and colors. Arrange these squares and one (1) 5-inch background square as shown below with the background square in the center. Sew the squares in three rows of three, pressing in the direction shown. Sew the three rows together, pressing towards the middle row. Make 16 blocks.
Making block B:
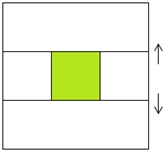
Choose one (1) 5-inch print square. Sew a 5-inch background square on two opposite sides. Press towards the print.
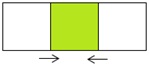
Sew a 5”x14” background rectangle to the remaining two sides of the block. Press towards the background strips. Make 9 blocks.
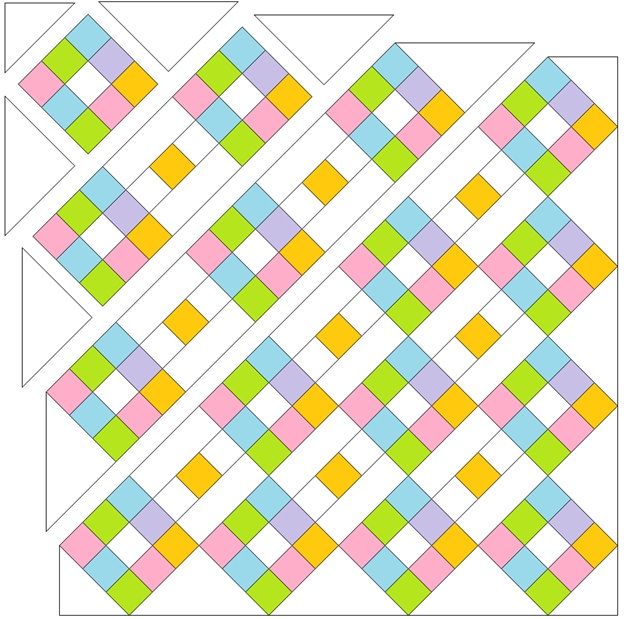
Assembling the quilt top:
This quilt is set on point. Lay out your blocks as shown below, alternating between Block A and Block B. Assemble the quilt top in diagonal rows, using the diagram as a guide. If you pressed according to the directions above, all intersecting seams should nest.
![]()
Your finished quilt should measure approximately 77” x 77”.

Thank you for joining me today! You can follow my quilting adventures on Instagram @piecedjustsew or on my blog. If you make this quilt, please share and tag me! I would love to see yours!
Amanda Wilbert
{@piecedjustsew}
![]()
Posted in:
Comments