Welcome to Moda!
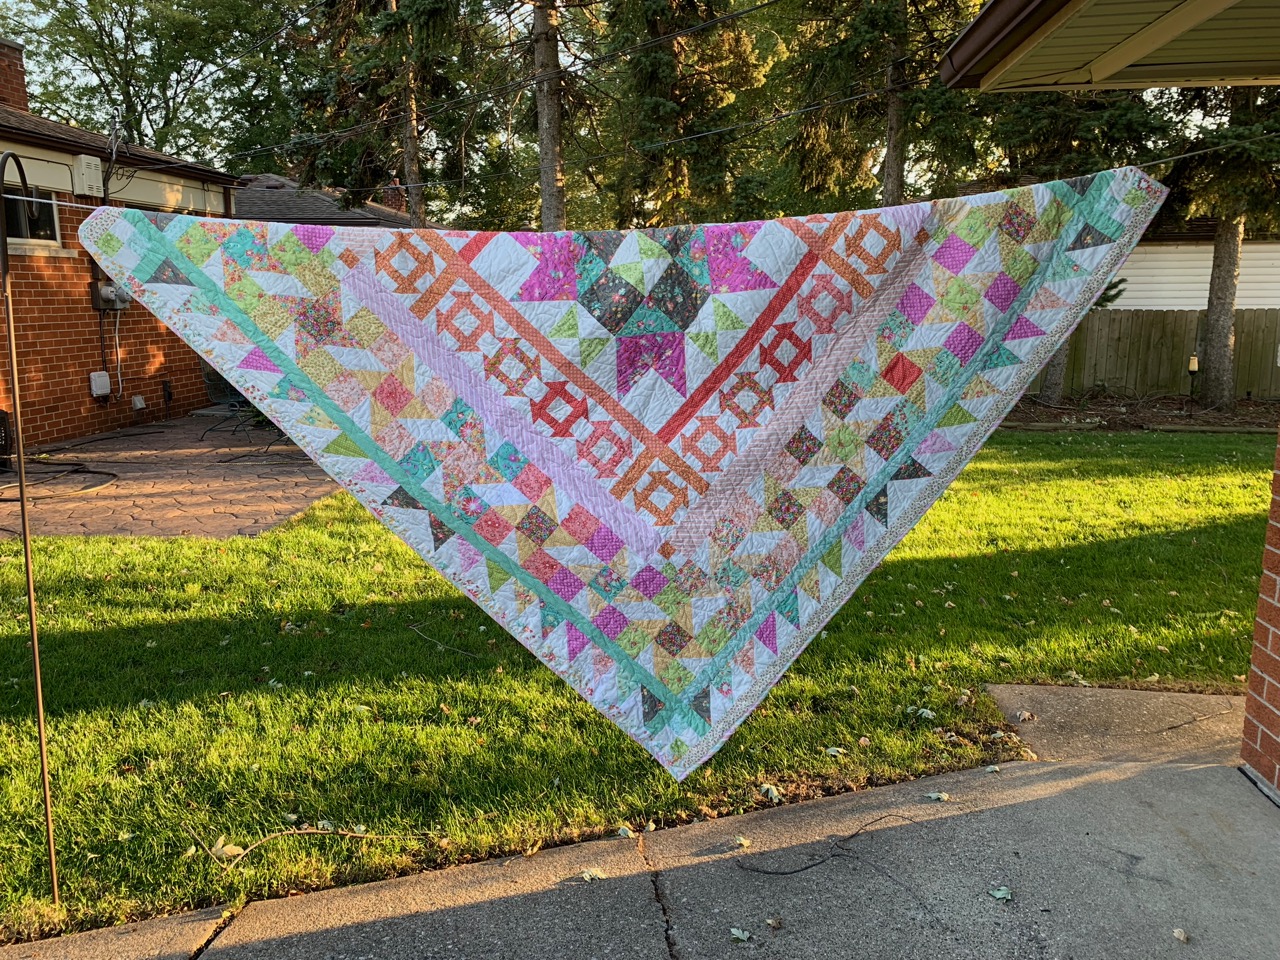
Stars Around Quilt
Stars Around Quilt
Published:
Nov 11 2018 - 23:00

![]()
Hi there fellow Moda Bake Shop Bakers! This is Lisa Jo Girodat of Neverlandstitches and I thrilled to join you as one of the newest chefs!
I have been sewing and making quilts for over 30 years. I started designing my own quilts,again about 2 years ago. About a year ago I decided to make a medallion quilt for a very special family member as a Christmas gift and I was hooked (or addicted – lol). This summer was such a joy as so many of us sewed along with Camp Oda May’s Choose Your Own Adventure, therefore I wanted to create another medallion quilt to remind us as the dreary winter nights ascend upon us to keep our Stars Around us shining brightly.
Today we are going make another medallion quilt. I was privileged enough to sew my quilt with Corey Yoder’s newest line, Sunnyside Up! And yes I am one of those crazy quilters who does it all myself including longarm quilting this beauty myself.
I am rating this project as Moderate due to the size of the quilt. If you can make a HST and a QST then this is the project for you (no flying geese are involved - LOL)
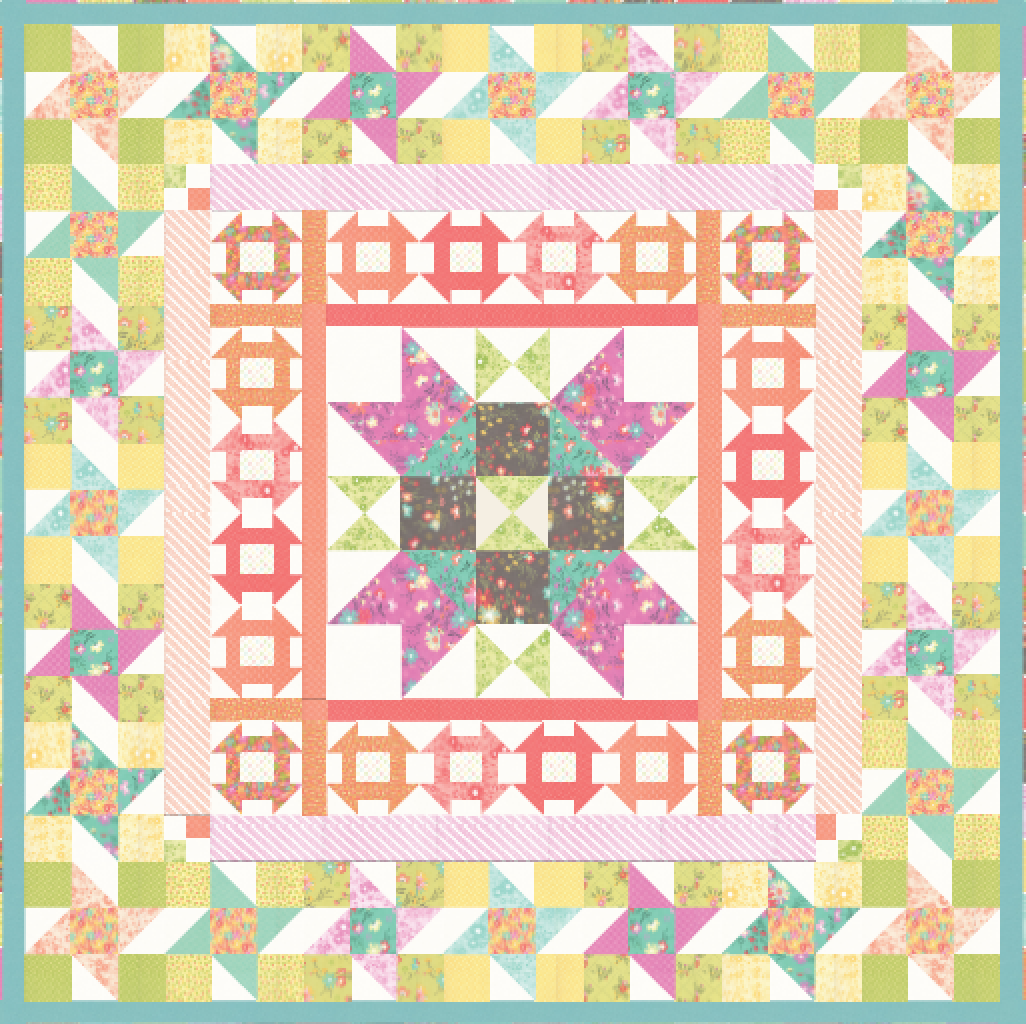
This quilt/project finishes at 76" x 76".
![]()
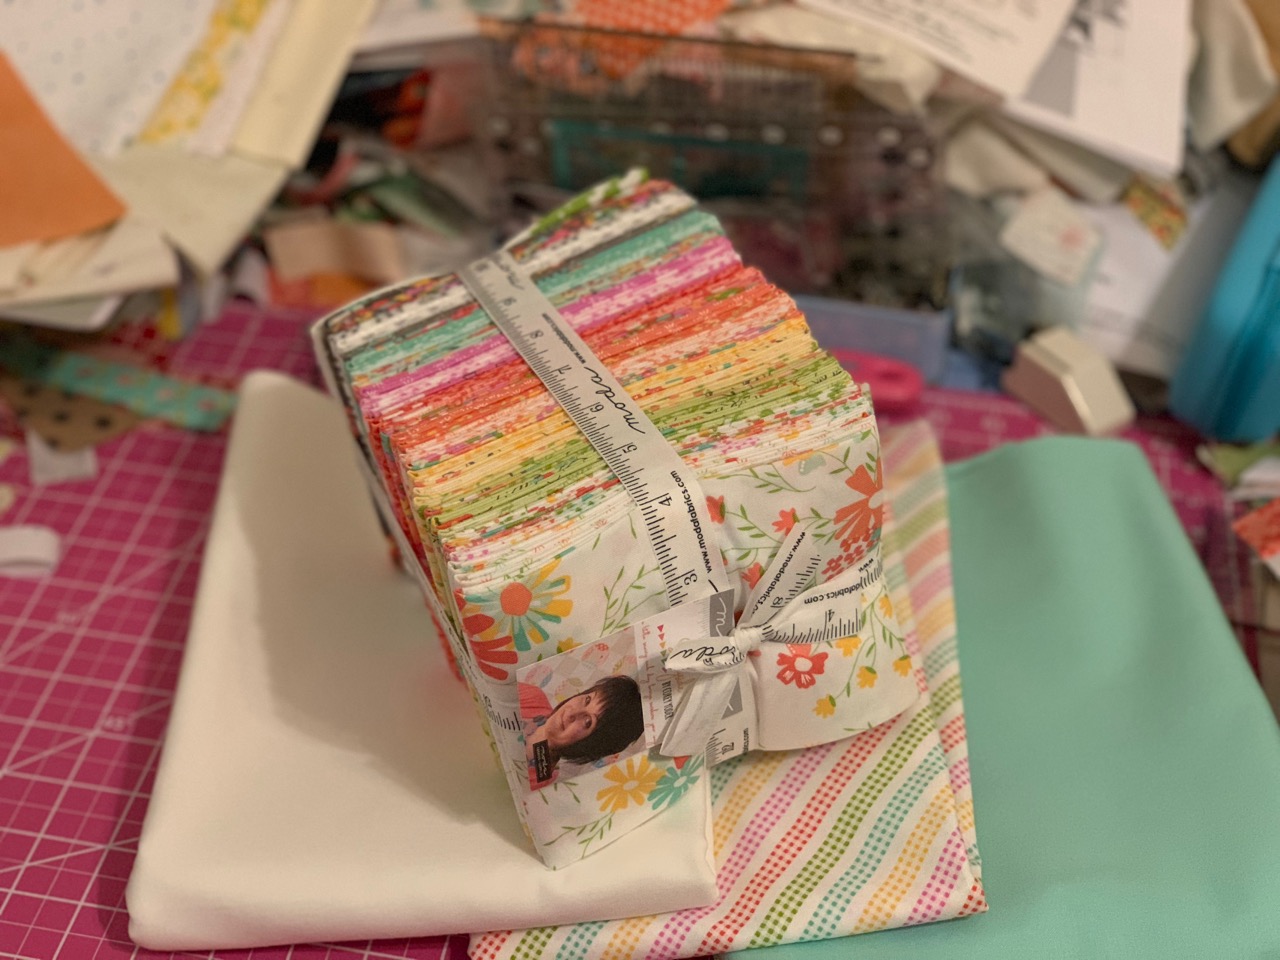
Sunnyside Up by Corey Yoder
- 1 fat quarter bundle - 29050AB
- 3 yards of Bella Solid - 9900-97
- 1 yard for Binding from the Sunnyside Up Collection – Multi Color Bias Gingham Stripe Fabric - 29058 11
- 5 yards for backing Bella Solid - 9900-34
![]()
A very helpful tool, while making this quilt is a good square ruler to trim the quarter square triangles and half square triangles.
![]()
Before you begin:
Read through the entire pattern before you begin so that you may plan out which fabrics you want to use in the various sections. (A planning color sheet may be downloaded from my blog)
- All seams are a true quarter inch
- Fabrics were spray starched before cutting
- Seams were all pressed to the darker fabrics
- Personally, I cut and sew one section at a time to keep order in my messy sewing room and for a sense of accomplishment.
Section 1 – The Center Star
Are you ready? Then let’s begin with the center star of our quilt
The center block finishes at 24 inches square.
Cut:
4 – 5 ¼ inch squares of background fabric
4 – 5 ¼ inch squares of a dark print fabric
4 – 5 5/8 inch squares of background fabric for HSTs
2 – 5 5/8 inch squares of an aqua print fabric for HSTs
6 – 5/5/8 inch squares of a pink print fabric for HSTs
3 – 6 inch squares of background fabric for QSTs
3 – 6 inch squares of green print fabric for QSTs
Make:
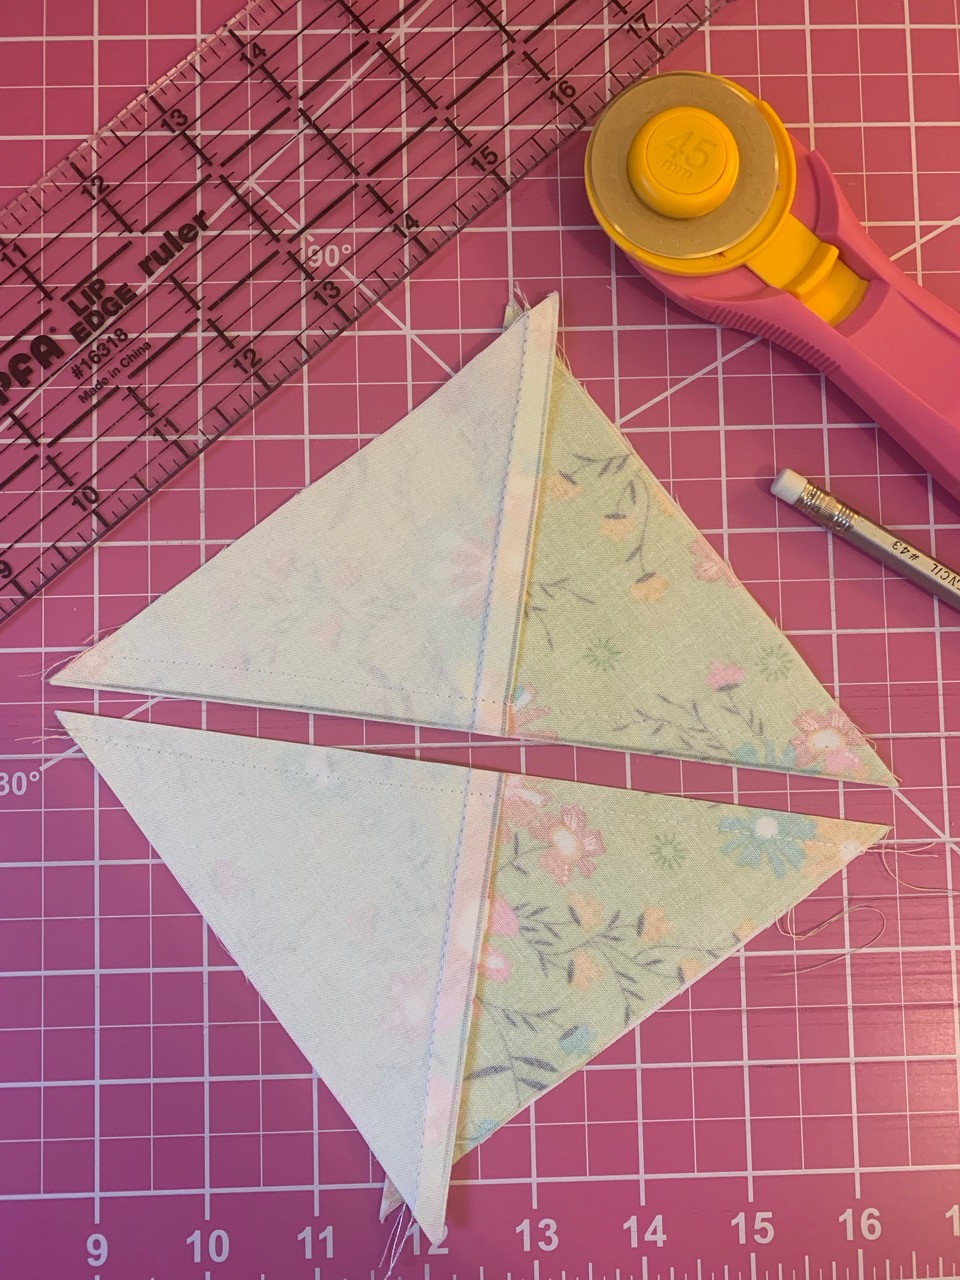
First make your QSTs with the 6 inch squares of background and green print.
You will need 5 QST’s for the center block, therefore you will end up with on extra.
Place your two squares right side together.
Draw a diagonal line on the back of your back ground fabric.
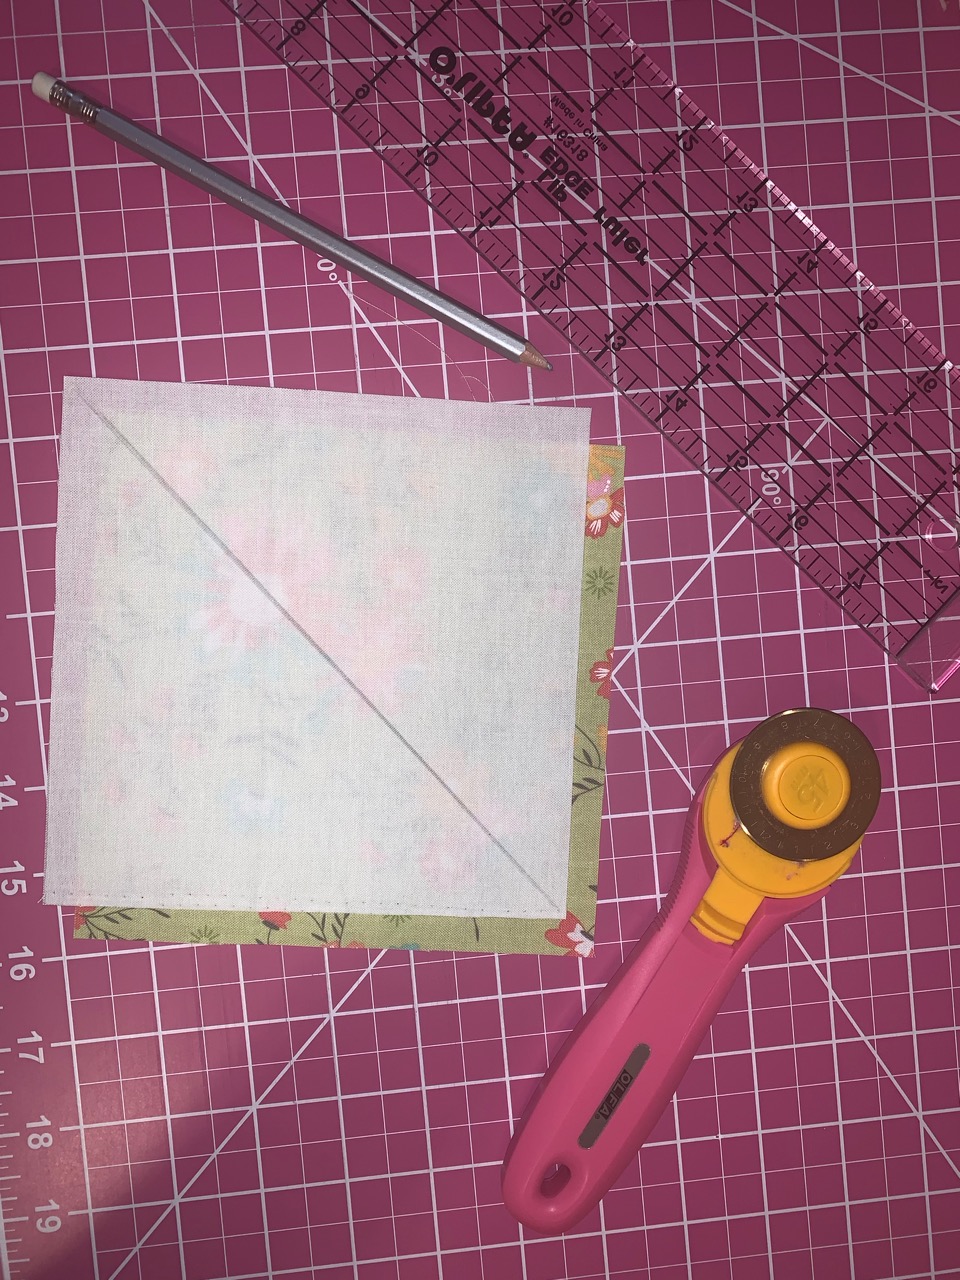
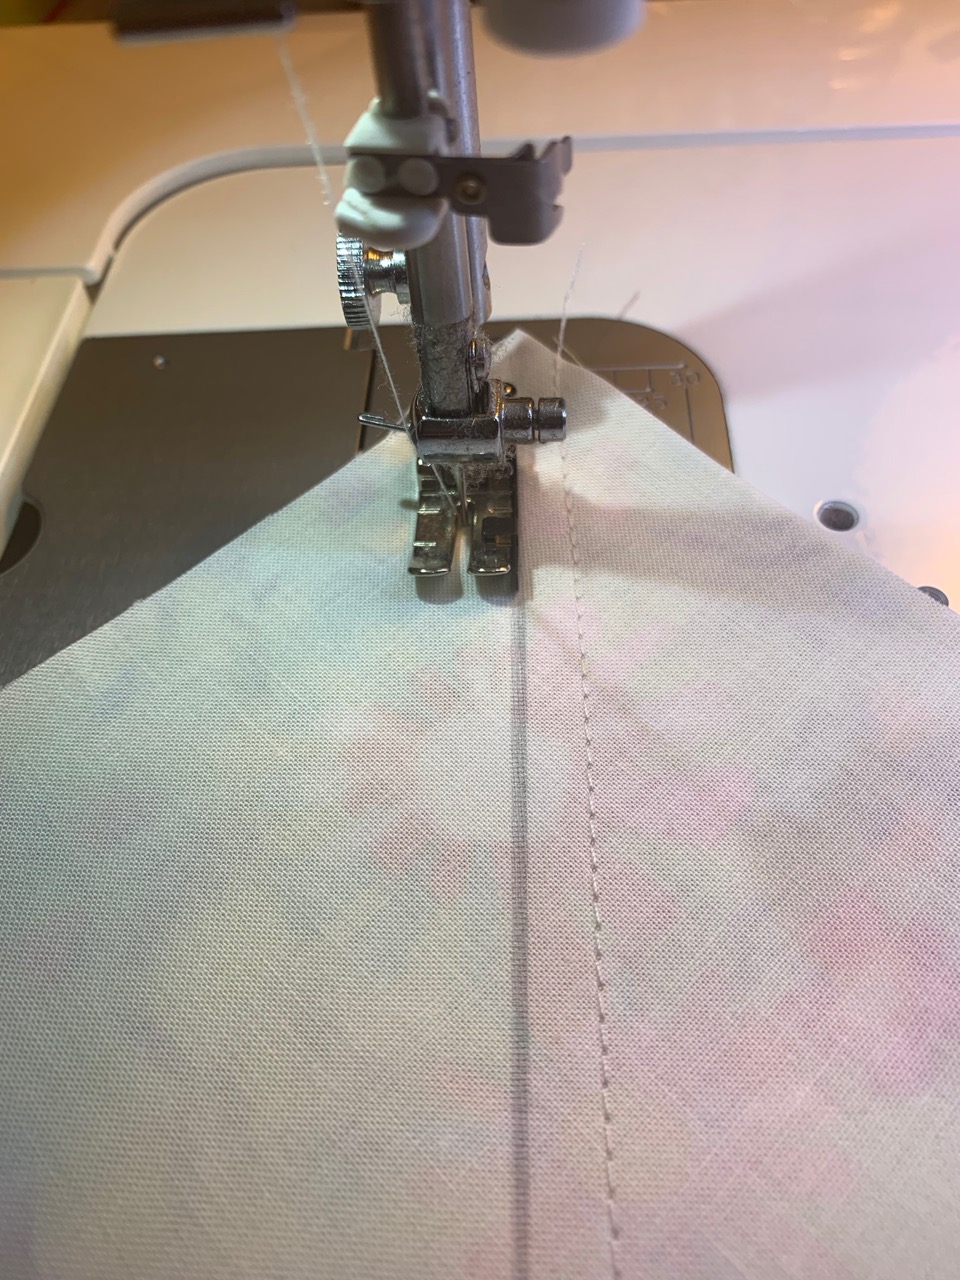
Stitch ¼ inch on each side of the line.
Cut on the drawn line.

Press your two squares open.
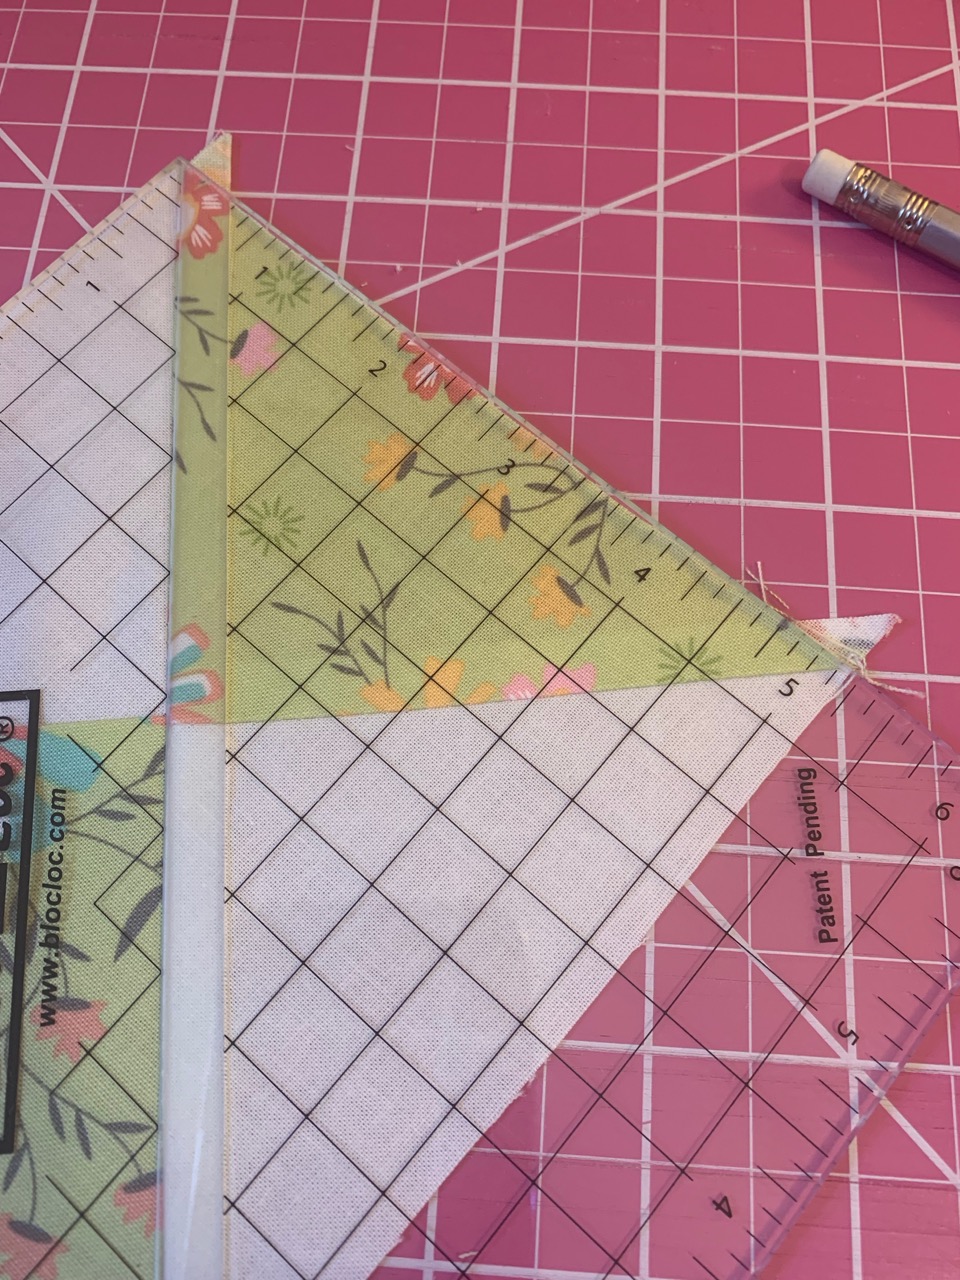
Place the two HSTs on top of one another, right sides together with the green on top of the white.
Draw a diagonal line across the back, opposite of your seam.
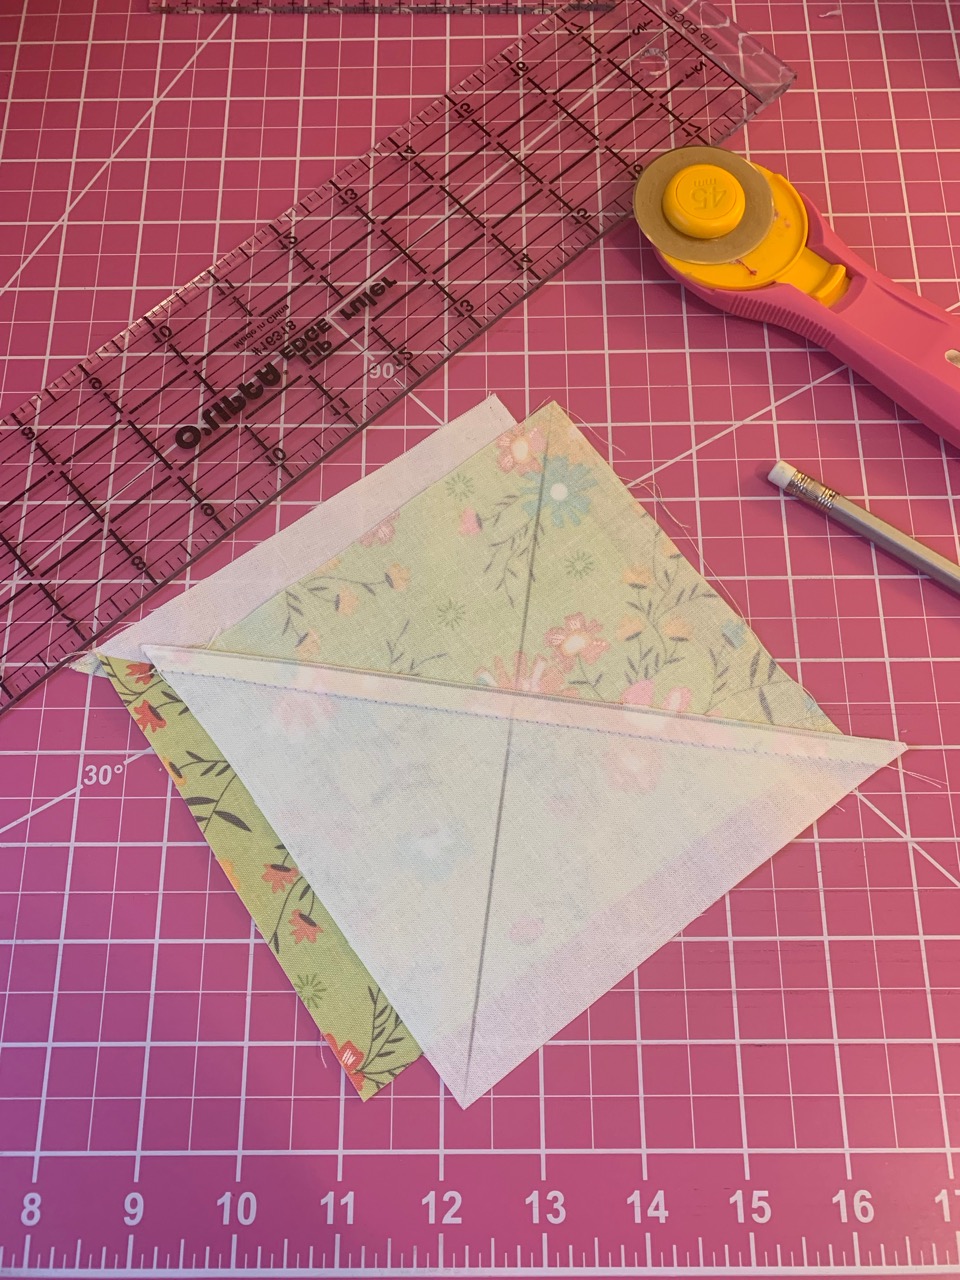
Stitch ¼ inch on each side of the line.
Cut on the drawn line.
Press your two squares open
Trim to 5 ¼ inch square
Note: my dear friend and fellow chef, Christine Weld, has a wonderful building blocks tutorial on making quarter square triangles here.
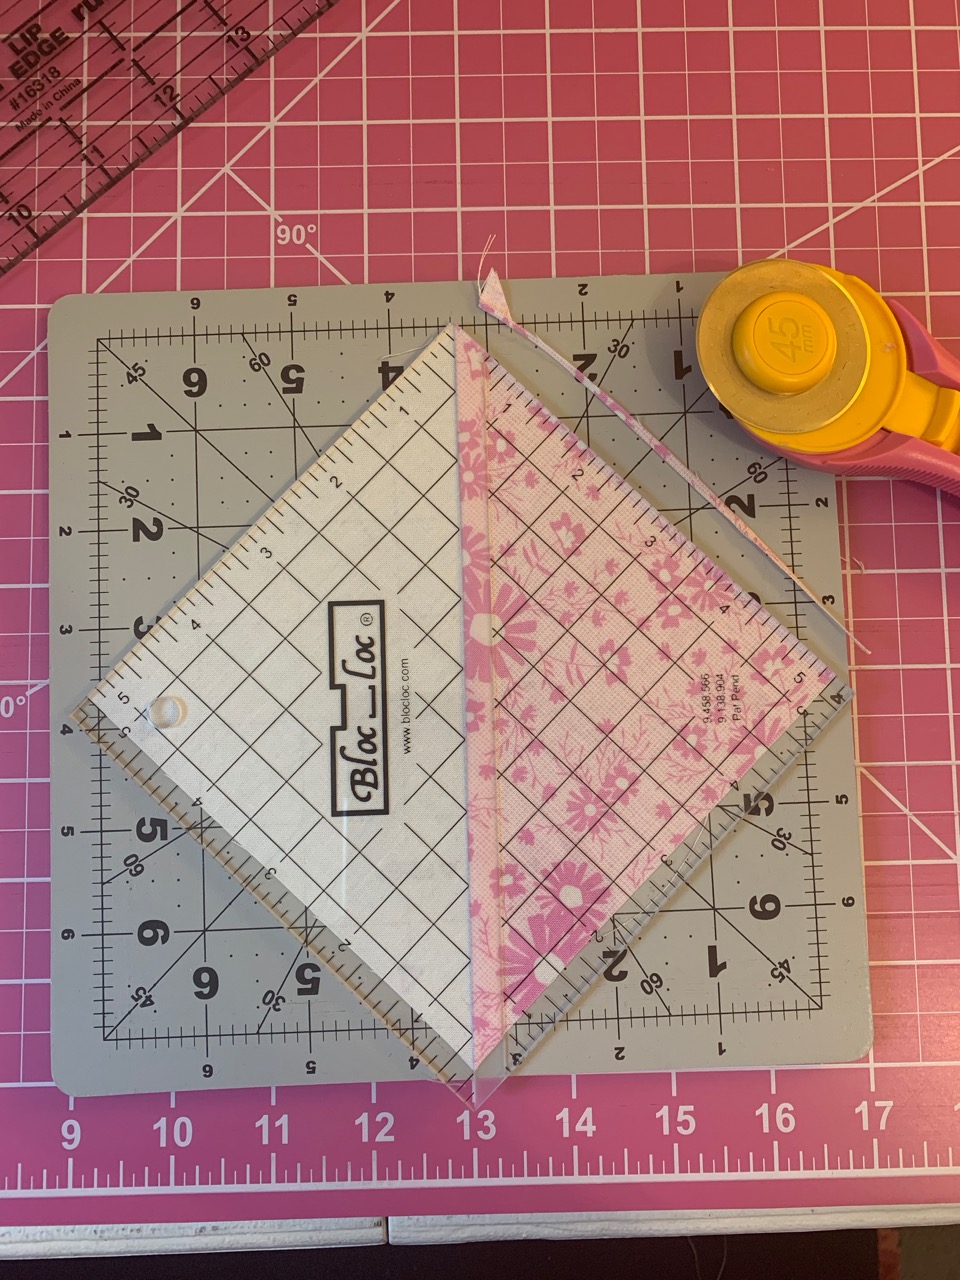
Now let’s make the HST’s
You will need to make 8 HSTs with pink print and background and 4 HST with pink print and aqua print.
Place your two squares right side together.
Draw a diagonal line on the back of your background fabric.

Stitch ¼ inch on each side of the line.
Cut on the drawn line.

Press your two squares open.
Trim to 5 ¼ inch square.
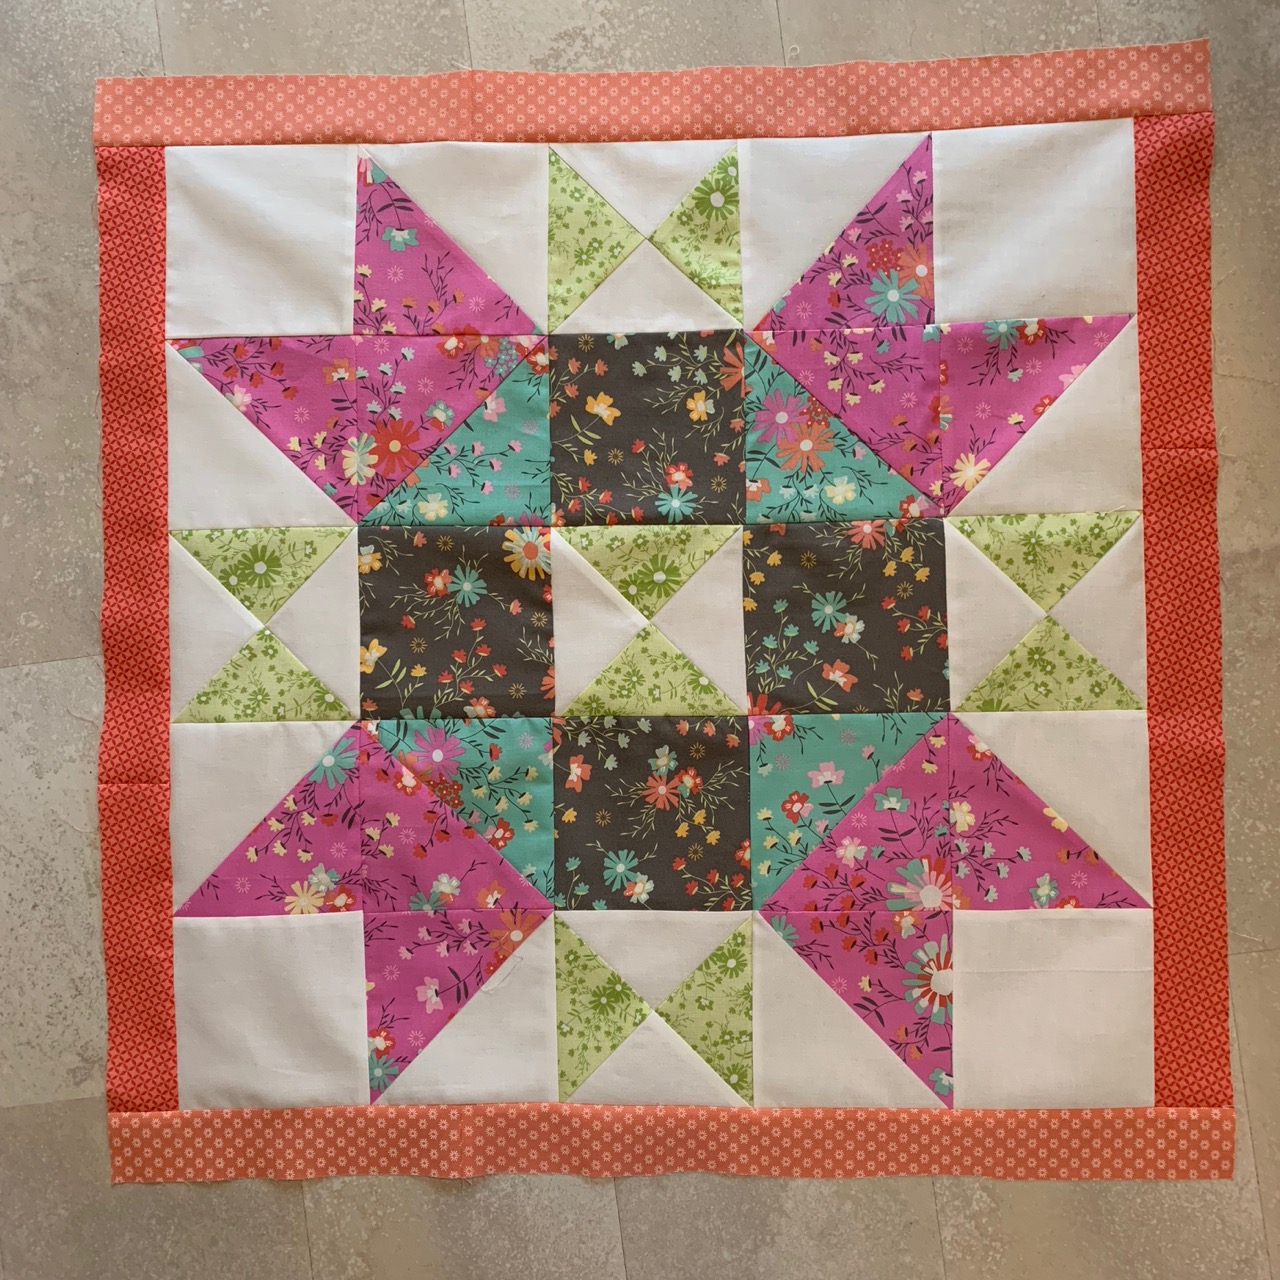
Once all the HSTs and QSTs are made, assemble the center star as show in the picture below: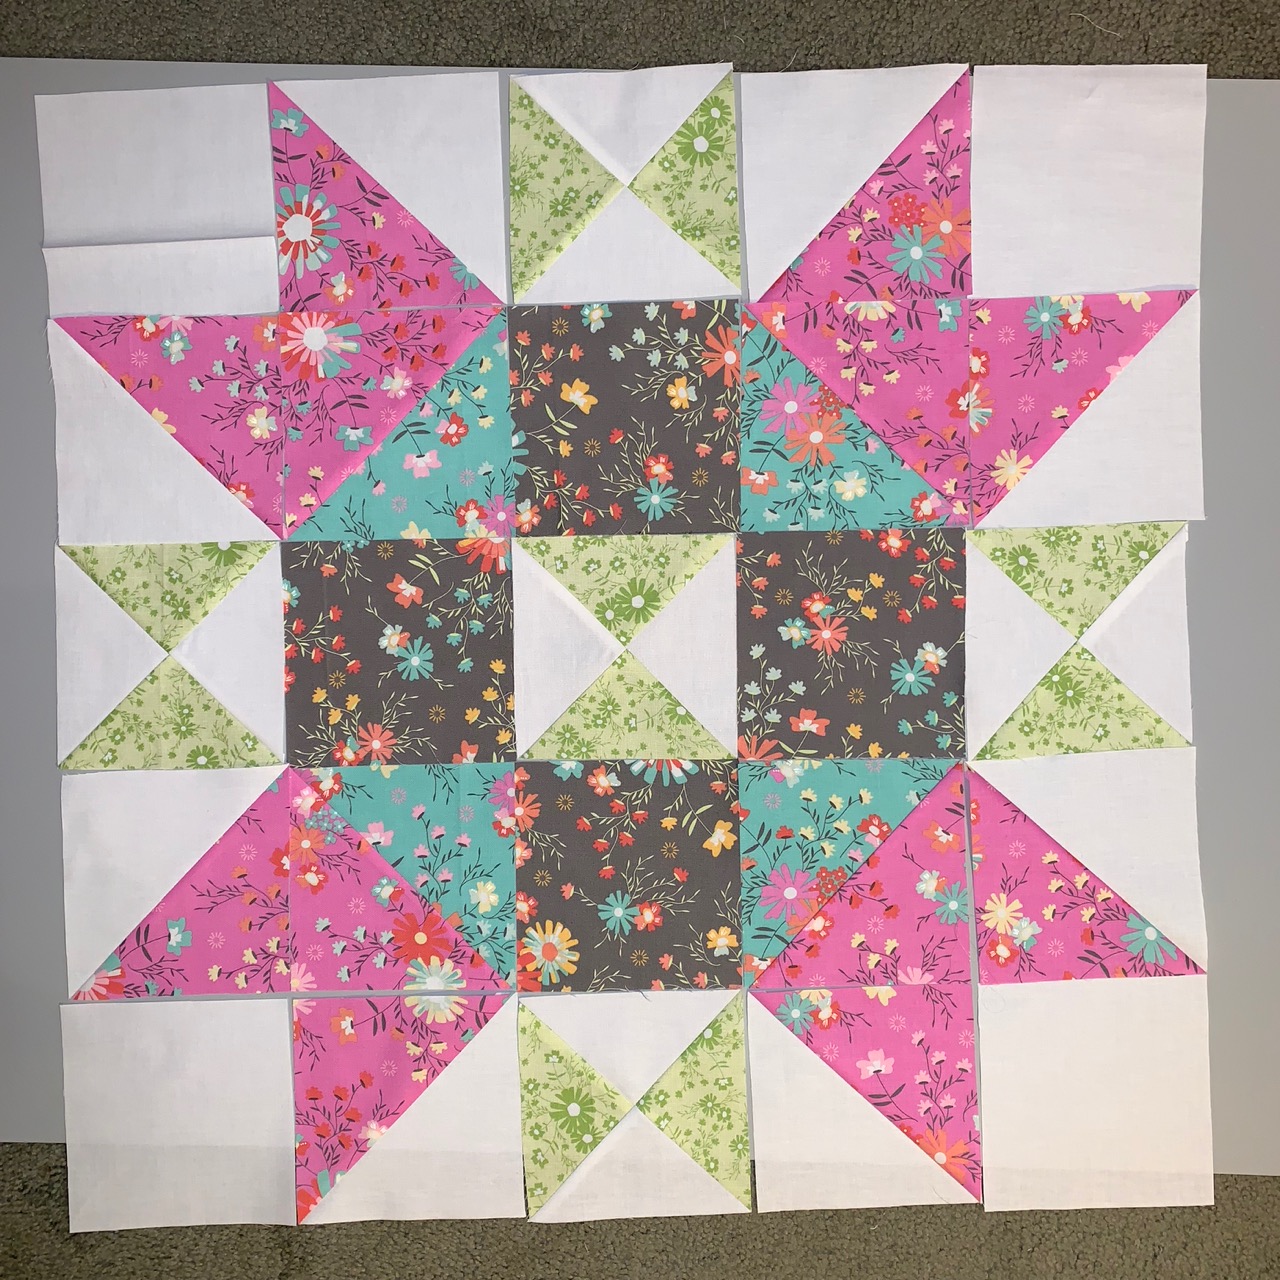
Your block should measure 24 ½ inches square.
Let’s next place a border around the center star.
Cut:
2 – 24 1/2 x 2 inch strips of a peach print
2 - 27 ½ x 2 inch strips of a peach print
Note you may need to piece together the strips from your fat quarter pieces of fabric.
Sew one 24 1.2 inch piece on the top and bottom of the center star, press toward the border.
Sew one 27 ½ inch strip on each side of the center star and press toward the border.
Your quilt should now measure 27 ½ inches square.
Section Two – Churn Dashes
You will need to make 20 – 6 ½ inch (6 inch finished) Churn Dash blocks for this section
Cut:
40 – 3 inch squares of background for HST
40 – 3 inch square of a variety of the peach prints for HST
80 - 2 ½ x 1 ½ inch rectangles of background
80- 2 ½ x 1 ½ inch rectangles of a variety of the peach prints
20 – 2 ½ inch squares of the low volume prints
8 – 2 x 6 ½ inch rectangles (to be used for the Churn Dash corners)
Using the 40 – 3 inch squares background fabric and 40 - 3 inch squares of a variety of the peach prints make 80 HST and trim to 2 ½ inches each (see directions above in the Center Star for who to make HST)
For each Churn Dash block use: 4 – 2 ½ inch HSTs, 1 - 2 ½ inch low volume print, 4 – 2 ½ x 1 ½ inch rectangles of background, and 4 2 ½ x 1 ½ inch rectangle of peach print
Here’s an example of one of my Churn Dash blocks:
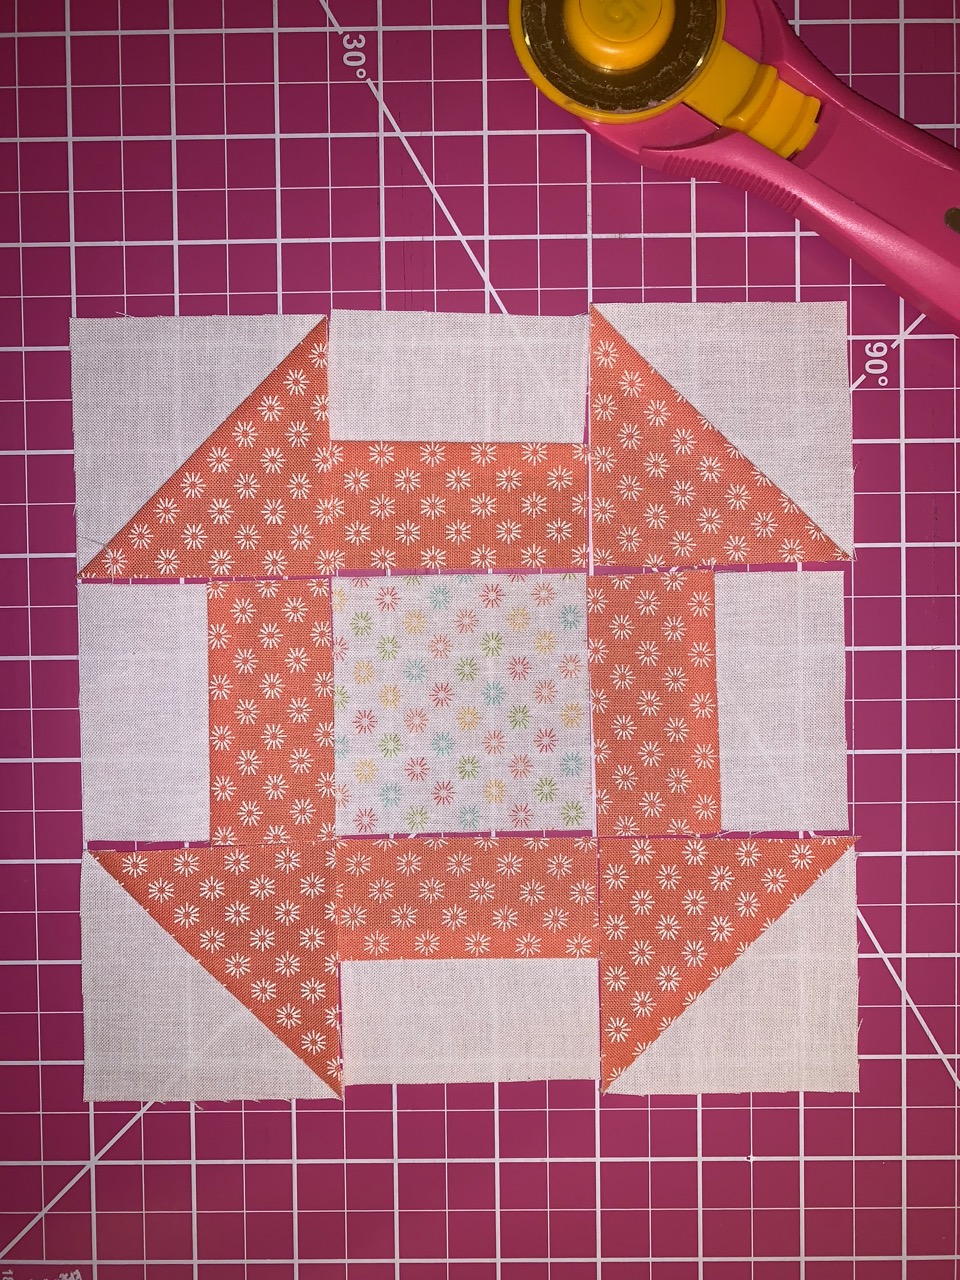
Press seams as desired.
Once your 20 – 6 ½ inch Churn Dash block are complete:
Select 4 blocks and sew together in a row, sew a 2 x 6 ½ inch peach print rectangle at each end of the row, and press seams open. The row of Churn Dash block should measure 27 ½ inches long.

Sew the row of 4 Churn Dash blocks to the top of your center star with borders. Repeat and sew another row of 4 Churn Dash along the bottom of the center star with borders. Press toward the border.

Select 6 Churn Dash Block and 2 6 ½ x 2 inch rectangles. Sew together in a row as shown below:
![]()
Repeat and sew a row to each side of your quilt. Press toward the border.

Section 3 – The Second Border
Next you will make our second border’s Four Patch corner stones.
You will be making 4 – Four Patch cornerstones that measure 3 ½ inches square (3 inch square finished).
Cut:
8 - 2 inch squares of background fabric
4 – 2 inch squares of peach print fabric
4 – 2 inch squares of green print fabric
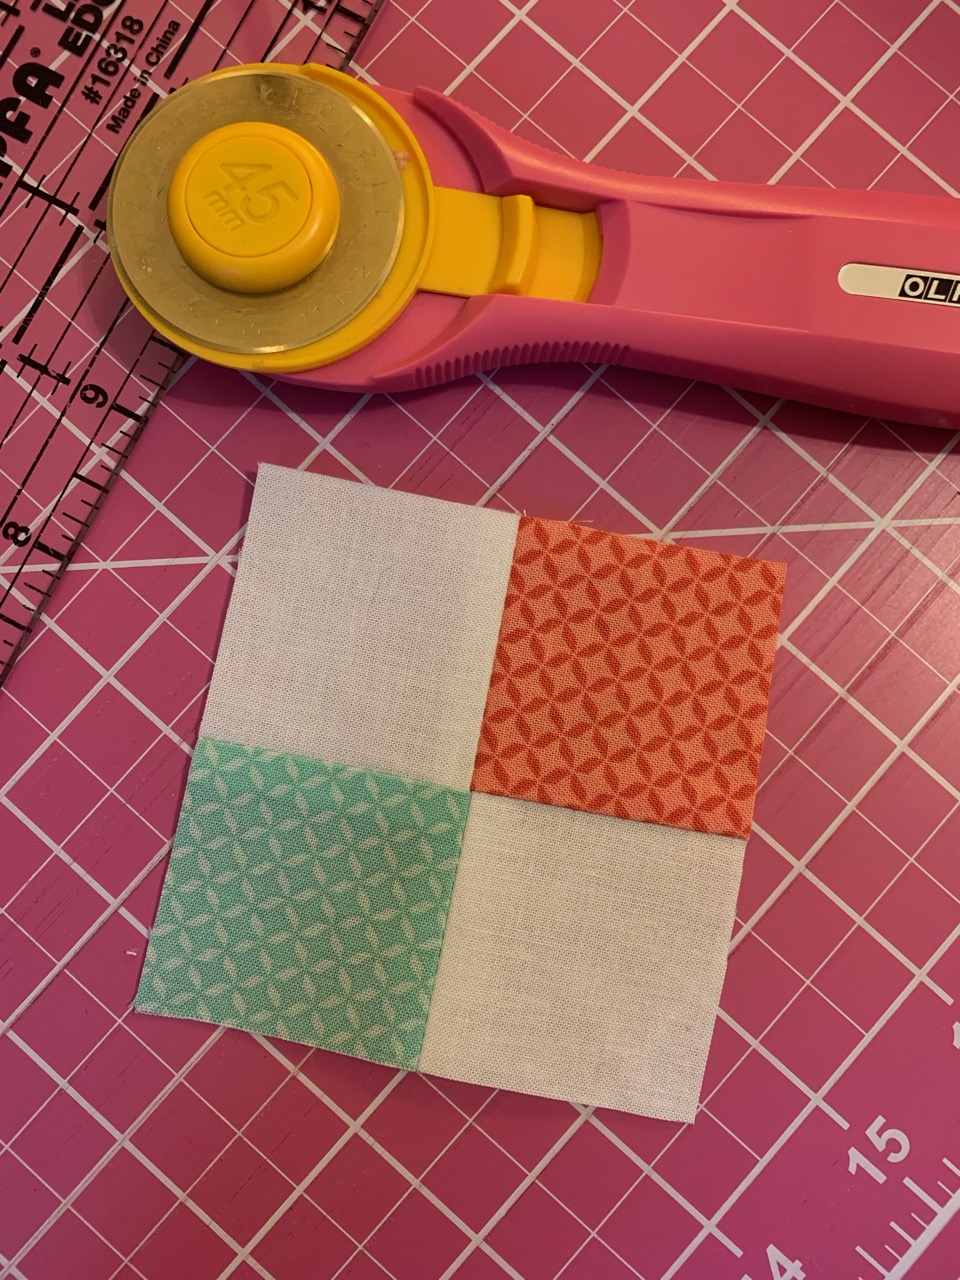
For each Four Patch:
Sew together 1 peach square to 1 background square and press to the print
Sew together 1 green square to 1 background square and press to the print
Sew the two rows together to form a Four Patch Block as shown below:
For the borders Cut:
2 - 39 ½ x 3 ½ inches rectangles of the Peach Bias Gingham Stripe fabric (piece together strips from the fat quarters as needed)
2 - 39 ½ x 3 ½ inches rectangles of the Pink Bias Gingham Stripe Fabric (piece together strips from the fat quarters as needed)
Sew a 39 ½ x 3 ½ inch rectangle of the Pink Bias Gingham Stripe Fabric to the top and bottom of the quilt. Press seam toward the border.
Sew a Four Patch Cornerstone block onto each end of the 39 ½ x 3/12 Peach Bias Gingham Stipe strips
Sew the peach strip with cornerstones to the sides of the quilt. If desired try and place the peach corners of the cornerstones inward toward the center of the quilt. Press seams toward the border.

Section 4 – The Friendship Stars
Now we are ready to get scrappy and make 24 – 9 ½ inch Friendship Stars
Cut:
48 – 4 inch squares of background fabric for HST
48 – 4 inch squares of various prints for HST
24 – 3 ½ inch squares of various prints for the centers of the Friendship Stars
96 – 3 ½ inch squares of various prints for the corners of the Friendship Stars (I cut my corners in sets of 4 of the same print) .
Make 96 HSTs with the 48 – 4 inch squares of background fabric and the 48 – 4 inch squares of various prints. (HST directions as shown in Section 1 – The Center Star). Trim the HST to 3/12 inches.
To assemble each Friendship Star use:
1 – 3 ½ inch square for the center
4 – 3/12 inch HST
4 – 3/12 inch squares of the same print for the corners
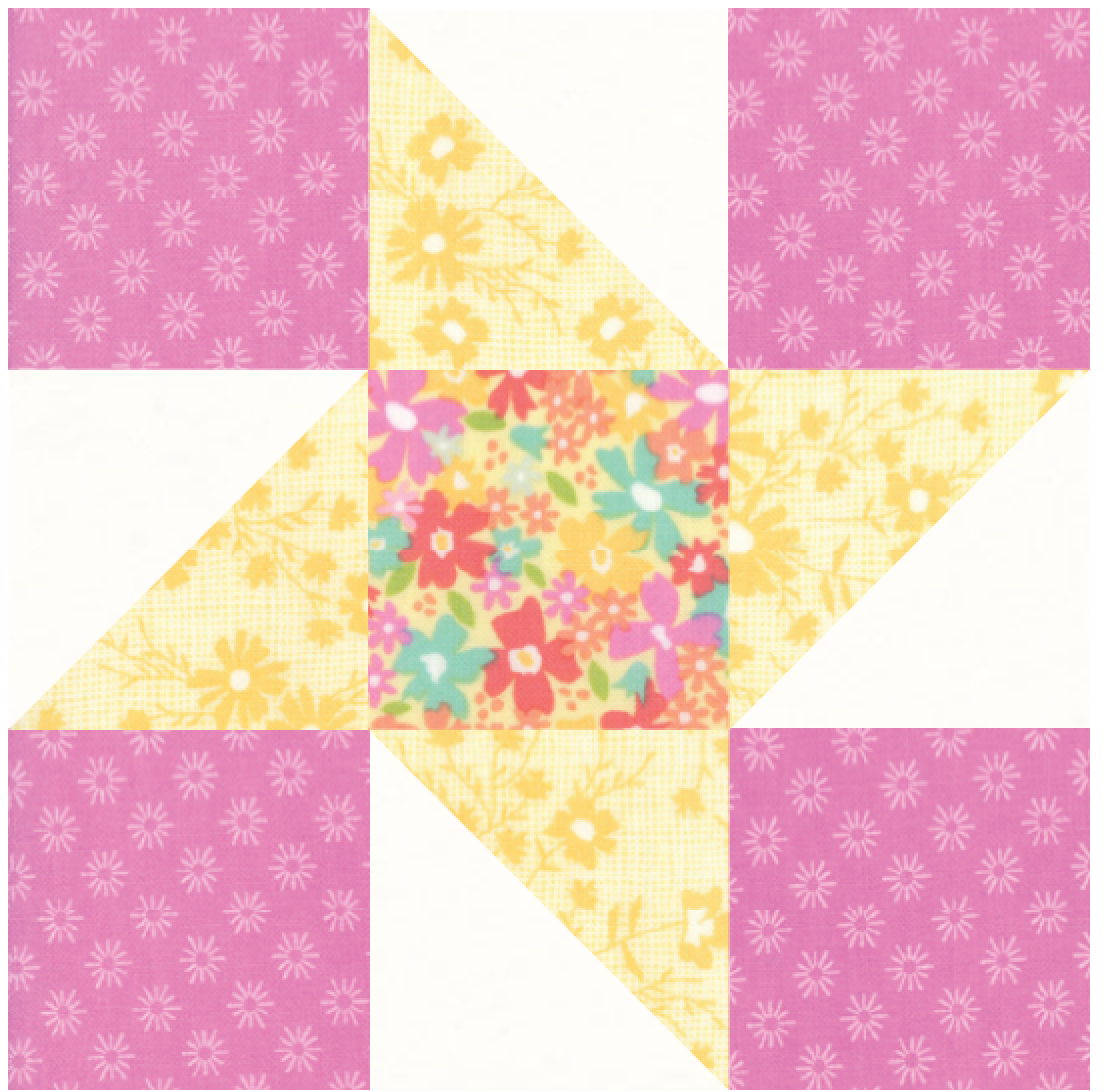
One finished Friendship Star should look like this (seams are press to the darker prints):
Once all of the Friendship Stars are together select two groups of five block, sew them together into two separate rows of 5 blocks each, and press seams as desired.

Sew each row of 5 Friendship Stars to the top and bottom of the quilt. Press seam toward the border.
Sew the remaining 14 Friendship Stars into two rows of 7 Stars each and press seams as desired
Sew one row of 7 Friendship Stars on each side of the quilt and press seams toward the border. Your quilt should measure 63 ½ inches square at this point.

Section 5 – The Third Border
Cut:
2 – 63 ½ x 2 inch stripes of an aqua print (piece together strips from the fat quarters as needed)
2 – 66 ½ x 2 inch strips of a contrasting aqua print (piece together strips from the fat quarters as needed)
Sew one 63 ½ inch strip on the top and bottom of the quilt, press toward the border.
Sew one 66 1/2 inch strip on each side of quilt and press toward the border.
Your quilt should now measure 66 ½ inches square.
Section 6 – The HST Border
The scrappiness continues with this border made with 72 – 4 inch HST (finish at 3 ½ inch) and 4 – 4 inch (3 ½ finished) Four Patch Cornerstones.
Cut:
36 – 4 ½ inch squares of background fabric for HST
36 - 4 ½ inch squares of various prints for HST
8 - 2 ¼ inch squares of background fabric for Cornerstones
4 – 2 ¼ inch squares of peach print fabric for Cornerstones
4 – 2 ¼ inch squares of green print fabric for Cornerstones
8 – 2 x 4 inch rectangles of the aqua fabrics used in the Third Border.
Make 72 HST with the 36 - 4 ½ inch squares of background fabric and 36 - 4 ½ inch squares of various prints.
Trim HST to 4 inches. (HST directions as shown in Section 1 – The Center Star)
Make 4 – Four Patch Cornerstones.
Sew together 1 aqua square to 1 background square and press to the print
Sew together 1 green square to 1 background square and press to the print
Sew the two rows together to form a Four Patch Block as shown below:
Cornerstones blocks should measure at 4 inches (finish at 3 ½ inches)
Sew together 9 HST all facing in one direction and another 9 HST all facing in the opposite direction as shown below adding a 2 x 4 inch strip of aqua at each end:
![]()
Sew a row of HST on both the top and bottom of the quilt with points facing out:

Sew together 9 HST all facing in one direction and another 9 HST all facing in the opposite direction as shown below adding a 2 x 4 inch strip of aqua at each end. Next the Cornerstones with the aqua squares in the corners so that the aqua will face toward the center of the quilt :
![]()
Sew a row of HST on each side of the quilt with points facing out:

The quilt should now measure at 73 ½ inches square.
Section 7 – The Final Border
Cut:
2 – 73 ½ x 2 inch stripes of an light print (piece together strips from the fat quarters as needed)
2 – 76 ½ x 2 inch strips of a contrasting light print (piece together strips from the fat quarters as needed)
Sew one 73 ½ inch strip on the top and bottom of the quilt, press toward the border.
Sew one 76 1/2 inch strip on each side of quilt and press toward the border.
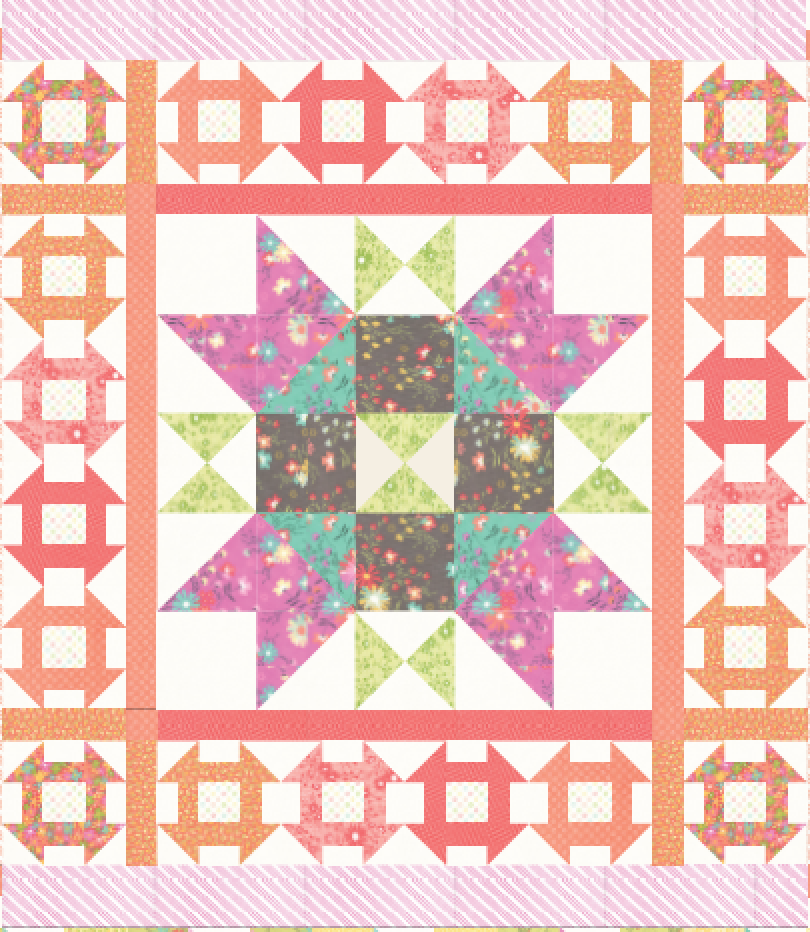
Quilt and bind as desired, then wash, dry and snuggle!
![]()
This quilt finishes at 76" x 76".

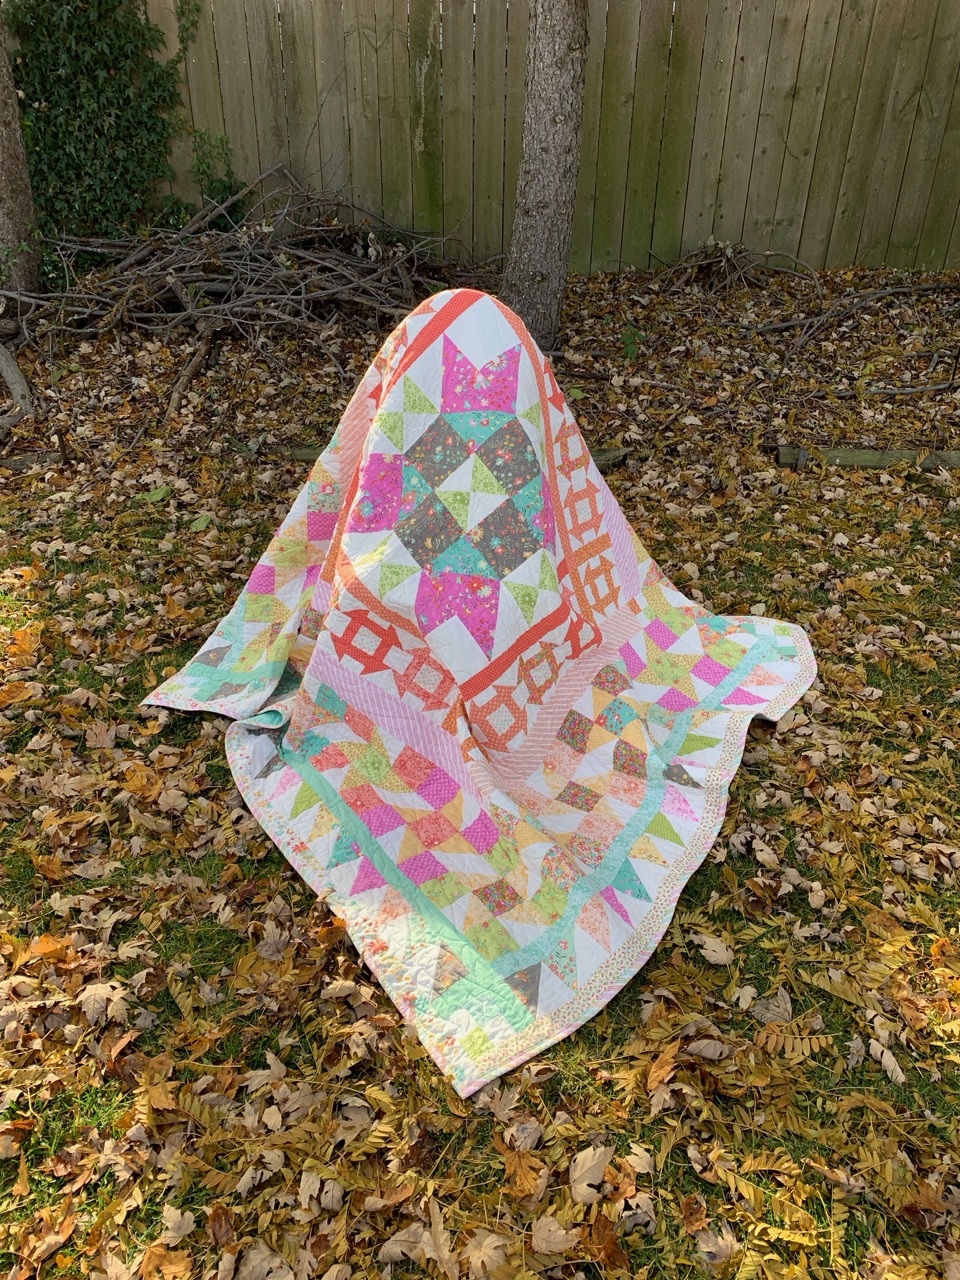
If you make my Stars Around quilt, please tag me on Instagram as I would love to see your version!
Lisa Jo Girodat
blog: Neverstiches
instagram: Neverlandstiches
![]()
Posted in: