Welcome to Moda Fabrics!
Dec 21: Wreath Star
Dec 21: Wreath Star
Published:
Dec 20 2018 - 23:00
![]()
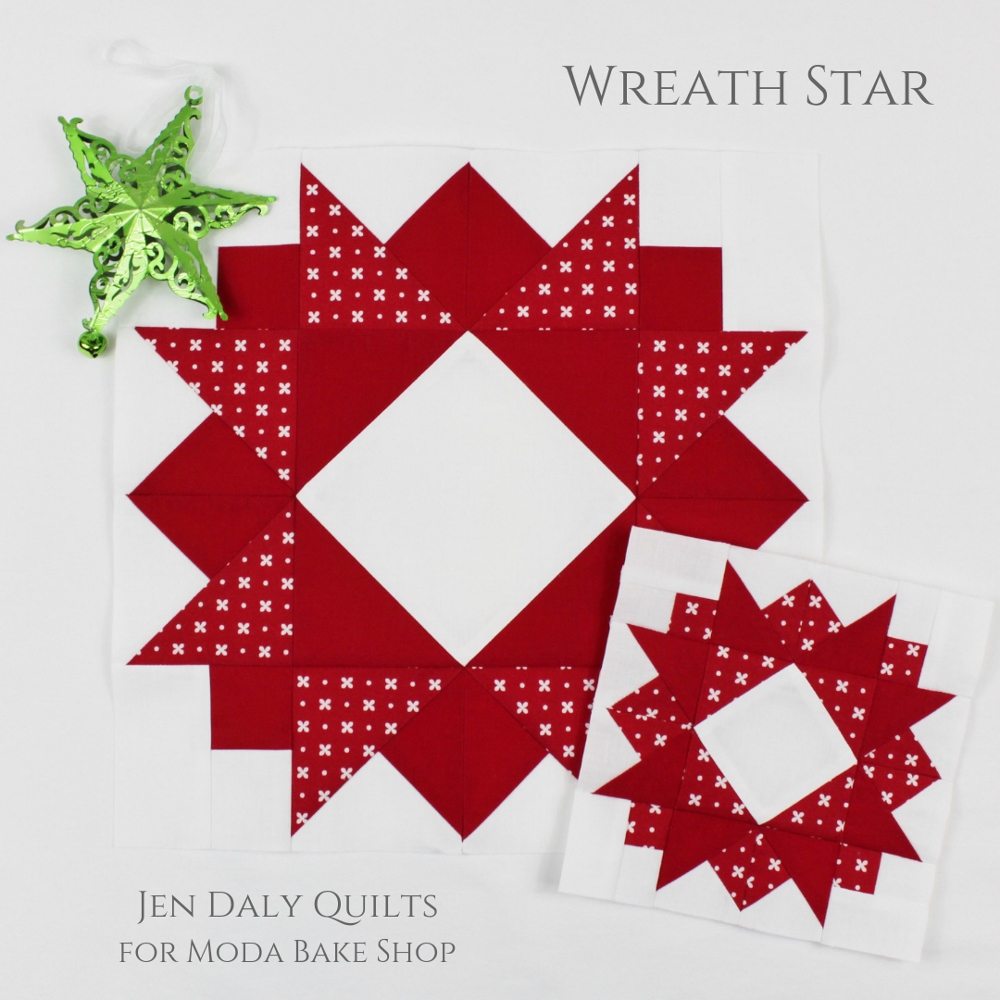
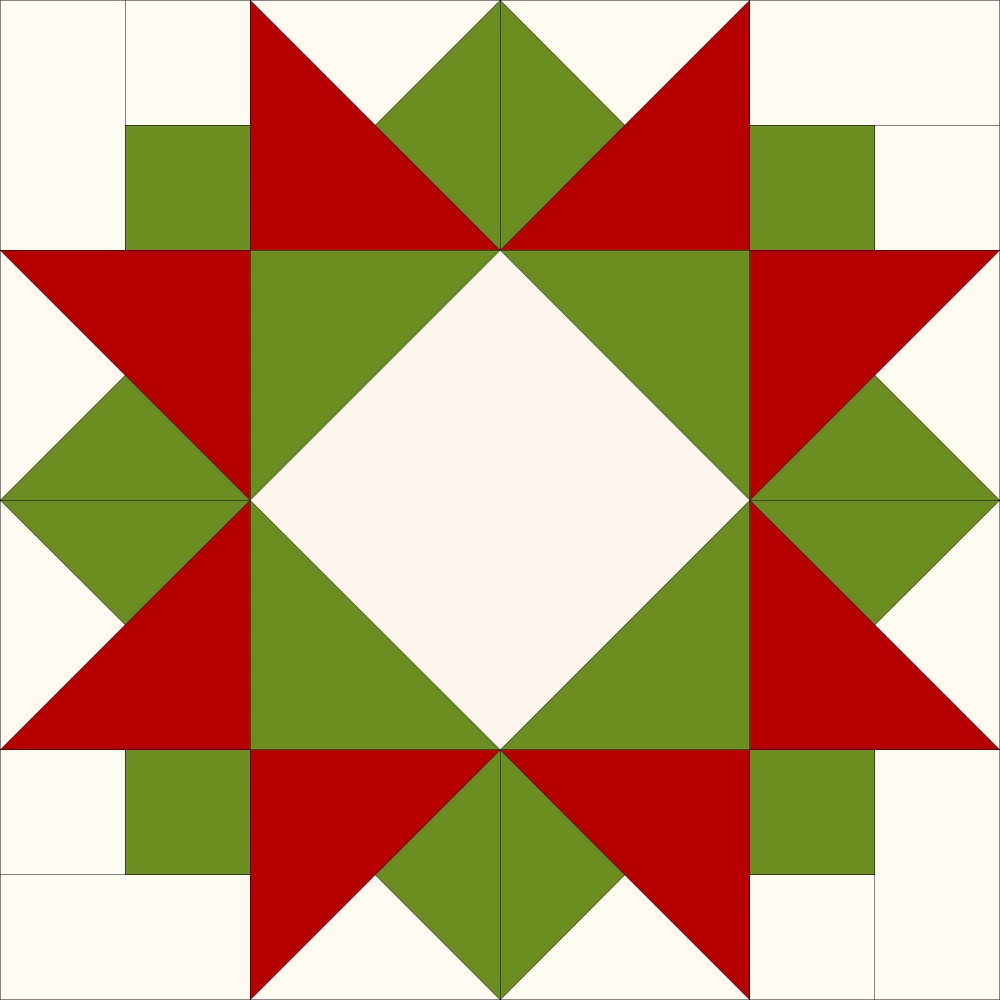
Welcome back Moda Bake Shop bakers! I'm Jen Daly and I'm thrilled to be here for Day 21 of the Countdown to Christmas! Today's recipe was inspired by the beautiful evergreen wreaths that adorn so many front doors during the holiday season—mine included! My Wreath Star block features Sawtooth Star points that sparkle against a contrasting "wreath" background. I love it with the two reds, but it would also be beautiful with red star points against a green wreath.
This block finishes at 6" or 12" square.
![]()
| 6" Block | 12" Block |
|---|---|
| From white fabric, cut: (1) 3½" x 3½" square, (2) 3" x 3" squares, (4) 1¼" x 2" rectangles, (4) 1¼" x 1¼" squares | From white fabric, cut: (1) 6½" x 6½" square, (2) 4¾" x 4¾" squares, (4) 2" x 3½" rectangles, (4) 2" x 2" squares |
| From solid red fabric, cut: (4) 2½" x 2½" squares* | From solid red fabric, cut: (2) 4¾" x 4¾" squares, (4) 3½" x 3½" squares, (4) 2" x 2" squares |
| From red print, cut: (2) 3" x 3" squares, (4) 2" x 2" squares, (4) 1¼" x 1¼" squares | From red print, cut: (4) 4" x 4" squares* |
Note that the placement of the solid red fabric and the red print were reversed in the two pictured blocks. The star point pieces are marked with an *.
![]()
The following instructions are for the 12" block. The 6" block is made exactly the same way, but the 6" block patch sizes are listed in the brackets [].
Make Split Quarter Square Triangles (Split QSTs)
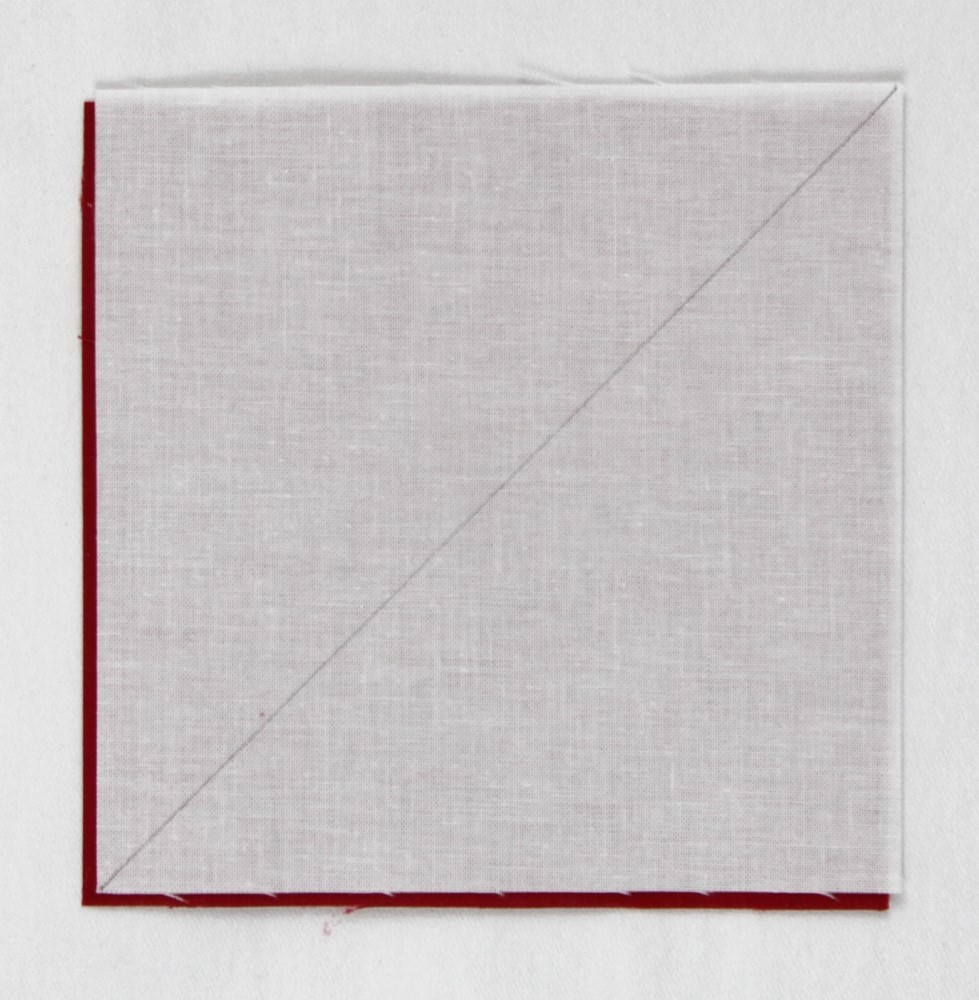
- On the wrong side of a white 4¾" square [3" square] use a pencil to lightly draw a diagonal line from corner to corner. Layer the marked white 4¾" square [3" square] atop a solid red 4¾" square [3" square] with right sides together.
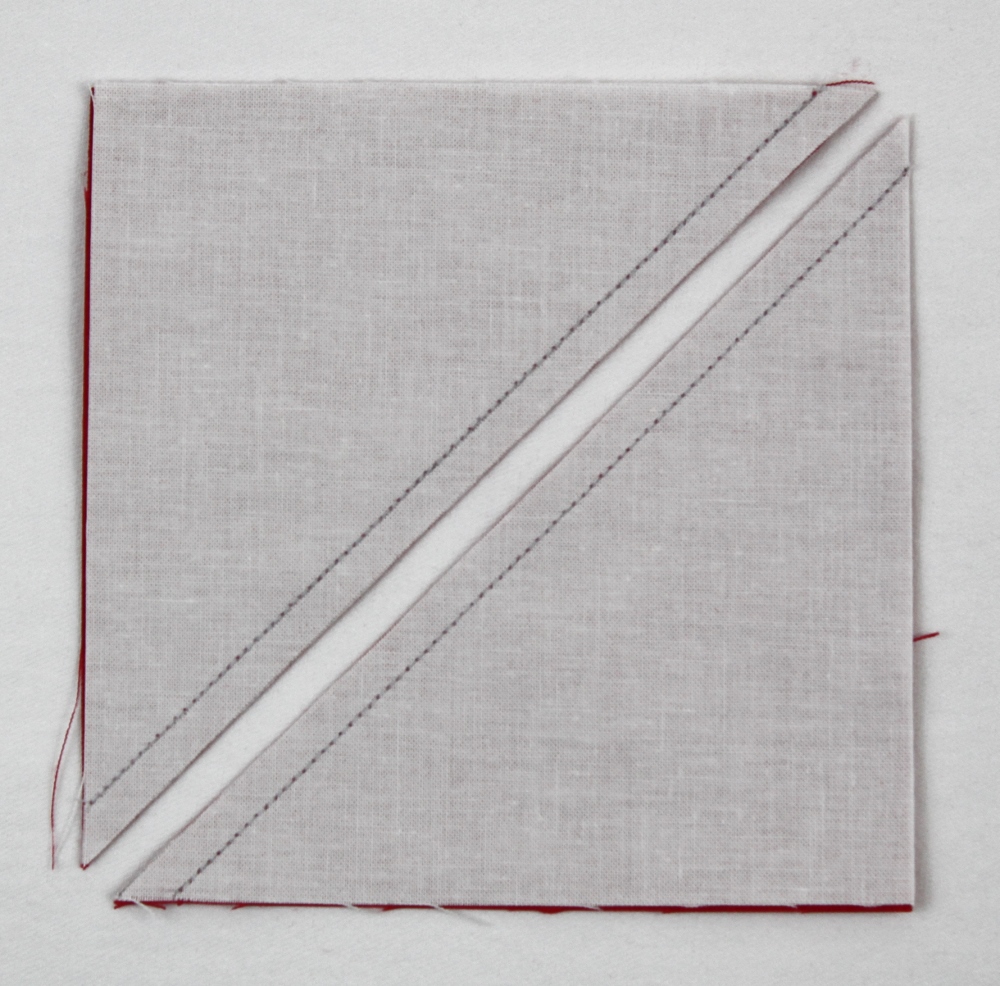
2. Stitch the pair together a scant ¼" from either side of the drawn line. Press to set seams.

3. Cut the unit in half on the drawn line to make 2 half square triangle units ("HSTs").
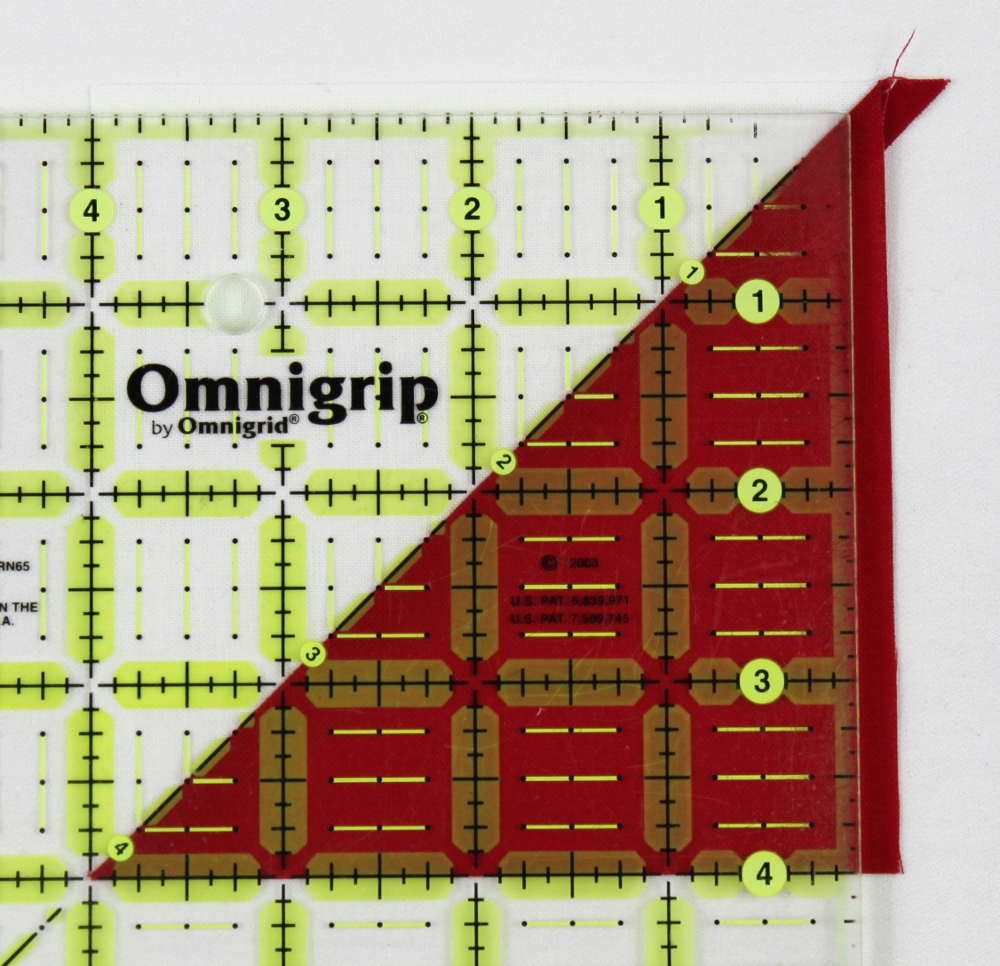
4. Press the seam allowances toward the red and trim the HST units to measure 4" x 4" [2½" x 2½"] unfinished.
5. On the wrong side of 2 red print 4" squares [2½" squares] use a pencil to lightly draw a diagonal line from corner to corner. Layer the 2 marked red print 4" squares [2½" squares] atop the white/red HST units with right sides together. Make sure that the lines drawn on the red print squares are perpendicular to the seam between the white and red triangles on the HSTs.

6. Stitch the pairs together a scant ¼" from either side of the drawn line. Press to set seams.

7. Cut the units in half on the drawn line to make 4 split quarter square triangle units.
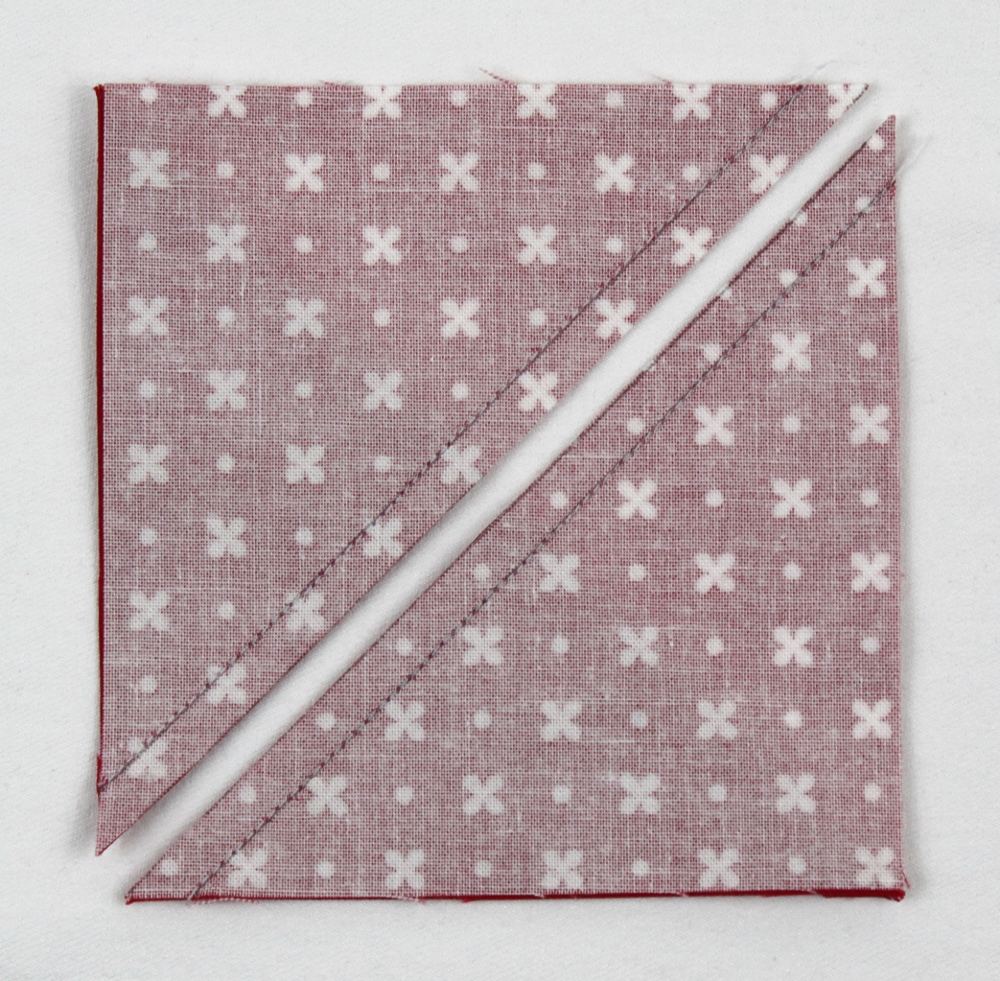
8. Press seam allowances toward the red print and trim the 4 split QSTs to 3½" x 3½" [2" x 2"] unfinished. Note that you'll end up with 2 split QSTs that are the mirror of the other 2.
![]()
9. Repeat with remaining white and red solid 4¾" squares [3" squares] and red print 4" squares [2½" squares] to make 8 split QSTs—4 with the white in one quarter and 4 with the white in an adjacent, or mirror, quarter.

Make Block Corners
- Lay out a white 2" x 3½" rectangle [1¼" x 2" rectangle], a white 2" square [1¼" square], and a red solid 2" square [1¼" square] in 2 rows as shown.

2. Join the white and red 2" squares [1¼" squares]. Press seam allowances toward the red. Sew the white 2" x 3½" rectangle [1¼" x 2" rectangle] to the top of the white/red square unit. Press seam allowances toward the white rectangle to make a corner unit measuring 3½" x 3½" [2" x 2"] unfinished. Repeat to make 4 corner units.

Make Square-in-a-Square Center
- On the wrong side of a red solid 3½" square [2" square] use a pencil to lightly draw a diagonal line from corner to corner. Layer the marked red 3½" square [2" square] atop one corner of the white 6½" square [3½" square] with right sides together. Stitch the pair together exactly on the drawn line.
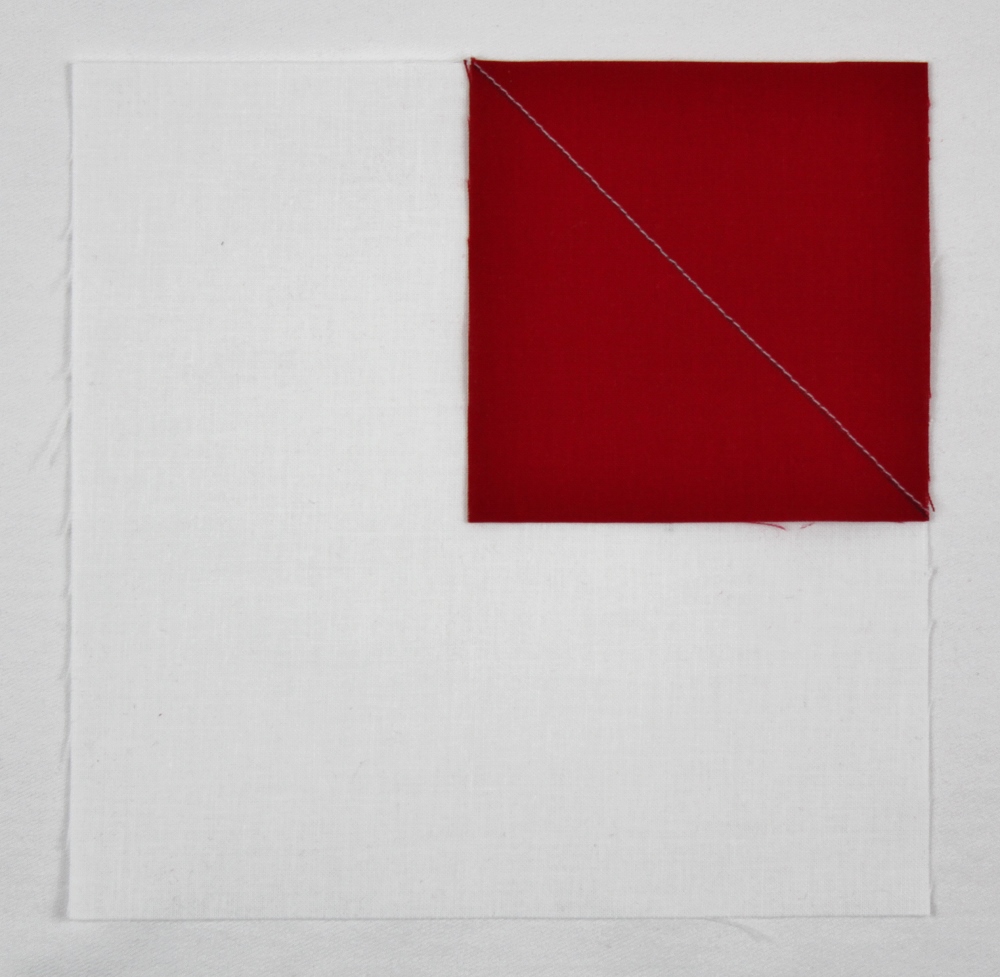
2. Trim the seam allowance to ¼" and press toward the white. If you're worried about the edge of the red fabric showing through the white, grade the seams (trim the red seam allowance closer to the seam).

3. Repeat steps 1 and 2 with the remaining corners of the white 6½" square [3½" square] to make a Square-in-a-Square center measuring 6½" x 6½" [3½" x 3½"] unfinished.

Assemble Block
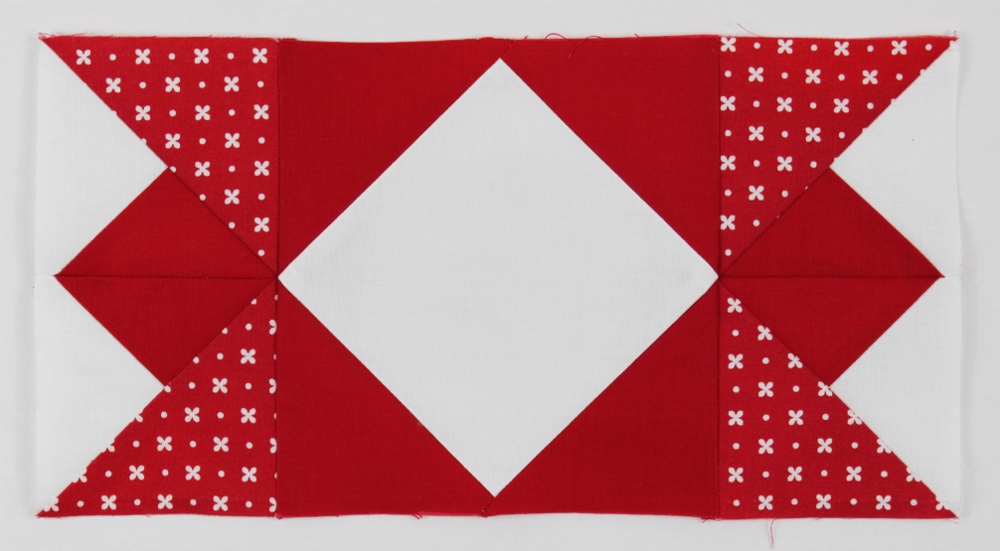
- Join together 1 split QST and 1 mirror split QST as shown to make a split QST pair. Press seam allowances open. Repeat to make 4 split QST pairs.

2. Sew a corner unit to opposite ends of 2 split QST pairs as shown to make 2 split QST rows. Press seam allowances toward the corner units.

3. Sew the remaining split QST pairs to the left and right sides of the Square-in-a-Square center. Press seam allowances toward the center.
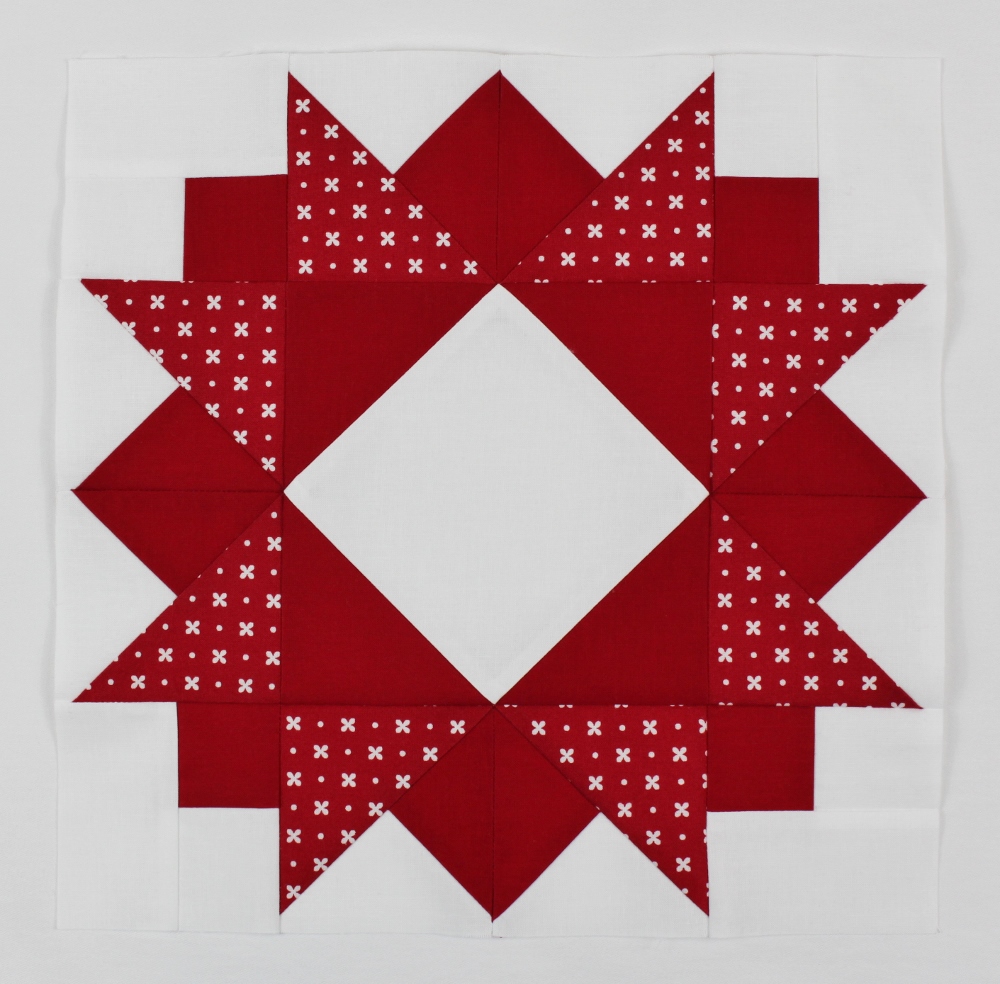
4. Sew a split QST row to the top and bottom of the unit from step 3. Press seam allowances toward the center.

![]()
This block finishes at 6" or 12" square.

Thank you all so much for following along today! It's been an absolute pleasure to participate in the Countdown and to see all of the beautiful blocks that you talented bakers are making!
I hope you all have a very Merry Christmas and the happiest of New Years!!
Jen Daly
{blog: JenDalyQuilts.com}
{instagram: /jendayquilts}
{shop: Etsy.com/shop/JenDalyQuilts}
{facebook: /jendalyquilts}
![]()
Posted in:
Comments