Welcome to Moda Fabrics!
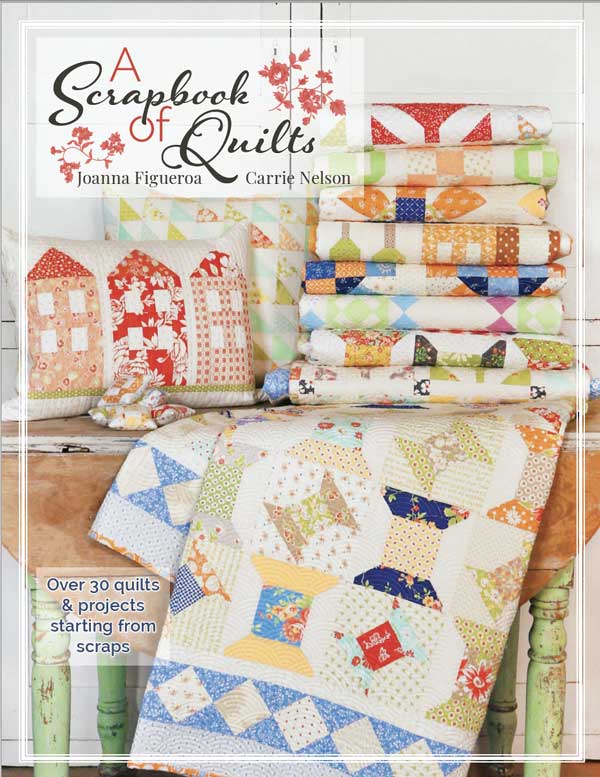
Scrapbook of Quilts ~ Week 7
Scrapbook of Quilts ~ Week 7
Published:
Aug 2 2021 - 14:59
We're to the last chapter of the book, so this is the last topic and theme to share.
If you've followed along, we've made five new pillows using the patterns and blocks in the book.
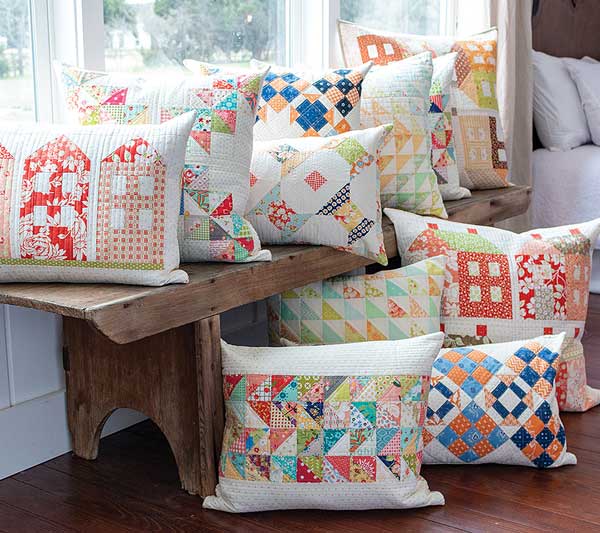
Six chapters and we still managed to make eleven pillows. (And two of the blocks-quilts didn't have a pillow until the pillow-palooza. Pillow-along.)
We definitely like scrappy blocks. And we definitely like making pillows.
First - Neighborhood.
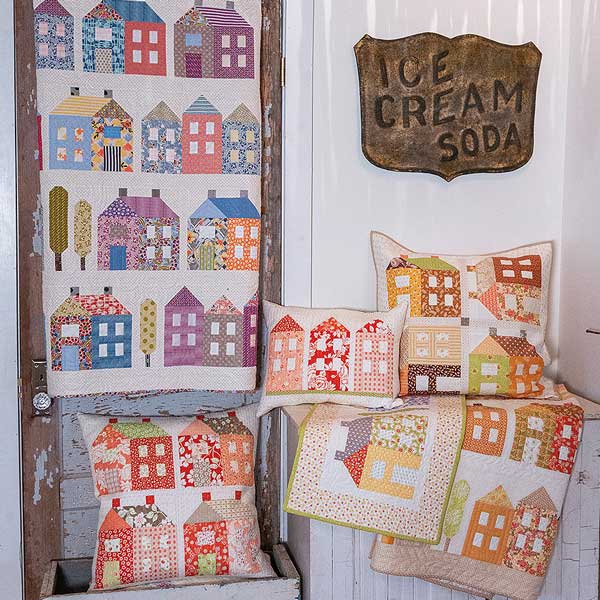
Two quilts. One tablerunner. Three pillows.
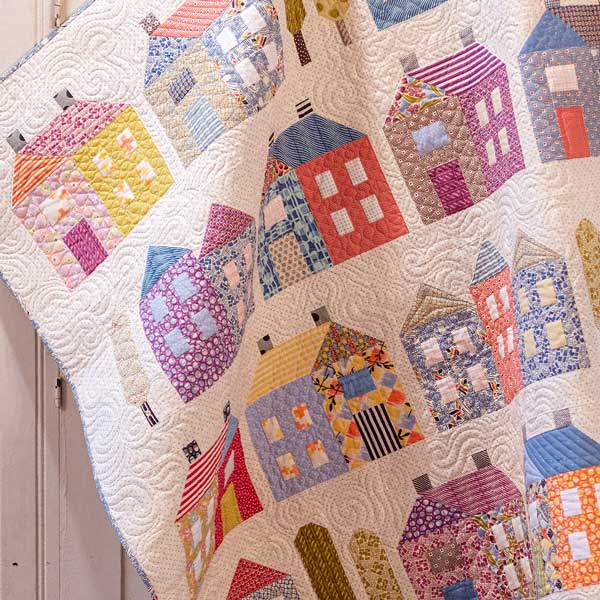
This is my version of Neighborhood. It's made with a scrappy mix of Jen Kingwell fabrics, and it was made by my sweet friend, Thelma. I love this quilt.
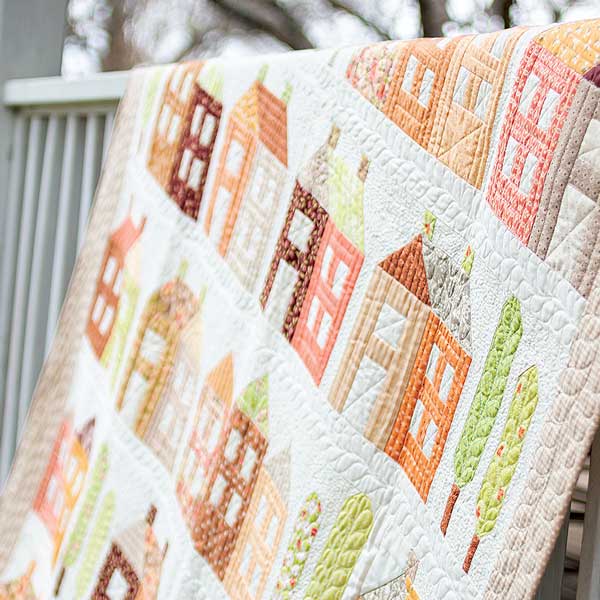
Joanna used her yummy pumpkin, tan, plum fabrics to make a beautifully fall-inspired neighborhood. I also love how she and four friends each made one row of the quilt. Isn't that the best kind of neighborhood?
Finishing the pillow.
Front of the pillow. After it has been quilted, the sides are trimmed straight. For a few pillows with borders, I will trim the borders down a bit to make a slightly tighter pillow cover. When a pillow is entirely pieced, the sides are trimmed to be straight, and even. Then the four sides of the pillow are stitched through all three layers - top/batting/backing - approx. 1/8" from the edge. I have found that this helps me keep smooth edges and corners during the final assembly process.
Back of the pillow. As with the front, the sides are trimmed straight after the backing has been quilted. I place the front of the pillow on the backing, and trim the pillow back to the same size as the front. Before moving anything, the sides of the front and back that will be on the bottom, the seam that will get the zipper, are marked with pins. If there are any variations in size, or there is a directional element to the front or back, this helps me make sure I don't get it turned. As with the front, the backing piece is stitched on all four sides approx. 1/8" fron the edge.
Zipper. With the zipper stitched into the bottom of the pillow, I only have three sides left to join. The fabric tabs on the end of the zipper make for a clean finish, and an easy fold to assemble the pillow.
Fold the right sides of the pillow together, and begin stitching a ¼" seam around the three sides of the pillow.
Note: So I forgot to take pictures so this is a finished, washed pillow cover. Oops. But it shows how the corner is folded and stitched - this is where I start stitching to complete the pillow.
After turning the second corner, while stitching the last side of the pillow, make sure the zipper is at least partially opened. With about 6" left to stitch, I reach into the cover and open the zipper.
Corners. Because I am going to trim these a bit, I stitch across the corner to secure it. Two or three lines of stitching is plenty.
Then trim the corners. This removes the extra batting and fabric, and helps produce a slightly sharper corner.

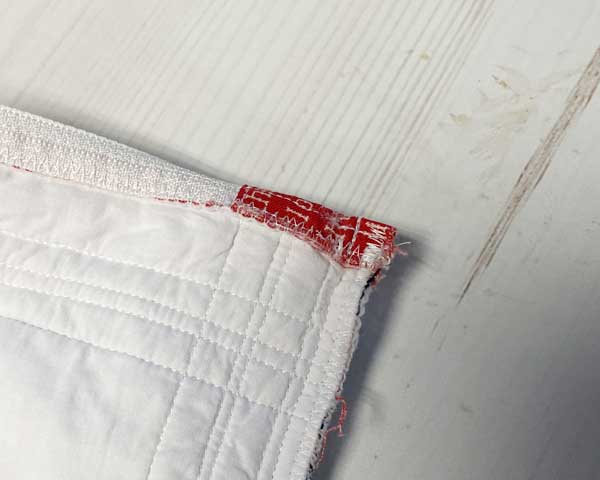
This shows the corners, and the over-casting. It also shows why I like taking the time to do this extra step. Even after washing, there isn't any fraying.
Over-casting. Using the over-casting foot on your sewing machine, or a regular foot with a zig-zag stitch, over-cast the three sides of the pillow cover. I prefer a shorter stitch, so that the finished edge looks a bit like it's been serged. This is optional, but I have found that it gives the inside of the pillow a bit of a finished look. And it minimizes fraying when the pillow is washed.
If you're wondering... yes, I overcast the trimmed corners. I stitch slowly, and my goal is to enclose even that little bit of exposed edge as best as possible.
And finally... I use a point-turner to gently push out the four corners. It can be run along the seams to help "open" those up. The last thing I do is open the zipper completely, put the iron inside the pillow cover and press the seams in one direction. Is this necessary? No. But it makes the sides look nice, and honestly, at this point, the pillow cover probably needs a bit of touch-up pressing.
And voila! Done. Insert pillow. Zip closed. Fluff and shake pillow.
This is my Neighborhood pillow for Christmas.
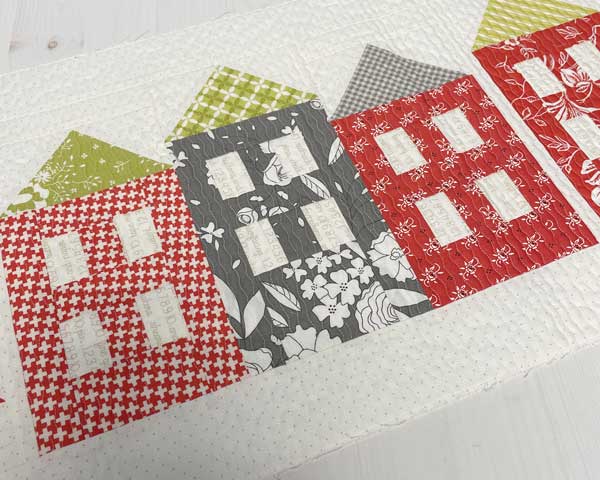
Or part of it. I have the top quilted but that's as far as I got. And Joanna cut her finger with a rotary cutter, so we'll do a wrap-up next week, and I'll share the complete pillow.
Five condo blocks - three short, two tall. Asymetrical. There is a ½" finished - 1" cut - strip between the two groupings of condos. There are additional borders, and a final pieced element. This will fit a 14" x 38" bolster pillow. A final picture - and details - next week.
Be sure to read what Joanna is sharing today - Scrapbook of Quilts Pillow-Along Week 7.
If you missed any of the other blog posts about the pillow-along, you can find them here - Scrapbook of Quilts.
If you're on Instagram, be sure to check out #scrapbookofquilts and #pillowalong.
And don't miss Joanna - @figtreeandco / Kimberly - @itssewemma - /
Go! Make a house block and pillow.
Posted in: