Warehouses Closed June 6-13 For Exclusive Event
Stitch Pink Block 19
Stitch Pink Block 19
Published:
Oct 19 2020 - 04:43
Tropicana. Orange Peels. Oranges?
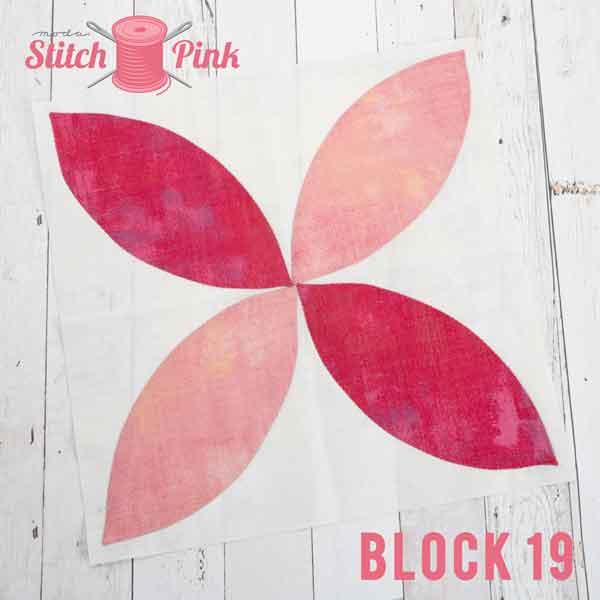
Block Instructions >> Block 19 - Tropicana.
Block 19 >> Template ONLY.
A few folks have had trouble with the template not printing. For some browers and firewalls, there is something that keeps that part of the PDF from transferring. First, save the PDF to your desktop or device, and print it from there. Or save the Template Only PDF. That's doing the trick for most.
Appliqué. Don't roll your eyes. These orange peels can be stitched to the background using one of several different methods. By hand. Or by machine, using a zig-zag, buttonhole, edge, or blind-hem stitch. All four work well, they just have a different look. I like a blind-hem stitch using as small a width as possible, and Aurifil 80wt. thread in the top, through the needle. (While the 80wt. can be stitched with either 50wt. or 80wt. in the bobbin, I usually use the 50wt. that's already there.)
For prepping the peels, I like using an embroidery stabilizer product like Pellon 541 Wash N Gone or Rinsaway as a foundation.
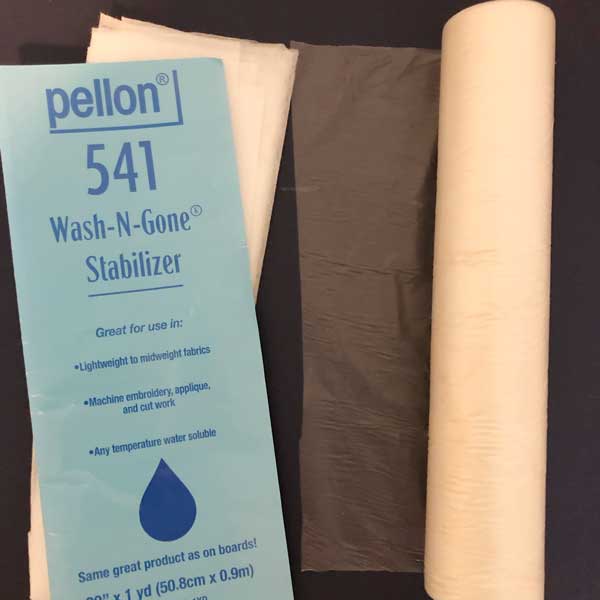
Both stabilizers dissolve in water and can be removed with water after the block is completed, or with washing after the quilt is quilted and bound. There are other products that do much the same thing with the only criteria for this being that they are water-soluble and lightweight.
There are two methods that work well for turning under the edges of the peel.
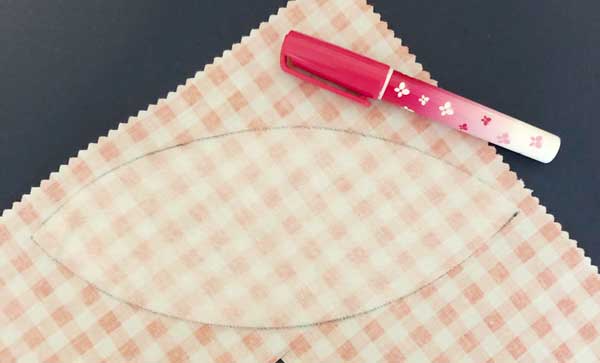
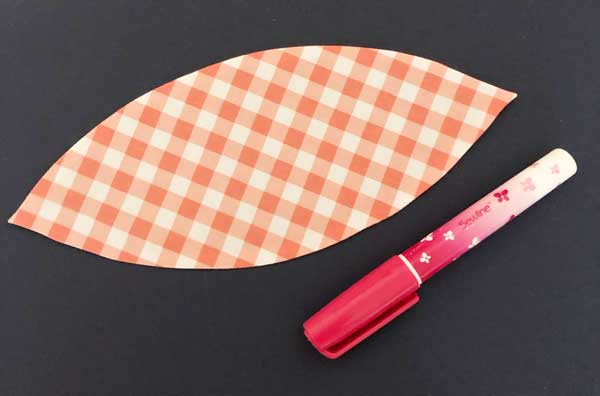
The first step for both is to trace the template onto the stabilizer using a sharp pencil or fine-tip permanent marker. (I used a thicker marker so that the line would be visible.)
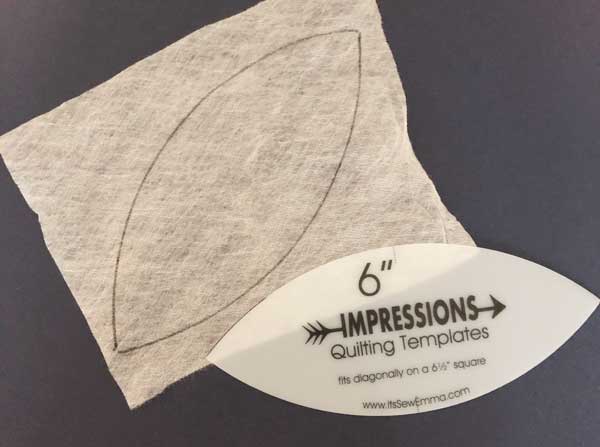
(Note: I didn't have the pattern with the paper template handy so I used this template from the ISE Impressions Orange Peel set.)
Method 1. Trim the stabilizer to 1/4" seam - do not cut on the line. Layer the stabilizer piece to the right side of the fabric. Stitch on the drawn line all the way around the peel - do not leave an opening. Clip the curves, and the points of the peel. Carefully make a slit in the stabilizer layer and turn the peel right-side-out. Use a point-turner to gently push out the points and curves. With your iron on low heat and pressing from the top fabric layer, press the peel flat.
Method 2. This uses the stabilizer as a substitute for freezer paper or a template. A glue stick is used to turn the seam to the back.
Step 1. Trim the stabilizer layer on the drawn line.
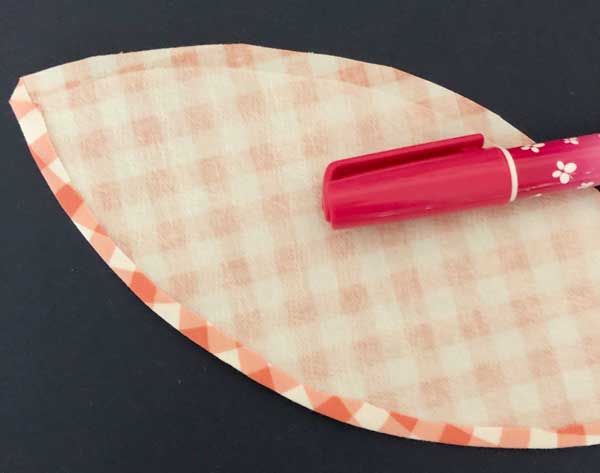
Step 2. Lay the stabilizer on the wrong side of the fabric - making sure there is 1/4" all the way around the template. (I left the drawn line showing a bit here so it could be seen. I trimmed that off before doing the next step.)
Use a water-soluble glue stick to secure the stabilizer peel to the fabric. Trim around the peel leaving 1/4" seam allowance from the edge of the stabilizer.
Step 3. Using the glue stick, turn under the points first. Then begin turning under the edges.
As the stabilizer is lightweight, and a bit thin, take care not to turn it under too much. The edges can be secured with a little bit of heat from an iron on low heat, and without steam.
Step 4. When the entire edge has been turned under, the peel can be pressed from the top to set the glue a bit more. Again, low heat, no steam.
Pin in place on the background fabric and stitch using your preferred method. This works for both hand and machine applique.
Since you'll need to cut four matching peels from the stabilizer, cut four rectangles of stabilizer. Stack the layers and pin them to secure. Then trace the template onto the top layer and cut through all four layers at one time. Or, trim the paper template and pin that to the stack and trim as needed for the method you're using.
A huge thank you to Debbie Roberts of The Quilted Moose in Nebraska for teaching me this method.
Missing a block? You can find it here - Stitch Pink Archive.
We hope you've been enjoying the blocks being shared on Facebook and Instagram using the #ModaStitchPink. Have we seen your blocks there?
One last thing... there were a few hiccups with the e-mail delivery over the weekend but that should be back on track. (Y'all tripling the size of the subscription list so quickly must have startled the system.)
Stay well and be good to yourself today.
Posted in:
Comments