Welcome to Moda Fabrics!
Simple Wishes Quilt
Simple Wishes Quilt
Published:
Feb 13 2015 - 23:00
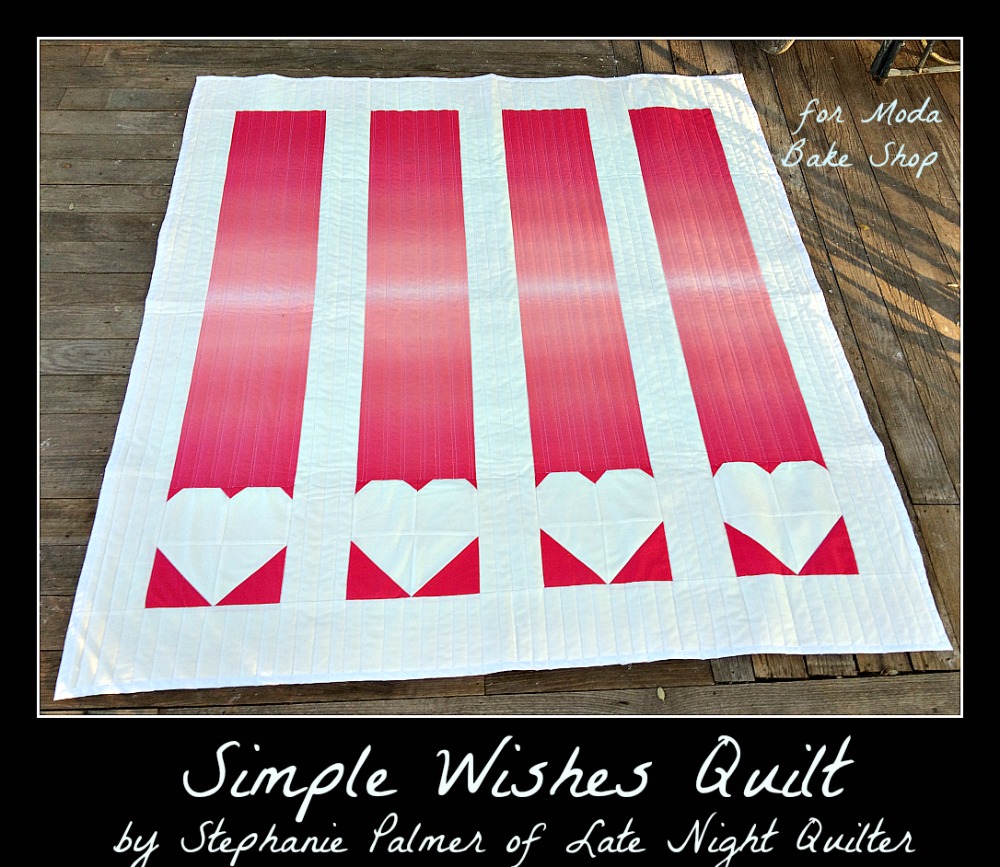

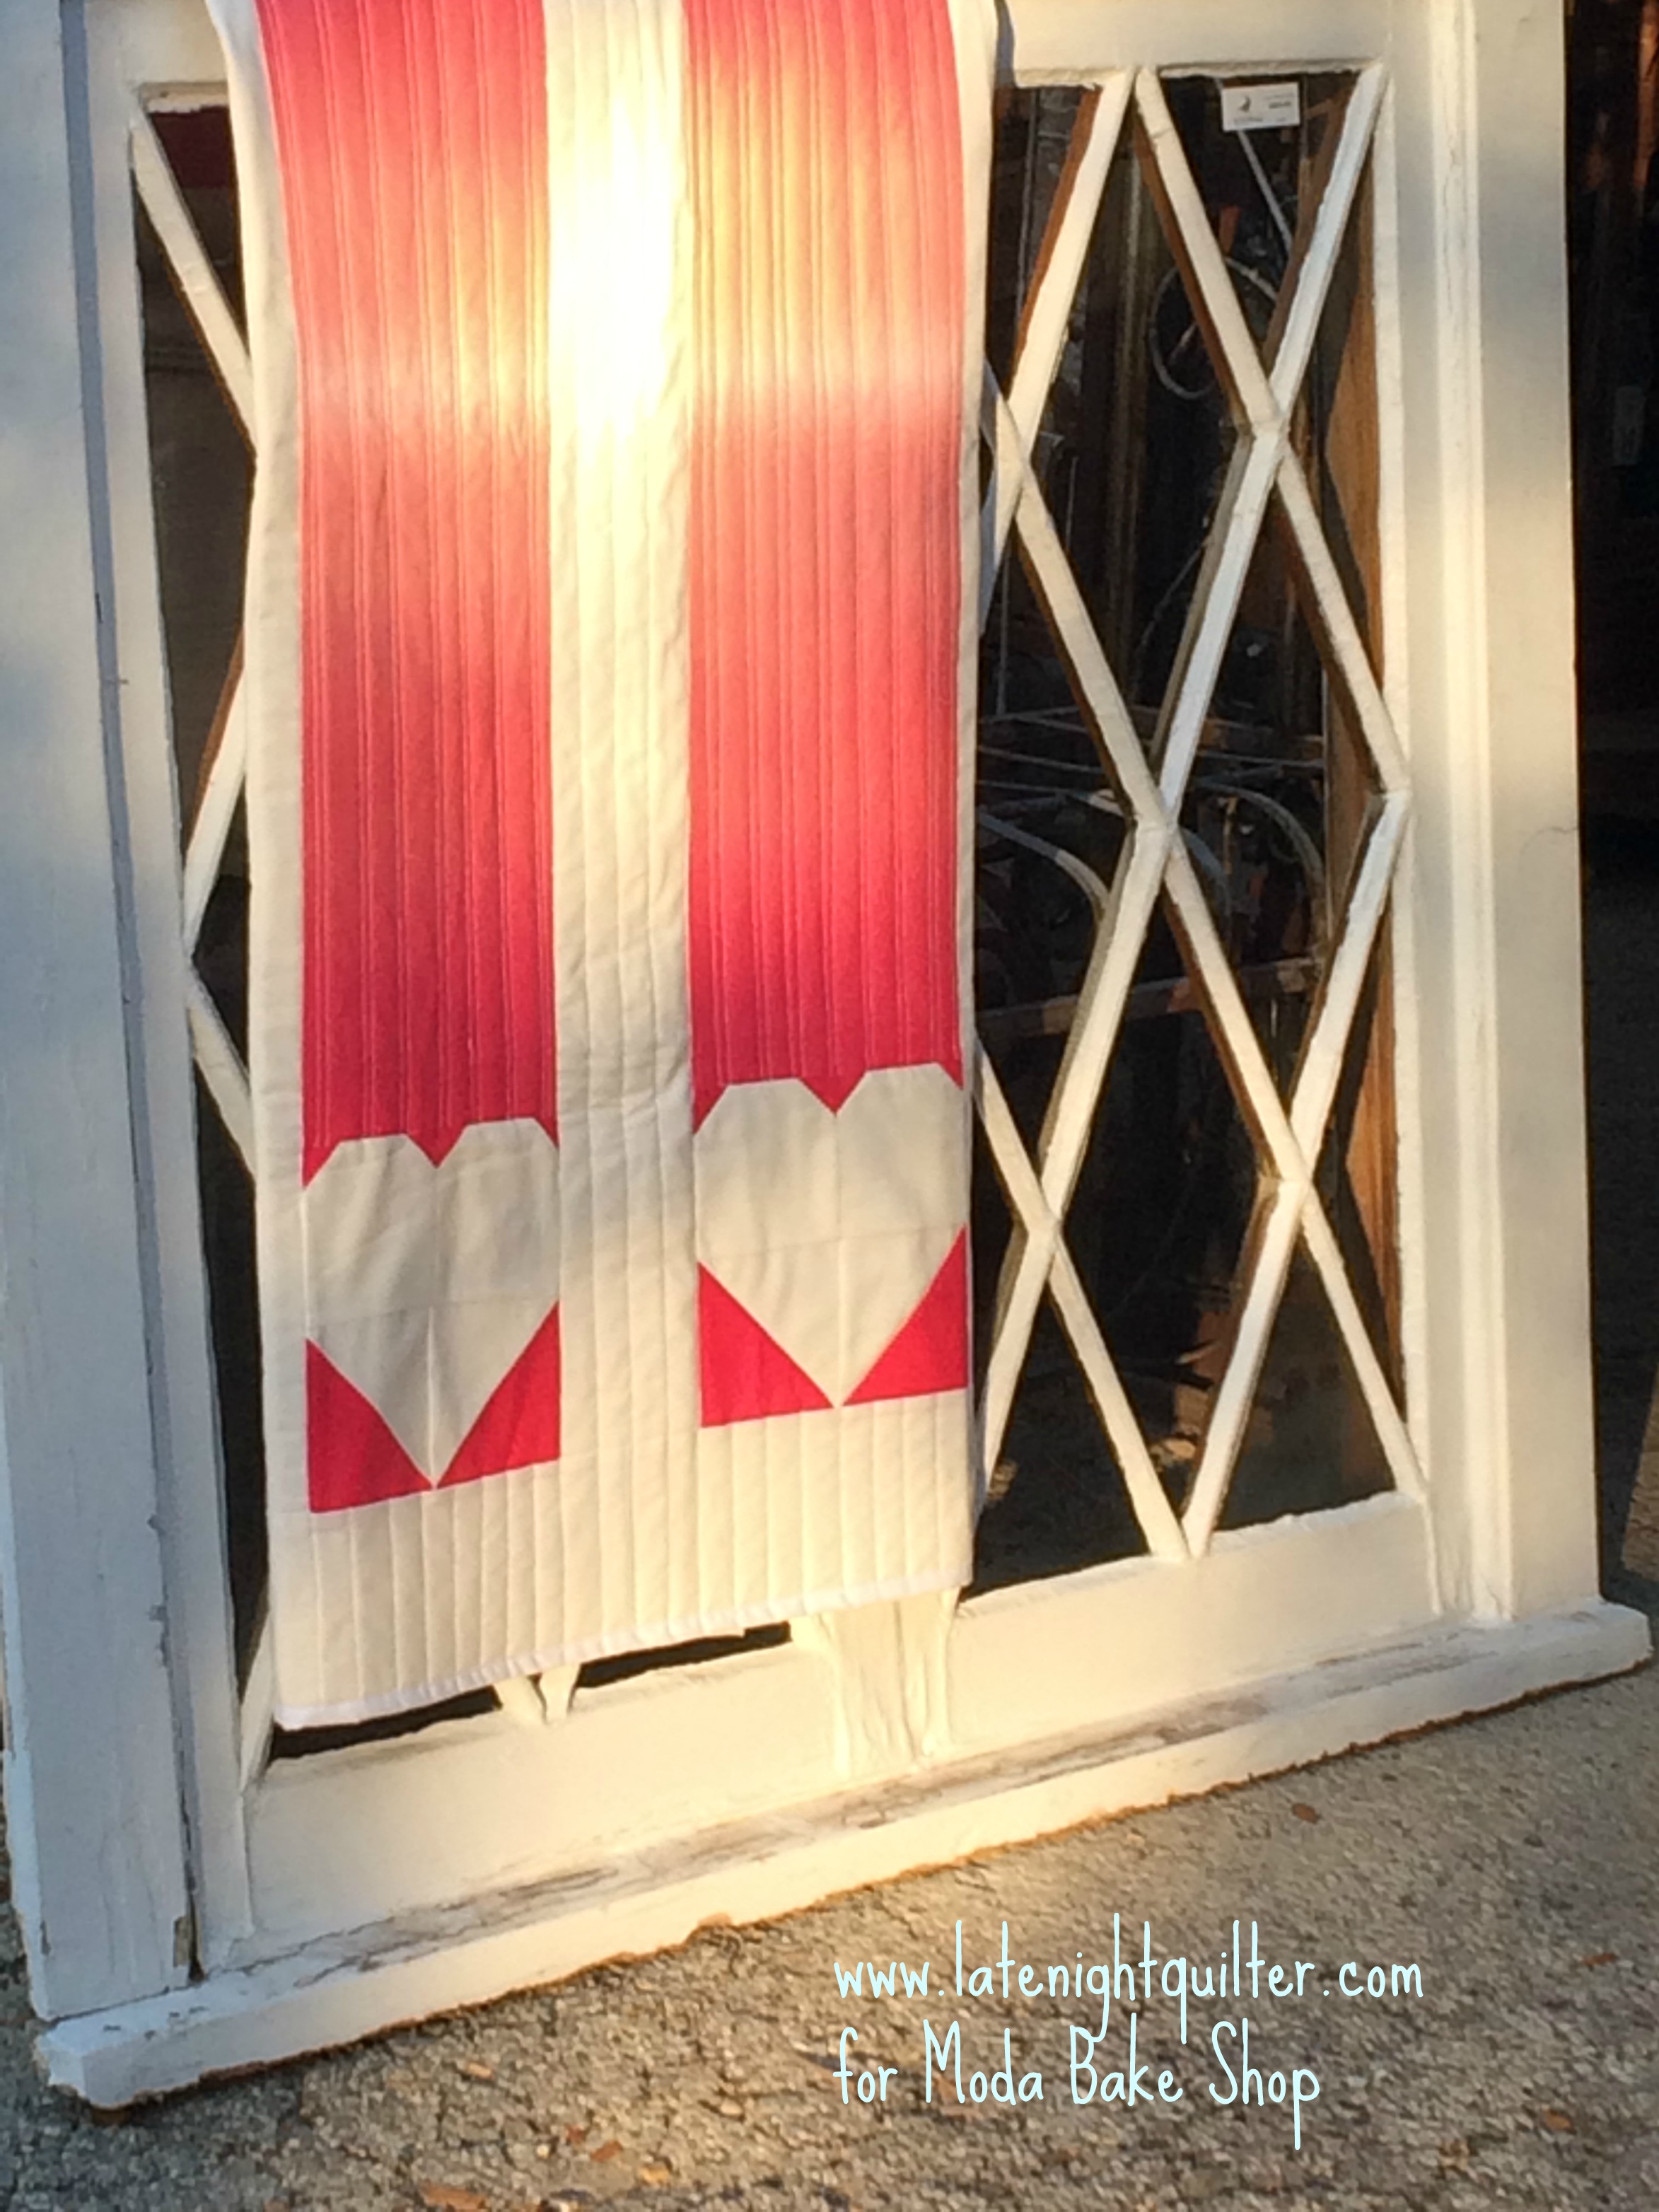
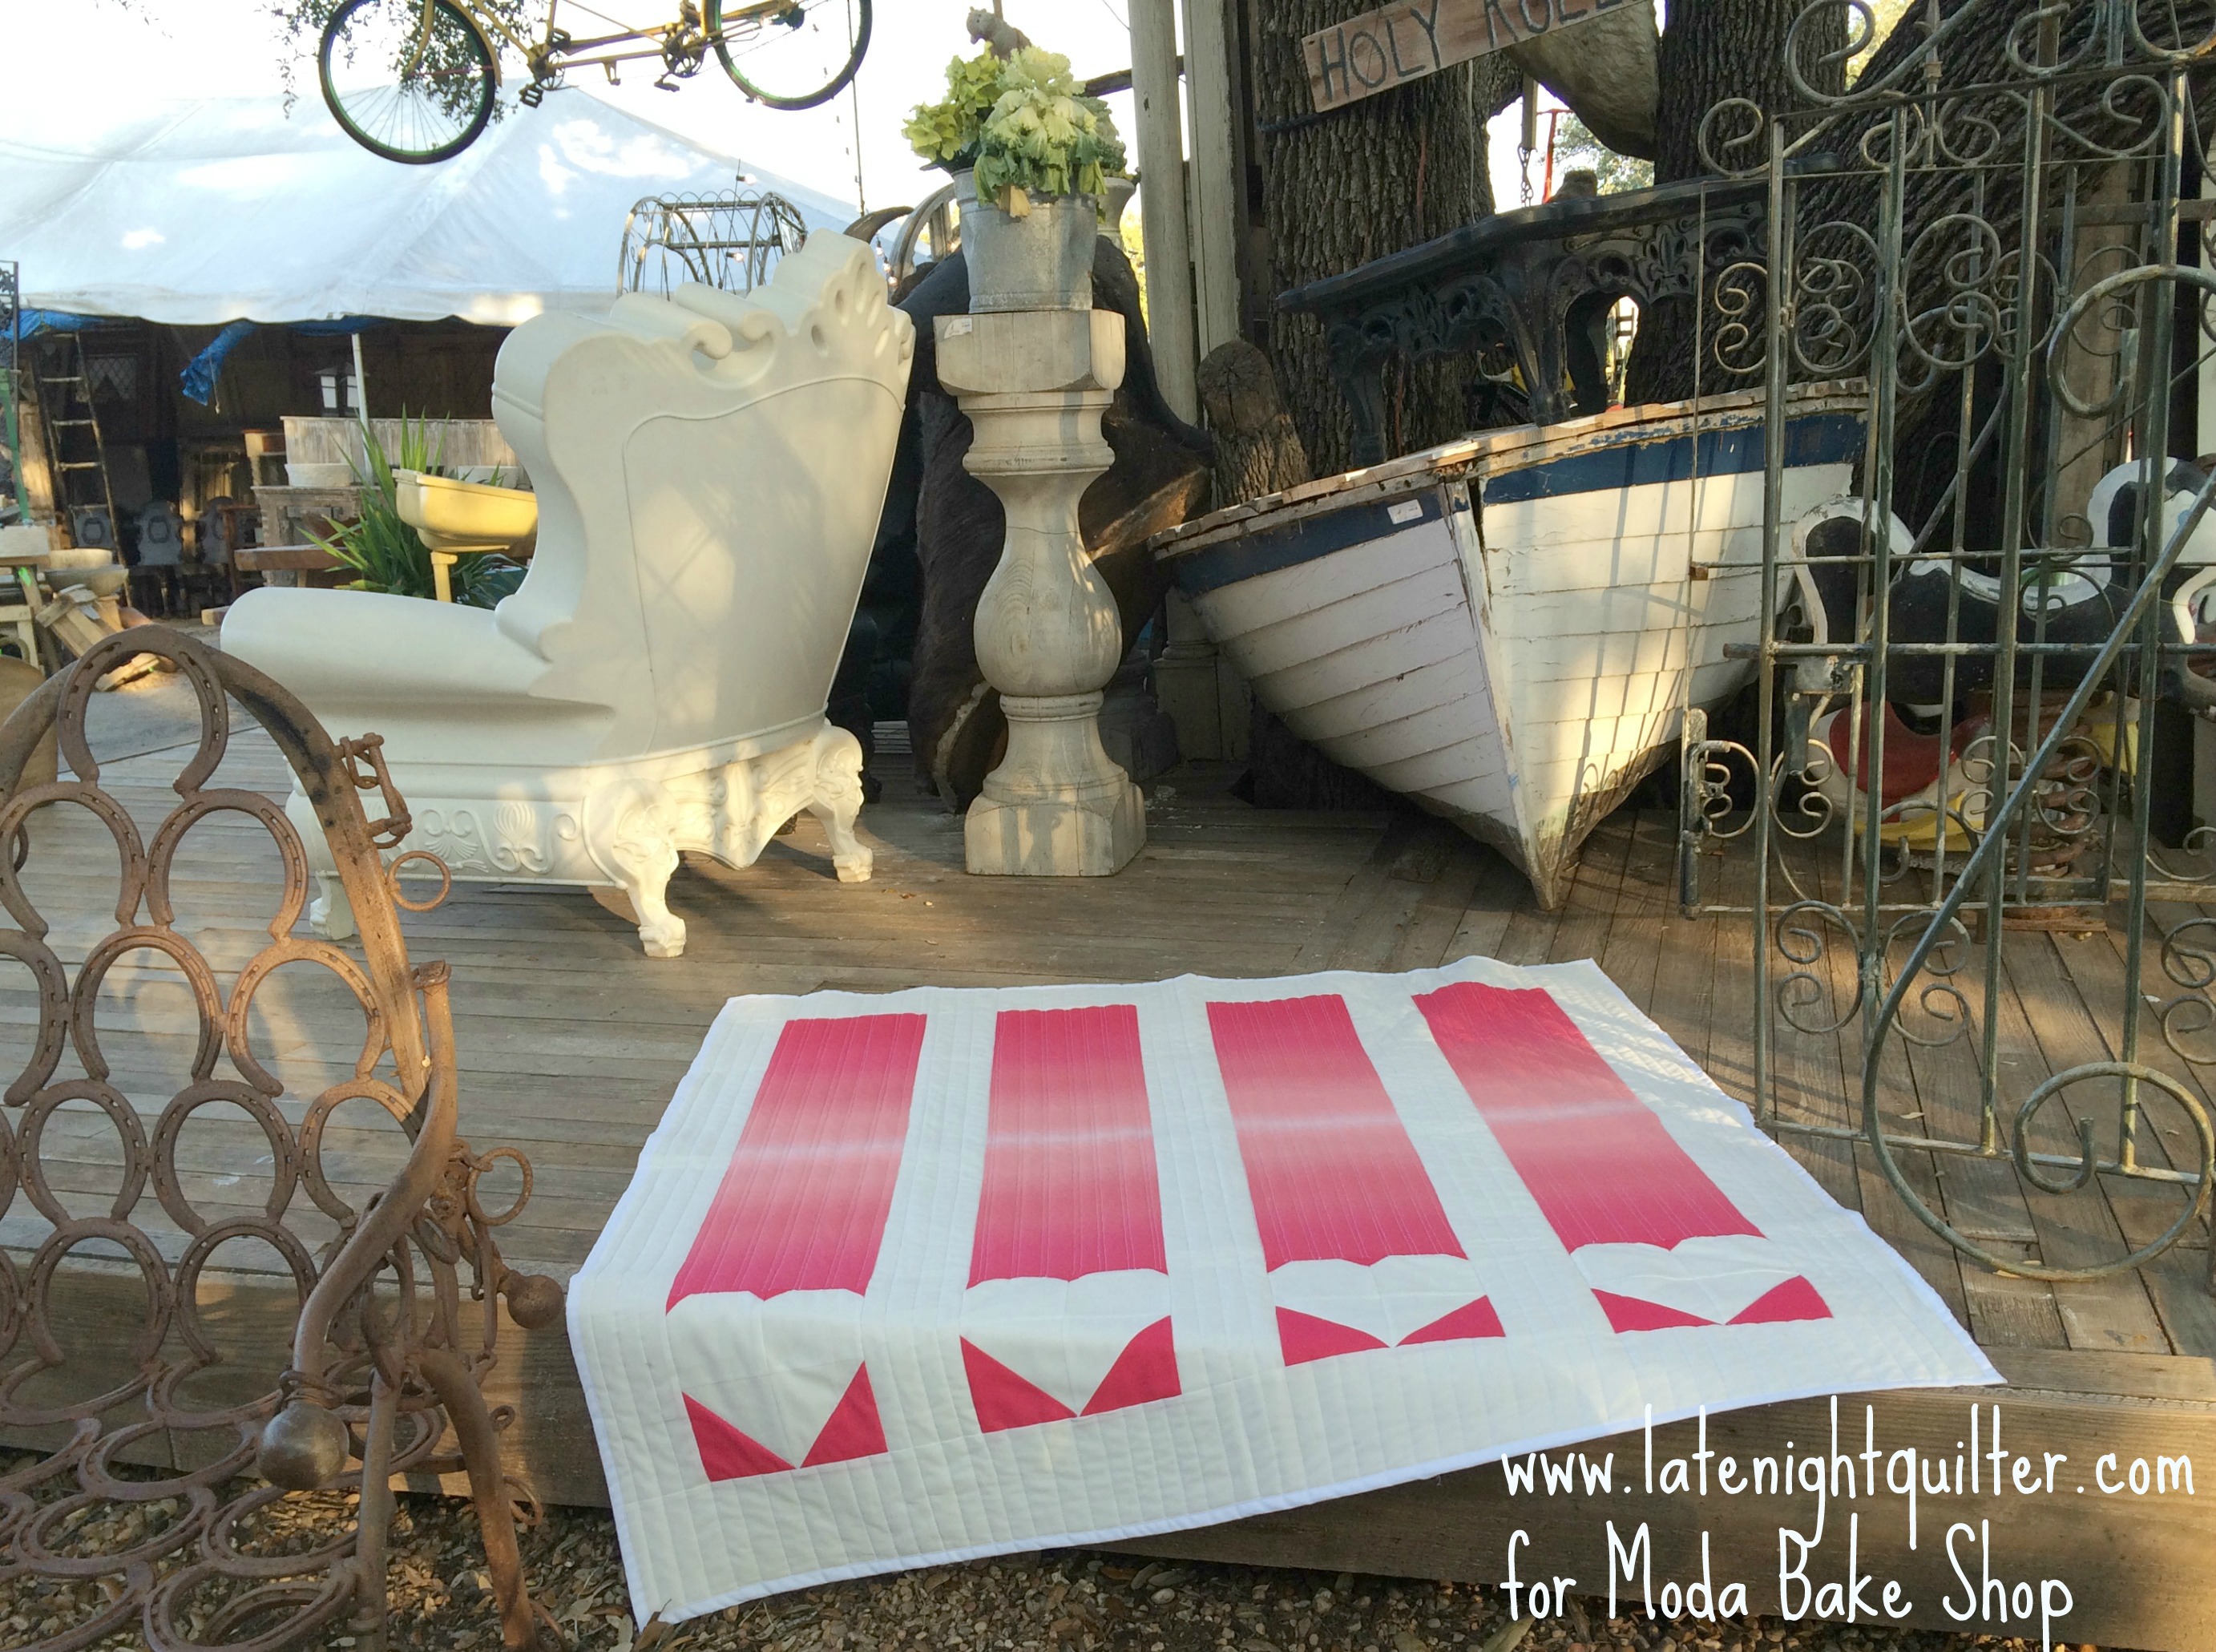
Hello! I'm Stephanie from Late Night Quilter, and I'm excited to share with you this easy, ombre, heart quilt that's perfect for any little girl. It doesn't have to be Valentine's Day to enjoy this quilt that measures 51.5" x 55". Let's face it, girls like pink and hearts, no matter what month it is. My 7-year-old daughter Sophie and I designed, sewed and quilted this project together. It was the first time she's ever sat down at the sewing machine by herself. She helped piece and press the hearts, and she is over the moon that our quilt is being featured at Moda Bake Shop (and her mom is pretty thrilled too).
![]()
1 Charm Pack of Bella Solids, Bleached White
1 Yard of Pink Ombre, by V and Co for Moda (for Pink Stripes)
1 1/2 Yards of Bleached White, Bella Solids (for Background)
3 1/2 Yards of Bleached White, Bella Solids (for Backing) (assumes additional 5 inches around for longarming)
1/2 yard of White Bleached, Bella Solids (for Binding)
55" x 60" Cut of Batting
![]()
Cutting:
From pink Ombre fabric:
Remove selvages. The WOF of the pink ombré by V and Co. is 45". When I cut off my selvages, I cut 1" off each side, leaving a new WOF of 43".
Then cut a 5" x 36" strip of one of the dark pink sides of the fabric (cut across the full 1 yard length of fabric).
Sub cut the 5" x 36" strip of fabric into (4) 5" squares (you will have a 16" piece left of your fabric strip).

With the remaining 16" of dark pink fabric, cut (16) 1 1/2" squares
To best utilize the 16" piece of dark pink fabric, fold the strip short-end to short-end, then cut (3) 1 1/2" strips. Sub cut the strips into 1 1/2" squares (try not to look at the rotary cutter that needs to be cleaned).


With the large remaining piece of ombre fabric, fold selvage to selvage and cut (4) 8 1/2" X 38" strips.
From Bleached White background fabric:
Fold fabric cut-end to cut-end (not selvage to selvage), and cut (5) 4 1/2" x 46" strips.
Then cut (4) 5 1/4" x 46" strips.
From Bleached White Charm Pack:
Trim 8 of the charm squares down to 4 1/2" squares.
Piecing:
To Make Hearts:
Step 1
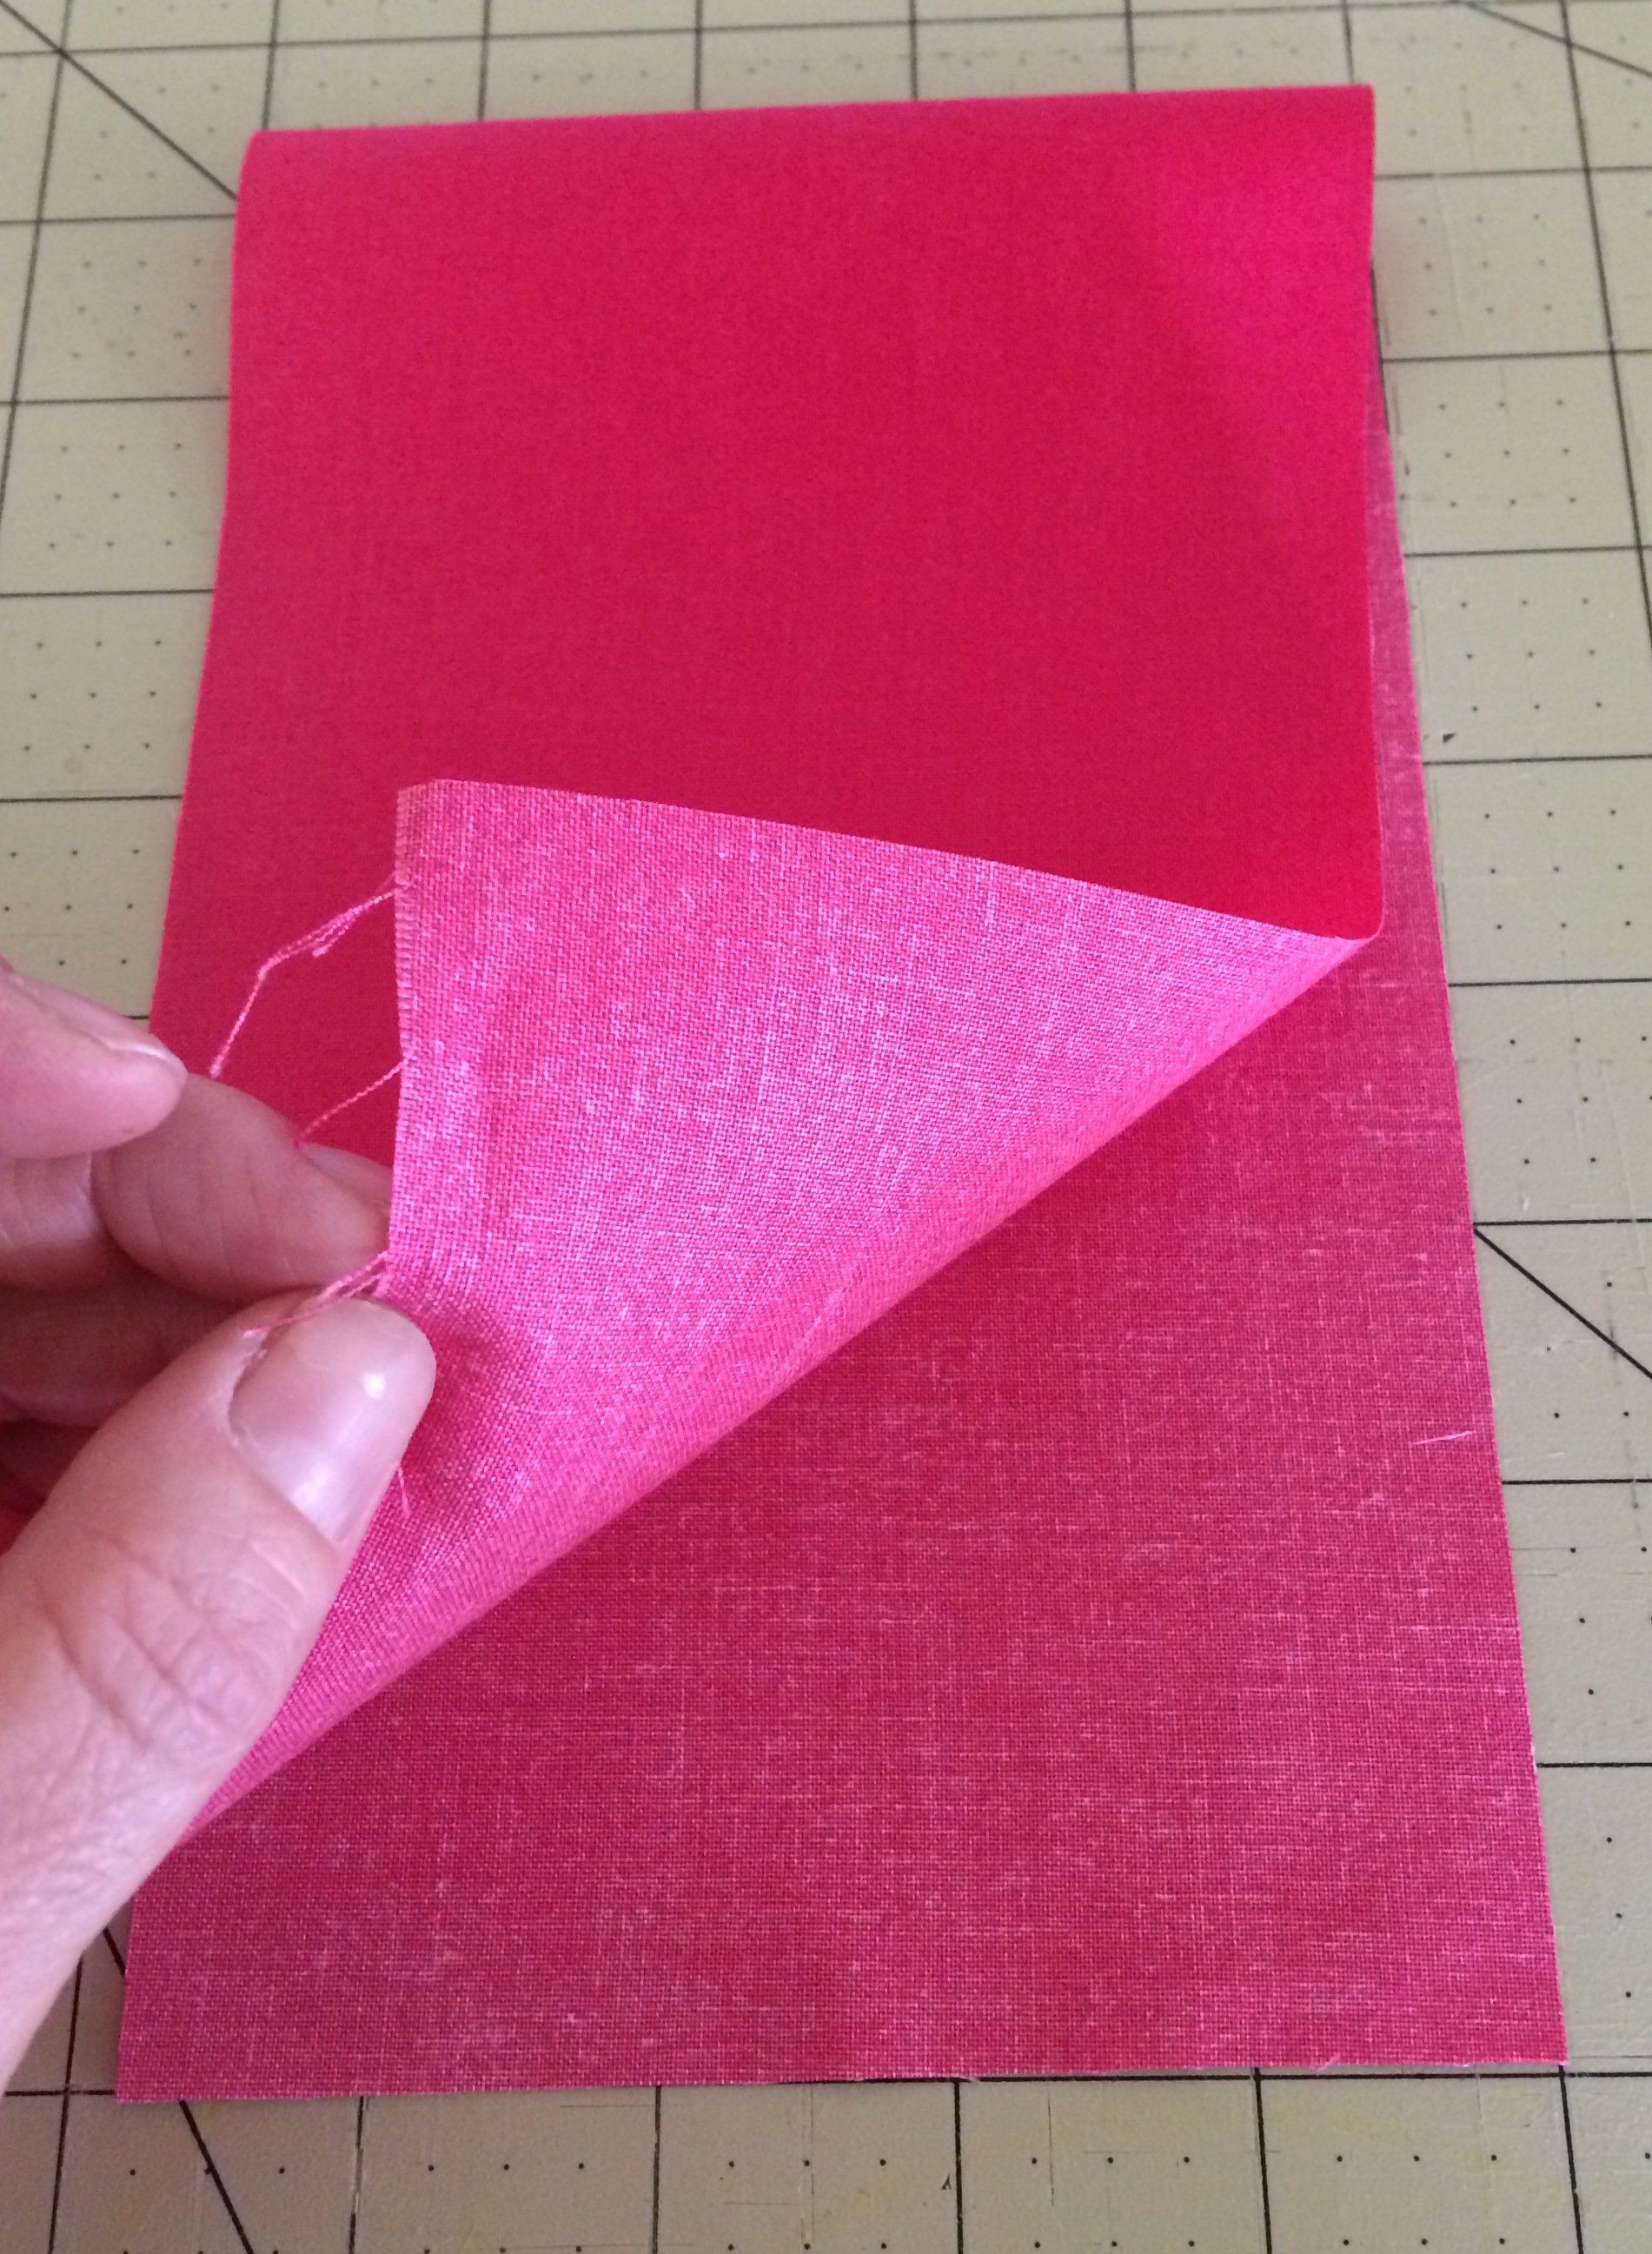
With (4) 5" pink squares and (4) 5" white charm squares, make 8 Half-Square Triangles (HSTs).
- Place a pink square and a white square right sides together, draw a diagonal line from one end to the other.
- Mark 1/4" on each side of the diagonal line and sew on marked lines
- Cut on diagonal line
- Open and press seams to the right. Trim HSTs to 4 1/2" square.

Step 2
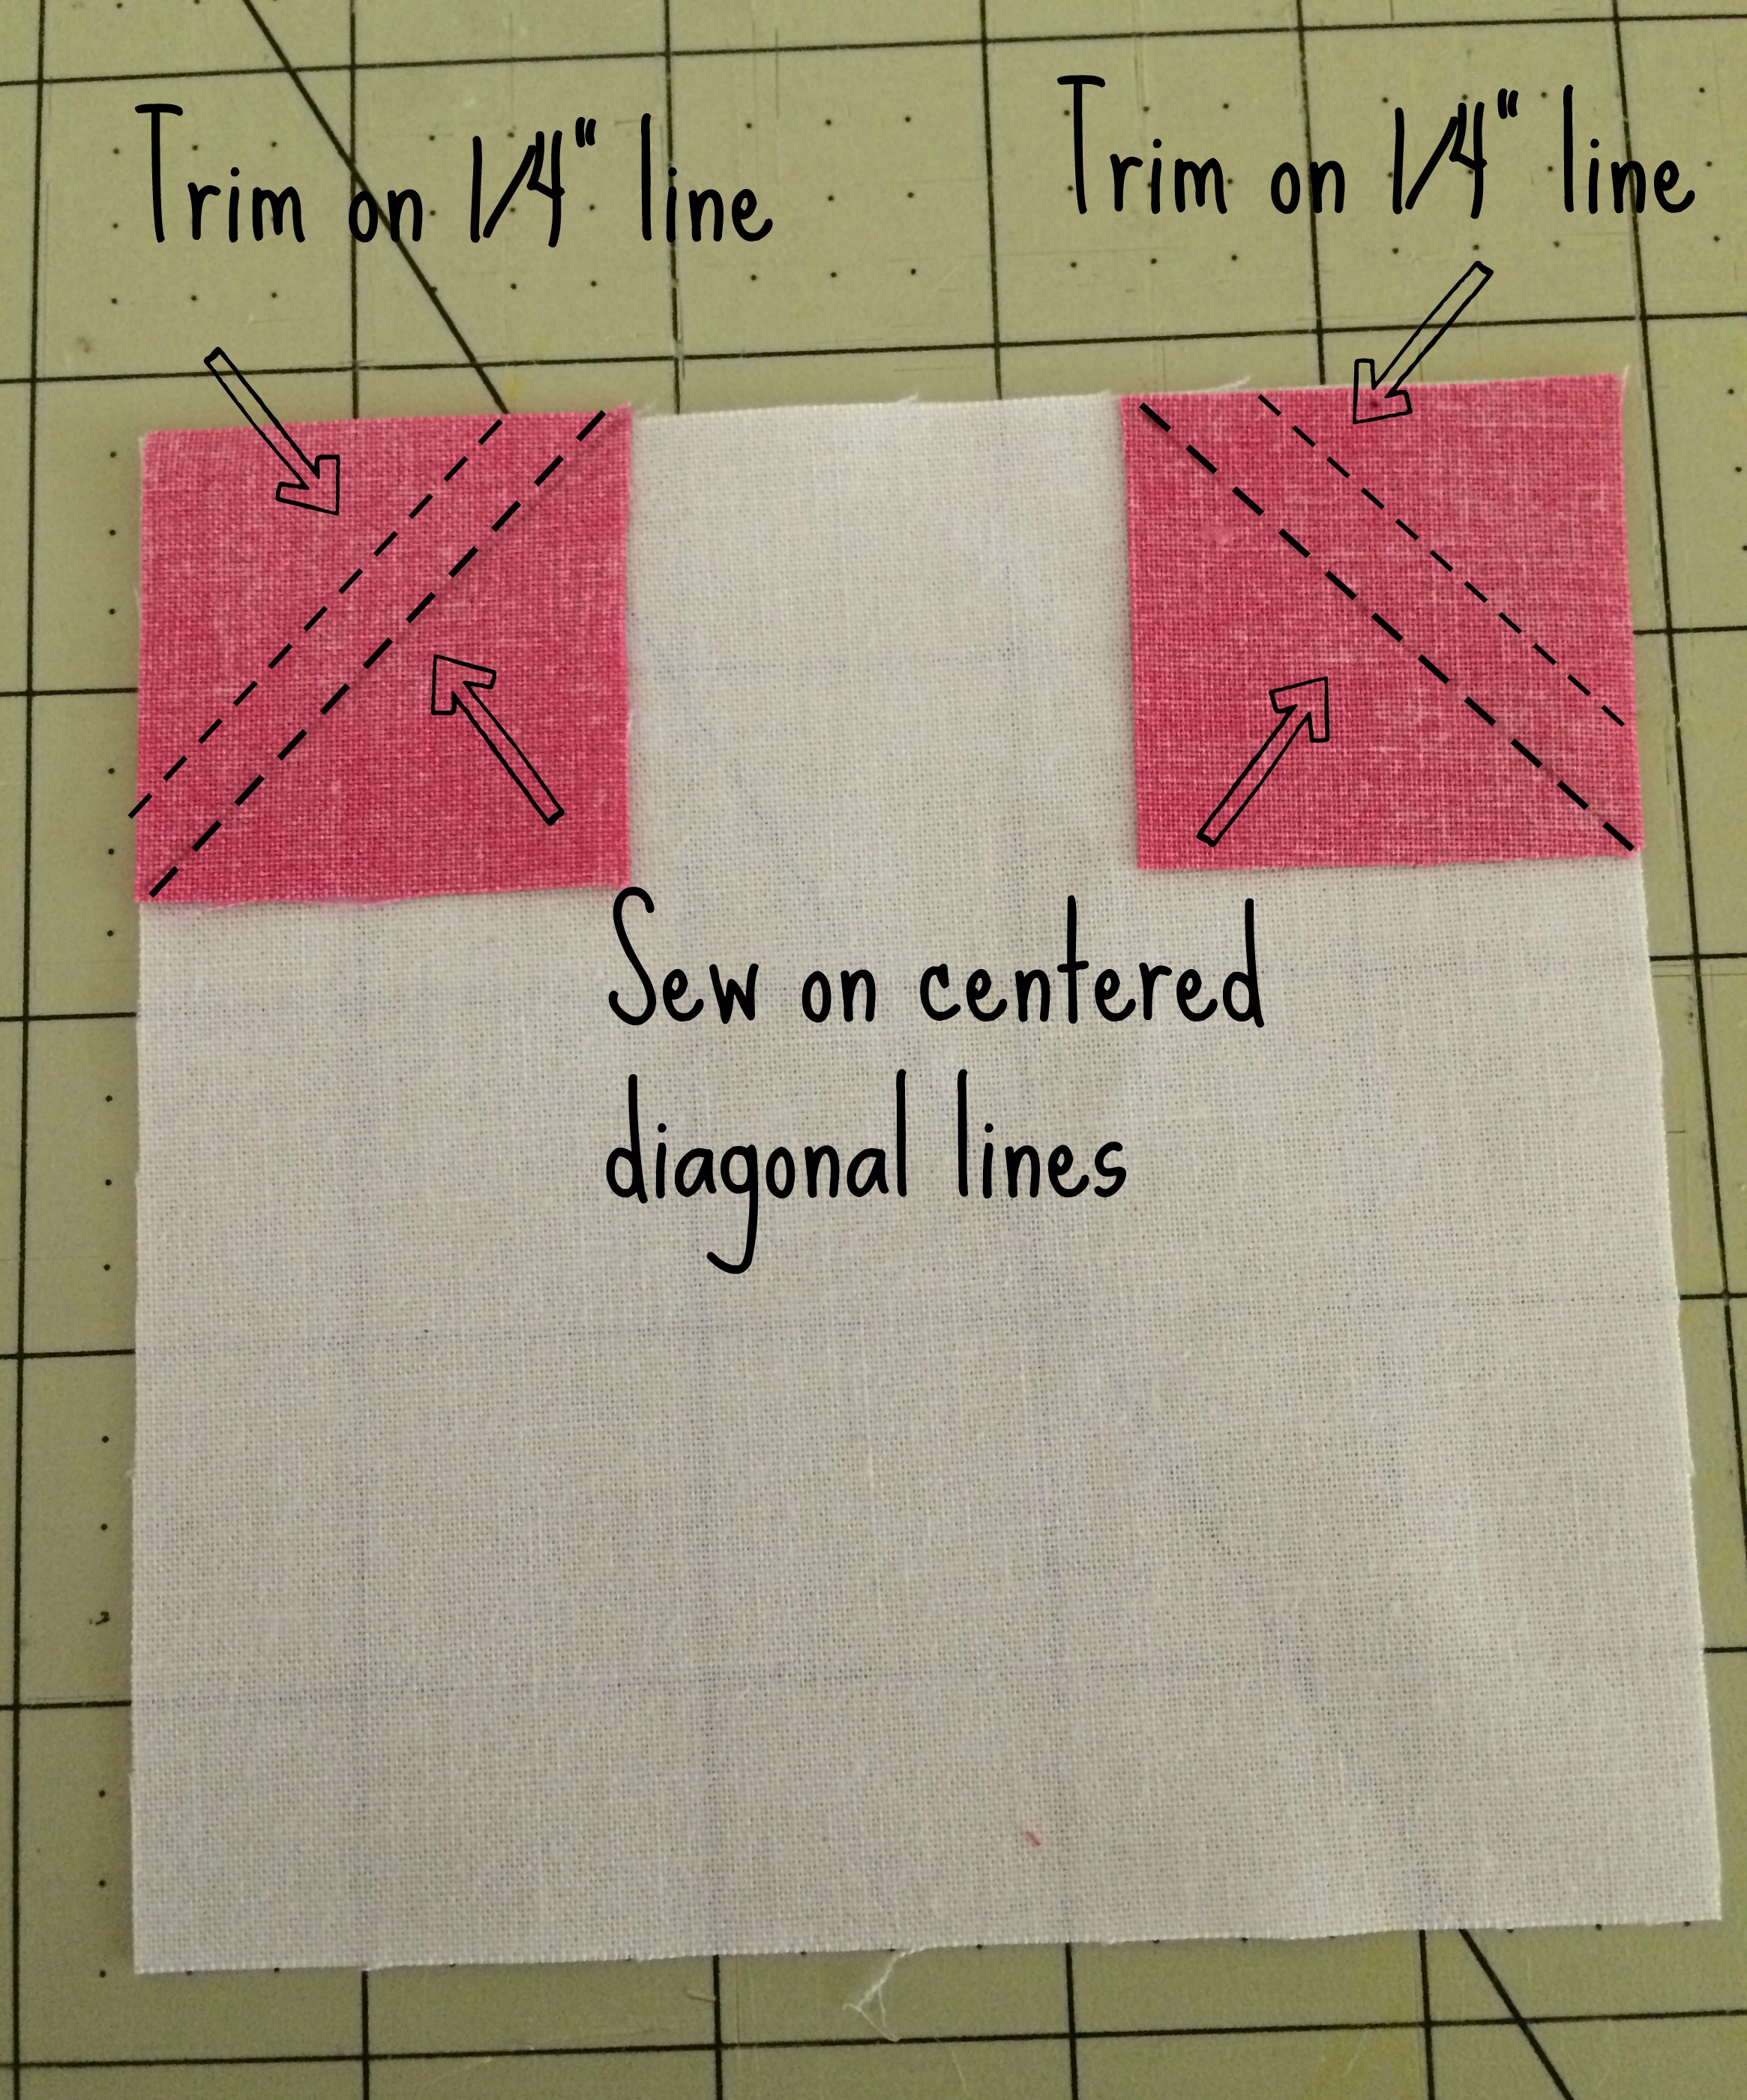
With (8) 4 1/2" white squares and (16) 1 1/2" pink squares, place 2 of the small squares onto the upper corners of the larger square, right sides together. Draw lines diagonally from corner to corner of the pink square as shown below. Sew on the diagonal line, and trim 1/4" seam allowance. Press seams to the left.
Step 3
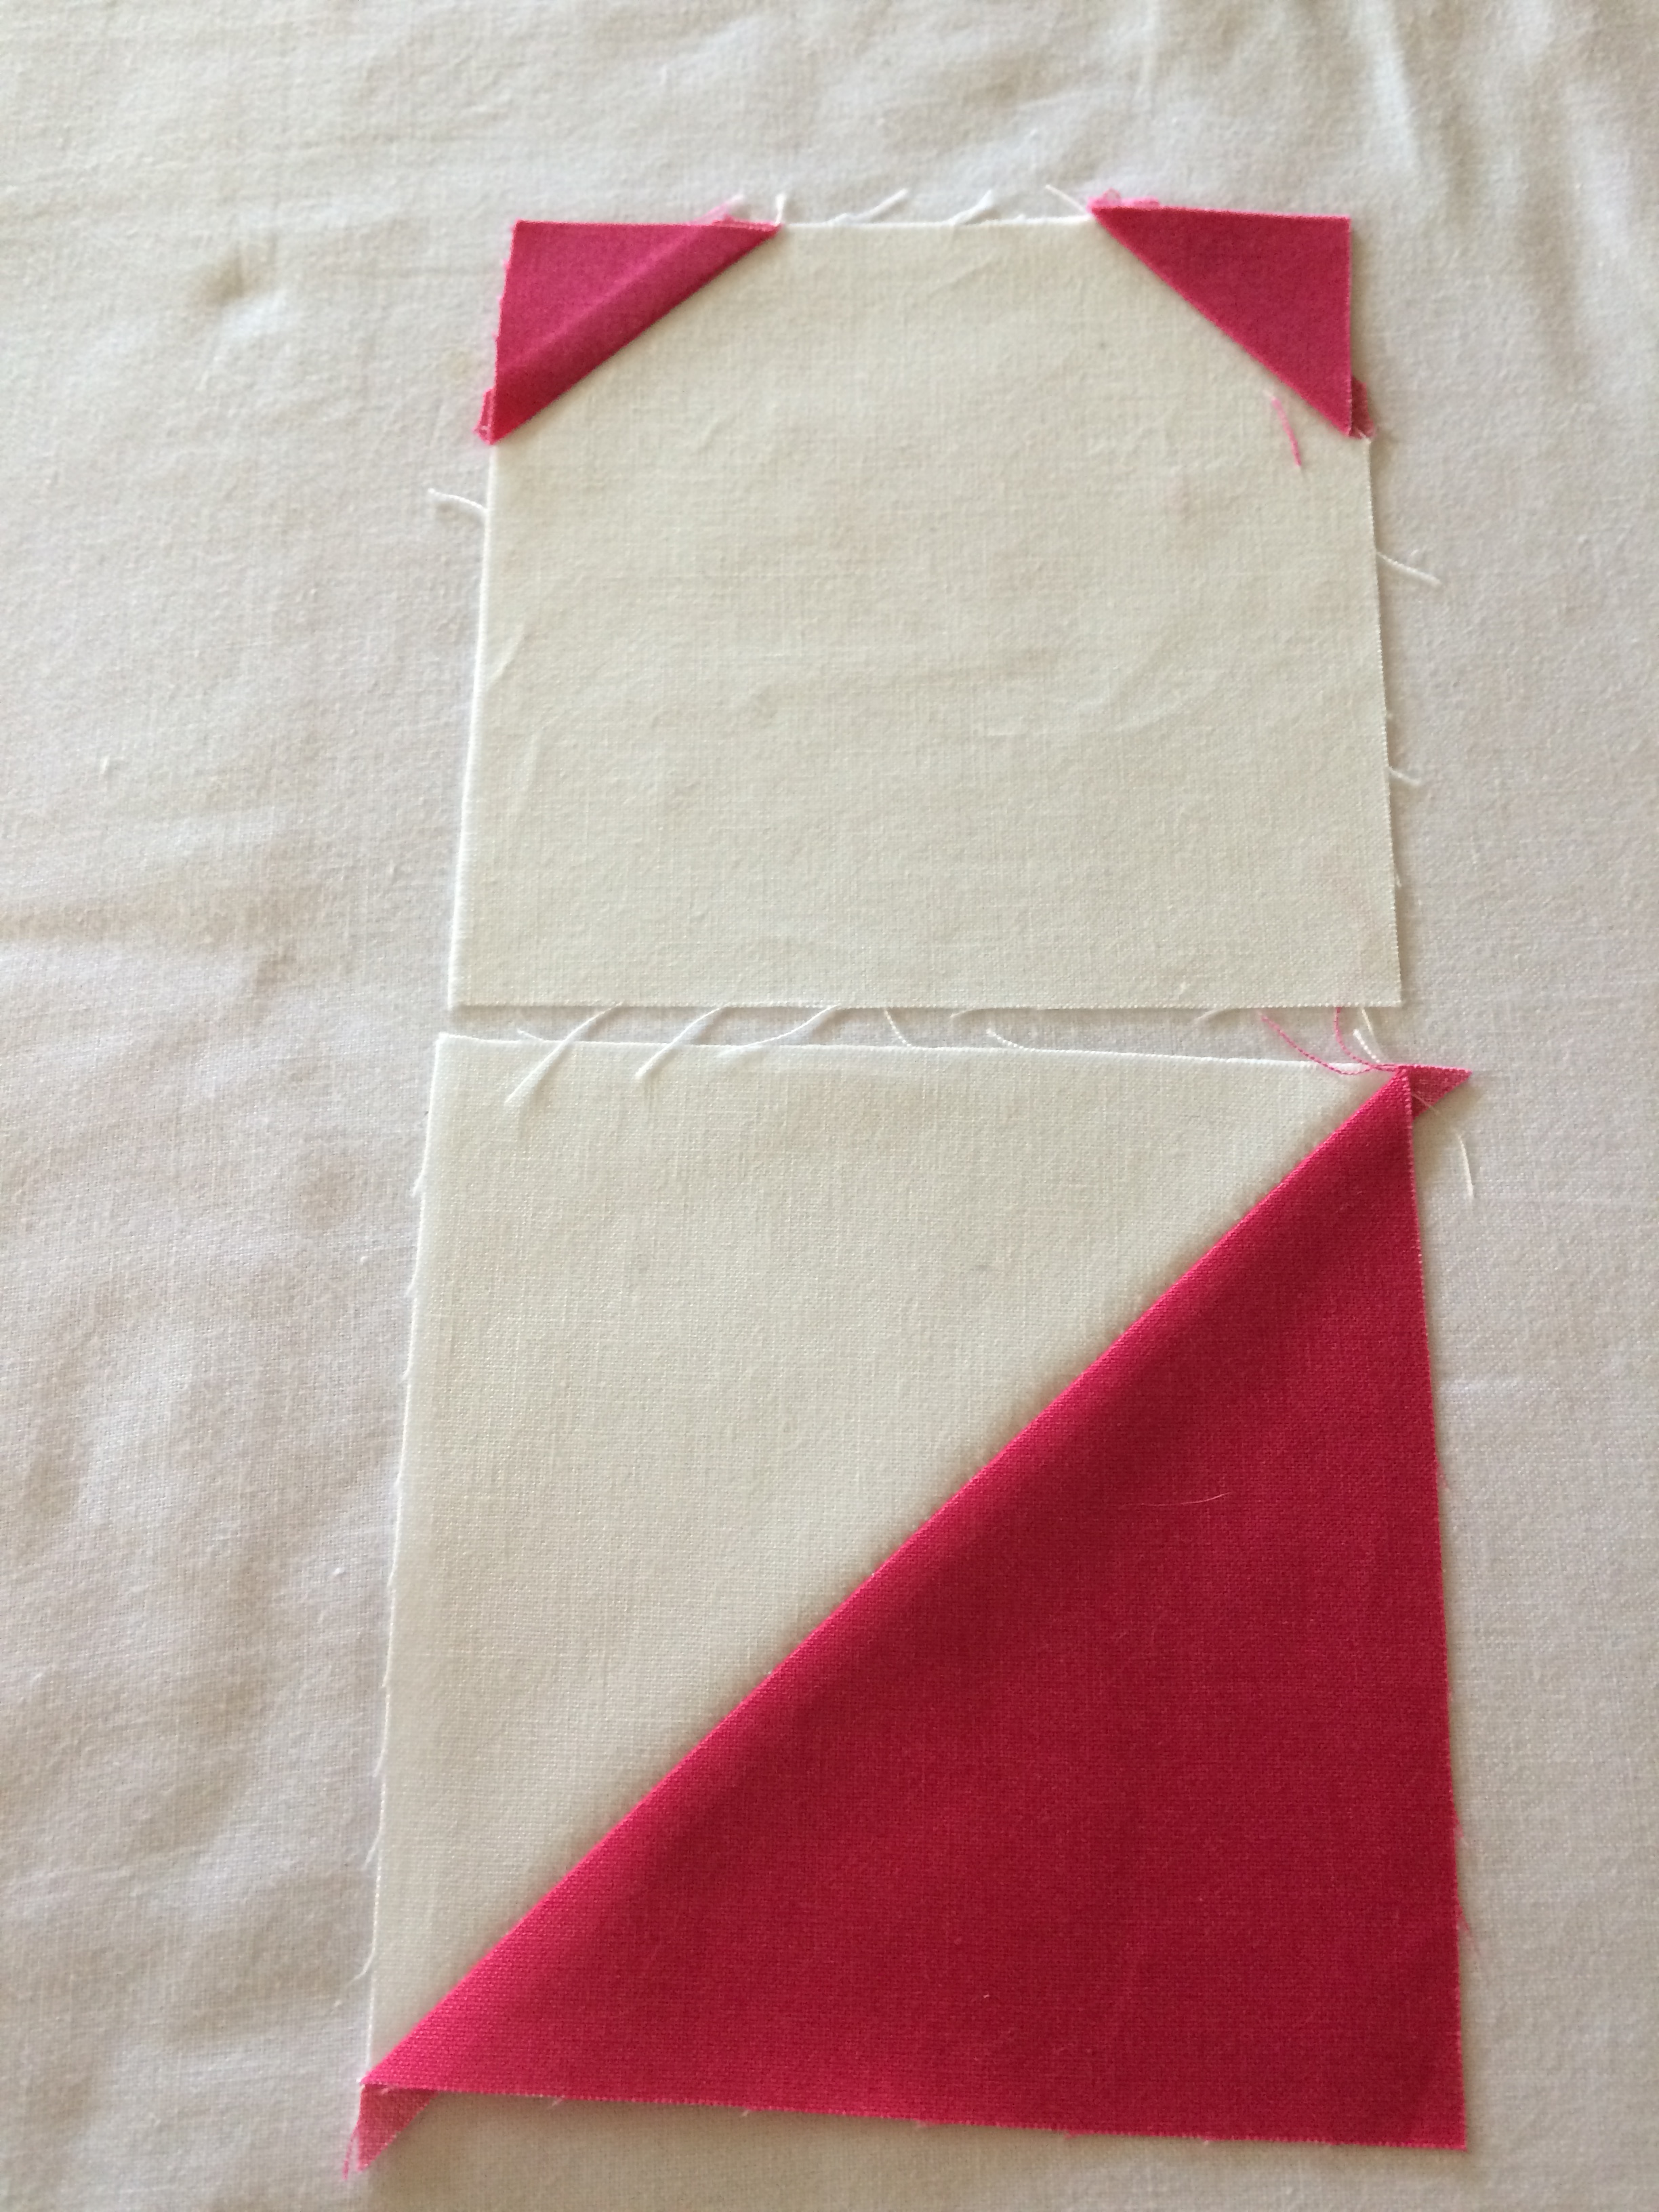
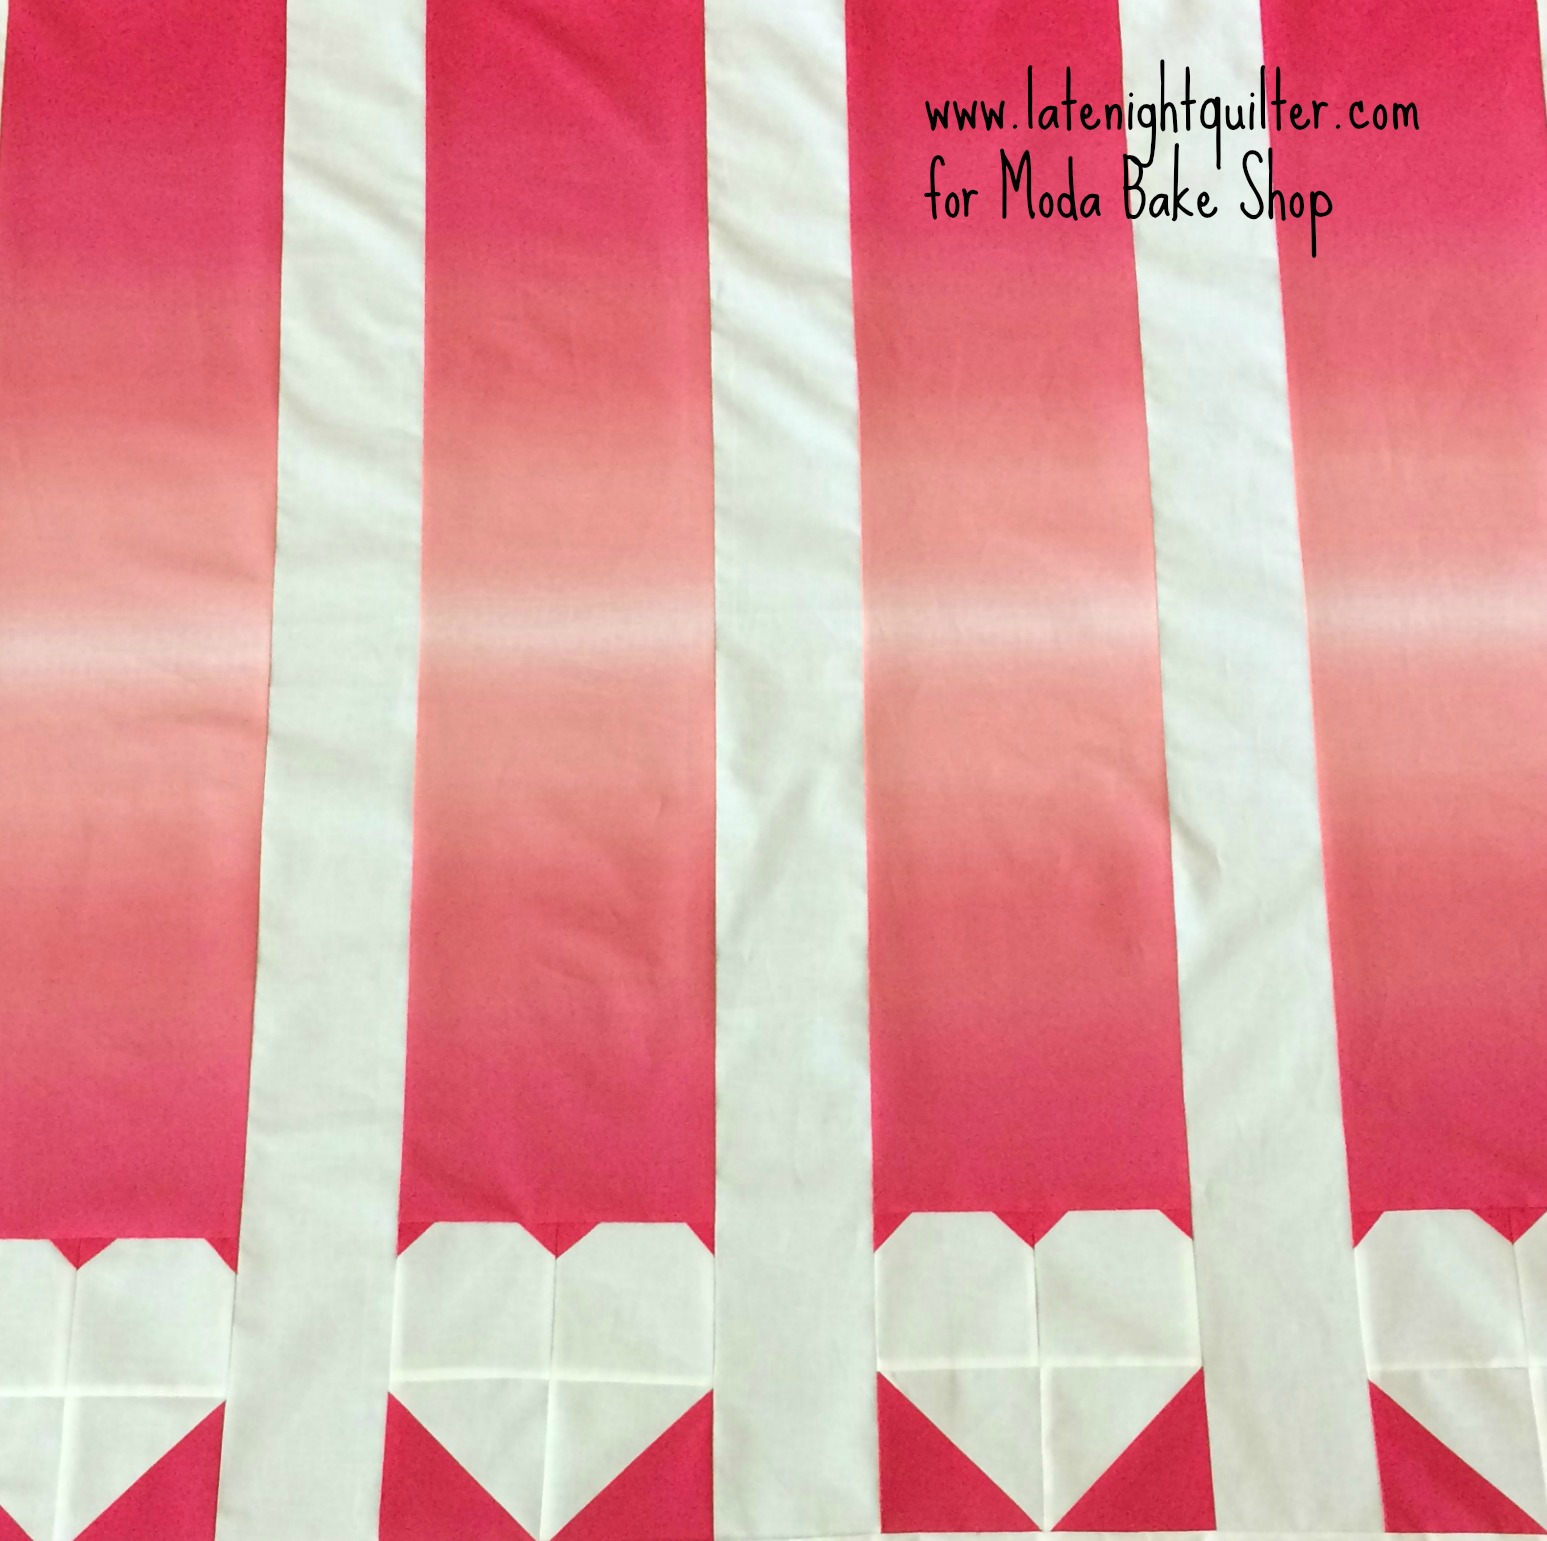
Lay out a top half of a heart and a bottom half of a heart. Place right sides together, nest seams, and sew. Do the same for the other side of the heart. (right side of the heart is shown in the picture below).
Step 4
With right sides together, sew the left side of the heart to the right side of the heart, with 1/4" seam allowance (Make 4). Press seams to the left. Your heart should look like this, and should be 8.5" square (unfinished):

Step 5
To attach the completed heart motif to the bottom of each pink ombre panel:
Place a heart on the bottom of each pink ombre strip, right sides together, and sew with a 1/4" seam allowance (Make 4). After you sew the heart blocks back onto the 38" long ombré strips, the length equals 46" (finished).
Step 6
To sew the pink and white striped panel together:
Lay a pink strip (8.5" x 46") on top of a white strip (4.5" x 46"), right sides together, pin, and sew with 1/4" seam allowance (Make 4).
Step 7:
For side borders:
With right sides together, pin and sew a 4.5" x 46" strip of white fabric on the left and the right sides of the top, to create the side borders. Square up the bottom and the top of the panel at this point.
Step 8:
For top and bottom borders, sew the short sides of two of the 5" x 46" panels together (Make 2 - one for the top border and one for the bottom border).

Step 9
With right sides together, pin the bottom border to the striped panel, and sew with 1/4" seam allowance. Be careful with your seam allowance so you don't cut off the points of your hearts! Repeat for the top border. Square up.
And you have finished your top!

Step 10
Baste, quilt and bind as desired. Sophie and I chose to do simple, straight line quilting in the white sashing and borders, with lines about 1" apart. For the pink panels, we did a beadboard pattern. We stitched in the ditch around the hearts to hold them in place, but we thought they looked best unquilted.
![]()
1 gorgeous pink and white, 51.5" x 55" heart quilt any girl would love.


![]()
Posted in: